
Red Faction: Armageddon Guide Walkthrough Campaign
Bastion Defenses
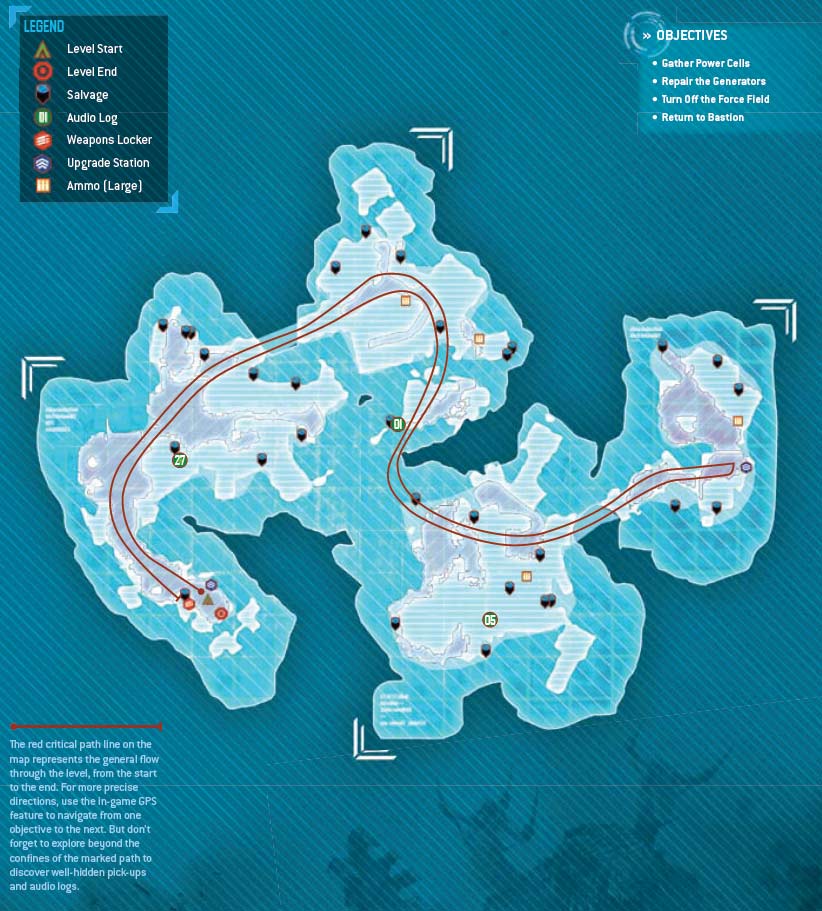
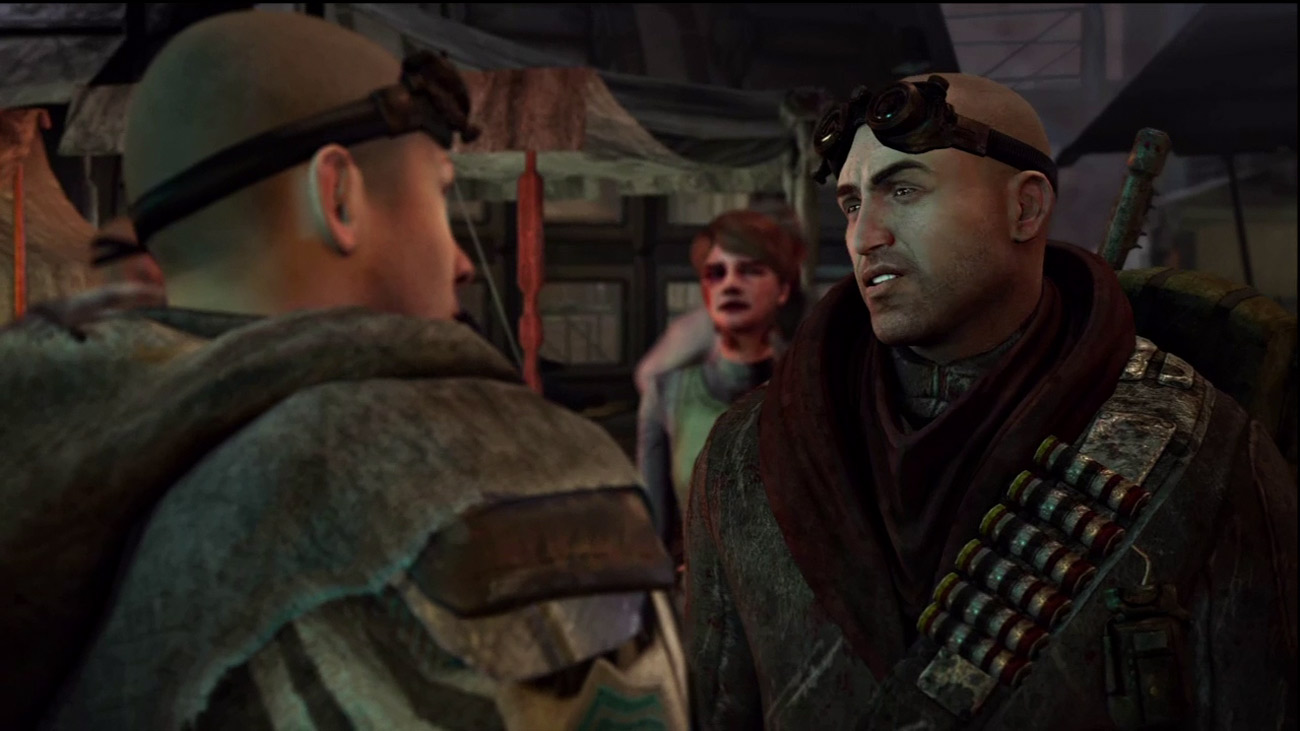
Back at Bastion, S.A.M. still hasn't been able to make contact with Kara. Meanwhile, the colonists are beginning to panic. People are still missing while food and water are growing scarce. In an attempt to calm the crowd, the Red Faction commanding officer admits that they're shorthanded but doing the best they can. When Darius offers his assistance, the officer asks him to find some new power cells for the auto-turrets. The inhabitants of Bastion will have a much better chance of survival once those turrets are back online.
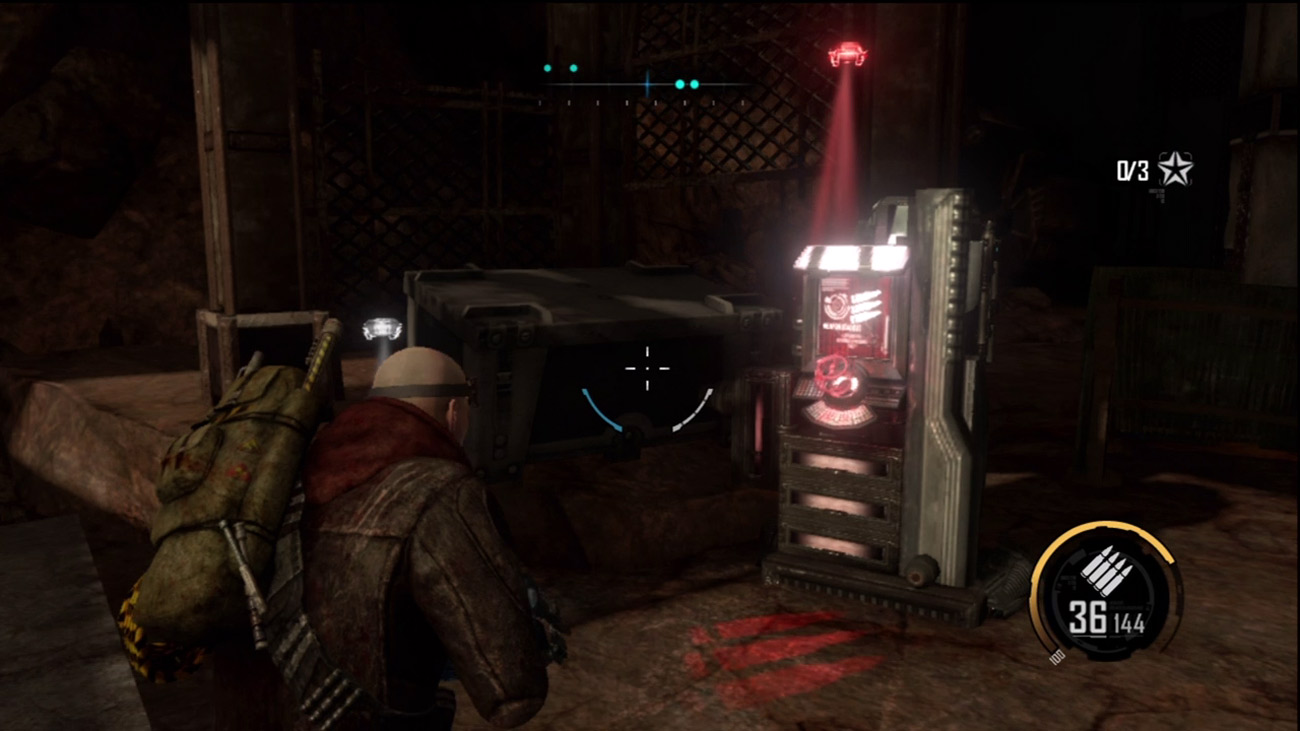
Following the cutscene, you regain control of Darius as he reenters the mining facility. The immediate area has been secured by Red Faction troops, so don't worry about coming under attack just yet. Instead, take a moment to visit the nearby upgrade station and weapons locker. For the fight ahead you'll definitely want to bring along the Magnet Gun and Assault Rifle. Consider rounding out your load-out with the Plasma Cannon and Maul. After accessing the weapons locker, follow the GPS markers to the next objective. Be sure to walk past the Banshees lying on the ground. These dual pistols pack a serious wallop, making them a nice addition to your weapons locker. Remember, you don't have to pick these pistols up. Simply walking over them adds them to your weapons locker inventory.
Power Cell 1
New Objective: Gather Power Cells
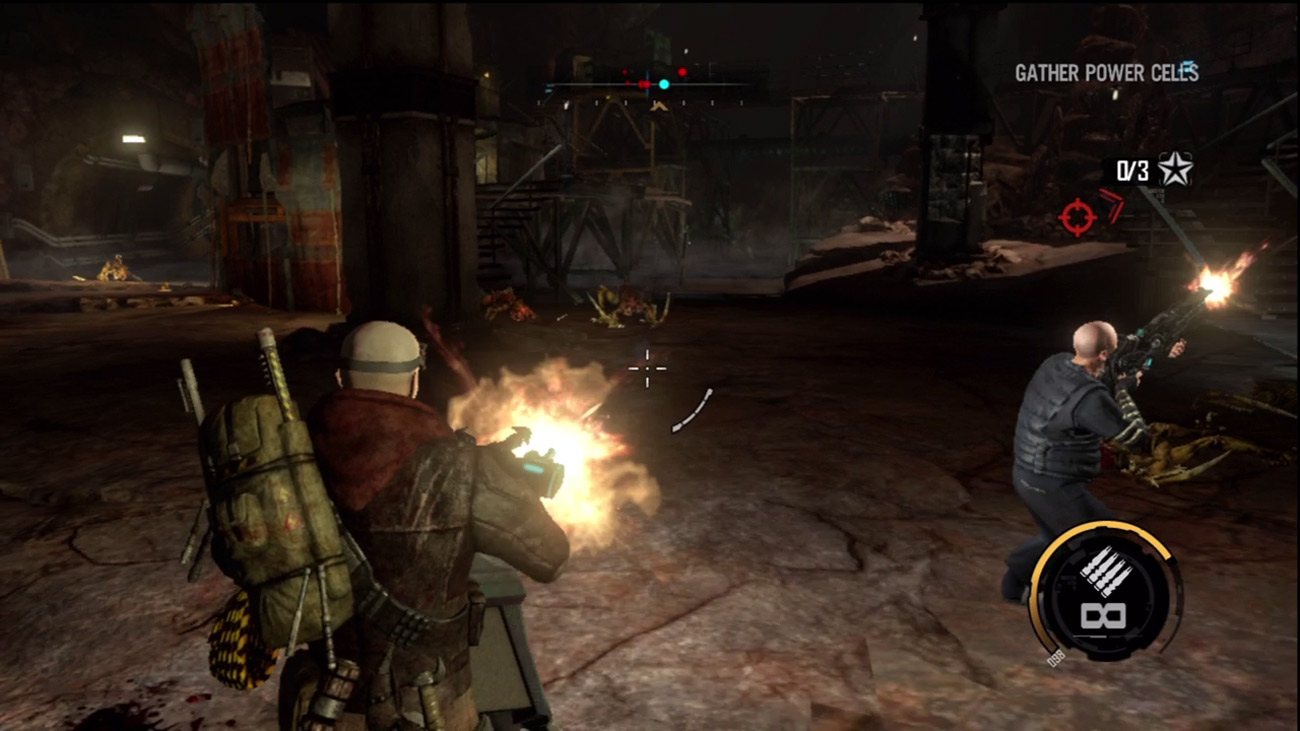
Once you've outfitted yourself with the proper gear, advance down the tunnel until another cutscene is triggered. Here Darius asks a forward guard to direct him toward the power cells. Before you can retrieve the first cell, you must fend off a wave of incoming creepers. Following the cutscene, rush to the nearby turret and interact with it to take control. The automatic turret is the fastest way to mow down the creepers. While in the turret you must remain stationary, so make sure none of the creepers sneak up behind you. The turret can also overheat if you hold down the trigger too long. The heat of the weapon is shown by the white gauge to the right of the reticle—fire in short bursts to prevent overheating. It only takes a few hits to kill each creeper, so remain vigilant and use the compass to zero-in on their locations.
The first power cell sits atop a large tower, well beyond your reach. There are several ways to get this cell, but the easiest method is with the Magnet Gun.
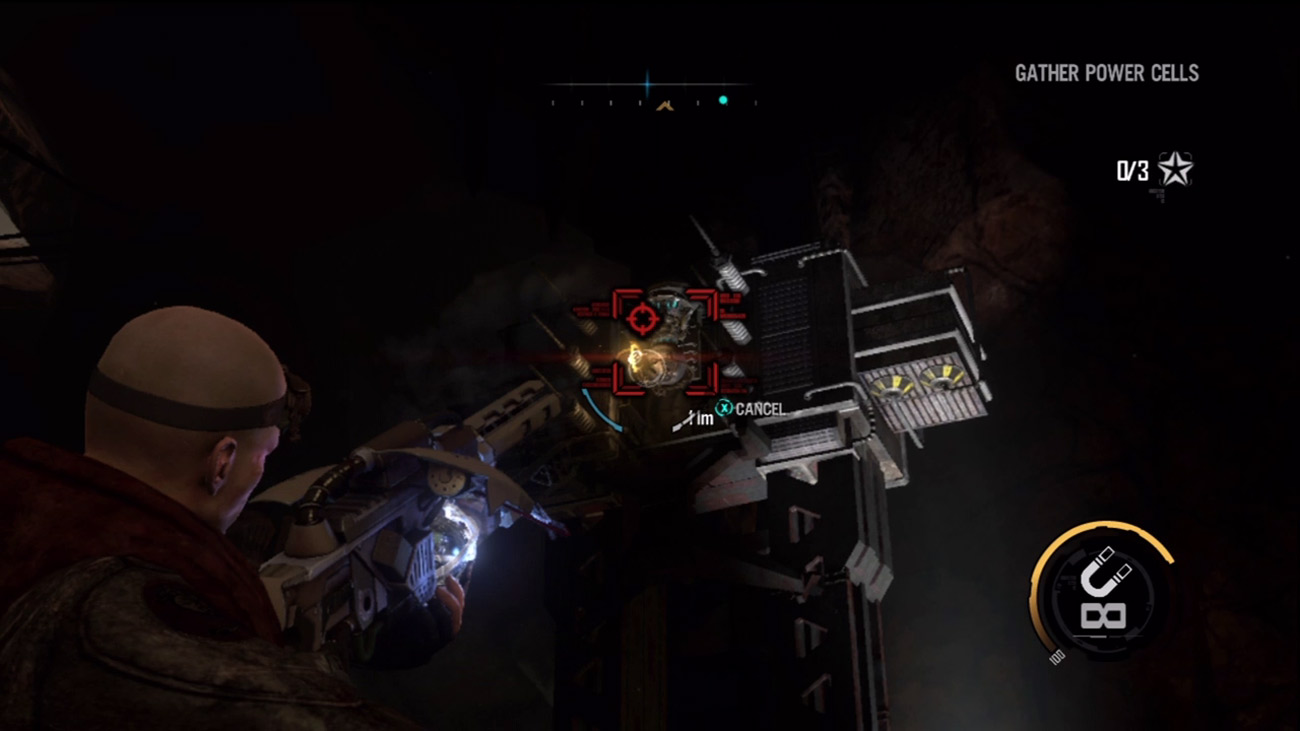
Attach a magnet to the targeted cell, then attach an anchor to the ground. Once the cell is on the ground, simply walk over it to add it to your inventory.
Alternatively, you can destroy the tower altogether and gather the power cell from the debris. Once you've acquired the first cell, take a few minutes to scout this chamber for salvage and ammo before moving down the adjacent concrete tunnel toward the second power cell.
Power Cell 2
As you near the end of the narrow tunnel, you come under attack by several ravagers scurrying about the next chamber. Don't exit the tunnel. The tunnel prevents the ravagers from attacking you from behind, so stay inside and side-step or dodge the incoming projectile attacks.
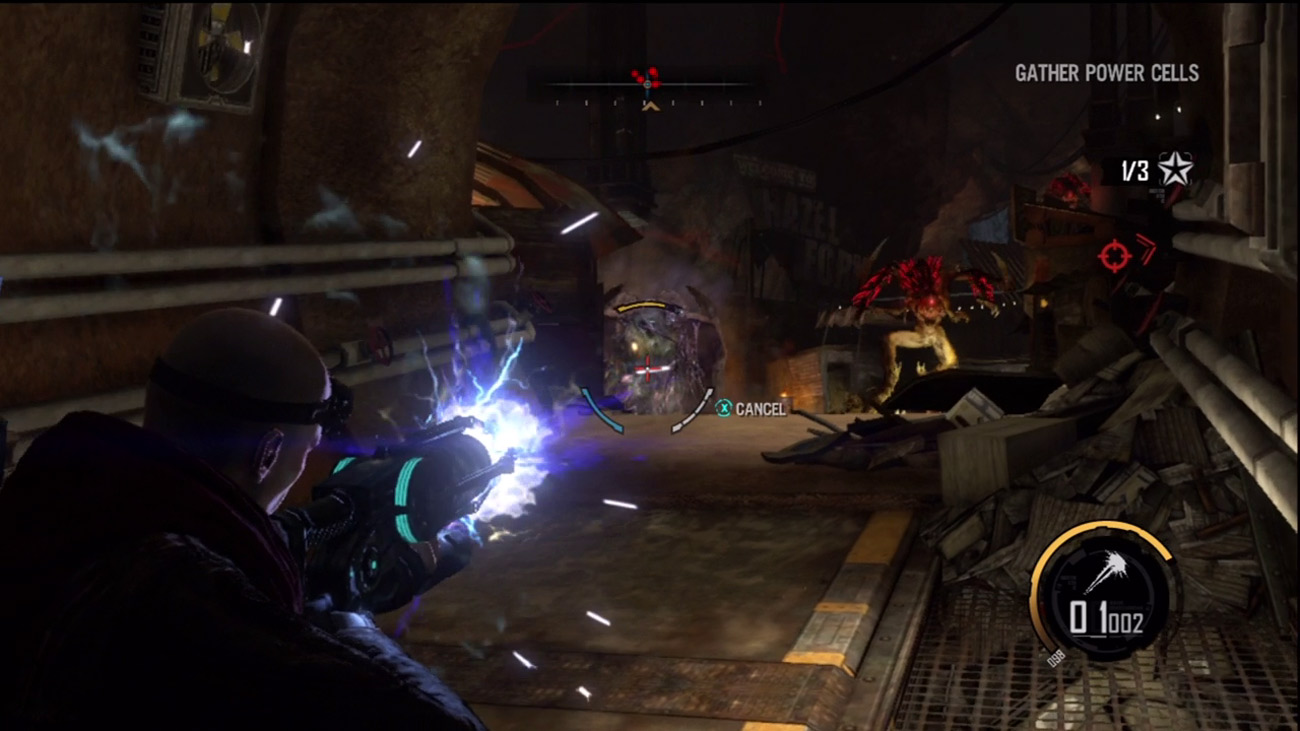
The ravagers are spawned from a pod on the left side of the chamber. Equip your Plasma Cannon and knock out the pod with a single shot. With the pod destroyed, go to work on the ravagers. Either blast them with your Assault Rifle or toss them around the chamber using the Magnet Gun. There's plenty of metal debris you can toss around as well, using it to smash the ravagers. Study the compass during the fight, and as the number of ravagers dwindles, step out of the tunnel and hunt down the survivors. There's plenty of ammo and salvage scattered around this chamber, so take a moment to stock up before moving toward the second power cell.
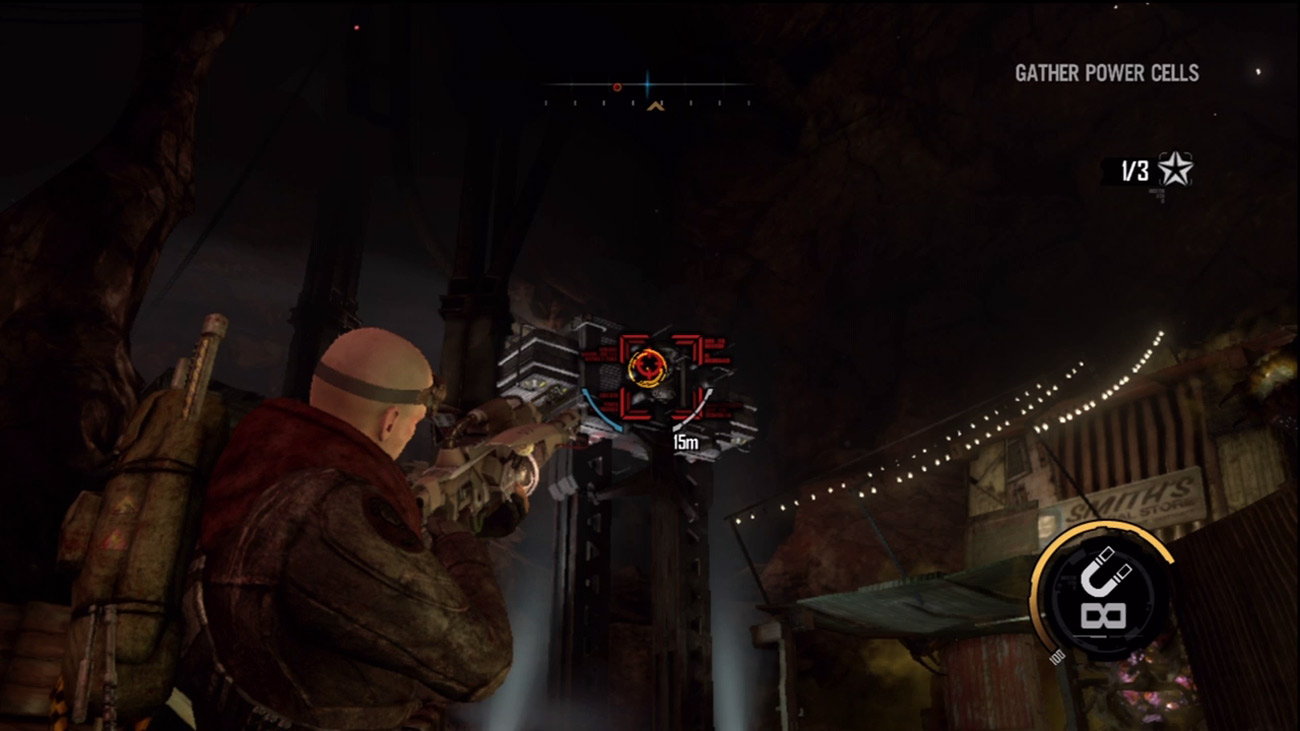
Locate the marked tower using the GPS markers. Once again, use the Magnet Gun to retrieve the power cell atop the tower. A second alien pod is located up the steps to the left, so watch out for more ravager attacks while you grab the cell. With the second cell in hand, climb the nearby steps and destroy the pod before more ravagers can spawn. Once you've destroyed the pod and any ravagers it has spawned, search the nearby structures for more ammo and salvage.
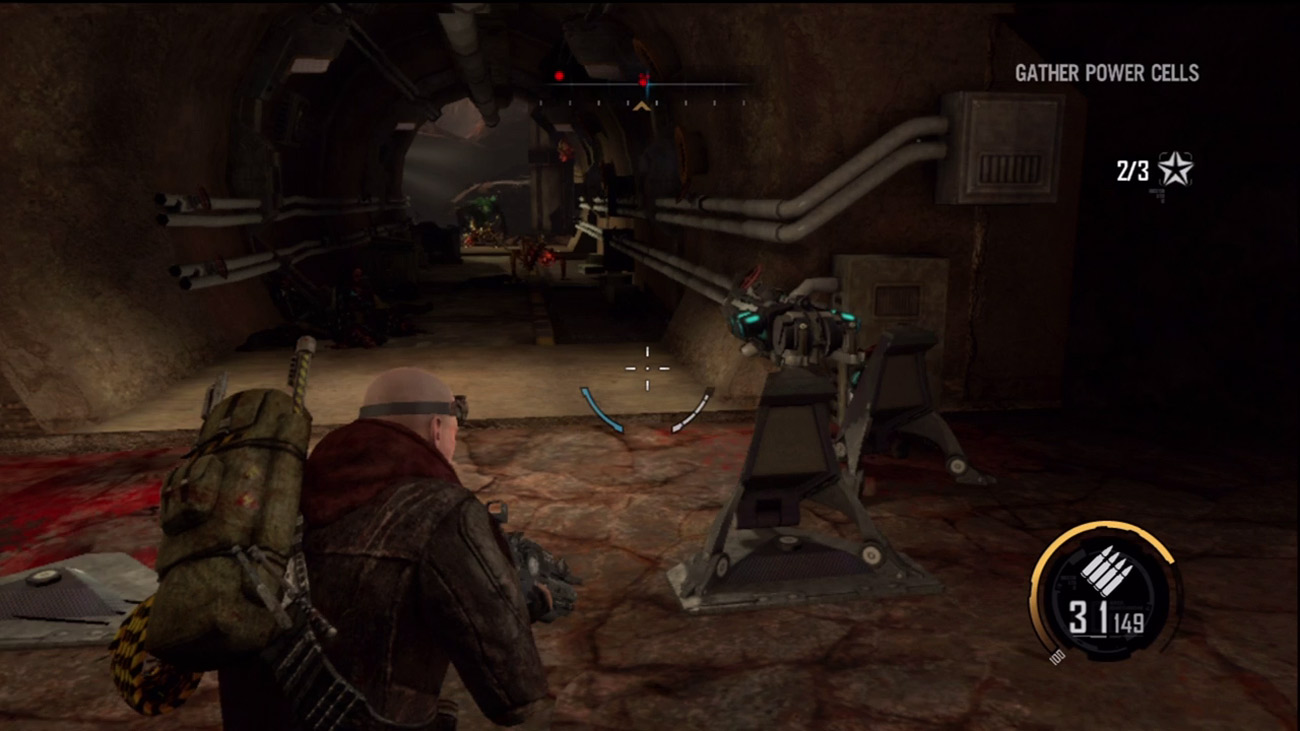
The path to the third power cell leads you through another narrow concrete reinforced tunnel. There's a turret aiming down this tunnel, and for good reason—there's a berserker and several creepers at the other end. Resist the urge to operate the turret and instead begin blasting the creepers with your Assault Rifle or the Nano Forge's Impact capability. It's important to keep moving to avoid the berserker's incoming energy blast—this is exactly the reason why you don't want to use the turret. With the creepers cleared out, focus your attention on the approaching berserker. Use the Magnet Gun to pull the berserker toward you, then toss him around the chamber, smacking him into walls and structures until he explodes. The berserker makes a formidable wrecking ball.
Trapped Colonists
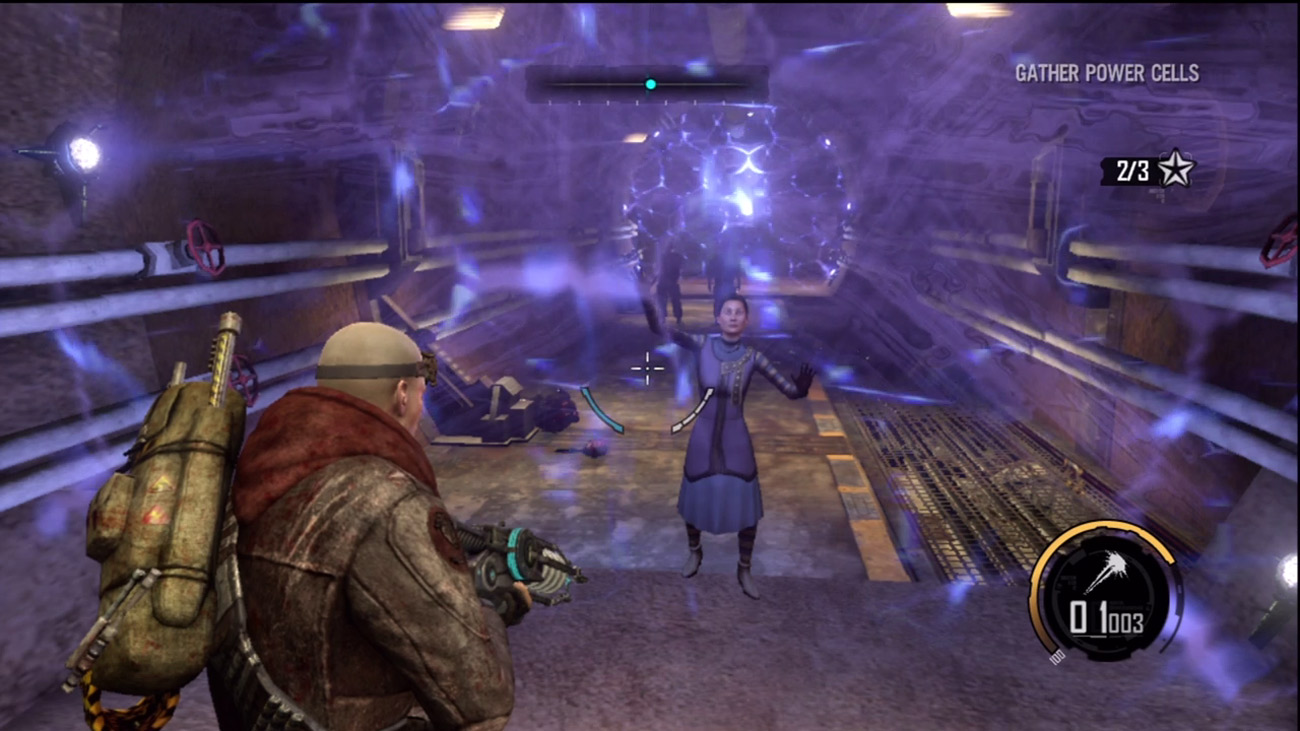
Pass through the tunnel and enter the next chamber. Follow the GPS markers to another tunnel blocked by a force field. Several colonists are trapped inside the tunnel, pleading for help. Darius tries to calm the panicked colonists, reassuring them he'll help get them out. Look to the right side of the tunnel and interact with the control panel, but nothing happens. S.A.M. reports that the controls are operated by secondary generators, offline due to damage. You need to repair the three generators to power the control panel.
New Objective: Repair the Generators
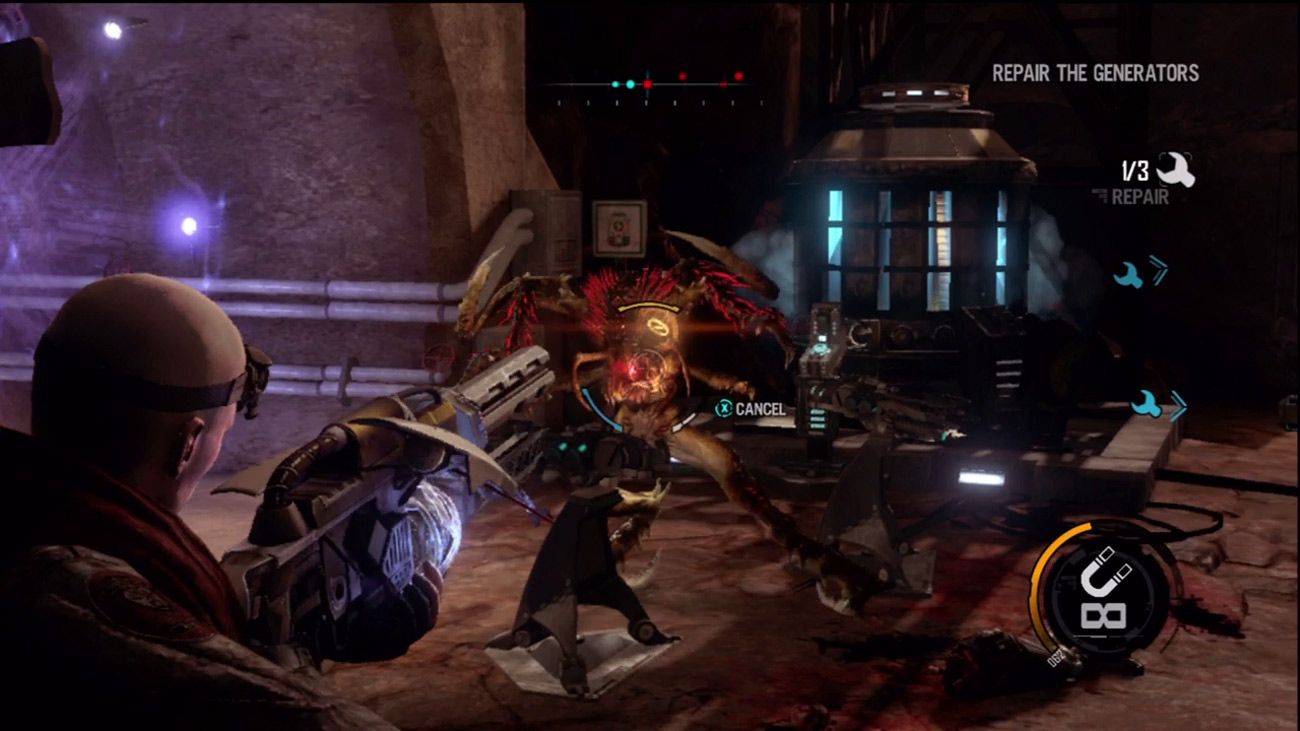
The first generator is located right next to the control panel. As soon as you repair it, several ravagers spawn into the area and attack. There are two turrets in front of the tunnel that you can use to repel these attackers. However, while behind the controls of the turret you cannot evade incoming fire. This makes you a sitting duck, especially for those ravagers who manage to sneak up behind you.It's best to stay on your feet and move while blasting the ravagers with your Assault Rifle. The Magnet Gun also works well here. Use it to smash ravagers against the cavern walls and into the nearby structures.
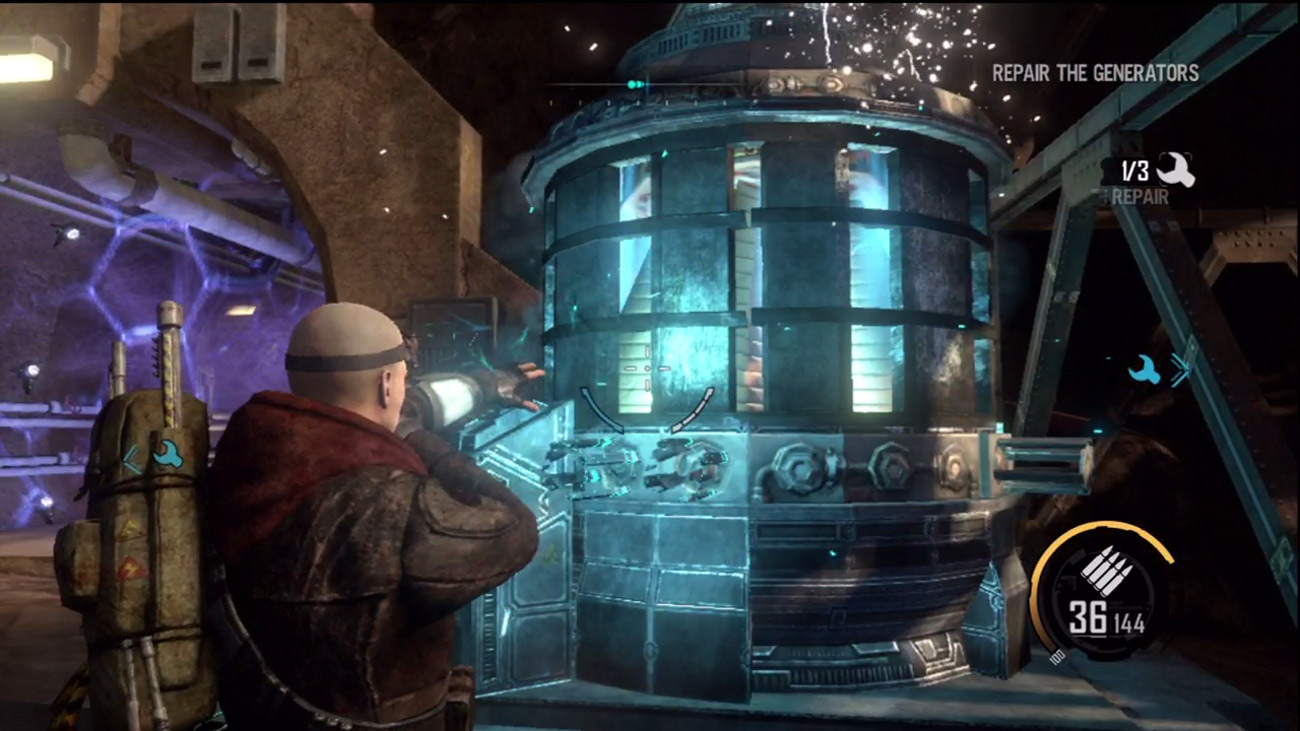
Don't bother repairing the remaining generators until all the ravagers are dead—they'll only get damaged during the fight. But once the dust has settled, visit all three generators and repair them. While moving around this chamber, be sure to grab the extra salvage and ammo scattered about. The colonists in the tunnel are safe for now, so take your time exploring.
New Objective: Turn Off the Force Field
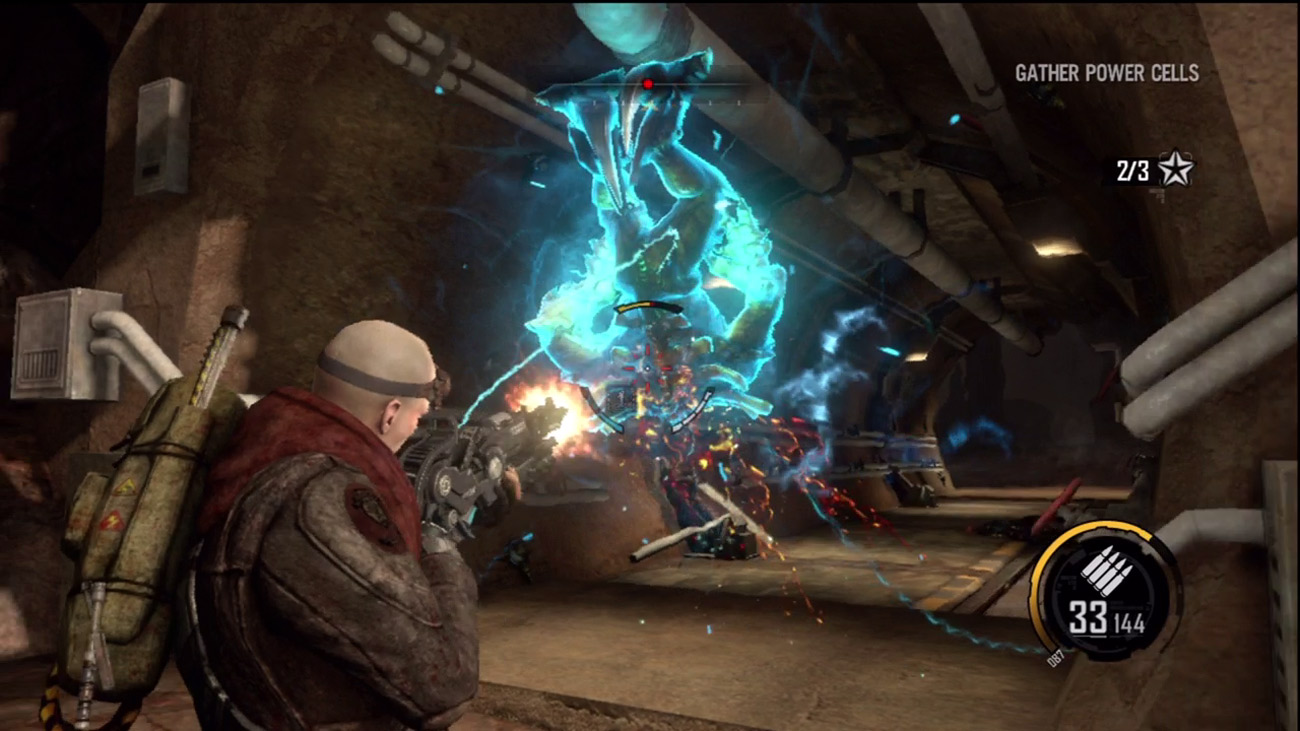
Now that all three generators are back online, return to the tunnel blocked by the force field and interact with the control panel. It soon becomes apparent why the force fields were in place as a berserker appears at the opposite end of the tunnel and rips a colonist to shreds.
Be ready to dive oit of the way as the berserker's energy projectiles are hurled in your direction. As you did with the previous berserker, yank the creature out of the tunnel with the Magnet Gun.
Still using the Magnet Gun, slam the berserker around the cavern until the alien succumbs to its injuries and explodes. If the berserker gets too close, hit it with an Impact or Shockwave attack and then pound away with the Assault Rifle or Plasma Cannon.
Power Cell 3
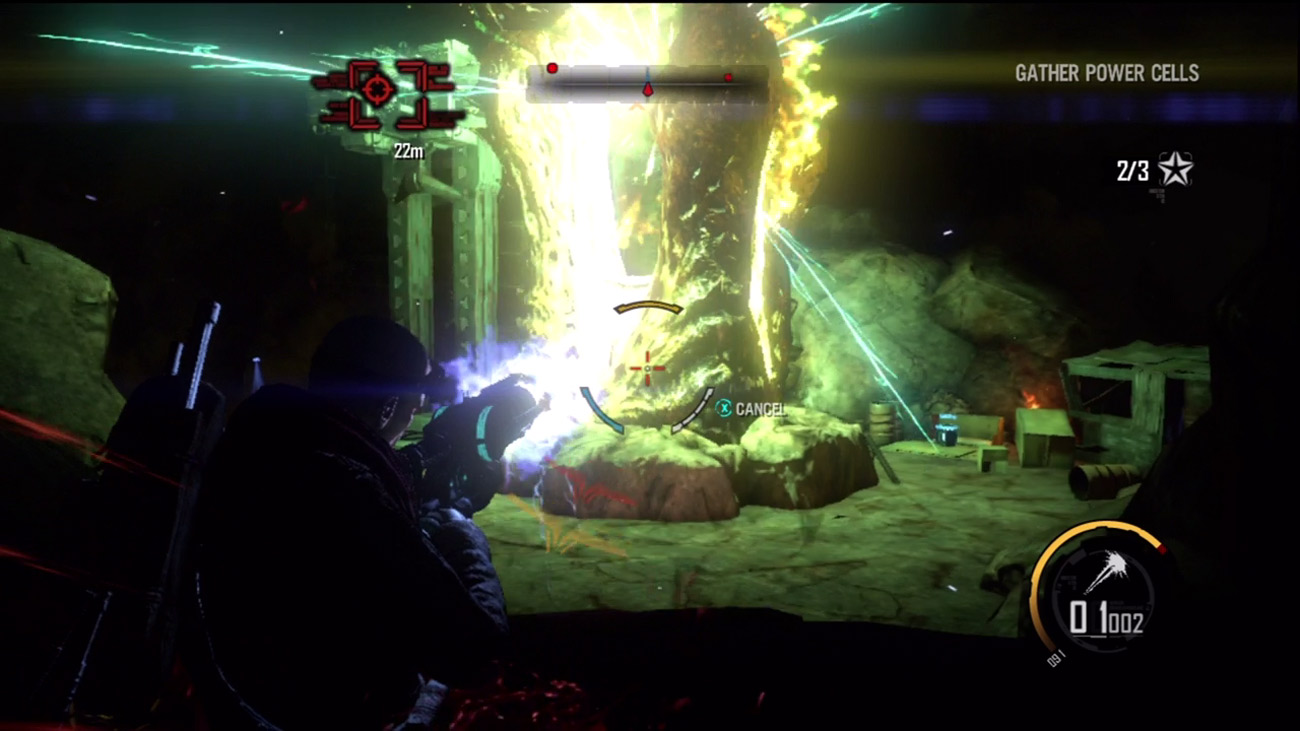
With the berserker out of your way, proceed down the tunnel toward the third and final power cell. As you near the end of the tunnel, you come under attack again by more ravagers. This time the ravagers are enhanced by a monolith positioned not far from the power cell's tower. Stay in the tunnel and clear out a few ravagers. As soon as you can, rush into the next chamber and attack the monolith aggressively with your Plasma Cannon. If necessary, backpedal into the tunnel to heal before resuming your attack on the monolith. Destroying the monolith makes it much easier to mop up the remaining ravagers. Once the chamber is clear, grab the last power cell and retrace your steps back through the cave.
Back to Bastion
New Objective: Return to Bastion
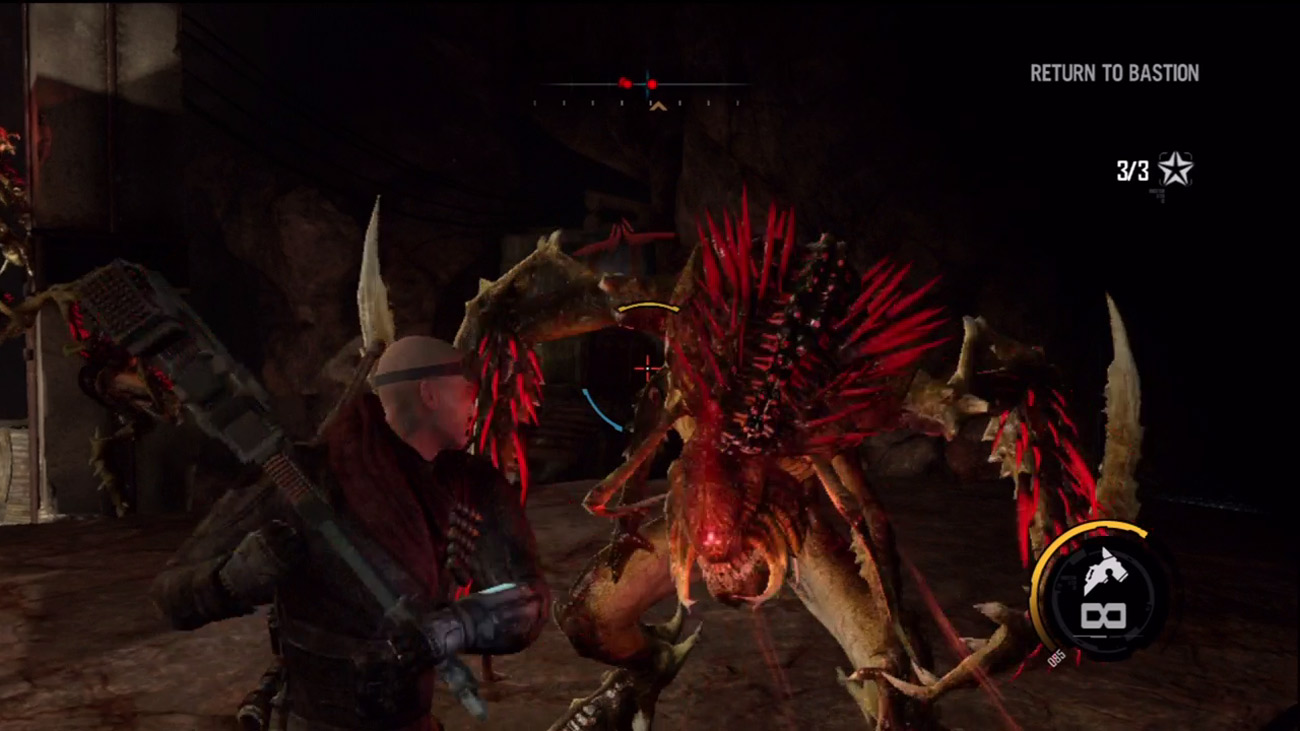
Now it's time to get the power cells back to Bastion so they can power up the auto-turrets. During this trek you must retrace your steps through the previous chambers. This is a good time to grab any salvage, ammo, or audio logs you missed the first time through. But pay close attention to your compass as more ravagers attack. If necessary, seek cover in the narrow tunnels between chambers. This allows you to heal while preventing the ravagers from sneaking up behind you. Just be sure to eliminate each alien threat you encounter, because you don't want these guys trailing behind you.
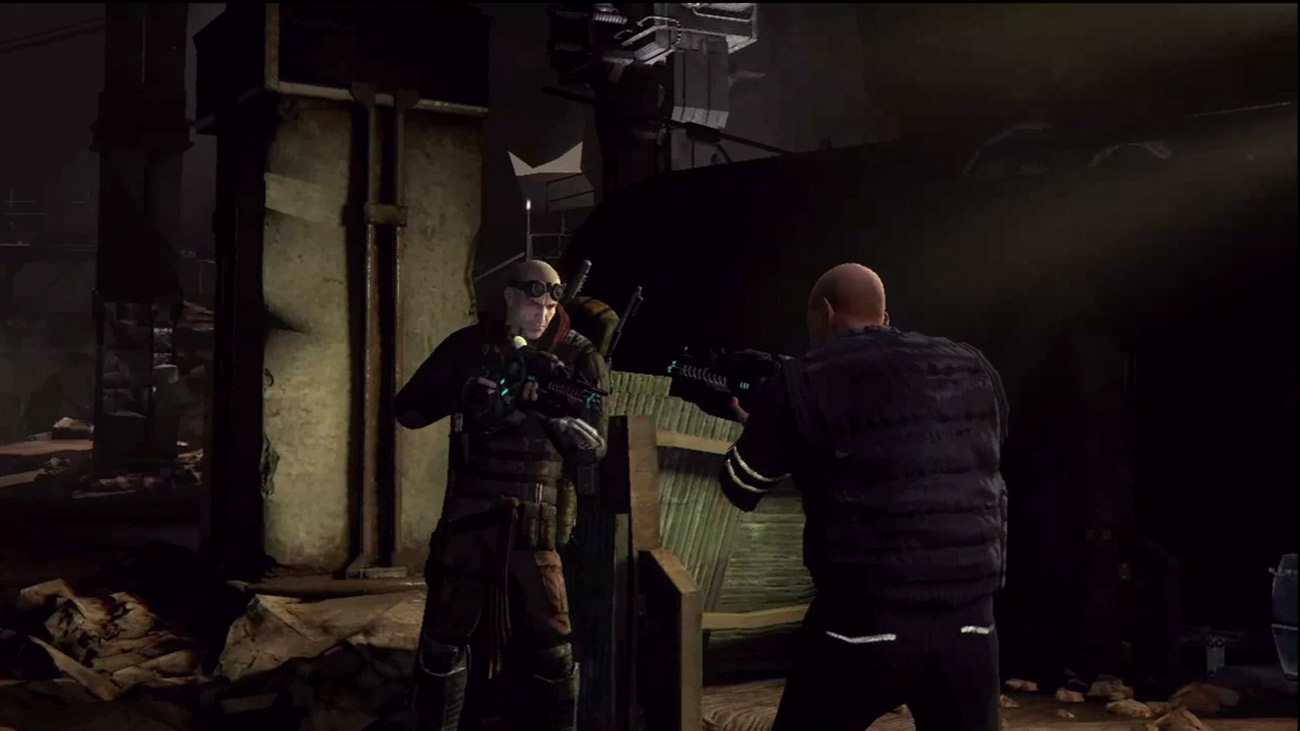
When you reach the area where you helped the checkpoint guard kill the first wave of creepers, a cutscene is triggered. The guard orders Darius to hand over the power cells. But Darius refuses, unsure what the guard will do with these critical items. The brief stand-off comes to an end as a monolith bursts through the ground, impaling the guard. As you regain control of Darius, equip your Plasma Cannon and take aim at the monolith while backpedaling.
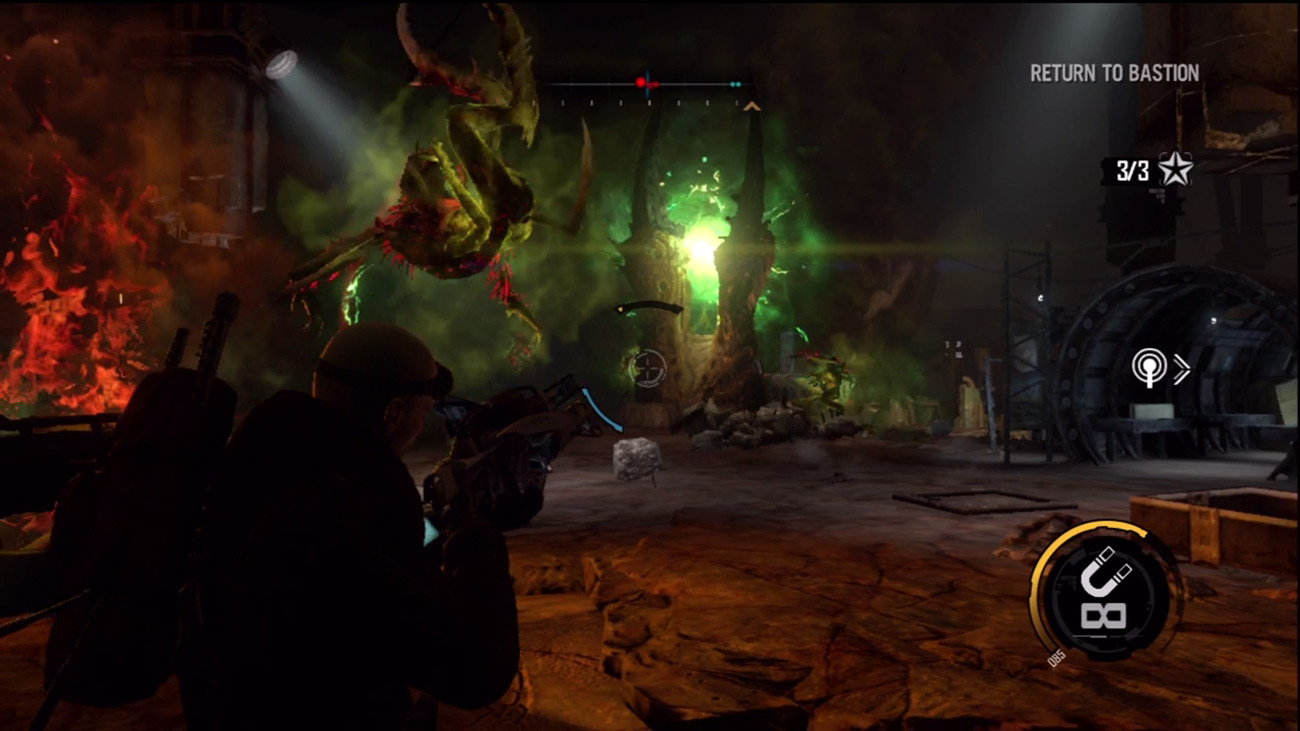
If your Plasma Cannon is low on ammo, switch to the Magnet Gun and start launching debris (or ravagers) at the monolith. Once the monolith is destroyed, eliminate the ravagers—they're much easier to kill now that the monolith is gone. You don't have to kill all the ravagers during the last attack. If you prefer, simply make a break for Bastion. When you're ready to exit this level, approach the doors straight ahead and hold down the button shown on screen to deliver the power cells to the Red Faction troops.