
Red Faction: Armageddon Guide Walkthrough Campaign
The Temple
| Icon | Name | Description | Gamerscore | Trophy |
|---|---|---|---|---|
|
Family Business | Defeat the Mantis. | 20 | Bronze |
Objectives
Hold Off Hale’s Attack
Escape the Dig Site
Repair the Generators
Destroy Hanging Generator
Defeat Hale
Drop Object on Walker
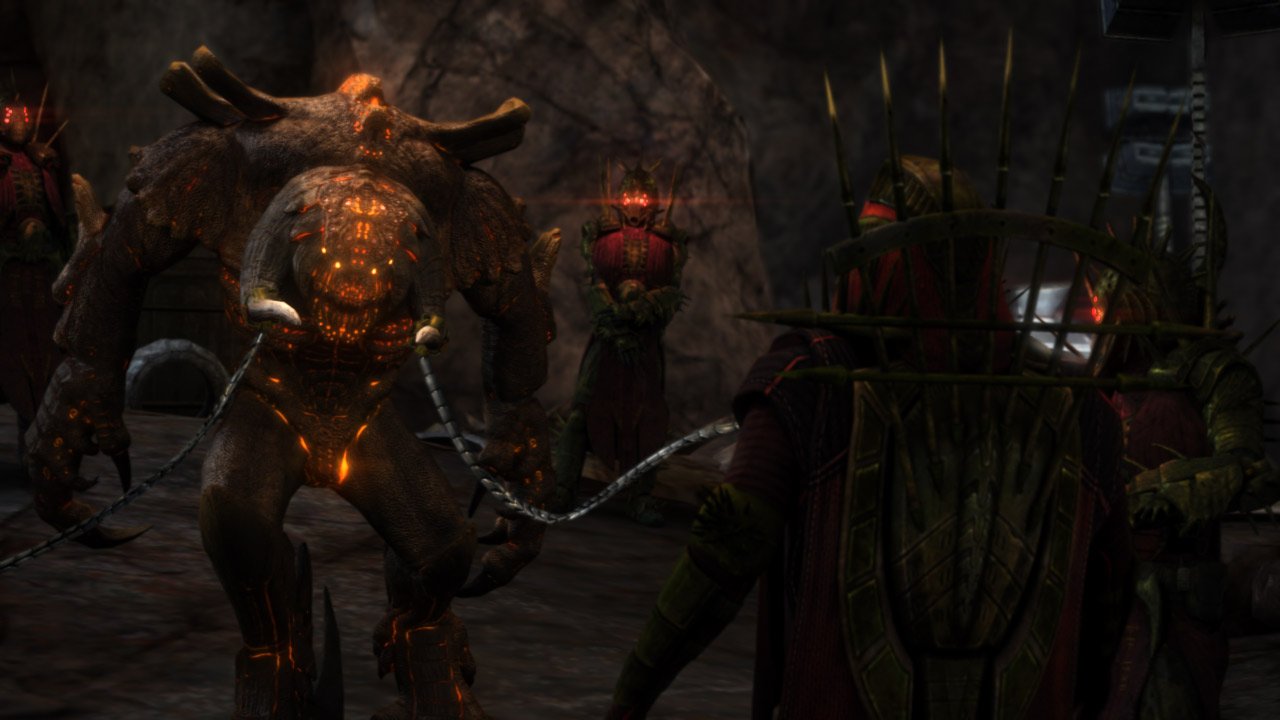
Shortly after arriving at the temple dig site, Kara notices an Ultor survey pod on a wall. The Ultor scientists knew about the alien creatures all along. If that's the case, the Marauder archives may hold critical information on containing this outbreak. Deeper into the temple, Darius comes across some sort of ceremony conducted by none other than Adam Hale. A subdued berserker is controlled by a couple of Hale's men. Kara and Darius watch silently from a nearby cliff as Hale preaches to his followers. It looks like Hale is trying to use the creatures to eliminate his enemies.
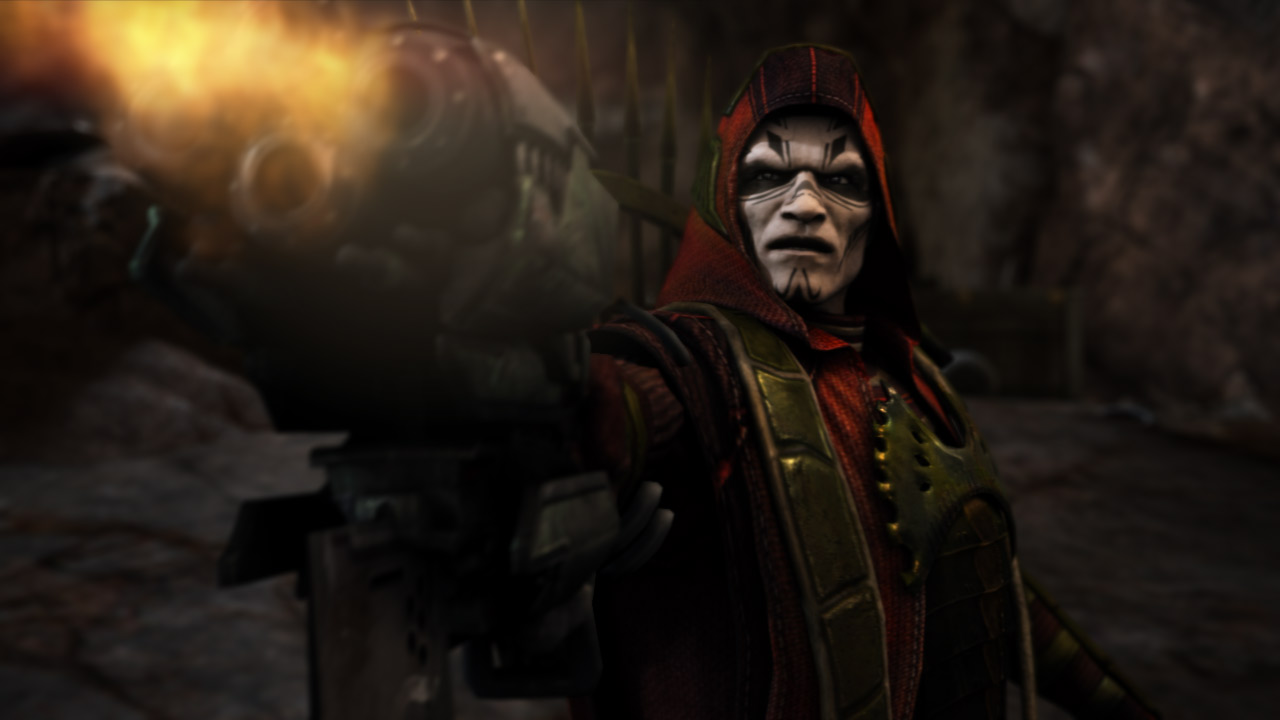
Darius decides to put a stop to this madness by taking aim at Hale. But as he's about to pull the trigger, the cliffside gives way beneath his feet, causing him to fall, disrupting Hale's gathering. The commotion startles the berserker, causing the creature to break free, knocking cultists through the air. As chaos ensues, Darius scrambles to his feet, attempting to reach his rifle while dodging Hale's pistol shots. Unable to get a clear shot himself, Darius has no choice but to escape in a nearby mining cart. But Hale isn't willing to let Darius slip away this time. . .
New Objective: Hold Off Hale's Attack
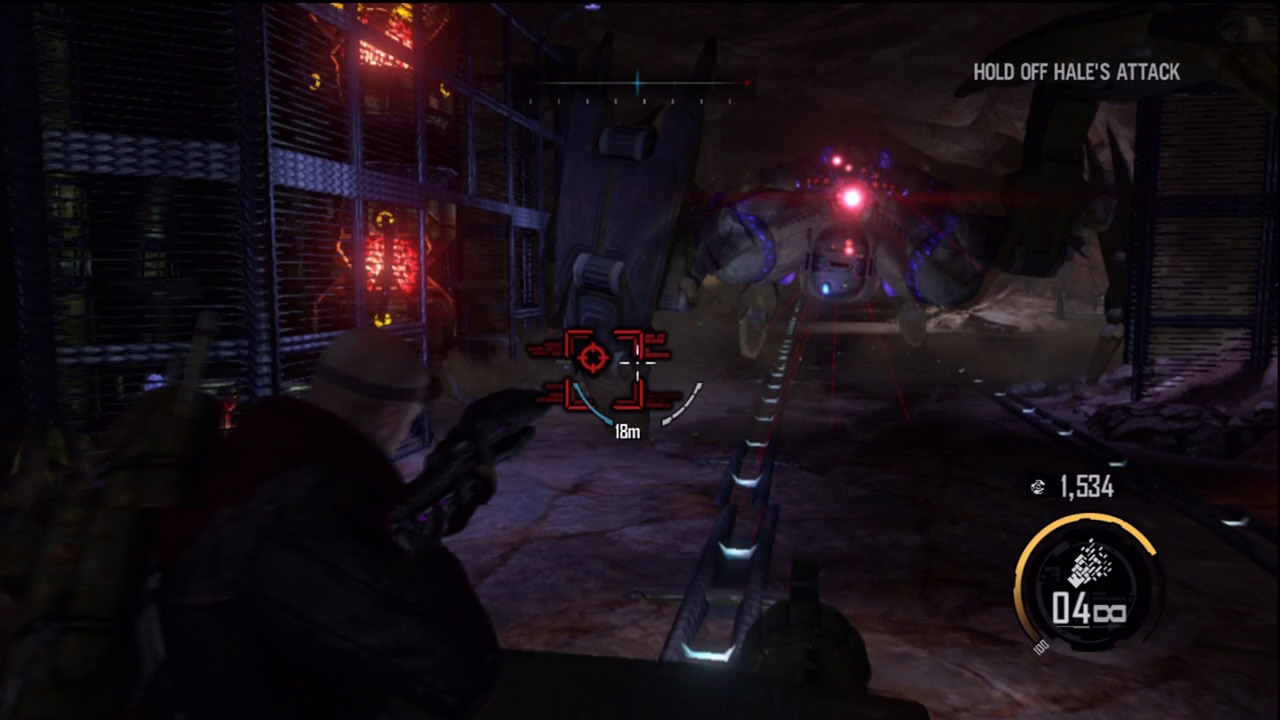
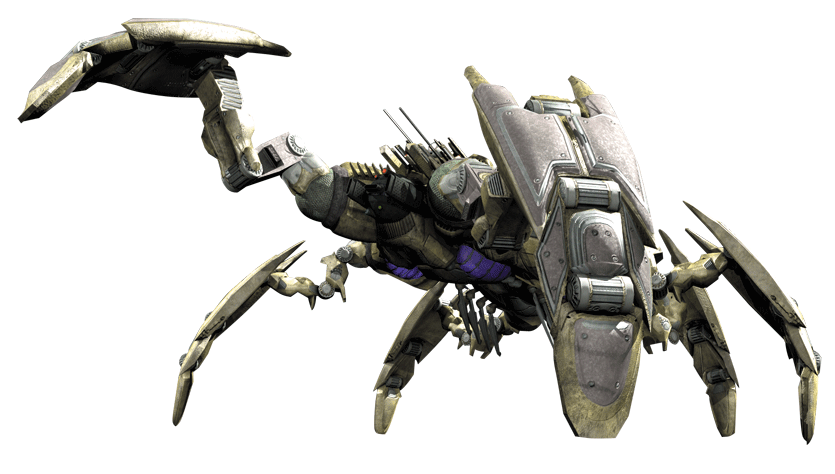
As Darius escapes in the mine cart, Hale pursues in a Mantis Heavy Walker. Your weapons are no match for the walker's powerful shields. However, S.A.M. suggests targeting the junction boxes flanking the track. The electricity released from the exploding boxes is enough to temporarily short-circuit the walker, slowing it down. This task is easiest with the Assault Rifle, but most of your weapons are capable of destroying the junction boxes. For best results, wait until the walker is close to a junction box before blowing it up. Accuracy counts during this sequence. If you fail to slow down the walker by destroying the junction boxes, it will catch up and knock over the cart, forcing you to restart the sequence from the last checkpoint. Make each shot count and don't panic. After destroying a box, reload your weapon and then focus on the next junction box.
New Objective: Escape the Dig Site
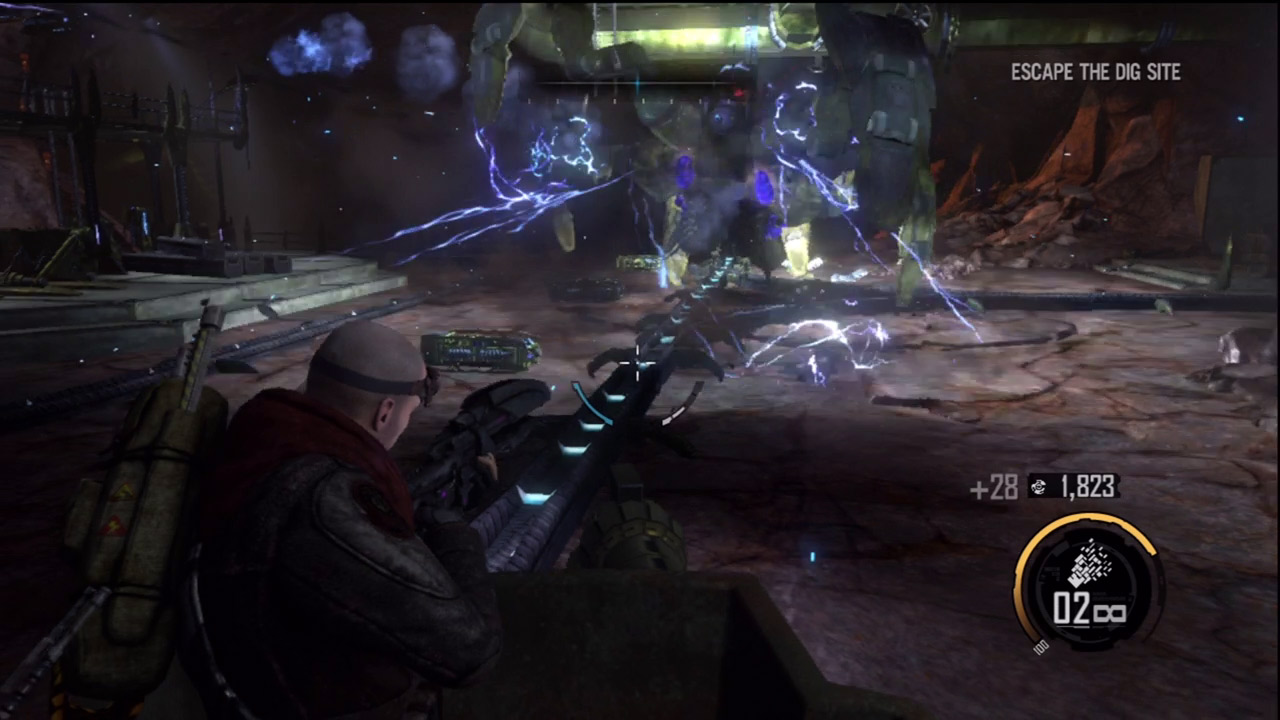
Eventually Hale's walker falls behind and out of sight as a large metal door closes behind the mine cart. Turn around and face forward to engage cultists positioned alongside the track. Keep an eye on your compass to spot the appearance of hostile units. Instead of shooting the cultists directly, target nearby red barrels to trigger large explosions. As the cart negotiates a turn, Hale's walker reappears behind you. Once again, target the junction boxes on the side of the tracks to slow down the walker.
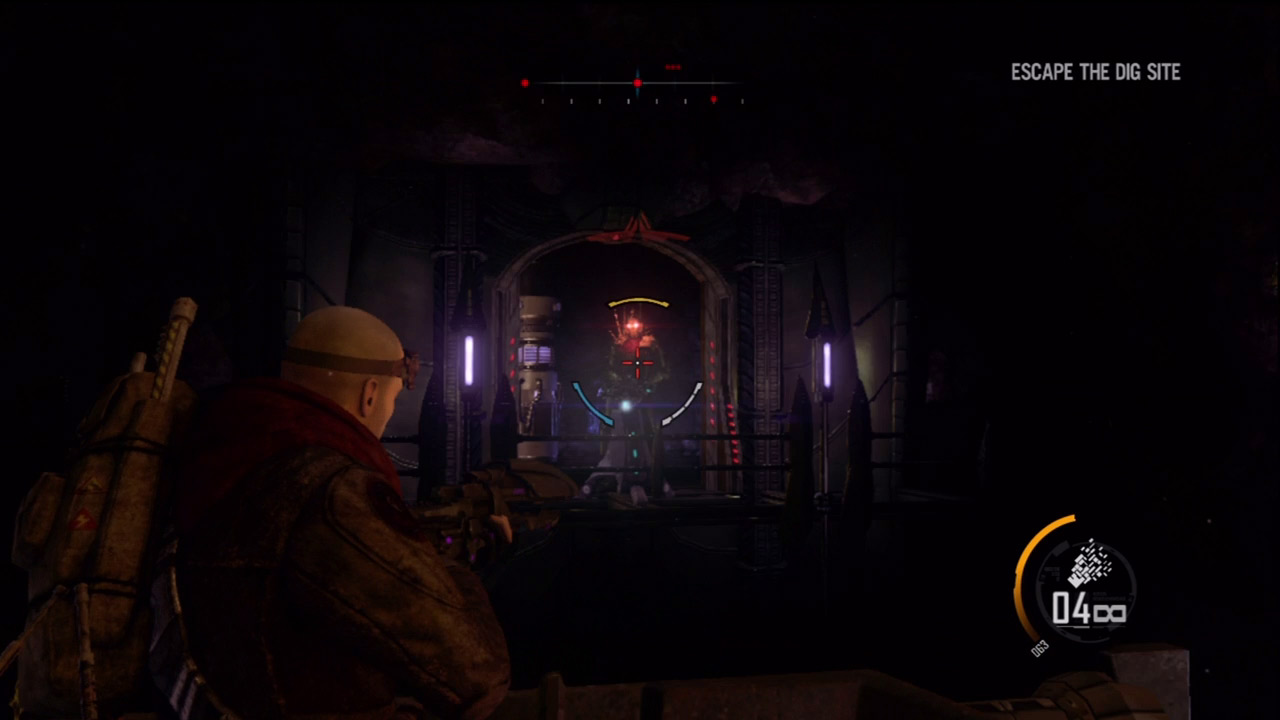
The cart eventually passes through another doorway and into a lift system. As the cart rotates and then ascends the shaft, Darius tells S.A.M. to contact Kara. If he gets out of this alive, he'll need a ride. As the lift rises through the shaft, you come under attack by cultists on the perimeter. Study the compass to determine which side of the shaft you're being attacked from, then rotate to return fire. The Nano Rifle is the quickest way to eliminate these hostiles. Target them directly, shoot nearby red barrels, or disintegrate the catwalk flooring beneath their feet, causing them to plummet to the bottom of the shaft. At one point you come under attack by a turret. Quickly spin to face the turret and retaliate. You can destroy the turret by shooting it with your Nano Rifle.
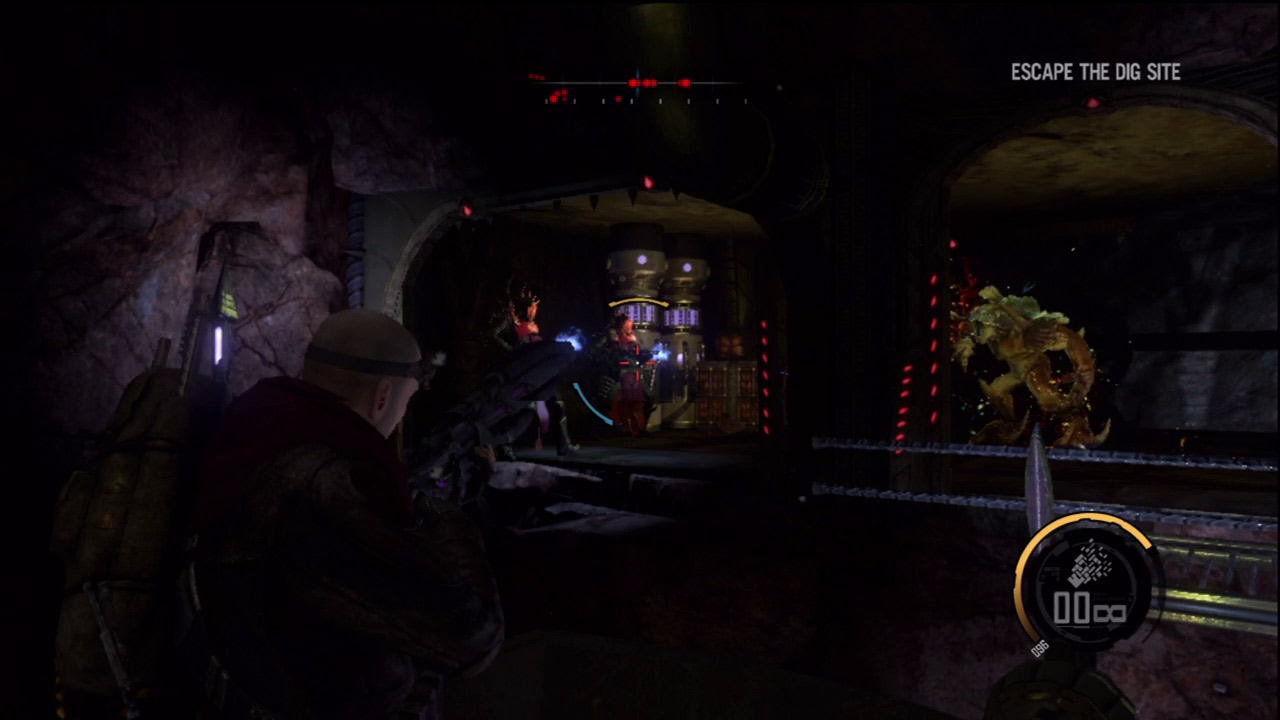
At the top of the shaft, four cultists battle a berserker. In this fight, take the side of the berserker and pick off the cultists. Meanwhile, S.A.M. reports that the damaged junction boxes have caused a malfunction. Suddenly, the lift violently drops down the shaft. A few seconds into the rapid descent, the auxiliary power sources engage, causing the lift to rise again. During the second ascent, Kara reports in, but her transmission is cut short. Meanwhile, focus on targeting the cultists positioned along the shaft's perimeter. Back at the top of the shaft, the lift comes to a stop in front of a large set of metal doors. The power supplies for the doors have been damaged and must be repaired.
New Objective: Repair the Generators
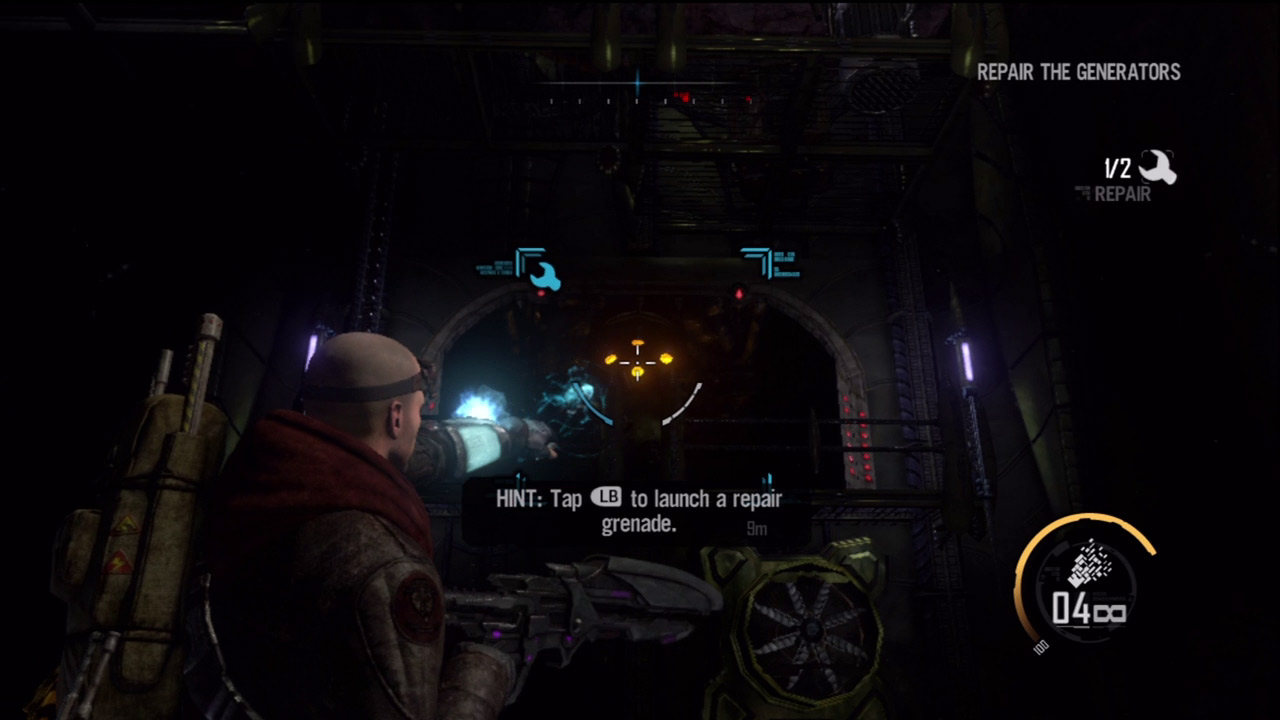
The doors are powered by two generators flanking the shaft. Turn to face the blue bracketed location marked on the HUD and fire a repair grenade at each target. Usually, one repair grenade is enough to repair each generator. But if the blue brackets still appear around the generator, it is not fully repaired—fire another repair grenade to complete the job. Once both generators are repaired, the doors open and the cart resumes moving along a new track.
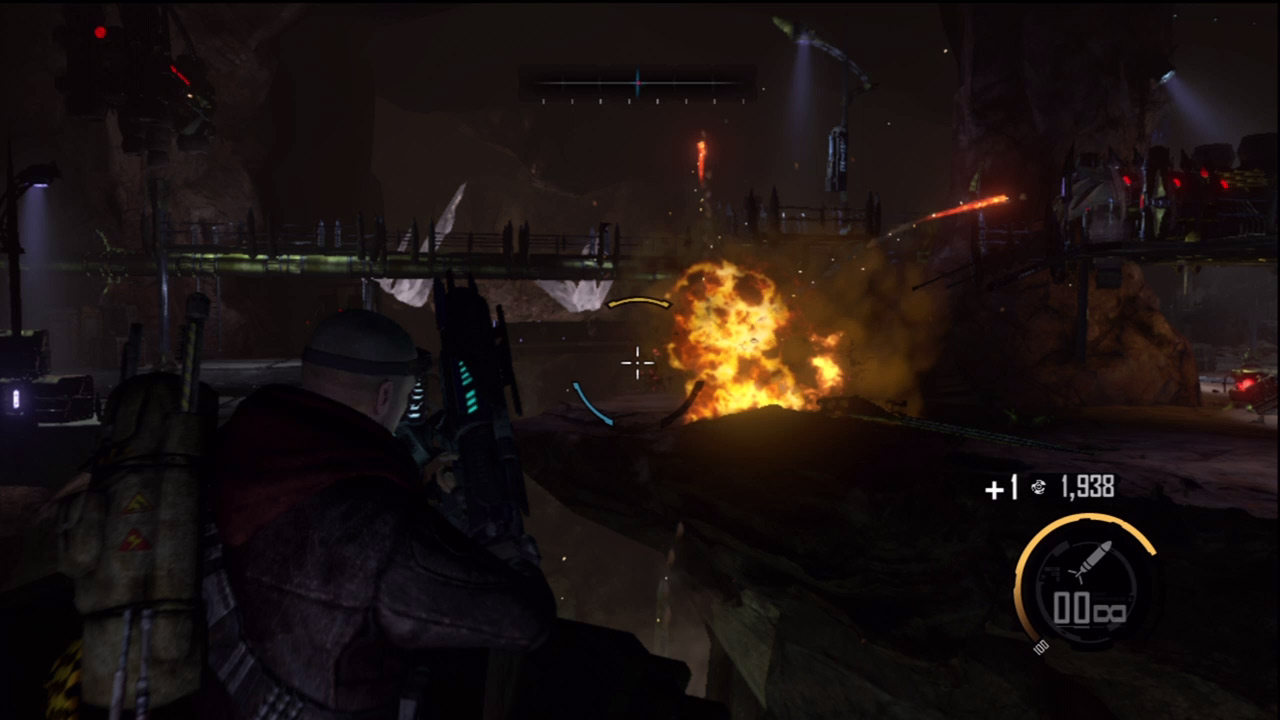
After exiting the shaft, attack the cultists positioned along the track. Any targets you miss are soon trampled by Hale's walker. But this time the walker is unable to follow you as the narrow track traverses a deep chasm. Turn away from the walker and engage the cultists on the platforms ahead. The Rocket Launcher works well here, allowing you to lock on and hit targets while on the move, with explosive results. Remember, you have unlimited rockets, so cut loose! Eventually the mine cart comes to a stop, just as Hale's walker catches up.
New Objective: Destroy Hanging Generator
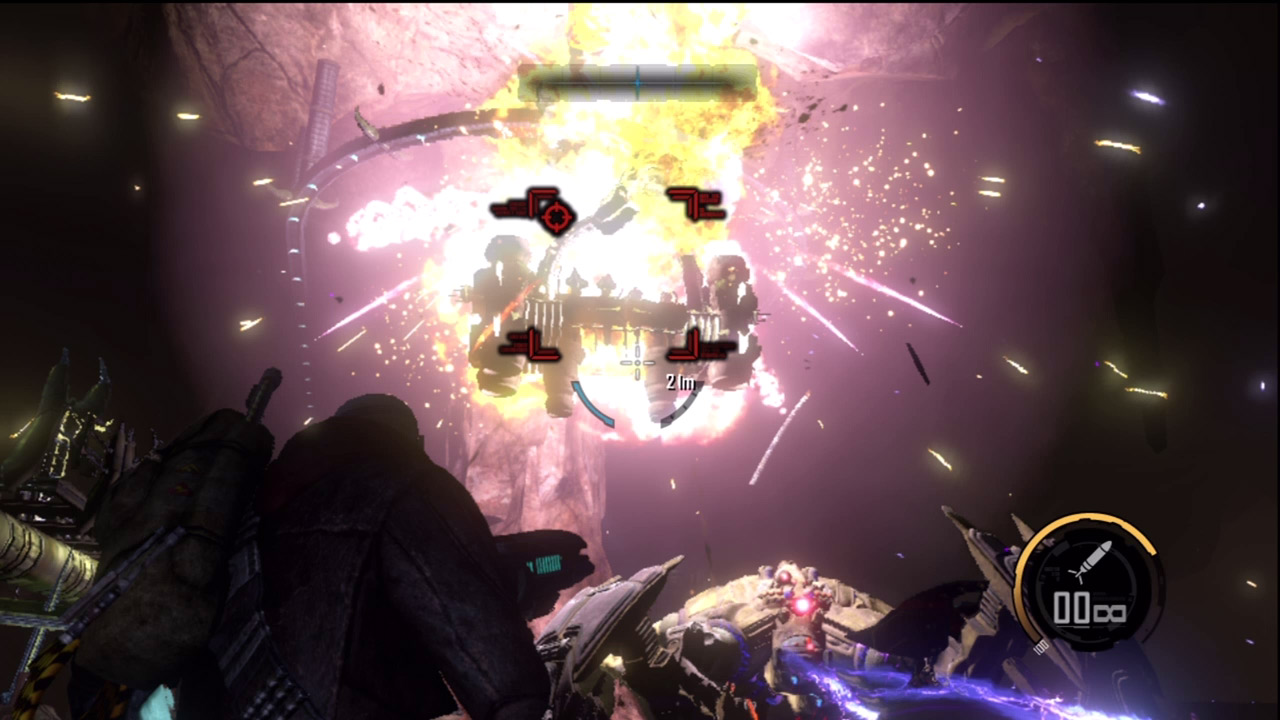
Soon after the mine cart stops, look up and target the large generator suspended from the ceiling. One hit with the Rocket Launcher causes the massive piece of machinery to drop onto Hale's walker. Damaged, the walker soon plummets into a deep chasm just as the mine cart resumes moving. But this ride isn't over yet. Continue scanning for cultists along the cavern's perimeter and keep firing rockets to annihilate them. As you enter a new tunnel, Hale's walker emerges from the chasm and resumes the chase. There are no junction boxes positioned along the track at this point, so you can't slow the walker. But it also won't catch up, so ignore the walker for now and focus on the cultists until a cutscene is triggered.
New Objective:
Defeat Hale
Drop Object on Walker
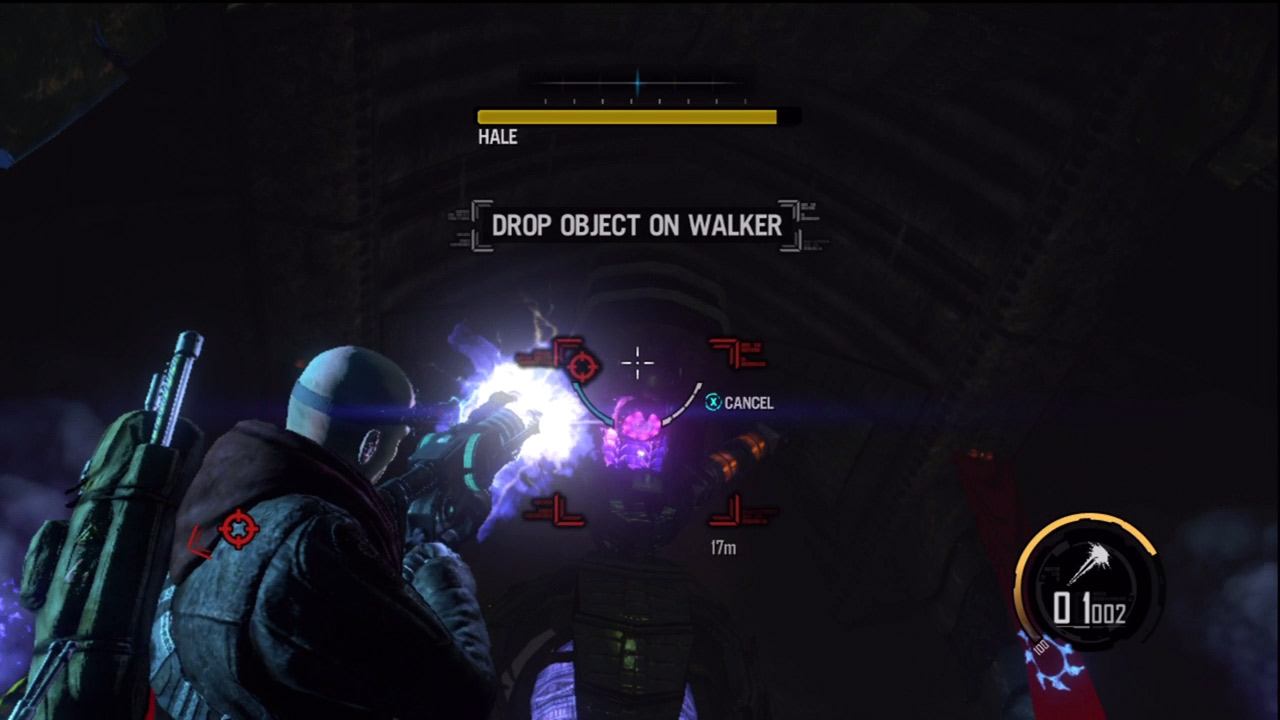
In the following cutscene, Darius finally abandons the mine cart as it reaches the end of the tracks near the temple's entrance. Hale continues his pursuit, crashing the walker through the temple's narrow doorway. As you regain control, grab the Plasma Cannon near the scaffolding, then begin backpedaling away from Hale's advancing walker. If the walker's legs even glance you, it's game over, so keep your distance. S.A.M. reports that the walker's shields are down, so your weapons can inflict some minor damage. But there's a better way to stop Hale. As you back up toward a large force field, look up to spot the generator powering it. Once the walker is beneath the generator, target the generator with your Plasma Cannon. This causes the generator to dislodge and fall on the walker, inflicting heavy damage. This also disables the force field, giving you more room to maneuver.
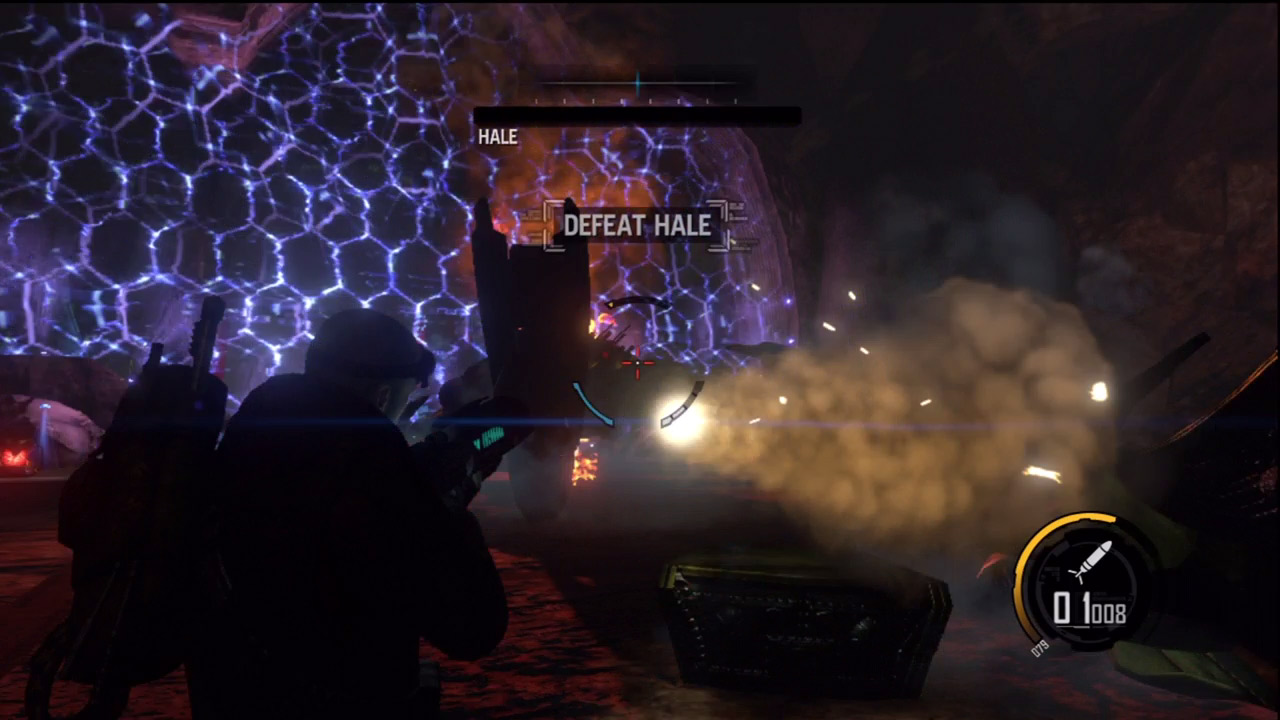
Retreat deeper into the temple passage, backing up to another force field. Keep an eye on the walker and be ready to dodge out of the way as it fires its homing missiles in your direction. Once the walker is beneath the next force field generator, dislodge the generator with another shot from the Plasma Cannon. Repeat the same steps as you enter the final section of the passage, smashing Hale's walker with a third generator suspended from the ceiling. By now the walker is heavily damaged, but it may not be destroyed. Circle strafe around the walker firing your Plasma Cannon or Rocket Launcher until it's down for good.
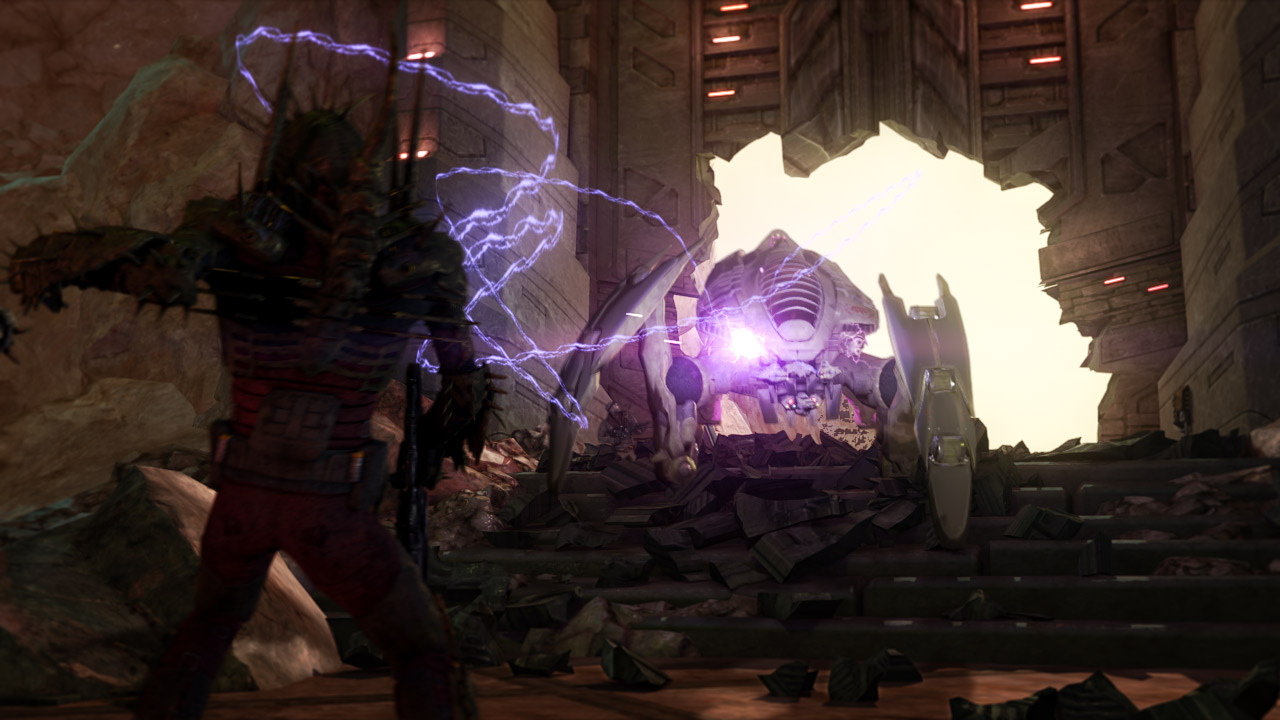
In the cutscene following the fight with Hale's walker, Darius is swarmed by cultists advancing on his position, but he has nowhere to go, as the temple door is sealed shut. Suddenly, the doors crash open and Kara's walker emerges, opening fire on the cultists. After Kara clears out the first wave of cultists, Darius climbs aboard and the two escape the temple. But they're not safe yet. . .