Red Faction: Armageddon Guide Walkthrough Campaign
Outbreak
| Icon | Name | Description | Gamerscore | Trophy |
|---|---|---|---|---|

|
Martian Matchmaker | Fire an enemy into another enemy with the Magnet Gun. | 10 | Bronze |
|
Liftoff | Send an enemy at least 50 meters with the Magnet Gun. | 10 | Bronze |

|
It’s All in the Wrist | Send an enemy at least 30 meters with Impact. | 15 | Bronze |
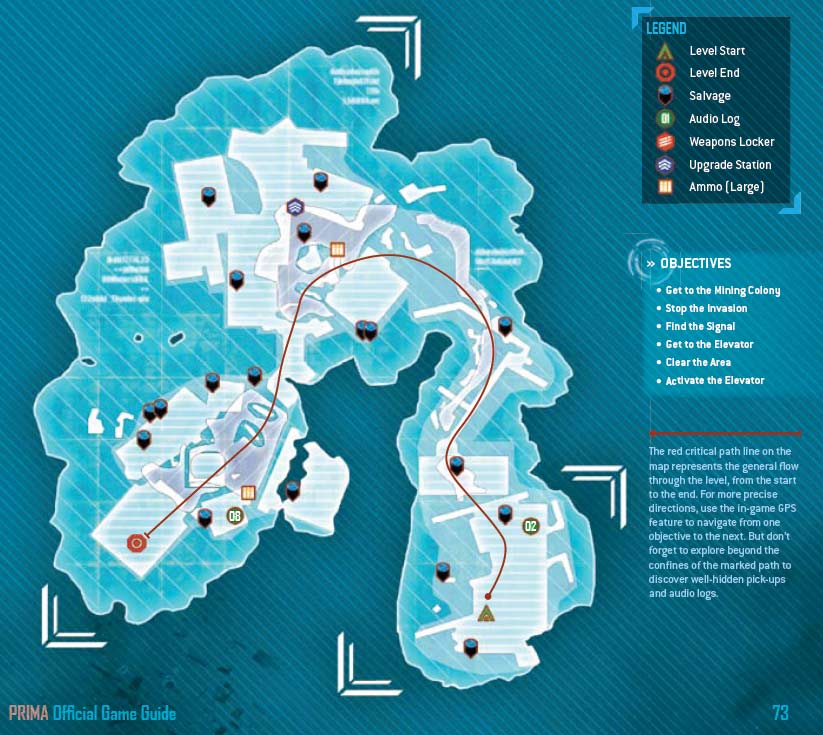
New Objective:
Get to the Mining Colony
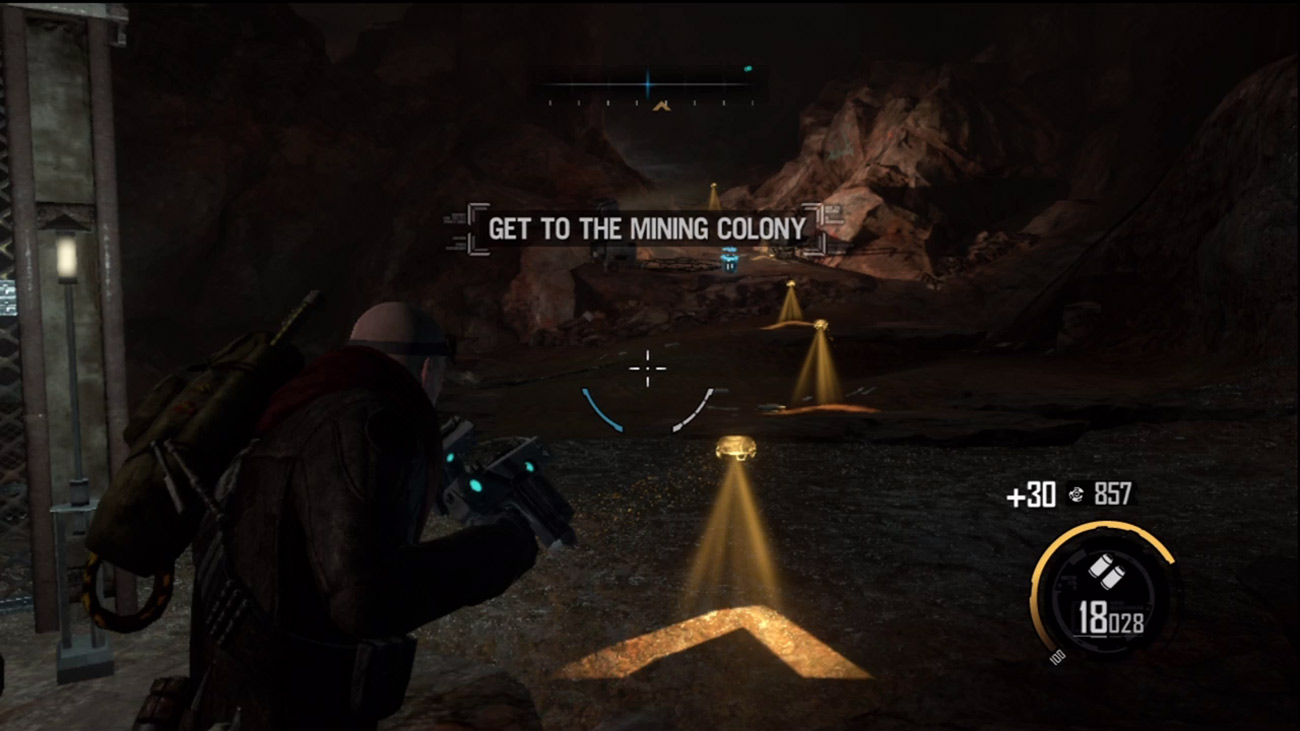
As you regain control of Darius, advance into the new cave. Darius thinks this area looks familiar. S.A.M. reports that this is an independent mining colony, approximately 43 kilometers from Bastion. According to S.A.M., the colony should be inhabited, but so far you haven't encountered anyone. Keep pressing forward, using the GPS markers as your guide. Also, be sure to grab some salvage along the way.
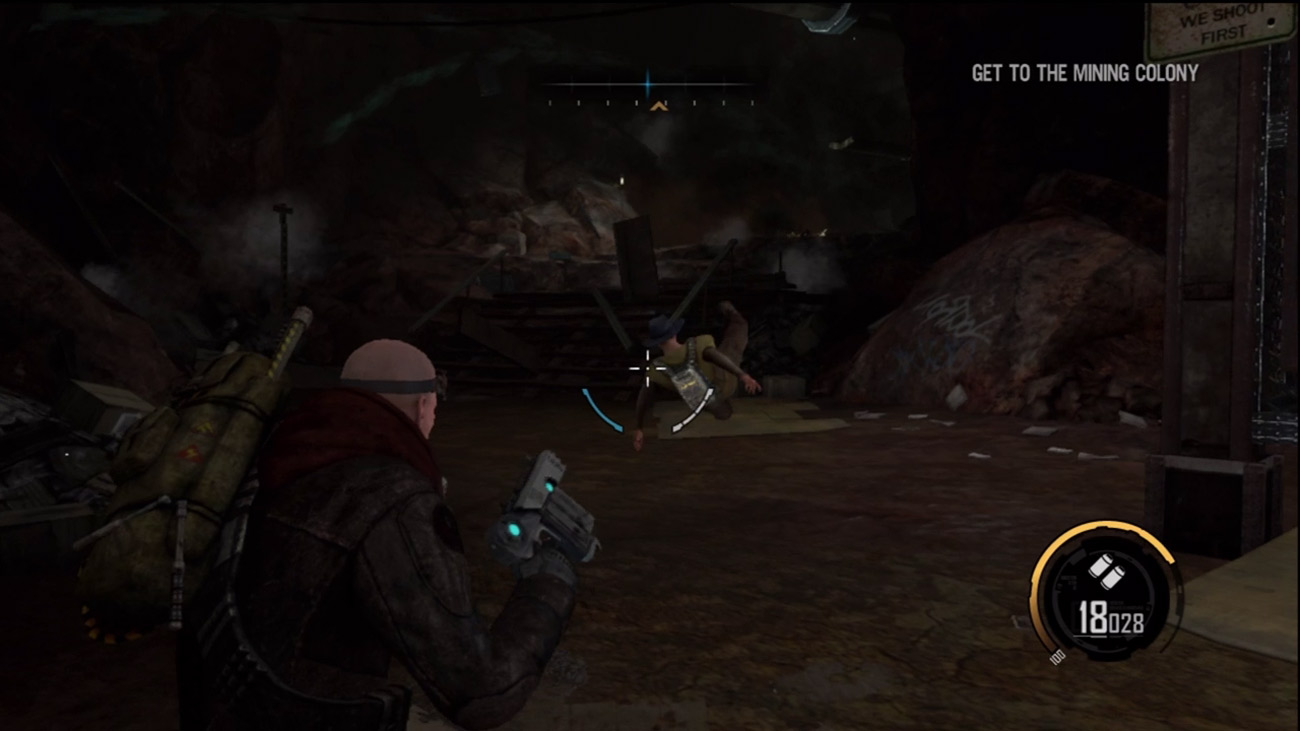
After grabbing the latest audio log, turn around and cross the bridge, heading in the direction of Diggstown and Elevator B. Just beyond the bridge, the tunnel is shaken by a large explosion that sends a couple of miners flying through the air. One lands right at your feet, dead. Darius then receives a distress call from the colony—it sounds like they're under attack. Jump up onto the low ledge ahead and continue through the tunnel. The GPS markers lead you directly to the colony.
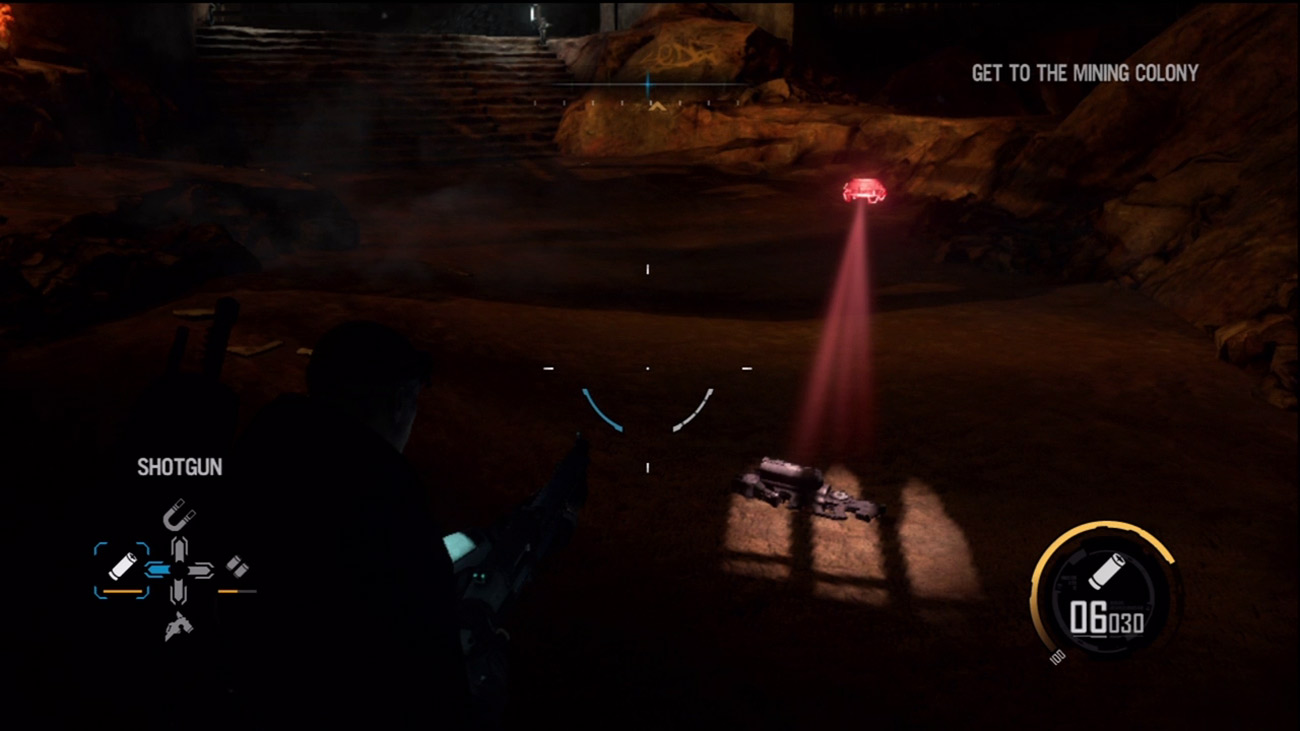
Just ahead there is a Charge Launcher on the ground. This weapon fires grenade-like explosives that can be detonated on command. However, you can only carry four weapons at a time, so consider swapping your Shotgun for the Charge Launcher. To do so, equip the Shotgun, then pick up the Charge Launcher. If you're carrying four weapons, you will always drop your equipped weapon when picking up a new one, so pay close attention to make sure you have the weapons you want.
New Objective:
Stop the Invasion
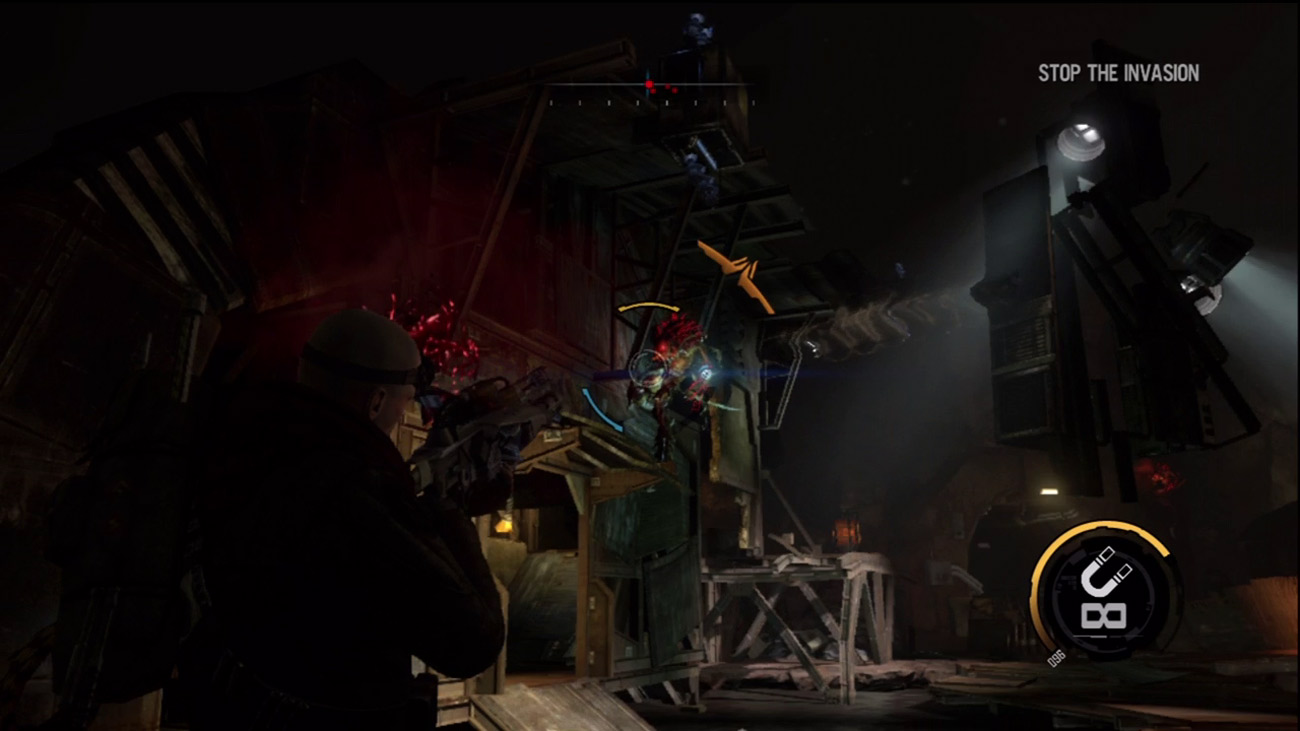
As you near the mining colony, S.A.M. warns of multiple hostiles approaching, as indicated by the red dots on your compass. Equip the Magnet Gun and get ready for some demolition. Attach a magnet to one of the structures, like the tower in the middle of the courtyard. Then attach an anchor to one of the ravagers hanging along the cave's walls. This causes the metallic debris to crash into the ravager, killing it. Alternatively, you can attach a magnet to a ravager and then launch it into a structure of your choice.Given the metallic structures here, you have plenty of ammo that you can throw at the ravagers, so keep moving and launching metal at your foes. You can also attach magnets to the red barrels scattered around the colony and then launch them at enemies like explosive rockets.
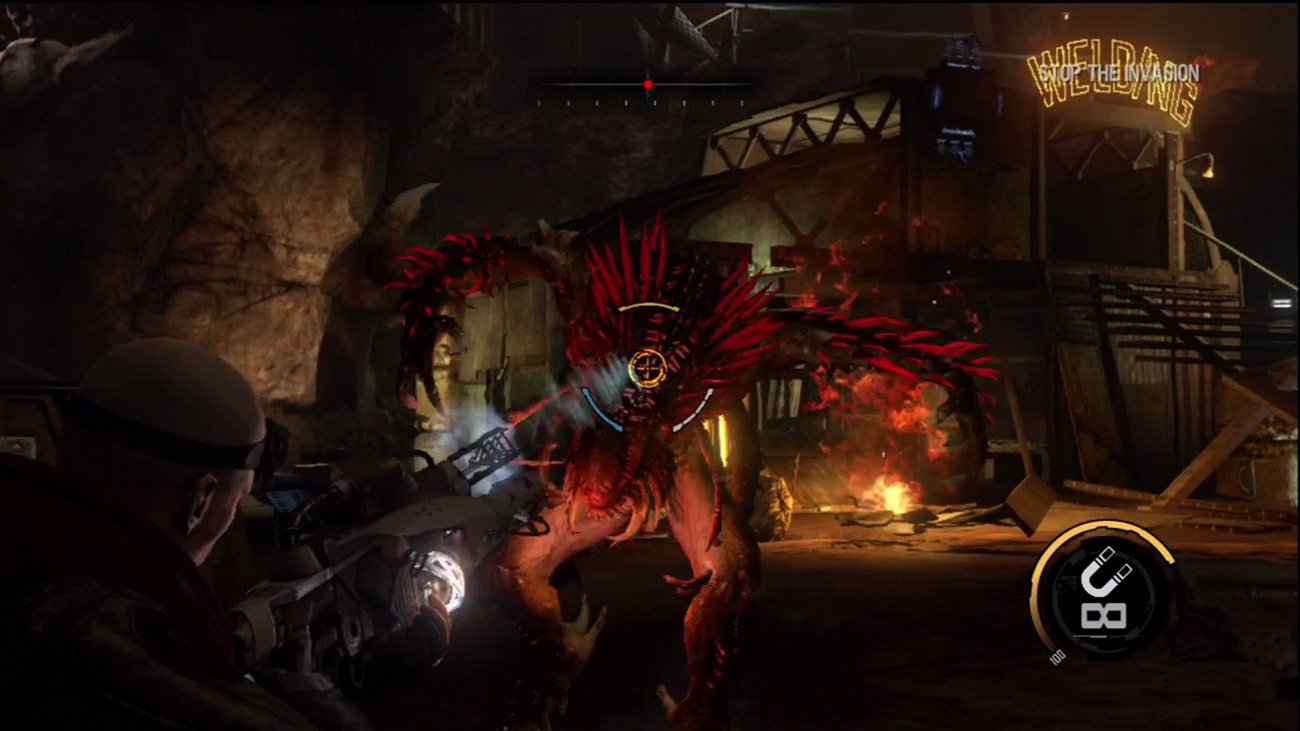
After eliminating the first group of ravagers, a second wave approaches. Continue using the Magnet Gun to launch debris at the attackers. For the most part, the ravagers stay on the perimeter of the cave, firing at you from a distance. If they get close, simply fire a magnet at them and then attach an anchor to a distant piece of metal to send them flying through the air.
New Objective:
Find the Signal
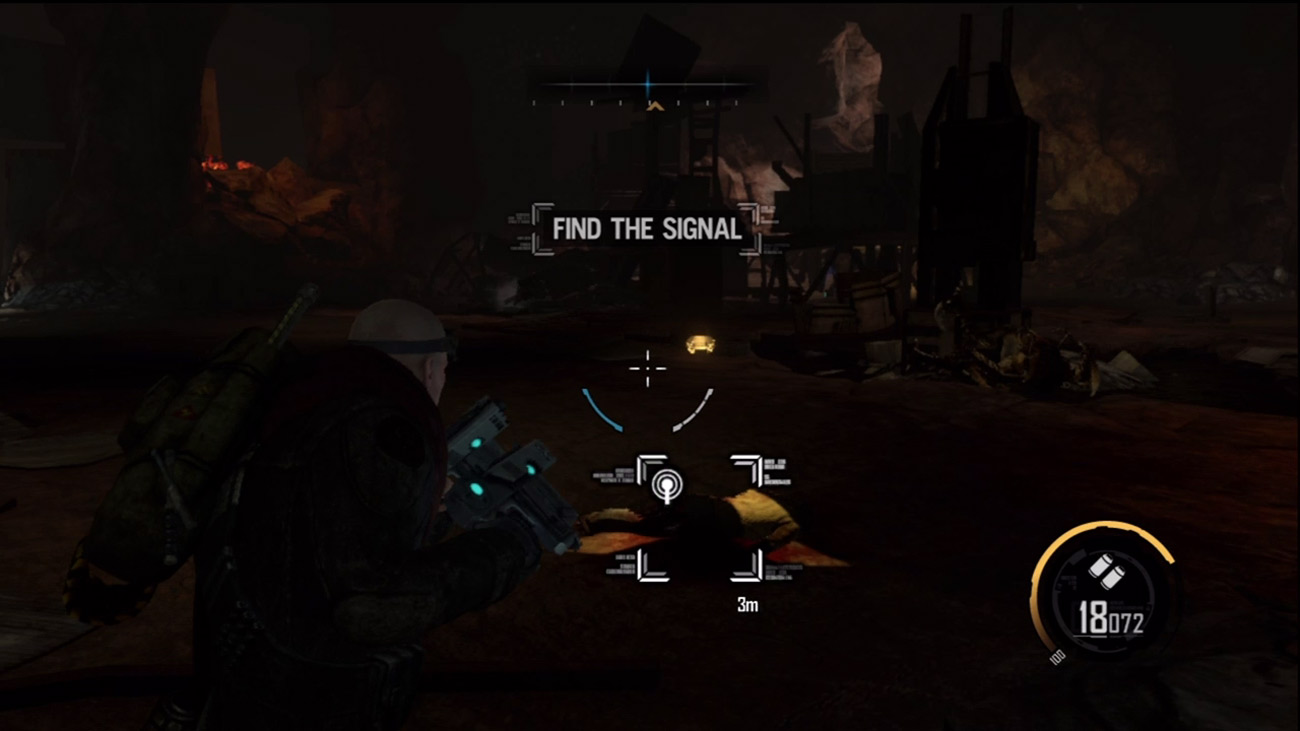
After eliminating all the ravagers, locate the source of the distress signal you received earlier. Unfortunately the miner who sent the signal is dead, along with the rest of those nearby. But soon after you locate the dead miner you receive a new transmission from a Lt. Pierce of Red Faction—apparently they were responding to the same distress signal too. Darius is able to make contact with Lt. Pierce. Pierce is surprised to hear Darius' voice—everyone assumed he was dead. Pierce says they're loading up a convoy heading for Bastion. He then relays the convoy's coordinates. You'll need to activate a nearby elevator to rendezvous with the convoy.
New Objective:
Get to the Elevator
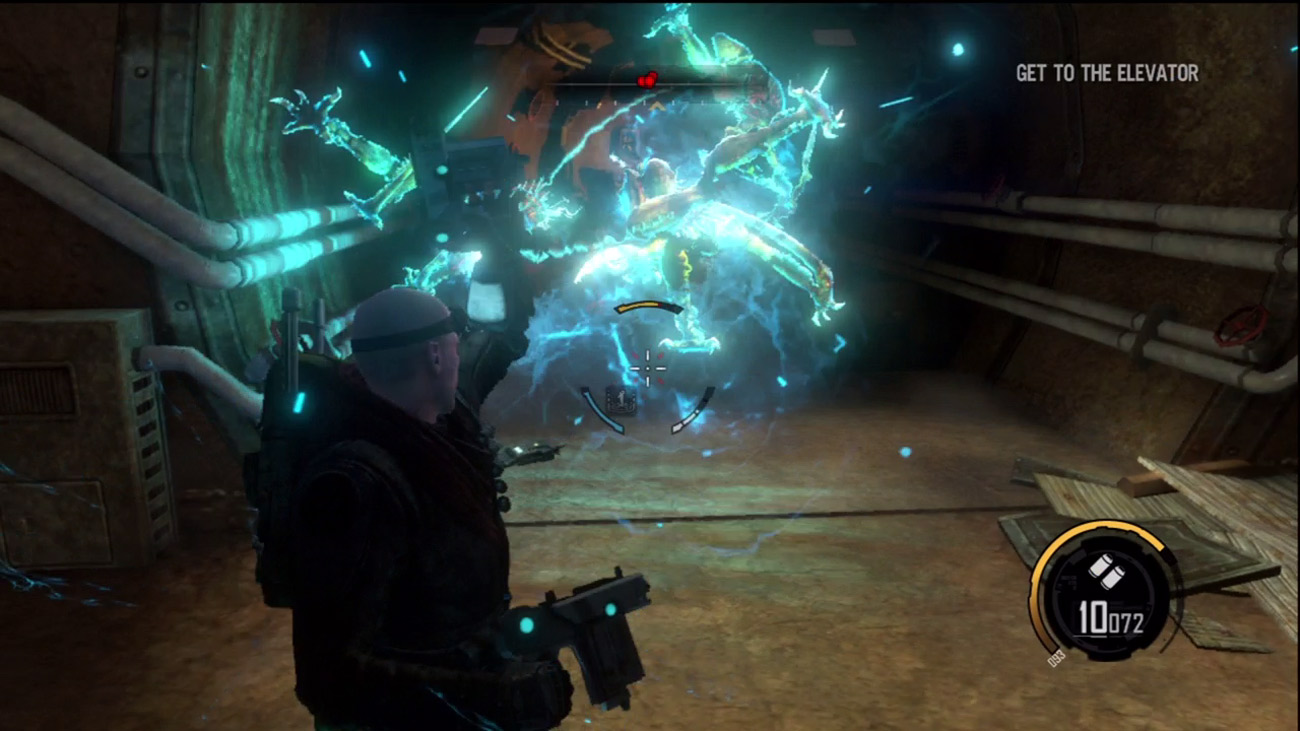
Follow the GPS markers into the nearby tunnel. Here you're confronted by multiple creepers. Wait for the creepers to get close and then unleash a Shockwave to suspend them in the air. As the stunned creepers float in front of you, smash them with the Maul or shoot them with your Pistols. The Charge Launcher is also very effective. Launch a few charges toward the swarm while backpedaling down the tunnel. When you're a safe distance from the charges, detonate them to reduce the creepers into a yellow pulp.
New Objective:
Clear the Area
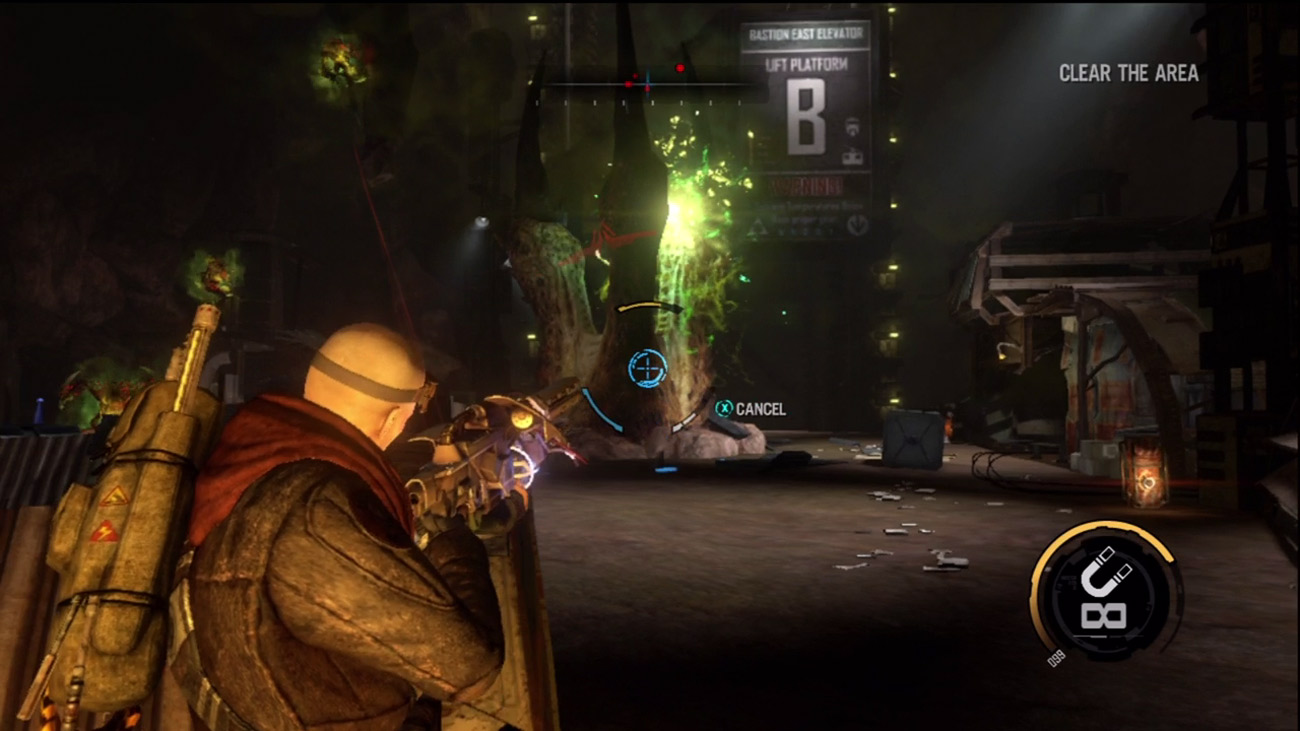
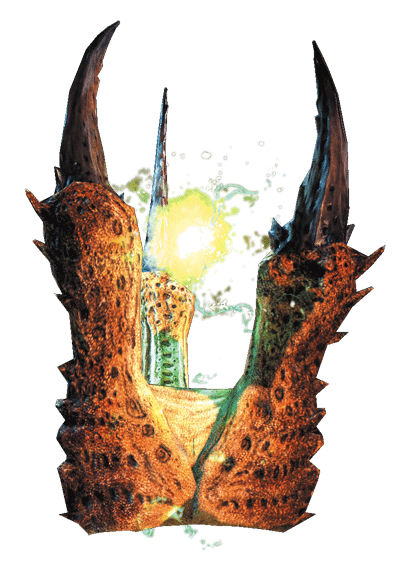
After clearing the creep-infested tunnel, a massive alien claw-like structure thrusts through the soil ahead, emitting a green glow. This is a monolith. S.A.M. reports the monolith is enhancing the nearby ravagers, as indicated by their green glow. S.A.M. suggests destroying the monolith as this will make the ravagers easier to kill. Equip the Charge Launcher and pepper the monolith with charges, then detonate them all at once. Alternately, you can use the Magnet Gun to launch red barrels at the monolith. Keep hammering the monolith until it explodes. However, watch out for the green balls of energy fired by the monolith. These surges of energy explode upon contact and are capable of inflicting heavy damage. Fortunately these projectiles move slowly, giving you ample opportunity to dive out of the way.
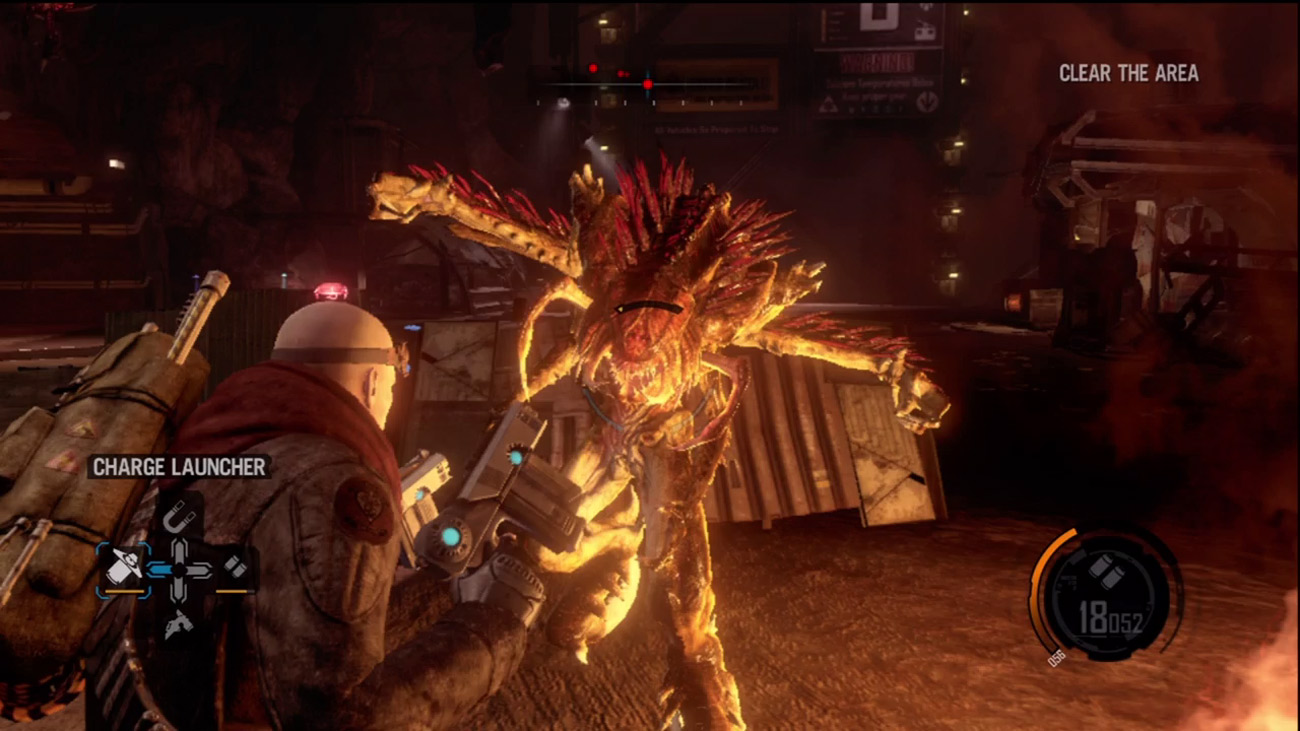
Now focus on the ravagers clinging to the cavern walls. As at the mining colony, there's plenty of nearby metal you can use as ammo for your Magnet Gun. Launch scraps of metal at the ravagers or pick them off with your Pistols. If the ravagers attack at close range, use melee strikes with your selected weapons or smash them with the Maul. The ravagers attack in waves, spawning on the walls of this chamber. Keep moving and shooting until they're all eliminated. Following the attack, Darius asks S.A.M. to contact Kara—she can help you track survivors.
New Objective:
Activate the Elevator
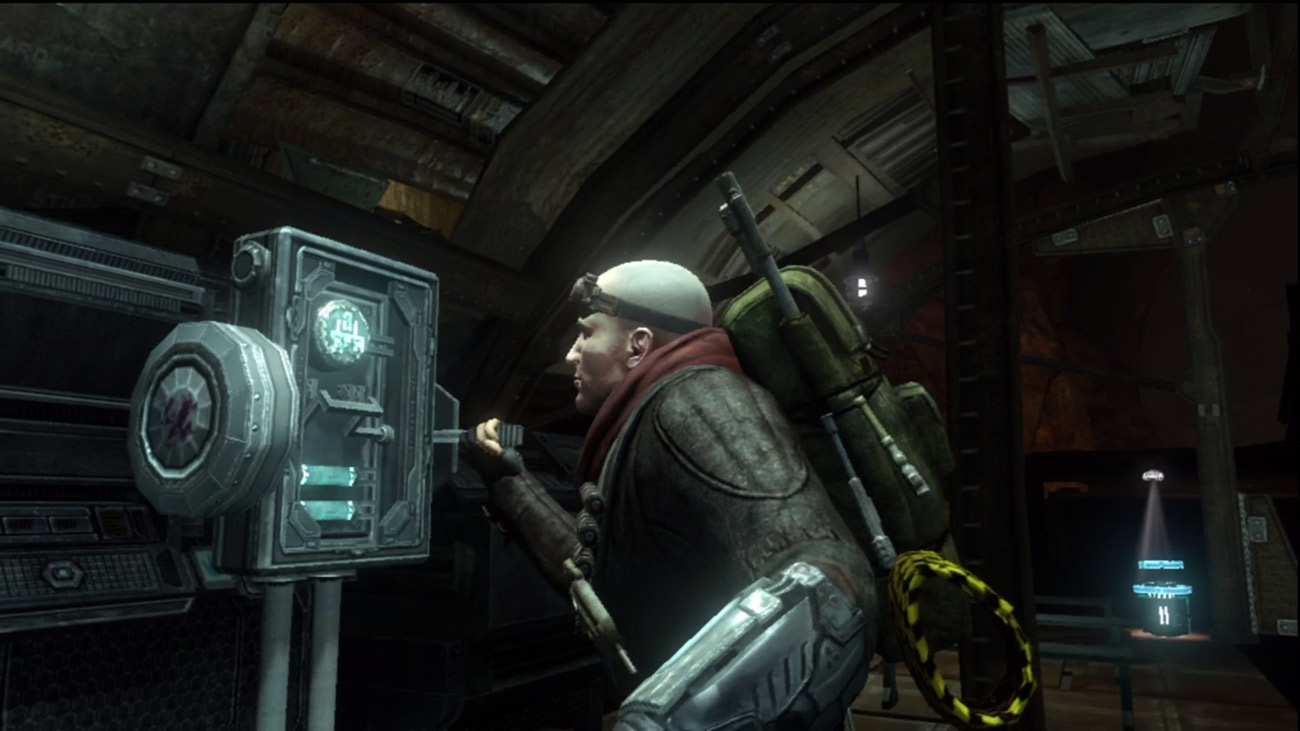
Gather the salvage and ammo scattered around the area, and then activate the controls for the elevator. The convoy is in the tunnel below. Perhaps they can get you out of this mess and back to Bastion?