
Red Faction: Armageddon Guide Walkthrough Campaign
Knock, Knock
| Icon | Name | Description | Gamerscore | Trophy |
|---|---|---|---|---|
|
Exterminator | Destroy 100 pods while piloting the Mantis. | 15 | Bronze |

|
Losses | Make it through to the lair. | 15 | Bronze |
Objectives:
Find the Ultor Facility
Clear the Area
Move to the Sealed Door
Find the Queen’s Lair
Remove the Tentacles
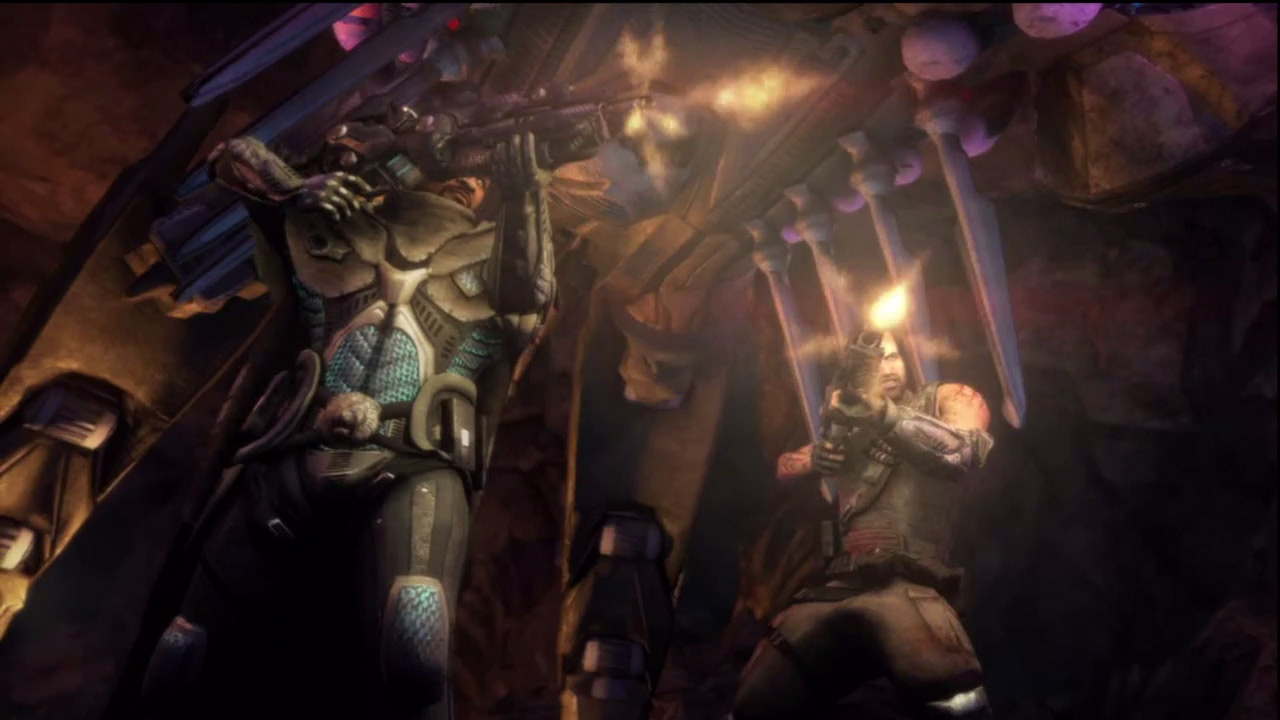
Darius and Sergeant Winters ride the barge through the tunnel as the lava levels recede. When they reach dry land, they suddenly come under attack by a large group of creatures, including a behemoth. With their backs to the lava, there's nowhere to run. When hope seems lost, Kara arrives in the Mantis Walker and unloads on the creatures, effortlessly mowing them all down with the walker's powerful weapons. Once the area is clear, Darius joins Kara in the walker while Winters holds back and wishes them luck. It's time to take the fight to the queen!
New Objective: Find the Ultor Facility
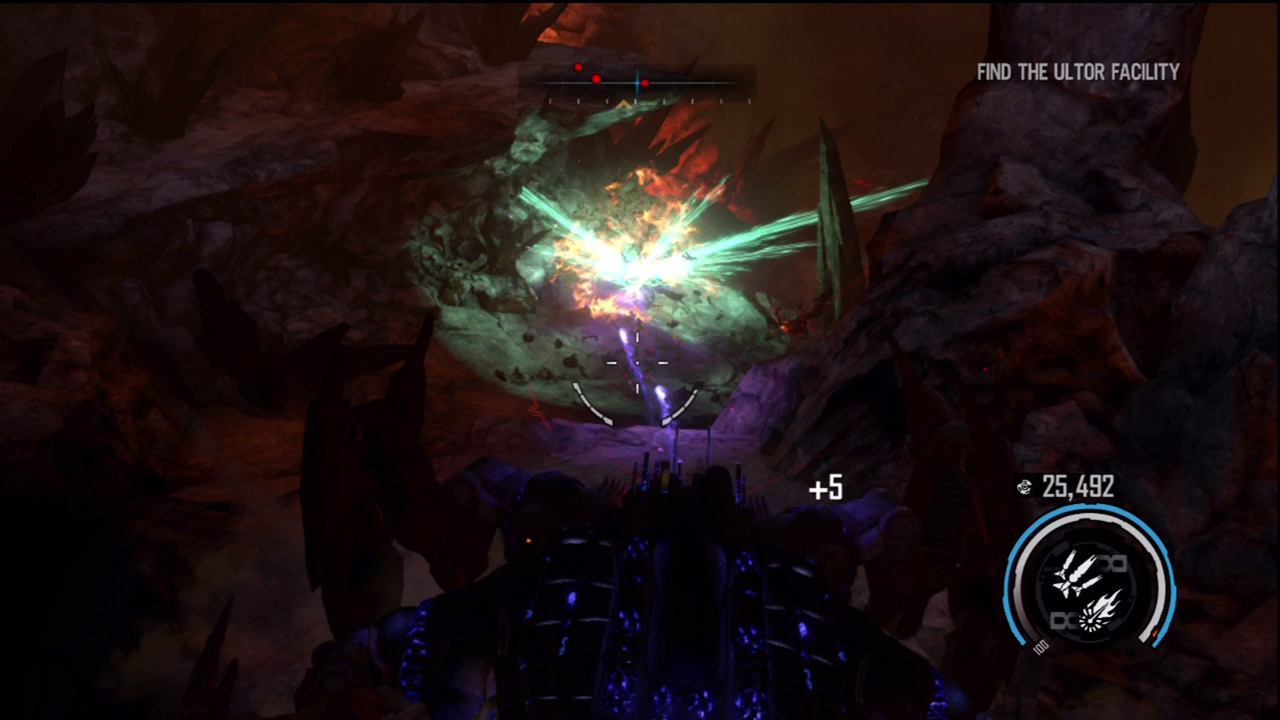
What the Mantis Heavy Walker lacks in speed and agility, it more than makes up for in firepower and durability. This walker's primary weapons are homing missiles—simply aim at a target and fire. The homing missiles have limited tracking ability, so your aim doesn't have to be precise. If the homing missiles don't cause enough damage, the walker is also equipped with a napalm laser. When fired, this weapon emits a high-powered laser that causes a massive fiery explosion at the impact point, ideal for incinerating multiple targets. Both the homing missiles and napalm laser are effective at long and intermediate range, but they're difficult to use against enemies at close proximity. That's where the slam attack comes in handy. Use the slam attack to make the walker perform a stomping-like melee attack. This is a great way to take out enemies beneath or near the walker's legs. Alternatively, you can just step on the creatures. Take a moment to test out all the offensive capabilities, then proceed down the tunnel. Engage the ravagers and berserkers ahead using both homing missiles and the napalm laser. Don't worry too much about taking damage—the walker's powerful shields can repel even the heaviest attacks.
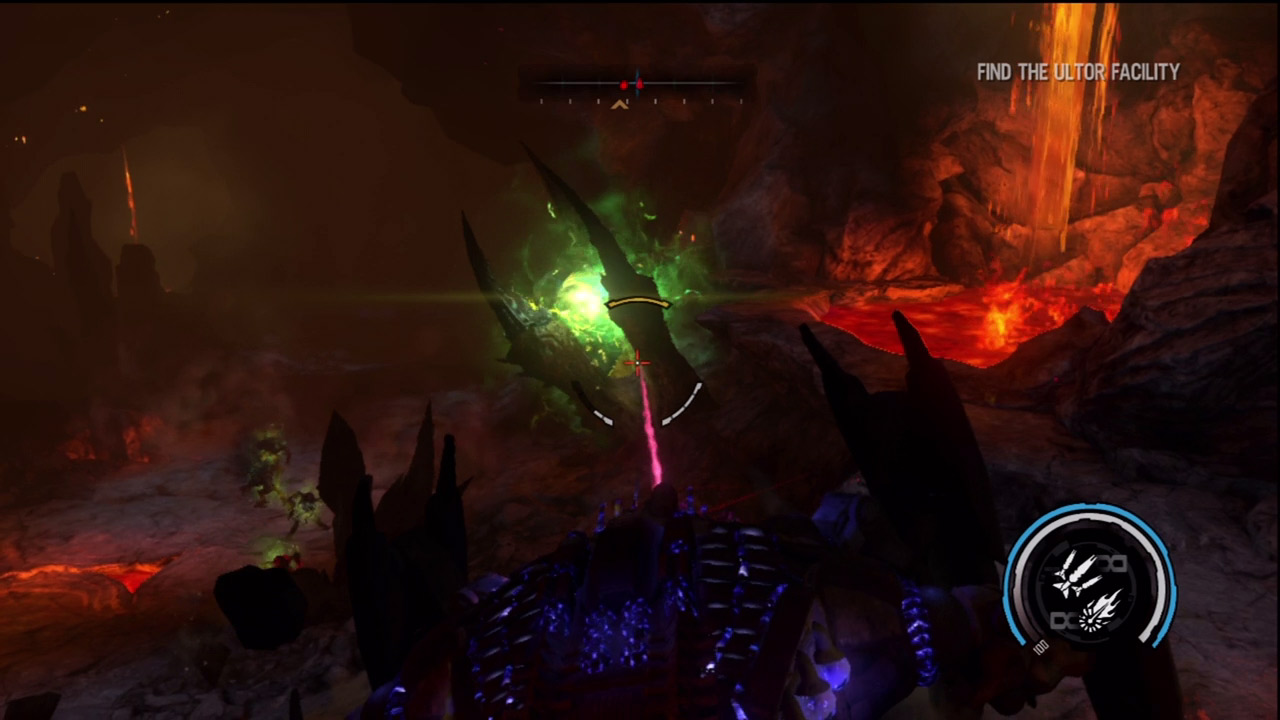
Deeper into the tunnel, several monoliths sprout from the ground, infusing the nearby ravagers and berserkers with more power. Fortunately, monoliths are relatively easy to destroy. Simply focus the napalm laser on the monolith and let the explosion do the rest. However, it's important to keep the laser focused on the target until the explosion starts. This ensures the target receives the heaviest damage. If you're accurate, all it takes is one hit with the napalm laser to destroy each monolith. And don't worry about dodging their energy attacks—your walker's shields can withstand them.
New Objective:
Clear the Area
Move to the Sealed Door
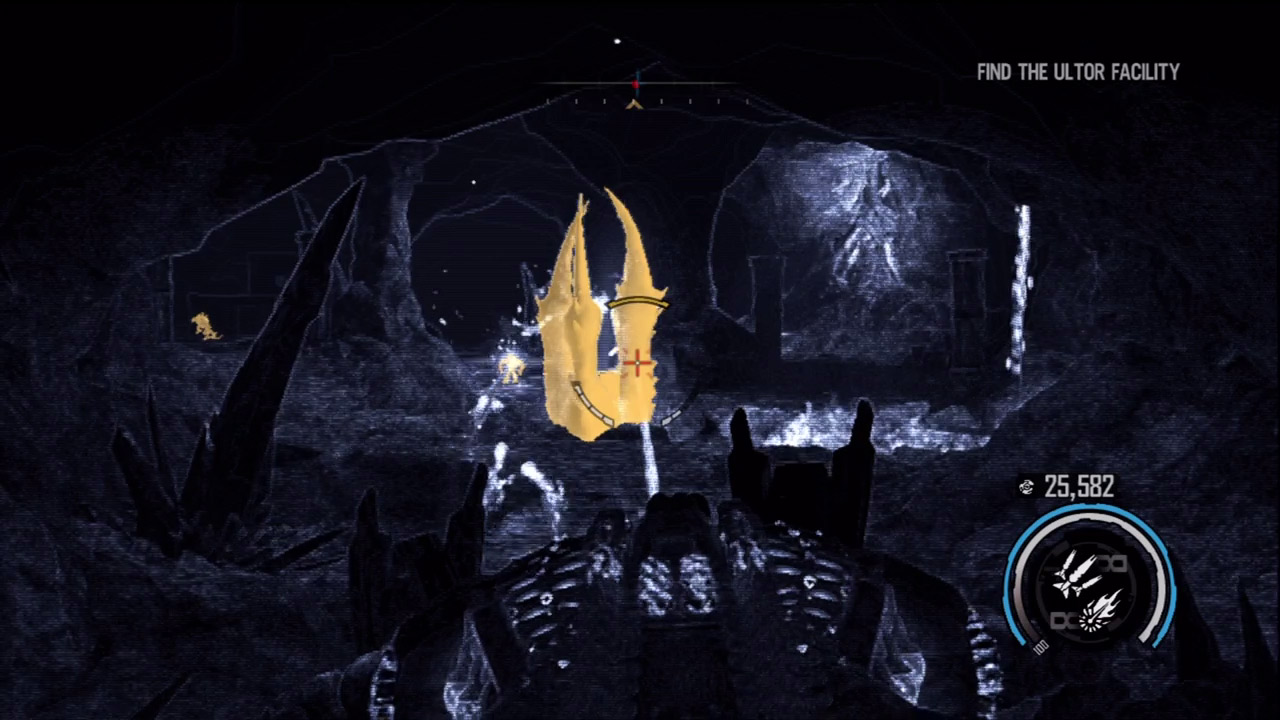
When you reach a large cavern filled with monoliths, tentacles, and berserkers, you've reached the Ultor facility. Like the Scout Walker and flyer, this walker is also equipped with a visualization mode. This makes it easier to spot enemies in the dark cavern by highlighting each target's heat signature. The homing missiles are sufficient for taking out the tentacles and berserkers.
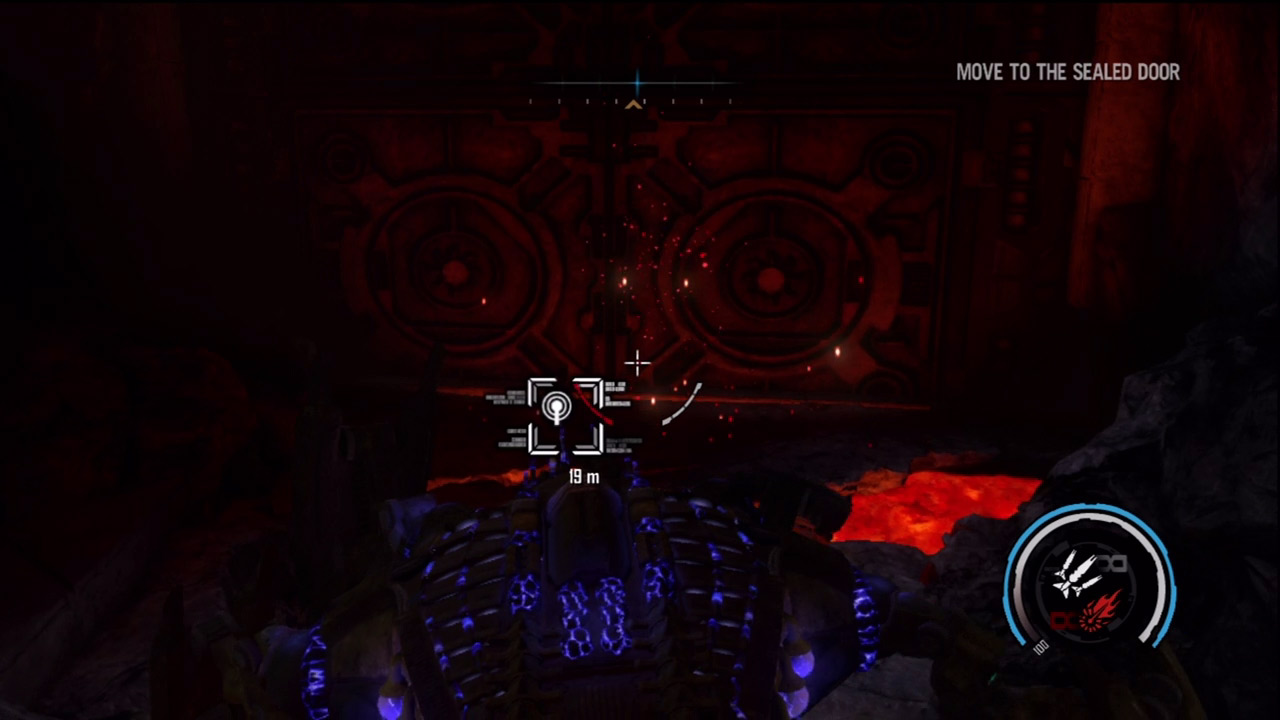
But use the napalm laser to knock out each monolith. It may be necessary to advance deeper in the cavern to trigger all the monoliths and tentacles. Once all enemies have been eliminated, move to the far side of the cavern where there's a huge metal door. Instead of shooting the door, simply walk next to it to trigger a cutscene.
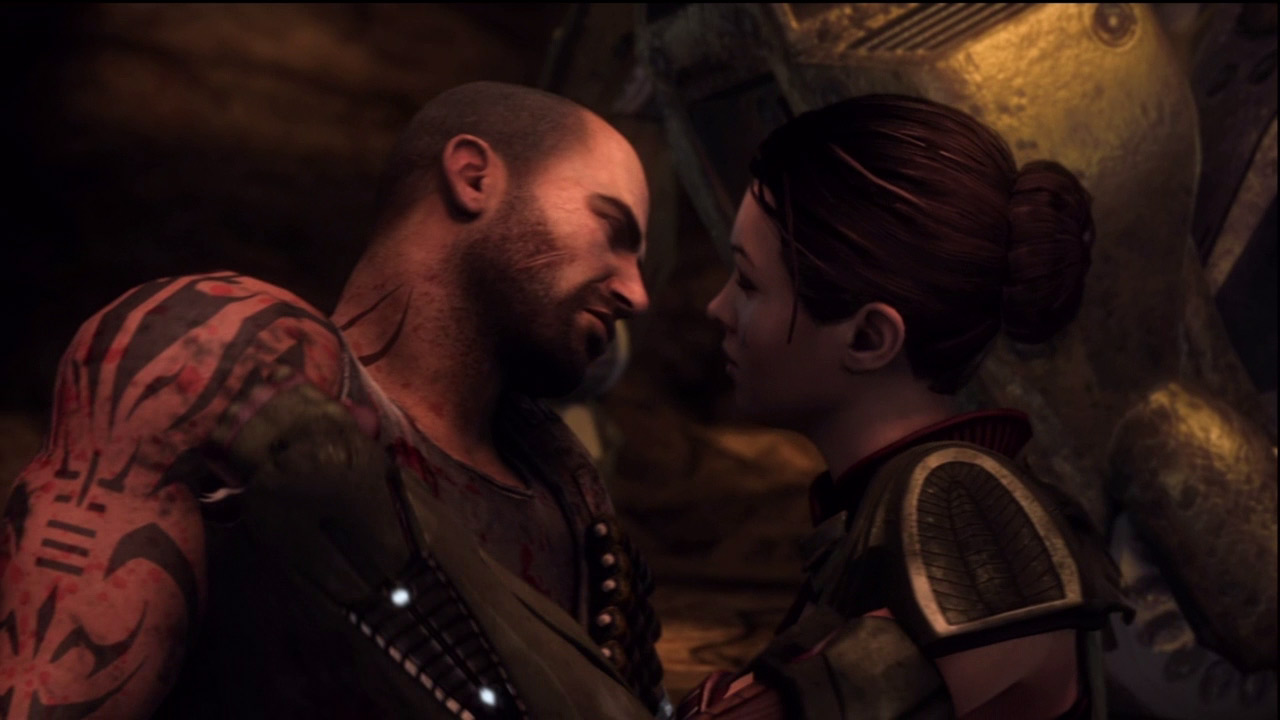
The walker manages to break through the door, but suffers heavy damage after sliding down a steep embankment. S.A.M. can't detect any hostiles in the area, so Darius and Kara step outside to repair the walker. Kara manages to get the walker operational again while Darius stands guard. After sharing a brief, tender moment together, they come under attack. Darius pleads with Kara to get back inside the walker. . .but it's too late. A tentacle pierces Kara's back and emerges through her chest. There's nothing Darius can do but watch Kara's body get dragged away by the tentacle. Fueled by shock and rage, Darius gets back inside the walker and prepares to seek his revenge.
Revenge
New Objective: Find the Queen's Lair
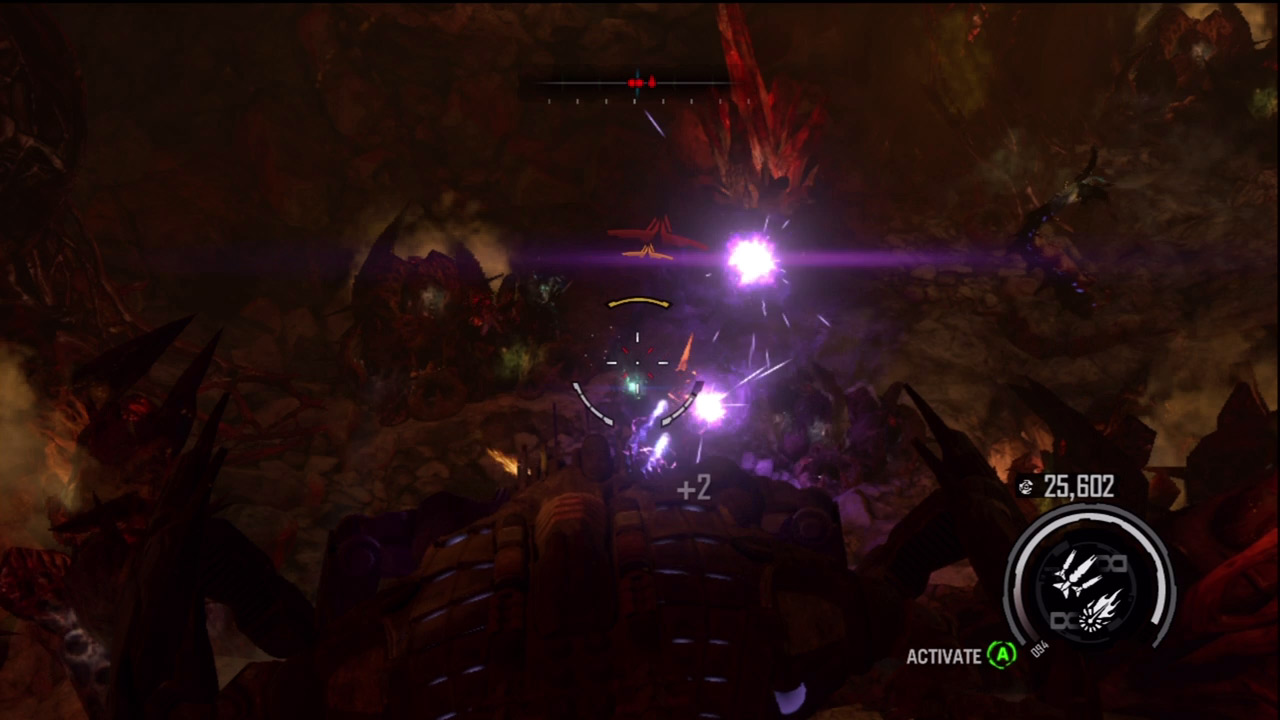
In the moments following the cutscene, it's important to keep your cool. Kara has managed to get the walker's basic movement and offensive systems working, but the shield system is damaged and can only be deployed intermittently for a few seconds at a time. Press the jump button to activate the shields. When the shields aren't active, all incoming fire damages the walker's hull. Hull integrity is indicated by the number in the bottom right corner of the HUD. Hull damage cannot be repaired, so when hull integrity reaches zero, the walker is destroyed, forcing you to restart from the last save checkpoint. Since the walker isn't very agile, your best defense is a strong offense. Unload on all enemy contacts using the homing missiles and napalm laser. But if you're about to be struck by an incoming projectile or energy blast, immediately deploy the shields to avoid taking hull damage. The shields remain active for only a few seconds and must recharge before being deployed again.
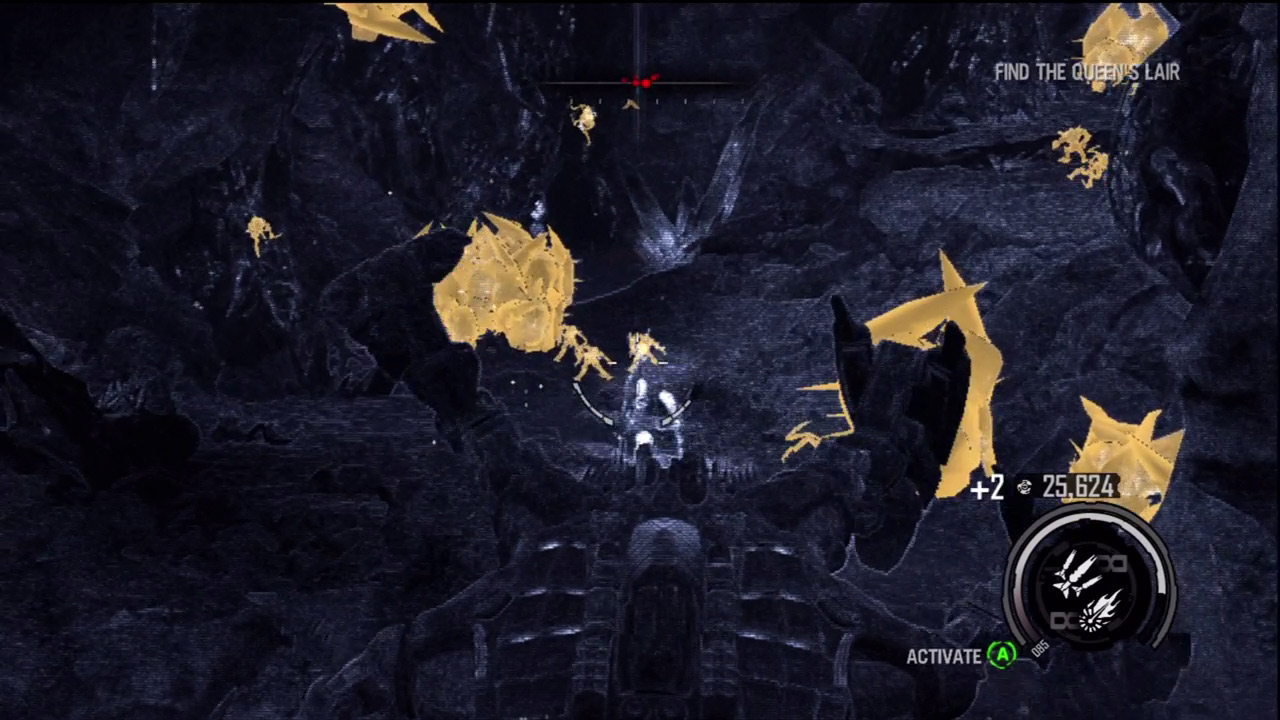
Advance deeper into the cave and activate visualization mode to better identify the ravagers and berserkers. Target the berserkers first, as they pose the biggest threat to your walker. Also, take notice of the pods lining the walls, floor, and ceiling of the cave. These pods don't appear on your compass, but they're easy to spot with visualization mode active. Unlike the pods you encountered earlier, they don't hatch creatures. Still, make an effort to destroy all of the pods you encounter to earn the Exterminator achievement/trophy.
New Objective: Remove the Tentacles
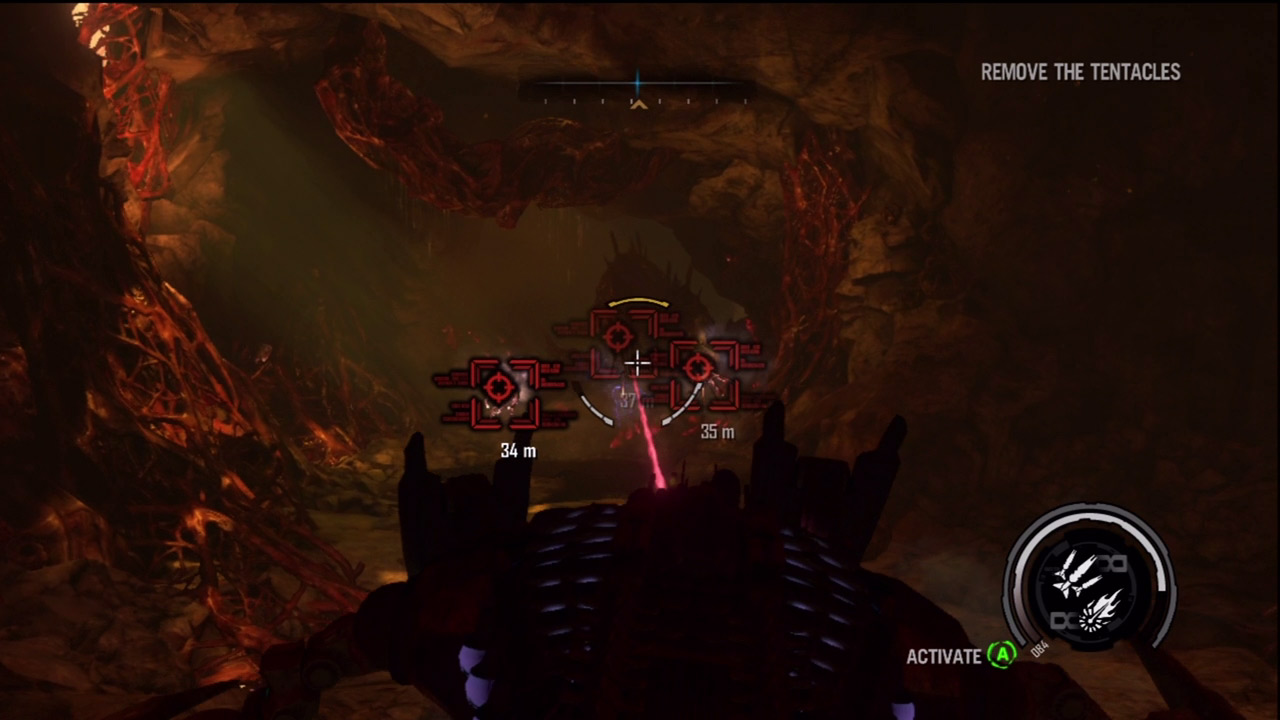
The path ahead is blocked by three large tentacles. These tentacles are massive in size, but seemingly dormant, so you don't have to worry about dodging any debris. Still, you need to find a way to get past them. S.A.M. suggests targeting the ends of the tentacles, where there's no protective outer shell. Using homing missiles or the napalm laser, target the ends of the tentacles—each target is marked with red brackets on the HUD. Targeting the exposed ends of each tentacle causes them to explode, clearing a path into the adjoining tunnel.
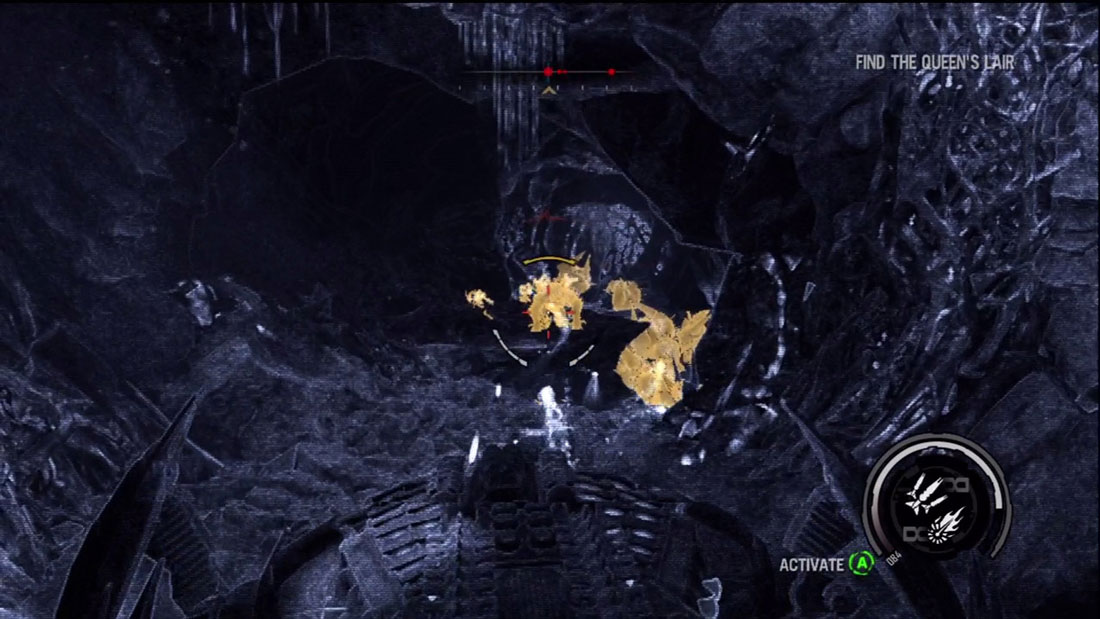
Just beyond the tentacles you come under attack by more creatures, including a behemoth. Immediately hit the behemoth with the napalm laser, then follow up with homing missiles. In the meantime, watch carefully for the behemoth to counterattack. When it launches its projectile, immediately activate the shields to avoid taking damage. If necessary, backtrack into the previous cavern and let the shields recharge before resuming the attack. There are also multiple pods in this tunnel, but don't let them distract you from the ravagers and tentacles. Eliminate all the hostiles (check your compass), then focus on the pods. Also, watch out for ravagers sneaking up behind you. Either use slam attacks or back up until you can target these pesky creatures with your weapons.
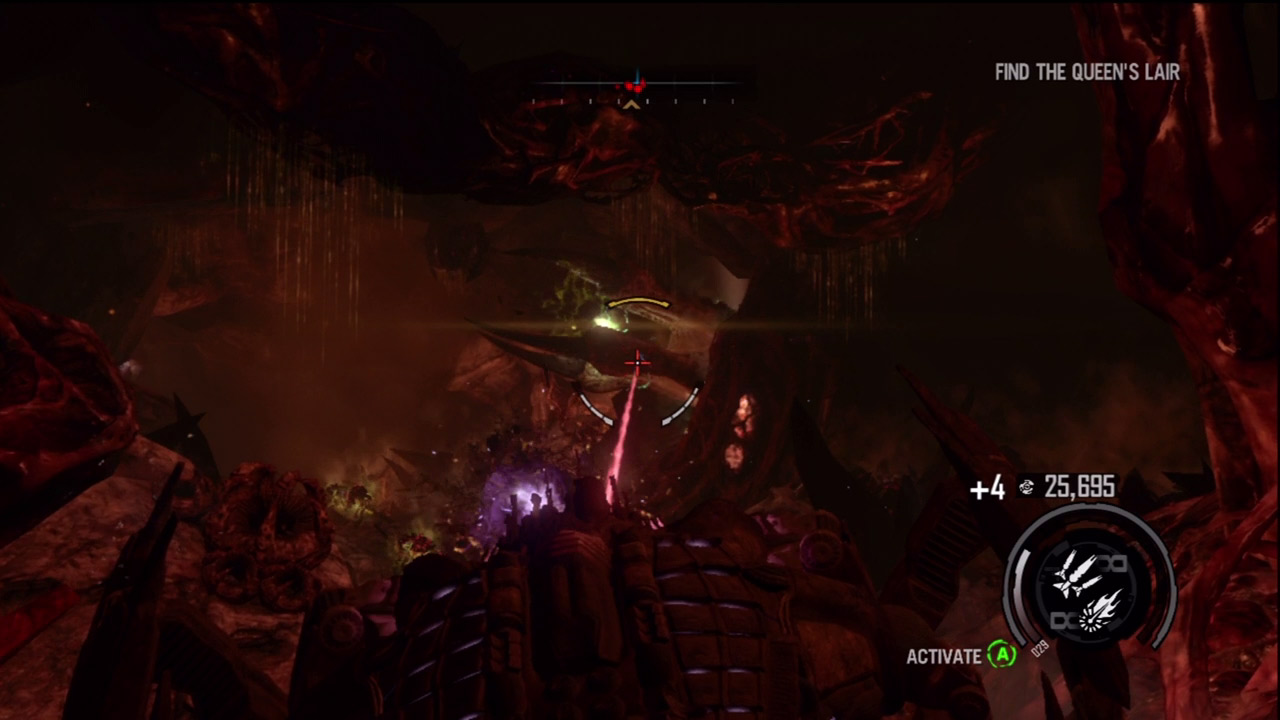
Creep through the passage ahead, eliminating all hostiles along the way. Pay close attention to monoliths, taking them out quickly with the napalm laser. But even quick reactions may not prevent you from getting hit by a monolith's energy blast. Be ready to deploy your shields when engaging monoliths. Their energy blasts can inflict serious damage on the walker's hull if not repelled by the shields. And don't try dodging these blasts either. The walker is too slow, plus the splash damage from these blasts can still inflict damage. A well-timed activation of the shields is your only way to defend against these attacks. As the tunnel narrows, more massive tentacles block the path. Once again, target the ends of the tentacles to destroy them.
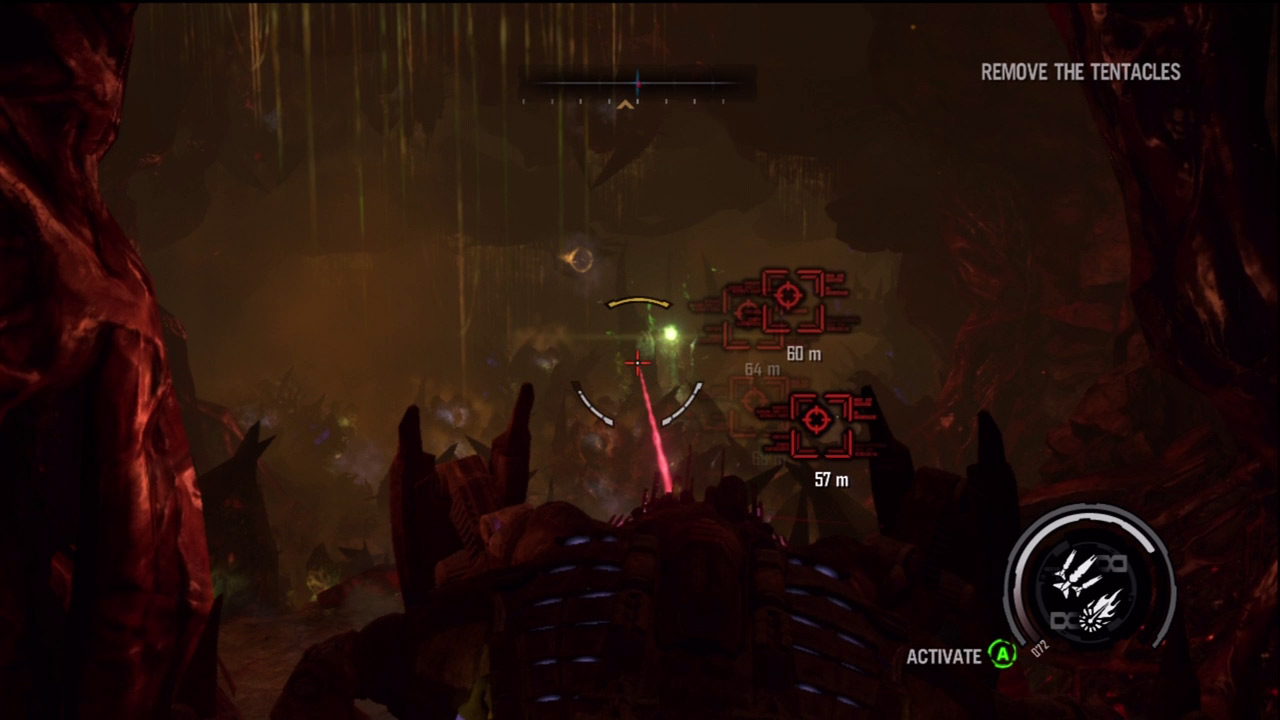
The narrow tunnel gives way to a massive cavern filled with pods, monoliths, and more tentacles. Take out the monoliths first. The first monolith appears straight ahead as you exit the tunnel. A second monolith emerges from the wall on the left as you advance into the cavern—locate and destroy it fast before it can open fire. Still, be ready to activate the walker's shields. Once the two monoliths are destroyed, target the pods and tentacles—by now you should have eliminated enough pods to earn the Exterminator achievement/trophy.
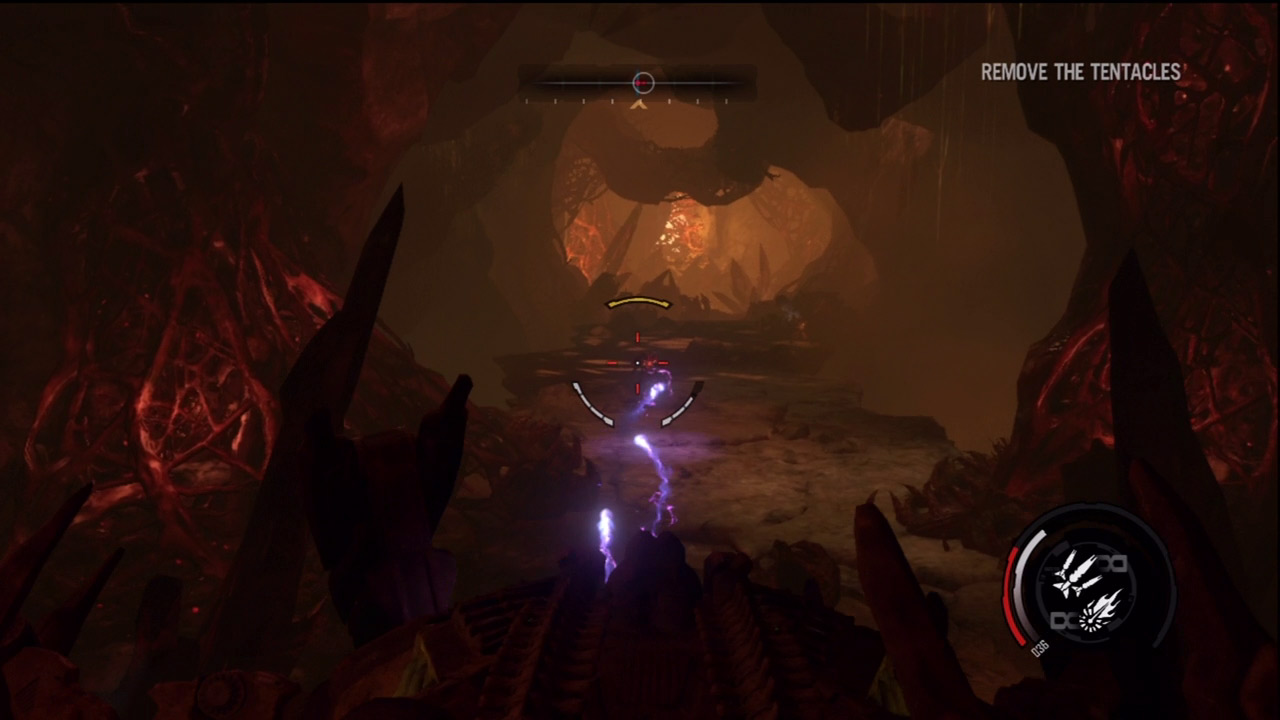
Destroying the last three tentacles at the far end of the cavern opens a path to a narrow land bridge. S.A.M. warns that the path is not strong enough to support the walker's weight. But Darius has lost too much to turn back now. March forward while firing homing missiles at the ravagers on the bridge. Keep advancing until the level ends. You're not far from the queen now. . .