
Red Faction: Armageddon Guide Walkthrough Campaign
Air Support
| Icon | Name | Description | Gamerscore | Trophy |
|---|---|---|---|---|
|
Hit ‘N Run | Kill an enemy by ramming him with the Inferno GX. | 15 | Bronze |

|
Old Friends,
Older Enemies |
Safely escort Winters through the depths. | 15 | Bronze |
Objectives:
Get to winters
Destroy Infected Targets
Save Marauder Buggy
Destroy Infected Targets
Destroy the Bridge
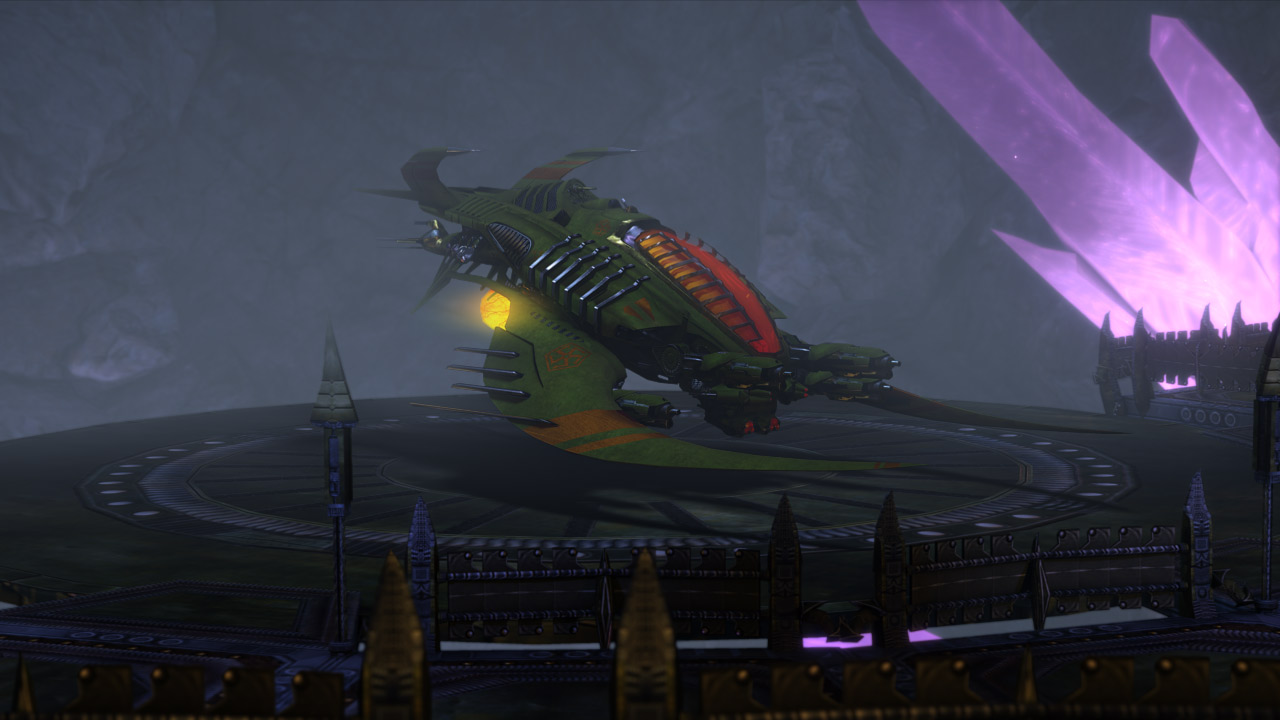
After watching Noella's last holo-recording, Kara reports that Sergeant Winters has arrived to lend a hand. But more creatures have followed him here. Winters needs help fending off the bugs. Outside the lab, Darius spots an Inferno GX flyer. These flyers were constructed to navigate the Marauder caverns beneath the Martian surface. Right now, the flyer is Darius' best chance of reaching Sergeant Winters before his position is overrun.
New Objective: Get to Winters
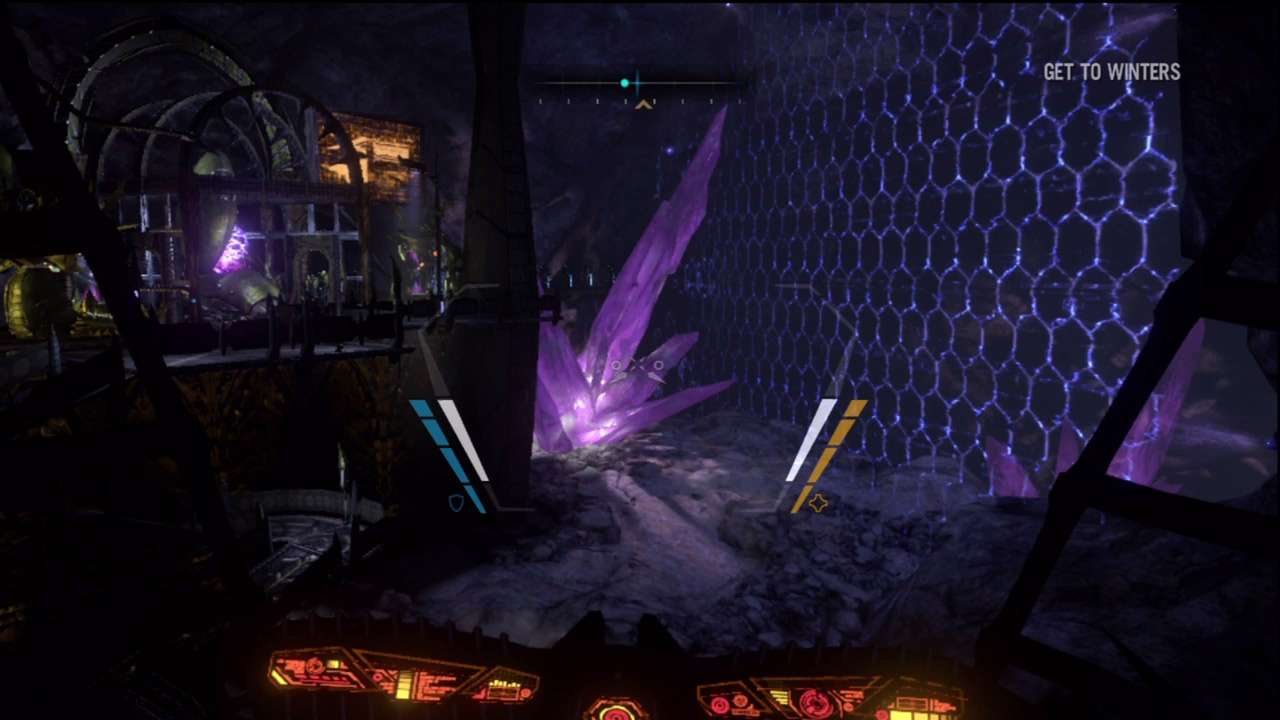
Piloting the flyer isn't that much different than driving a walker. The flyer moves in any direction you need it to. When not moving, the flyer automatically hovers in place. Take a moment to get used to the controls, then follow the GPS markers toward a large force field blocking your path. The force field is powered by the nearby generator, marked on the HUD with red brackets. Aim at the generator and fire a missile, pressing the button shown on screen. One direct hit with a missile is enough to destroy the generator, causing the force field to disappear.
New Objective: Destroy Infected Targets
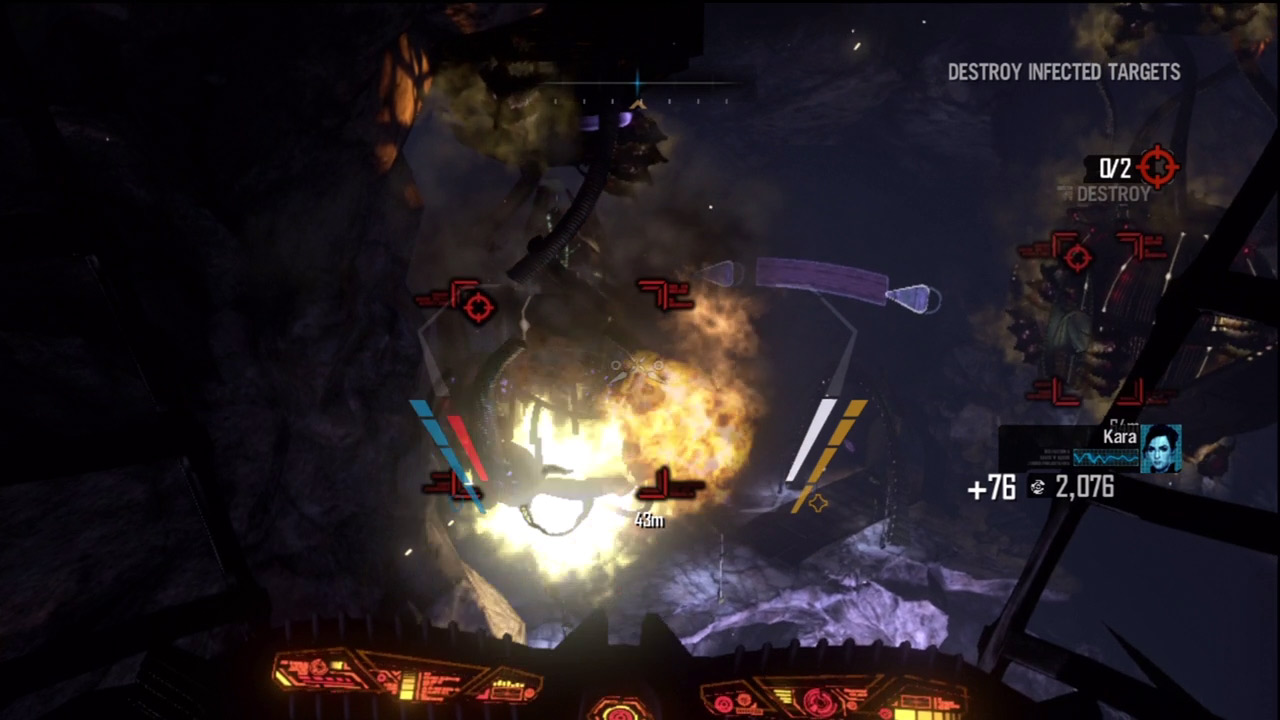
S.A.M. reports that the route to Sergeant Winters is completely infested. You'll need to clear a path to make it to the palace. Fly into the adjoining cavern and target the two infected structures hanging from the ceiling. It takes a couple of missiles to knock out each infected structure.Beyond the structures, follow the on-screen instructions to adjust the flyer's altitude. By using these controls you can make the flyer move vertically, regardless of which direction it's facing. Use these controls to navigate past the bridges and other terrain ahead. Another force field blocks access to the next cavern—take out the nearby generator with a missile to proceed.
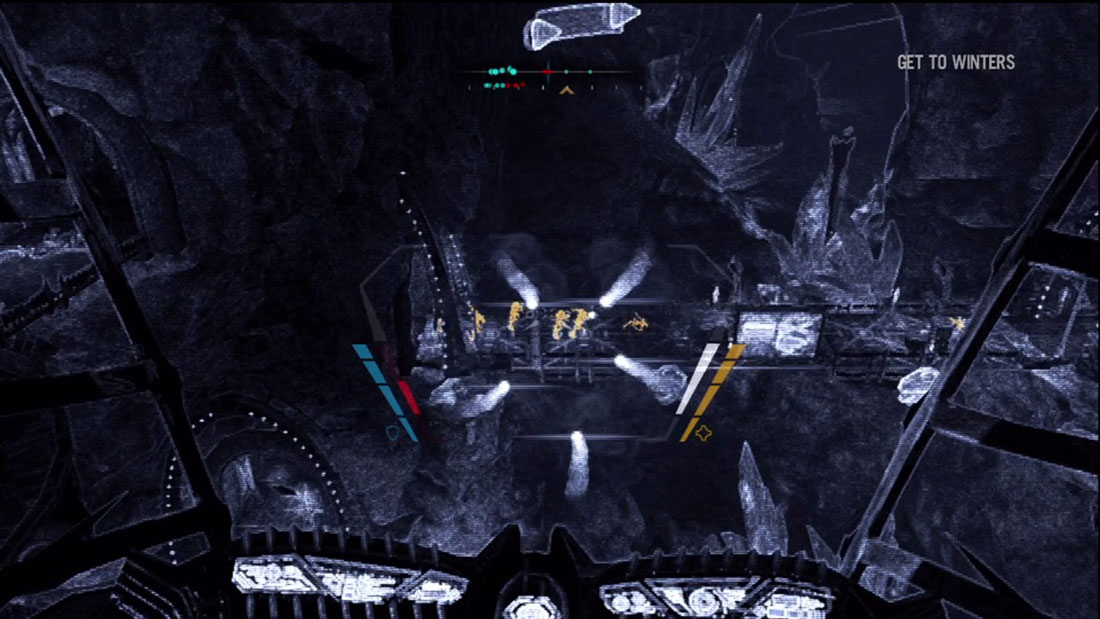
Just beyond the force field, you encounter a ravager clinging to the cavern wall. Activate the flyer's visualization mode to better spot this creature. As on the Scout Walker, visualization mode highlights each creature's heat signature, making it easy to spot in this dark setting—enemy targets are yellow and friendly targets are blue. If you still can't see the ravager, study your compass and maneuver the flyer until the creature comes into view. Once you have the ravager in your sights, blast it with the flyer's energy beams. These inflict less damage than the missiles, but are more than sufficient for taking out the ravager. Just ahead, another flyer takes off but is soon shot down by a large group of ravagers. Locate the ravagers on the platform and bridge below and then open fire. When attacking the ravagers on the bridge, fire a missile to make the bridge collapse, taking the ravagers with it.
New Objective: Save Marauder Buggy
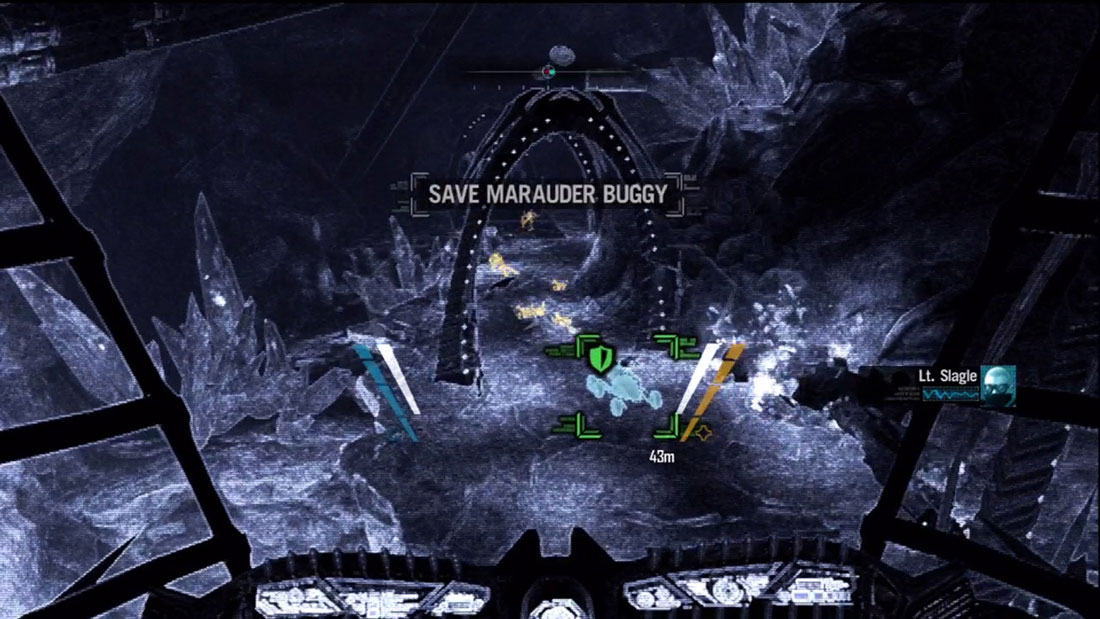
Eliminate all the enemy contacts on your compass, then continue through the cavern. Just ahead you receive a distress call from a Marauder solider driving a buggy—he's come under attack by bugs. With the flyer's visualization mode activated, search the right side of the cave for the buggy, marked with green brackets on the HUD. Take careful aim and eliminate the surrounding ravagers and creepers using the flyer's energy beams. By pressing the aim button, you get a slightly magnified view, making it easier to pick off distant targets with greater accuracy. Once all the creatures are dead, continue through the cavern, following the GPS markers.
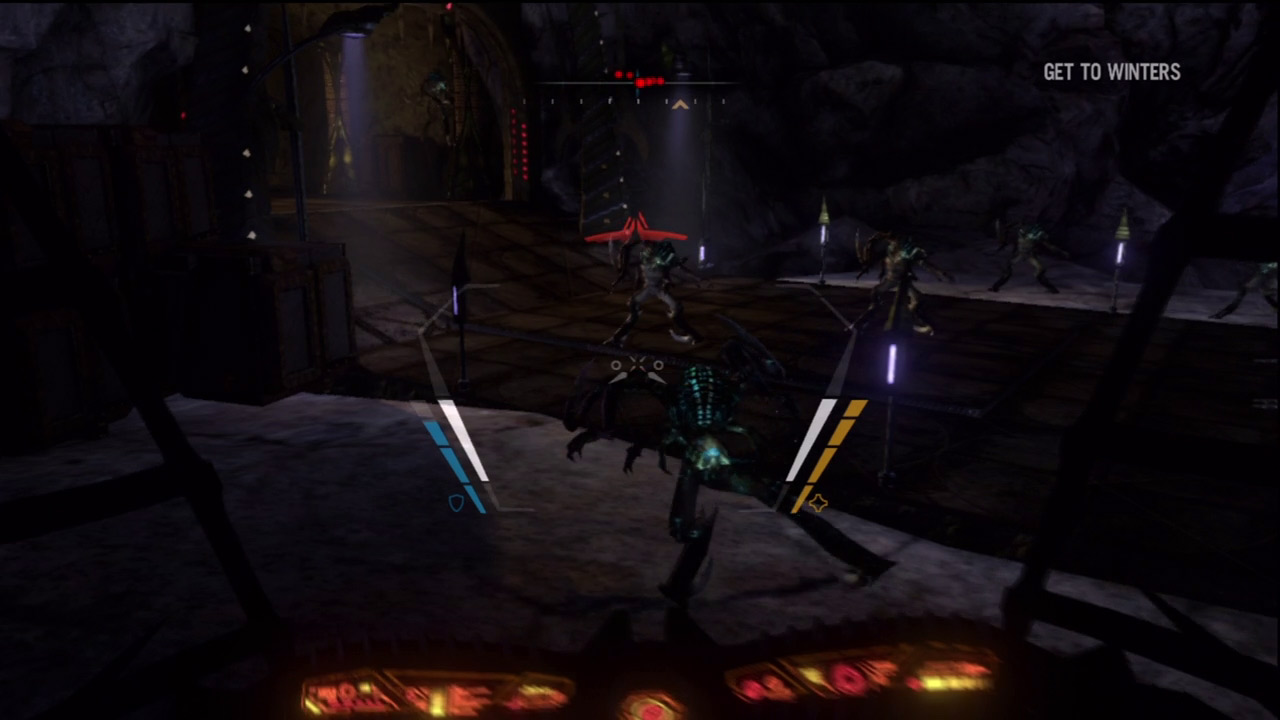
Beyond the area where the buggy was under attack, you come under fire by several ravagers. Return fire using the energy beams and missiles. Pay close attention to the flyer's shields, indicated by the vertical blue line on the left side of the HUD. Once the shields are depleted, the flyer begins taking damage. If this happens, consider retreating. At the very least, keep moving to avoid becoming an easy target. Remember, the flyer can move both laterally and vertically While firing, continue juking left, right, up, and down to evade the incoming fire. You can also take the fight to close range, running down the ravagers with the flyer—this is a great spot to earn the Hit 'N Run achievement/trophy.
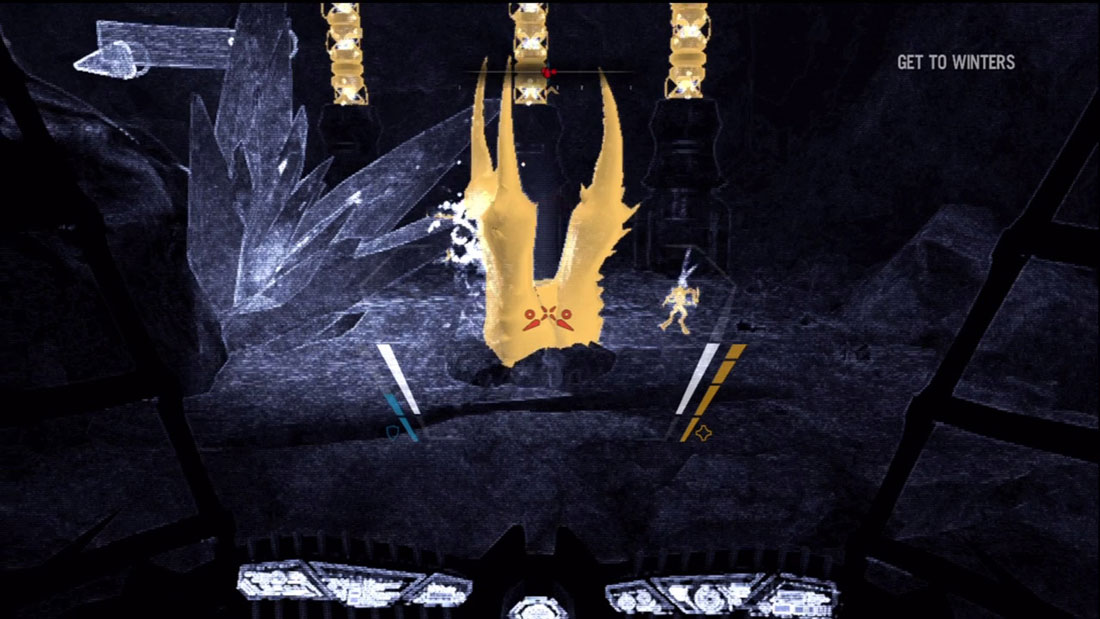
Increase altitude and turn to the right to follow the GPS markers. On the ledge ahead, more ravagers attack, along with a monolith.
Fire missiles at the monolith until it explodes, then mow down the ravagers. Remember to move laterally while attacking.
Getting hit by one of the monolith's green energy blasts can inflict heavy damage. Once all the creatures are down, destroy the three towers in the background to earn some salvage.
New Objective: Destroy Infected Targets
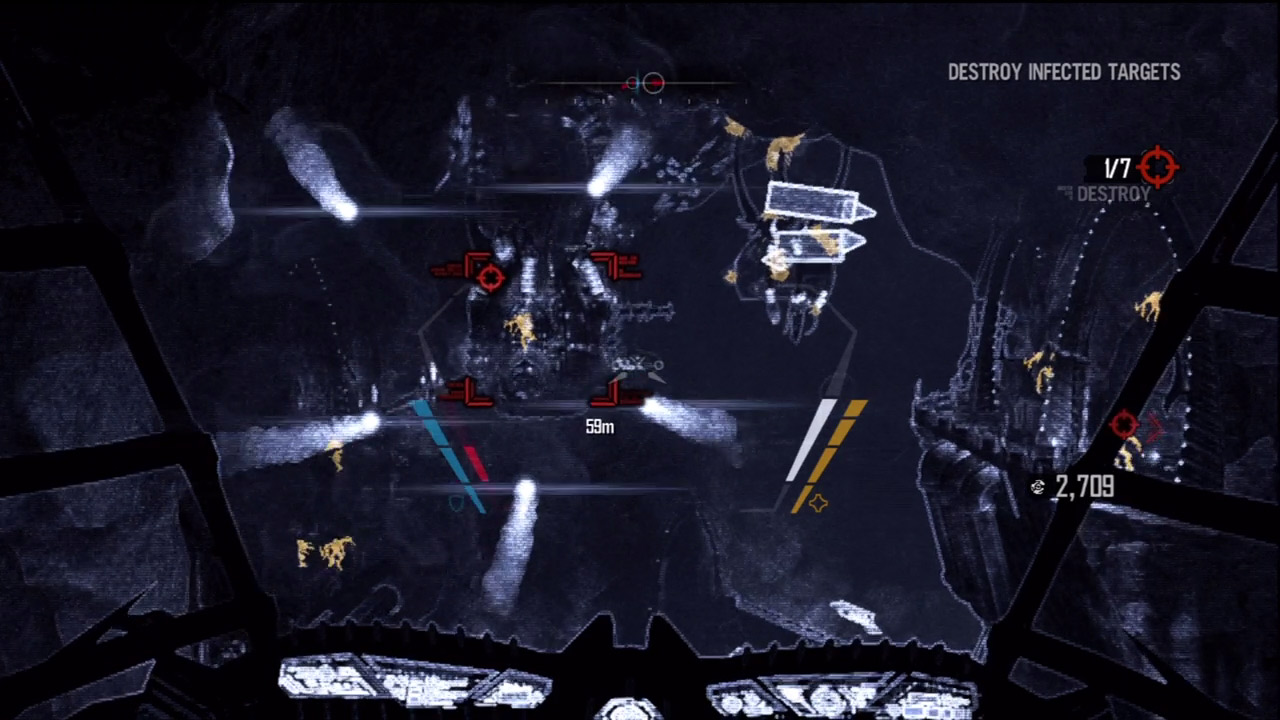
In the adjoining cavern you're attacked by more ravagers. There are also several infected structures hanging from the ceiling. Focus on the ravagers first, then target the structures with missiles until they break apart and fall. Keep the flyer's visualization mode active during this sequence to better spot the ravagers. And don't forget to use the zoom function by pressing the aim button. By zooming in, you can often spot distant targets you otherwise can't see. There are a total of seven infected structures you must destroy in this cavern, but don't let that distract you from the ravagers. Eliminate every ravager you encounter and don't let them get behind you. If you neglect the ravagers, they'll have no problem shooting you down. If your shields are depleted, retreat to an already cleared portion of the cavern and let them recharge before resuming the attack.
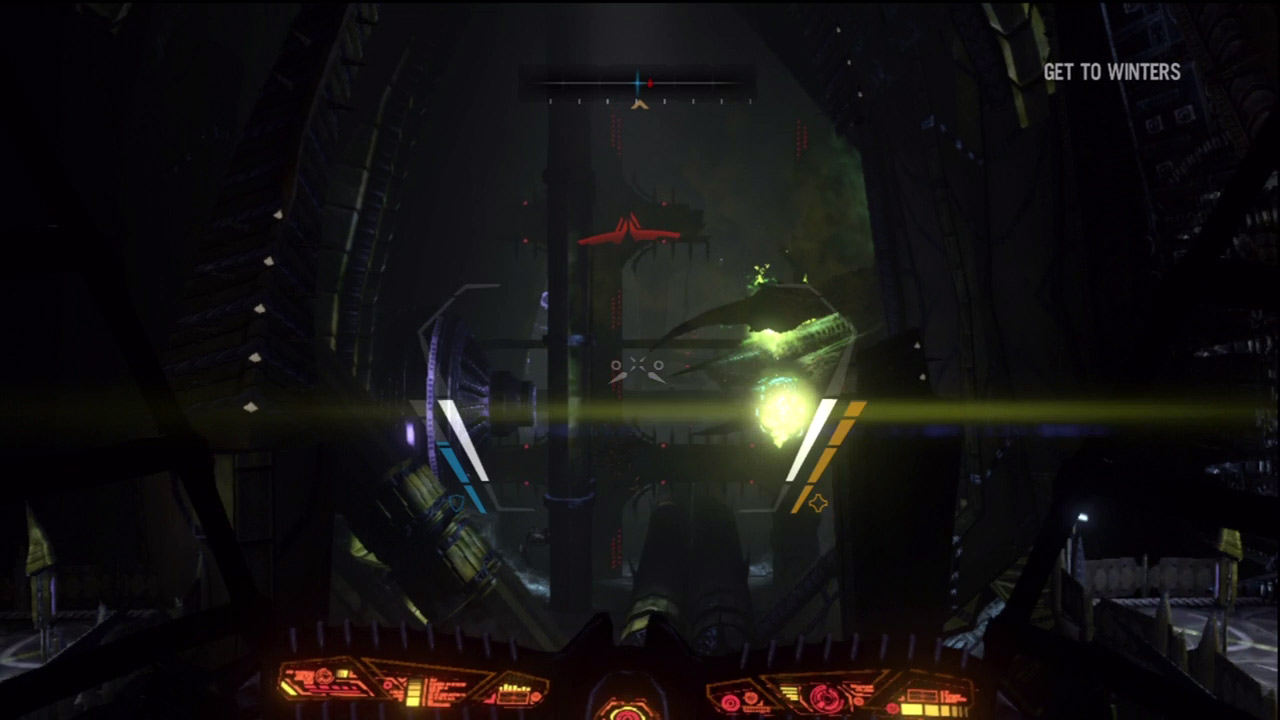
After eliminating all seven infected structures, proceed to the end of the cavern, as marked by the GPS markers. A cave-in has blocked the passage ahead. S.A.M. reroutes the GPS coordinates, sending you through the main power generators—blast a hole in the wall to enter. This narrow passage is filled with ravagers. Take out the creatures as quickly as possible, as there's little room to maneuver to dodge their incoming fire. Deeper into the facility, you encounter a monolith growing out of the right side of the passage. Blast the monolith with missiles while carefully dodging its incoming energy blasts. Just beyond the monolith, destroy another generator to deactivate a force field.
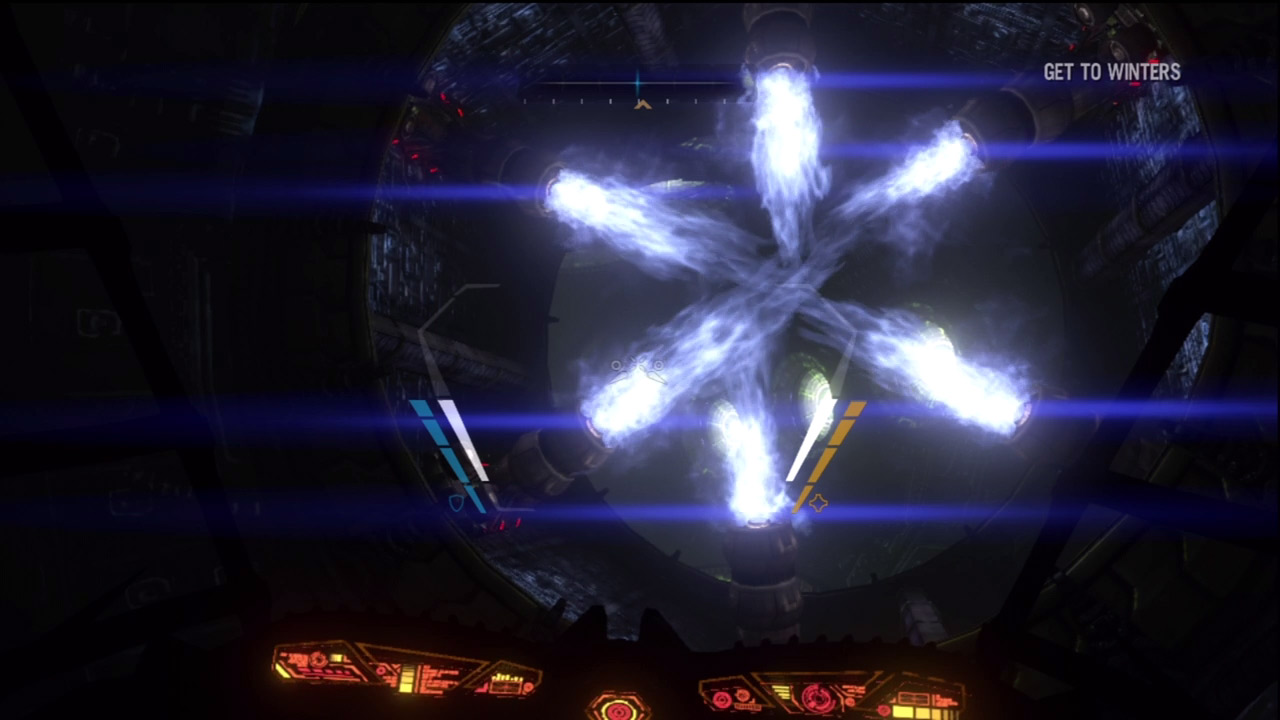
Expect more ravagers, monoliths, and even a few tentacles as you continue through the main power generators. As you near the exit, the path is blocked by a ring of six inward-facing thrusters—flying through this ring destroys your ship. Stop short and blast all the thrusters with missiles before flying through. A second ring of thrusters blocks the exit, so be sure to take it out before rushing through. Shortly after exiting the main power generators, an unseen force pulls your flyer downward, deeper into the cavern, toward a river of lava. As the flyer levels out only a few meters above the lava, fly into the adjoining cavern to locate Sergeant Winters' convoy. In the following cutscene, the convoy is seen racing over a long bridge while being pursued by a large group of creatures. You need to take out that bridge now to halt the alien advance.
New Objective: Destroy the Bridge
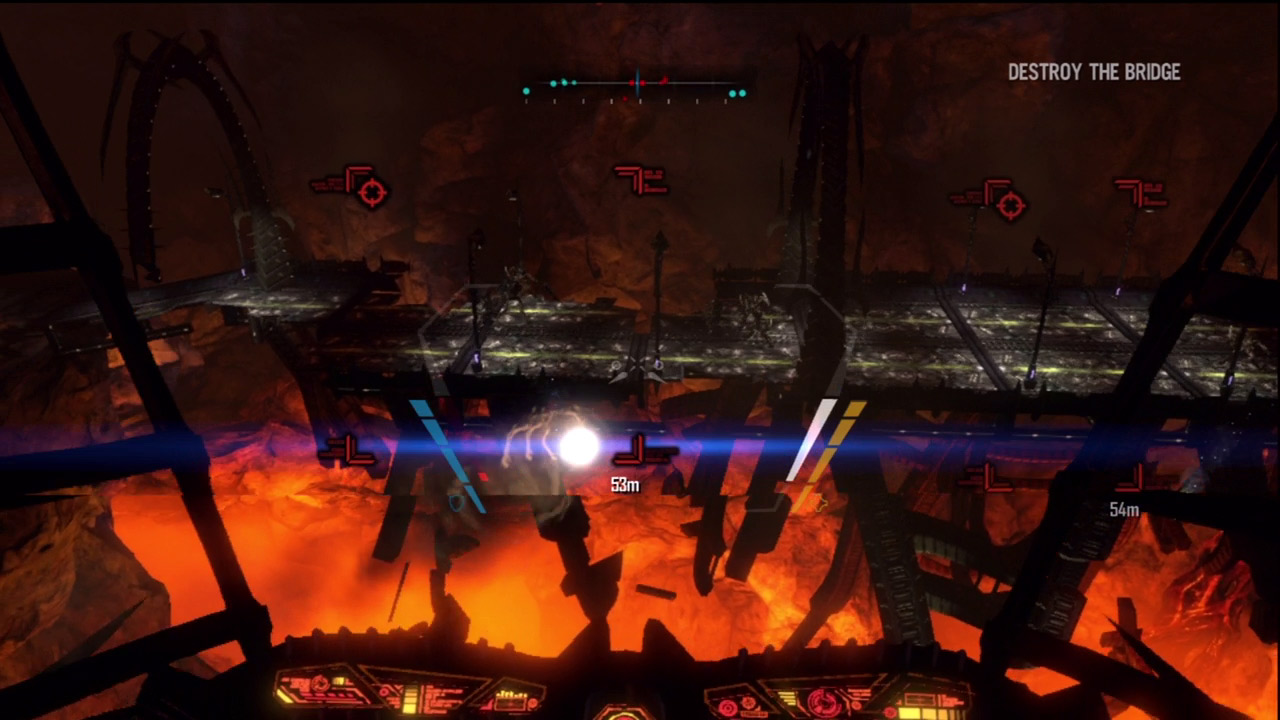
As you regain control of the flyer, center the bridge in your sights and begin firing missiles. Instead of targeting the individual creatures on the bridge, focus on demolishing large chunks of the bridge. The creatures will die as each section of the bridge collapses beneath their feet. But don't hold in one spot, otherwise you'll take heavy fire. Instead, circle strafe around the perimeter of the bridge while continually firing missiles. Keep firing until all bracketed sections of the bridge have collapsed into the river of lava below. Both Kara and Winters are anxious to hear what Darius found from Noella's holo-recorder. But even with Noella's coordinates and vague instructions, stopping this plague won't be easy. . .