
Red Faction: Armageddon Guide Walkthrough Campaign
Last Chance
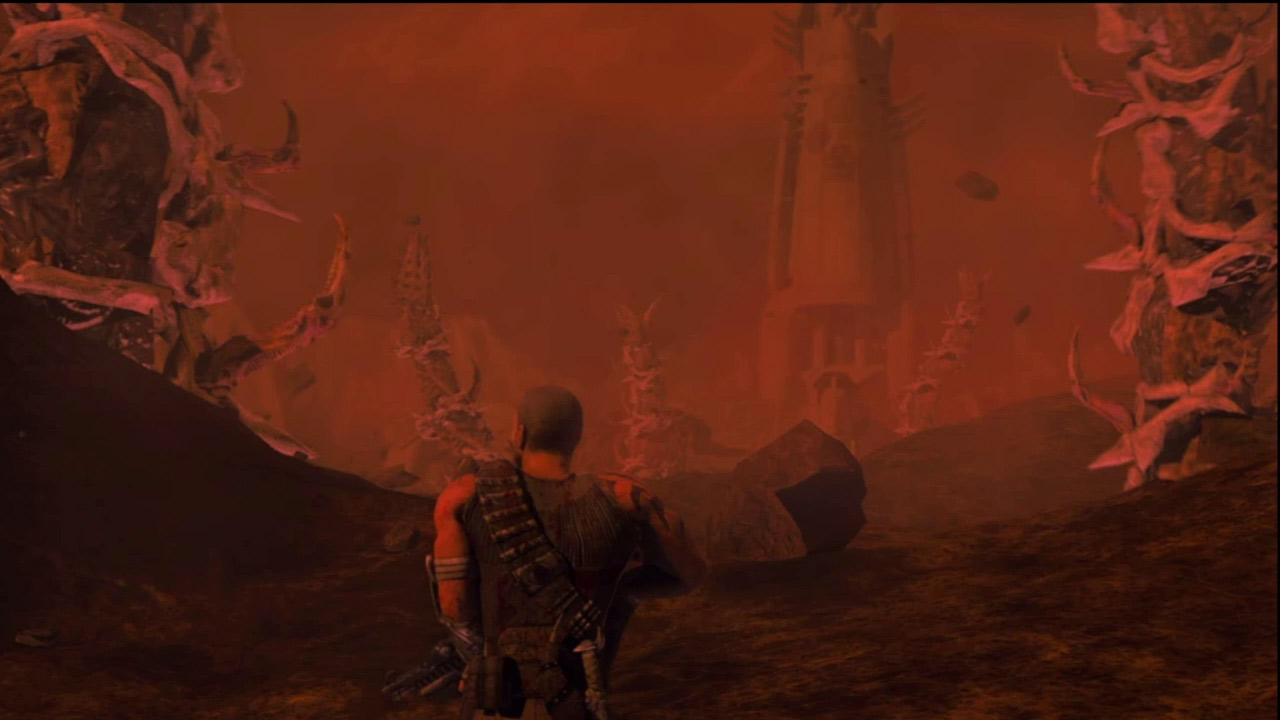
Relieved after defeating the queen, Darius gets a shock when several tentacles thrust upward from the deep chasm—the queen isn't dead just yet. S.A.M. reports that the heavily ionized atmosphere allows the aliens to thrive. However, an Earth-like atmosphere would kill them quickly. S.A.M. suggests reconstructing the Terraformer's machinery. Realizing the Nano Forge can repair the Terraformer, Darius grabs hold of an ascending tentacle and rides it to the surface, emerging just outside the long-abandoned Terraformer facility.
| Icon | Name | Description | Gamerscore | Trophy |
|---|---|---|---|---|

|
Lock and Load | Keep Berserk active for at least 21 seconds in one use. | 20 | Bronze |

|
Martian Can Opener | Buy every upgrade. | 40 | Silver |
|
Breathe Easy | Put an end to the threat, once and for all. | 30 | Silver |

|
That Coulda Gone Better | Finish the Single Player game on Hard Diffi culty. | 30 | Silver |

|
I Need a Nap | Finish the Single Player game on Insane Diffi culty. | 75 | Gold |
New Objective: Get Inside the Terraformer
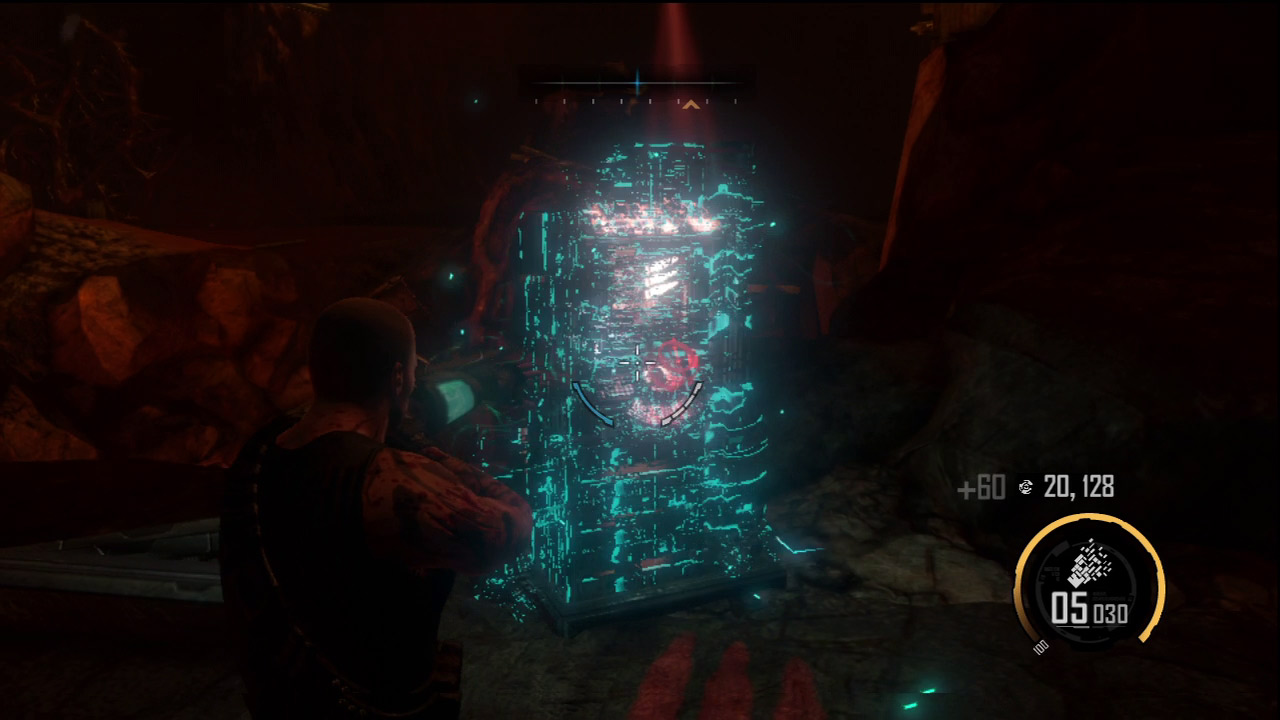
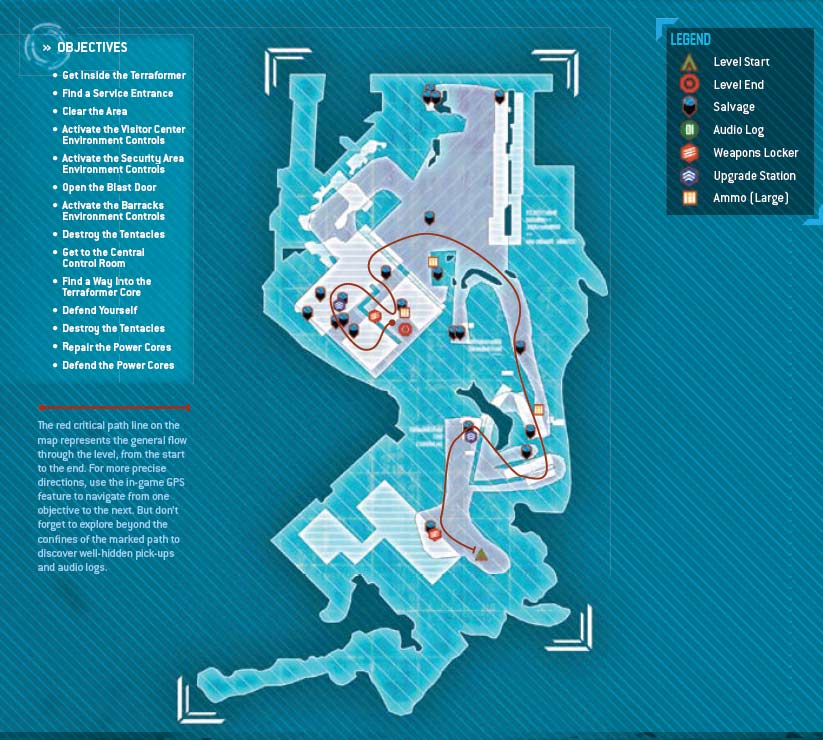
Following the cutscene, move toward the weapons locker next to the small building ahead. A massive tremor rocks the area, severely damaging the structure and weapons locker. A massive hole in the ground also impedes your path to the Terraformer. Repair the weapons locker and adjust your load-out in any way you see fit. The Nano Rifle and Rocket Launcher are still great choices—the Magnet Gun and Pulse Grenade can come in handy too. As you advance and conduct your repair work, S.A.M. reports that the closest entry point to the Terraformer is through the visitor center. Once you've grabbed the weapons you want, search the immediate area and nearby path for salvage and ammo while following the GPS markers toward the facility.
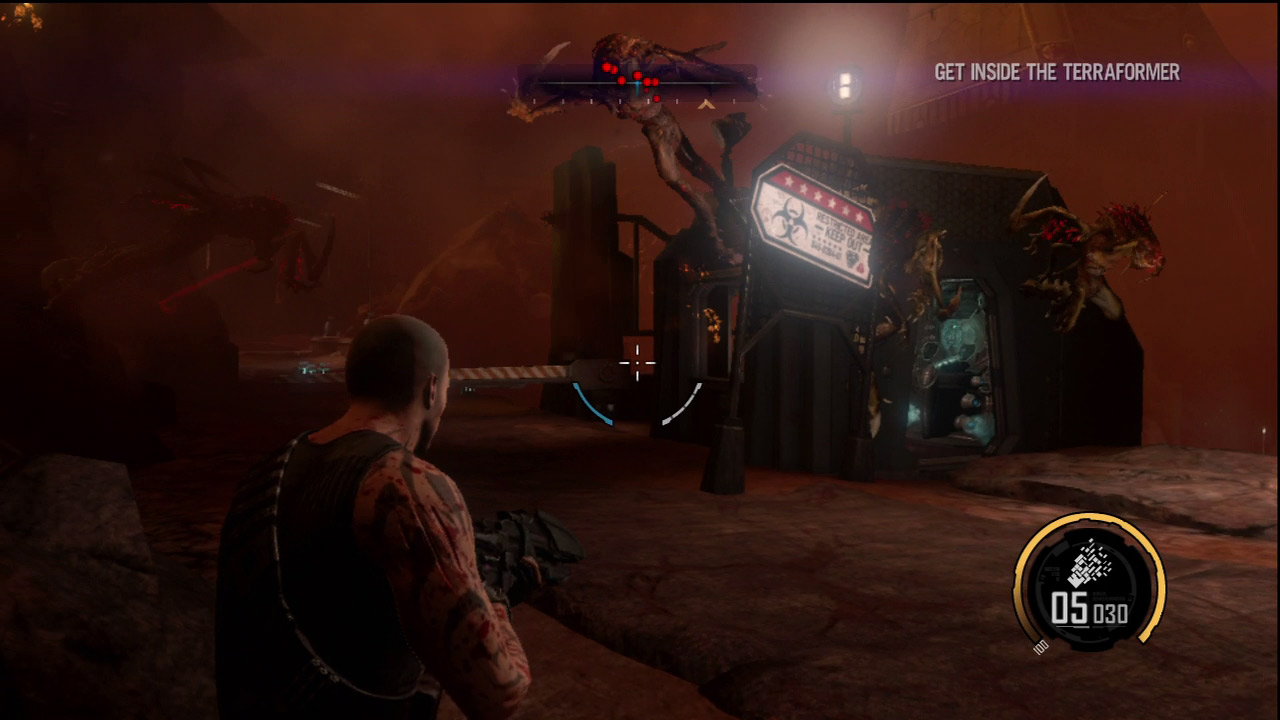
An upgrade station is located in the small checkpoint building along the side of the road—there's also ammo and salvage inside. Shortly after entering the building, you're jumped by several ravagers. Step outside, deploy a Shell, and commence the attack. The ravagers don't pose a huge threat, but there are several surrounding you. Use the compass to locate and target each one. When the area is clear, return to the building and access the upgrade station—it may need to be repaired if it was damaged in the fight. If you have enough salvage for an upgrade, take careful inventory of what options are still available before making a selection. Berserk-based upgrades are useful now if you haven't already purchased any. Berserk, Berserk Boost, and Berserk Pulse are all Nano Forge-based upgrades that improve your offensive performance.
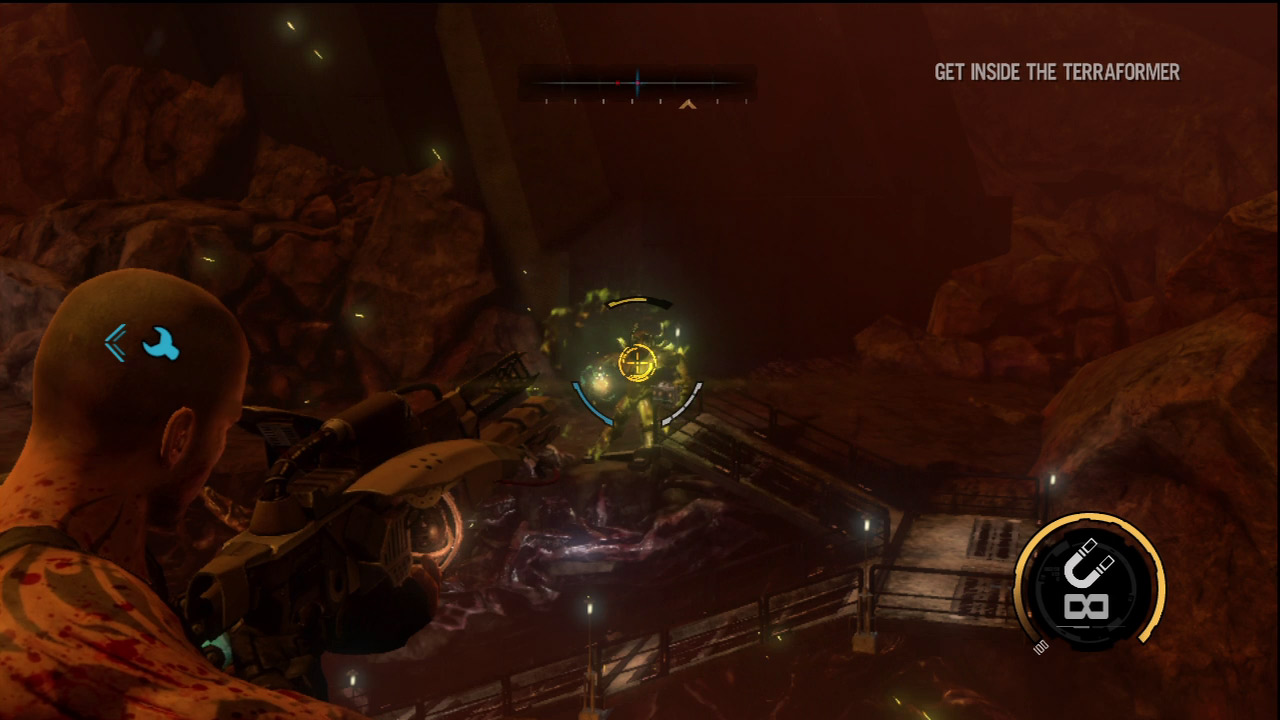
After defeating the ravagers and visiting the upgrade station, watch out for a pair of berserkers wandering around the catwalk system below. If you have the Magnet Gun, use it to toss these berserkers around until they explode. Or better yet, simply drop them into the lava below. It's important to take out both of these berserkers before crossing the catwalks, otherwise their energy blasts may blow away the catwalks beneath your feet, triggering a nasty fall.
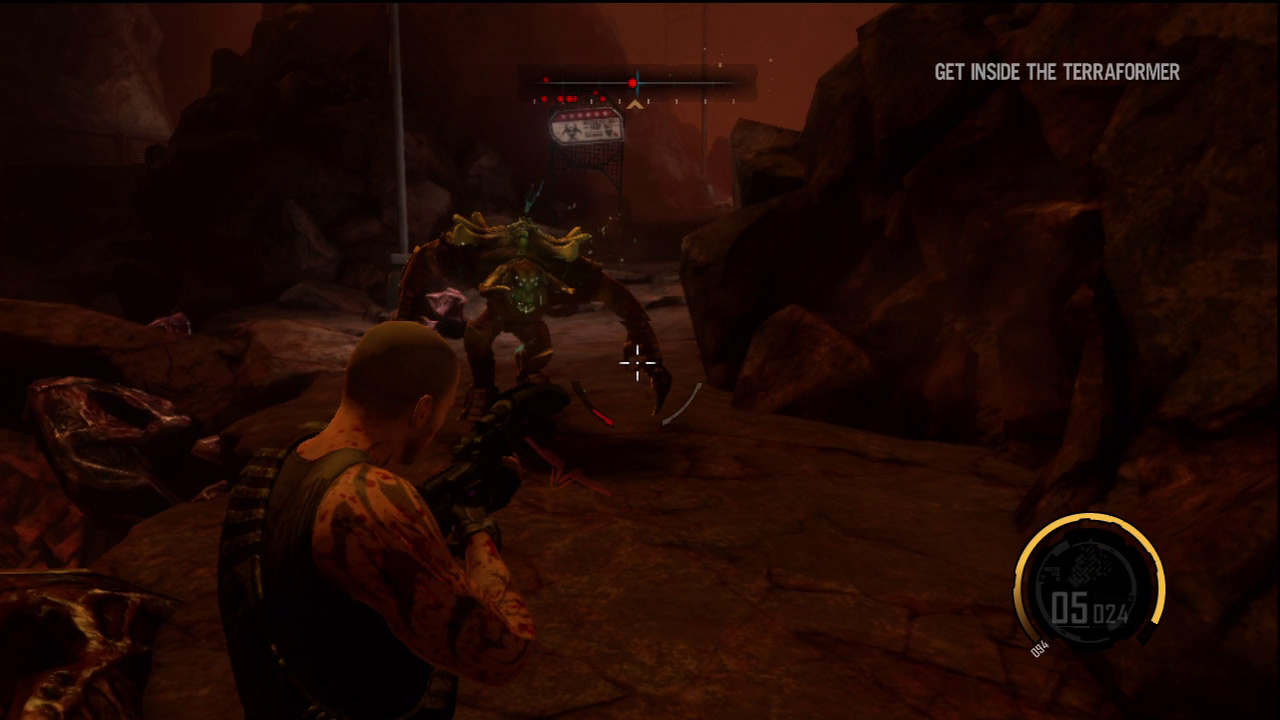
With the berserkers gone, make your way across the catwalk system, repairing any damage along the way. As you advance, more ravagers attack. Instead of stopping on a catwalk, wait until your feet are on solid soil before attacking these enemies. Once you've found a safe place to stand, deploy a Shell and eliminate all ravagers in the area before continuing. The Pulse Grenade works well in this area as it allows you to kill the ravagers without damaging the catwalks. Climb the stairs at the end of the catwalk system to reach a ledge, but be ready to deploy another Shell as a berserker comes charging at you. While within the Shell, blast the berserker with the Nano Rifle or send him flying with the Magnet Gun.
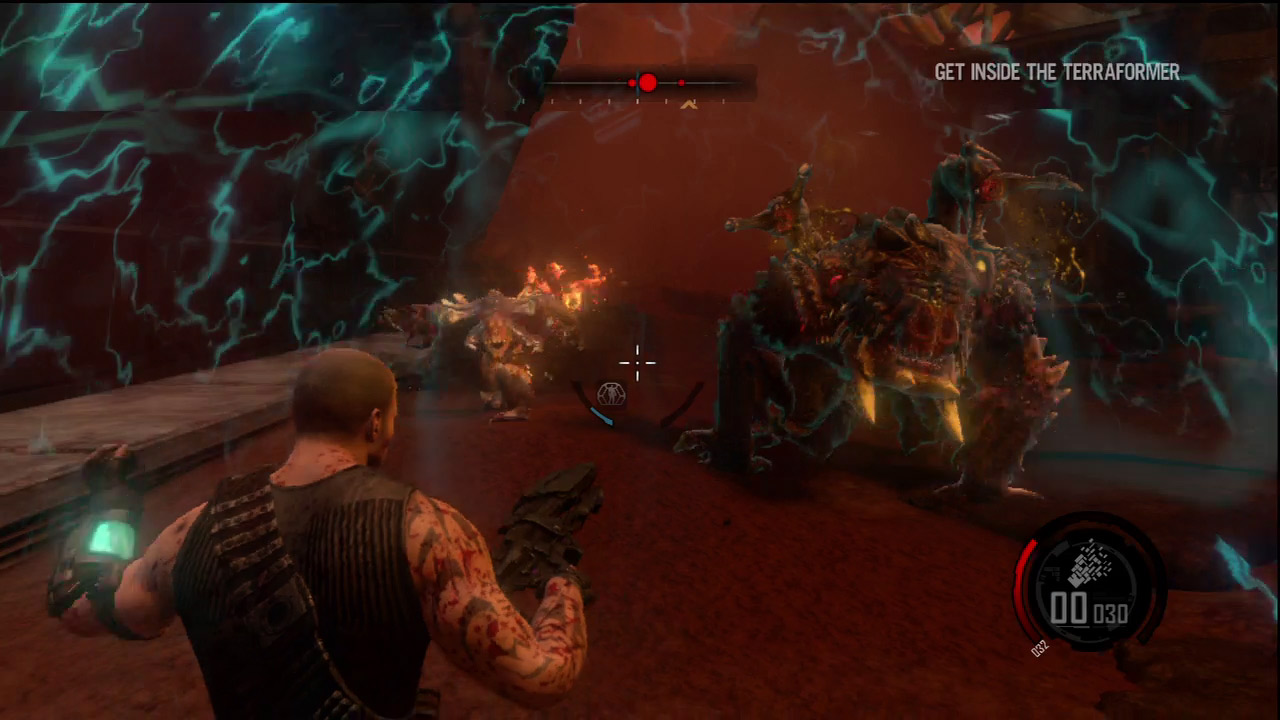
Several ravagers, a berserker, and a behemoth guard the entrance to the visitor center. Quickly pick off the ravagers while the berserker and behemoth lumber toward you. Dodge their initial attacks until you can find a good spot to deploy a Shell. Once behind the Shell, aggressively target the berserker first, blasting him with the Rocket Launcher or the Nano Rifle. If you don't take out the berserker early, it will be hard to defeat the behemoth. After defeating the berserker, focus your fire on the behemoth. There's plenty of space to maneuver here, making it relatively easy to dodge the behemoth's attacks. Stay on the move and keep hitting the behemoth until he finally falls to the ground. But don't pat yourself on the back just yet. . .
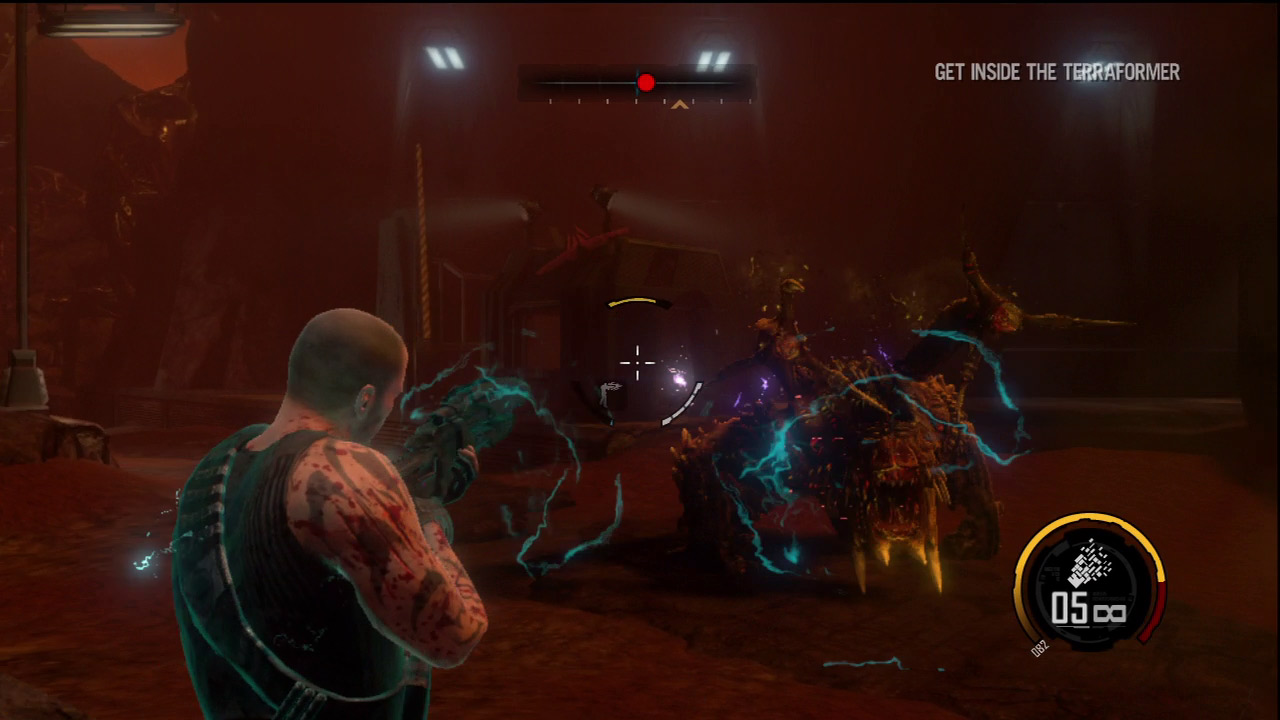
Shortly after defeating the behemoth, a second behemoth appears in the garage-like entrance to the visitor center. If you've already defeated the ravagers in the area, taking down this behemoth isn't that difficult. As soon as you spot the creature, open fire and let him come to you. Instead of hiding behind a Shell, activate Berserk and open fire. If you have the tier 4 Berserk Pulse upgrade, you have unlimited ammo. Berserk also increases damage output as well as your weapon's rate of fire. With Berserk active, the Nano Rifle quickly depletes the behemoth's health. Just remember to dive out of the way when the creature charges in your direction. After defeating the behemoth, you're attacked by a wraith. Eliminate the wraith, then search the area for ammo and salvage before entering the visitor center.
Visitor Center
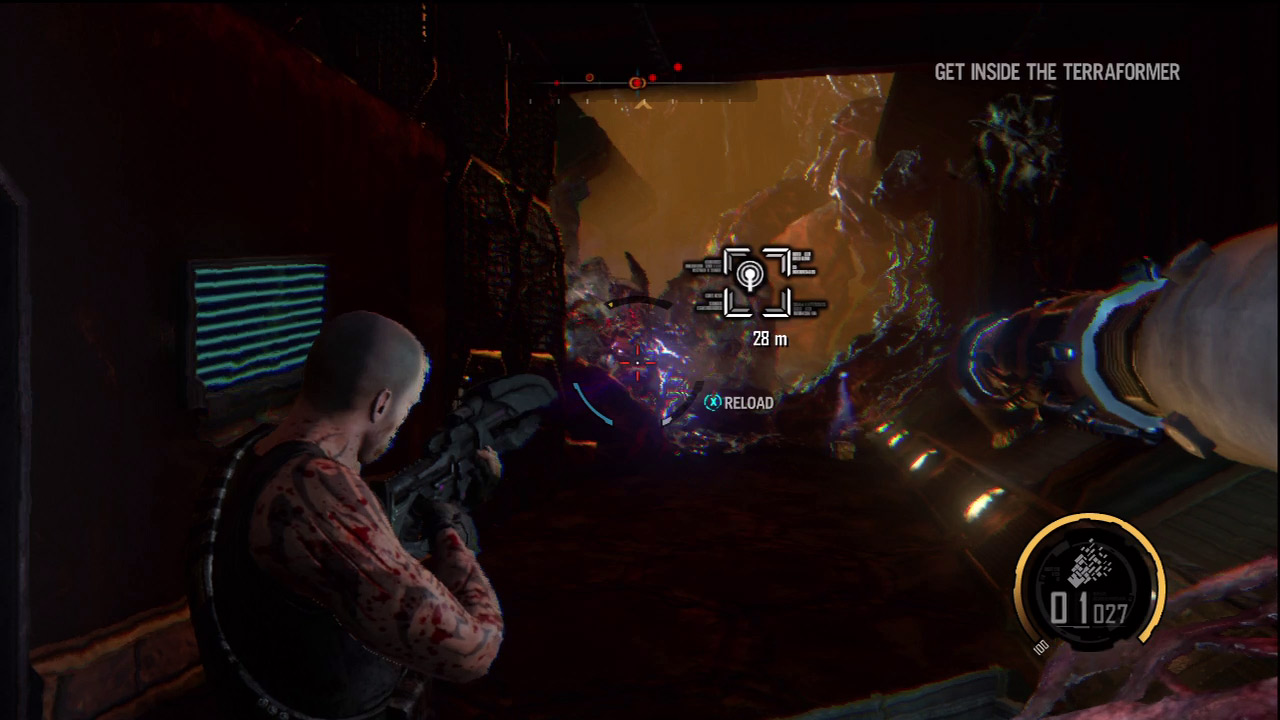
Inside the visitor center, press toward the objective marked on the HUD. Along the way, you come under attack by several ravagers and a wraith. Fight your way through the enemies on your way to the objective—there's also a weapons locker nearby. The ravagers spawn from several pods, so be sure to take them out to thin the resistance. As you near the objective, the path is blocked by infected growths—you'll need to find another way in. S.A.M. reports that there's an auxiliary entrance several floors above. Destroy the ravagers and the pods ahead, take a moment to access the upgrade station if you have salvage to spend, and then start climbing the ramp system to the left.
New Objective: Find a Service Entrance
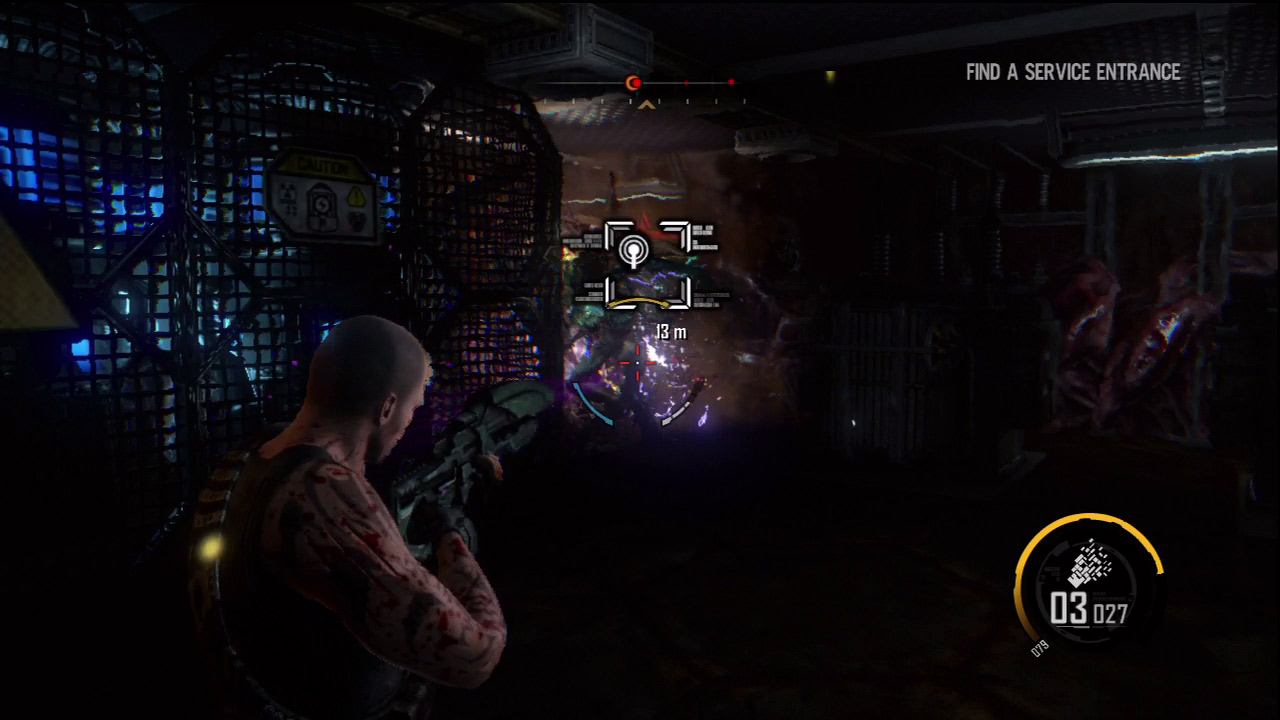
Carefully climb the ramp system to the top floor, repairing any damage along the way. Also, expect more resistance from ravagers spawning from a pod ahead. As you approach the objective marker on the map, you're ambushed by two wraiths. Beat down the wraiths with melee strikes before they can disappear and then blast the pod, revealing a hatch on the wall. Once you've cleared out the room, interact with the hatch to trigger a cutscene. Darius throws open the hatch and crawls through the ventilation duct, accessing a new area of the facility.
Reversal of Fortune
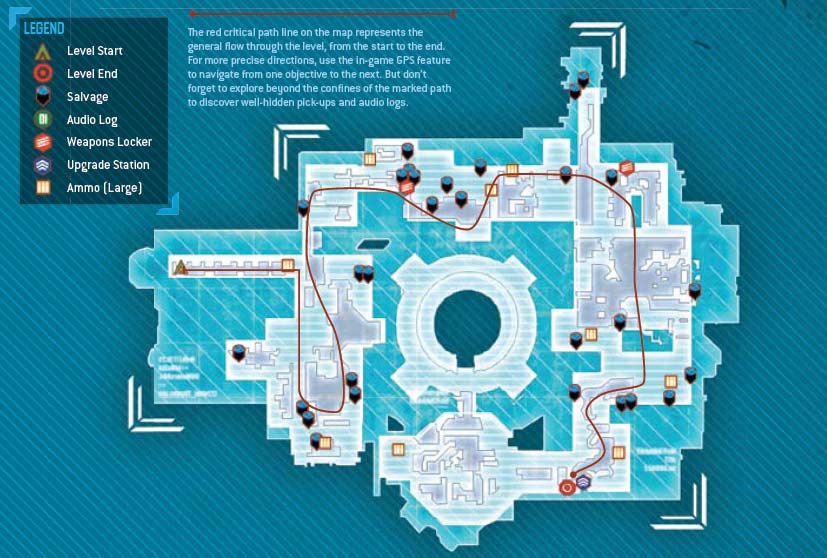
New Objective:
Clear the Area
Activate the Environment Controls
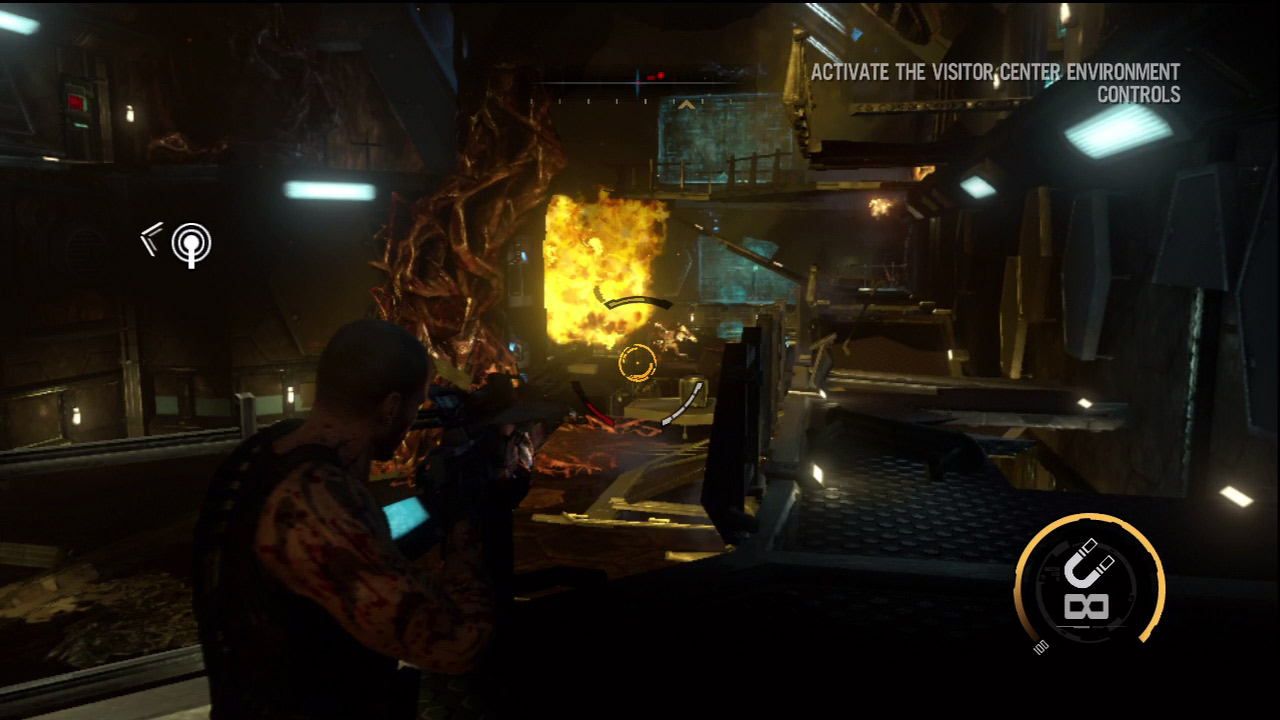
Following the cutscene, you find yourself in a narrow corridor occupied by more ravagers. Fight your way into the next large room, where the alien infection covers the walls. S.A.M. informs you that the secondary units must come online before the Terraformer's core can be repaired. Descend the ladder on the left to the lower-level walkway. In addition to ravagers clinging to the walls, there are two berserkers on the floor below. Deploy a Shell and open fire on the berserkers, hitting them with the Rocket Launcher or Nano Rifle. Alternatively, use the Magnet Gun to toss them around the room until they explode. Don't even bother heading for the control panel until both berserkers are eliminated—their explosive attacks can destroy the catwalks, making the trek unnecessarily risky and frustrating.
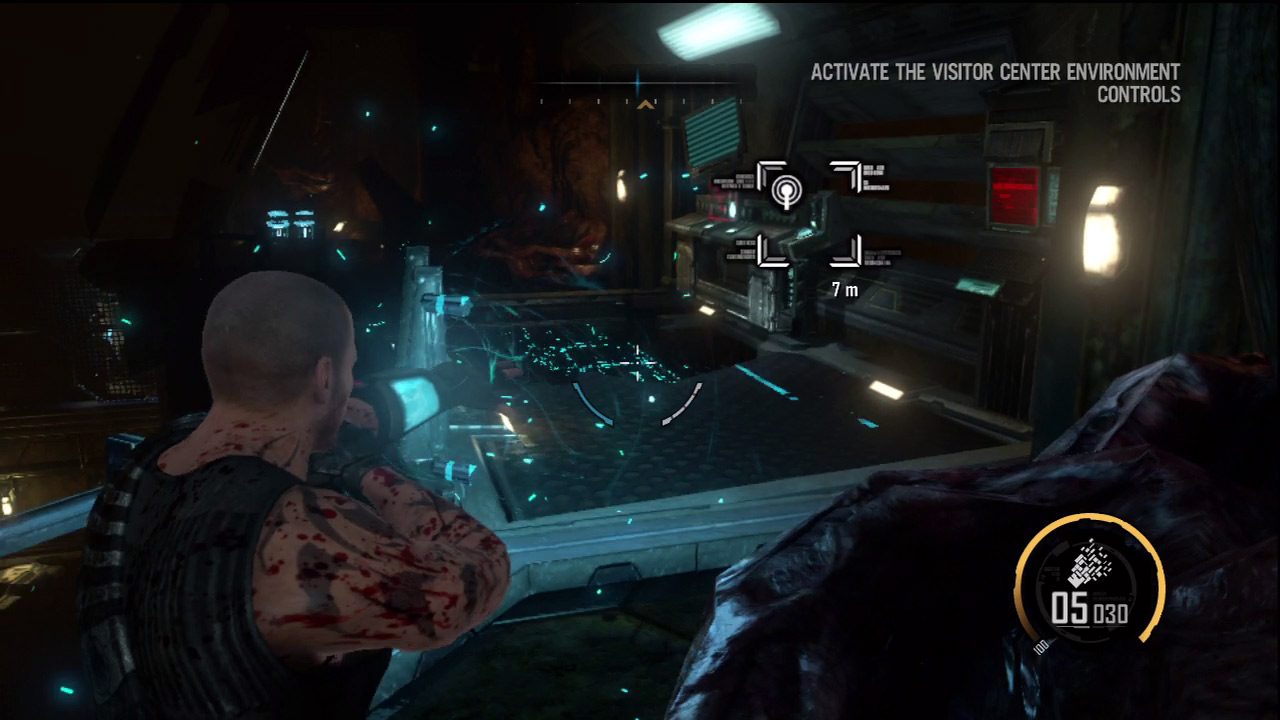
During the fight with the ravagers and berserkers, the catwalk system ringing the room probably incurred heavy damage, so repair the damaged walkways while advancing toward the environmental controls. If you get lost, activate the GPS markers to show you which way to go. Interact with the control panel to activate the support system, purging all environmental toxins—if any ravagers are left in the room, they automatically expire. Now that the visitor center's environment controls are active, it's time to get the others online. Follow the GPS markers down to the room's ground floor and pass through the automatic door leading to the security area.
Security Area
New Objective:
Activate the Environment Controls
Open the Blast Door
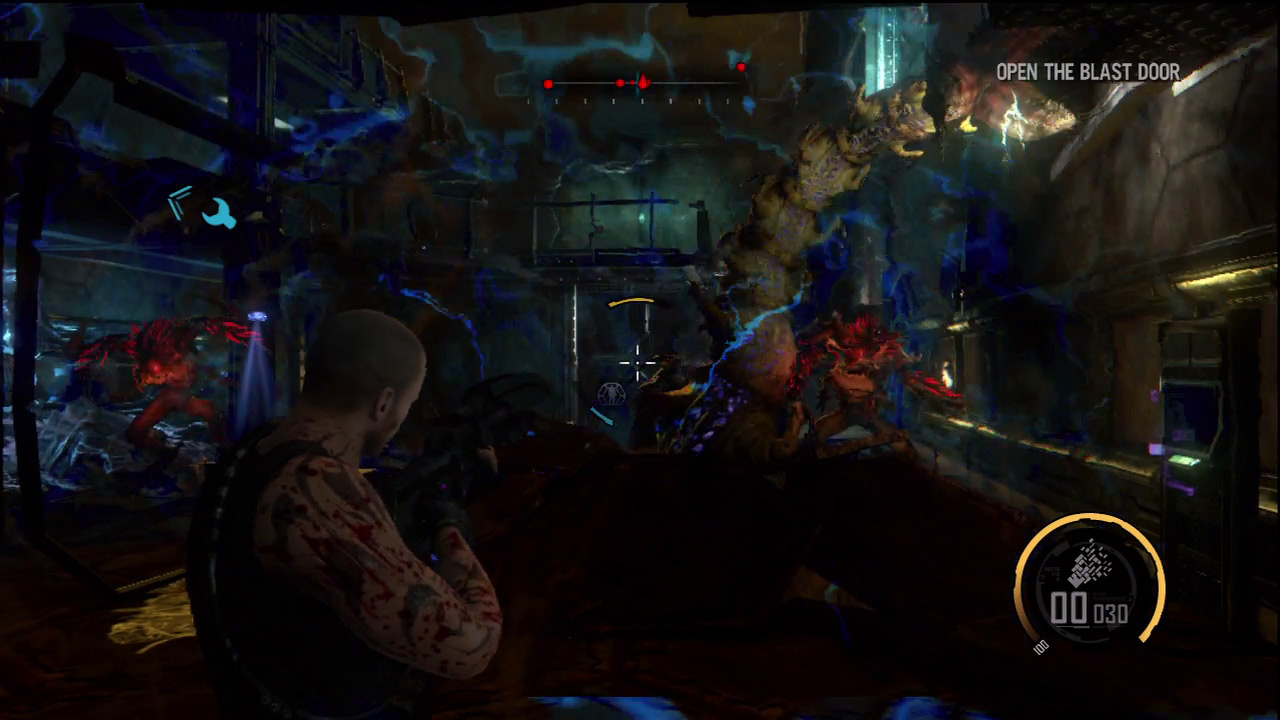
The path through the security area is uneventful. Take the time to scour the area for ammo and salvage. There's a large blast door blocking the area's environment controls. Interact with the switch to the right of the blast doors. But instead of the doors opening, all you hear is an error message stating the system is rebooting. At this moment you're flanked by a pair of tentacles while multiple ravagers, wraiths, and a couple of berserkers descend on your location. Hold your ground and deploy a Shell near the blast doors. Blast the tentacles first, using the Rocket Launcher or Nano Rifle.
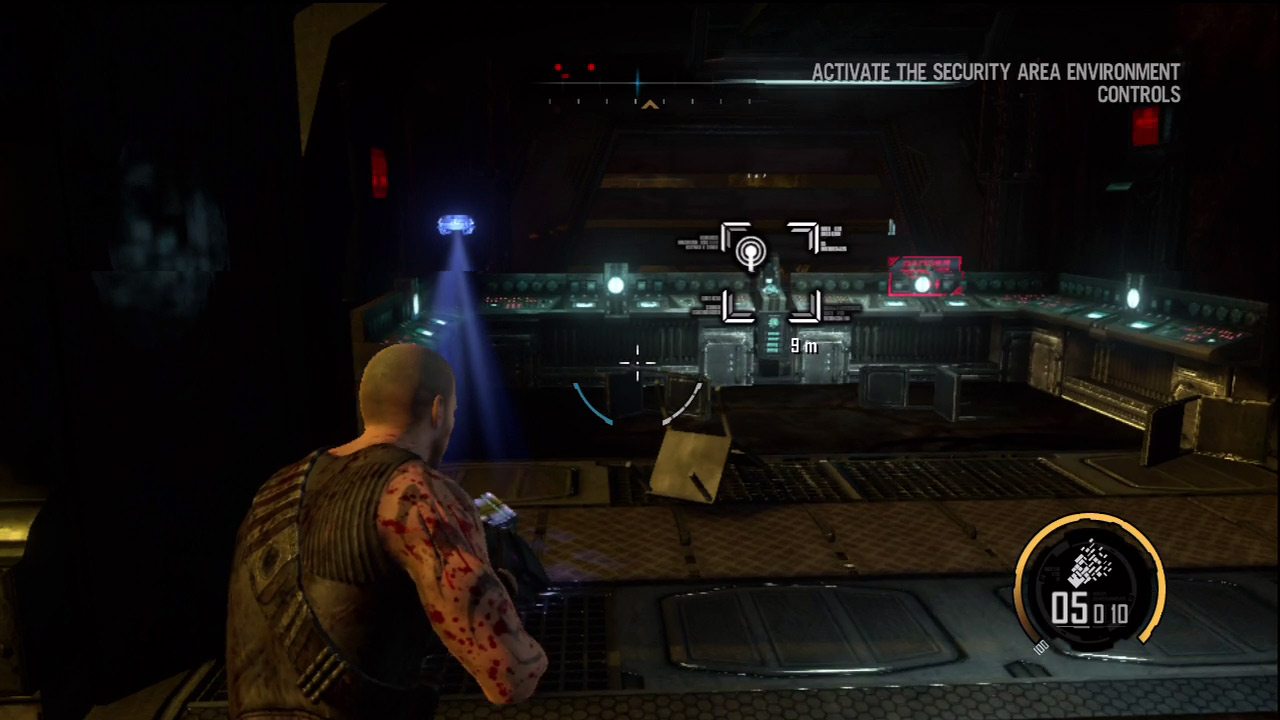
Also make an effort to take out the wraiths while the Shell is still active. Fortunately, you don't have to hunt down and kill every alien. Once the blast doors open, rush inside the small control room and throw the switch to activate the environment controls. This automatically kills any aliens in the security area.
Barracks
New Objective:
Activate the Environment Controls
Destroy the Tentacles
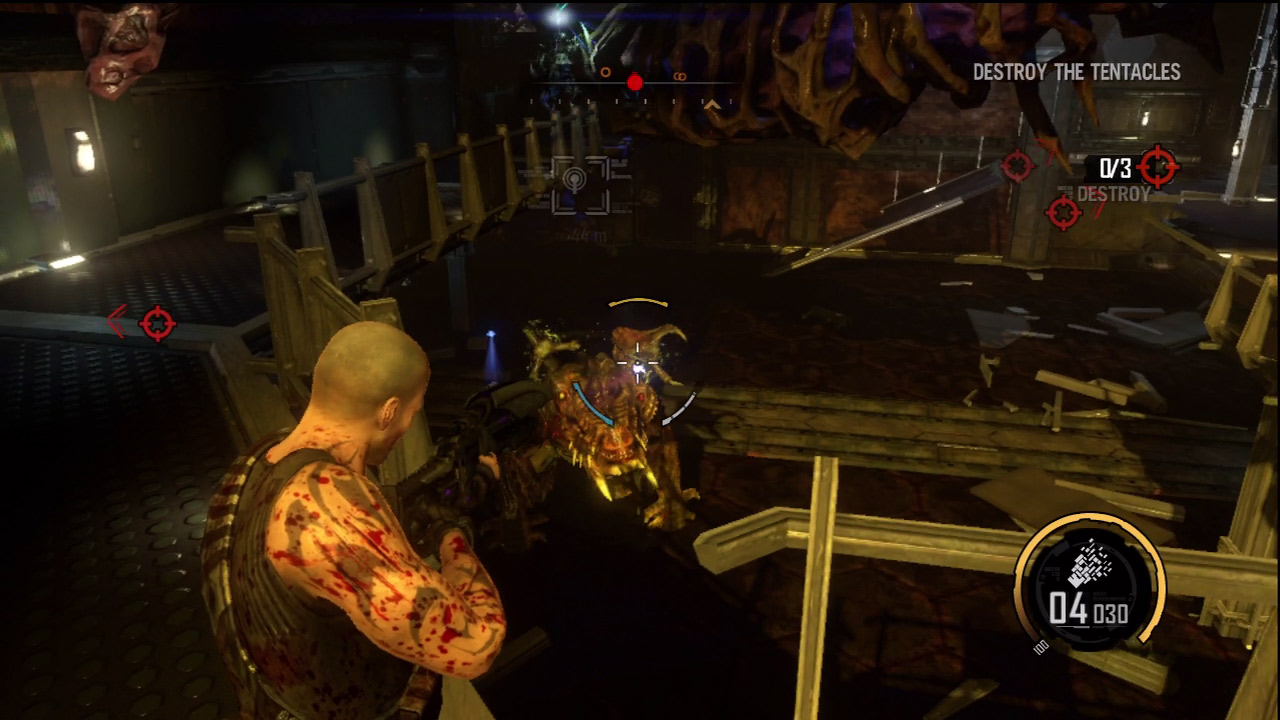
Follow the GPS markers to the next blast door leading into the barracks. As the blast door opens, several ravagers open fire from the adjoining room. But the ravagers are the least of your problems—a behemoth roams the lower floor in the next room. Once you've cleared out the ravagers, step onto the catwalk ringing the next room and fire down at the behemoth. While on the catwalk you're safe from the behemoth's charging attacks. However, these charging attacks may damage the catwalk system, causing you to fall and confront the behemoth face to face. If this occurs, deploy a Shell and aggressively attack the behemoth with rockets until it collapses.
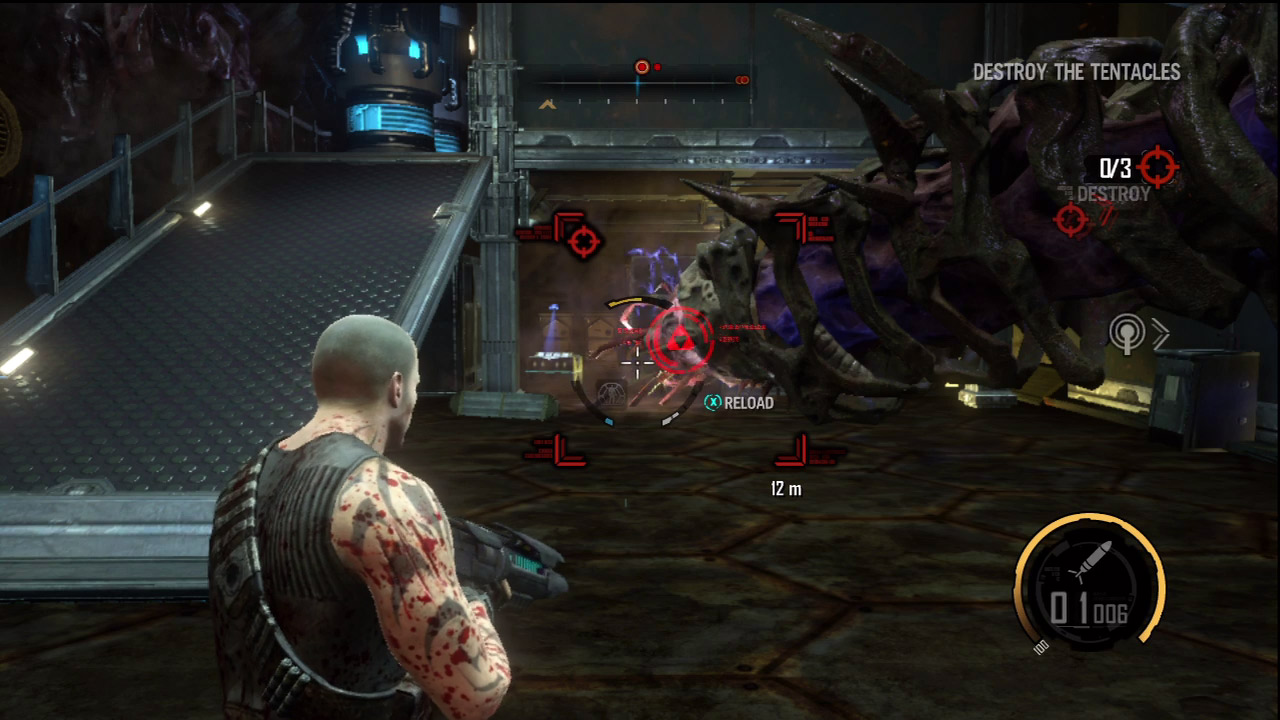
Your path through the barracks is blocked by three massive tentacles, just like the ones you encountered in the tunnel system before reaching the queen's chamber. Track down and destroy the ends of these tentacles to clear a path. The first tentacle end is located on the bottom floor of this room where the behemoth roamed. Use the Rocket Launcher or Nano Rifle to destroy the end of this tentacle. The second tentacle end can be destroyed from the bottom floor of this room too. Simply look up to spot it wiggling near the ceiling.
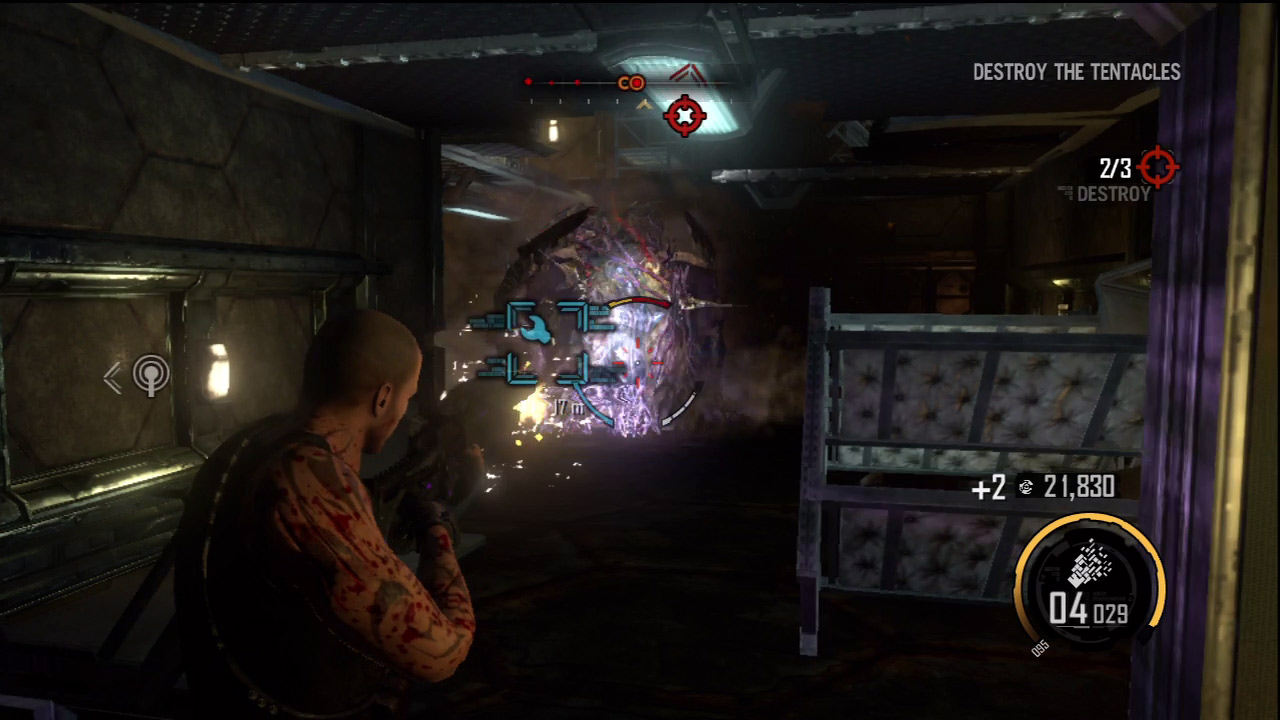
While tracking down the tentacles, you come under constant attack by ravagers. These creatures emerge from a pair of pods located within the barracks on the second level of this room. Before tracking down the third tentacle, take a detour into this room and destroy the pods as well as any ravagers they have hatched. This room also contains a damaged weapons locker, located between the two pods. Repair the weapons locker and adjust your load-out as needed.
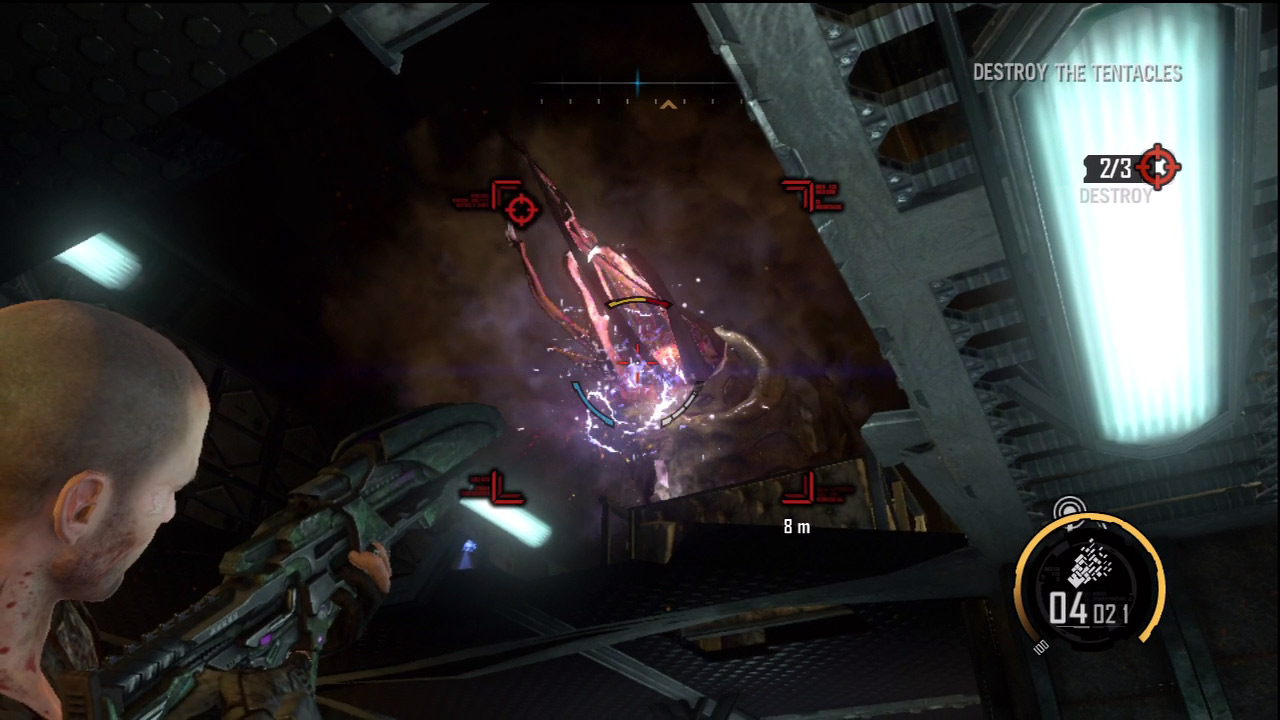
Immediately after repairing the weapons locker, turn around and look up to spot the red brackets marking the third tentacle end. If the ceiling is in the way, simply blow it away using the Nano Rifle. This allows you to get a clear shot at the tentacle end. Destroying this tentacle clears a path to the environment controls. Follow the GPS markers downstairs to the small control room and then interact with the switch to restore the environment controls to the barracks. S.A.M. reports that all secondary units are now functioning. Now it's time to head for the core.
New Objective: Get to the Control Room
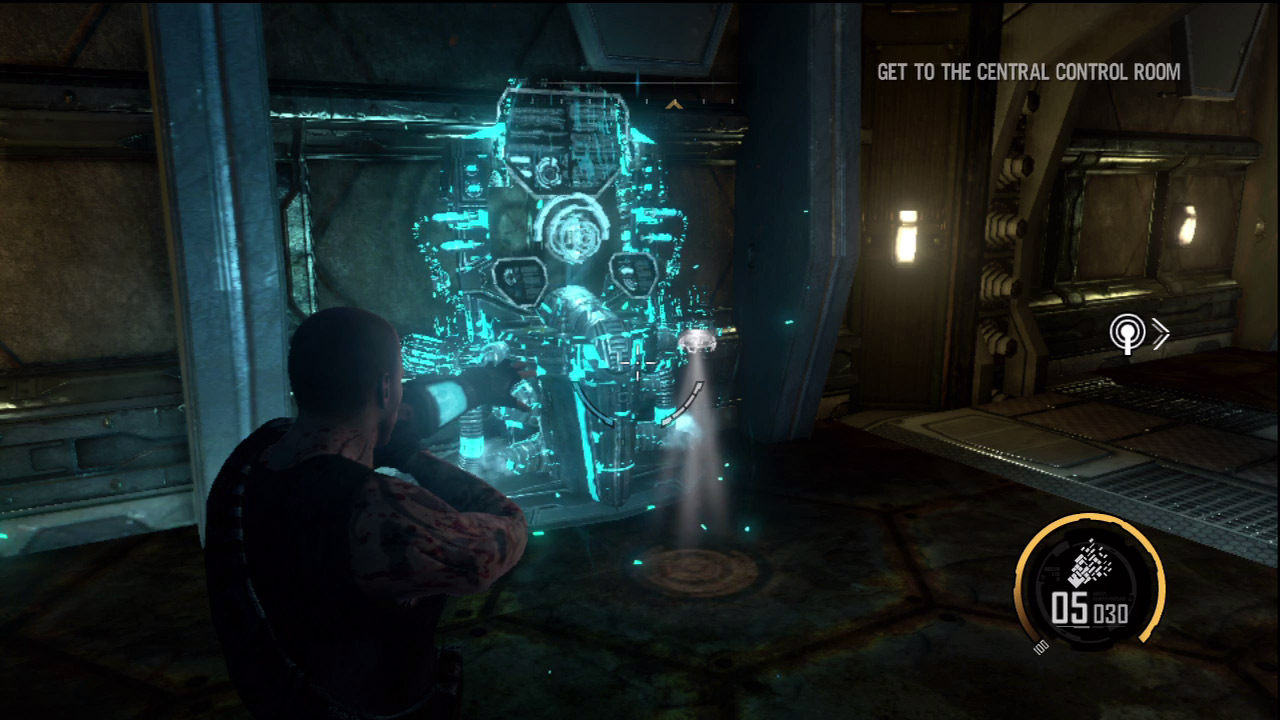
Before leaving the barracks, search the surrounding rooms and walkways for salvage and ammo. When you're finished scavenging, follow the GPS markers to another blast door. Before walking through, repair the upgrade station on the left and spend some of that salvage. This is the very last upgrade station you encounter in the campaign, so make your decisions carefully. For the final challenge you face ahead, defensive-based upgrades are the most effective. So if you don't already own every Shell upgrade, consider them now. Health Increase upgrades are also very helpful.
Genesis
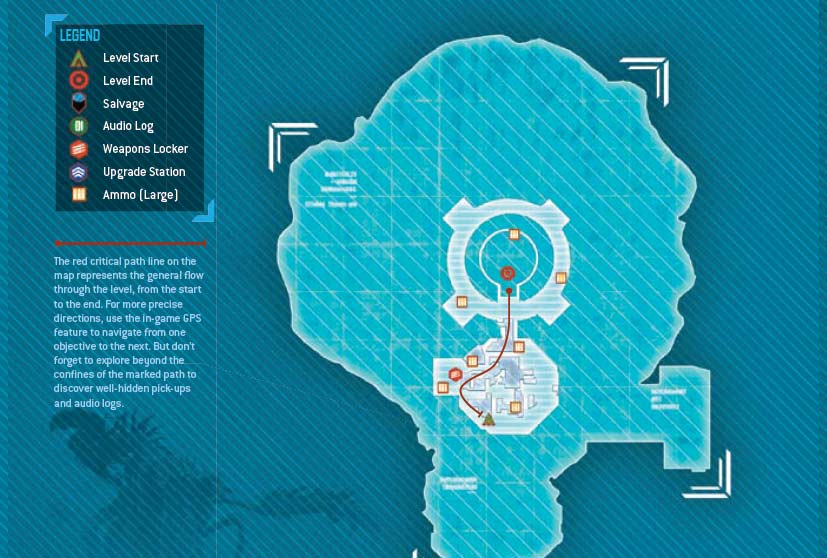
New Objective:
Find a Way Into the Core
Defend Yourself
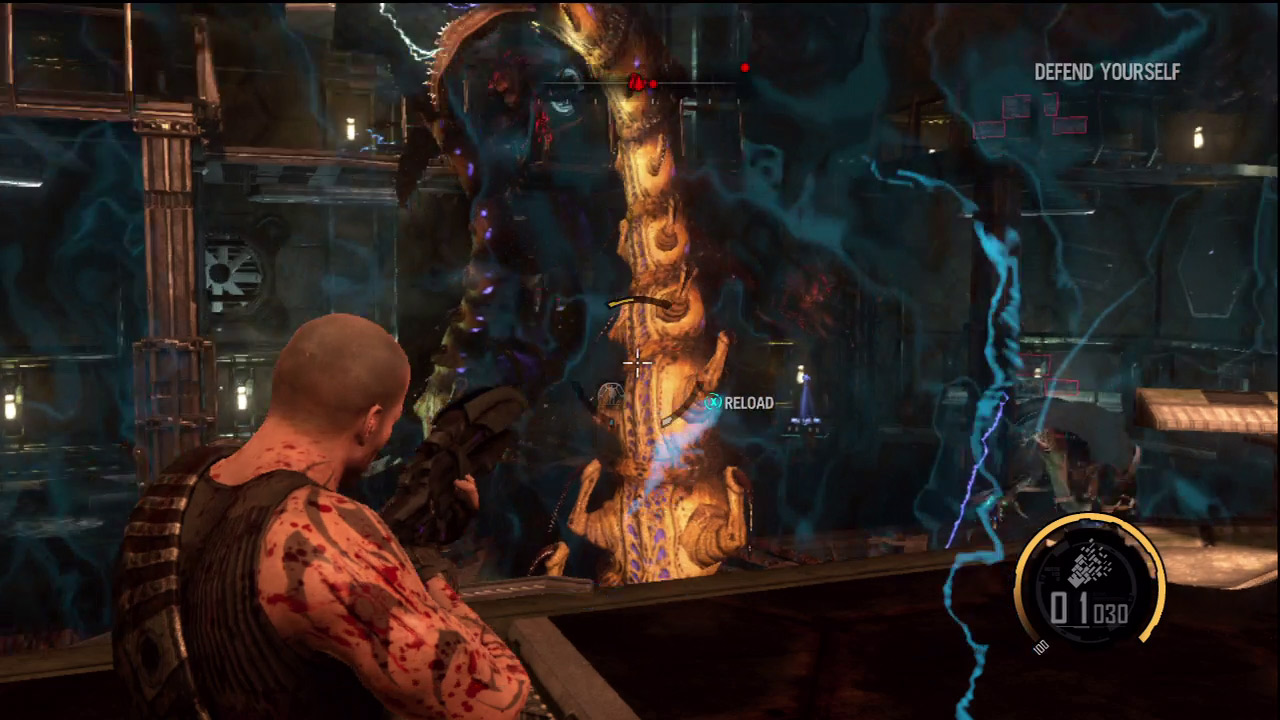
After accessing the upgrade station, step through the blast door to enter the central control room. A cutscene shows Darius entering the room as several large tentacles surround the core in the next room. Before you can even attempt to reach the core, you must defend yourself against an alien onslaught. Immediately following the cutscene, a pair of tentacles sprout from the floor below. Deploy a Shell and hammer the tentacles with rockets. Even after killing the two tentacles, two more take their place. Keep your cool and continue firing rockets. If you run out, switch to your Nano Rifle. The tentacles pose the biggest threat, but don't let them distract you from the ravagers filling the room. While waiting for the Nano Forge to recharge, remain mobile and watch for more tentacles sprouting from the platform where you entered. As soon as the Nano Forge is recharged, deploy another Shell and hold your ground while blasting enemies. When the attack finally ends, take a moment to scour the room for ammo. There's also a weapons locker in an alcove on the left side of the room. Before moving out consider bringing along the Nano Rifle, Rocket Launcher, Pulse Grenade, and Singularity Cannon.
Terraformer Core
New Objective: Destroy the Tentacles
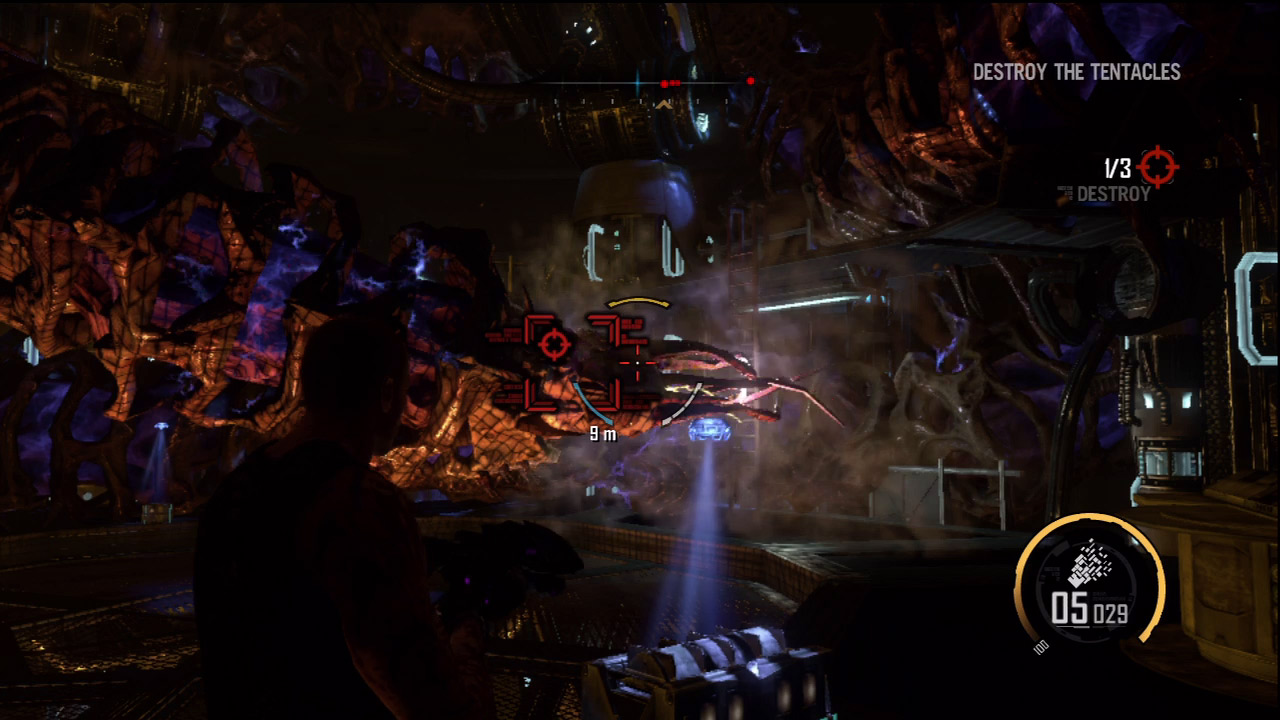
Step into the next room where three massive tentacles have wrapped themselves around the core, denying you entry. Side-step along the perimeter platform until you can catch a glimpse of the first tentacle end. Destroying this tentacle allows you to access the central platform. Once on the central platform, you can target the remaining two tentacle ends. One is located opposite the access ramp and the other is just above the platform. But as you target the tentacles, watch out for ravagers attacking from the room's perimeter.
New Objective:
Repair the Power Cores
Defend the Power Cores
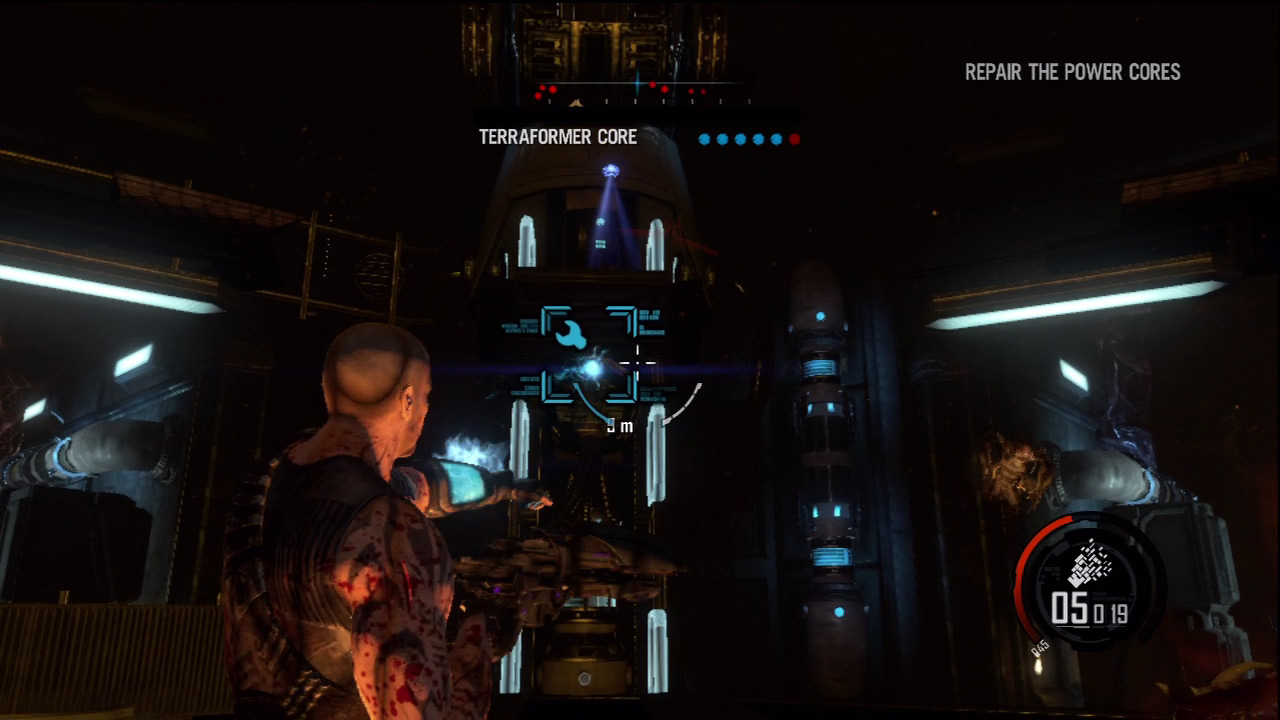
After destroying all three tentacles, S.A.M. reports that the central power cores must be repaired before the Terraformer can become operational. There are a total of six central power cores surrounding the central platform, each marked with blue brackets and a wrench icon on the HUD. Fire a repair grenade at all six of these core units to repair them. Once all six power cores are online, the Terraformer begins coming online. However, this takes a few minutes, as indicated by the yellow status bar at the top of the screen.
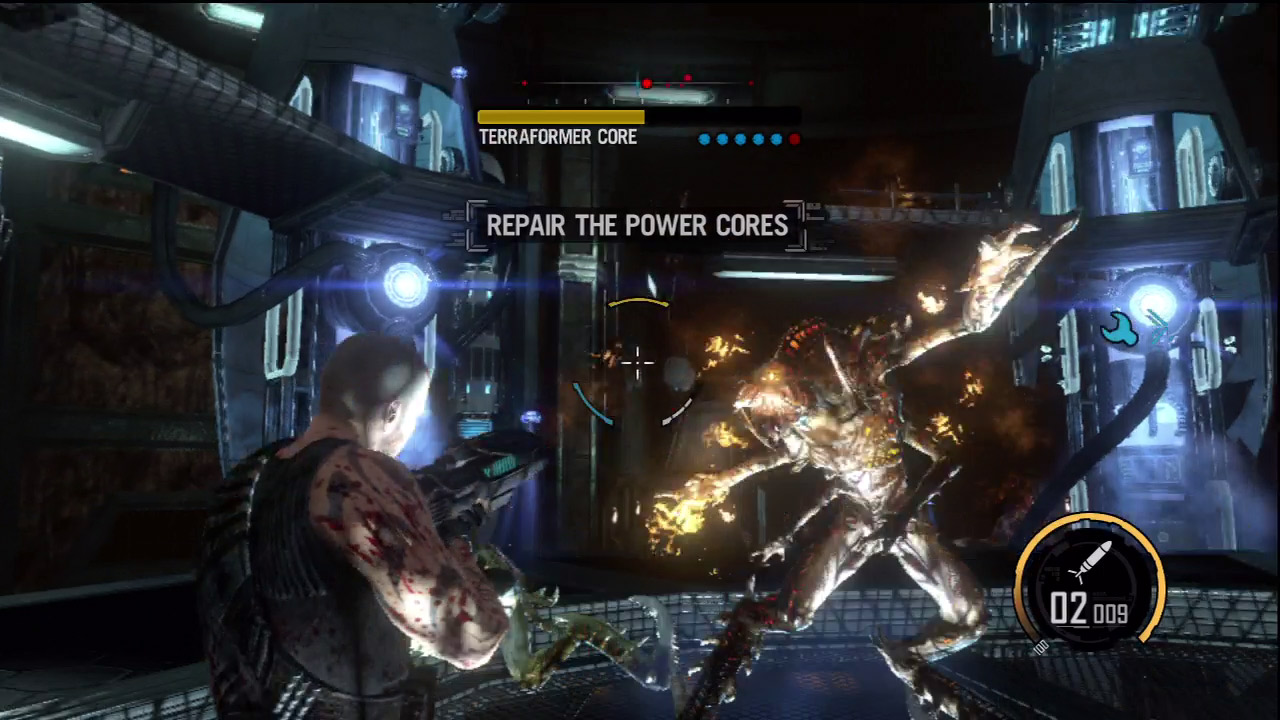
You must defend the power cores from the alien attack while the Terraformer activates. While the aliens will attack you, their main targets are the six power cores. Stay on the central platform and blast any bugs that get close to the power cores. Ravagers make up the bulk of the attacking force, but watch out for berserkers lobbing projectiles from a distance. Engage distant targets with the Rocket Launcher or Singularity Cannon. At close range, use the Pulse Grenade or Nano Rifle to minimize damage to the power cores.
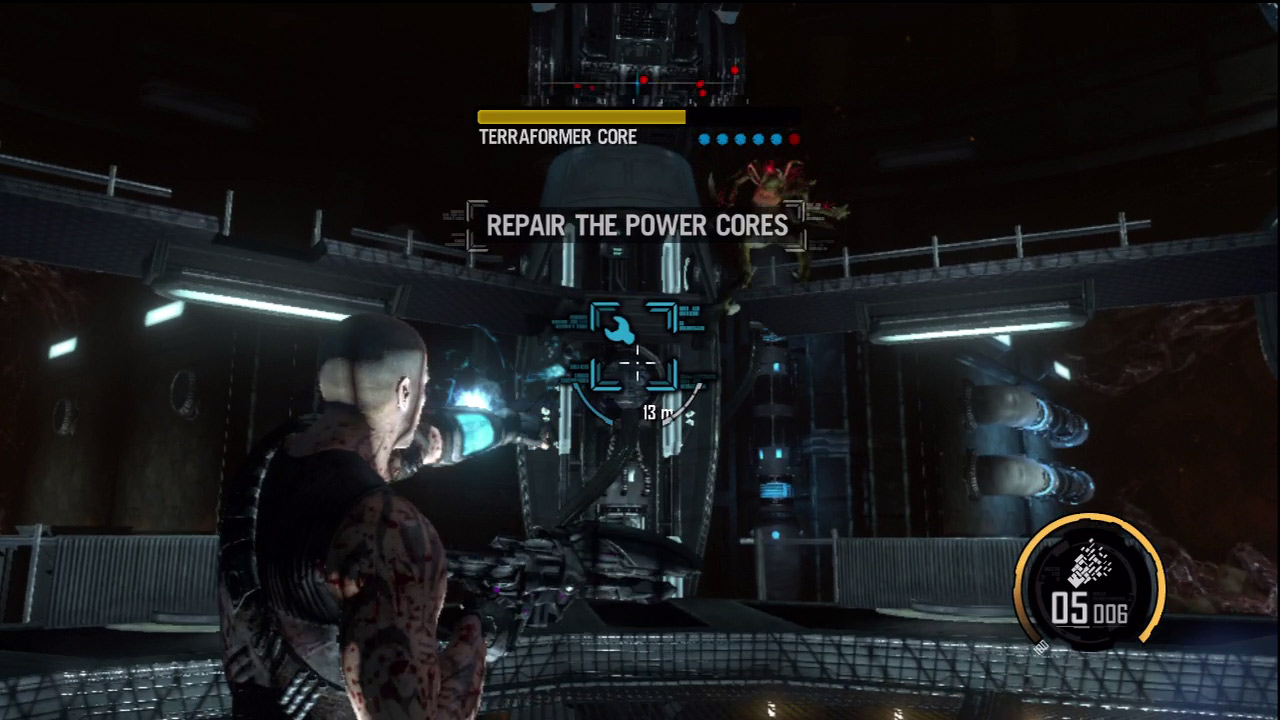
If any of the power cores are destroyed, the activation process grinds to a halt. Immediately hit any destroyed power core with a repair grenade to resume the activation process. While defending the core, keep an eye on the six blue dots just below the Terraformer Core status bar. Each of these dots represents a power core. If a dot turns red, it indicates one of the power cores is destroyed. This handy indicator helps you keep tabs on each core without constantly spinning in circles to conduct a visual inspection. Continue defending and repairing until the Terraformer is activated. At this point all the aliens drop to the ground and the concluding cutscene is triggered. Great job—you've finally brought an end to this plague!