
Red Faction: Armageddon Guide Walkthrough Campaign
Older Enemies
| Icon | Name | Description | Gamerscore | Trophy |
|---|---|---|---|---|

|
Plan B | Find out how to reach the lair. | 15 | Bronze |
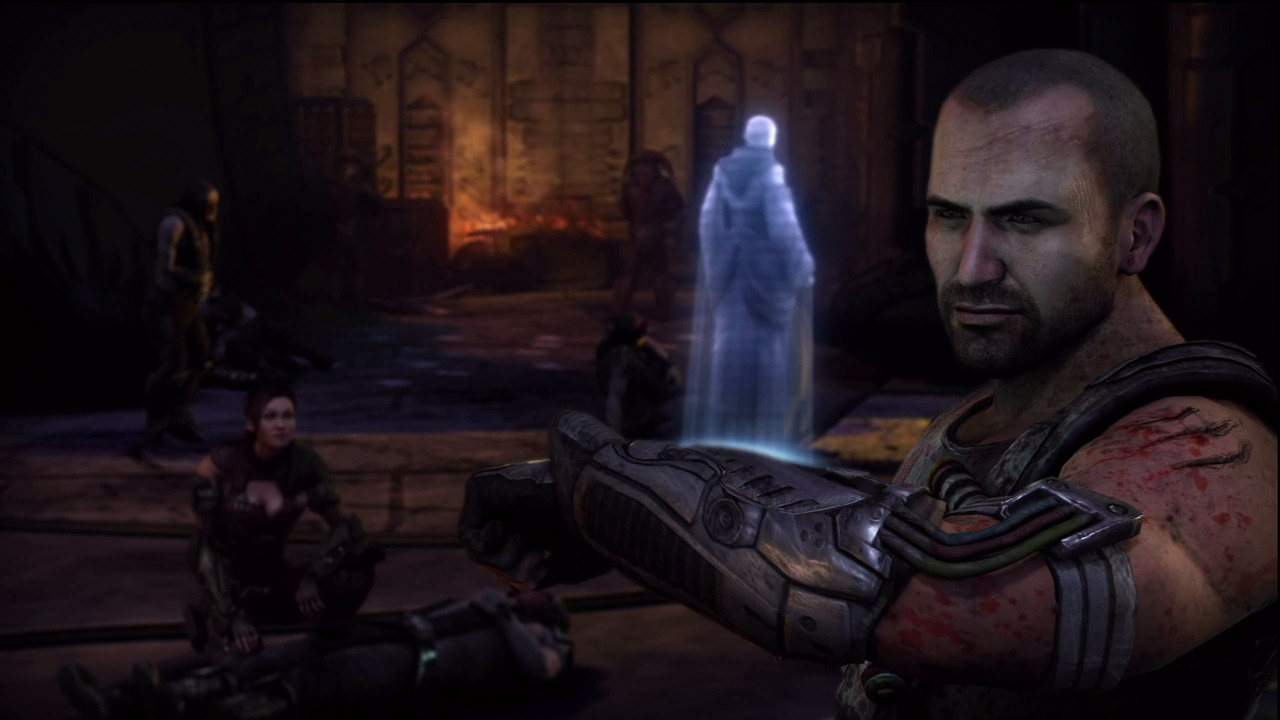
While Kara tends to the wounded, Darius checks in on Noella's partially decrypted holo-recording, but it isn't of much use. Full decryption will take over 200 hours. S.A.M. needs a better processing chip in order to speed up the decryption process. According to S.A.M., one chip exists nearby in the Marauder Research Facility. Darius heads out to retrieve the chip while Kara stays back and helps aid the wounded.
New Objective: Find the Lab
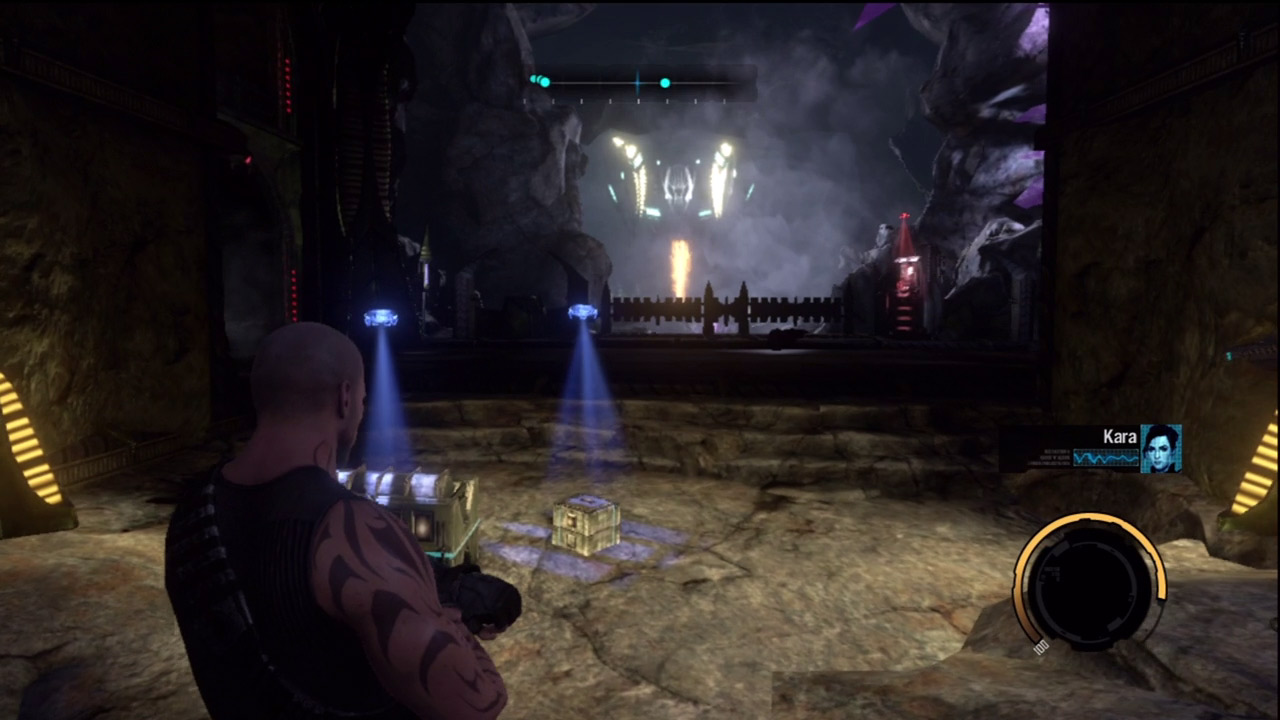
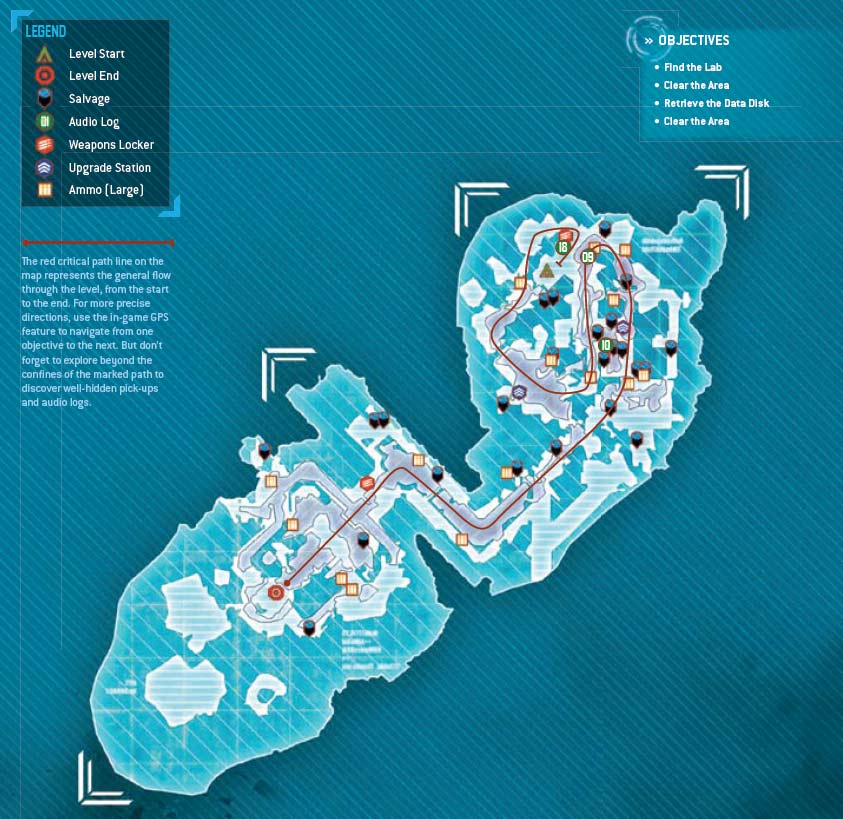
Now Darius just needs to find a way into the Marauder Research Facility. According to Kara, the western lift used to be the fastest path—but it collapsed. S.A.M. finds another way in and plots the course. Unfortunately, the path is likely crawling with bugs. Before beginning your journey, pay a quick visit to the weapons locker at the end of the passage. Expect a wide mix of creatures in the facility, so plan ahead. The Nano Rifle is always a good choice along with the Rocket Launcher. Fill out the two remaining slots with weapons of your choice.
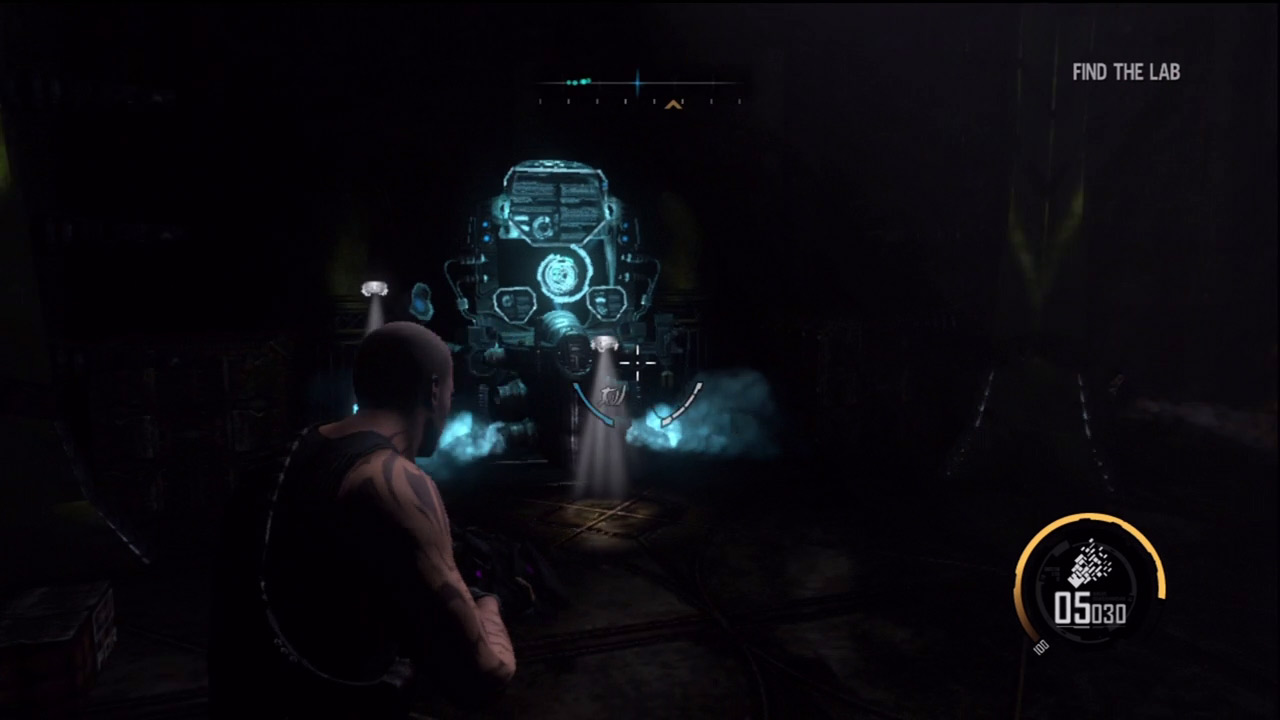
After grabbing some weapons, proceed down the corridor to the left. Stop at the upgrade station in this corridor and spend some of that salvage you've been hoarding. If you haven't already, make sure you've upgraded your Shell as much as possible—Shell Boost remains the best upgrade you can currently purchase.
New Objective: Clear the Area
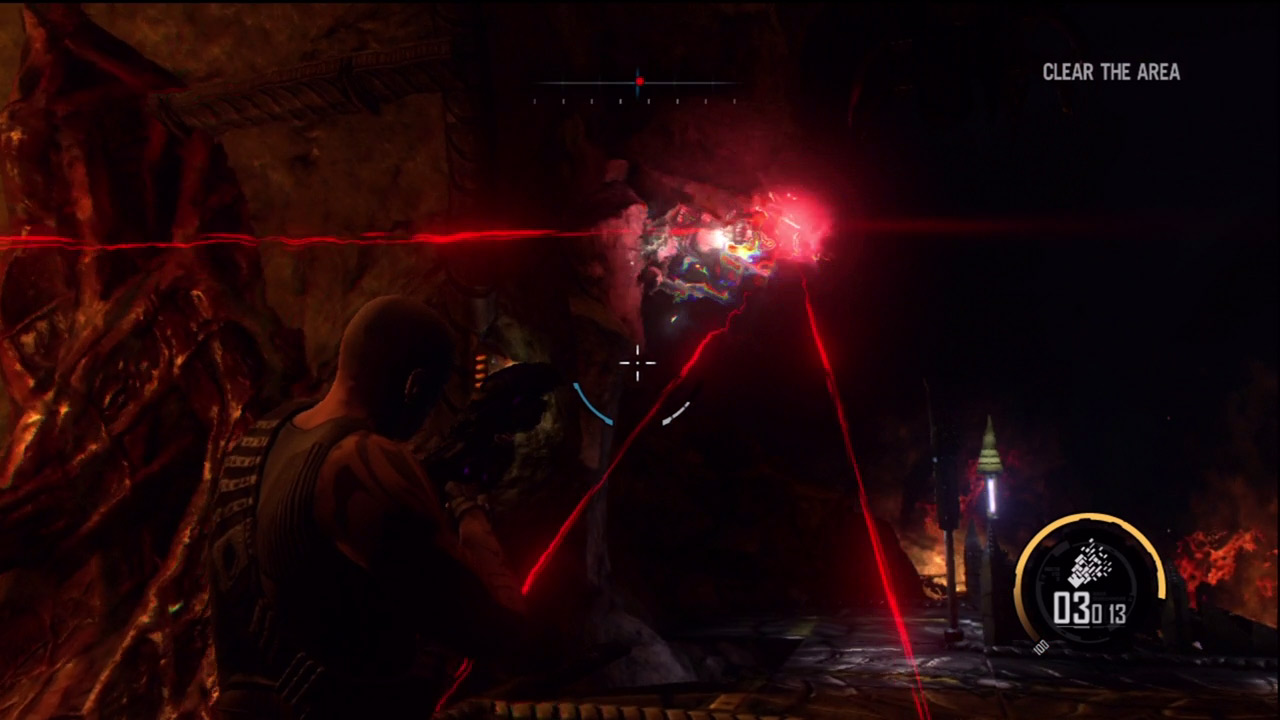
Just beyond the upgrade station, you're ambushed by a wraith and several creepers. The wraith deploys psychic barriers, preventing you from escaping this chamber. Immediately deploy a Shell and target the wraith with your most powerful weapon—the Rocket Launcher works well.The wraith is elusive and only appears for a few seconds at a time. When the wraith isn't present, focus on the creepers scurrying about the chamber. You can take these enemies out with Impact or stun them with Shockwave. After the first wave of creepers is eliminated, a second wave appears. Climb onto the nearby platform to gather more ammo if necessary. In the meantime, always watch out for the wraith and be ready to dive out of the way if you come under attack by its laser. Once the wraith is dead, the psychic barriers are removed from the adjoining passages, allowing you to continue. Before leaving, scour this chamber for ammo and salvage.
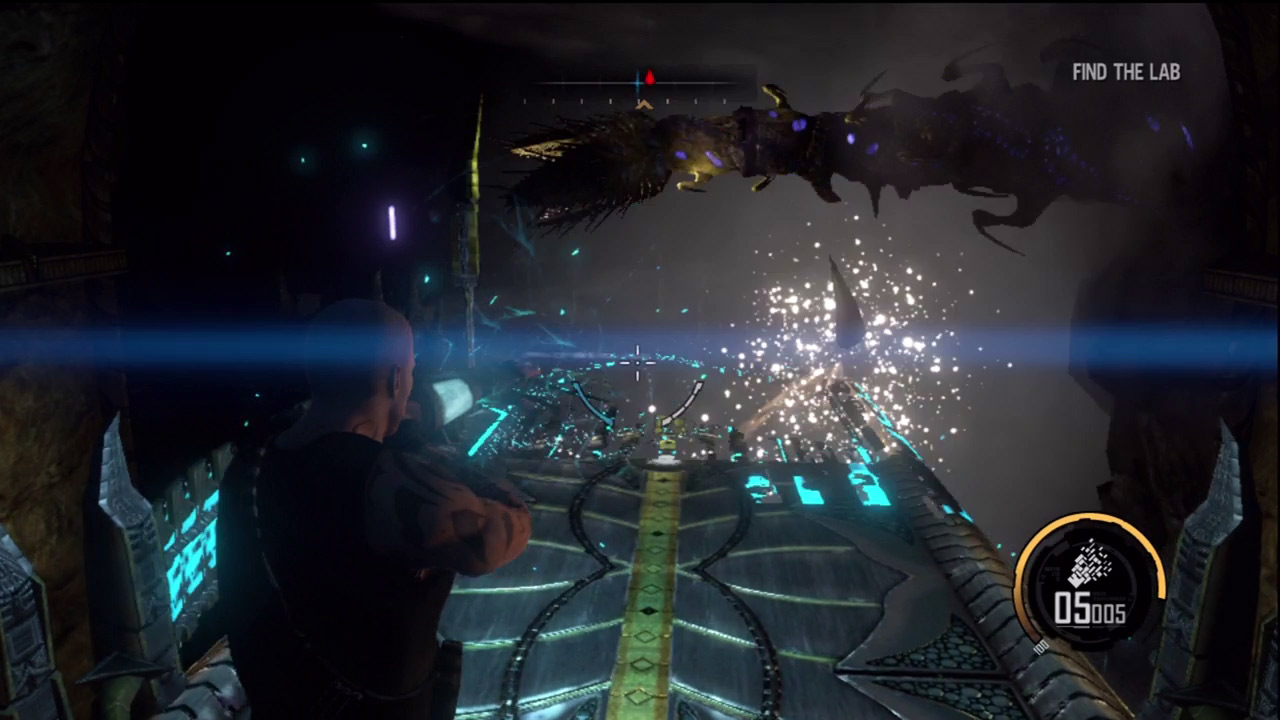
In the adjoining corridor, repair the damaged pieces of flooring while you follow the GPS markers. Also, watch out for tentacles emerging from the walls. You don't have to kill these tentacles. Simply shooting them a few times is enough to make them retreat back into the walls. However, avoid making direct contact with the tentacles. As soon as a tentacle appears, stop, shoot, and wait for it to retreat before advancing any further.
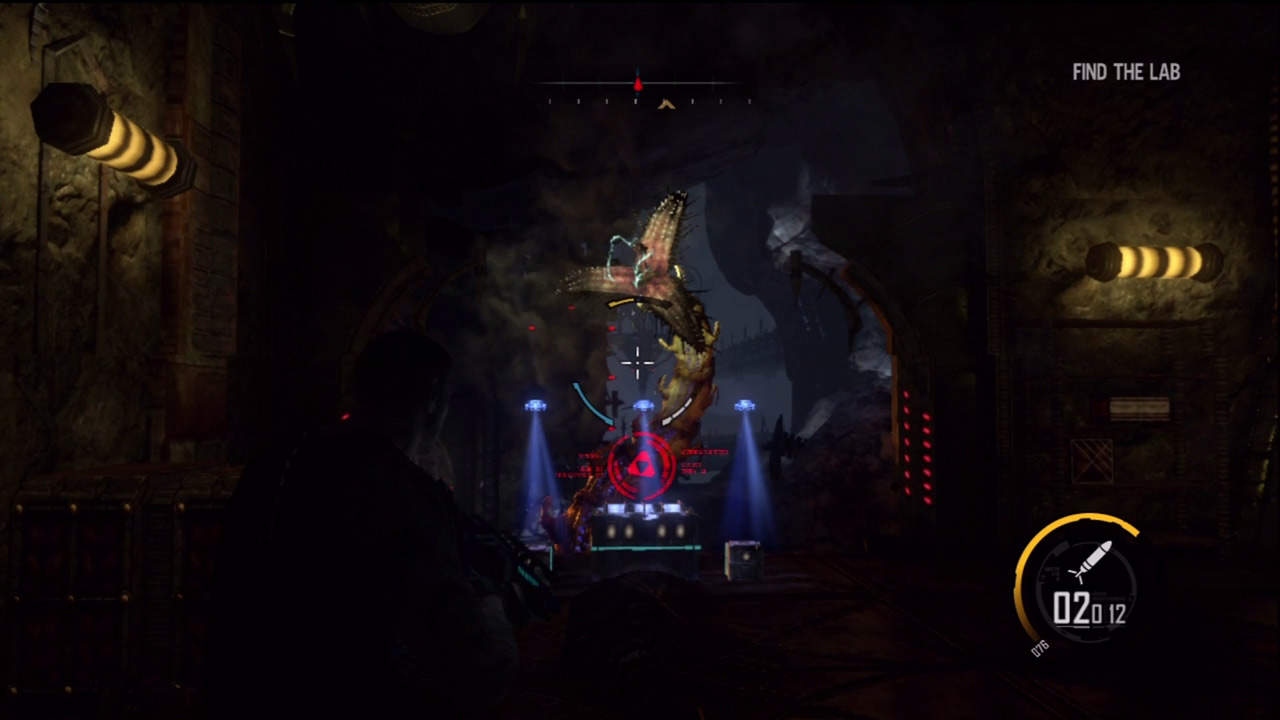
After grabbing the audio log, turn your attention to the tentacle at the far end of the corridor. Be ready to dive left or right as it throws debris in your direction. When you're not dodging debris, target the tentacle with your Rocket Launcher and unload on it. Don't worry about firing too many rockets—there's more ammo at the end of the corridor. Once the tentacle is down, follow the GPS markers through the cavern to the right where you can access another upgrade station.
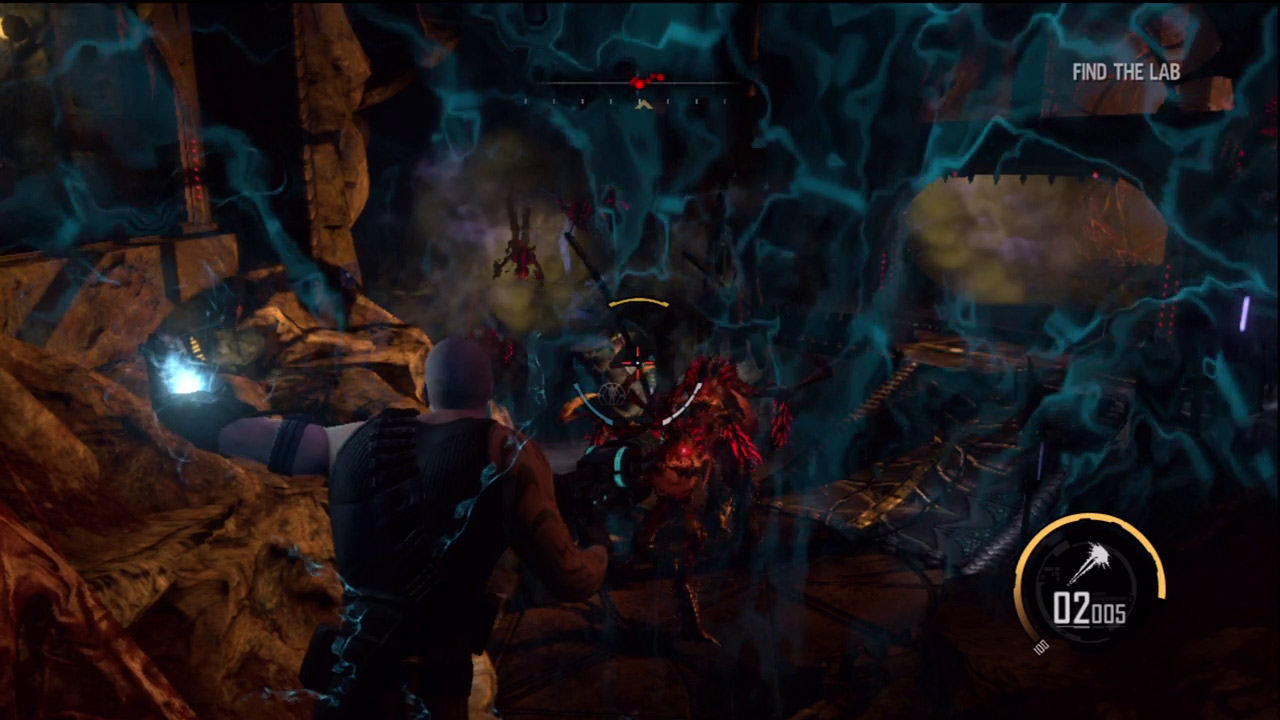
After using the upgrade station, you're ambushed by another tentacle and several ravagers. Immediately deploy a Shell and open fire on the tentacle with the Rocket Launcher. If you've invested in the Shell Boost upgrade, the Shell lasts just long enough to completely eliminate the tentacle. Next, focus on clearing out the ravagers. Stay on the move and backpedal toward the upgrade station if necessary to put a buffer between yourself and these aggressive creatures. When the Nano Forge recharges, consider using Impact or Shockwave to assist your efforts. When the area is clear, search the small room to the right for ammo and salvage before carrying on.
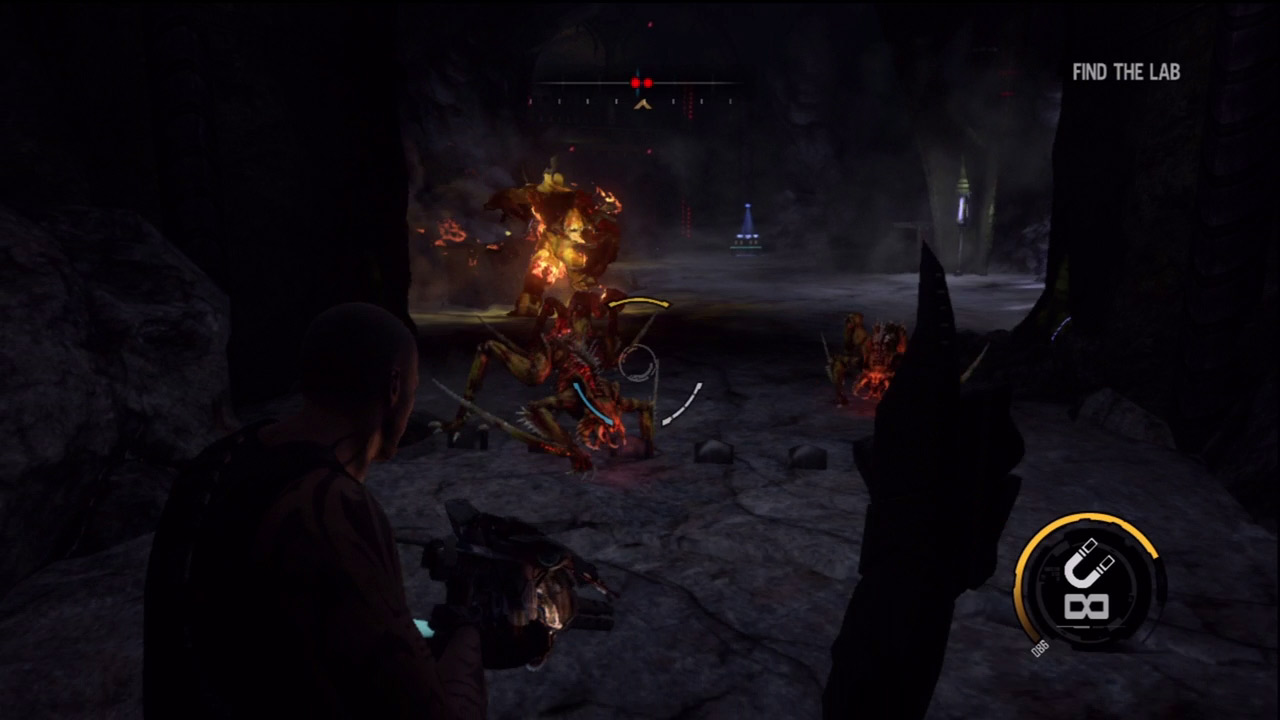
The narrow passage leading down to the next chamber is crawling with creepers. Use Impact or Shockwave to get the upper hand in this fight. While battling the creepers, take notice of the berserker in the chamber below. If necessary, use Impact or the Magnet Gun to keep pushing the berserker deeper into the chamber as you battle the creepers. If you find yourself cornered, deploy a Shell and pound the berserker with your Rocket Launcher until he explodes. Mopping up the creepers is easy once the berserker is out of the way. Grab any salvage and ammo scattered across the room and then follow the GPS markers to a nearby bridge.
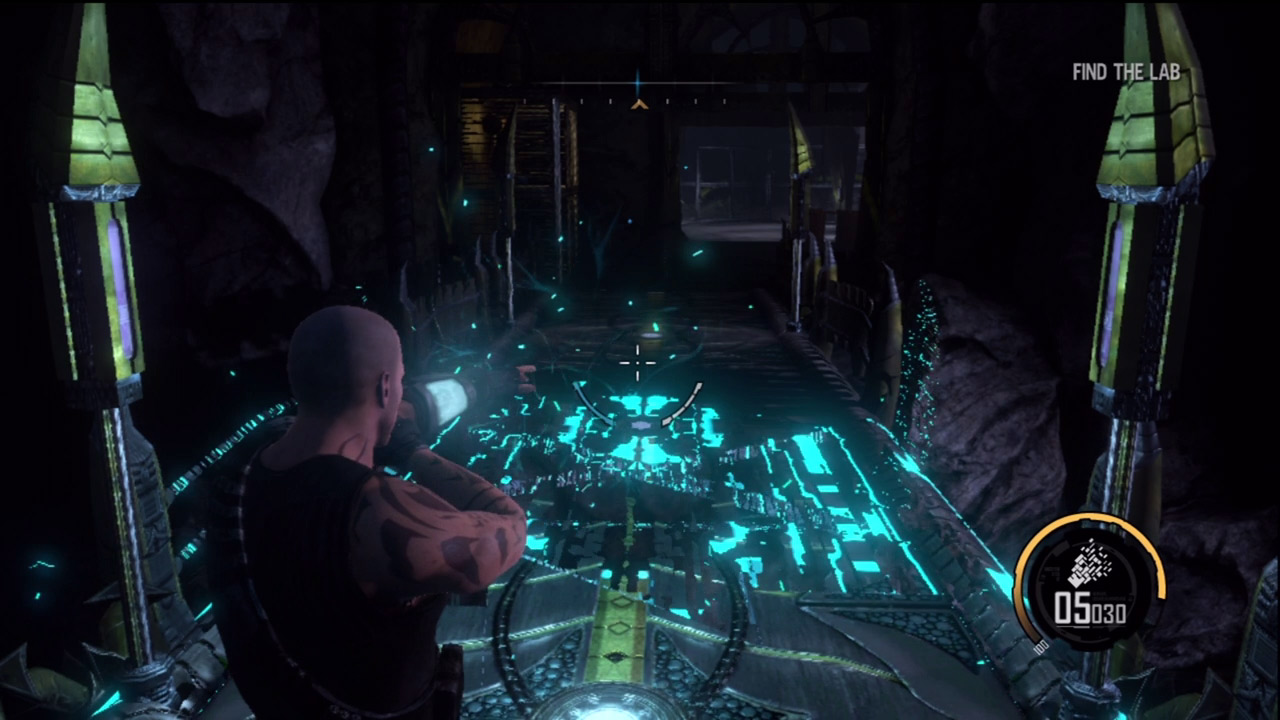
As you begin to cross the bridge, a piece of pipe breaks free from the ceiling and crashes through the center of the bridge. Fortunately you can repair the damage. After crossing the bridge, break through the cage-like container on the left to grab a pair of salvage containers. There's also an audio log on the right.
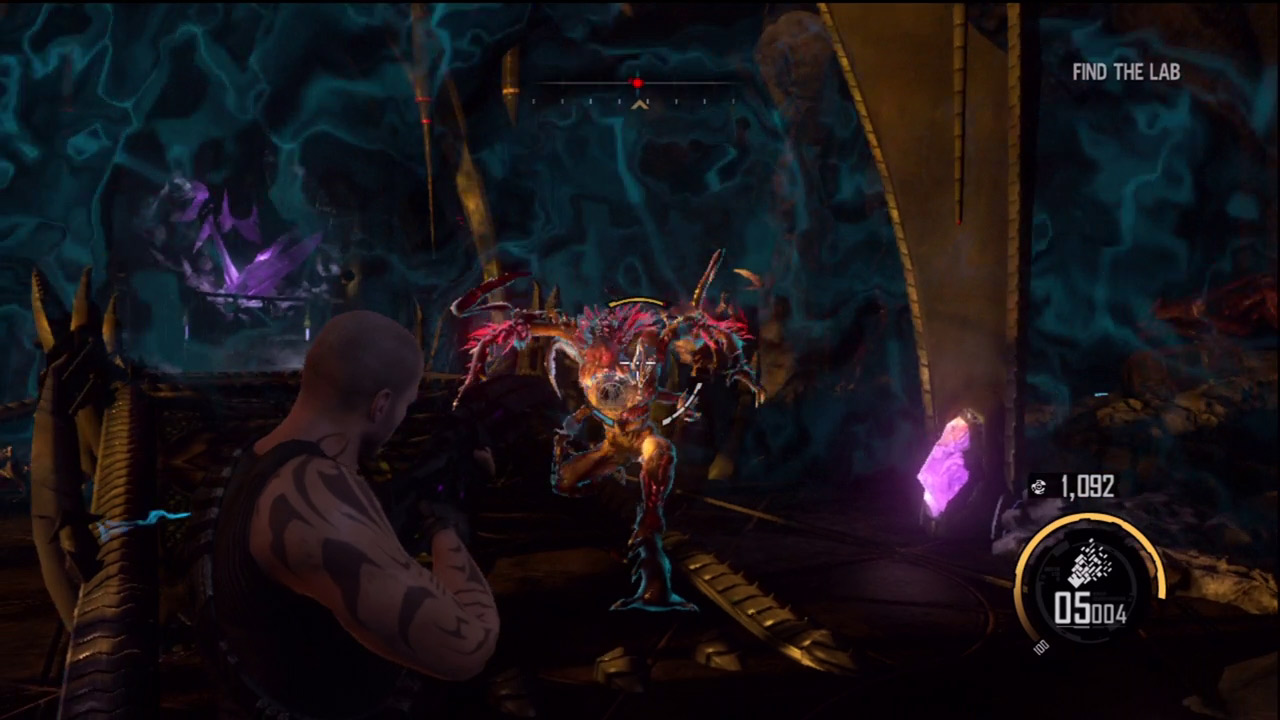
Before entering the next passage, notice the pods attached to the walls on the left and right. Try to destroy these pods from the entryway before stepping inside. Once you enter the passage, you're ambushed by several ravagers and a couple of wraiths. The wraiths seal the entry and exit points, forcing you to stay put and fight. Immediately deploy a Shell, then focus your fire on the two wraiths, hitting them with the Rocket Launcher. You'll know you've killed both wraiths when the psychic barriers disappear. At that point, finish off the ravagers and destroy any pods before exiting this passage. Be sure to grab the nearby salvage and ammo before leaving.
Marauder Lab
New Objective: Retrieve the Data Disk
The lab is just a little too quiet. S.A.M. reports that there is no movement ahead. Gather the salvage and ammo as you advance along the dark corridor.
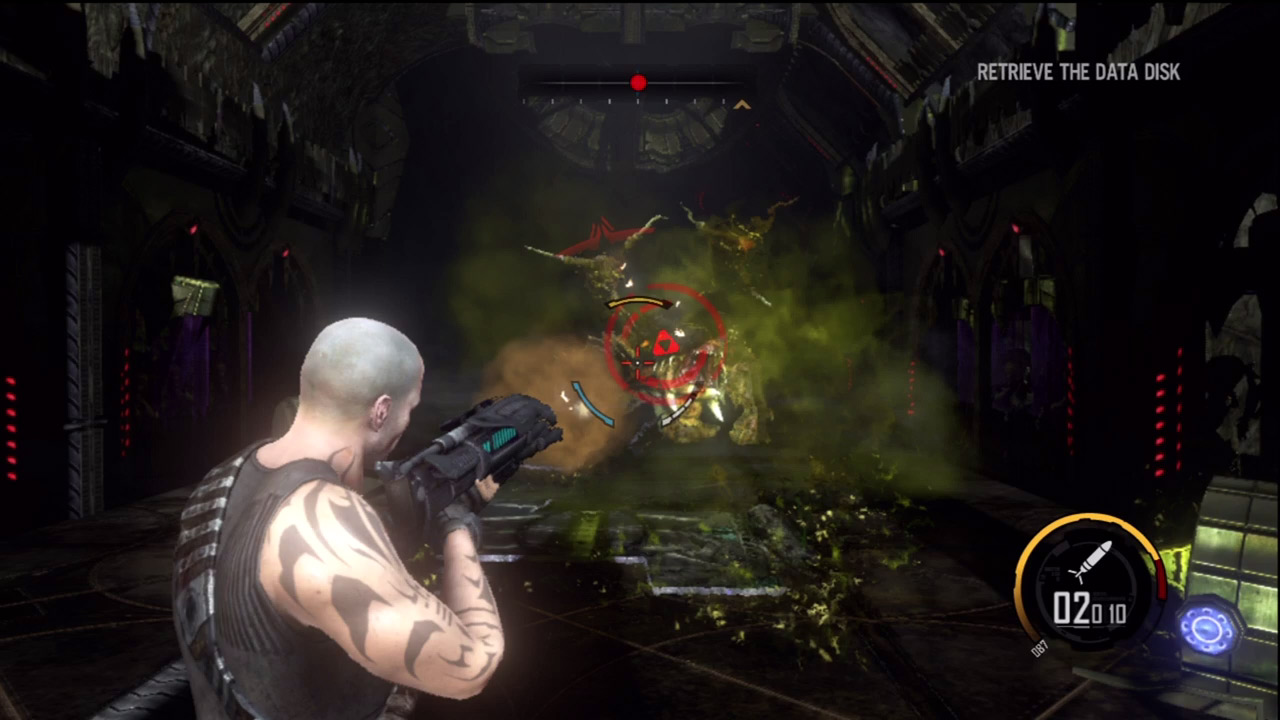
Suddenly, the overhead lights turn on, revealing a behemoth at the far end of the corridor. Immediately open fire with the Rocket Launcher, scoring as many hits on the behemoth before it charges directly at you. Dive to the side, then backpedal down the corridor while firing as the behemoth turns around and prepares another charging attack. Keep playing matador with the behemoth until it finally slumps to the ground. Or, if you're having trouble dodging the behemoth's attacks, simply deploy a Shell and hold your ground. However, the Shell won't last long enough for you to completely kill the behemoth. At some point you'll need to dodge the massive creature's attacks.
New Objective: Clear the Area
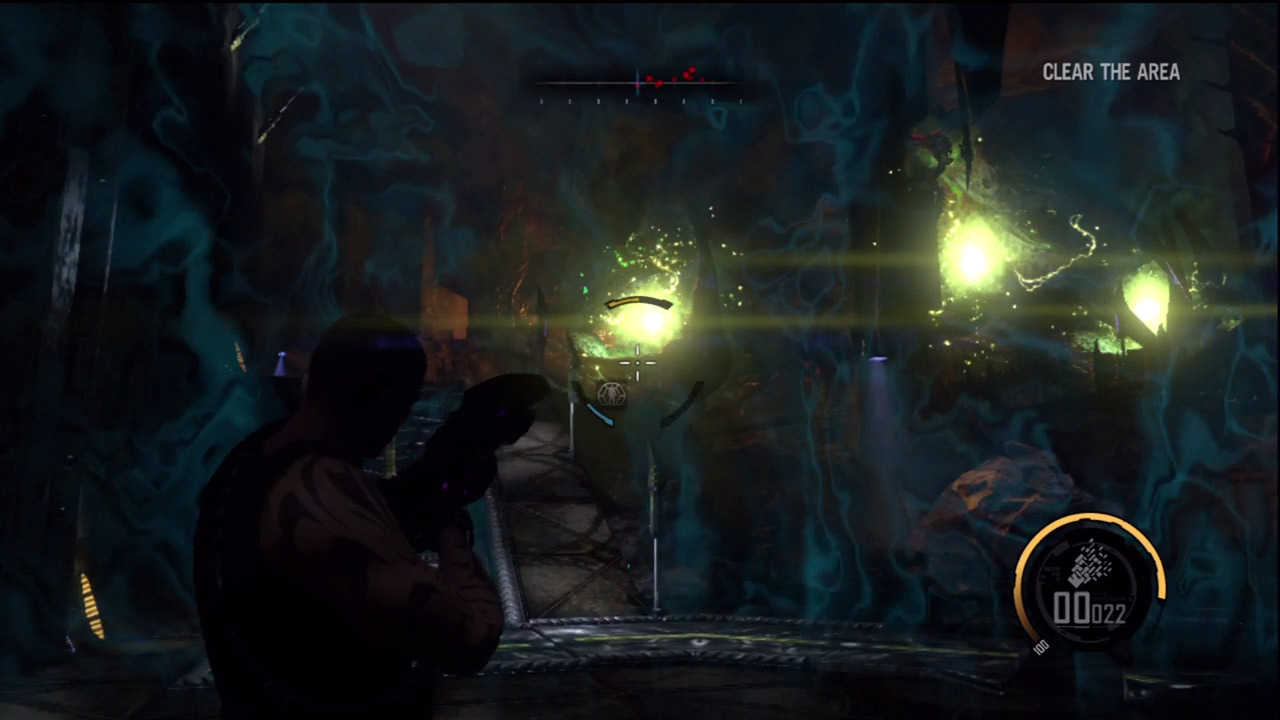
S.A.M. reports that the chip is nearby. Before entering the next chamber, access the weapons locker. For the fight ahead, bring along the Nano Rifle, Plasma Cannon, Rocket Launcher, and Singularity Cannon—you need all the heavy firepower you can get. As you enter the next room, a monolith appears on the upper level, along with several ravagers. Deploy a Shell and then open fire on the monolith—take it out quickly with the Rocket Launcher or Plasma Cannon. Once the monolith is destroyed, focus on the ravagers positioned along the room's perimeter and ceiling. Soon, three more monoliths appear on the upper level. Once again, deploy a Shell and attack the monoliths with your Rocket Launcher or Plasma Cannon. It's important to destroy the monoliths as soon as they appear, otherwise the ravagers are more resistant to your attacks.
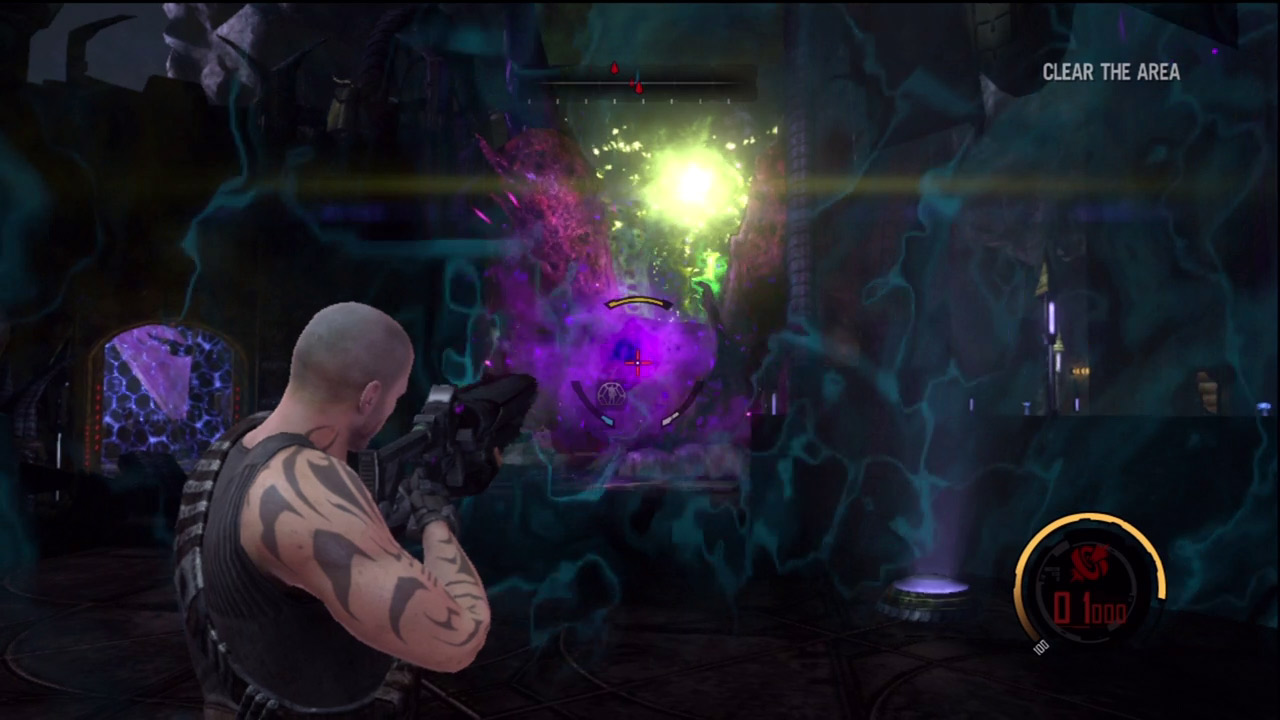
As more monoliths emerge on the room's upper level, traverse one of the ramps on the left or right side of the room. Locate a spot on the upper level where you have a clear line of sight on multiple monoliths, then deploy another Shell. Hammer away at the monoliths with any weapon you have. The Singularity Cannon can inflict heavy damage on the monoliths. For best results, deploy a black hole between two monoliths. While the black hole can't dislodge the monoliths, the resulting explosion when the black hole collapses inflicts heavy damage over a wide area. Study your compass and hunt down each monolith and ravager until the room is clear. Before grabbing the data disk, scour the room for salvage and ammo—by now, you'll probably need all the ammo you can find. When you've grabbed all the ammo you can carry, move to the white bracketed location on the HUD to retrieve the data disk.
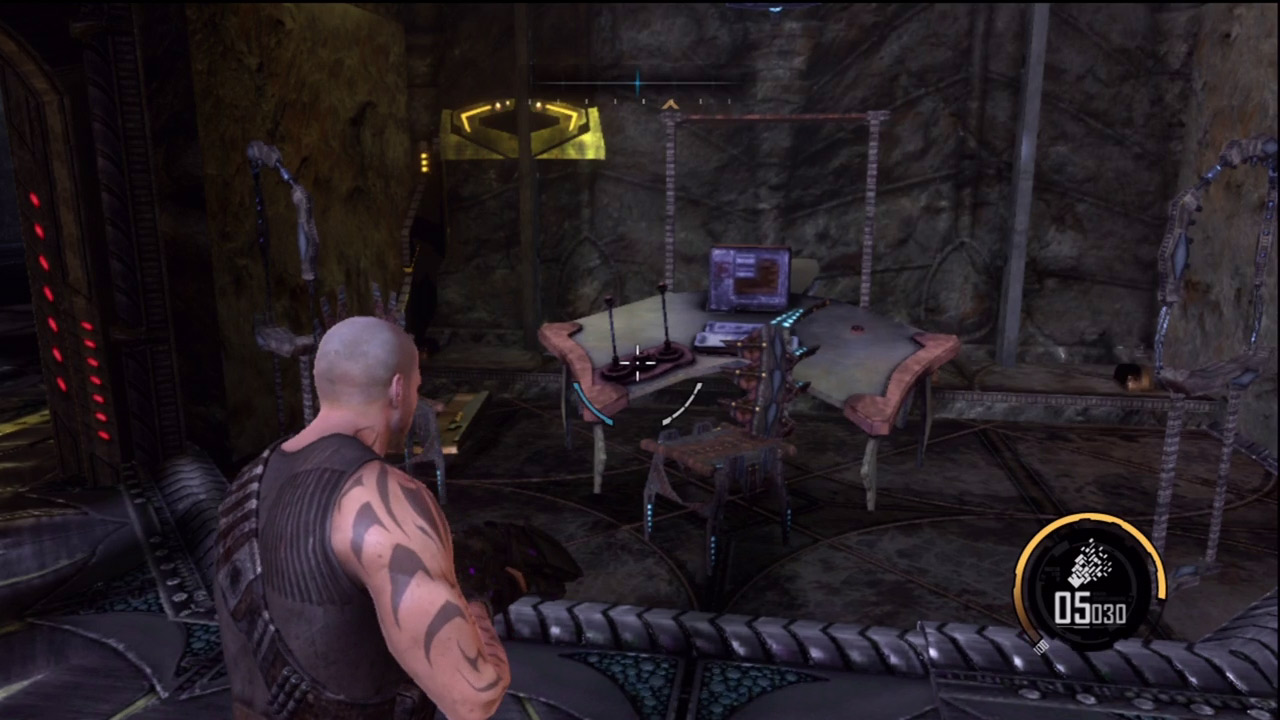
Moving next to the desk ends the level. In the following cutscene, Darius retrieves the chip, allowing to decrypt Noella's holo-recording data. In her last recording, Noella mentions something about a central mind responsible for controlling this outbreak.
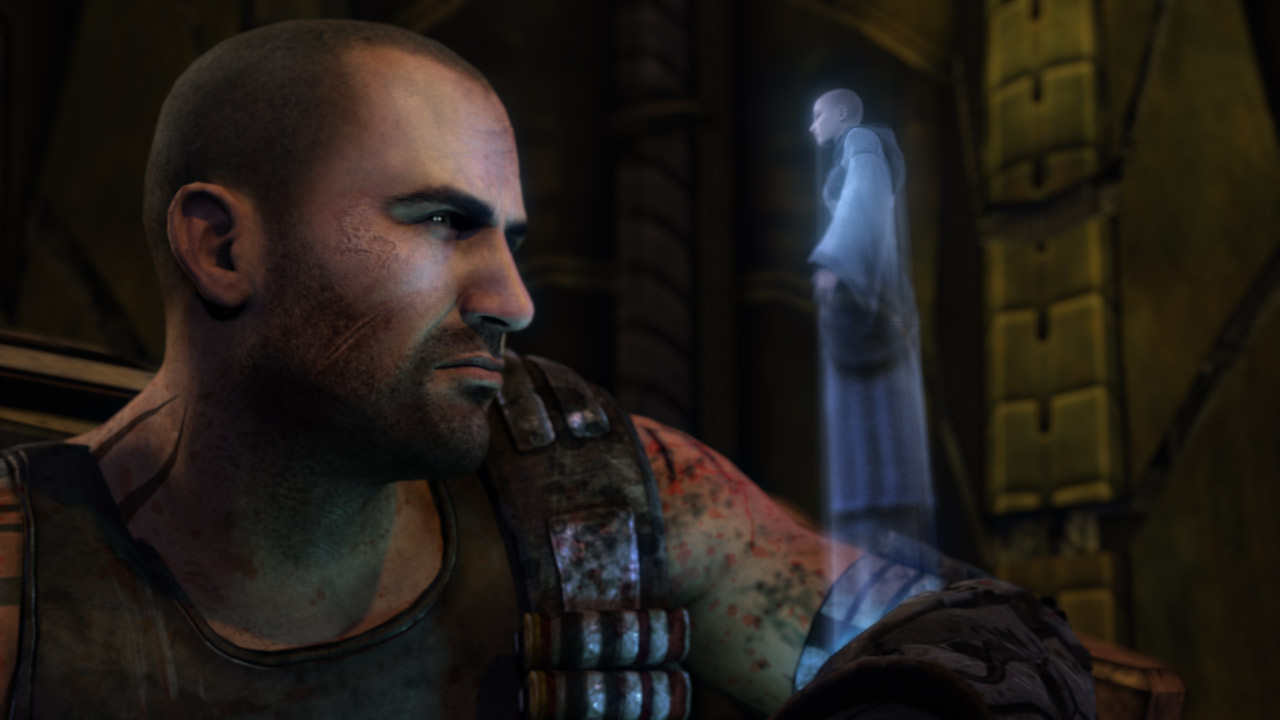
Long ago, Capek mapped a path to this central mind before it drove him mad. According to Noella, killing the central mind is the only hope of stopping this plague. In the final moments of Noella's recording, Adam Hale is shown sneaking up behind her and shooting her in the back.
Archivist Logs
All of Noella's audio logs are now accessible via the Extras menu. They are included with the other audio logs you've collected, listed under Archivist Logs 1-10. If you've gathered at least 30 of the 36 audio logs encountered up to this point, the Chronicler achievement/trophy also unlocks upon the retrieval of the Archivist Logs.
Archivist Log Transcripts
| Log | Transcript |
|---|---|
| 01 | Someone has been accessing the archives remotely...I'm not sure what they're looking for, but the targeted files seem to be from the Ultor database. They won't have much luck finding anything...they'll never be able to get through the decryptions.. Should probably keep an eye on this, though...Who knows what else they're after. |
| 02 | We've found out the identity of the hacker. It's Adam Hale. The files being targeted are Capek's personal logs...Everything we've kept secret from the public-secret from our own leaders-is in there...the MASTers, the Seal, the origin of the Plague...He must be stopped. |
| 03 | Hale knows about the expedition... He knows Capek and his Martian Advanced Science Team-the MASTers-found an ancient shaft...thousands of years old...That's why he's trying to access the records. He wants what's down there... Sleeping in the planet core. |
| 04 | The destruction of the Terraformer has been devastating...but there is a silver lining in it. Hale is dead. Whatever his master plan was, it's now over. Capek's secrets are buried with him. |
| 05 | I can't go to the Marauders with this information. The Archivists have kept the truth hidden all these years...I cannot break my vows. But I fear what will happen if I do not. Hale is too close... |
| 06 | Capek discovered the...the nightmares...All his scientific breakthroughs...his “miracles”...were a direct result of what the MASTers found deep below the surface. We were successful in stopping their fi rst attack...but the Ultor Plague was just a precursor...something worse is coming. |
| 07 | This can't be happening...Hale is dead. No one else knew about the creatures... The clues to stopping them must be in Capek's journals. I can find it. I just need more time... |
| 08 | They spent months inside those tunnels...studying the dormant creatures...taking samples... And then something happened. Something woke them up. They escaped just in time... Only a handful of scientists survived, and the ones that returned had gone mad. Capek the worst of them all... |
| 09 | The Seal is the key to everything...its technology is far superior to anything we've ever known. According to the records, it acts as an environmental control...an atmospheric generator of some kind. No one knows where it came from...But as long as the Seal is in place, the Plague stays dormant. |
| 10 | Hale is alive...I'm sure of it. He accessed the Ultor logs again last night. I've locked the archives, but that won't stop him. He'll come looking for me. None of this can be stopped now...We are all doomed. |