
Red Faction: Armageddon Guide Walkthrough Campaign
Marauder Defenses
| Icon | Name | Description | Gamerscore | Trophy |
|---|---|---|---|---|

|
Haymaker | Kill 5 enemies in one shot with Impact. | 10 | Bronze |
|
Hold Still | Kill 6 enemies in one use of Shockwave. | 10 | Bronze |

|
Zero G War | Kill 50 Shockwaved enemies before they hit the ground. | 20 | Bronze |
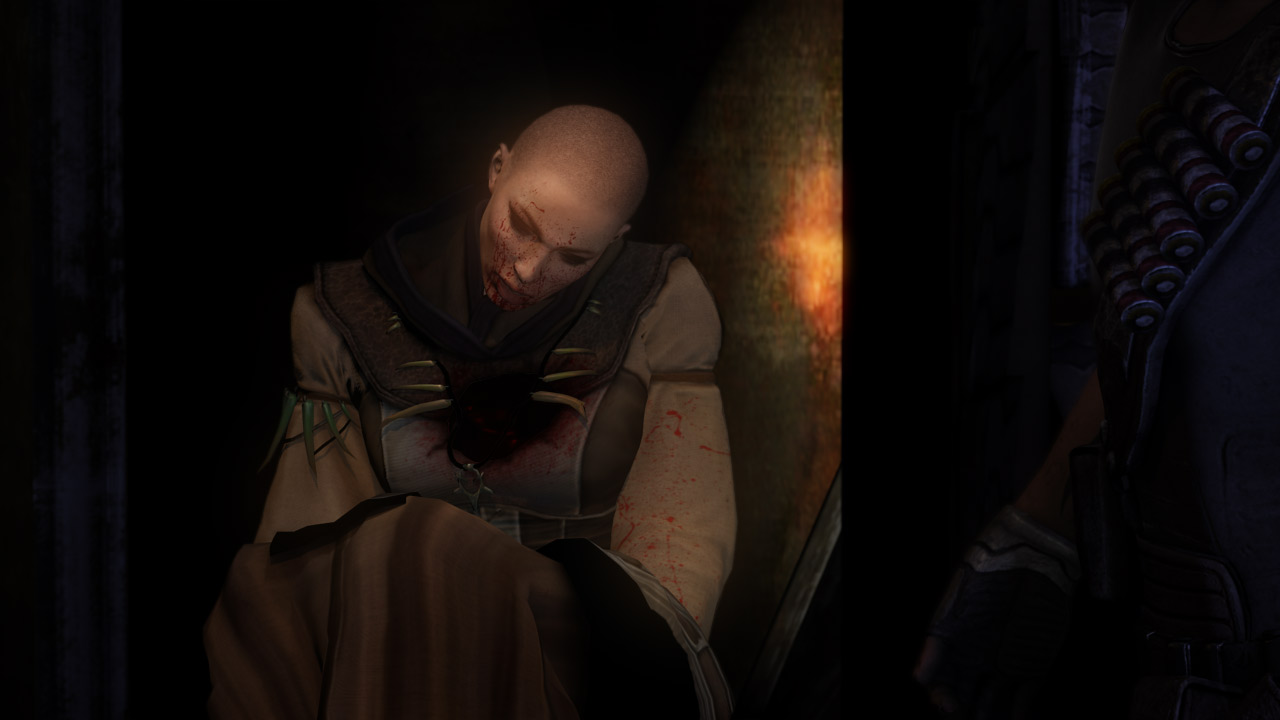
Kara and Darius arrive at the Marauder homeland in an attempt to uncover more information about the creatures. When they reach the Marauder archives, Kara's friend, Noella, is nowhere to be found. After a brief search, Darius finds Noella—and she's dead. It's unclear what happened here, but Darius finds a holo-recording unit registered to Noella. Unfortunately, the recording unit is heavily damaged. S.A.M. reports that data retrieval will be difficult and time consuming. While S.A.M. begins the data retrieval process, Darius hears a distant disturbance. It sounds like the Marauders are under attack.
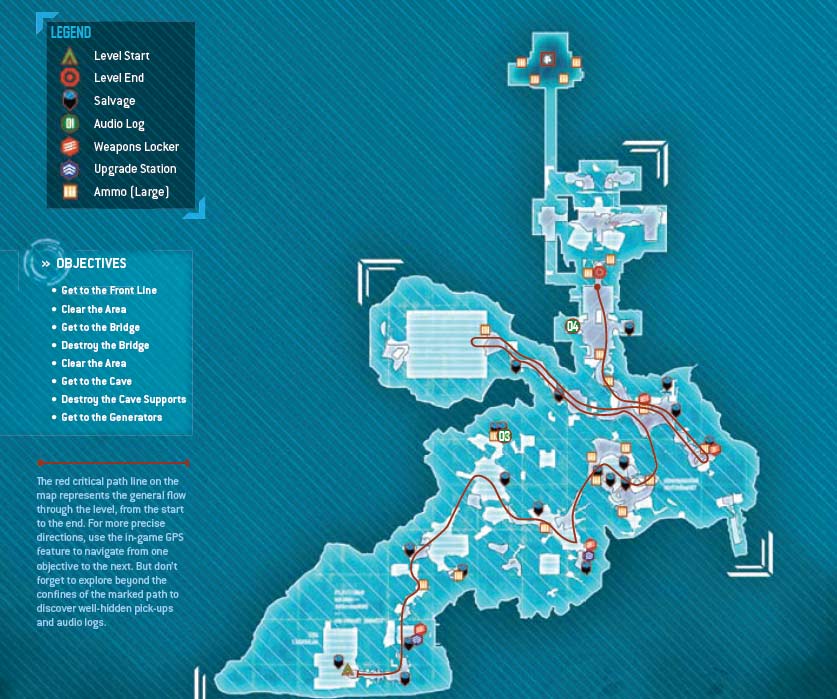
New Objective: Get to the Front Line
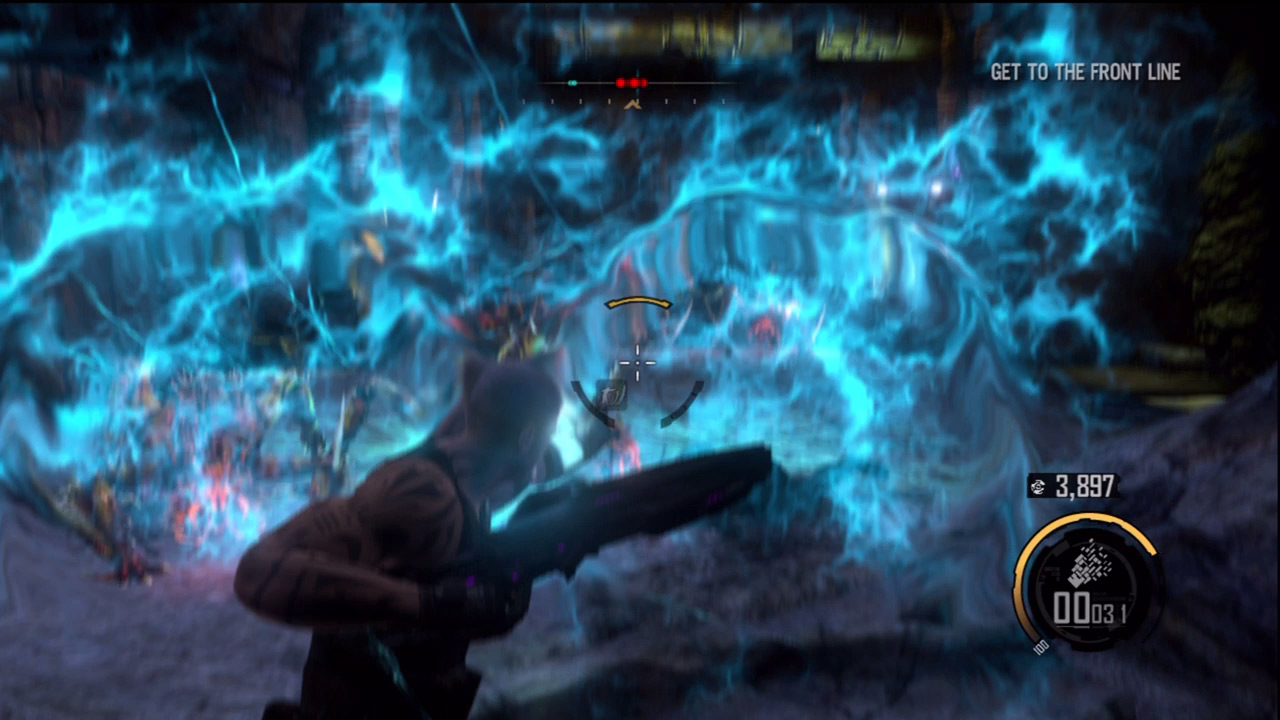
The bugs have shorted out the perimeter shields. While Kara tries to get the shields back online, Darius is off to help the Marauder troops hold off the attack. Before moving out, turn around to grab a salvage container. Next, follow the GPS markers to the adjoining corridor where several Marauder troops are under attack by a swarm of creepers. Use Impact to wipe out the majority of the creepers and then finish the rest off with your weapons or melee strikes.
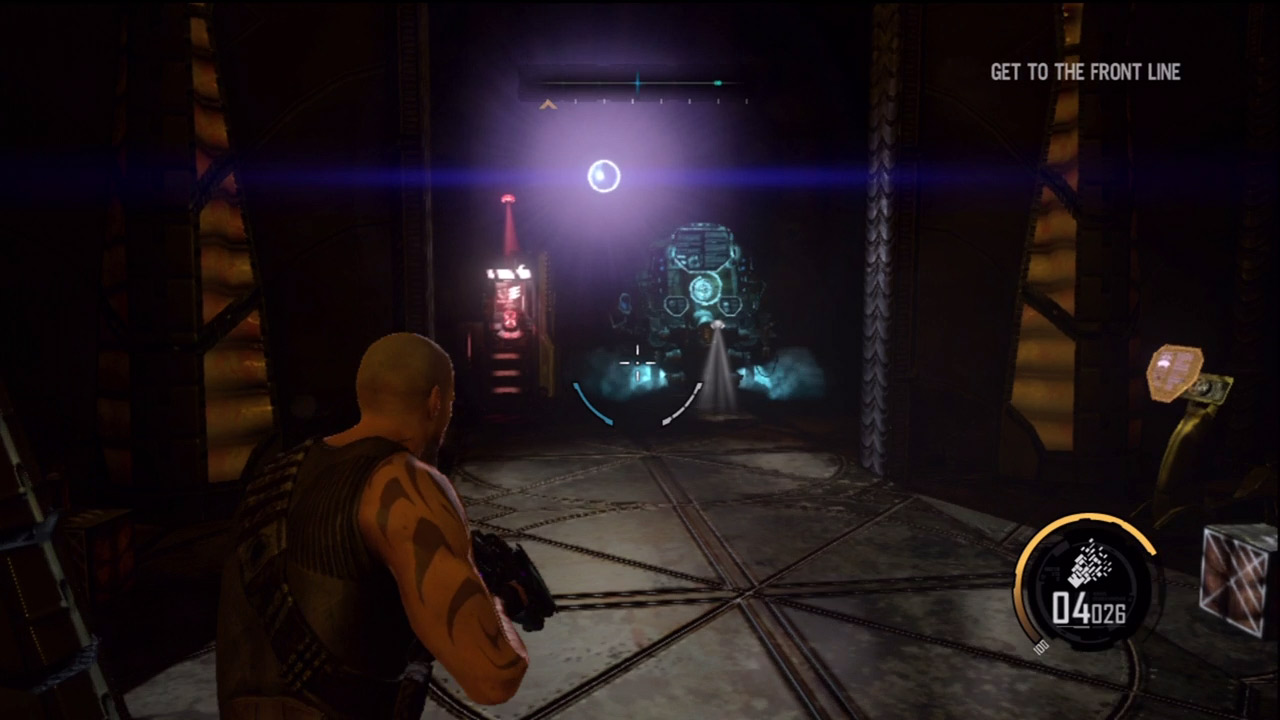
After eliminating the creepers, turn to the right to spot a weapons locker and upgrade station at the end of this short corridor. It's been a while since you've encountered an upgrade station, so you should have plenty of salvage to spend. If you don't have Shell yet, buy it now. If you do have Shell, upgrade it with Shell Boost. By now you can access all the upgrades on the third ring, so browse through all the options carefully before spending. At the weapons locker, choose the Nano Rifle, Rocket Launcher, and Assault Rifle, then back them up with any weapon of your choice. You can expect more large swarms of creepers ahead, so plan accordingly.
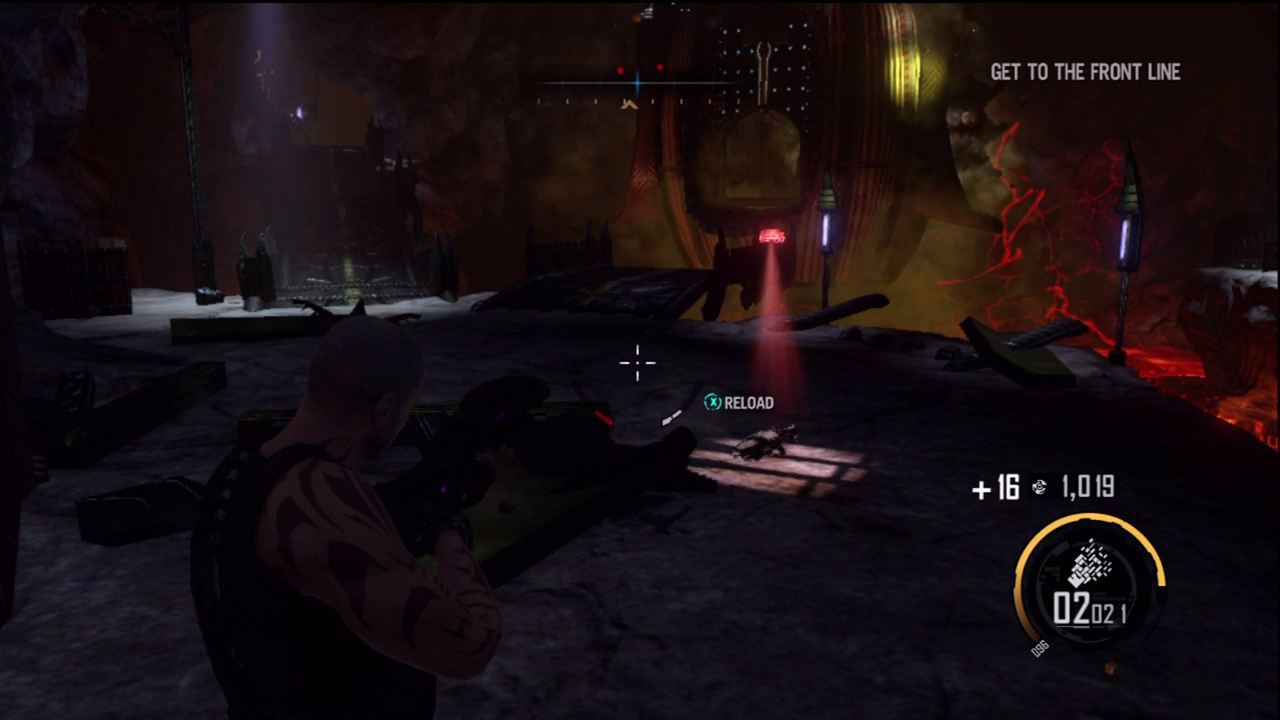
In the cavern ahead, a Marauder soldier is disintegrated by an exploding berserker—the resulting explosion knocks out a foot bridge over a pool of lava. Climb the nearby ramp and pick up the Singularity Cannon on the ground just as a large group of ravagers materialize. The Singularity Cannon is one of the most powerful weapons available, capable of deploying a miniature black hole that sucks everything into it before exploding. Grab the weapon and immediately fire it toward a large group of ravagers. Once the purple pulse from the weapon makes contact with a surface, a small black hole is opened, pulling ravagers into it. After a few seconds, the black hole closes and explodes. Your ammo for this weapon is limited, so consider stowing it after one shot. If necessary, deploy a Shell and eliminate the remaining ravagers with your Nano Rifle.
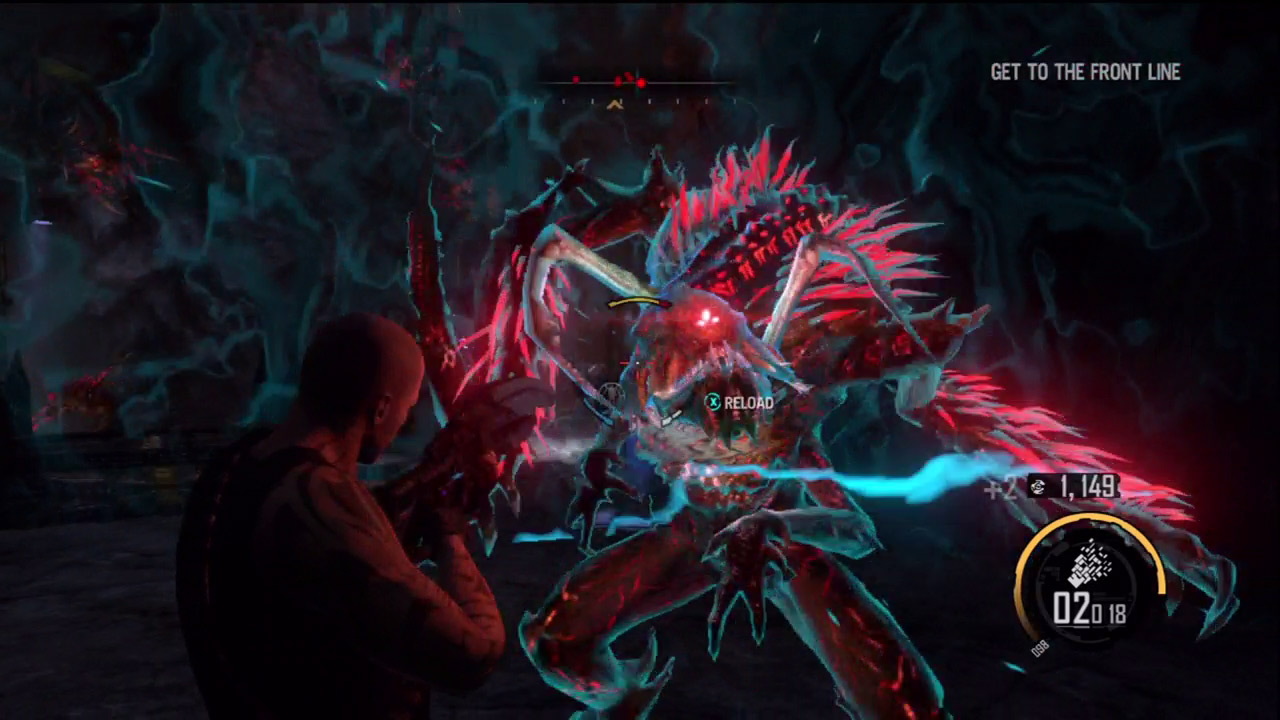
Follow the GPS markers into the next cavern and repair the damaged footbridge along the way if necessary. Kara reports that the first shield generator is online, but there are twelve more to fix. Looks like you'll need to buy her more time. More ravagers appear just ahead. Once again, deploy a Shell and eliminate the ravagers with your Nano Rifle. Before leaving this area, cross the nearby footbridge to reach the circular platform. From there you can access a ledge on the far side of the cavern. Here you can find ammo and salvage, as well as an audio log. During the fight with the ravagers, the bridges and platform may have been damaged or completely destroyed. Fortunately, you can repair them to reach the ledge.
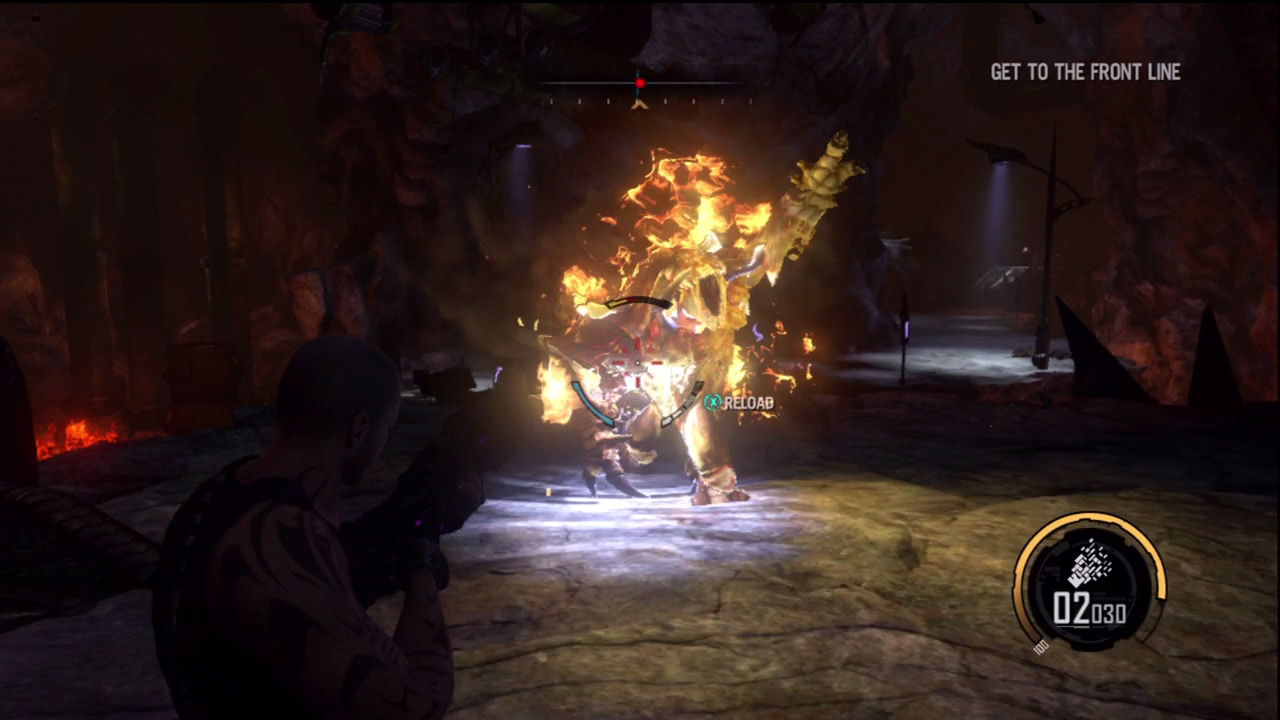
After grabbing the audio log, return to the main path. Soon you're attacked by a berserker charging right at you. Try to destroy the footbridge beneath the creature's feet, causing it to fall into the lava below. If that doesn't work, bring down the berserker quickly with your Nano Rifle or Rocket Launcher. If it gets too close, deploy a Shell. This prevents the berserker from hitting you with projectile attacks. The Shell also protects you from the creature's eventual explosion as you strip away its health.
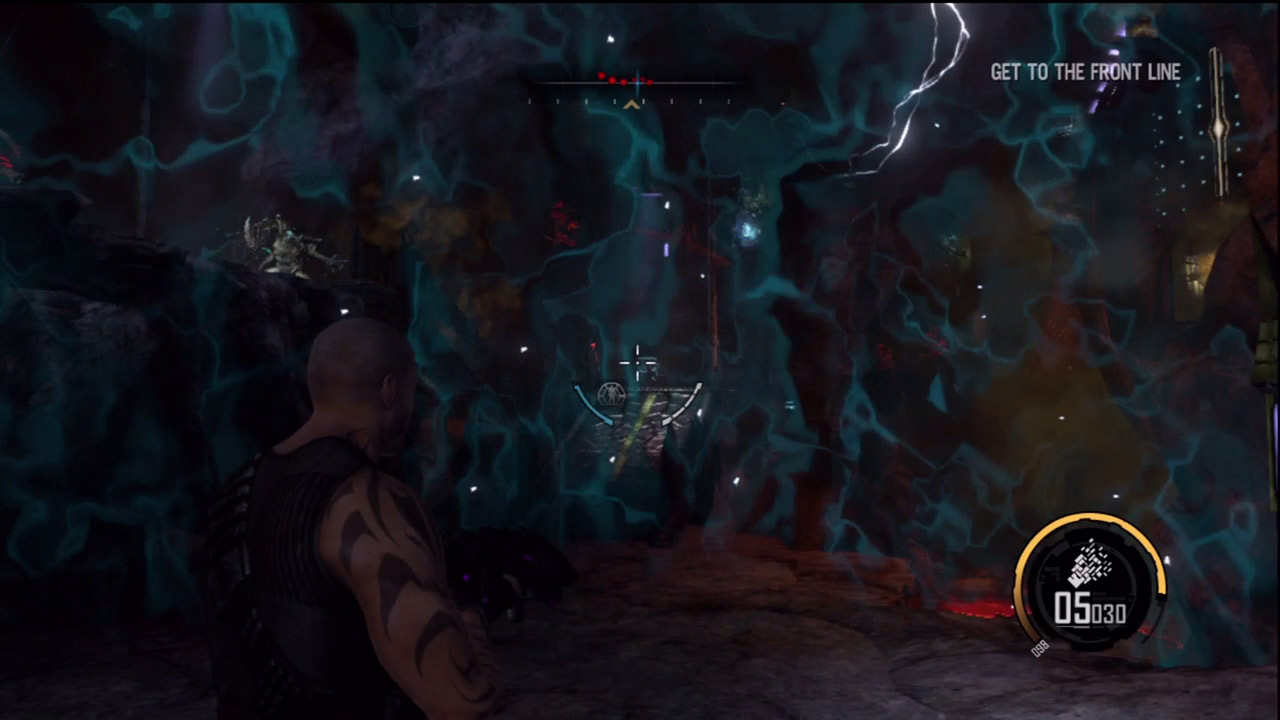
On the path ahead, gather some more salvage and ammo. But don't rush to the upgrade station and weapons locker just yet. As you advance, more ravagers appear on the cave's perimeter. As the attack commences, deploy another Shell and begin opening fire with your Nano Rifle.
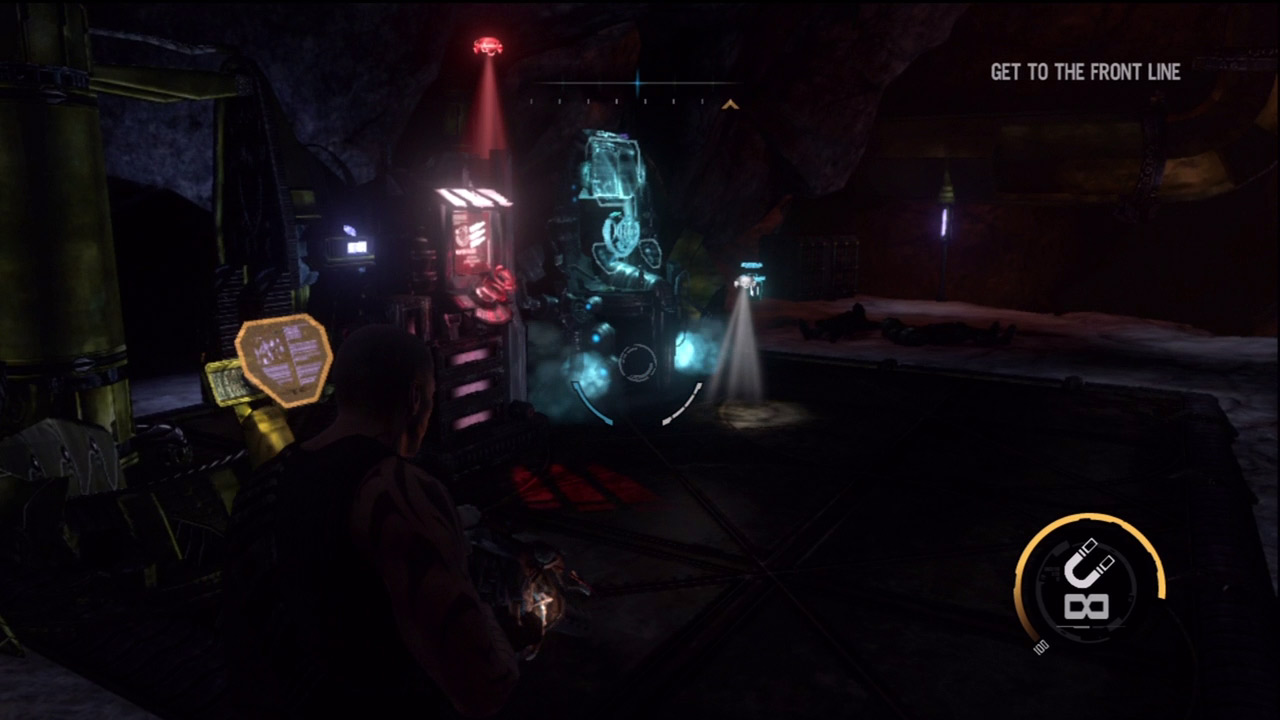
The Singularity Cannon can also be beneficial during this engagement. For best results, target a cluster of ravagers and watch as they're sucked into a black hole. Once all the ravagers are dead, approach the upgrade station and weapons locker. If you've acquired enough salvage, go ahead and purchase another upgrade. At the weapons locker, adjust your load-out as you see fit. But it's strongly advisable to keep the Nano Rifle and Rocket Launcher—the Magnet Gun can also come in handy if you run low on ammo.
New Objective: Clear the Area
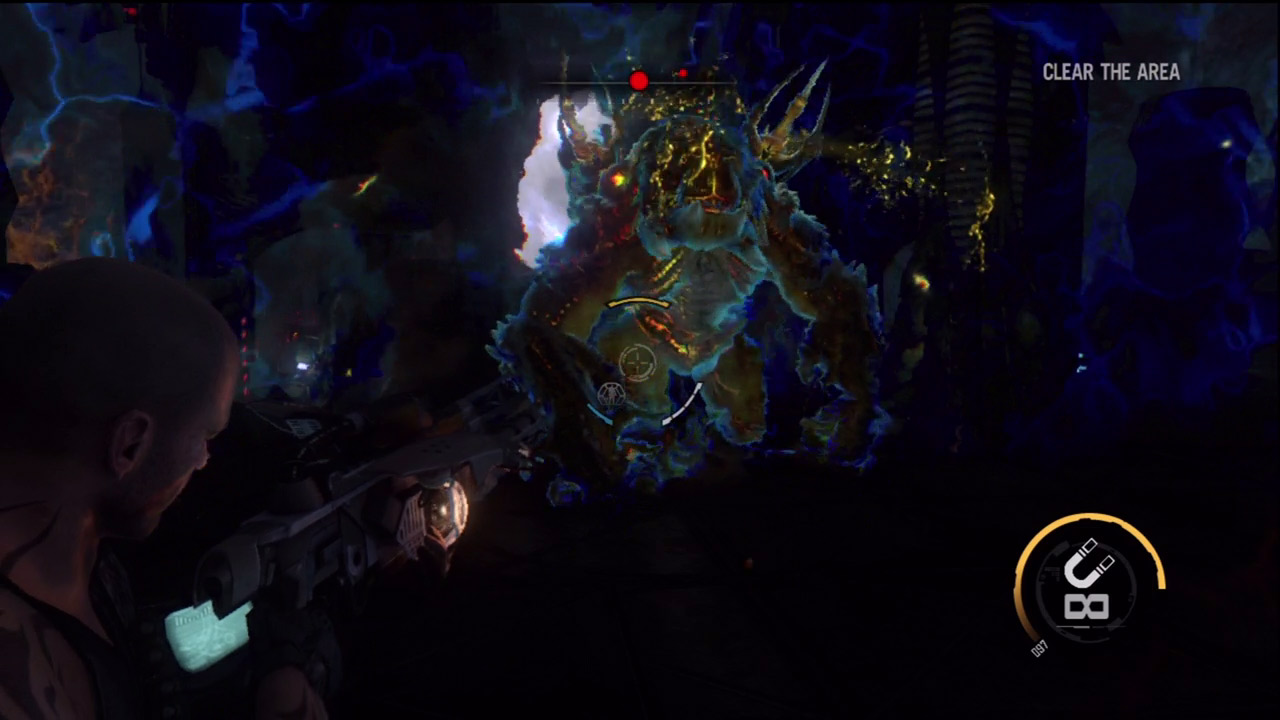
The GPS markers lead you through a dark and narrow passage that opens up onto a large chamber. There are no ramps or stairs, so simply drop down into this new area. As soon as your feet hit the ground, a behemoth and a wraith appear ahead. The behemoth wastes no time in charging at you, so be ready to move or dive out of the way. Once you find a wide defensible area, deploy a Shell. The Shell protects you from projectile attacks, but it won't stop the behemoth's charging attacks, so be ready to dive out of the way. While the Shell is in place, continuously hammer the behemoth with the Rocket Launcher. The Singularity Cannon can also inflict damage, but only when the black hole explodes—the behemoth is too large to be sucked in. Your Shell won't last for long, so you're best off dishing out as much damage on the behemoth as quickly as possible. Once your Shell disappears, continue moving, dodging, and shooting until the behemoth is down for good. With the behemoth out of your way, locate and annihilate a pesky wraith before leaving this area. There are also plenty of ammo and salvage pick-ups in this chamber. TipWhen fighting the behemoth, target the red barrels scattered throughout the chamber. These can inflict heavy to moderate damage on the behemoth, based on the creature's proximity to the explosion.
Front Line
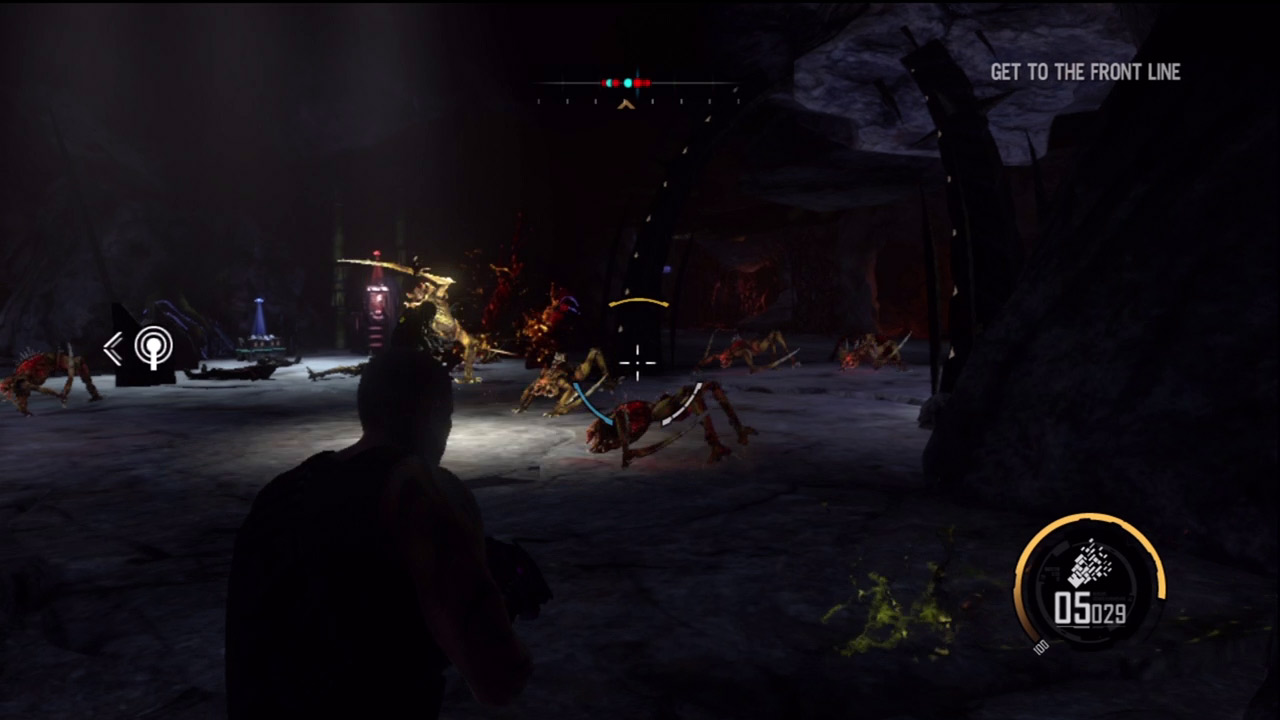
Following the battle with the behemoth and wraith, Kara reports that half of the generators are now up and running. You just need to buy her a bit more time. Follow the GPS markers to reach the front line where you find a few Marauder troops swarmed by creepers. Use Impact and your Nano Rifle to clear out the bugs—don't worry, Impact won't harm the Marauder soldiers. But more and more creepers just keep appearing. S.A.M. reports that the creepers are crossing a nearby bridge. Kara suggests destroying the bridge to halt the attack. Before heading for the bridge, visit the nearby weapons locker. Bring along something capable of dismantling the bridge such as the Magnet Gun, Plasma Beam, or Plasma Cannon.
New Objective: Get to the Bridge
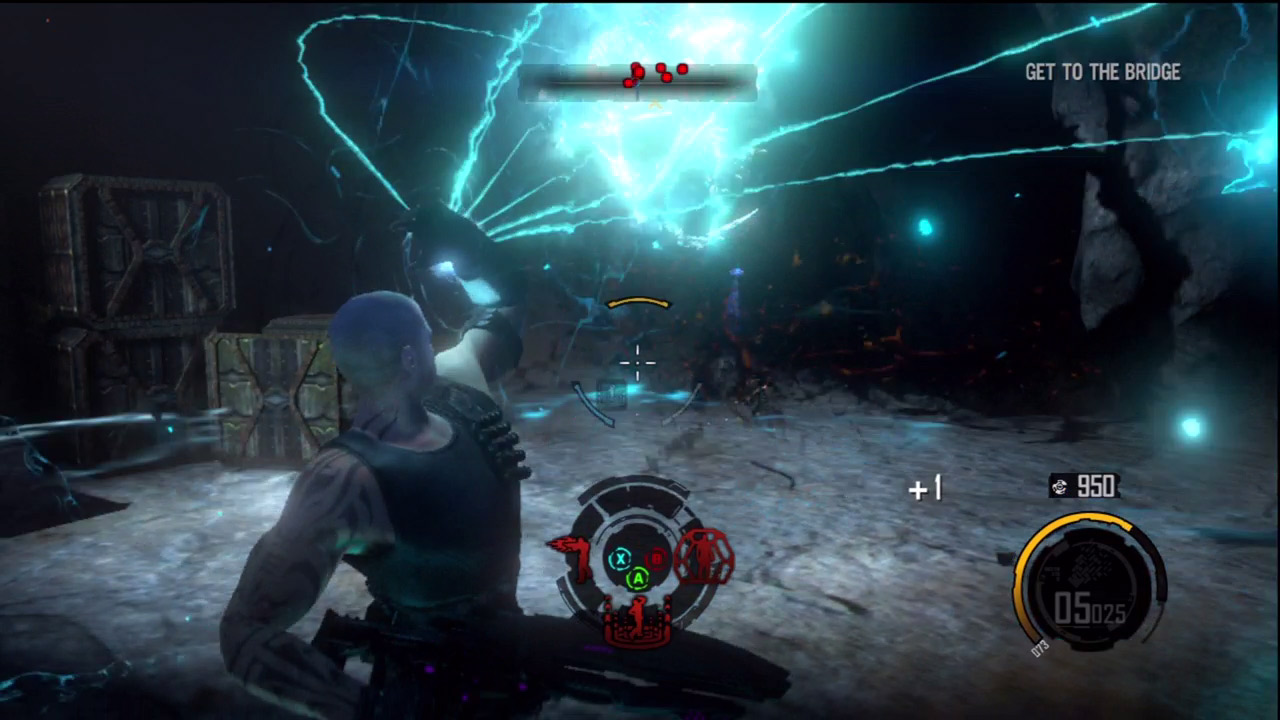
Follow the GPS markers through the tunnel leading to the bridge. Along the way you're swarmed by more creepers. This is the perfect opportunity to rack up some kills using Shockwave or Impact. The creepers just keep coming, so don't worry about running out of targets. Study which achievements/trophies you need and try to meet their requirements in this fight. But the creepers don't just spawn near the bridge—there may be some that spawn behind you. Be careful not to get surrounded. If necessary, backtrack to the previous chamber to keep these creatures in front of you.
New Objective:
Destroy the Bridge
Clear the Area
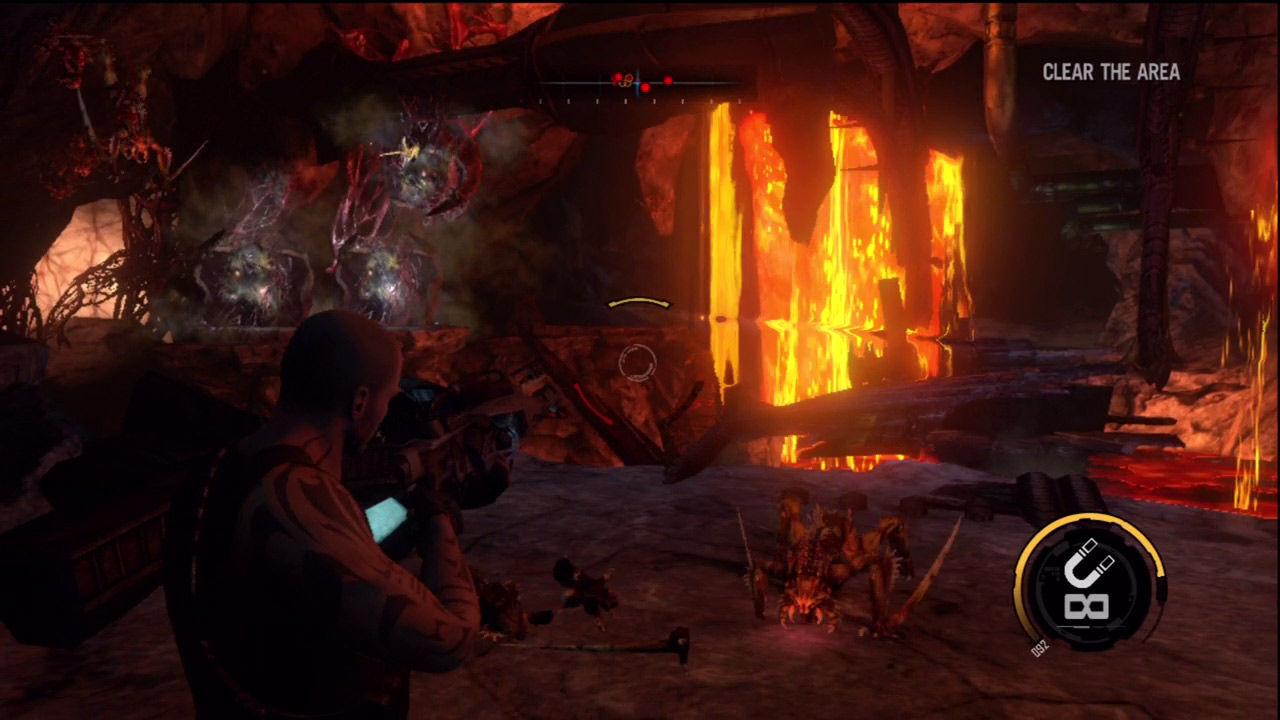
The incoming creepers never stop, so don't wait around. Get to the bridge at the end of the tunnel and open fire on the pods clinging to the cavern walls. Destroying these pods drastically reduces the amount of creepers in the area. However, don't let the pods distract you from the swarms of creepers surrounding you. Use Impact to send the creatures flying into the lava, deploy a Shell to keep them away from you while you target the pods, or you can destroy the bridge and the pods simultaneously. Using the Magnet Gun, attach magnets to the bridge, and then attach anchors to the surrounding pods. The flying debris from the bridge is more than enough to rupture each pod. Once the bridge and pods are destroyed, mop up any remaining creepers and then backtrack to the front-line position.
New Objective: Get to the Cave
Expect more creepers in the tunnel on the way back to the front line. Plow your way through them using your weapons or Impact. At the front line, revisit the weapons locker if you'd like, although for now, your current weapon load-out is adequate. Just beyond the weapons locker, a tentacle sprouts from the ground ahead and begins tossing debris in your direction. Using the Magnet Gun, go ahead and toss debris back at the tentacle, or take it out fast using the Rocket Launcher. The tentacle is joined by several ravagers, so don't forget to deal with these threats. If necessary, deploy a Shell for protection, then engage all targets from within the protective bubble.
New Objective: Destroy the Cave Supports
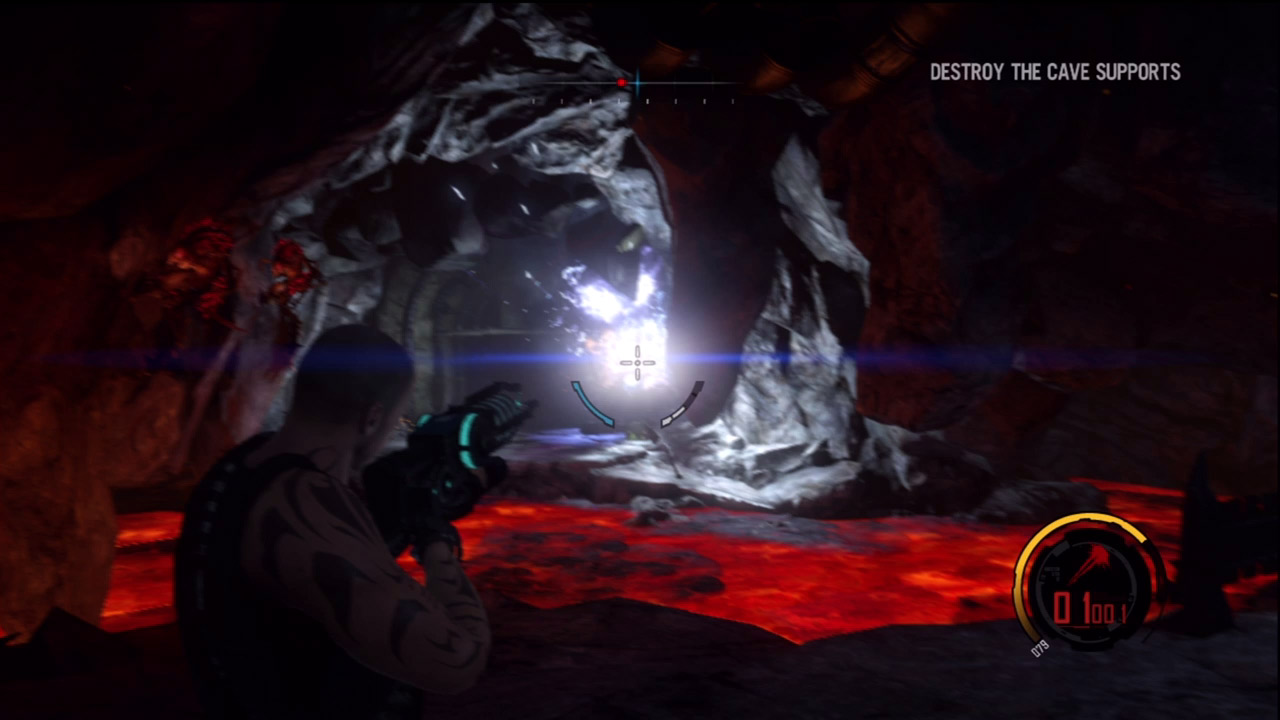
Beyond the tentacle is an impassable river of lava. The lava isn't preventing the creatures from breaching the Marauder homeland, however. On the other side of the river are two vertical supports that prevent the ceiling from caving in. You must destroy these supports to trigger a cave-in, sealing off this entry point. Deploy a Shell to protect you from the ravagers ahead, then target these two supports using either the Plasma Cannon or Plasma Beam. If you need to swap weapons, you can access another weapons locker to the left. Alternatively, you can use the Magnet Gun to fling ravagers into the supports. Ravagers continually spawn near the vertical supports, so you won't run out of ammo. Once the supports are destroyed, a cave-in seals the breach. Kara reports that all the generators are fixed, but she needs Darius to create a distraction while she gets the shields running.
New Objective: Get to the Generators
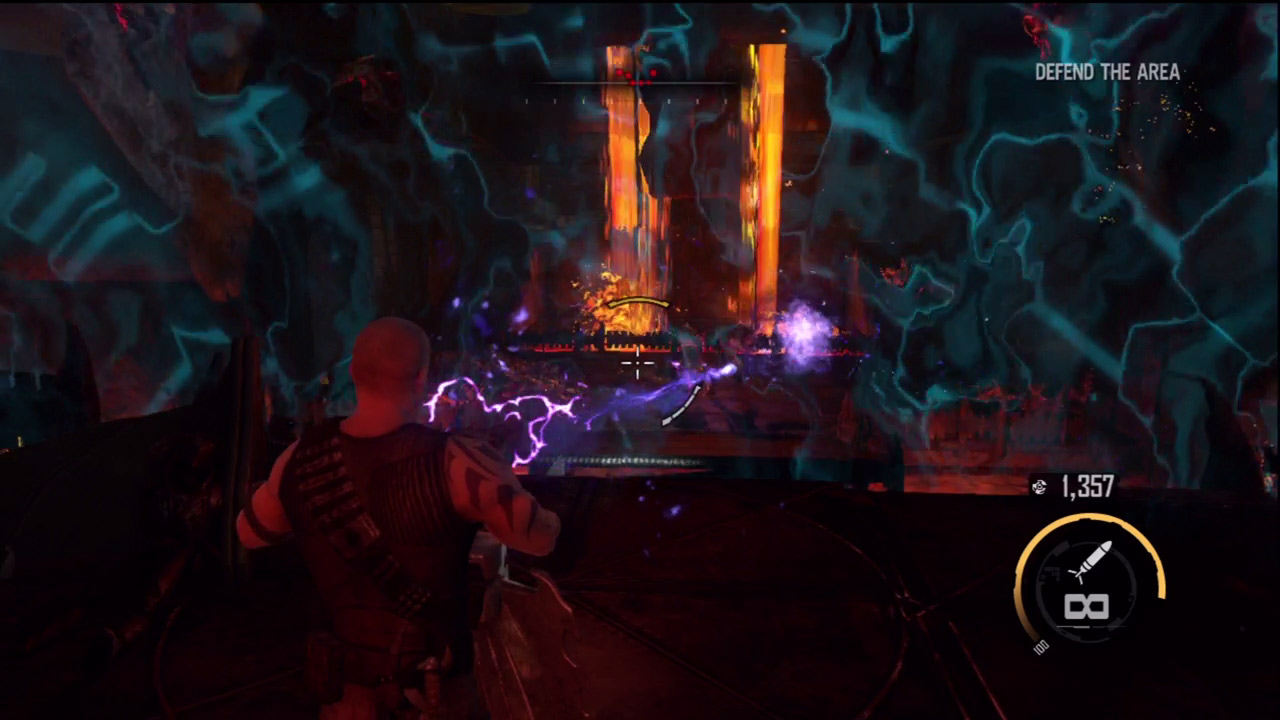
There are no hostile units on the way to the generators, so simply follow the GPS markers. When you come to a chamber filled with lava, several ravagers and creepers materialize ahead. You need to hold them off while Kara gets the shields back online. Stand near the turret and then deploy a Shell. With the Shell deployed, take control of the turret and begin opening fire on the creatures. The turret fires powerful energy blasts, capable of killing with one direct hit. While the Shell is still deployed, pick off as many creepers and ravagers as possible using the turret. But once the Shell disappears, consider ditching the turret to avoid getting pummeled by ravagers and creepers on your flanks. The remaining enemies are easily dispatched with your Nano Rifle. There's also a Plasma Cannon and Singularity Cannon on the perimeter of the platform, along with some ammo. Keep up the defensive effort until a blue force field appears in front of the turret. Kara reports that the shields are up, but problems persist. When you're ready to end the level, hold down the button shown on screen to regroup with Kara.