
Mass Effect 2 Guide Walkthrough WALKTHROUGH
Zaeed's Loyalty: The Price of Revenge

Notorious, feared, and respected, Zaeed Massani is a man for whom credits speak louder than morals. After co-founding the Blue Suns with his cohort, Vido Santiago, Zaeed was surprised by Vido’s betrayal, and disappointed in his sloppy workmanship—Vido failed to finish him off.
After patching up his facial wounds, Zaeed has requested a slight detour to Shepard’s over-arching missions; he simply wants revenge. Although paid handsomely by Cerberus, Zaeed has an emotional investment in seeing his ex-partner die.
Preferably in the most unpleasant way possible. For this to occur, the Eldfell-Ashland refinery on Zorya must be infiltrated and taken back from the Blue Suns, who are currently rampaging through the facility under Vido’s assumed control.
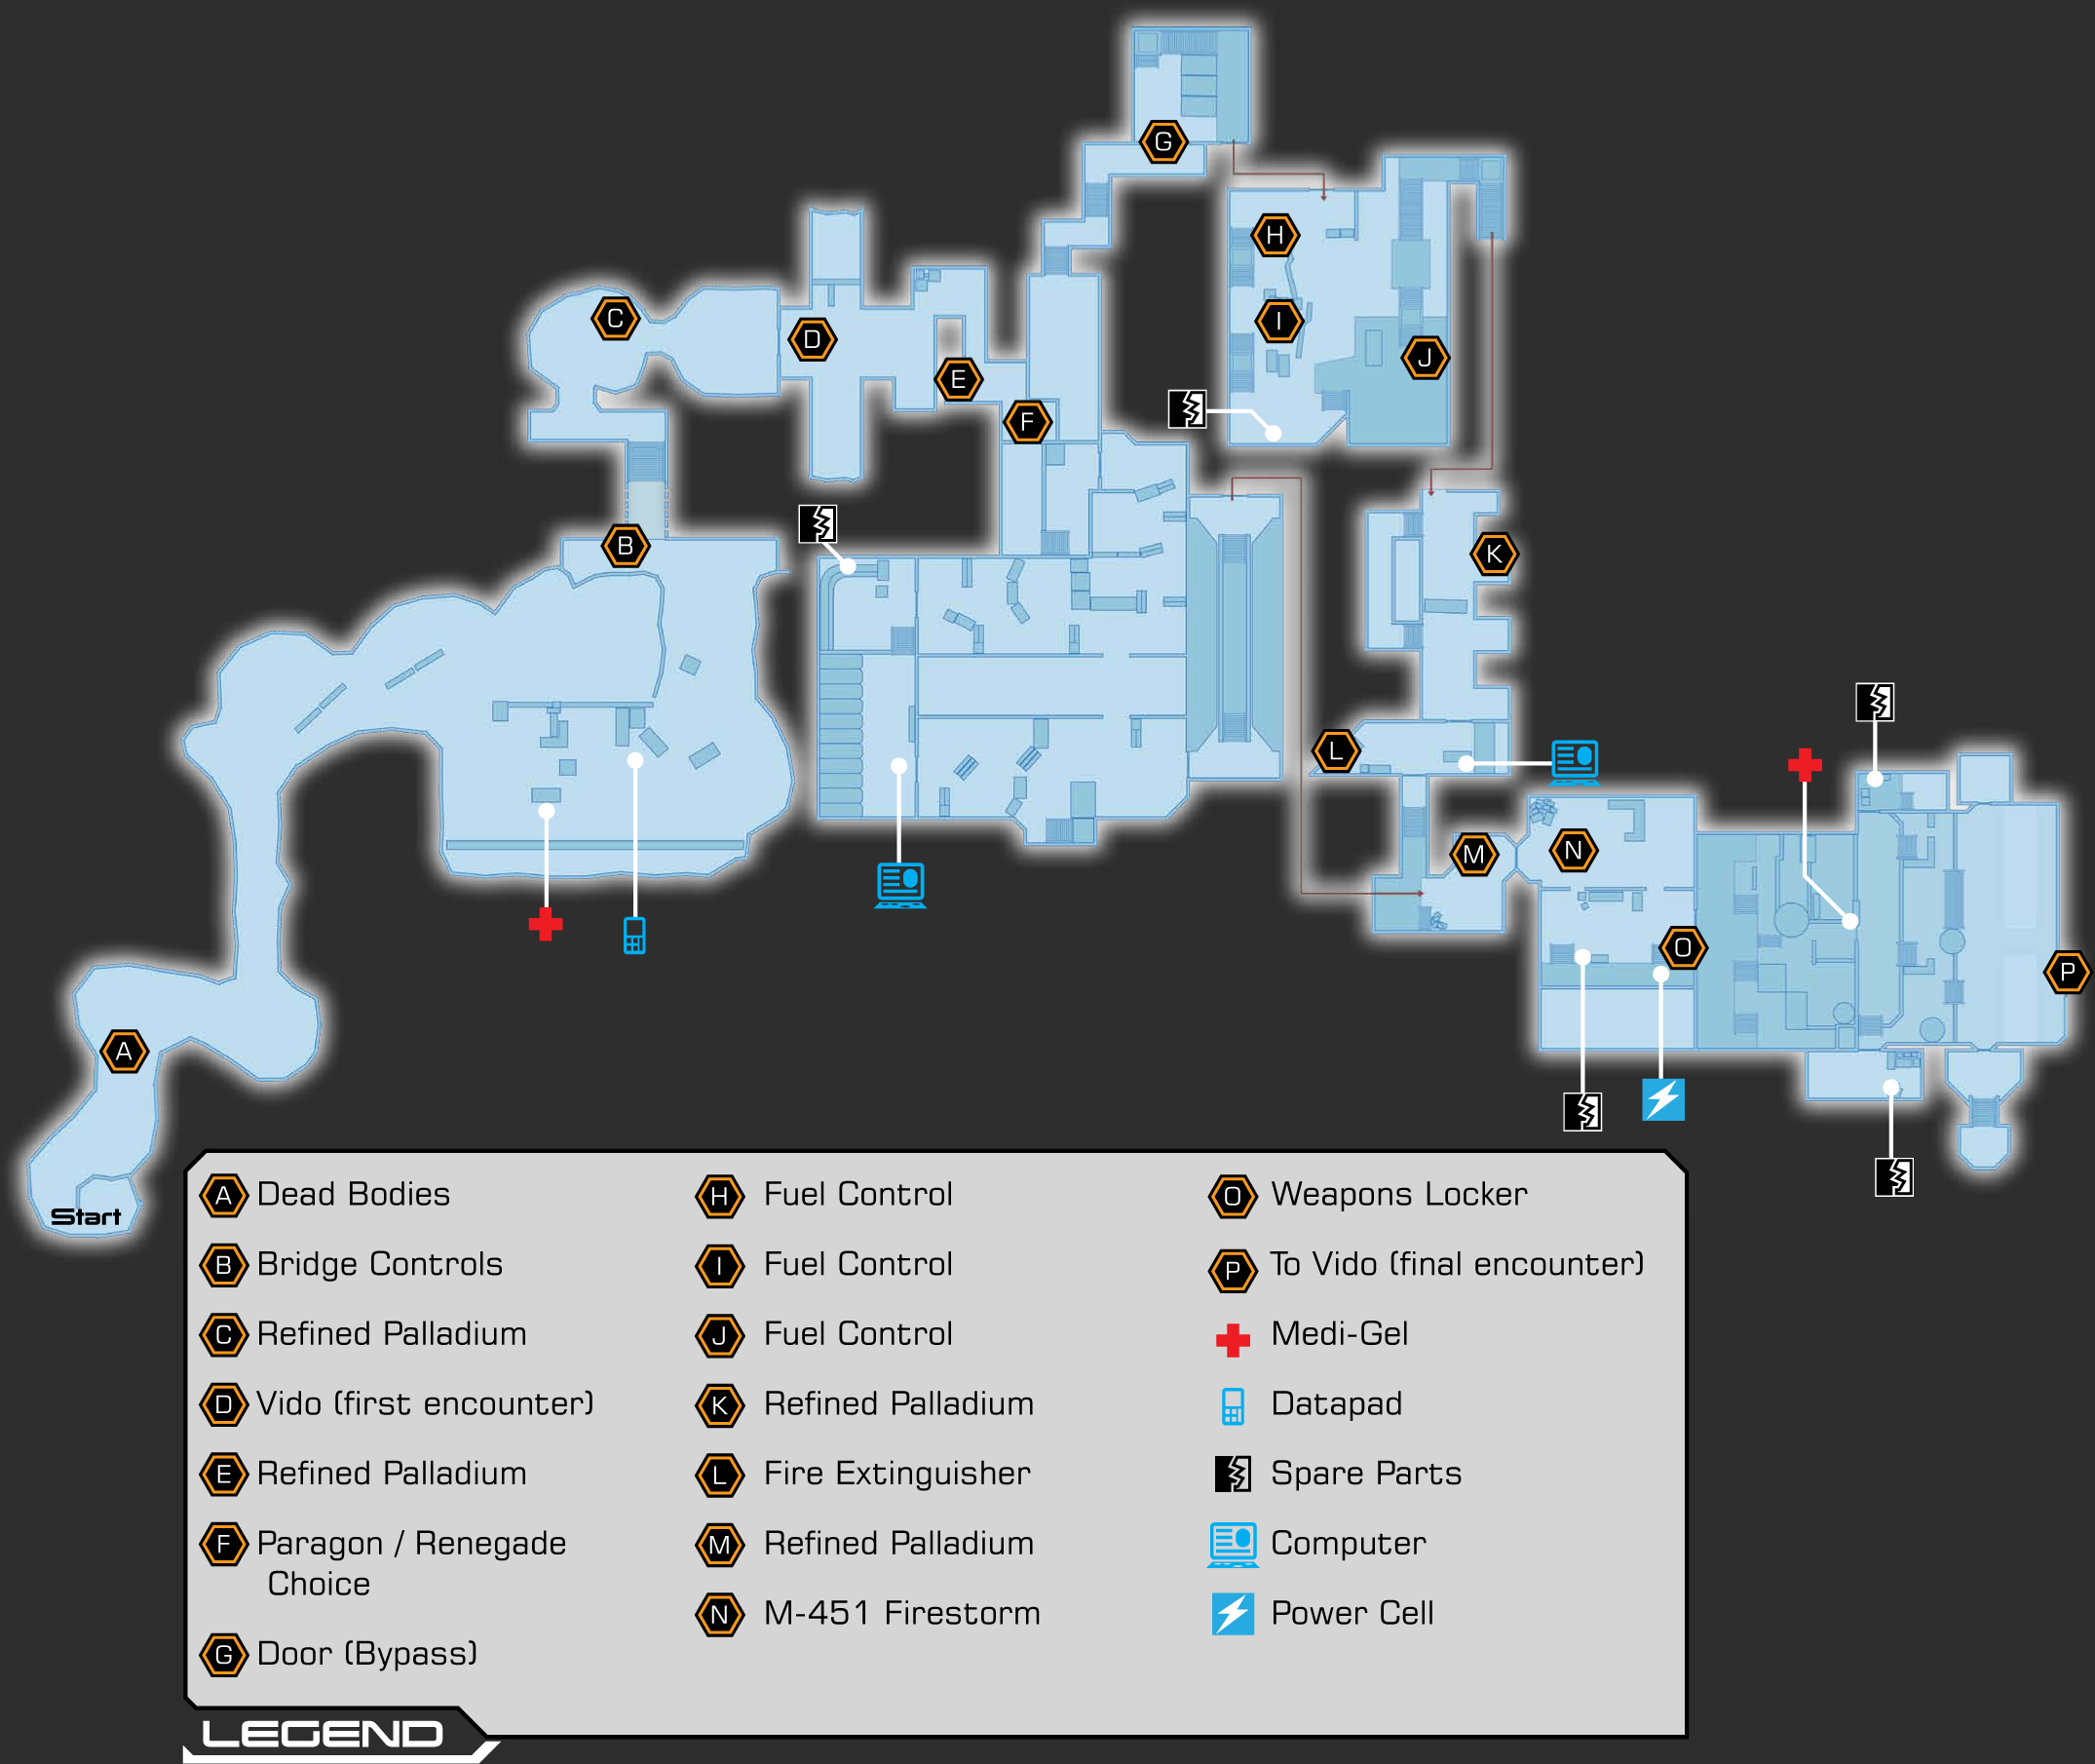
Part 1: Liberating the Refinery
Zorya is a jungle planet, full of disease and wildlife. But amid the dense plant life lies a sprawling refinery that is filled with Blue Suns mercenaries. Led by Vido Santiago, the Blue Suns are using the refinery workers as slaves.
Touchdown on Zorya
[001]
[002]
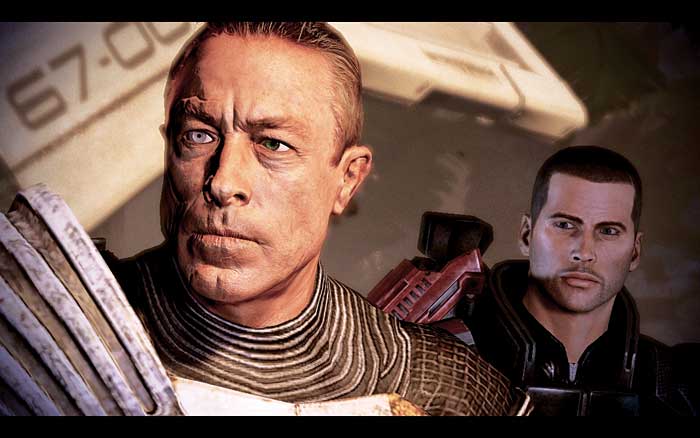
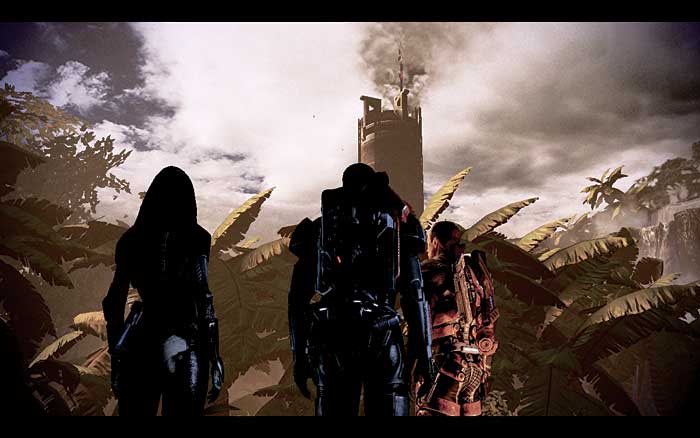
The Normandy shuttle deposits you in the lush jungle environment of Zorya [001] , a few clicks away from a billowing smokestack [002] . As the shuttle pulls away, Zaeed hacks into the Blue Suns’ radio communications, and you listen to their concerned chatter about the unidentified craft you just disembarked from. This live feed is handy as Zaeed periodically informs you of upcoming ambushes.
[003]
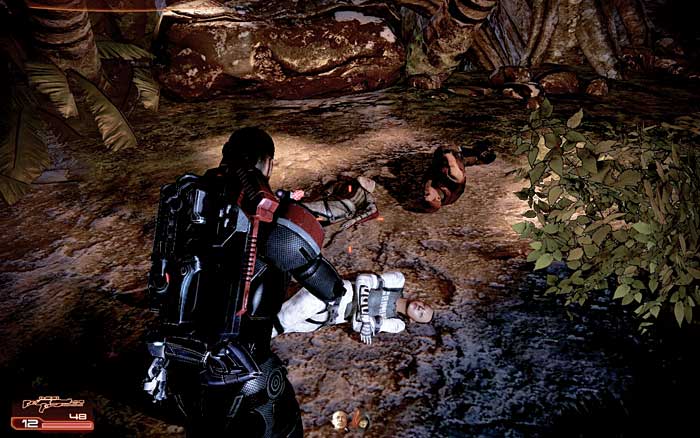
Move down the jungle path, startling the wildlife, until you reach a pile of dead bodies [003] . Shot in the back and left to rot: That’s definitely Vido’s style.

|
Journal Updated > Dead Bodies > Investigate |
[004]
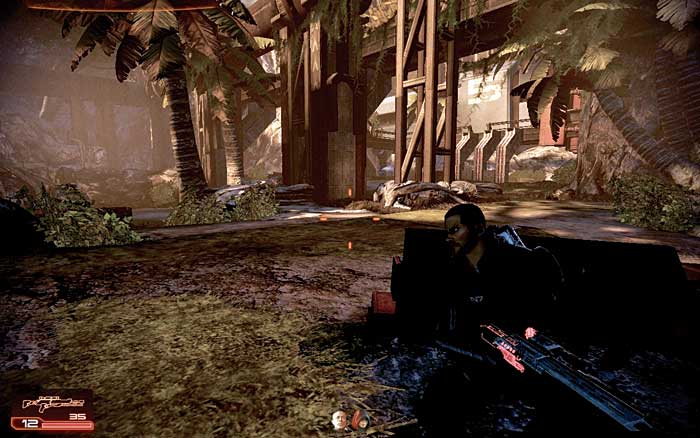
Continue along the path, ignoring (or shooting) the pyjaks scurrying out to catch an insect. There are greater threats around the next corner to the right; seek cover by the buttress tree roots or central area as you stumble into a well-armed Blue Suns defense force [004] .
[005]
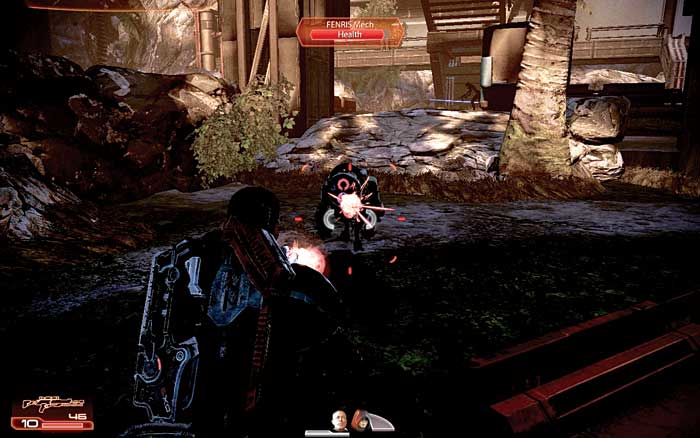
Remain in cover, targeting the heavy trooper with the rocket launcher, pausing only to order your squad members to deal with the FENRIS mechs charging your location (or vice versa) [005] . Continue to hide and fire until you’re unable to get a lock, and then advance around to the right, toward the steps.
[006]
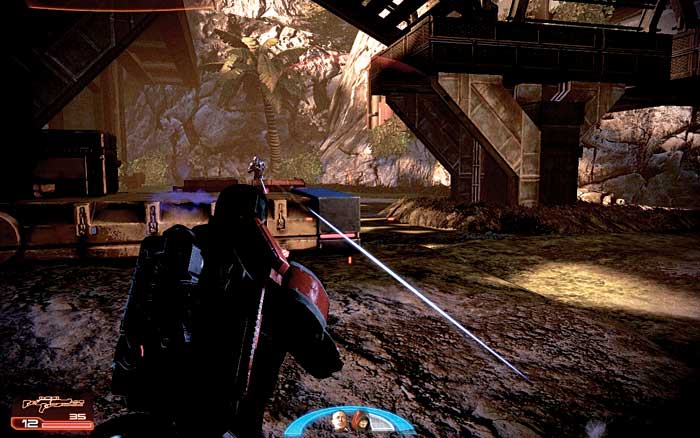
Step in between the tree roots to your left, keeping the perimeter wall to your right so you aren’t outflanked.
Check the stairs and rusting defenses for more Blue Suns troopers [006] , focusing on the pyro trooper first (pyros are very dangerous at close quarters), followed quickly by the FENRIS mechs (they simply charge you).
Then deliver killing blows to the heavy and any trooper stragglers. At this point, search the area for some medi-gel and a PDA worth some major credits.

|
Med Kit > +1 Medi-gel >
|

|
Spoils of War > PDA > Access > 6,000 Credits |
[007]
[008]
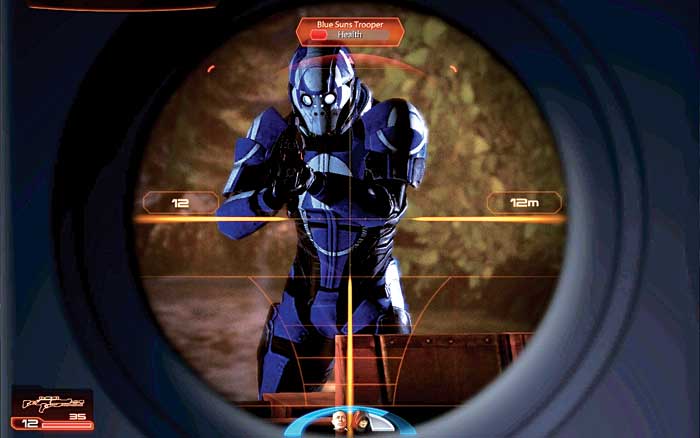
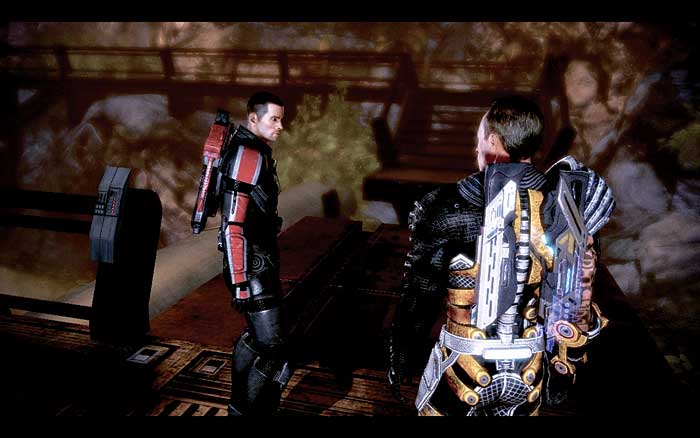
After the battle, you come to a retracted bridge [007] , and the radio chatter begins again. As soon as you activate the controls to extend the bridge, Zaeed stops you. He recognizes the voice coming over the radio.
It’s Vido Santiago. Zaeed reveals that he founded the Blue Suns 20 years ago, and that Vido took control of the mercenaries after shooting Zaeed in the head.
Needless to say, Zaeed is still holding a grudge and wants nothing more than to repay Vido the favor of a bullet in the head. When the bridge is fully extended, cross it and go up the steps. On your way to the refinery door, stop and pick up some refined palladium [008] .

|
Spoils of War > Resources >
|
Part 2: Defeating the Blue Suns
Refinery Entrance
[009]
[010]
[011]
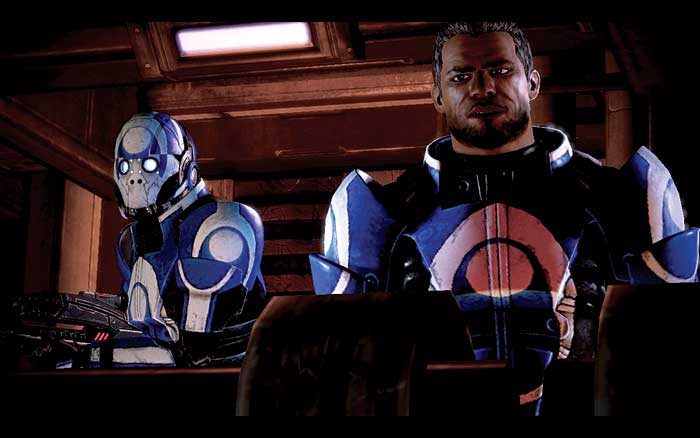
As you enter the refinery, Vido is waiting for you [009] . Vido begs Zaeed to try something stupid so that his guards can put him down. Zaeed of course does, his rage blinding him to the mission, and he fires at Vido, bursting a gas line and igniting it.
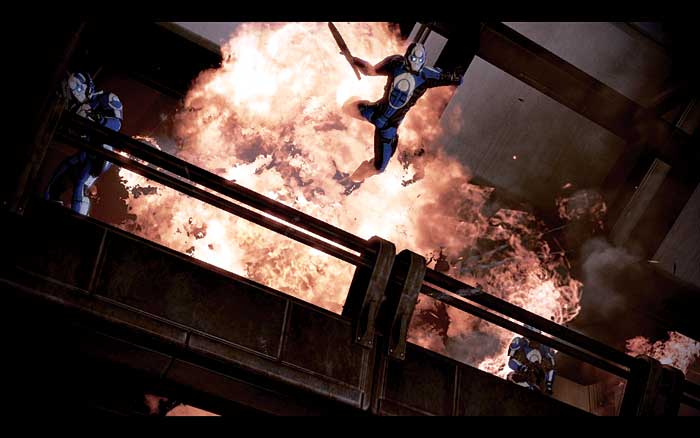
Vido flees, but not before Zaeed sets fire to the entire refinery [010] . A Paragon interrupt is available if you feel like smacking Zaeed around for being so rash.
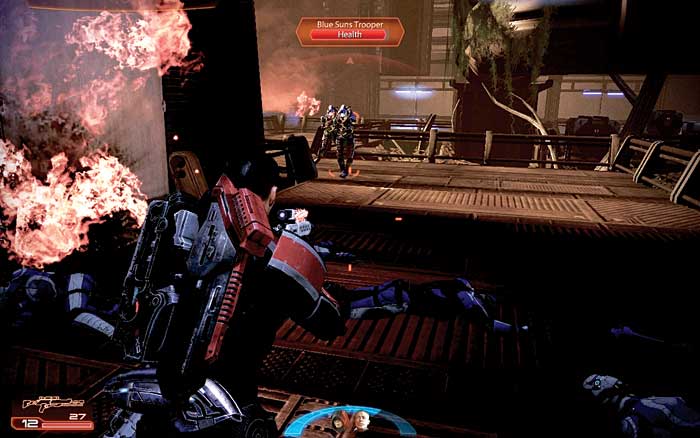
When the action begins, take out the Blue Suns troopers on the walkway [011] , and before activating the next closed door pick up some more refined palladium.
|
|
Spoils of War > Resources >
|
[012]
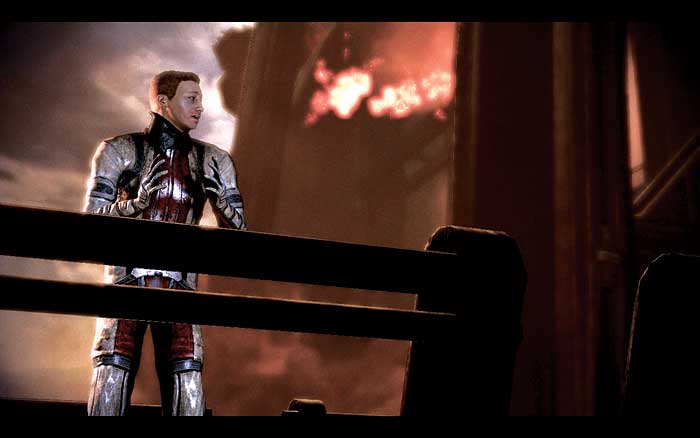
As your team is about to move through the walkway door, a refinery worker comes dashing out of the fiery interior of the facility [012] . He yells for help, and lets you know that the entire place is going to explode.
Workers are trapped and can’t shut off the gas valve. As Vido is halfway to his shuttle by now, Zaeed tells you there’s no time to save them.
Paragon Decision: Saving the Trapped Workers
[013]
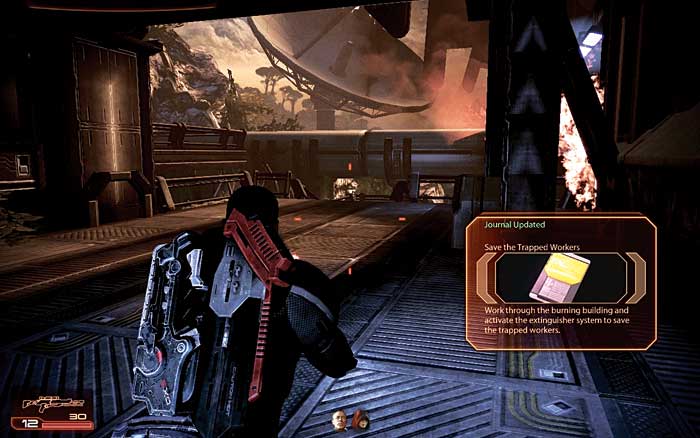
Shepard disagrees with Zaeed; Vido is wounded, and the lives of civilians can and must be saved; Shepard hops over the walkway and lands close to the base of the building where the worker is stranded [013] .
[014]
As the flames and smoke rage around you, head down the exterior metal stairs to a door that must be bypassed. Once through, climb the stairs, open an unlocked door, and sprint through the gout of fire on the other side.
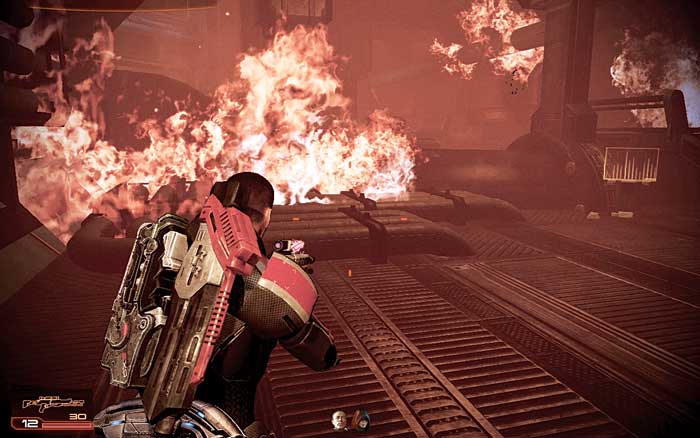
You appear in the fuel control chamber, which is ablaze [014] . Access the fuel control, and redirect the fuel from the first terminal. This removes the fire from the adjacent walkway bridge over the main fuel pipe.
[015]
Cross the raised walkway bridge and access a second fuel control terminal, cross another bridge just beyond the first, and then salvage some credits from the generator pipe.
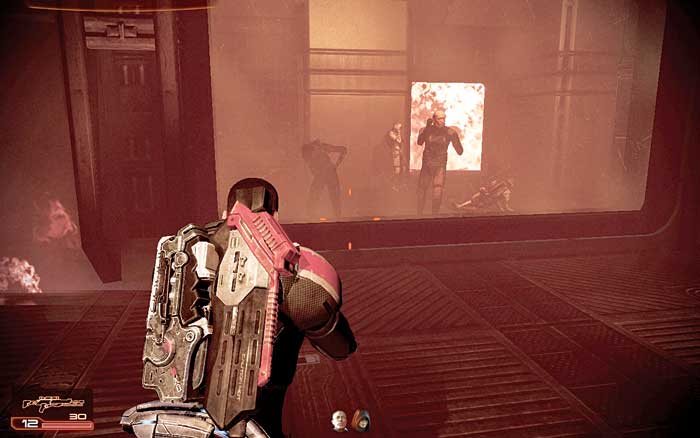
Then turn left and work your way into an observation area [015] , where the muffled shouts of the workers are heard. Pass them as they bang on the toughened window, and divert another fuel control terminal, allowing you to cross another bridge.
[016]
[017]
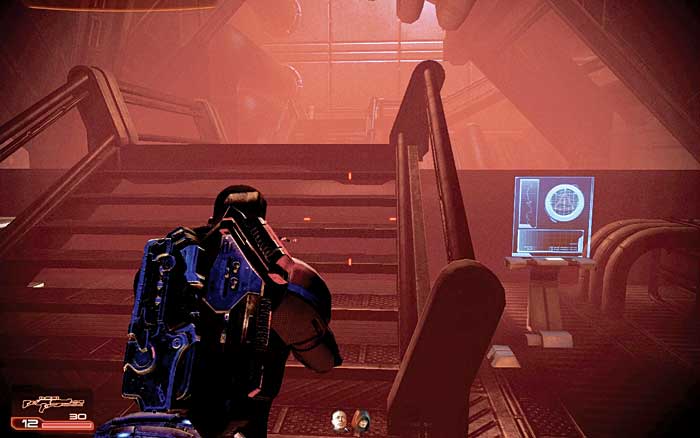
Sprint up the steps to the walkway above [016] , and make sure you spend a moment searching for a crate of palladium against one of the walls.
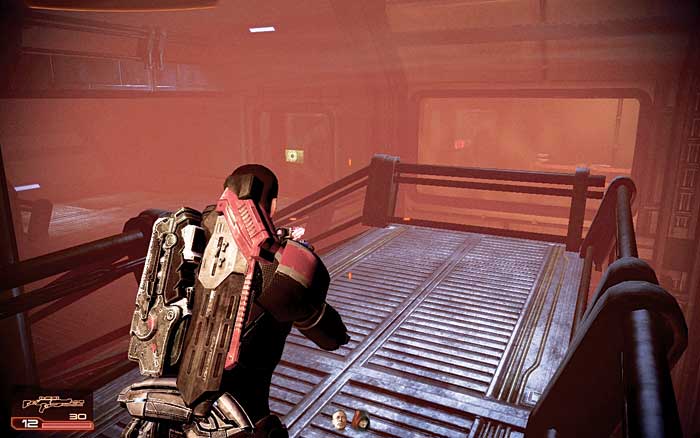
Then use a side balcony to climb up, then down onto the walkway, heading for the door to the fire extinguisher systems room [017] . Once inside, check the research terminal for a Microfusion Array upgrade.
|
|
Spoils of War > Generator Pipe >
|
|
|
Spoils of War > Resources > Refined Palladium > Open > 400 Palladium |

|
Upgrade > Research Terminal > Access > Heavy Weapon Ammo |
[018]
[019]
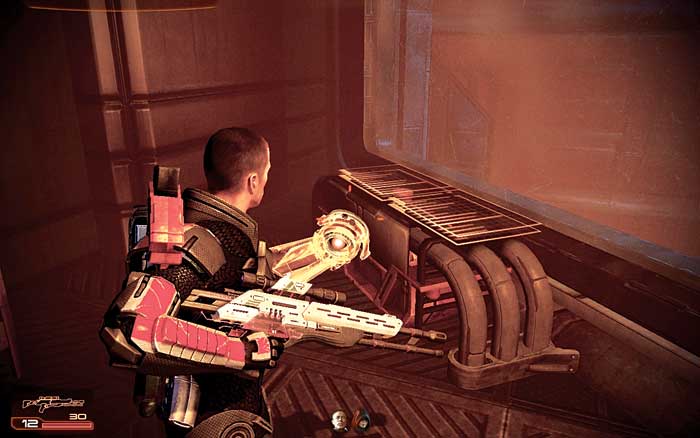
Enter the room and activate the fire extinguisher system [018] . The screams turn to shrieks of delight as the workers are saved.
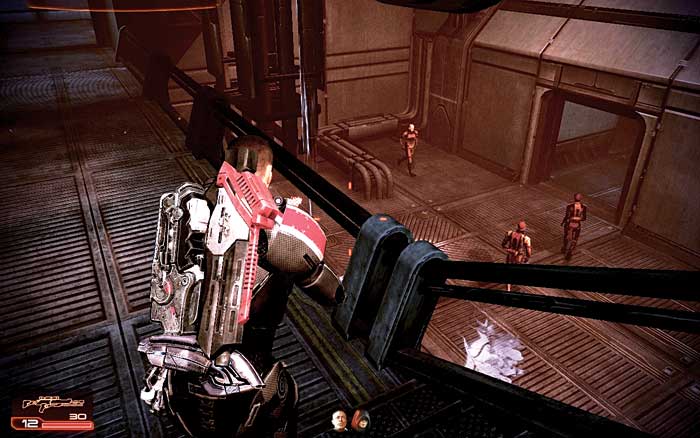
Move through the adjacent door, over a bridge passing some jubilant workers [019] , and concentrate on Zaeed’s mission task. Descend into a large connecting hallway, where the paths merge.
Renegade Decision: Stopping Vido Santiago
[020]
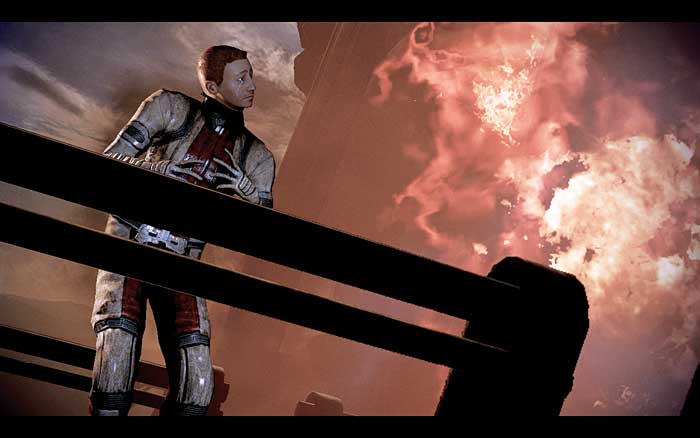
You agree with Zaeed and head through the door just as the balcony the worker is standing on shakes. A huge gout of fire roars out. He is left to perish [020] .
[021]
[022]
Work your way through a small connecting chamber, through the hotspots to an exterior, open-air area. The fuel pipes are visible, but the fire hasn’t spread here yet; continue until combat begins.
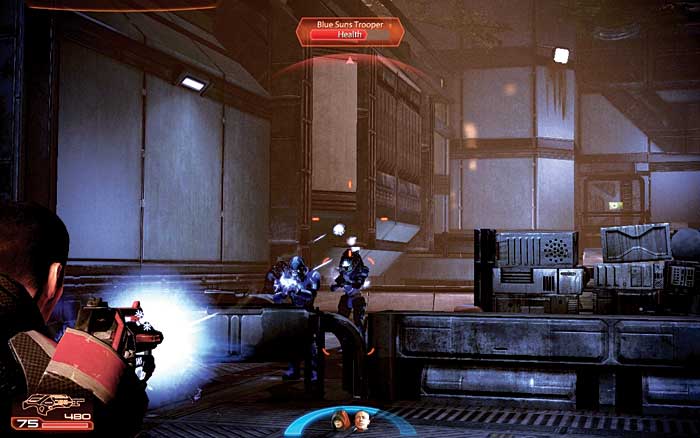
Duck behind the piping and begin a series of Blue Suns trooper takedowns [021] , utilizing powers such as Cryo to shatter as well as wound.
[023]
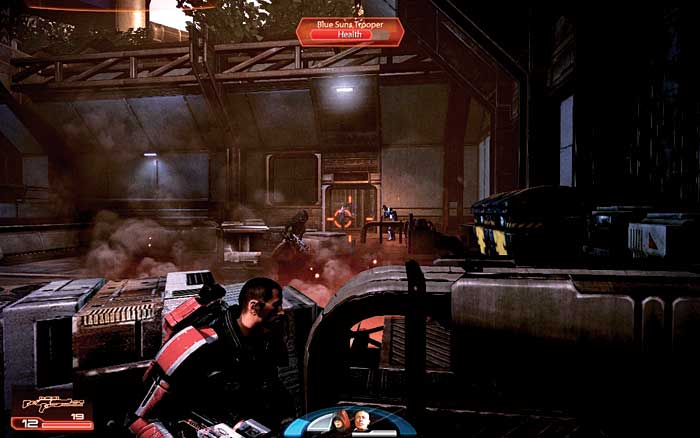
A trooper heading across the bridge falls to his death as the bridge itself collapses. Round the corner and face more foes coming in from the right [022] , in front of a door to bypass.
There is a pyro here, so be sure to take him down as soon as he’s spotted. The Blue Suns have destroyed the bridge to the upper part of this bay, so head to the door and bypass it.
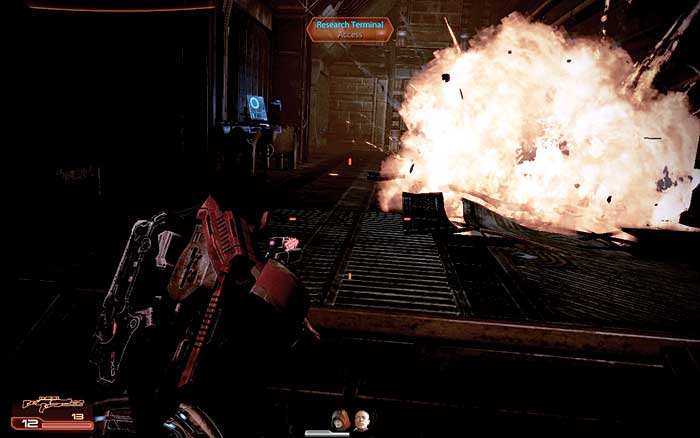
Enter the connecting room with the metal steps, and locate the servos for some salvage credits. As you head up the steps, the floor explodes, forcing you along the left side [023] . There’s time to access a research terminal to download the assault rifle upgrade.
|
|
Spoils of War > Servos >
Salvage > 6,000 Credits |
|
|
Upgrade > Research Terminal >
|
[024]
[025]
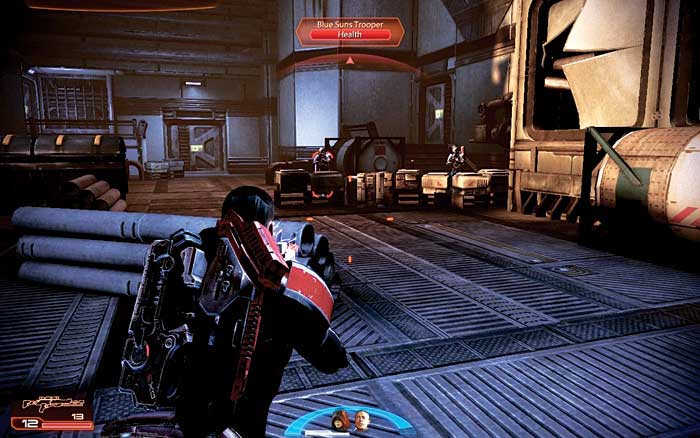
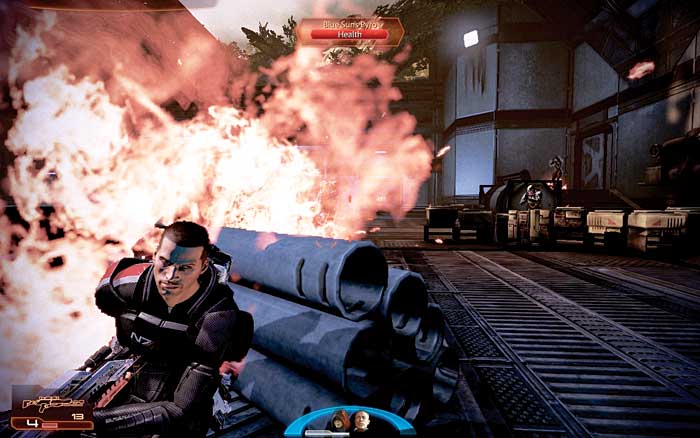
Head out of the upper door and slide behind the stack of pipes [024] . Tag the troopers here, as well as a pyro before he can storm your position. If the pyro isn’t dealt with [025] , he can be deadly.
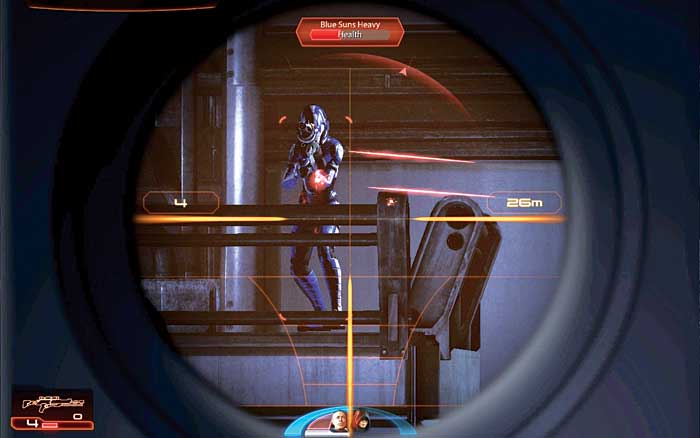
Move your team out to tackle him too. Then edge forward until further reinforcements arrive, and launch an attack on the heavy standing on the small balcony on the opposite side of the upper bay [026] .
[026]
Race to the door opposite (the balcony door above and left cannot be accessed). Follow the metal path across a bridge and out into a large connecting hallway, where the paths merge.
Merged Paths: Stopping Vido Santiago (Again)
Into the Firestorm
[027]
[028]
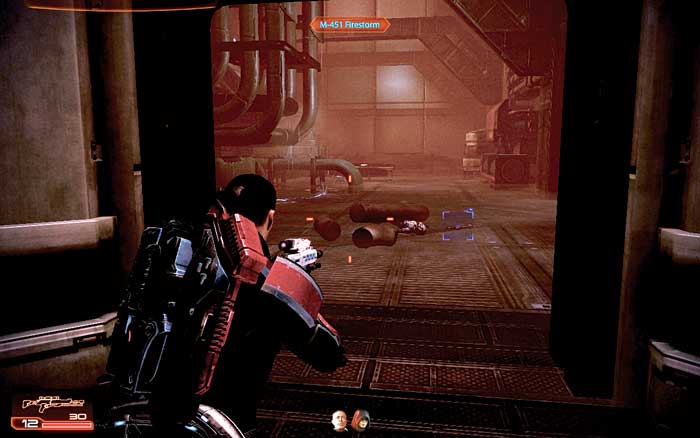
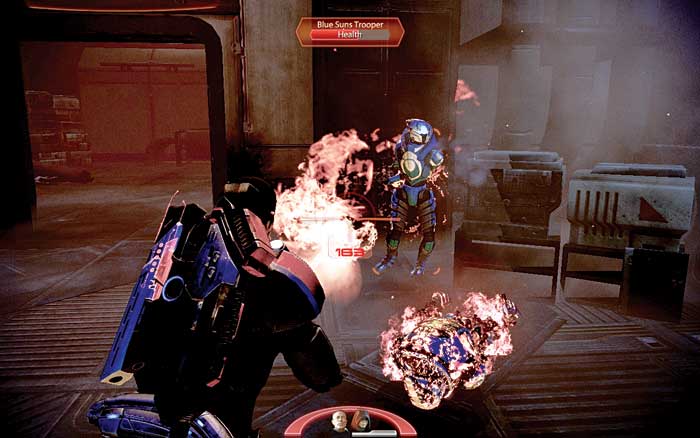
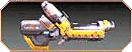
Head toward the central conduit chamber, passing by a crate of palladium on your left. In the next chamber is the body of a slain pyro, and lying next to the corpse is a new weapon: the M-451 Firestorm [027] . This replaces your current heavy weapon and is devastating at close range.
However, it is useless at mid- and long range, but should be tested out in this area, as there are two Blue Suns troopers that need to feel the heat [028] .
Once they are downed, inspect the room for power cells and some servos to salvage (Paragon only). Close to the exit door is a weapons locker. Choose the weapons you wish, and step through into the refinery’s smelting chamber.
|
|
Spoils of War > Resources > Refined Palladium >
|
|
New Weapon:
|
|
Ammunition > Power Cells >
2 Heavy Weapon Ammo |
|
|
Spoils of War > Paragon Only > Servos >
|
[029]
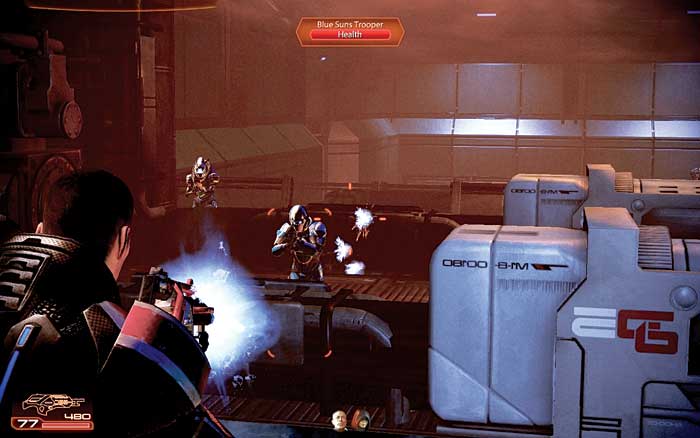
Vido rants as you enter this large core chamber, with his speech tailored to your earlier Paragon or Renegade choice. Immediately seek cover; there are opportunities behind the large tank just in front of you [029] or around to the right side [030] . Be sure to order your squad members into cover, too.
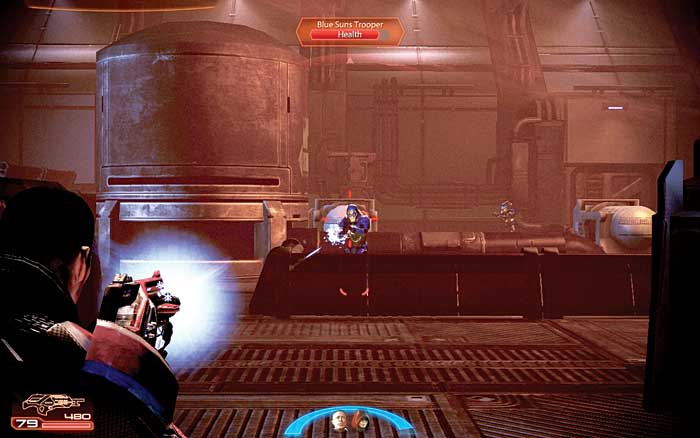
[030]
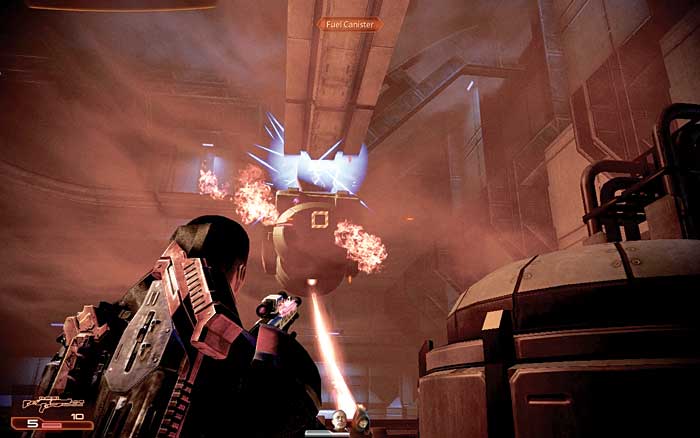
[031]
The Blue Suns are out in force; to begin with there are around half a dozen troopers to tag. Keeping your teammates on one side while you cover the other prevents your team from being outmaneuvered. Tackle the Blue Suns quickly, ideally adding an extra punch to your strikes, such as Cryo.
Stand your ground, as there are two moving vats of ore spilling molten metal from the ceiling [031] . Whether or not you can shoot them so the contents falls on a foe is secondary; you don’t want them falling on you, so shoot the coupling loose before you advance.
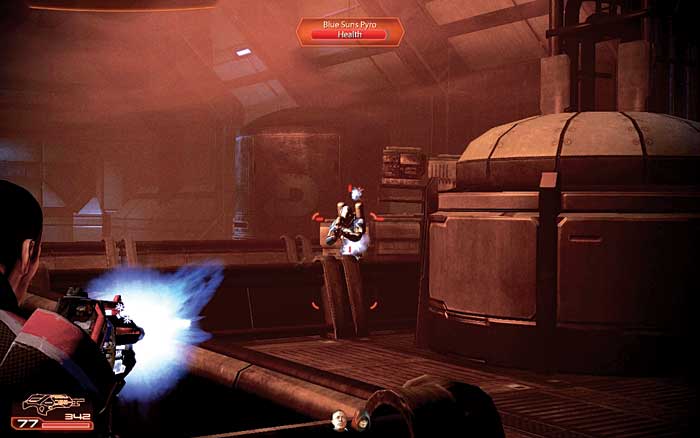
[032]
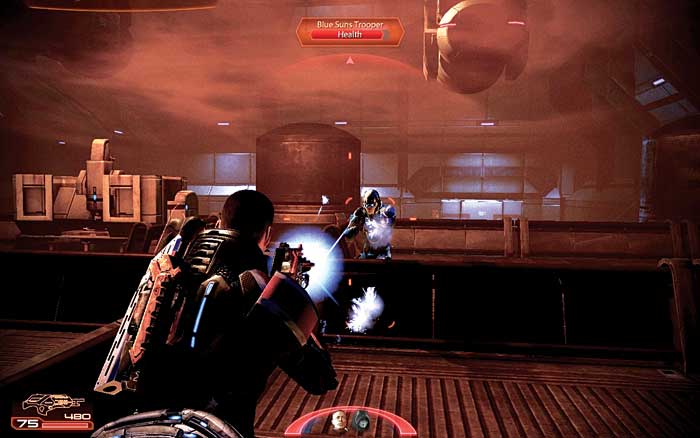
[033]
Enemy incursions arrive from doors to the left and the right of the smelting chamber. A second wave includes pyros, so search for them immediately and bring them down from range [032] , or you’ll be burned and overrun.
Edge forward into the lower cover [033] , and if you’ve set up your squad members to eye the opposite door, you can aim at all the remaining infantry foes as they head out of a side door.
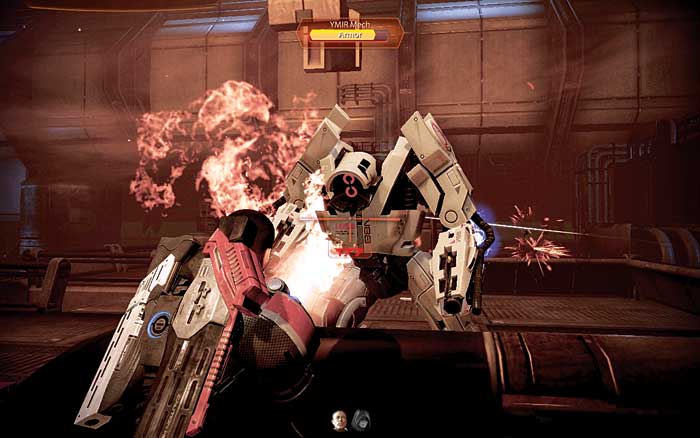
If you have an area-of-effect weapon (such as the arc projector), you can fry the Blue Suns before they fan out from the door. However, there are additional foes that you may need this extra firepower for, including the YMIR mech at the far side of the chamber.
[034]
[035]
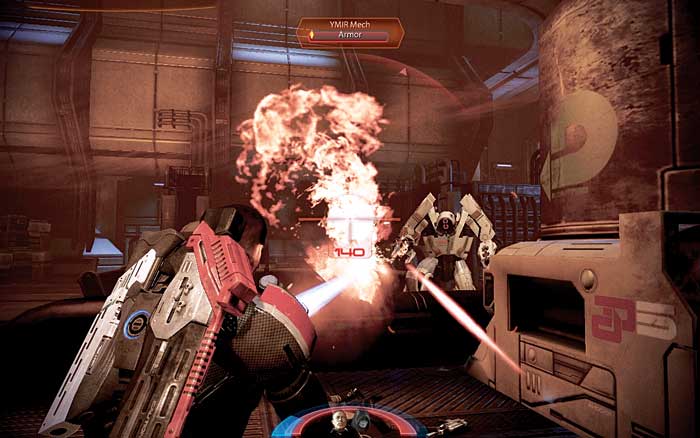
Spread your squad out, and when the YMIR mech begins targeting you [034] , catch it in the crossfire. Bring it down with multiple heavy weapon strikes (from the arc projector or missile launcher) and dive back into cover.
Once the mech falls [035] , scout the room for thermal clips, and check the med kit in the center of the room.
Then check the first left and right rooms (where the Blue Suns appeared from) for some industrial bits you can salvage. Move to the bridge at the back of the chamber (the second doors on either side simply lead to empty rooms) and exit to your right.
|
|
Med Kit > +1 Medi-gel > 100 Credits |
|
|
Spoils of War > Various Industrial Bits >
|
|
|
Spoils of War > Various Industrial Bits >
|
Vido’s End: Paragon Path
[036]
[037]
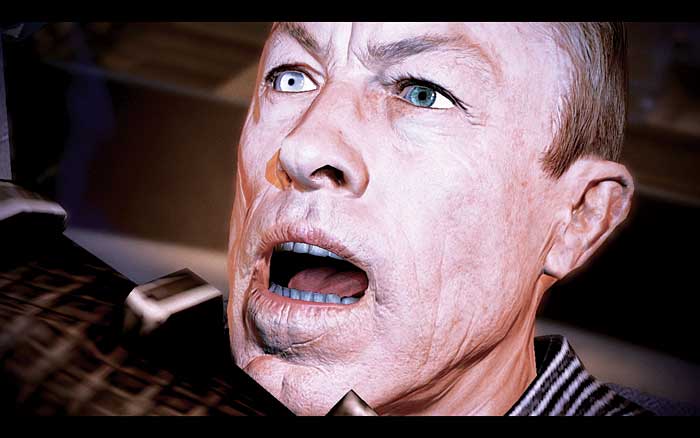
A waiting gunship transports Vido and the remaining Blue Suns off the planet surface. Zaeed arrives just too late to slay his enemy, and unloads an entire assault rifle clip at the craft as it pushes off from the landing pad [036] , killing one of Vido’s guards but missing the man himself.
Ejecting the spent clip onto the wet ground, Zaeed’s rage at Shepard is at the boiling point; Shepard just cost Zaeed 20 years of his life!
[038]
[039]
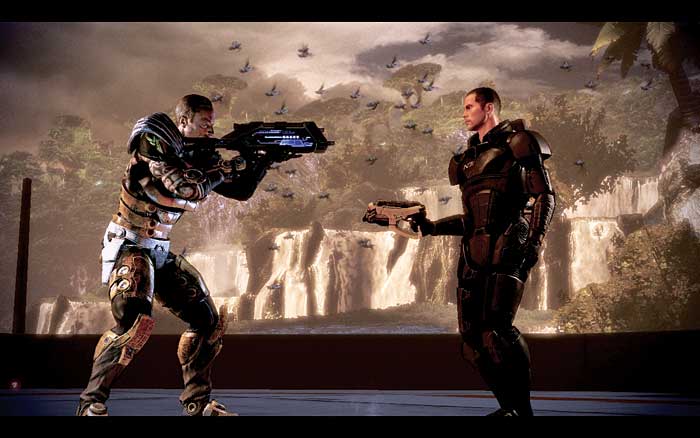
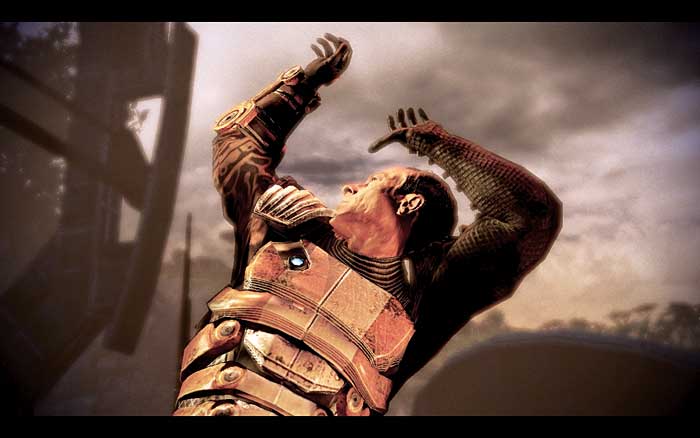
You brandish weapons at each other [037] , but the standoff ends when the clip ignites the fuel on the ground and the immediate area explodes, sending a support column crashing down on Zaeed [038] .
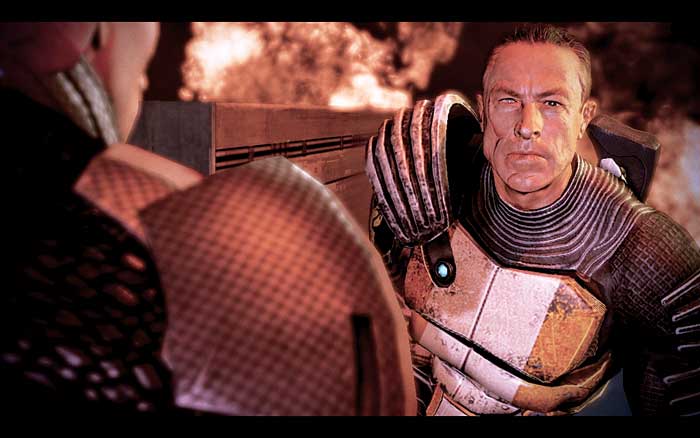
You rescue Zaeed from his metal trap [039] , and dialog choices allow you to persuade him into loyalty, putting a pistol to his head and telling him the mission comes first.
This is the only way for Zaeed to be loyal to Shepard. The shuttle arrives, and the team is transported back onto the Normandy .
Vido’s End: Renegade Path
[040]
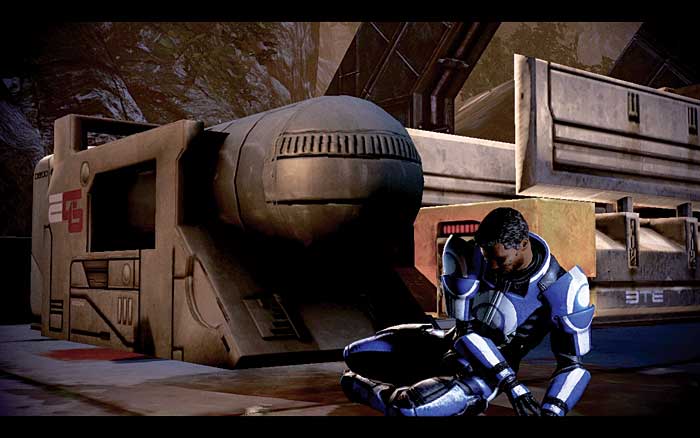
Zaeed stalks a limping Vido up the landing bay ramp and fires an attention-grabbing shot. Vido turns and tells him his past choices weren’t anything personal, but purely business.
Zaeed shoots Vido in the leg, and he twists around in agony, falling to the ground in a pool of leaking fuel [040] .
[041]
[042]
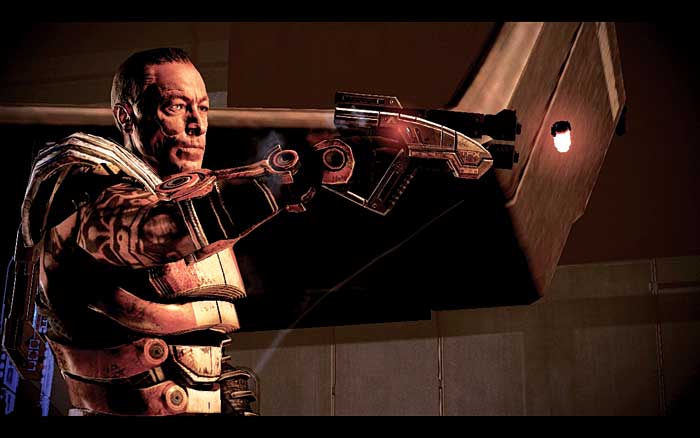
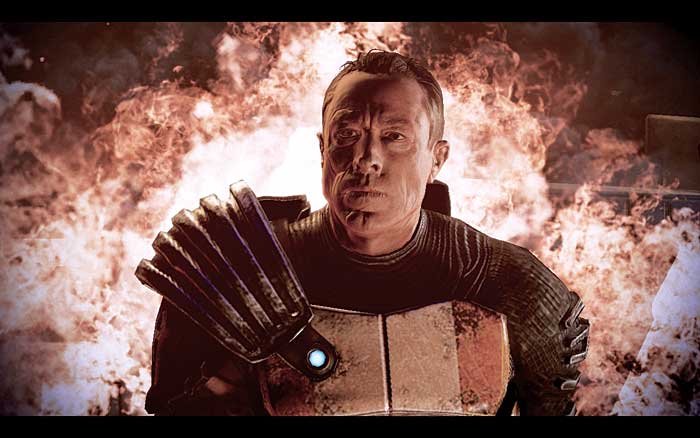
Deaf to Vido’s increasingly desperate pleading, Zaeed ejects a spent thermal clip, which lands on the fuel Vido is lying in [041] . Zaeed walks away to the sounds of screaming and fuel tanks exploding, as well as the faint smell of cooking flesh [042] . He is now loyal to Shepard’s cause.
|
Squad Members > Zaeed > Loyalty |
|
|
Squad Members > Zaeed >
|