
Mass Effect 2 Guide Walkthrough N7 ASSIGNMENTS
N7: Hahne-Kedar Mechs
Wrecked Merchant Freighter
Scans of the planet Neith reveal the wreckage of a merchant freighter; the MSV Corsica . The crash was catastrophic; no survivors are apparent. However, the scans also show movement at the crash site. Investigate the crash to determine what happened and to discover the source of movement at the crash site.
Investigating the Shipwreck
[001]
[002]
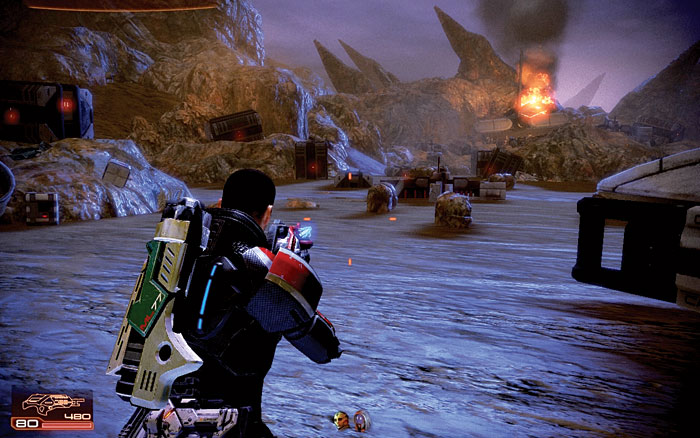
The site of the crash is littered with debris. Scour the site [001] on either side for damaged mech parts you can salvage for credits and crates of platinum.
Pick up all of the platinum and mech parts now because a sandstorm is coming in that will soon make it difficult to see.
Work your way past the containers and scattered debris, and examine the system status report for a check on the remains of the craft’s various sections.
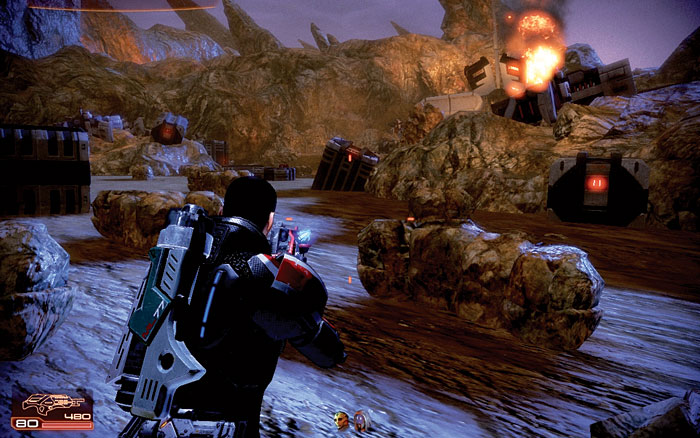
Check the navigator’s log for audio before the crash. On the far side of the site [002] is an evacuation order to listen to, close to a med kit and more items to scavenge.
Check the shipping manifest; the craft was carrying a payload of mechs.

|
|

|
|
|
|
|
|
|
|
|
|
|
|
|
|
|
|
|
|
|
[003]
When you finally reach the shipwreck, pick up the crate of power cells to restock your heavy weapon. Inspect the security report to read about the mechs aboard the freighter activating on their own and taking the ship.
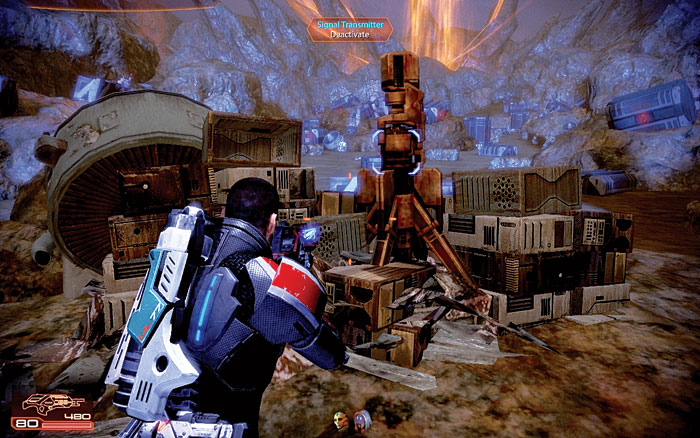
In the battle, the ship crashed on Neith. Deactivate the distress beacon [003] at the wreckage and then head back to the shuttle.
Now deactivate the signal transmitter.
|
|
Escaping to the Shuttle
[004]
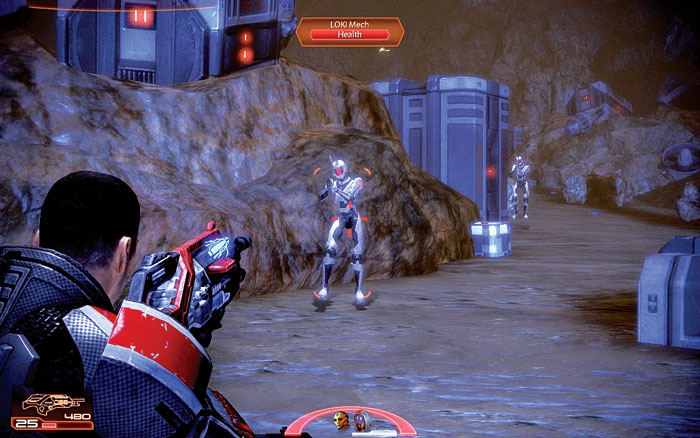
When you shut off the transmitter, you finally see signs of movement at the crash site as indicated by initial scans. LOKI mechs are converging on your position.
You must rush to the shuttle to escape the mech attack. However, as you press back toward the shuttle drop zone, the sandstorm begins to ravage the site.
The closer you get to the shuttle, the more limited visibility becomes. Plow through as many mechs as necessary [004] to reach the shuttle.
You will not destroy them all—they just keep coming. You just need to reach the shuttle.
[005]
[006]
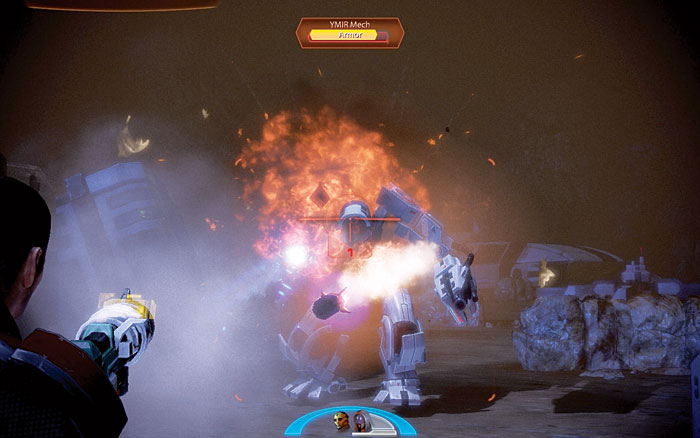
As you close in on your shuttle, a YMIR mech stomps out of the storm [005] . You must take down this mech to reach the shuttle, as fleeing may result in it targeting and slaying you.
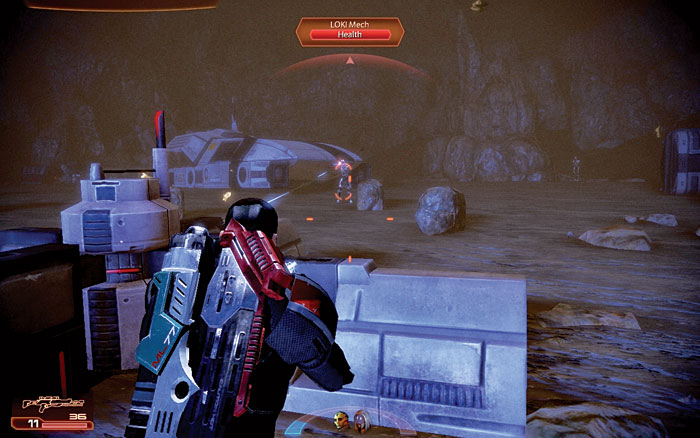
Slam into cover and spread your squad out to attack the YMIR from multiple angles. After dropping the YMIR mech, get to the shuttle [006] and return to the Normandy .
EDI will now advise you that the MSV Corsica last docked at the Jarrahe Station, beginning the following assignment:

|
|
Abandoned Research Station
The shipwreck was determined to be the MSV Corsica , a merchant freighter. The ship’s last reported location was the Jarrahe Station.
Investigate the station to discover what caused the mechs on the freighter to malfunction and attack the crew. This assignment appears on your galaxy map as “Investigate Abandoned Station.”
Escaping Jarrahe Station
[001]
The Jarrahe Station is a ghost ship. The entire crew is dead, killed without mercy. The station’s intelligence is on red alert and is protecting itself from intruders.
You must somehow thwart the intelligence and get off the station. As you methodically explore the station, be sure to discover crates of iridium, pick up datapads, and access terminals to learn more about the crew’s final hours.
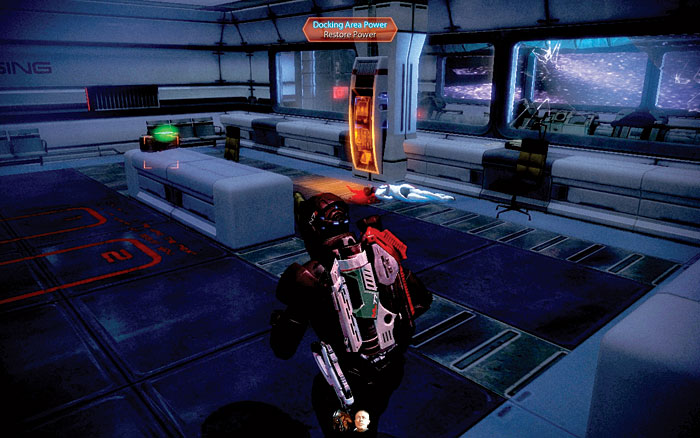
Read the first PDA, and then open the first available door, leading to a small docking area room [001] . Collect the iridium, then check the docking area power.

|
|
|
|
|
[002]
[003]
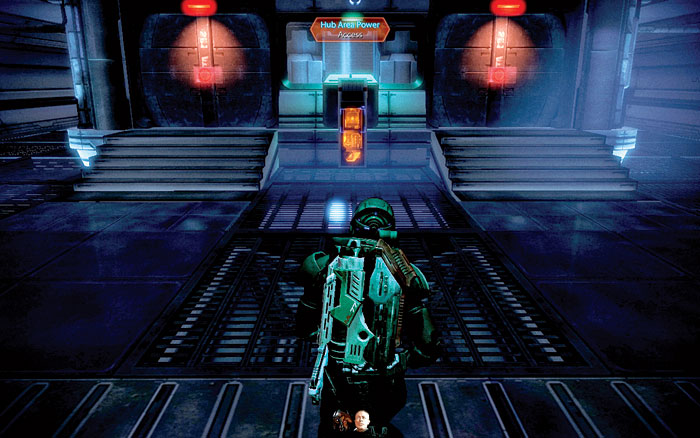
You cannot shut down the station without opening the locks to the intelligence core. You must press deeper into the station. Head further into the ship until you reach the hub area power room [002] .
Check the nearby corpse for another informative PDA. Then check out the living quarters (note the sign next to the door, so you know where you’re going).
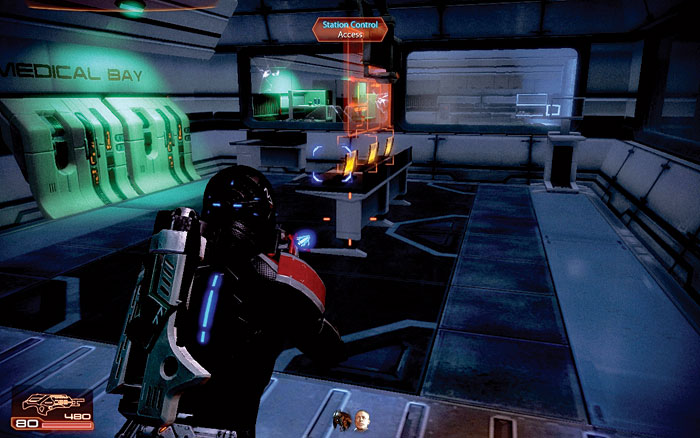
Head through the mess hall (checking for another PDA), open the door to the medical office on the right, and claim some medi-gel before restoring the power via the living quarters controls [003] .
The controls unlock a series of computers on a nearby table. Access the computers in the following order, right middle, left middle, until you hear the computer remark that five doors are enabled.
Head through the previously locked door and into the barracks, which can be checked for credits.
|
|
|
|
|
|
|
|
|
|
|
|
[004]
Return to the power control room and move into the research lab. There is iridium here. Use the console to restore lab power and then check out the reflective armor prototyping facility on the floor through the window, and below.
|
|
|
|
|
|
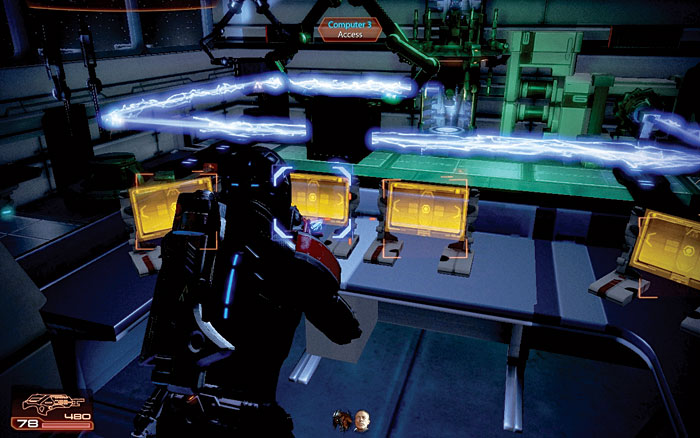
There are four accessible computer terminals at the desk overlooking the facility (numbered from 1 to 4). These terminals adjust the position of the armor plating panels [004] .
Each time you adjust a plate, an electrical beam arcs through the facility. Adjust the plates to bounce the beam across the facility and blast the computer in the back.
You must turn the second plate so the beam moves between the two plates without any reflection to solve the puzzle. Blasting open the computer in the back of the facility unlocks engineering.
This can be achieved by either fiddling with each computer until the beam is reflected through the panels correctly, or by maneuvering the panels using the quickest method:
computer 1, computer 2, computer 2 again, computer 4, computer 4 again, computer 4 once more, and finally computer 3.
[005]
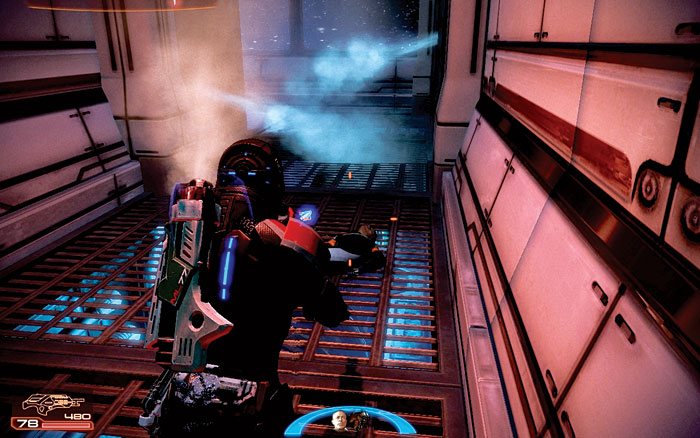
Now, move to engineering from the central power room. The corridor through engineering is lined with pipes leaking intermittent blasts of plasma [005] .
These plasma blasts are dangerous. If caught in a blast, you lose shields and health.
Your squad can get in real trouble in here, so order them to stay back (ideally in the side corridor to the right, just through the engineering door, where a PDA, med kit, and more credits can be found), then dart through the plasma on your own.
The engineering power switch is at the end of the corridors. Restore the power and retrace your steps.
|
|
|
|
|
|
[006]
Return to the central hub and access the hub area power, unlocking the doors leading to the ship’s VI mainframe intelligence core.
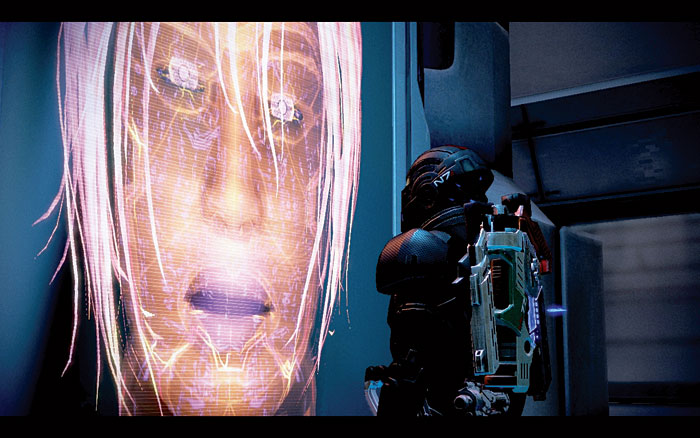
Once inside, shut down the mainframe [006] to end the VI’s reign of terror. When you return to the Normandy , check your private terminal for a message that leads to the final assignment in this series: Hahne-Kedar Facility.
|
|
|
Hahne-Kedar Facility
Data mined from the station’s intelligence in the previous assignment reveals that a virus caused the malfunction. The source of the virus is the Hahne-Kedar Facility on the planet Capek.
This is a mech factory. The facility must be shut down before it can ship any more infected mechs that turn on humans. This assignment appears on your galaxy map as “Disable Infected Production Line.”
Shutting Down the Factory
[001]
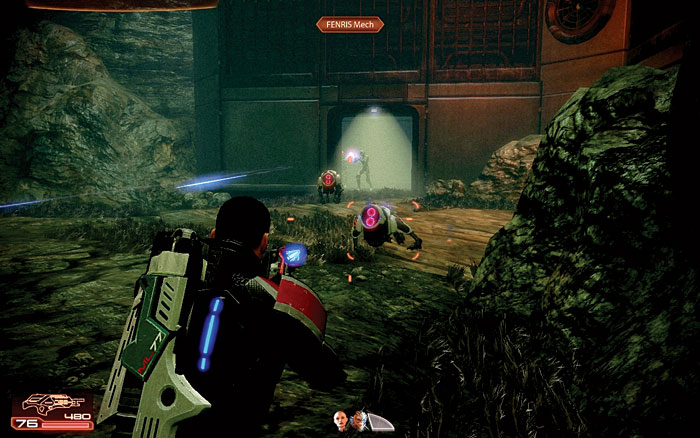
The Hahne-Kedar facility sits eerily silent on the surface of Capek. When you approach the entrance to the factory, fan out so you can efficiently take down the small army of FENRIS and LOKI mechs that race through the front door as you draw near [001] .
Blast the mechs and then slip inside the factory.
[002]
There are several dead bodies inside. The mechs were infected by a systemwide virus and destroyed each other.
Grab the medi-gel from the nearby counter, empty the wall safe, and access the terminal. The terminal contains several messages about the emergency situation at the factory and the mech malfunctions.
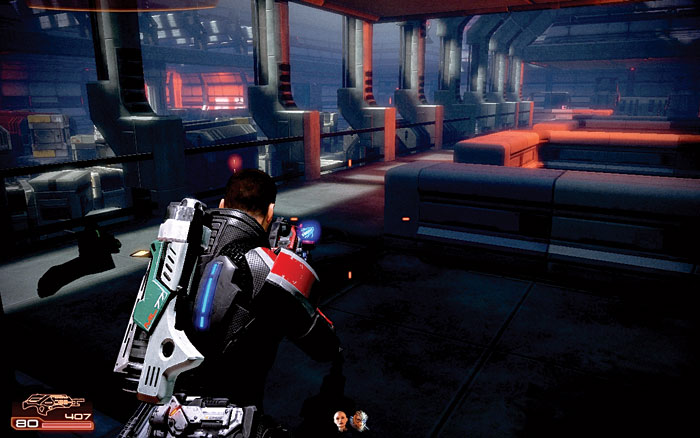
Then ease onto the factory floor [002] , check a datapad for further information, and pick up a crate of element zero.
|
|
|
|
|
|

|
|
[003]
[004]
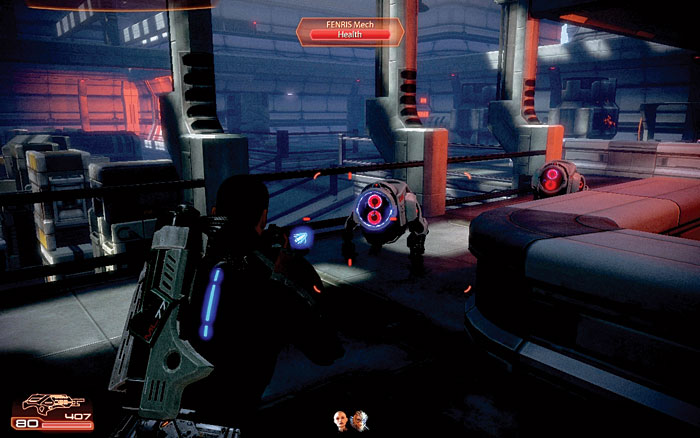
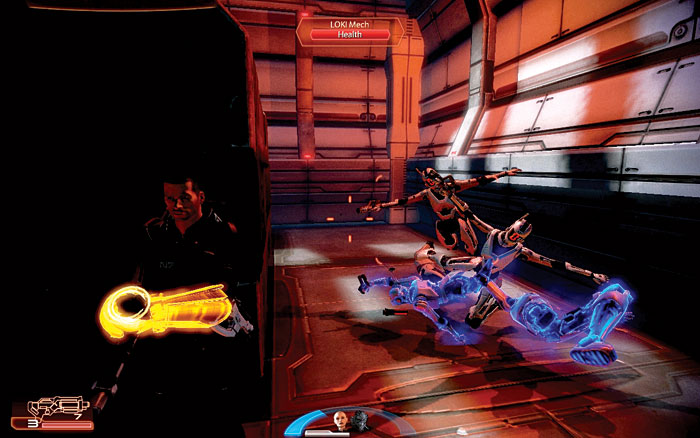
More FENRIS mechs attack as you move deeper into the factory [003] . They are quickly joined by LOKI mechs. Catch the LOKI mechs near the ramp leading down to the lower factory floor [004] .
Use the ramp as a bottleneck to hold the mechs down so they cannot spread out across the upper floor.
Cryo ammo works well at freezing the mechs in their tracks. Then check the left (dead-end) path from the lower ramp, and locate some power cells if you need them.
|
|
|
[005]
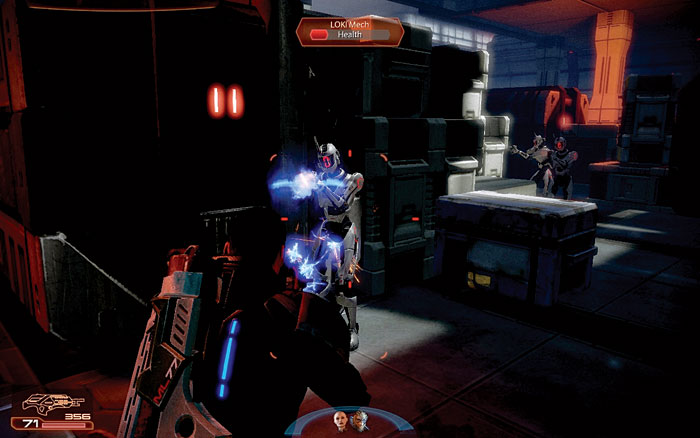
Weave through the labyrinth of crates on the factory floor, hunting LOKI mechs [005] . Though you do not have to face down a YMIR mech in this battle, heavy weapons clear out entire platoons of LOKI mechs with relative ease.
Blast through the mechs as they mill through the crates and boxes. Use the crates as cover to guard against the mech attacks.
Before reaching the far end of the factory floor, check a path to the right, leading to a crate of eezo.
|
|
|
[006]
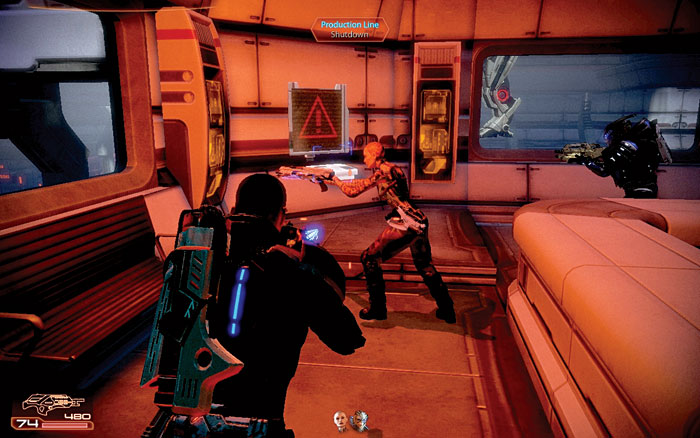
When you reach the rear of the factory, pass through the door. Grab the crate of element zero on the bottom floor of this room and then climb the ramps above you to reach the production line control panel [006] , which shuts down the factory.
Hack the console. When you complete the hack, the production line grinds to a halt, stopping the mech menace.
|
|
|