
Mass Effect 2 Guide Walkthrough SPECIAL ASSIGNMENTS
Firewalker: Geth Incursion
The collected data has been digested, and it points to anomalous weather patterns on Lattesh.
Dr. Cayce seemed particularly interested in this planet; indeed he believed the irregular atmosphere may have been related to the Protheans. The probes Cayce left on the planet’s surface must be recovered.
[001]
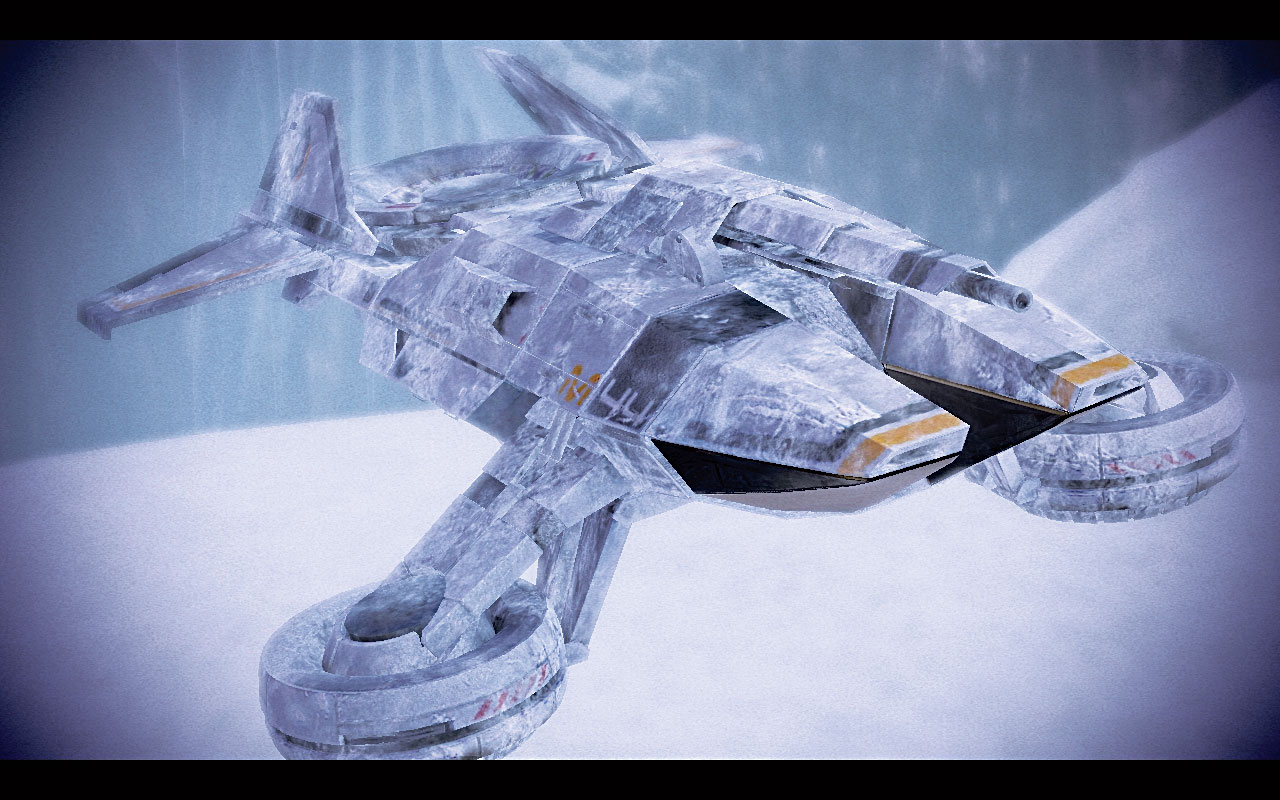
Plot a course to Lattesh, in Chomos, which is part of The Phoenix Massing. When you reach the planet, start the scanner and launch a probe. Scan the planet’s surface until an anomaly is detected.
Only then can you land on the planet’s surface [001] , which proves to be extremely cold, barren, and with temperatures that allow expeditions over a set amount of time.
Part 3: Project Firewalker: Find Cerberus Probes
[002]
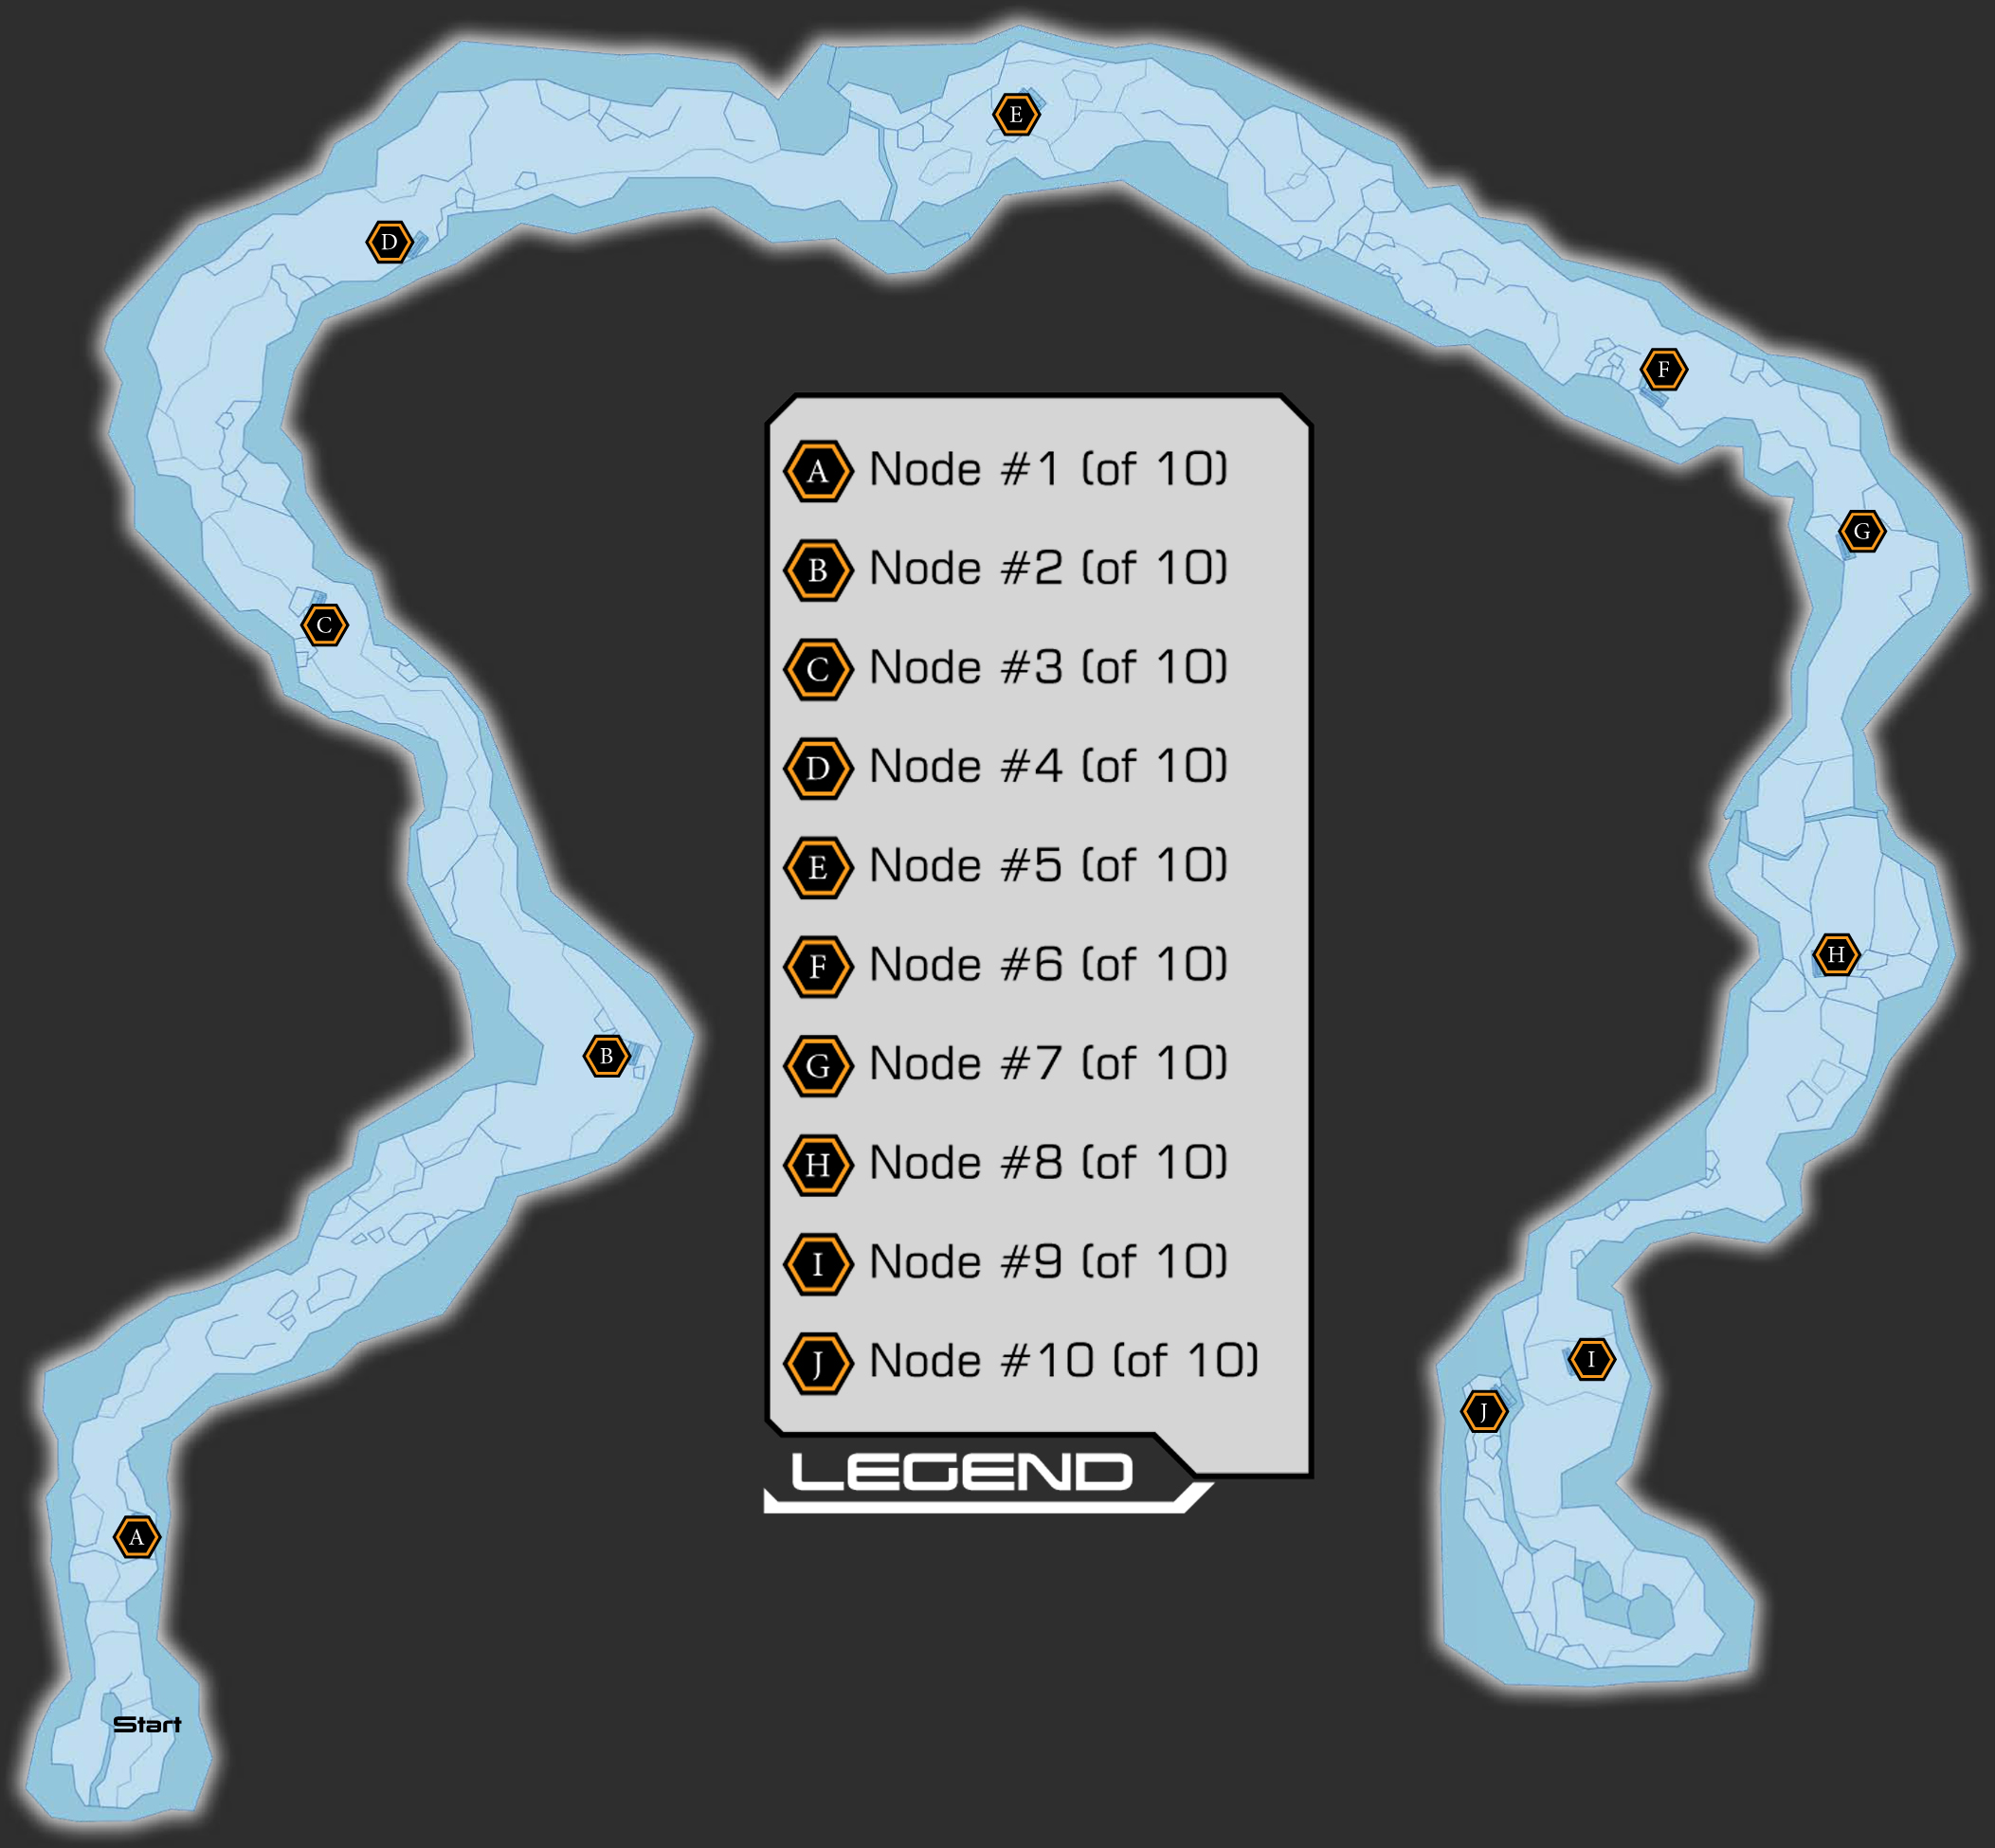
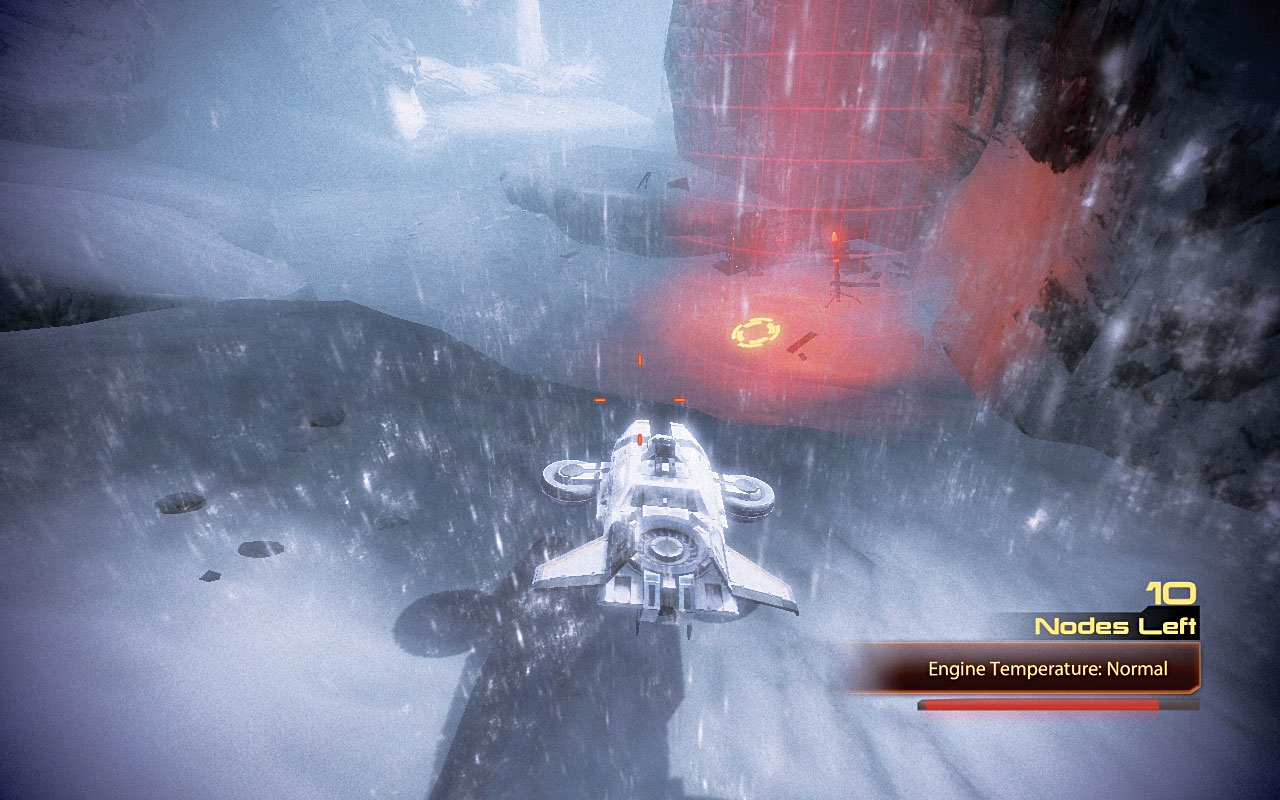
You begin in a snow-filled gully; boost up the gully after swinging around to spot the first node light—a shaft of red easily spotted [002] .
Hover over the node and collect it. The data is downloaded, and you receive some mining deposits.

|
Spoils of War > Resources > Refined Palladium > Mine Node > 100 Palladium |
[003]
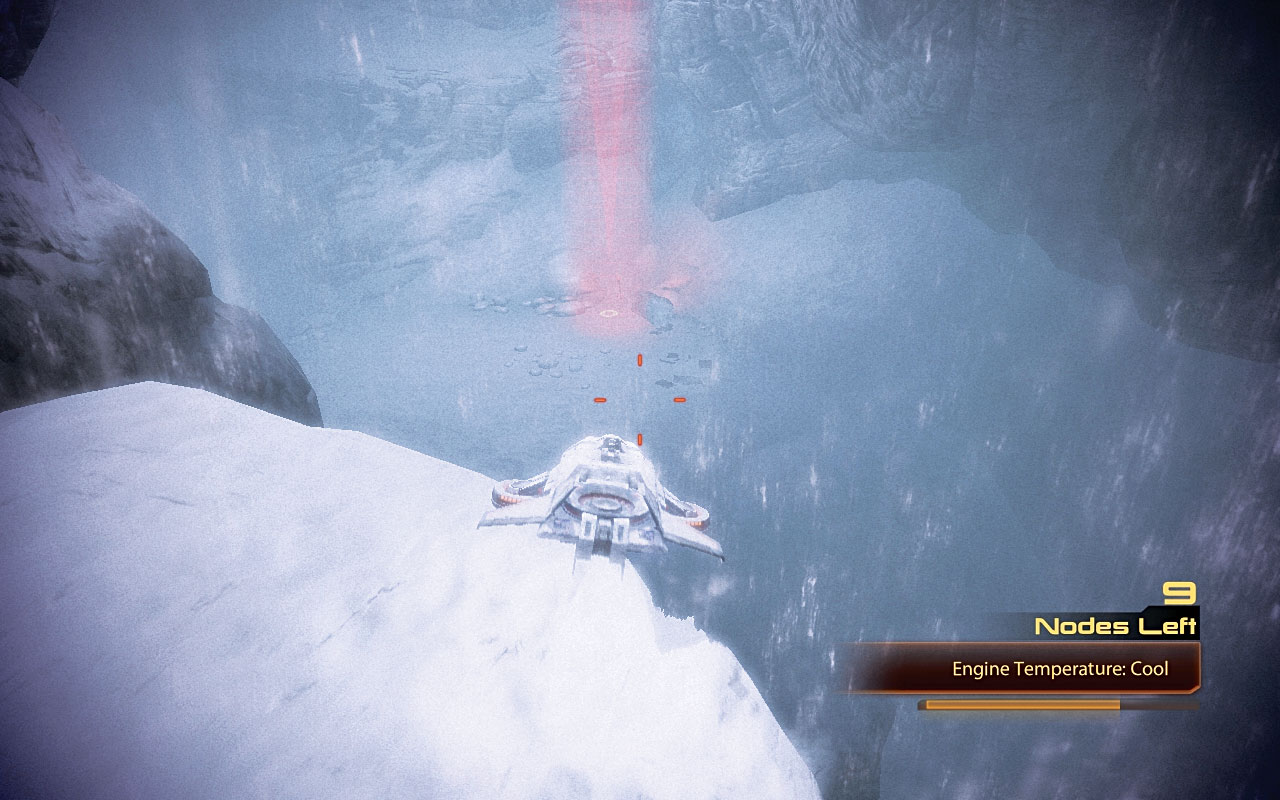
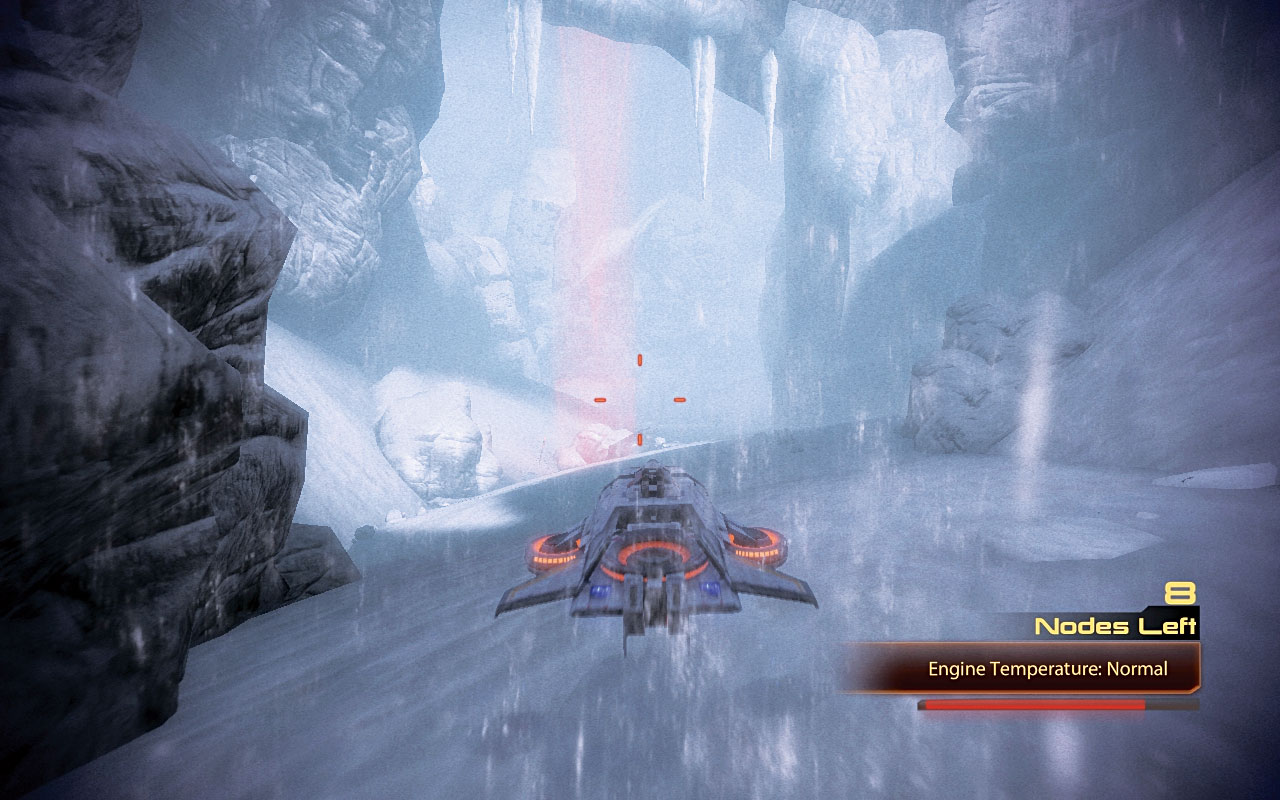
Boost farther up the huge canyon gully, under a natural bridge with massive icicles, and over a snowbank on your left to the next node [003] .
|
|
Spoils of War > Resources > Refined Palladium > Mine Node > 150 Palladium |
[004]
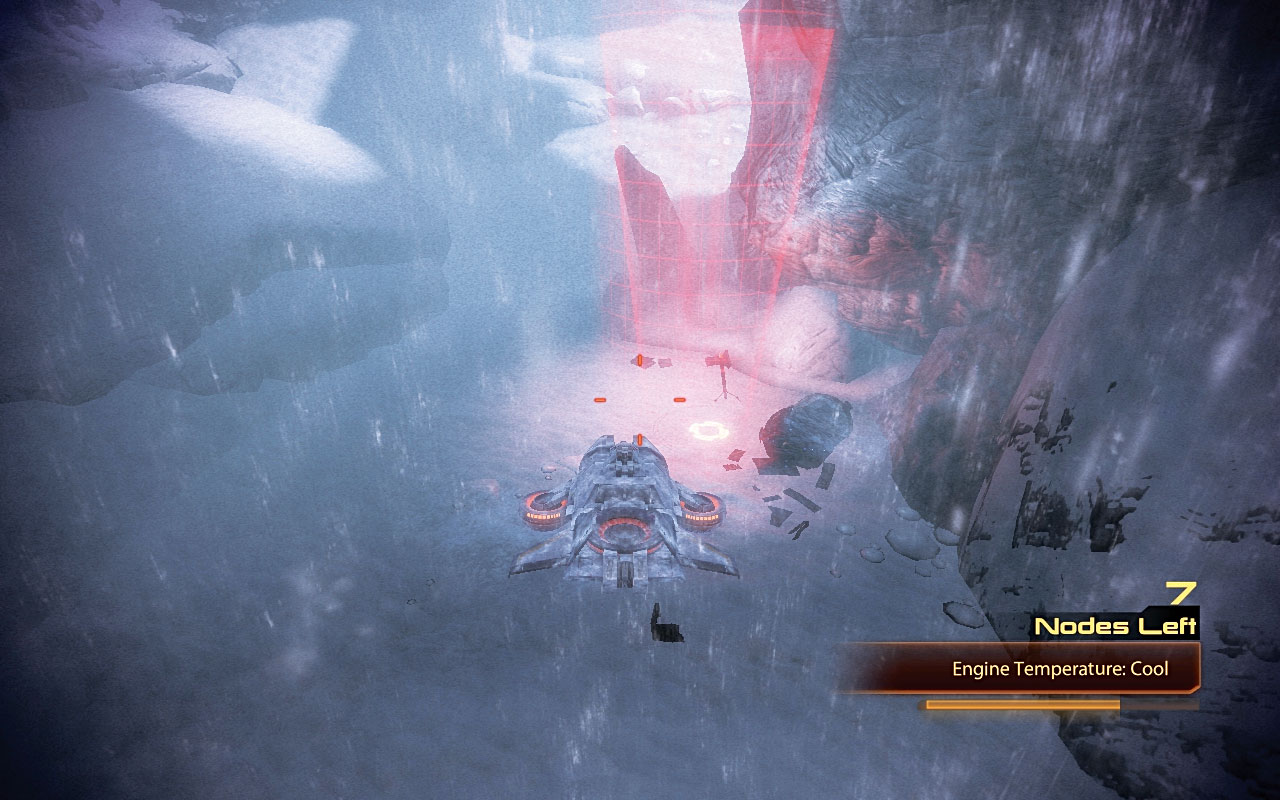
Continue along the valley floor, jetting over a huge rock and under two natural bridges [004] . The next node is under the second bridge itself.
|
|
Spoils of War > Resources > Refined Palladium > Mine Node > 250 Palladium |
[005]
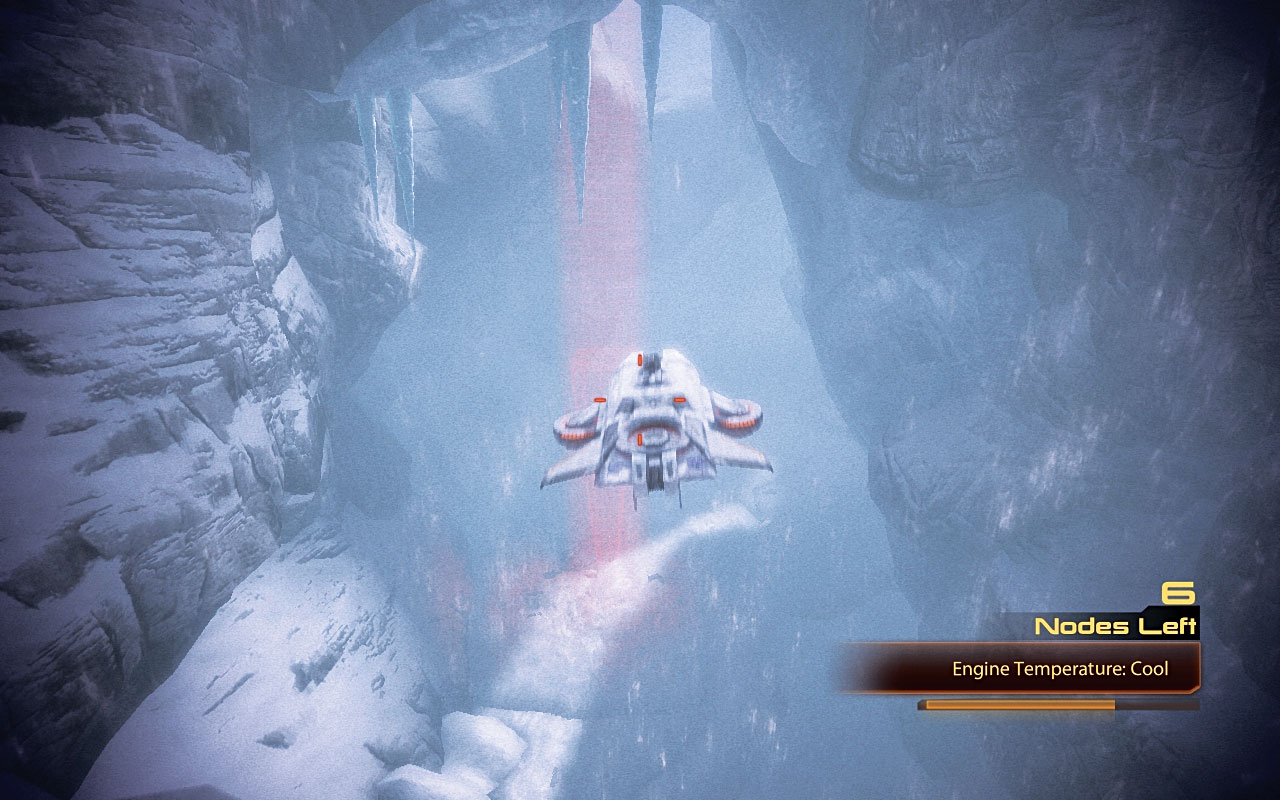
The valley continues, curving around slightly to the right. The red shaft of light signifying the node [005] is easy to spot around the curve.
|
|
Spoils of War > Resources > Refined Palladium > Mine Node > 350 Palladium |
[006]
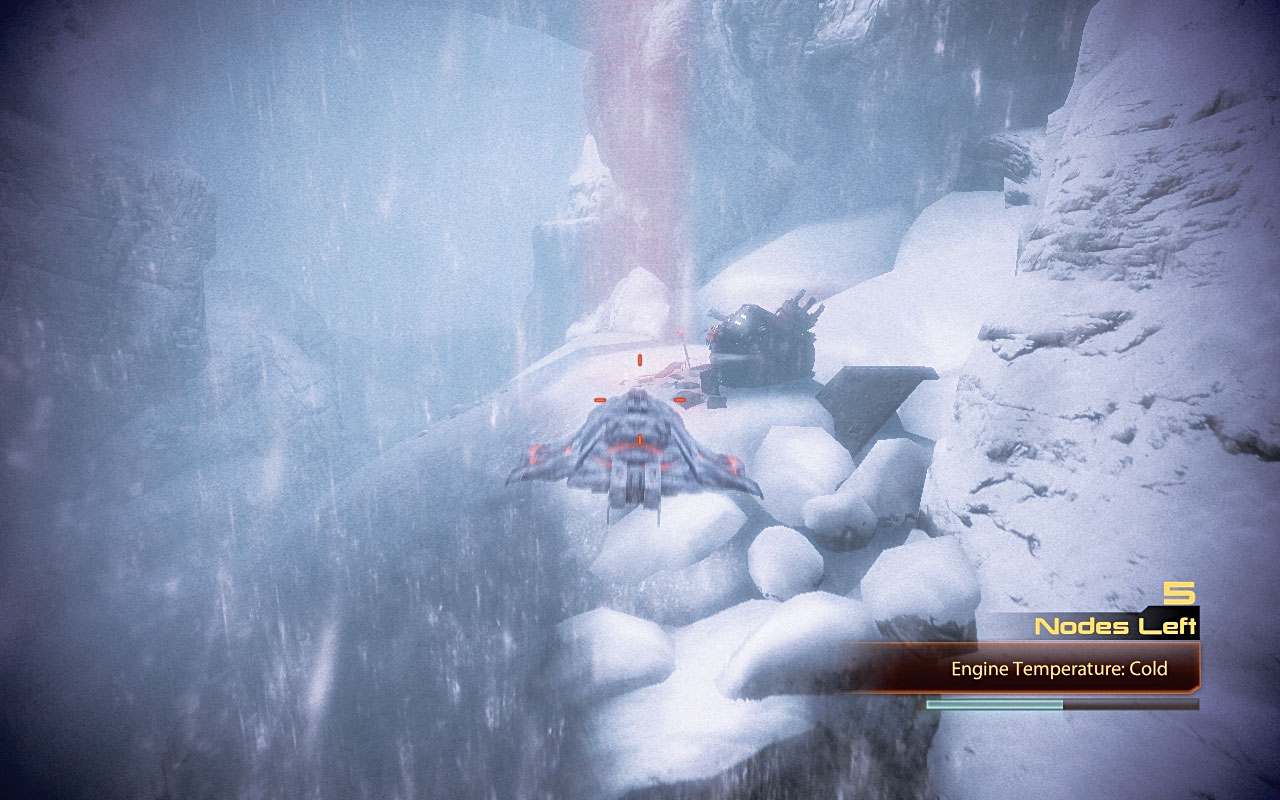
Vertically lift the Hammerhead above a sloping snowbank, and boost up and to the right. At the top of this giant ramp is a freefall [006] to the next node.
|
|
Spoils of War > Resources > Refined Palladium > Mine Node > 450 Palladium |
[007]
Boost forward, away from the giant ramp, noting the bright light of the geth incursion in the distant horizon. Stay on top of the piles of snow-covered rocks on the right side of the fissure [007] ; the next node is on one of them.
|
|
Spoils of War > Resources > Refined Palladium > Mine Node > 500 Palladium |
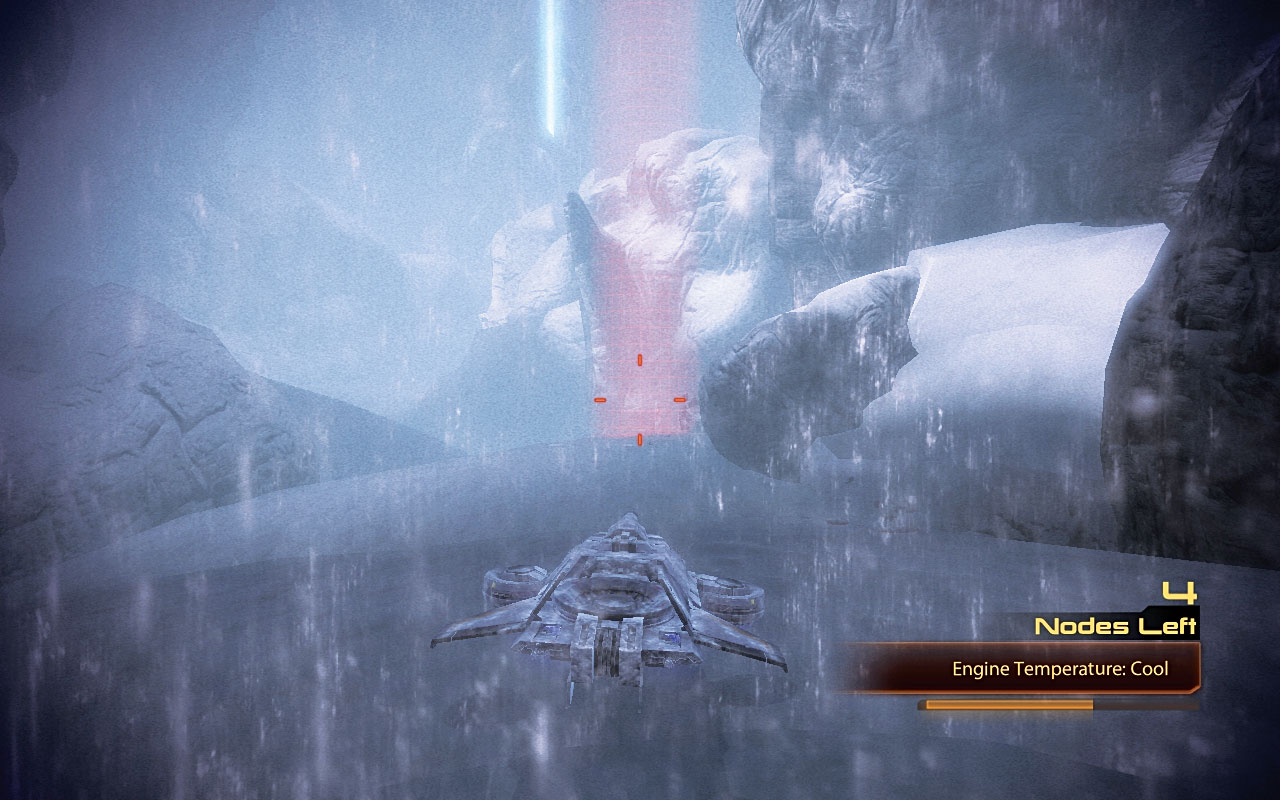
[008]
The next node is very close by; it is on the right [008] , just after the natural rock bridge you boost under.
|
|
Spoils of War > Resources > Refined Palladium > Mine Node > 600 Palladium |
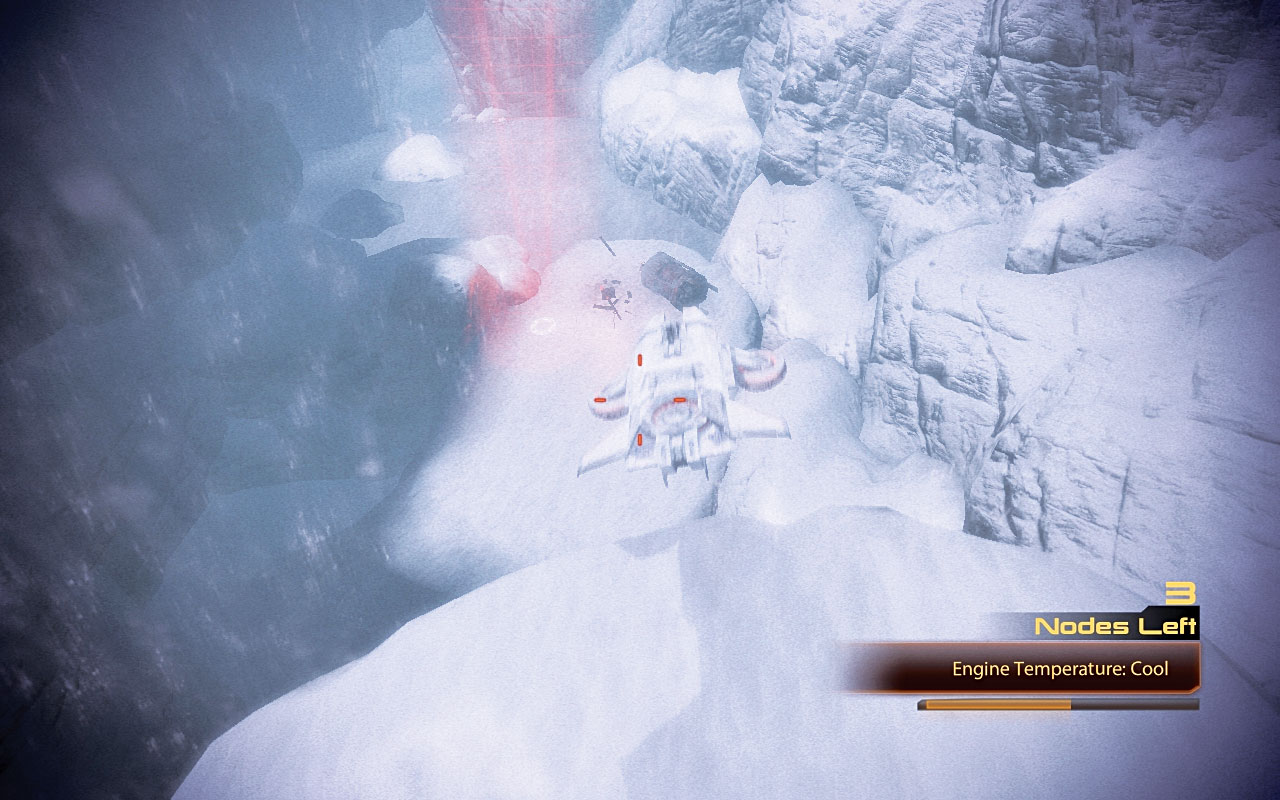
[009]
The valley is becoming shallower, but more rocky. Follow it to the next node [009] , which is difficult to miss.
|
|
Spoils of War > Resources > Refined Palladium > Mine Node > 750 Palladium |
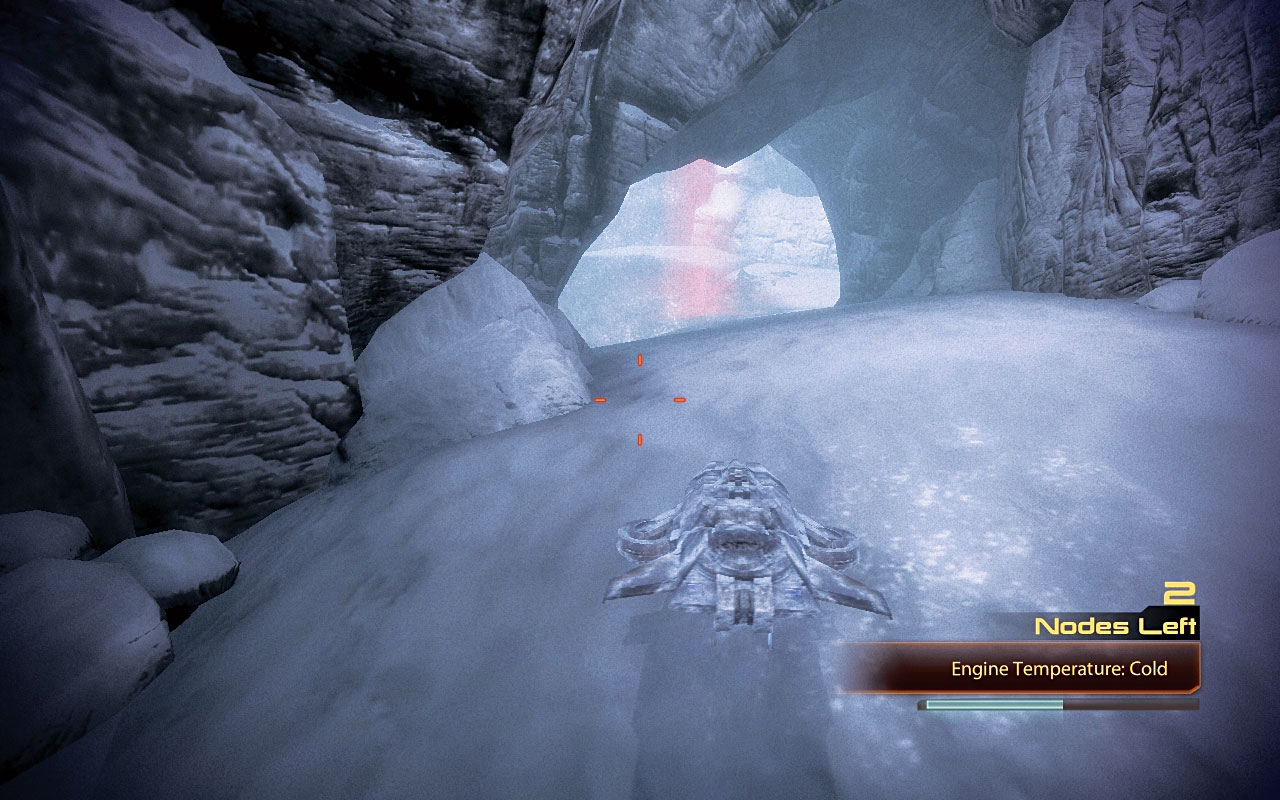
[010]
Boost into a tunnel and out the other side, where the next node is [010] . Your engine temperature should be around half of normal if you’re maneuvering with skill.
|
|
Spoils of War > Resources > Refined Palladium > Mine Node > 850 Palladium |
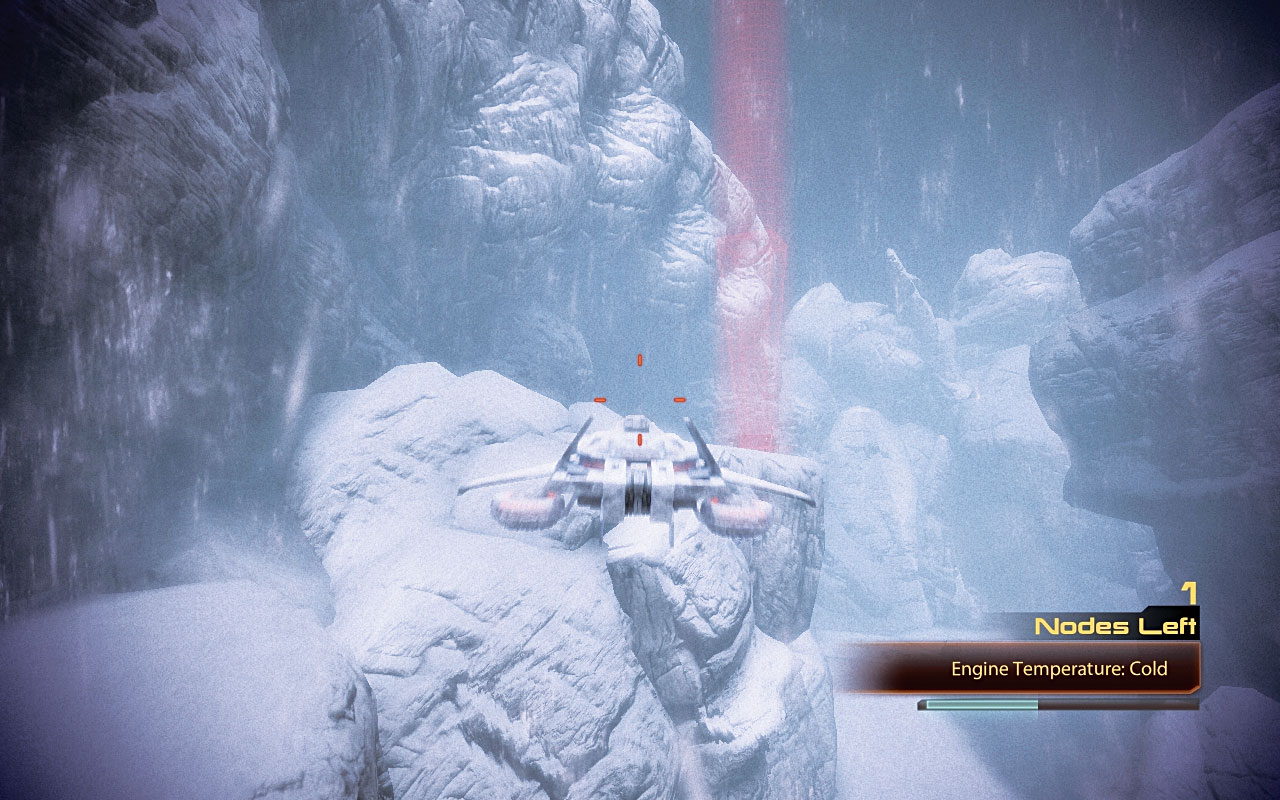
[011]
The final node is above the tunnel exit; simply boost forward and maneuver around to the cliff ledge that doubles back on the right side. Swing 180 degrees around (with the ledge and cliff wall on your left) and climb the ledge [011] .
|
|
Spoils of War > Resources > Refined Palladium > Mine Node > 1,000 Palladium |

|
All Probes Collected! |
The following additional missions are now available (aside from any already completed), and can be attempted in any order:
|
|
Firewalker > Artifact Collection (Hawking Eta) |
|
|
Firewalker > Recover Research Data (Caleston Rift) |