
Mass Effect 2 Guide Walkthrough WALKTHROUGH
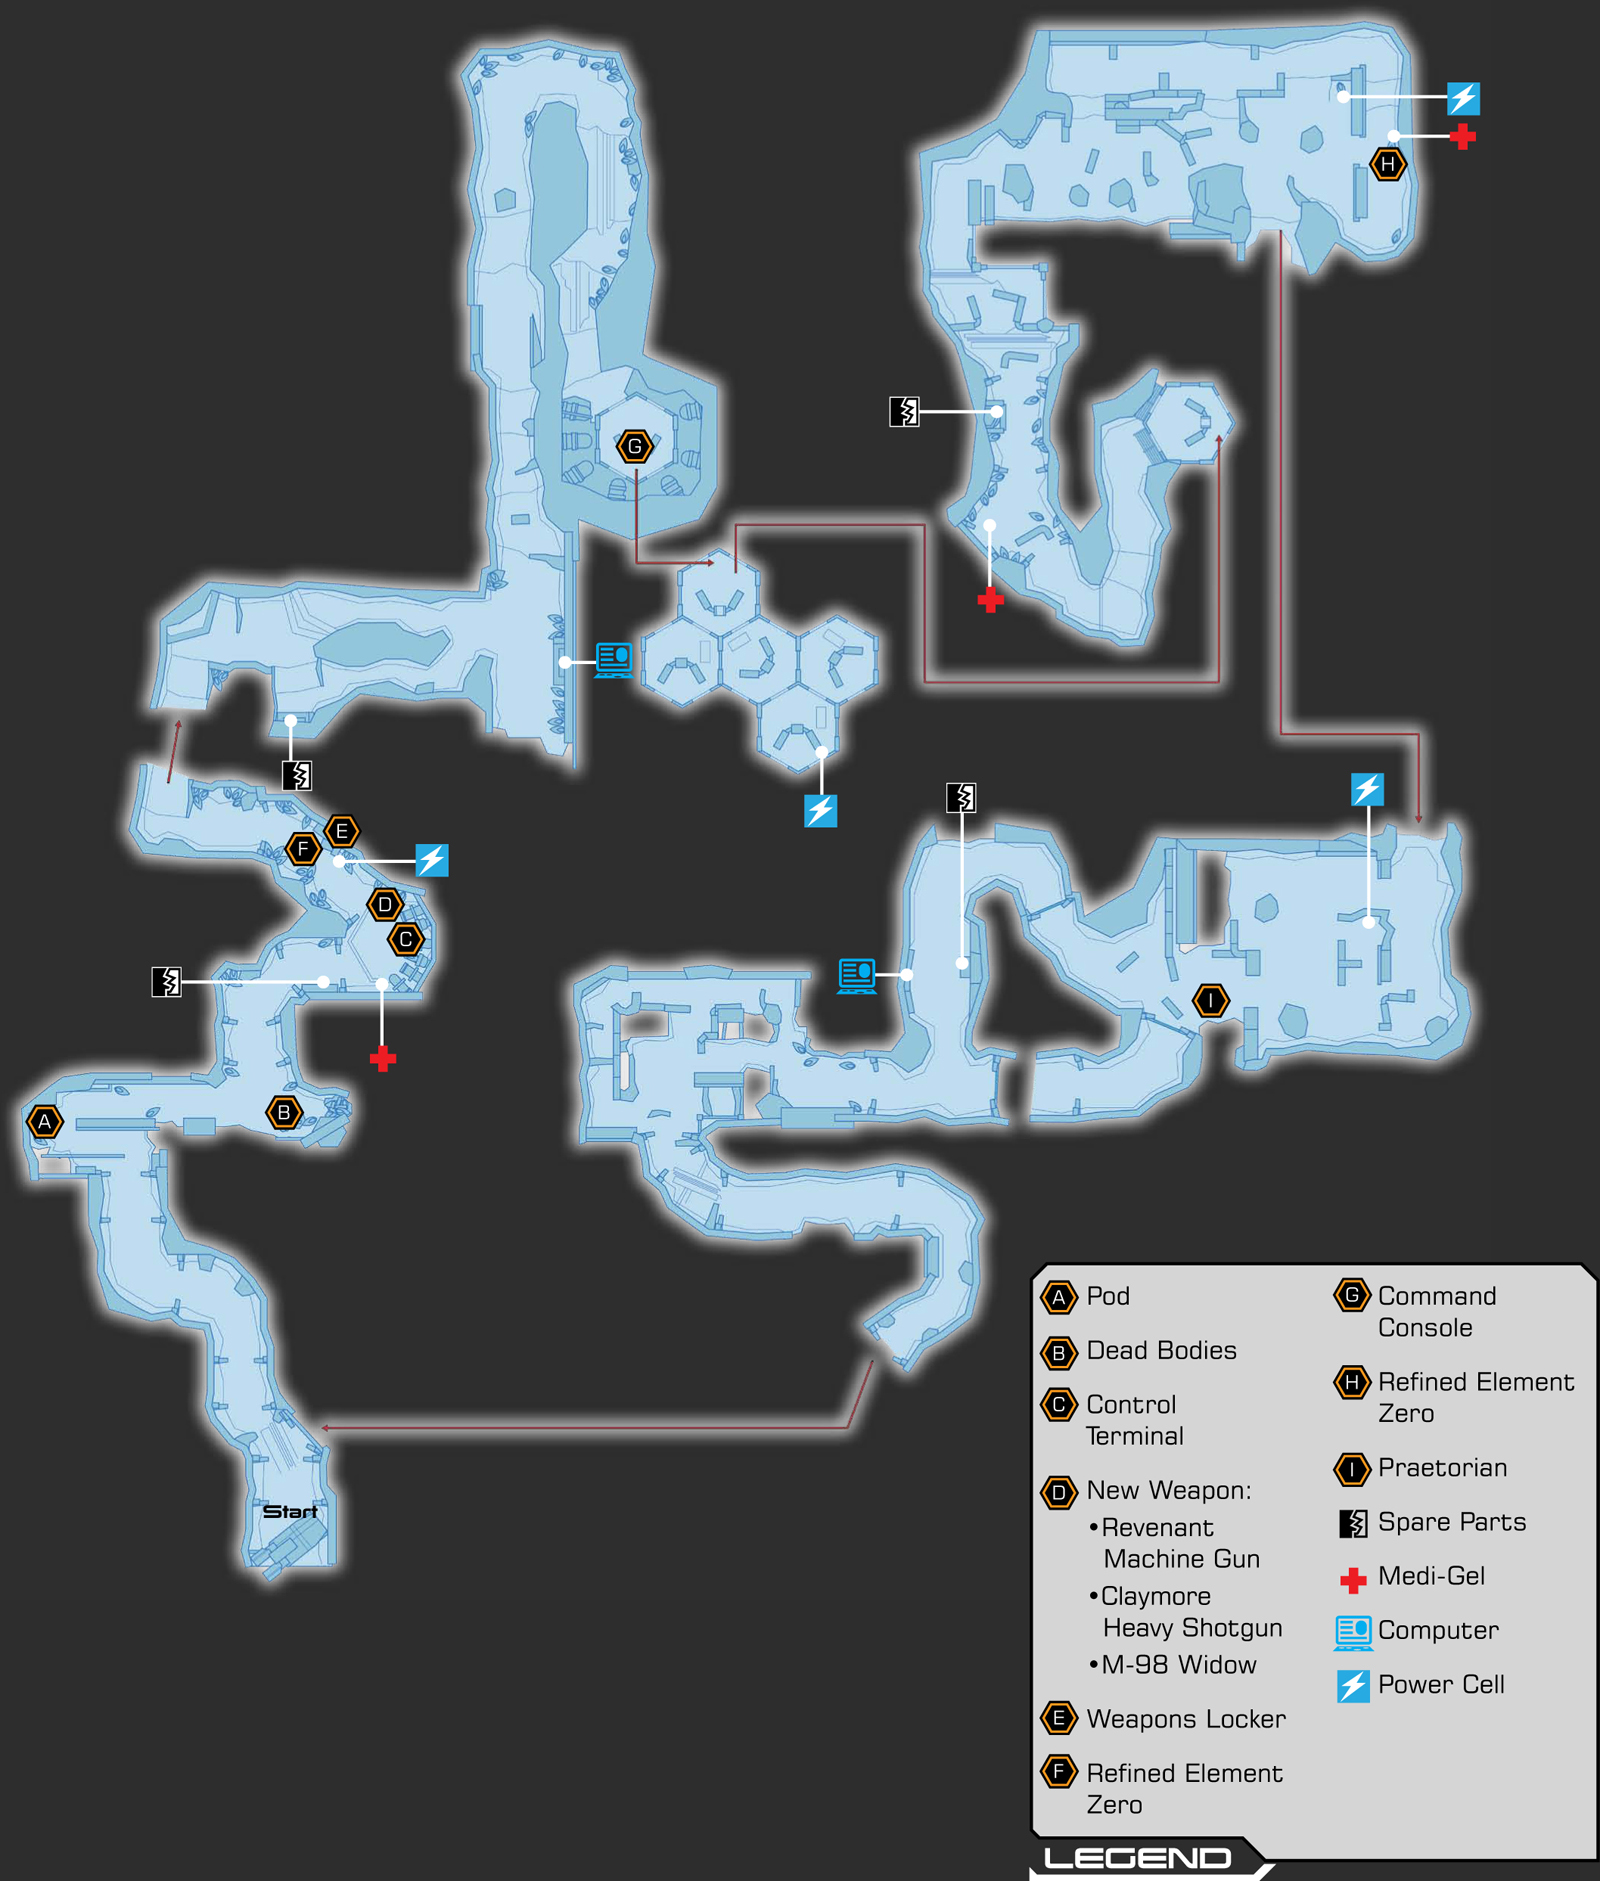
The Collector Ship
As soon as Shepard finishes recruiting the additional squad members, the Illusive Man has news for the commander: He has located a disabled Collector ship.
The Collector ship was damaged in a battle with a turian cruiser. The turians were completely wiped out.
The Illusive Man needs Shepard to race to the vessel and look for any hard data on a potential means for reaching the Collector homeworld.
All systems on the Collector ship seem to be offline, but that doesn’t necessarily mean there will not be any resistance.
Shepard needs to get in and out before the ship is reactivated. Hopefully, EDI can use the data Shepard finds to discover a way to take the fight to the Collectors.
First Arrival
[001]
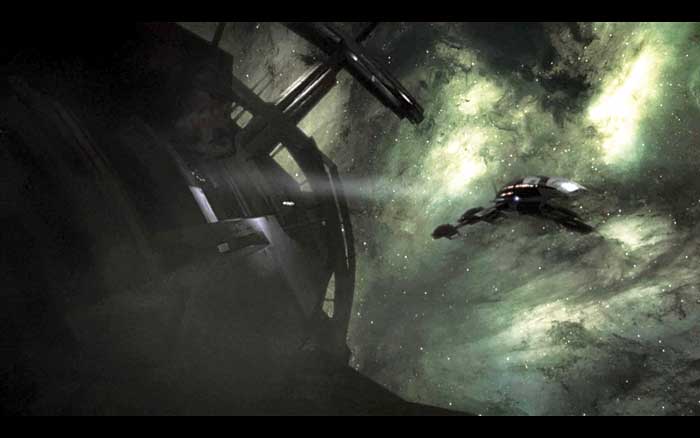
Joker pulls the Normandy alongside the Collector ship [001] . Shepard and the squad take a small shuttle over to the vessel and dock.
The inside of the Collector ship looks like a giant insect hive. Right now, the scene is quiet. But that won’t last long, so Shepard and the squad need to be ready for anything.
Part 1: Investigate Collector Ship
Within seconds of docking, EDI reports that she has located an uplink within the Collector ship. Shepard needs to reach that uplink and establish a connection to the AI.
Looking Around
[002]
[003]
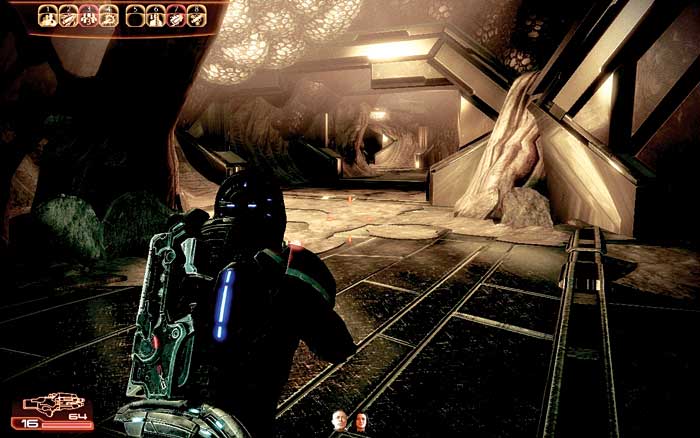
After leaving the shuttle, follow the corridor into the depths of the Collector ship [002] .
As you walk, EDI reports that she has scanned the ship and determined that this is the same vessel that destroyed the original Normandy and almost killed you two years ago. As you walk, you find an empty pod.
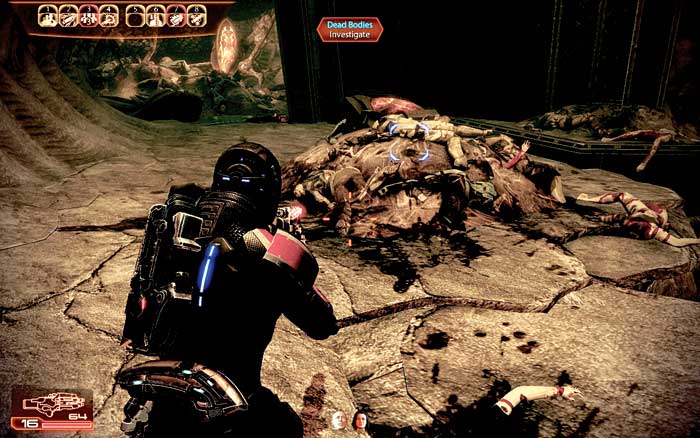
A few steps beyond, you discover the answer: a stack of bodies [003] . Inspect the bodies to discover that the Collectors are somehow using humans for an experiment.
These dead bodies are apparently from a batch of test subjects that did not fit the needed profile.

|
Pod > Examine |
|
|
Dead Bodies > Investigate |
[004]
[005]
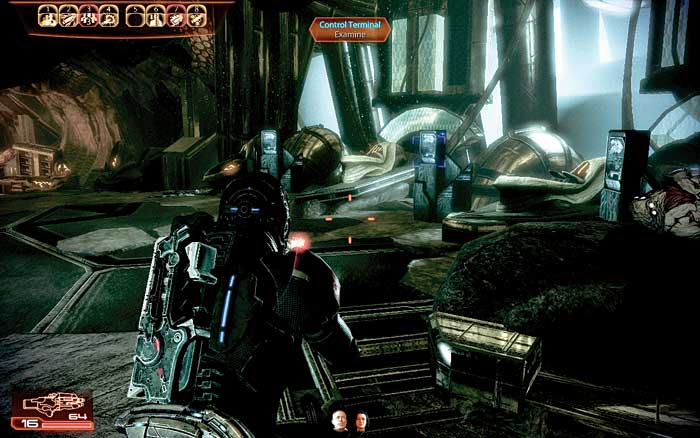
Farther down the corridor, you locate another series of pods. These are hooked up to machines [004] and offer a grim revelation.
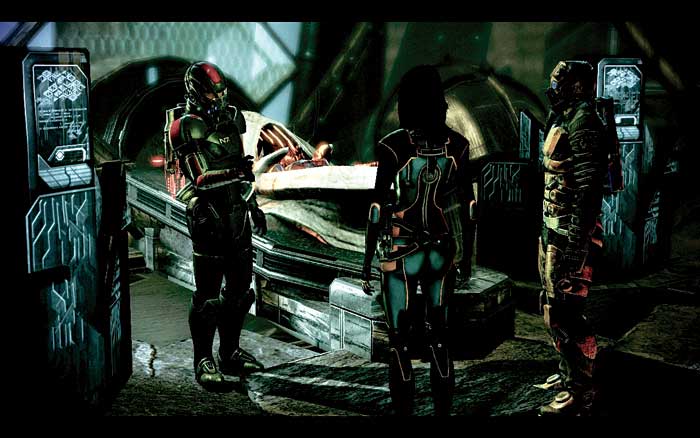
After salvaging a large number of credits and picking up the medi-gel from the nearby crate, investigate the pods, checking in with EDI about the bodies still encased in them [005] .
The control terminal next to one of the pods allows you to download an immediate upgrade. Depending on your class, you have different options.
For example, a vanguard may have the option to download the ability to use assault rifles or sniper rifles. If you already have a weapon proficiency, you may choose the most powerful weapon of its type, based on your class.

|
Spoils of War > Collector Technology > Salvage > 7,500 Credits |

|
Med Kit > +1 Medi-gel > 100 Credits |
|
|
Control Terminal > Examine |

|
Ammunition > Power Cells > 2 Heavy Weapon Ammo |

|
Spoils of War > Resources > Refined Element Zero > Open > 250 Element Zero |
| Weapon Training Type | Class | Unique Weapon Availability |
|---|---|---|
|
Assault Rifle |
Soldiers |
M-76 Revenant Light Machine Gun |
|
Shotgun |
Soldiers and Vanguards |
M-300 Claymore Heavy Shotgun |
|
Sniper Rifle |
Soldiers and Infiltrators |
M-98 Widow Anti-Material Rifle |

|
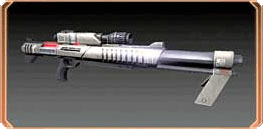
New Weapon: M-300 Claymore Heavy Shotgun |

|
New Weapon: M-76 Revenant Light Machine Gun |
|
New Weapon: M-98 Widow Anti-Material Rifle |
[006]
[007]
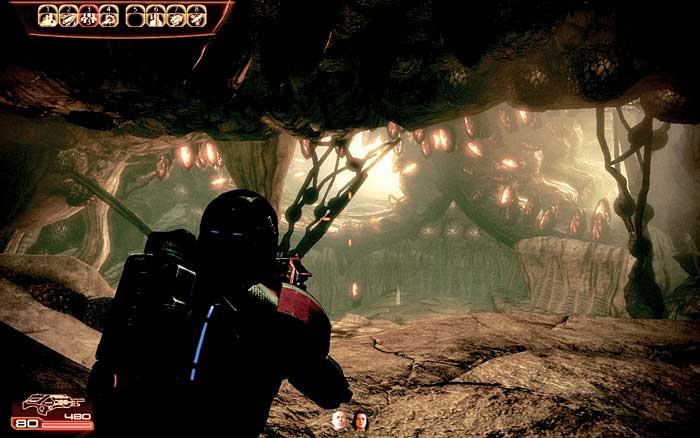
Continue down the path through the Collector ship. When the ceiling rises, look up. There are hundreds of pods built into tunnels that spider into the depths of the ship [006] .
A little farther down the route, you locate some salvageable Collector technology. Scan it with the omni-tool to bank 15,000 credits. Keep moving through the ship.
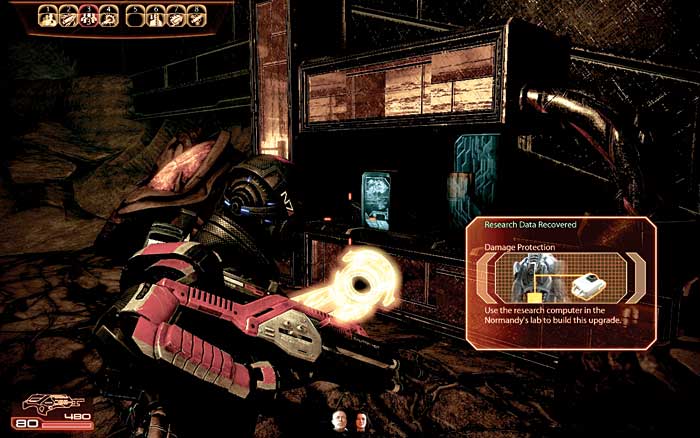
Just as the corridor takes a sharp turn to the left and begins to climb, there is a scannable terminal [007] that gives up a damage protection upgrade: Ablative VI.
|
|
Spoils of War > Collector Technology > Salvage > 15,000 Credits |

|
Upgrade > Control Terminal > Access > Damage Protection |
[008]
[009]
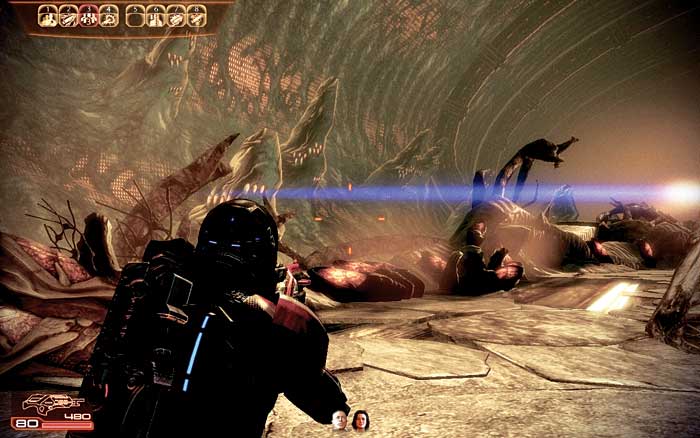
The passage leads to the awe-inspiring and gigantic heart of the Collector ship [008] . The hollow is lined with thousands upon thousands of pods.
There are enough pods in here for the Collectors to harvest every human in the Terminus Systems.
If multiple vessels like this move toward Citadel space, it would be possible for the Collectors to steal away every human being on Earth.
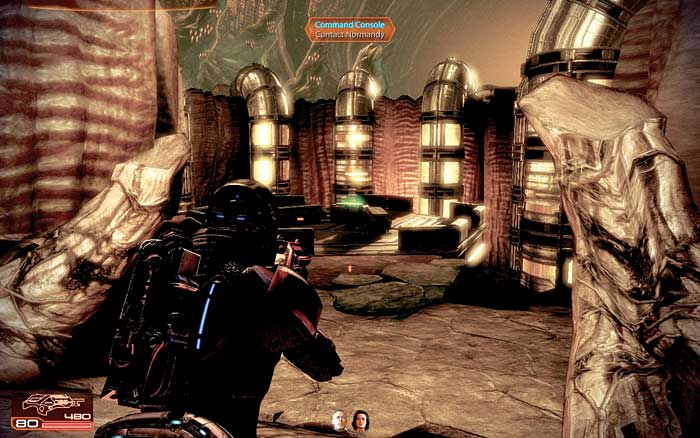
The path through the hollow ends at a hexagonal platform. There is a green panel at the center of the platform: That’s the uplink [009] . Activate the panel to establish a link with EDI.
EDI immediately starts downloading data from the Collectors. However, activating the panel also raises the platform into the hollow, placing you and the squad in plain sight. Within seconds, company arrives.
|
|
Command Console > Contact Normandy |
Collector Assault
[010]
[011]
[012]
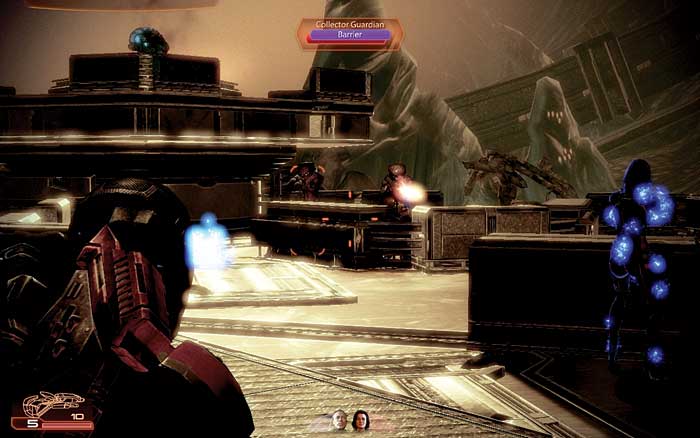
There are several walls on the platform. Use one for cover and make sure your weapons are fully loaded. More hexagonal platforms are moving fast through the hollow, with multiple Collectors on board.
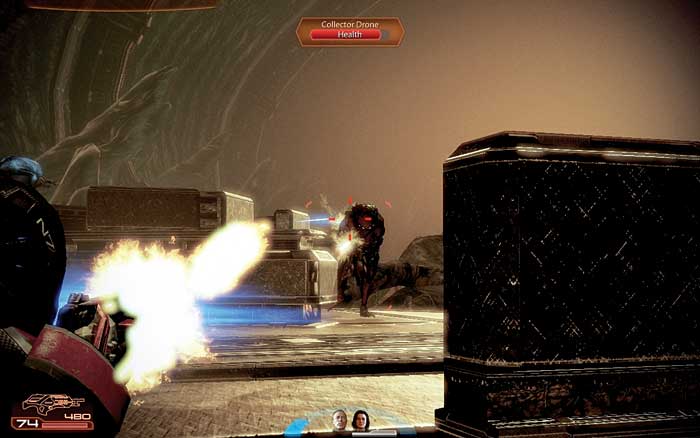
When those platforms dock with yours, you will be boarded. Be ready to repel. The closest platform deposits Collector drones and a Collector guardian right on your doorstep [010] .
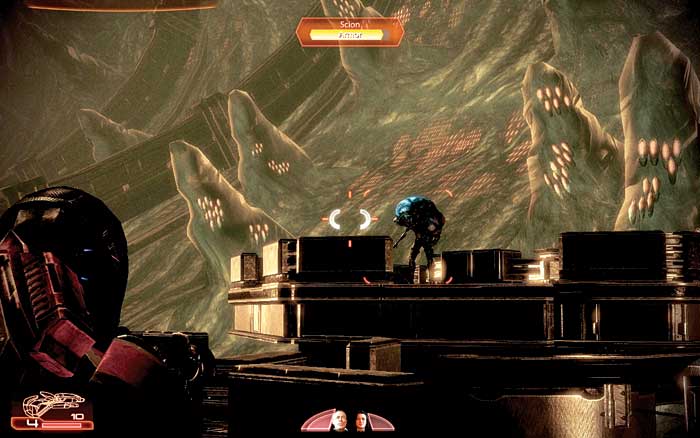
The second platform carries a scion [011] . The scion is a brute, but it doesn’t move very fast. Concentrate on the Collectors right in front of you [012] .
Take down the drones as soon as possible because Harbinger is about to possess one of the Collectors on the platform.
If you destroy the other two Collectors, you limit Harbinger’s options for possessing another Collector when you take this one down.
[013]
[014]
It doesn’t take long for reinforcements to arrive after you take apart the Collectors on the first platform.
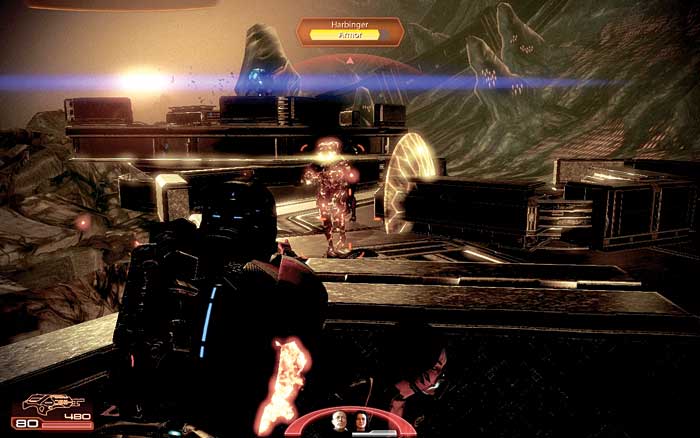
Another batch of drones moves into place, docking with your platform. You have a few moments to tear apart the drones before Harbinger possesses one of them [013] .
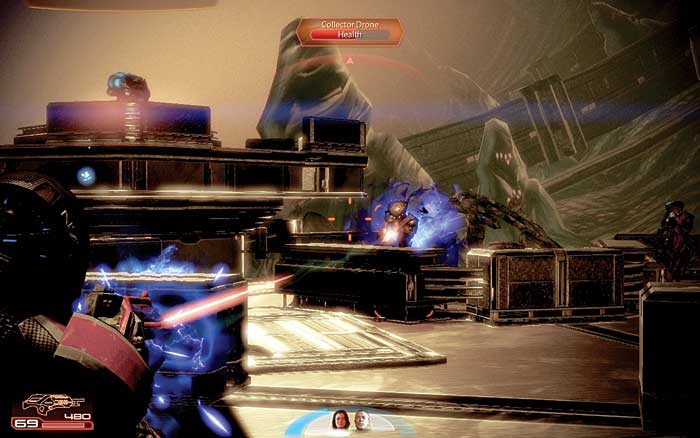
As before, try to limit Harbinger’s ability to possess other Collectors by taking them down [014] .
The platforms are floating above the hollow, so you can also use Pull or Charge to knock the Collectors off the platforms and out of the battle.
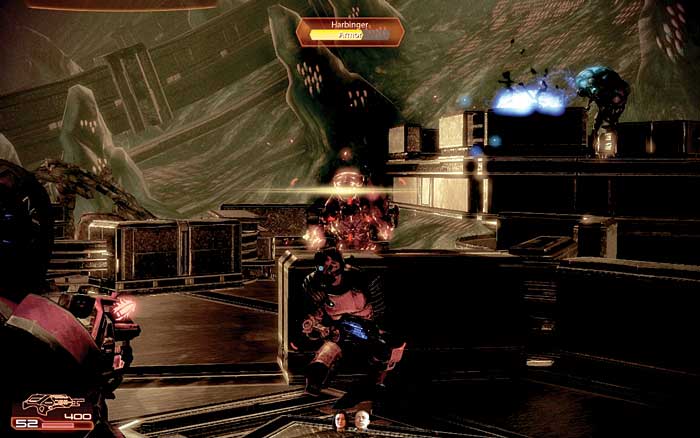
[015]
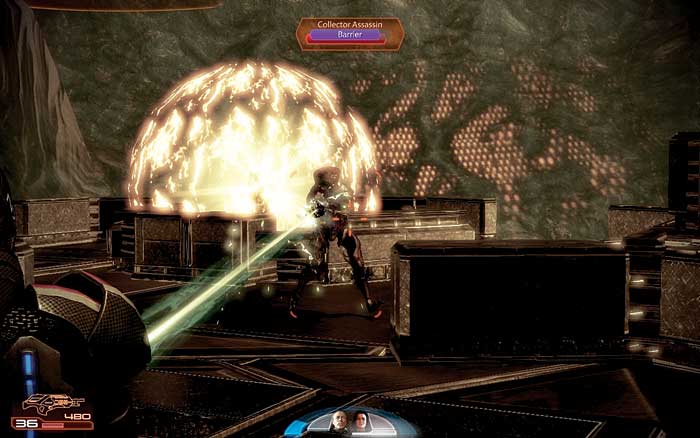
[016]
Expect at least one possessed Collector per platform [015] . Unless you board the new platform right away, the possessed Collector will not move in close.
While there is some distance between you and the possessed Collector, clean out the other Collectors, and if you see Collector assassins (with their more devastating beam-weapon firepower), bring them down first [016] .
Then direct your squad to target the Collectors so they do not train their fire only on the possessed Collector.
Collector guardians are part of the reinforcements and will put up hive shields to block your shots, but you can angle biotic attacks around the shields if you get far enough to the side.
|
|
Ammunition > Power Cells > 2 Heavy Weapon Ammo |
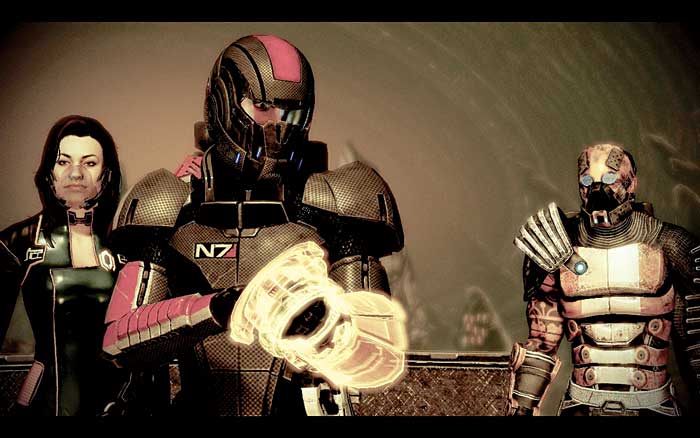
[017]
Unless you went for the scion earlier, concentrate your fire on the monster when no more platforms move down the hollow.
Take out the scion to end this battle in the heart of the Collector ship. When the battle subsides, return to the panel that linked the Collector ship to EDI [017] .
This moves the platform through the remainder of the hollow and deposits it back on the ground.
You can now continue pressing through the ship’s corridors, taking out Collectors as you attempt to find a way back to the shuttle.
|
|
Command Console > Contact Normandy |
Collector Packs
As you move off the platform, EDI offers directions. Follow her directions into a room with medi-gel. There is a ramp leading away from the medi-gel to a chamber with more Collectors.
On the way, scan the Collector technology on the left side of the corridor.
|
|
Med Kit > +1 Medi-gel > 100 Credits |
|
|
Spoils of War > Collector Technology > Salvage > 7,500 Credits |
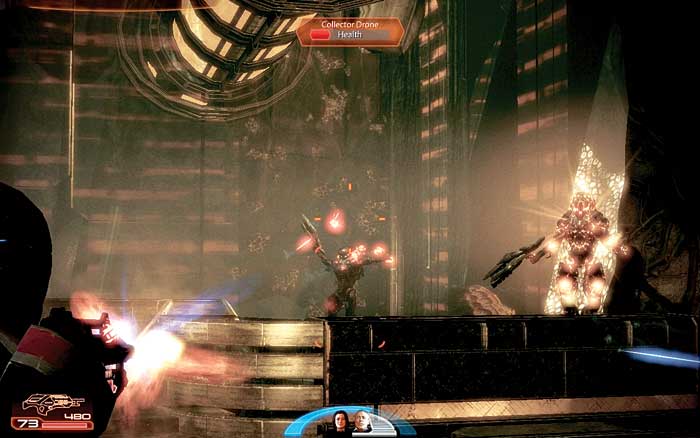
[018]
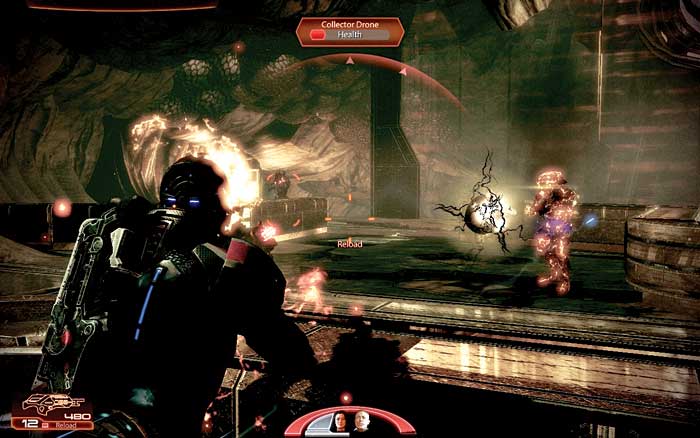
[019]
When you reach the bottom of the ramp, Collector drones move into position. One of these drones will soon become a possessed Collector [018] —there is no way to kill them all fast enough to avoid it.
So, instead of just opening fire on any target, sweep through the Collectors and put them down one at a time.
Since the drones have no shields or armor, use biotics as well as gunfire to wound them. Stick behind cover [019] when the possessed Collector appears.
This foe’s heavy weapon is devastating, so duck incoming rounds and return fire only when it is safe to stick your head back up.
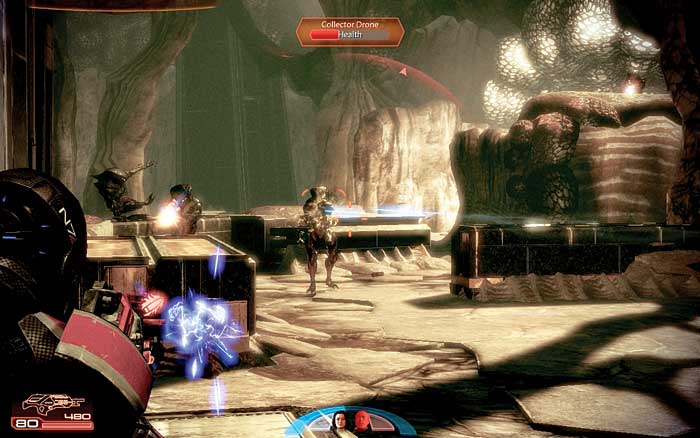
[020]
The path leads to another clearing [020] . The buzzing of Collector wings fills the air within moments of your arrival.
If you are fast, you can shoot the Collector drones and Collector guardians before they land. Select one of them and finish it off before moving on to your next target.
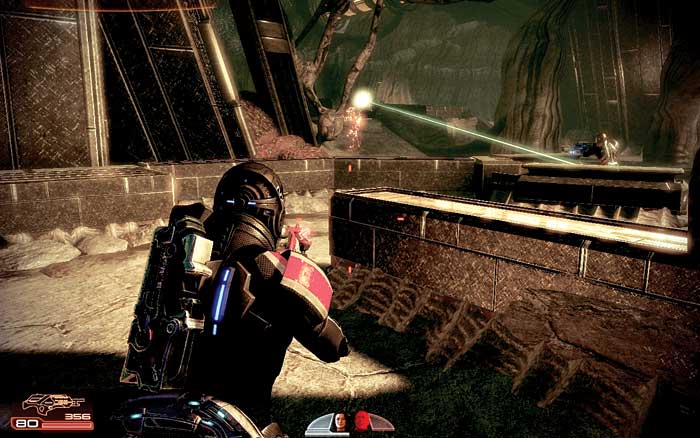
[021]
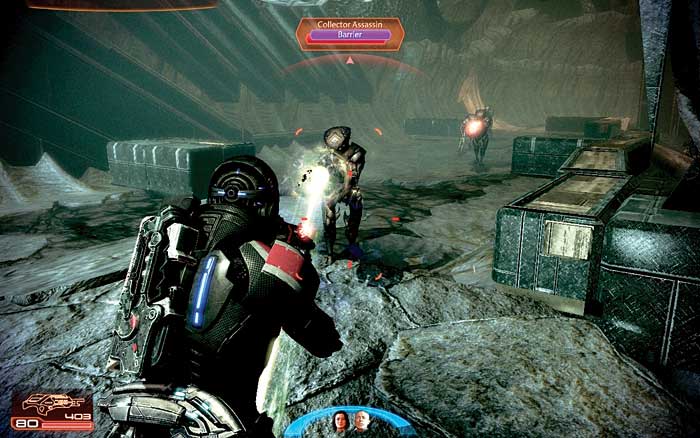
[022]
You can take on the Collectors in this room directly [021] , but there is a route to the left that offers sniping points as well as the means to get behind the Collectors in the room.
Move up the ramp to the left. There may be Collectors moving along the route [022] , but if there is a possessed Collector on the main floor, you will not encounter one on this upper route.
Assuming you find cover, and have your squad members to back you up, the high ground is advantageous.
Not only can you see incoming Collectors, but also you can get the drop on the Collectors on the main floor with biotic attacks.
There is no way for them to avoid the effects of attacks like Pull or Slam unless the Collector seeks cover behind a pillar.
Watch out for the Collector assassin in the room, too. The possessed Collector is your toughest target, but the assassin’s particle beam will rip through your shields within seconds.
After finishing off the Collectors in this area, drop down the ledge to keep moving back toward the shuttle.
|
|
Ammunition > Power Cells > 2 Heavy Weapon Ammo |
|
|
Med Kit > +1 Medi-gel > 100 Credits |
|
|
Spoils of War > Resources > Refined Element Zero > Open > 250 Element Zero |
The Praetorian Appears
[023]
[024]
EDI comes over the comm. The AI has located a door and will force it open as long as she can to give you a shortcut back toward the shuttle.
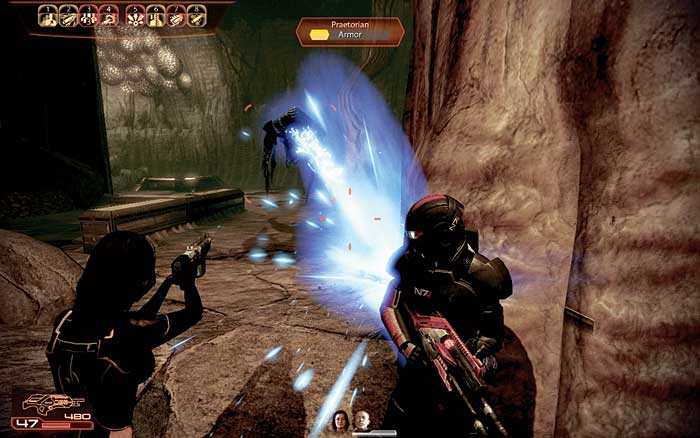
However, the door is on the far side of a chamber that hosts a praetorian [023] . The monster drifts down from the ceiling as you approach.
Lock and load because the praetorian will do everything in its power to drain your ammo stocks and keep you from escaping the ship.
[025]
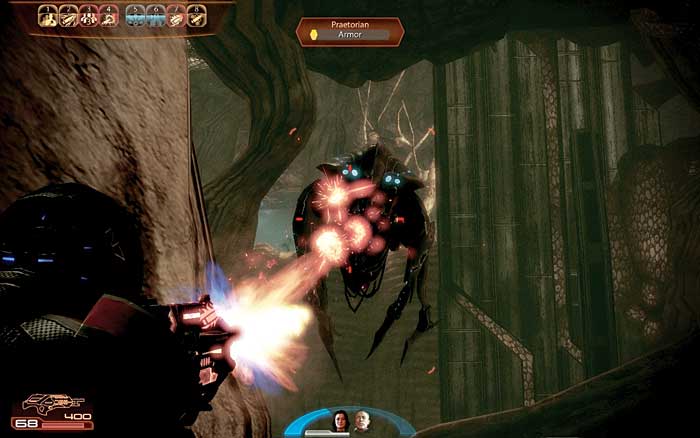
The praetorian behaves exactly like the one you took down at Horizon. The praetorian hovers in the air, tracking you with its glowing eyes.
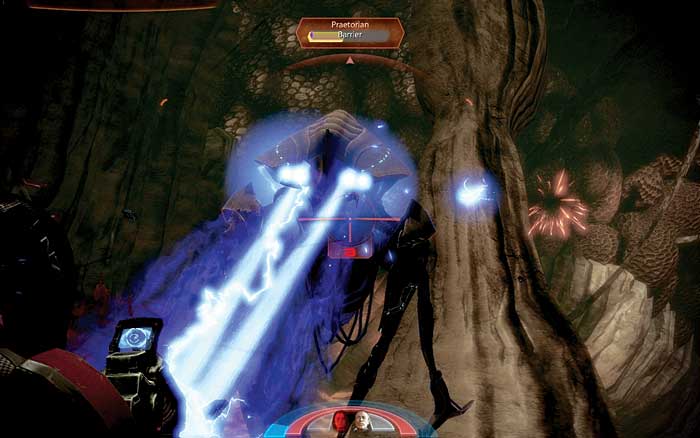
Its main weapons are twin particle beams that tear through shielding and armor [024] . You must use cover to avoid getting stripped of your protection.
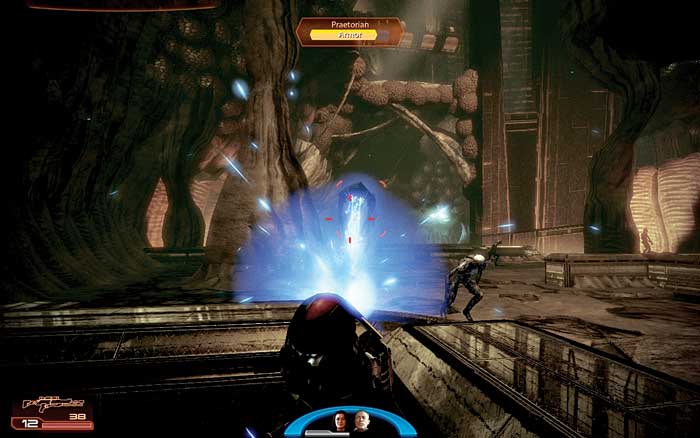
When you see those eyes light up, duck down because the beams are about to rip through the air. While the praetorian keeps your eyes on the ceiling, husks rush the room [025] .
Push them back; otherwise they will surround you. Collector drones also infiltrate the room. Use biotics to attack them, saving any heavy weapon ammo for the praetorian.
There’s a stash of power cells in this lower area to replenish your heavy weapon.
|
|
Ammunition > Power Cells > 2 Heavy Weapon Ammo |
[026]
[027]
Stay back from the praetorian. If it gets too close it will slam into the ground and unleash its Death Choir attack [026] .
This attack regenerates its shields, which extends the battle.
Getting close is practically unavoidable because the praetorian will move toward you, but keep your distance whenever possible to minimize the number of times the monster refreshes its shields.
Return to high ground to finish off the praetorian. From above, you can lay into the beast while your squad on the ground concentrates their fire on incoming Collectors or any remaining husks.
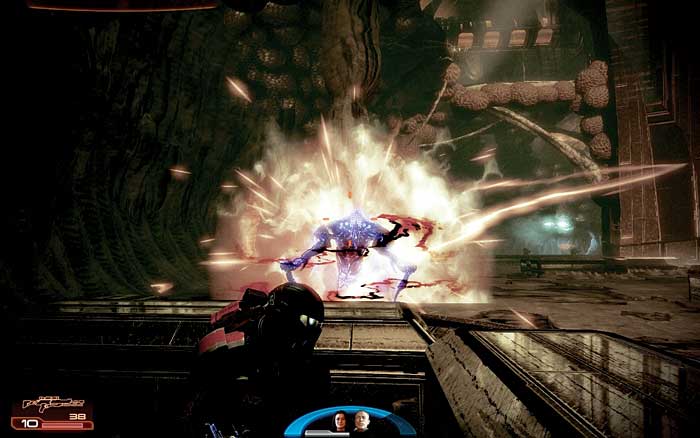
When the praetorian’s shields are down, unload everything you have into it to destroy the armor and finish it off [027] .
After destroying the praetorian, move through the door EDI opened and follow the tube down another corridor.
Scan the Collector technology and the terminal directly across from the technology (under the tube) to discover a Multicore Amplifier, which increases tech damage.
|
|
Spoils of War > Collector Technology > Salvage > 7,500 Credits |
|
|
Upgrade > Control Terminal > Access > Tech Damage |
Final Attack
[028]
[029]
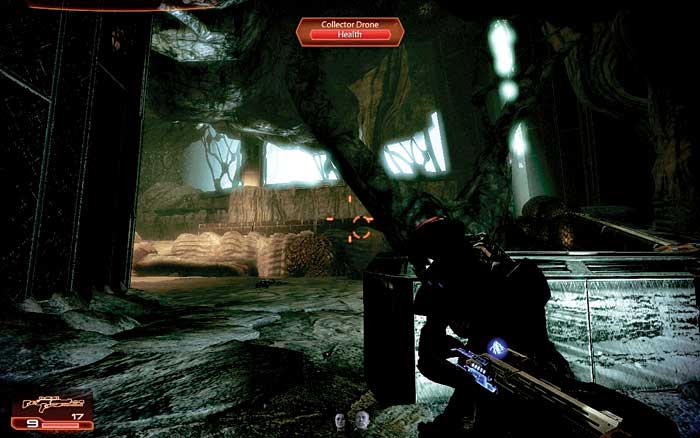
Pass through the door on the far end of the corridor. This leads to another room full of Collectors [028] , but this is the last batch of them you must fight before exiting the Collector ship.
There are several pods just inside the door. Use one for cover when the Collectors arrive. Expect at least one Collector drone and one Collector assassin right away.
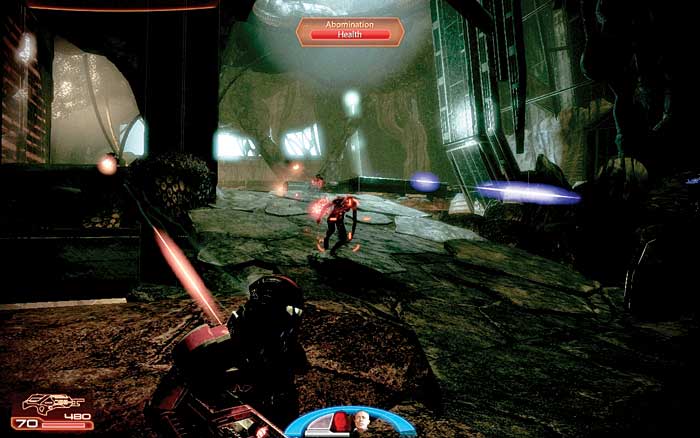
Whichever one of the pair you do not take down is likely to turn into a possessed Collector. Because the drone is the weakest, destroy it first. Beware of abominations rushing your team, too [029] .
[030]
[031]
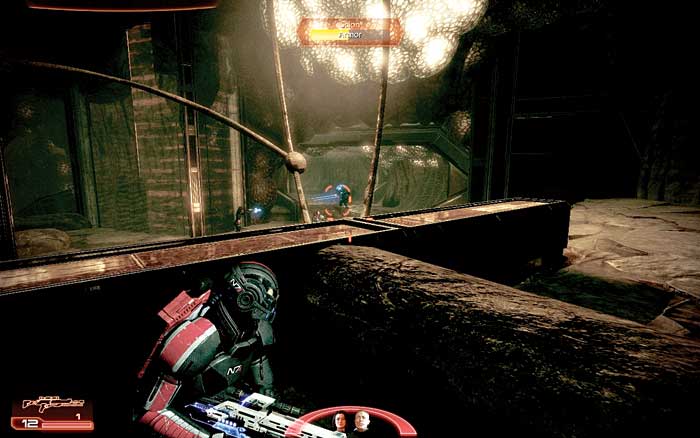
Move along the top of the room [030] to work over the remainder of the Collectors in the area.
From up here, you can launch attacks on the possessed Collector in the room as well as press through the rest of the Collector drones.
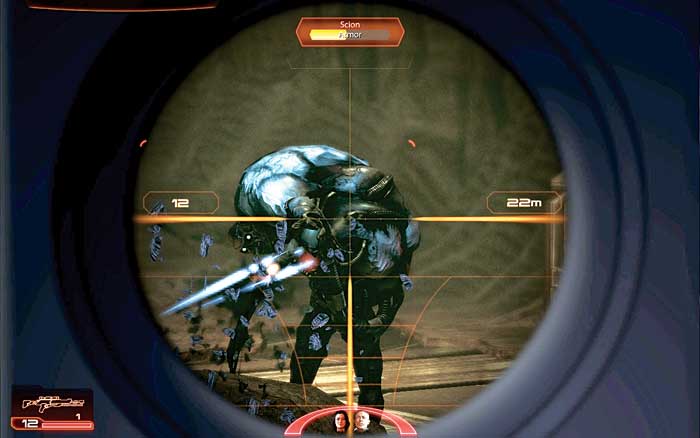
Before you can leave the room, though, you must defeat a scion stationed by the exit [031] . Keep back to avoid its blasts.
[032]
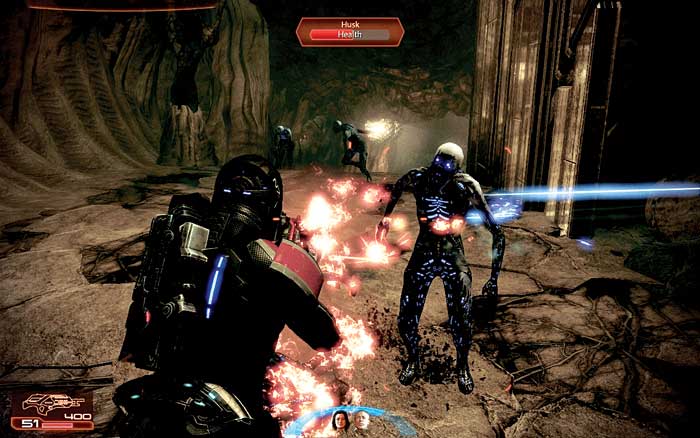
Before you can leave the Collector ship, you must survive one last wave of husks [032] .
At first, just a couple husks round the corner at the end of the corridor, but soon the floodgates open. More than a dozen husks rush down the corridor.
Pick off the first few but fall back as the horde grows. If you have biotics at your disposal, use them on the husks because they do not have any shields: Charge is perfect for closing the gap between you and the husks.
[033]
Board the shuttle just beyond the husks. The shuttle immediately takes off just as the Collector ship comes back online.
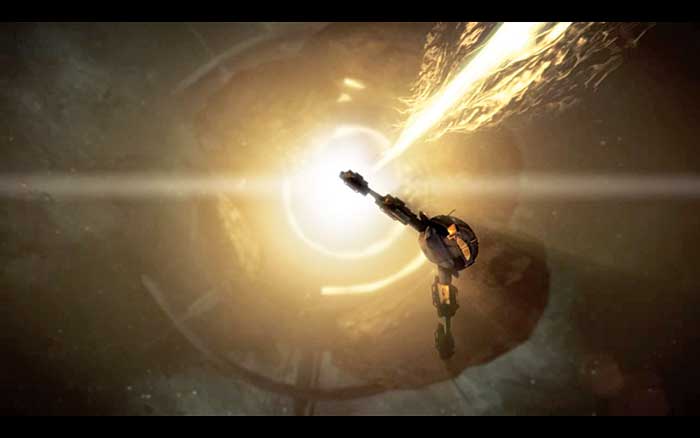
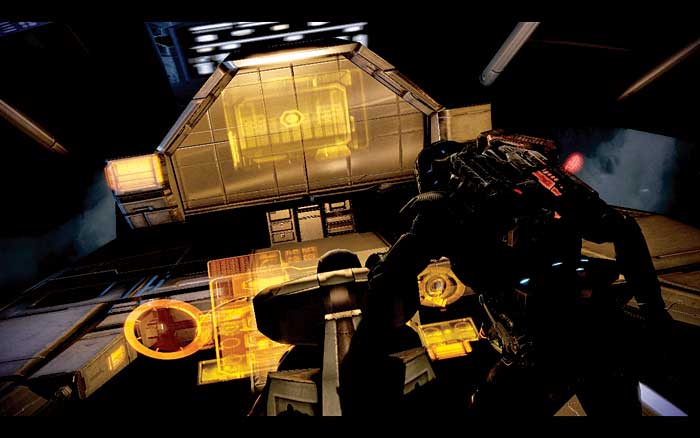
The shuttle docks just in time for Joker to take evasive maneuvers and avoid the Collector ship’s incoming attack [033] . Joker engages the FTL drive [034] and rockets away from the Collector ship.
When you are at a safe distance, it’s time to check in with the Illusive Man. He’d better have some answers.
[034]
The Illusive Man

[035]

[036]
Shepard confronts the Illusive Man in the communications room [035] . Shepard is furious—the Illusive Man marched the crew right into a trap just to gather data on the Collectors.
Although Shepard is angry, there is no arguing that the mission was a huge success.
The data reveals that the Collectors and Reapers are using a system of IFFs (Identify Friend or Foe) to pass through special relays, such as the Omega 4 relay. Shepard must acquire an IFF.
Fortunately, Cerberus scientists have located a derelict Reaper ship. The Illusive Man [036] believes that Shepard can extract that Reaper ship’s IFF and use it to pass through the Omega 4 relay.
However, the team is just not ready to go after it. The Illusive Man recommends that Shepard finish off any outstanding recruitment missions as well as solidify the loyalty and determination of the crew.
Passing through the Omega 4 relay threatens to be a one-way trip. The crew needs to be at peace with such a daunting prospect.
[037]

[038]
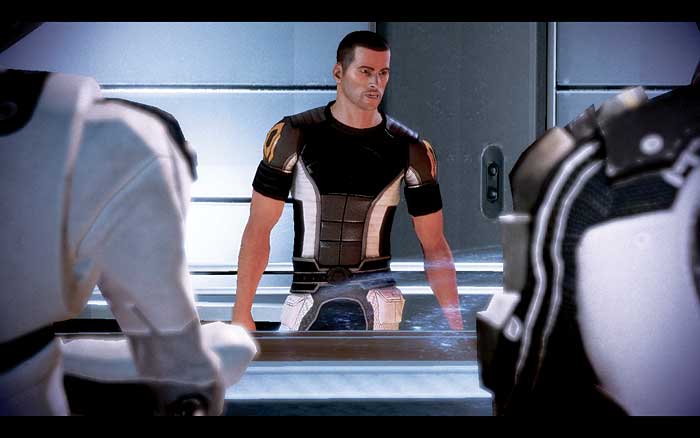
Following the meeting with the Illusive Man, Shepard explains Cerberus’s actions to the crew [037] . Not everybody is in agreement with being treated like bait.
But there is a consensus that the Collector ship mission was a success.
During the meeting, EDI reveals that by following the course of Collector ships through the relays, she has discovered the location of the Collector homeworld: the center of the galaxy [038] .
A swirling vortex of exploding suns and black holes, the center of the galaxy cannot support a life-sustaining planet.
Considering what the Reapers are capable of—building the Citadel and the mass relays—it is not impossible to suggest that the Reapers have created a safe zone inside the center of the galaxy for the Collectors.
If such a safe zone exists, the Normandy should be able to slide into it and attack the Collector homeworld.