
Mass Effect 2 Guide Walkthrough SPECIAL ASSIGNMENTS
Overlord: Vulcan Station
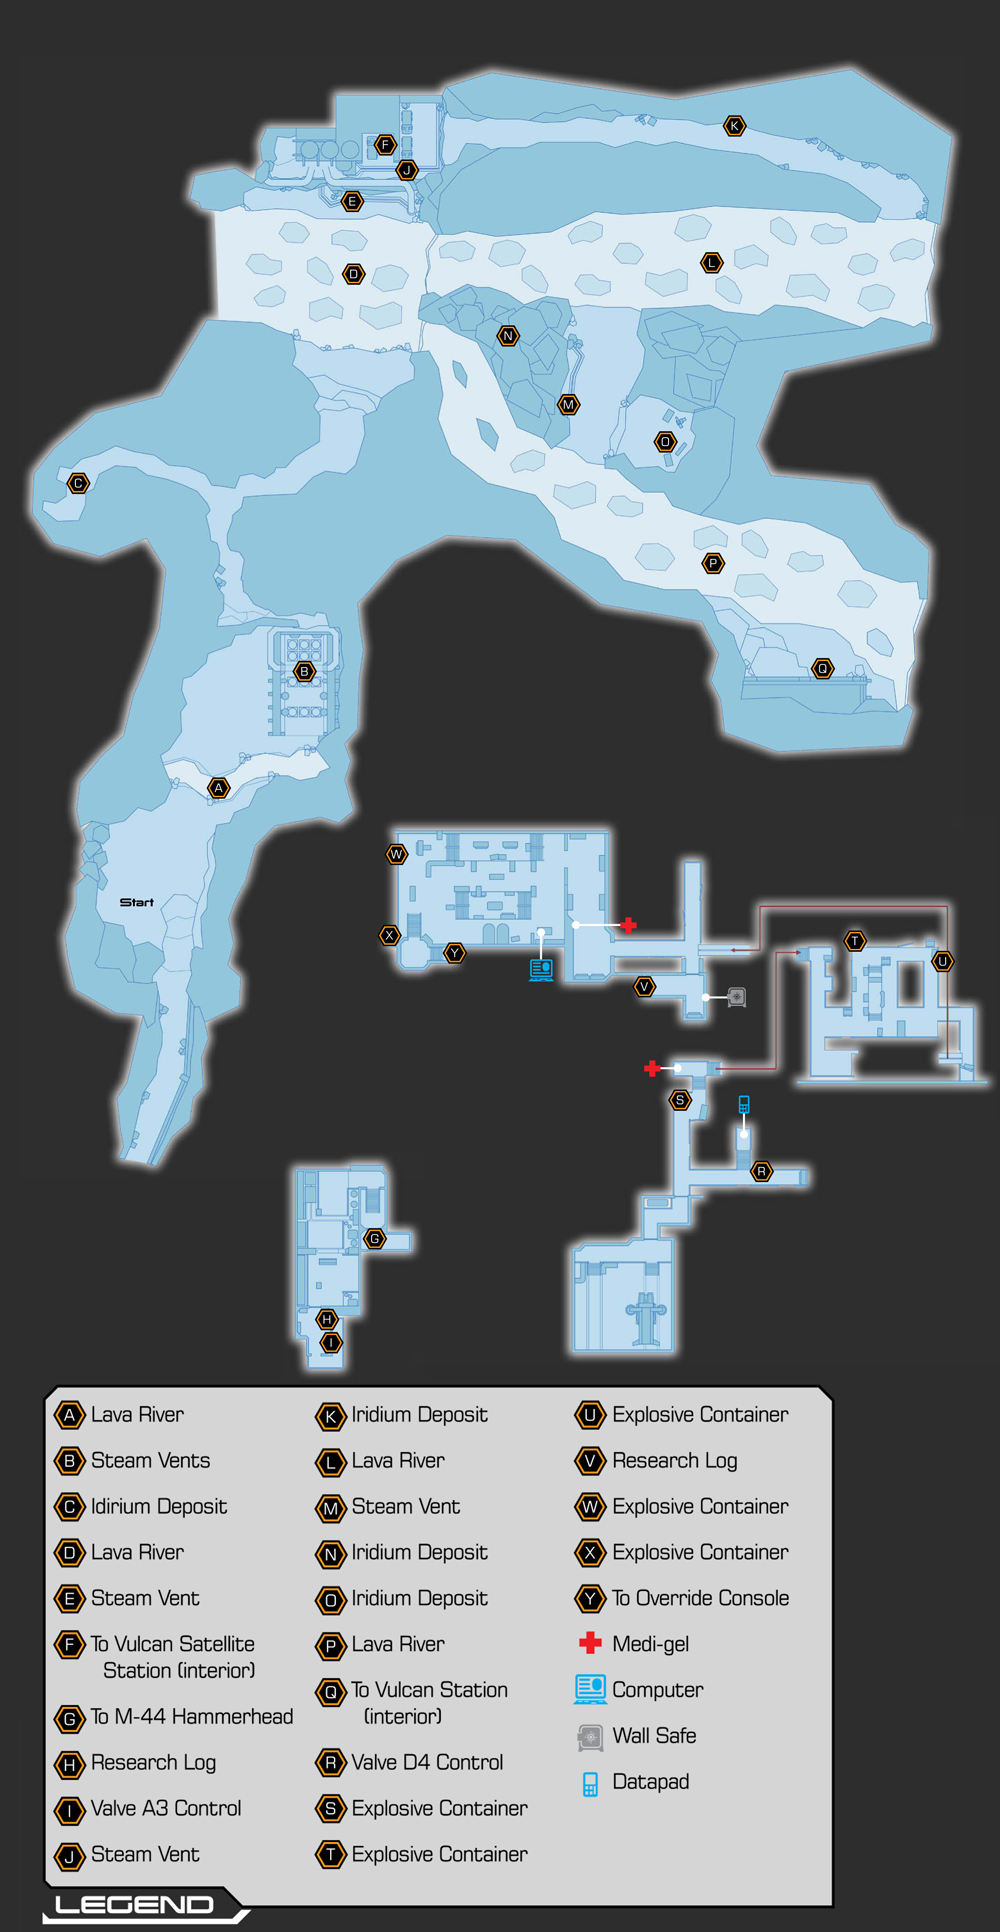
Part 4: Locating Vulcan Station
[001]
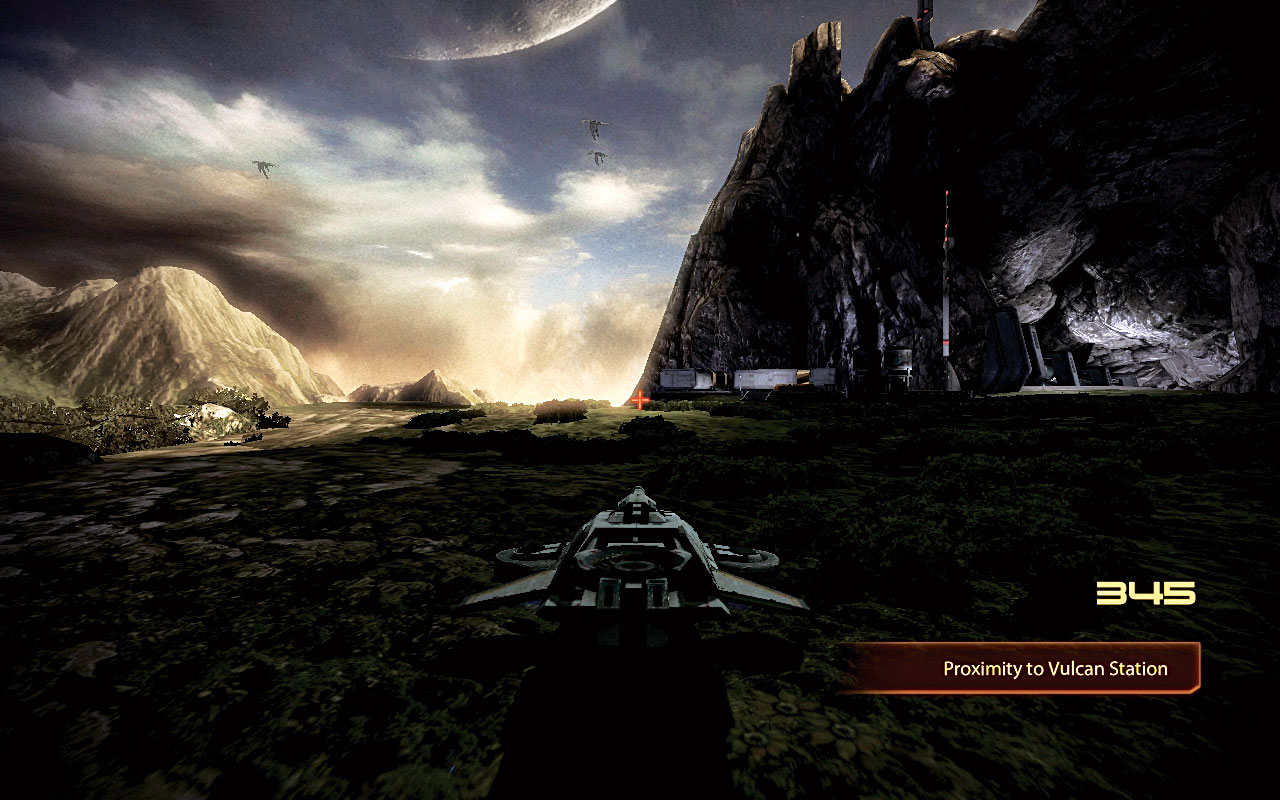
To find Vulcan Station, follow the proximity meter on your screen. Head down the main plains, passing the “aesthetically pleasing” vista on your left. Cross the natural stone bridge and, with the vista on your left and the cliffs to your right, pass the cargo buildings (and second data packet) and head into a large rock tunnel [001] .
You appear to be heading into a volcano. At this point, you can choose two squad members; pick them based on the enemies listed in the Mission Data. As the Hammerhead drives over two possessed LOKI mechs, you enter a huge lava-filled cavern.
Locating the Override Switch
[002]
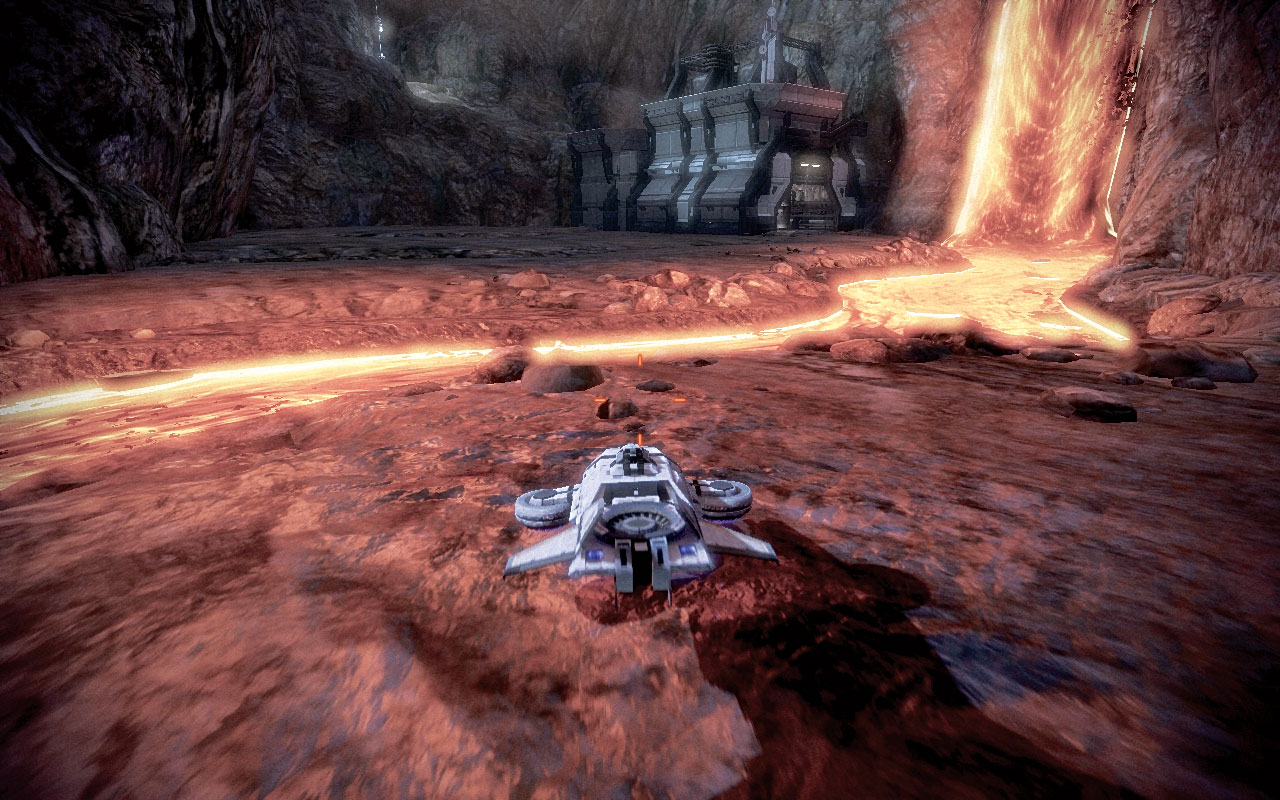
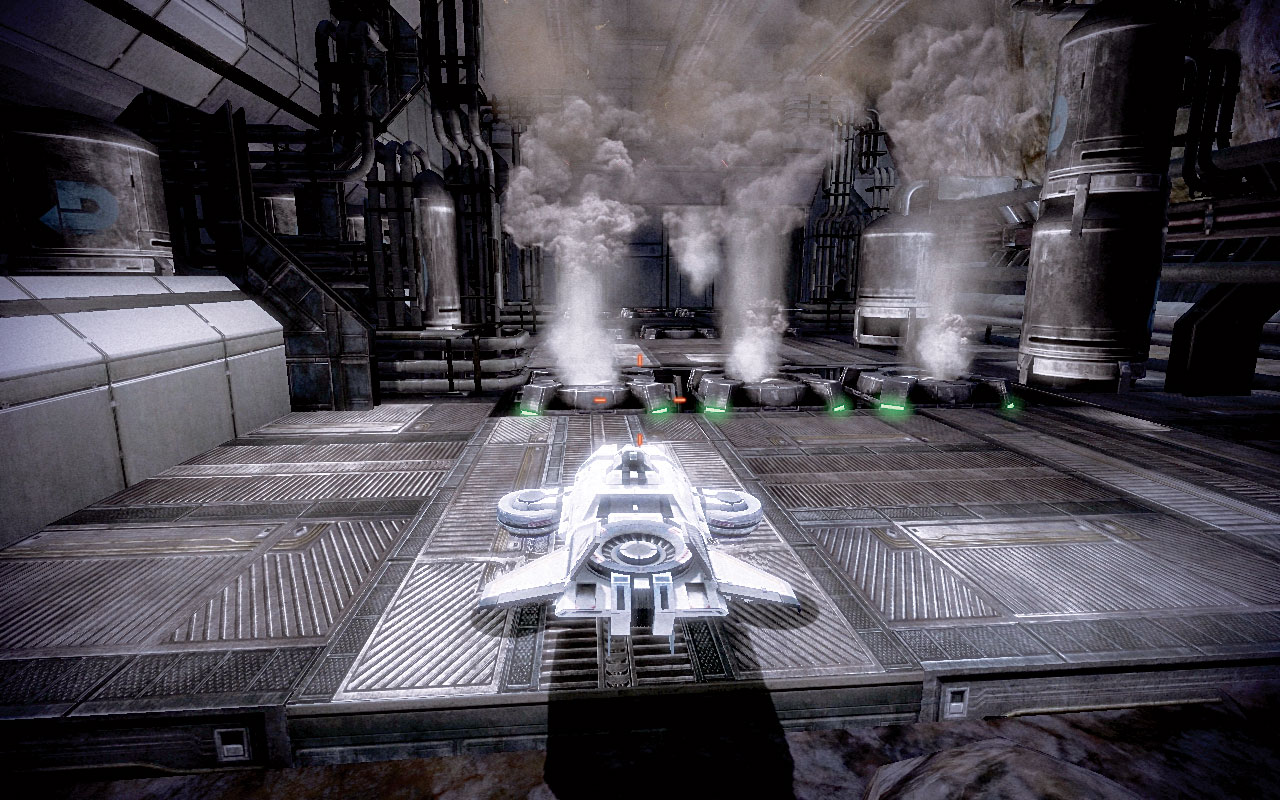
Vulcan Station is the geothermal plant, and Archer cautions that it appears the machinery is under the control of the rogue VI. Cross the lava river by boosting over it [002] . Then enter the venting station. Look for the cluster of vents as you enter the building, and drive over them just after the steam has escaped to reach the vents at the far end; then move over these as the steam escapes [003] . You ascend and can then boost up and out of the facility to a relatively narrow rocky path.
[003]
[004]
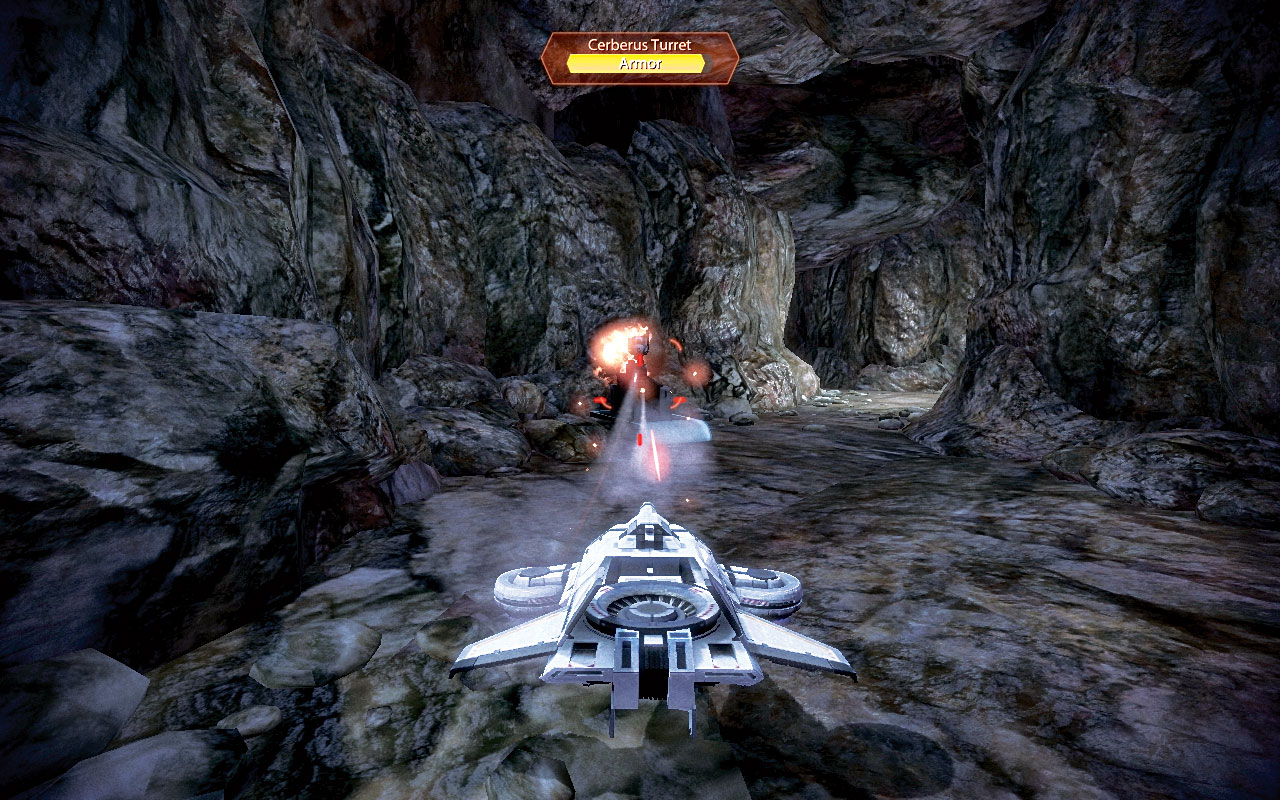
Move past the light, and use the left cliff wall to hide and strafe the Cerberus turret [004] , or boost straight past it. Investigate the gap in the left cliff wall; it leads to a mining spot where you can dig out some iridium.
|
Spoils of War > Resources > Refined Iridium > Mine > 400 Iridium |
[005]
[006]
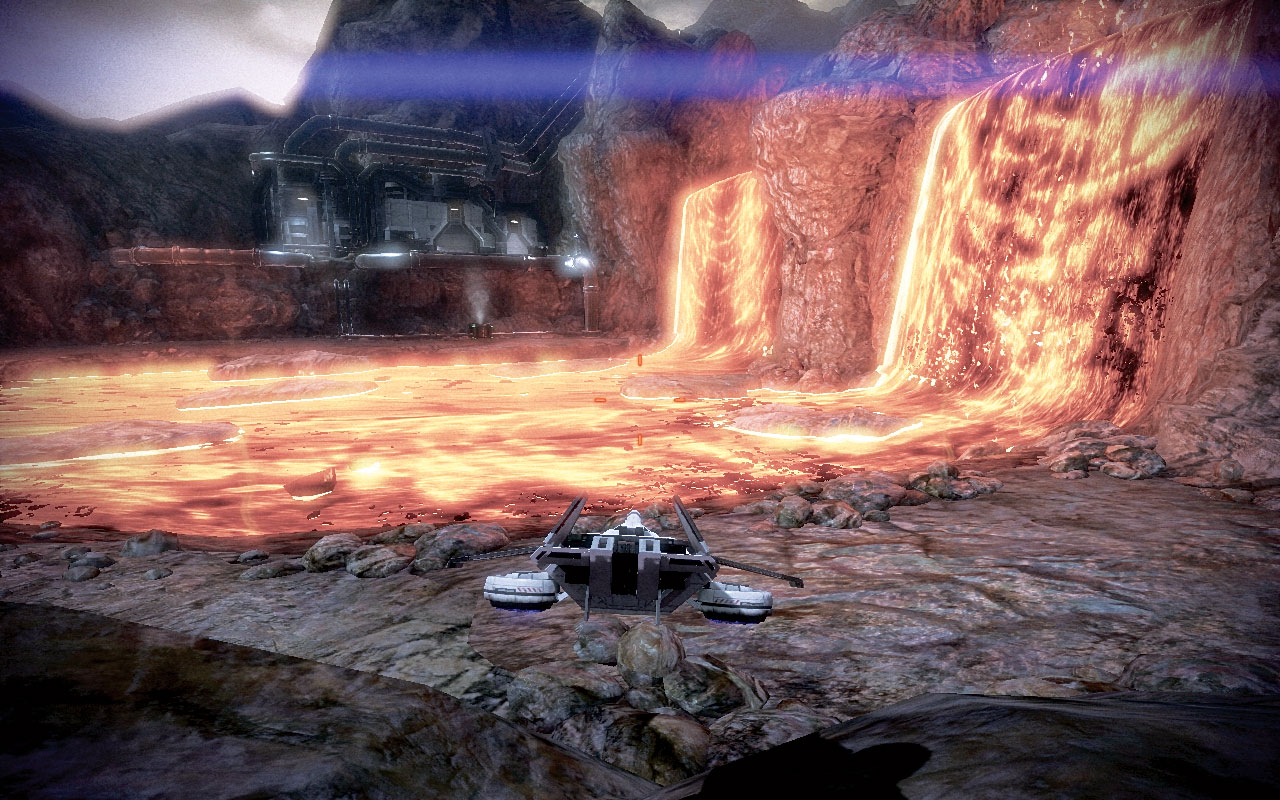
The Hammerhead’s computer works out that the giant lava rivers have debris fields that make adequate platforms to land the Hammerhead on. Boost, raise the craft up a little [005] , and land on the first rock debris platform, then boost off and onto the next before it sinks.
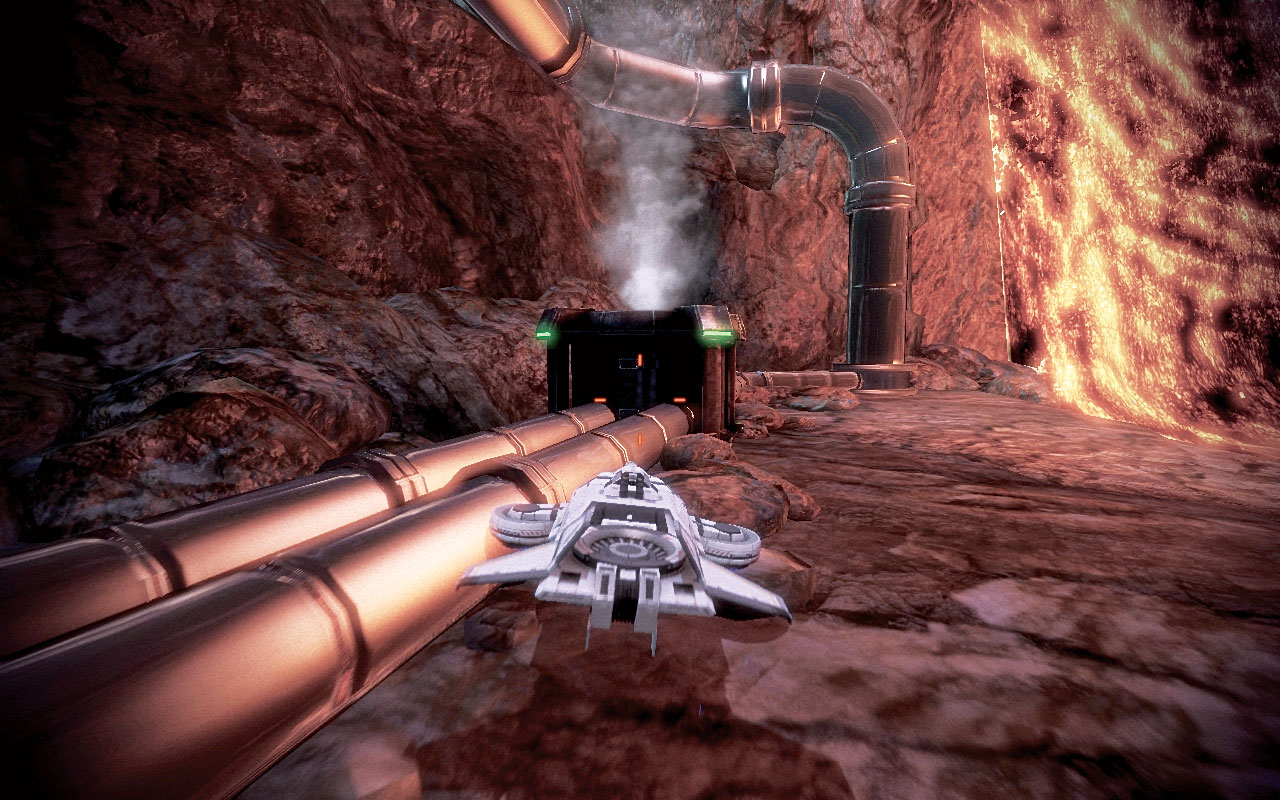
If you land on the lava, boost up and off before you burn up. After skipping across, land on the solid ground on the opposite side. Use the single vent to boost up and over the snaking pipes [006] . As the thrusters can’t clear the wall above, park and exit the Hammerhead, and enter the small satellite facility.
[007]
[008]
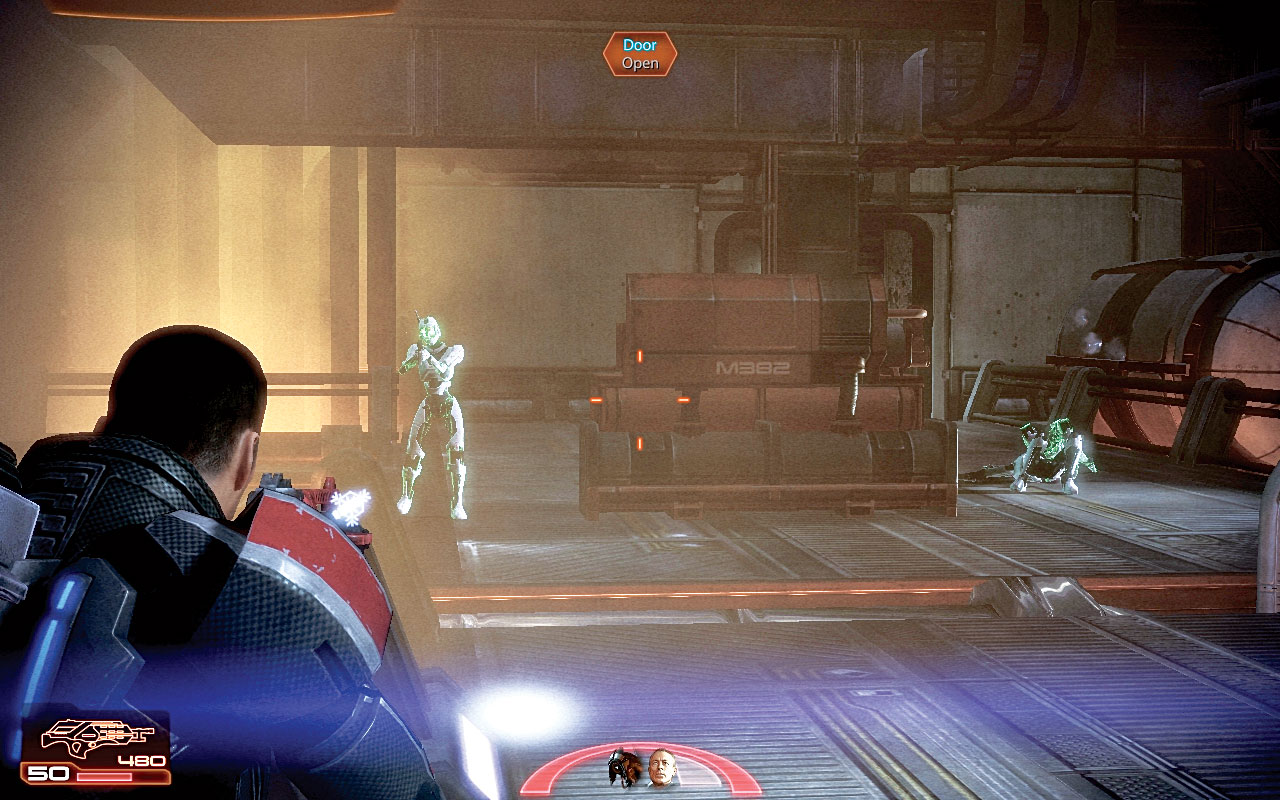
The facility computer warns you that core systems have been compromised. Be ready for combat as you open a door, and head up some stairs. Sure enough, LOKI mechs activate as you reach the upper walkway [007] .
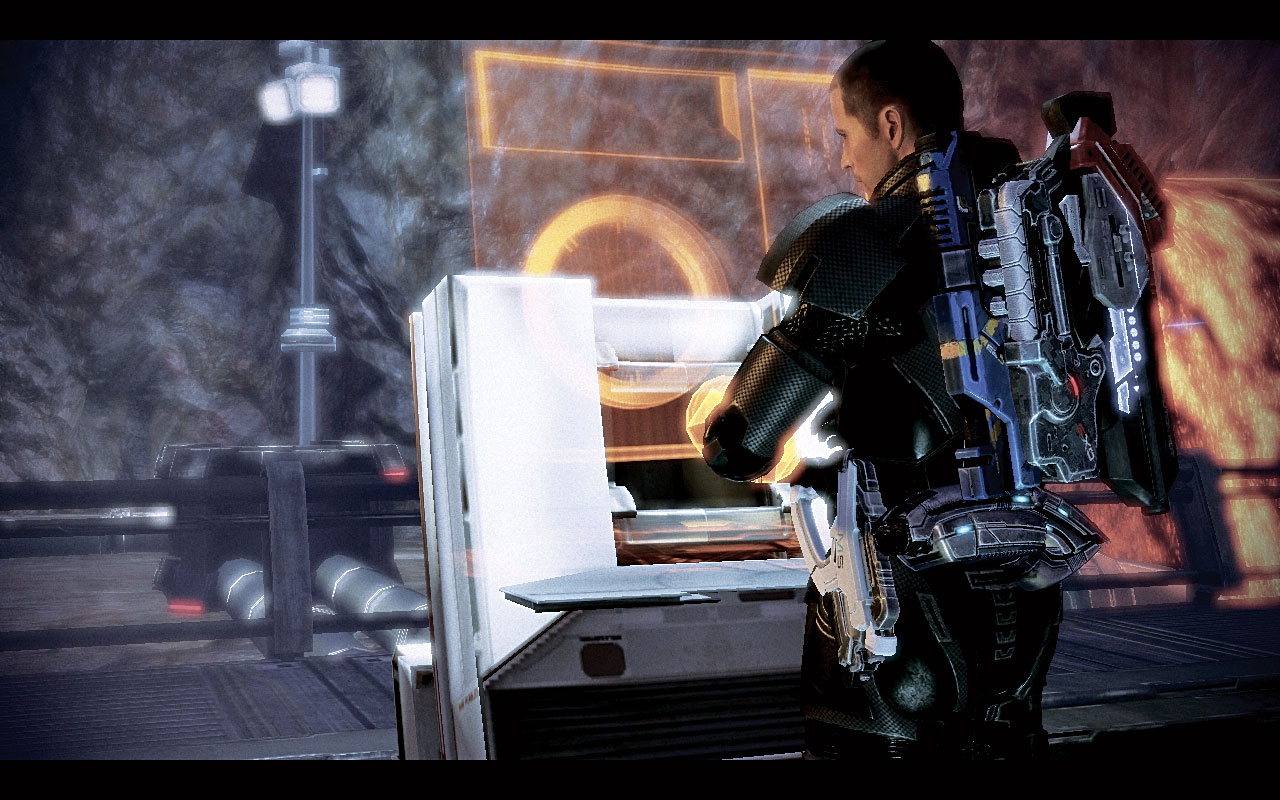
Place your squad members on either side of the walkway in cover, move up to closer cover, and remove the trio of LOKI mechs. Then open the door at the far end. Before valve A3 is checked, access the research log at the terminal to understand what went on here. After that, bypass the valve A3 controls [008] .
[009]
[010]
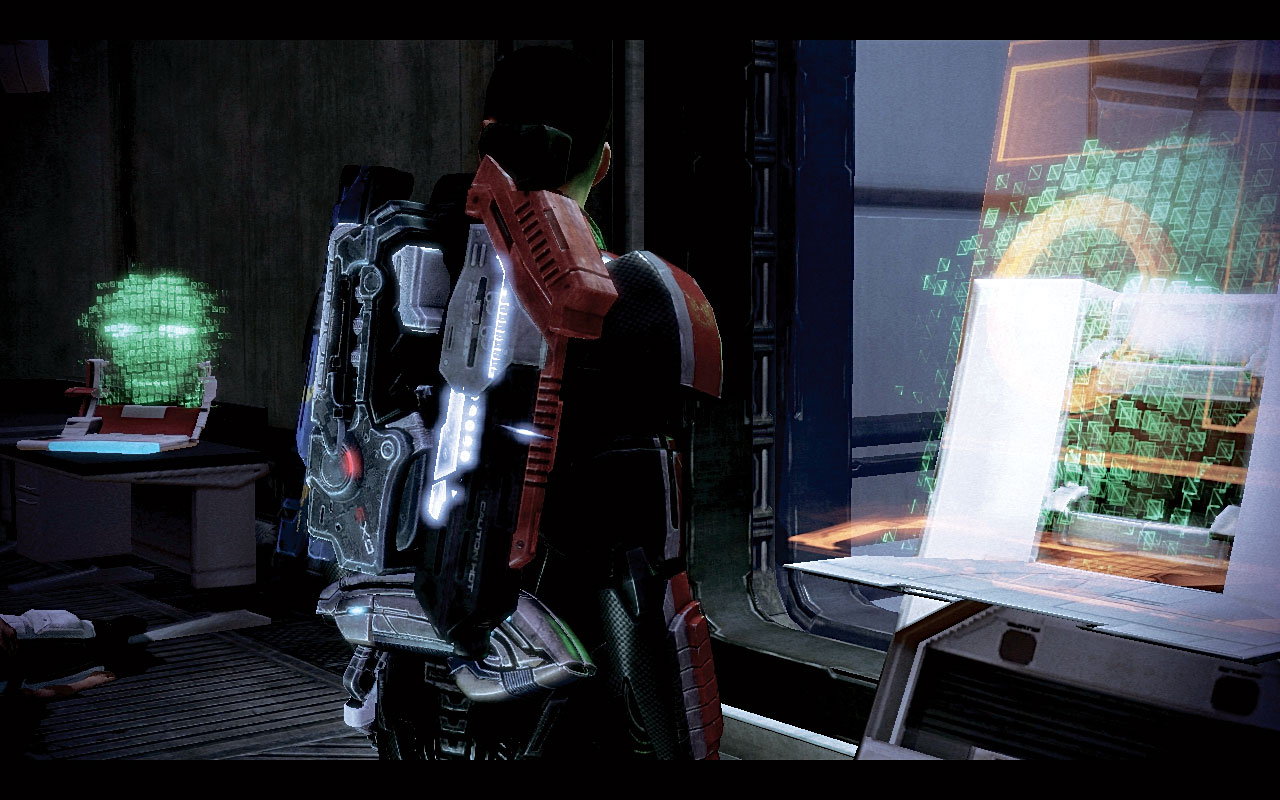
Shepard is successful in venting the valve, allowing you to use it to boost yourself up the previously inaccessible cliff wall. But the rogue VI is furious [009] , and growls from the terminals at the team. You can still access the research log, but the VI circumvents the engineer’s video log.
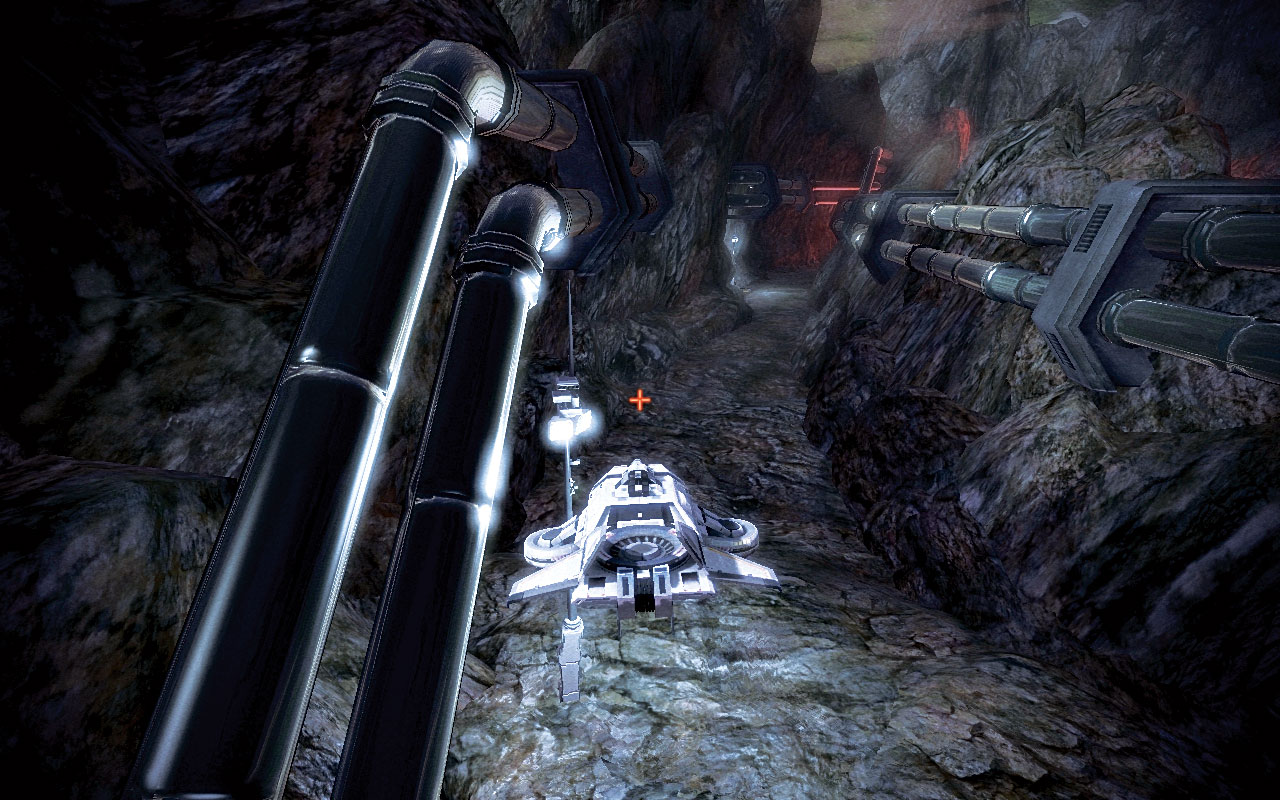
There are no further enemies in this area, so run back to the Hammerhead, drive it onto the steam vent, and ride it up [010] .
[011]
[012]
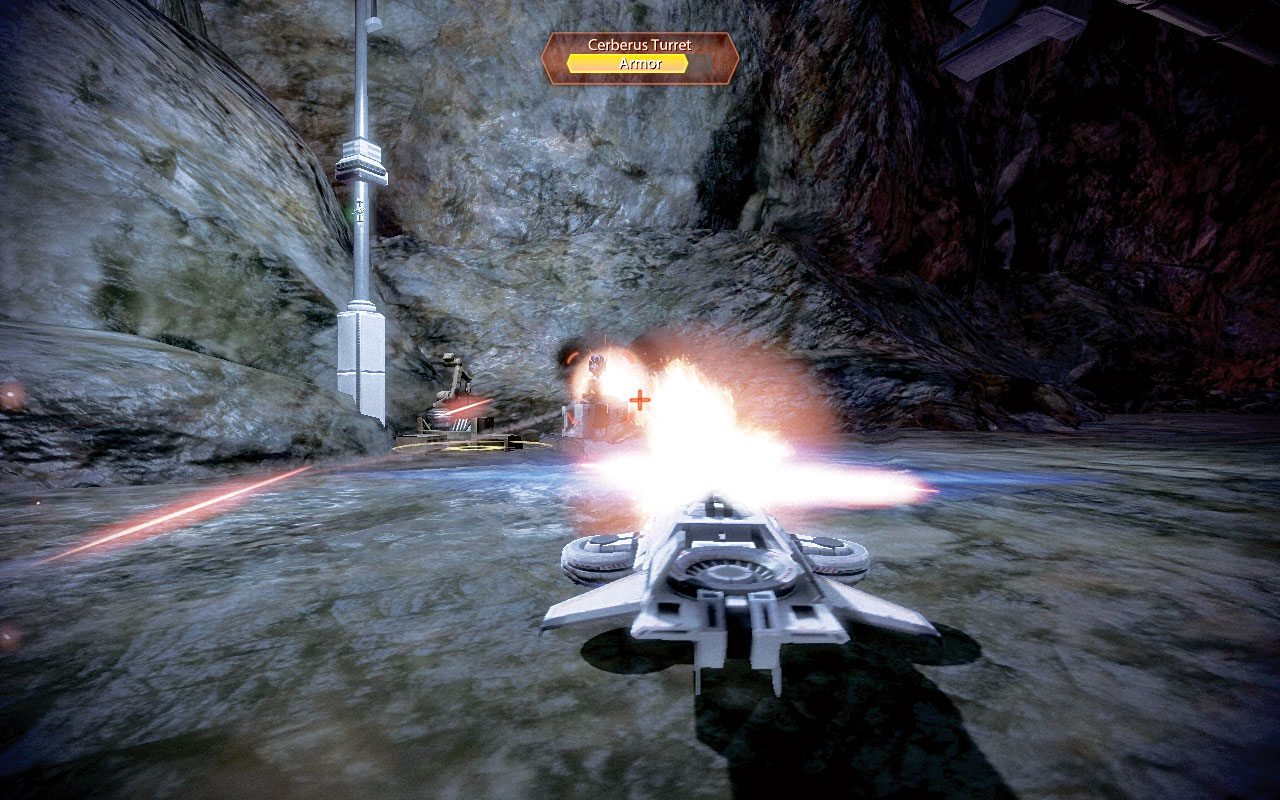
Blast the Cerberus turret instead of zipping past it [011] , as there is an iridium deposit to mine right next to the turret’s base. Stop the Hammerhead at the edge of a massive lava flow, and turn the craft to the right; you should spot a light diagonally across the molten river.
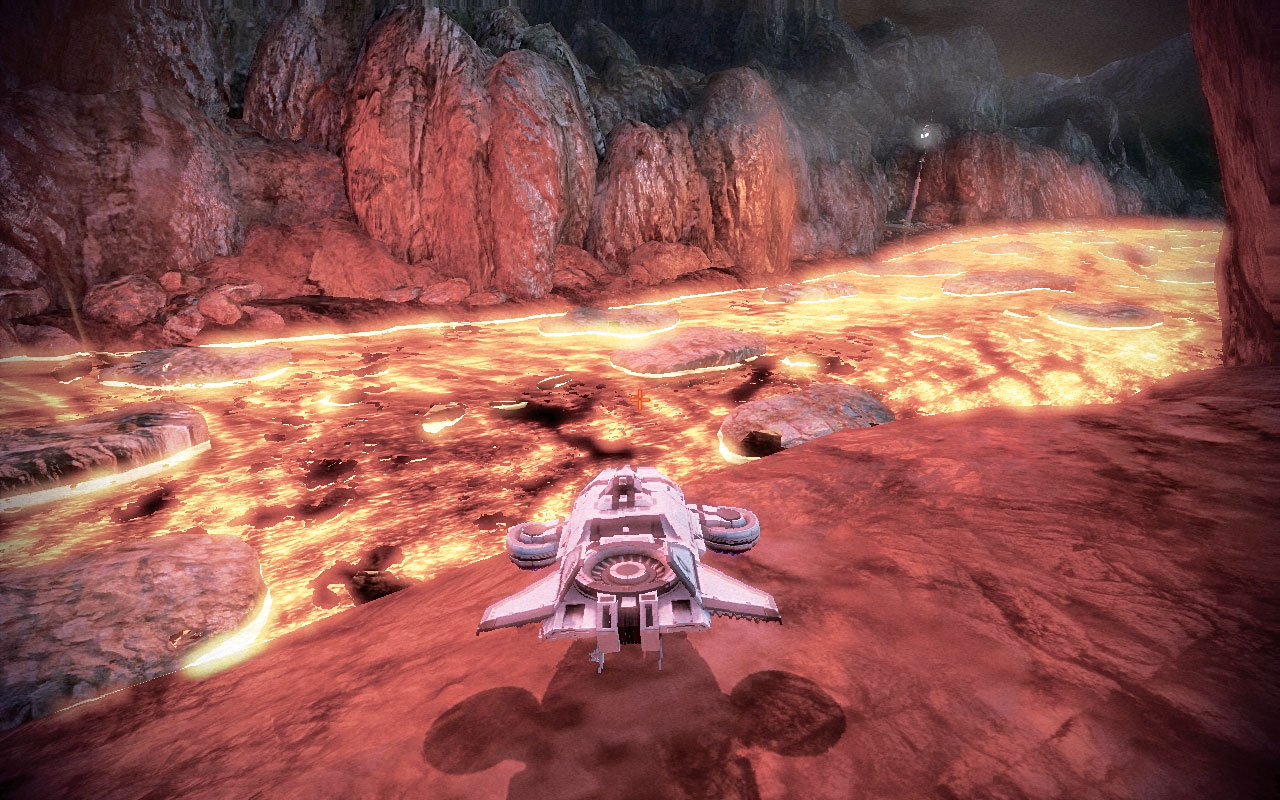
This is the location to aim for; use your vertical thrust and boost to jet forward and upward, judging the debris flow, and land on a floating rock before bouncing off, onto another, and skipping across to the other side [012] .
|
|
Spoils of War > Resources > Refined Iridium > Mine > 400 Iridium |
[013]
[014]
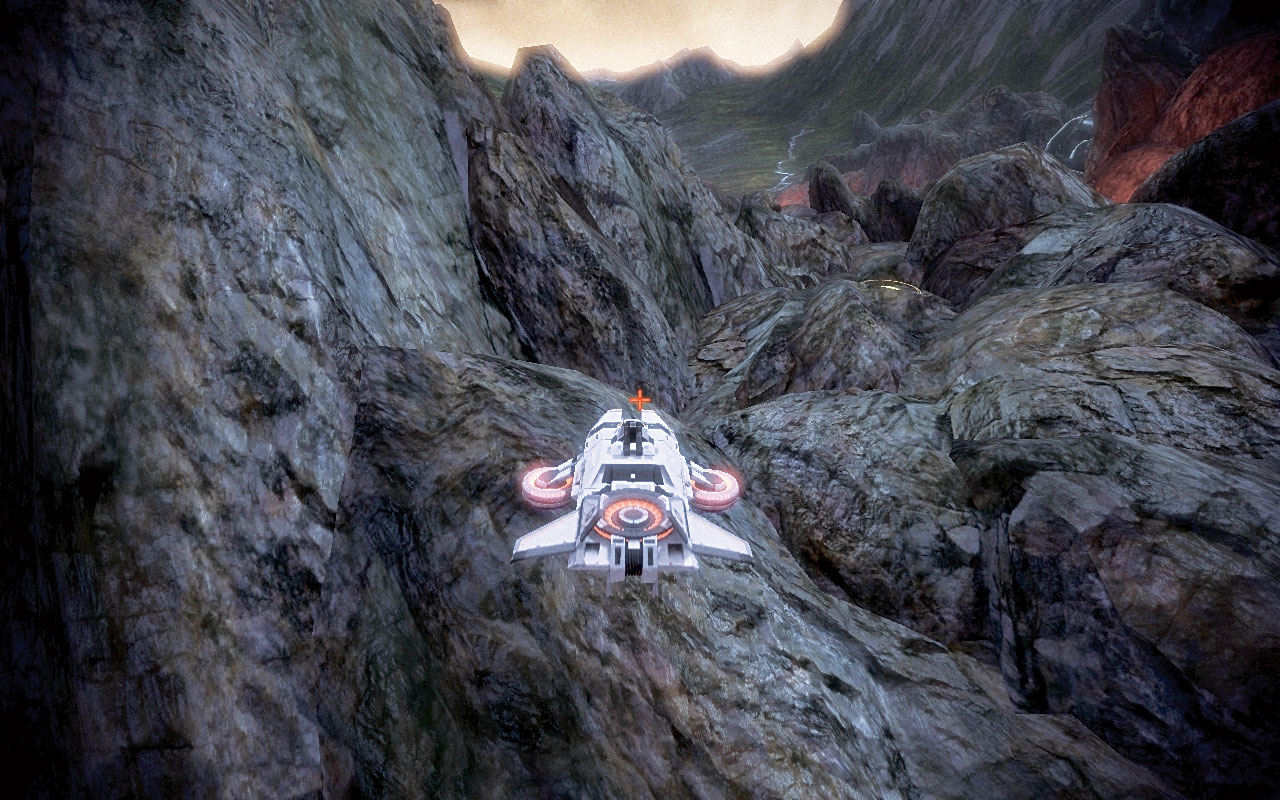
You are closing in on the Vulcan Station. Look to the right, and use the steam vent to jet up, onto a section of jagged rocks. You can mine for more iridium here [013] . Drop back down to the flat bedrock, jet across to a stepped section of wall near another light, and use your vertical thrust to reach an upper plateau.
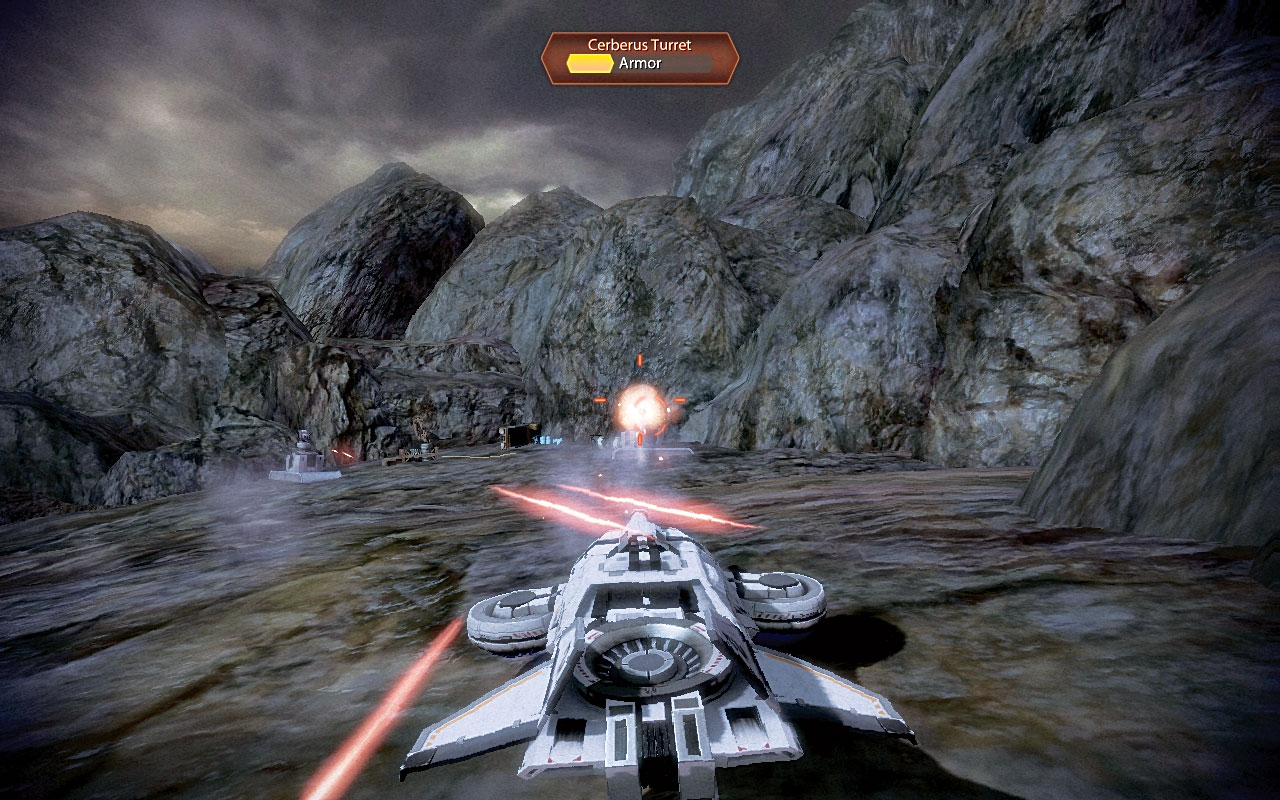
Two Cerberus turrets activate; back up to the edge of the plateau and fire on them [014] , one at a time. Or strafe to the right, maneuver beyond their range, and blast away. Be sure to collect a sizable iridium deposit from between the turrets before leaving.
|
|
Spoils of War > Resources > Refined Iridium > Mine > 400 Iridium |
|
|
Spoils of War > Resources > Refined Iridium > Mine > 800 Iridium |
[015]
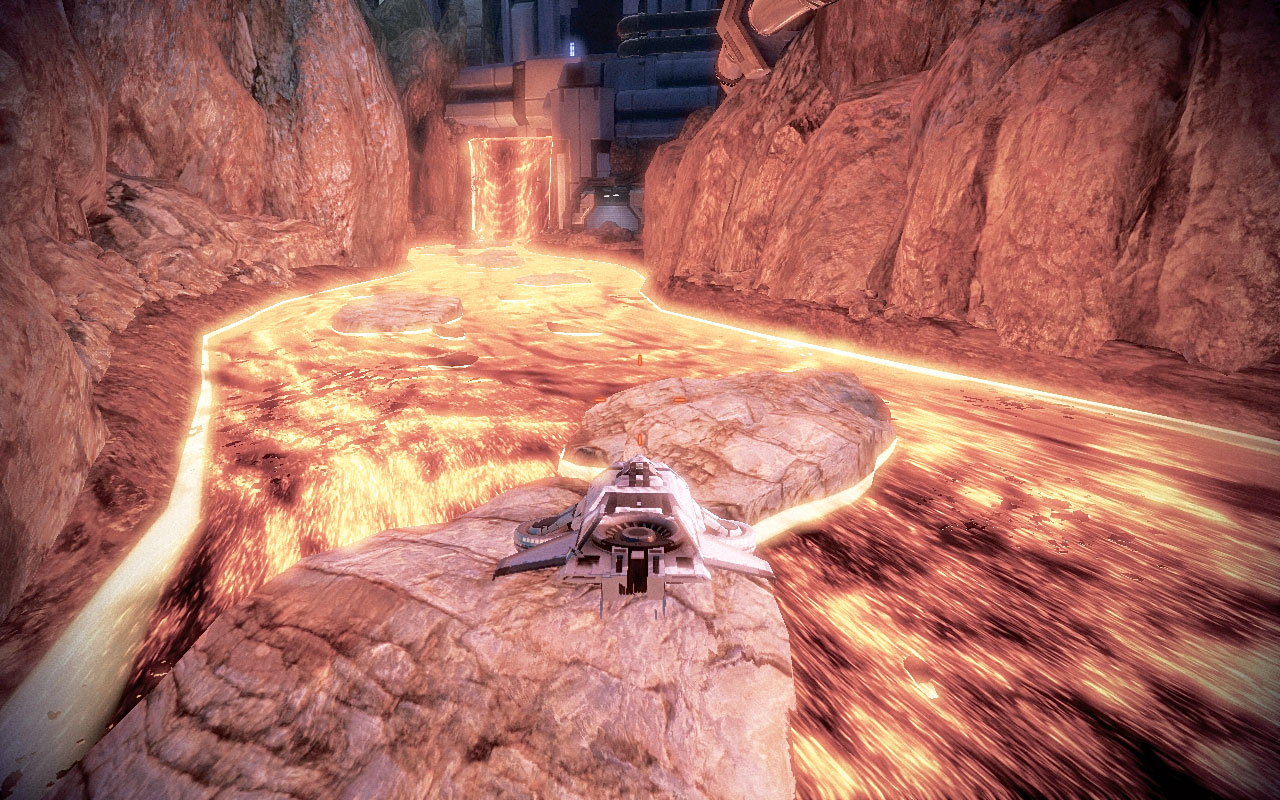
Although you can boost off the top of the plateau cliff, a safer option is to drop down to the edge of the next lava river and use the debris as stepping stones one more time [015] .
Bounce diagonally across to the right side. You are now at the foot of Vulcan Station. Disembark when prompted.
Part 5: Vulcan Station Interior
Searching for the Switch
[016]
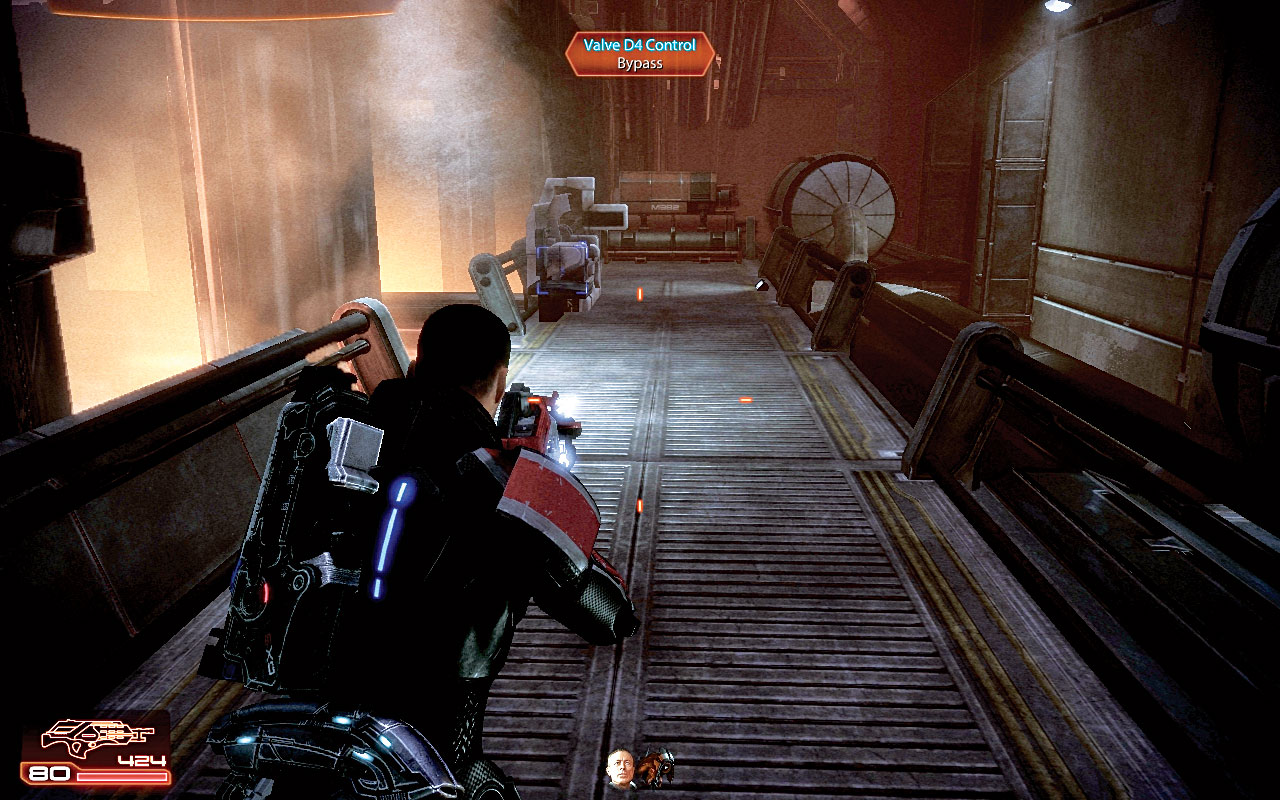
Head up the garage steps, into the small connecting corridor, and out into the first valve room [016] . The computer systems inform you that pressure levels in valve D4 have exceeded maximum threshold.
This is correct; there’s a gout of steam too toxic to head through, down the steps to the left of the control. Remove this obstacle with a bypass of the valve D4 control. The rogue VI isn’t happy.
[017]
Head down the steps and access the datapad from the corpse for some credits. As you reach for the datapad, the walkway in front buckles as debris crashes through it.
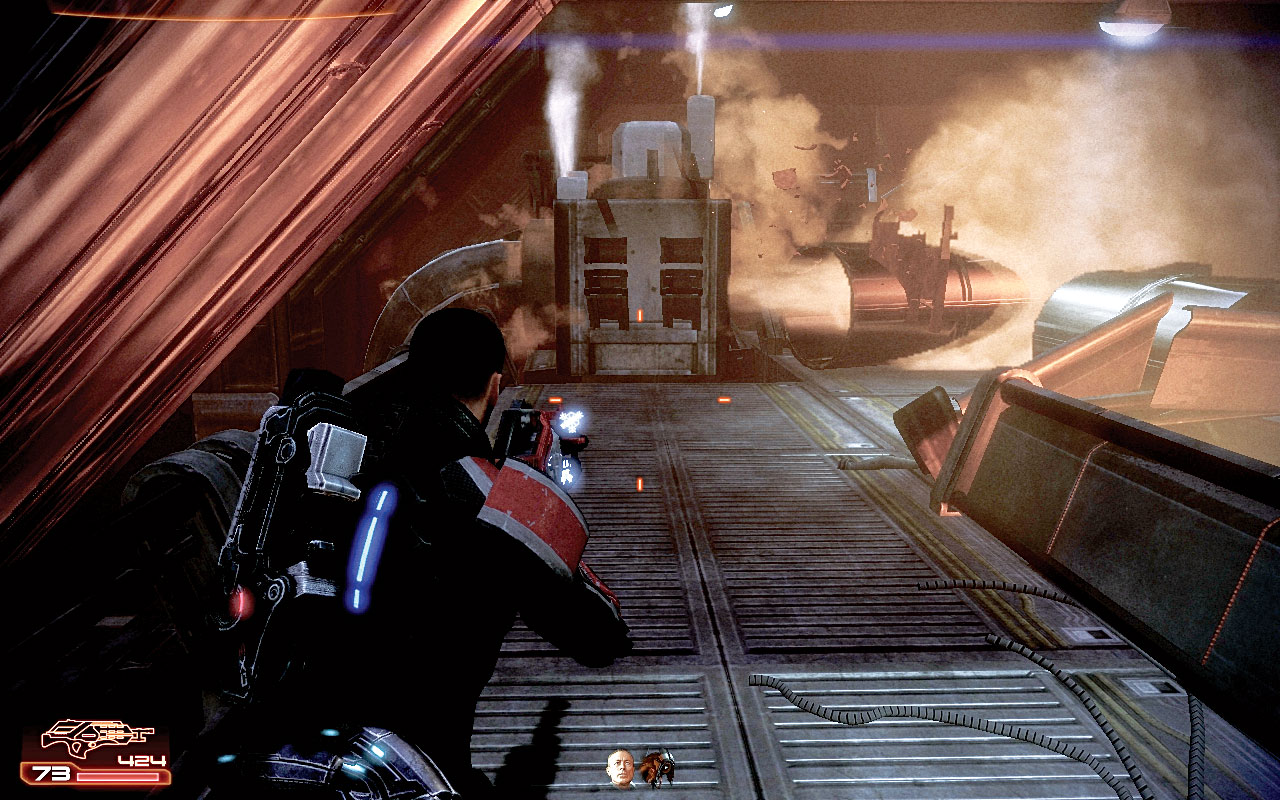
After inspecting the valve, target the explosive container, removing the obstacle from the upper stairs [017] . Head up there, pausing to take medi-gel near the slumped corpse.

|
Spoils of War > Datapad > Access > 1,125 Credits |
|
Med Kit > +1 Medi-gel > 100 Credits |
[018]
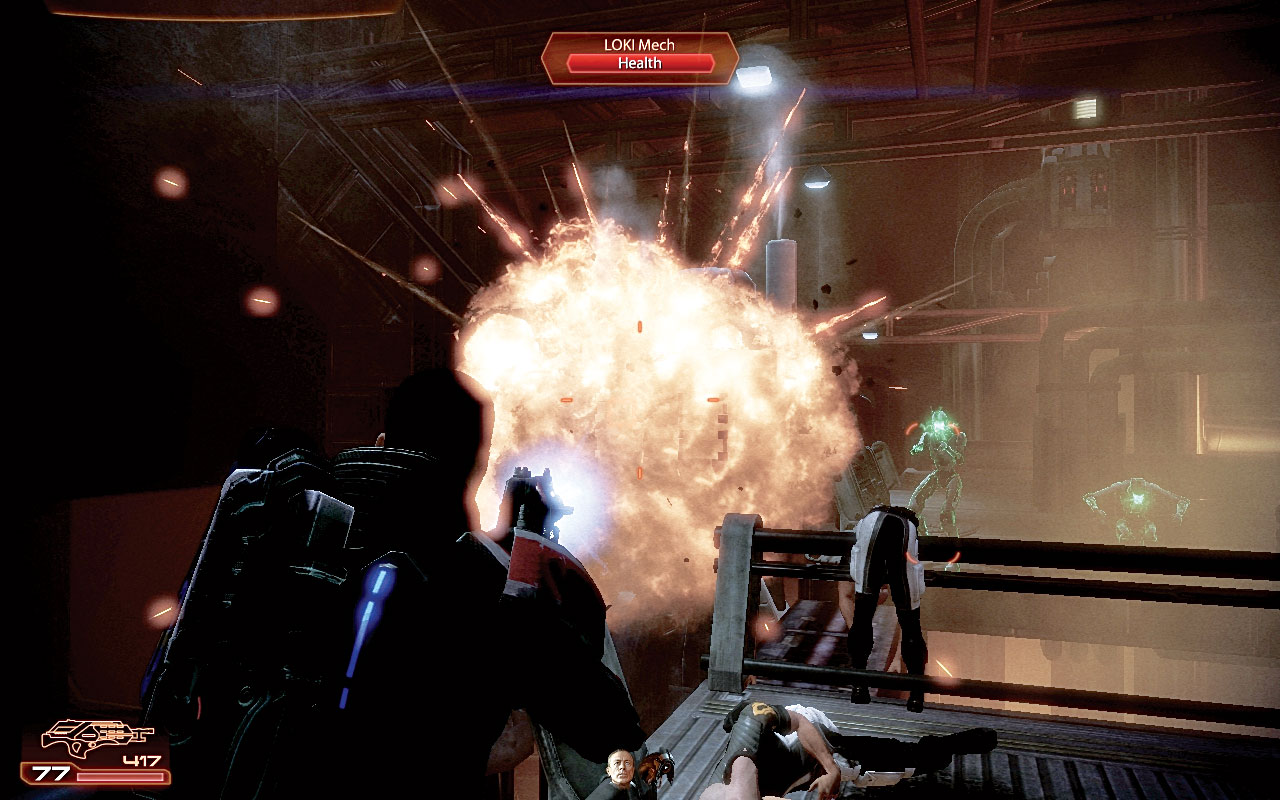
At the top of the steps, the rogue VI activates a squad of LOKI mechs, with assault drones dropping onto the girders above you, at the opposite side of the walkway.
Although you can strafe the mechs while they activate, a better use of ammunition is to shoot the explosive container [018] .
[019]
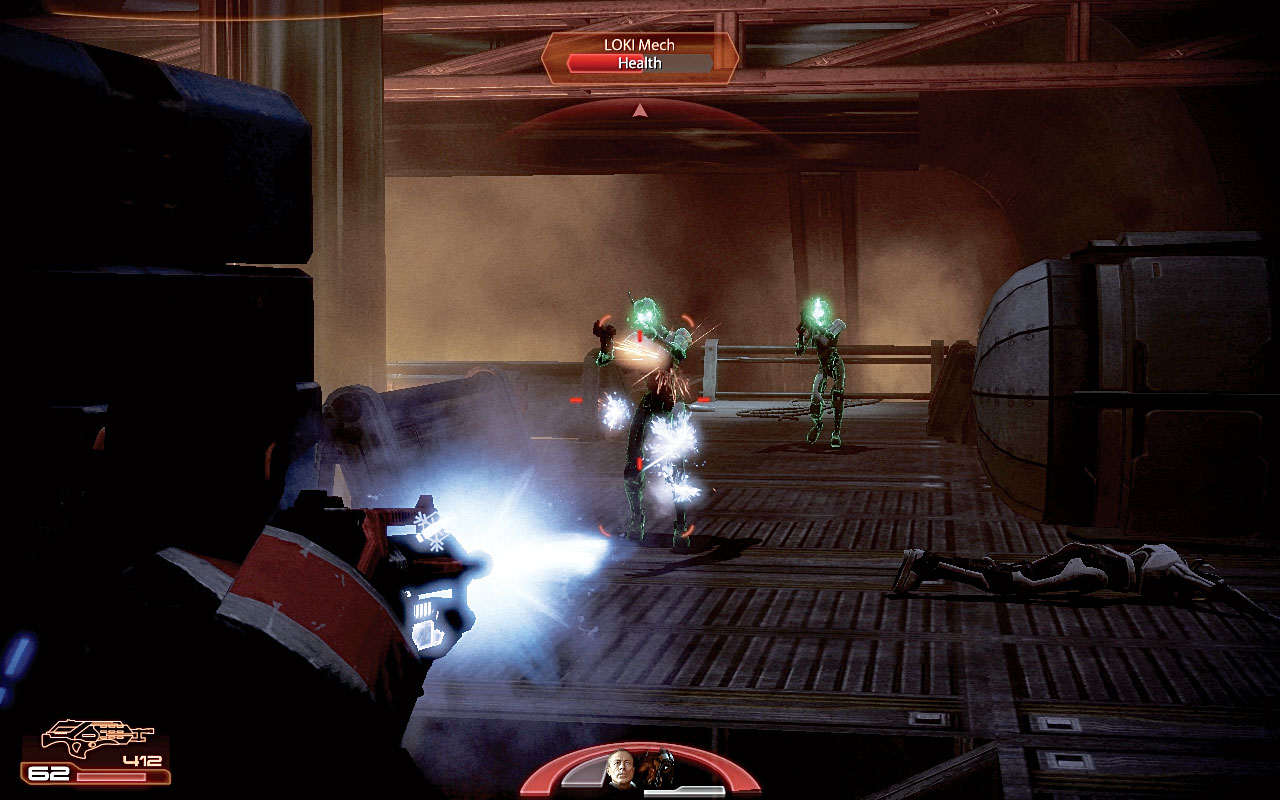
There is a second explosive container on the right side of the upper girders that takes out a few assault drones when shot at. For the remaining foes [019] , stay behind cover, placing your squad members behind separate pipes or containers, and drop the automated threats easily (but not quickly).
After combat, move to the far walkway, work around, and head up the double pipes to the top walkway.
[020]
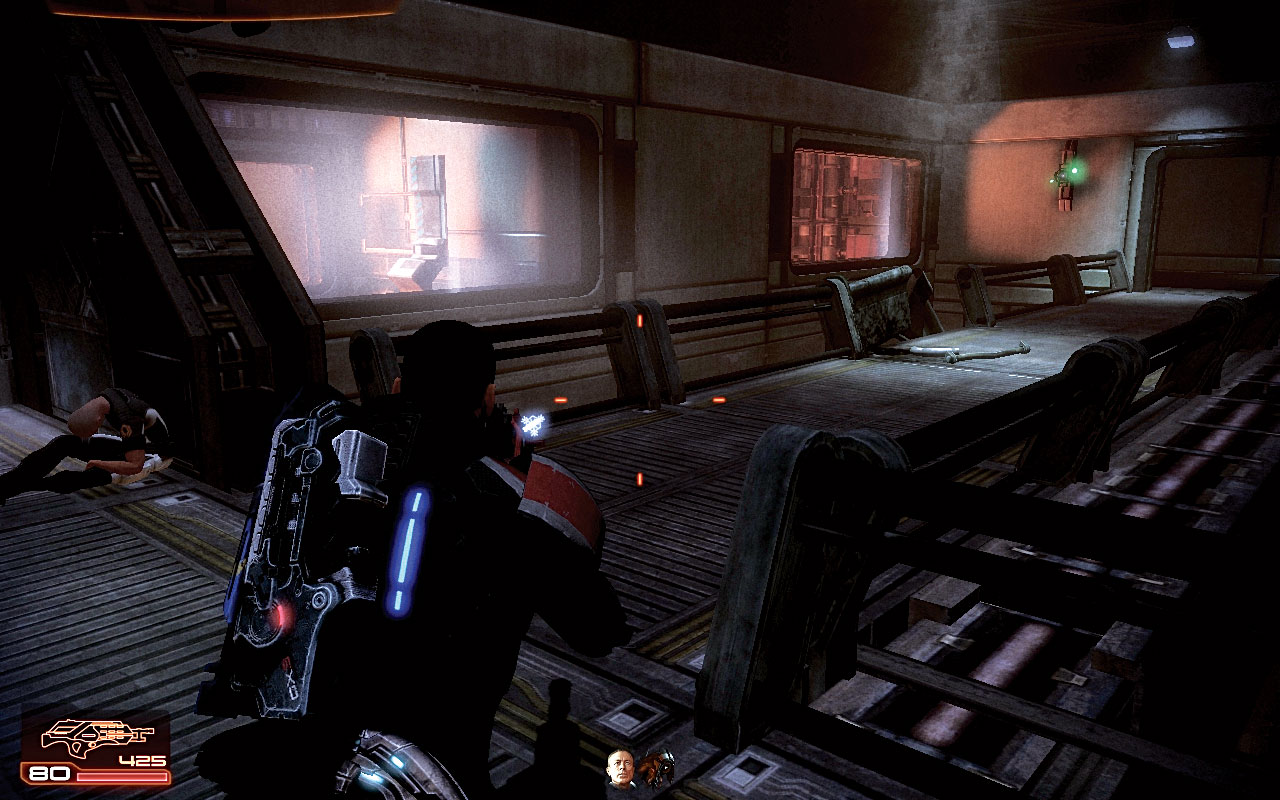
You reach a walkway with three directions to choose from. Head right and collect a thermal clip. Next, move left and open the door leading to a monitoring room [020]. The wall safe is easily ransacked for credits, and the research log informs you that the engineers in this station received an emergency signal from Atlas Station.
Now cross the walkway, listening for the VI’s digital roar. The connecting room has a medical station to pillage from.
|
|
Spoils of War > Wall Safe > Access > 1,500 Credits |
|
|
Medical Station > Open > Med Kit > 100 Credits |
[021]
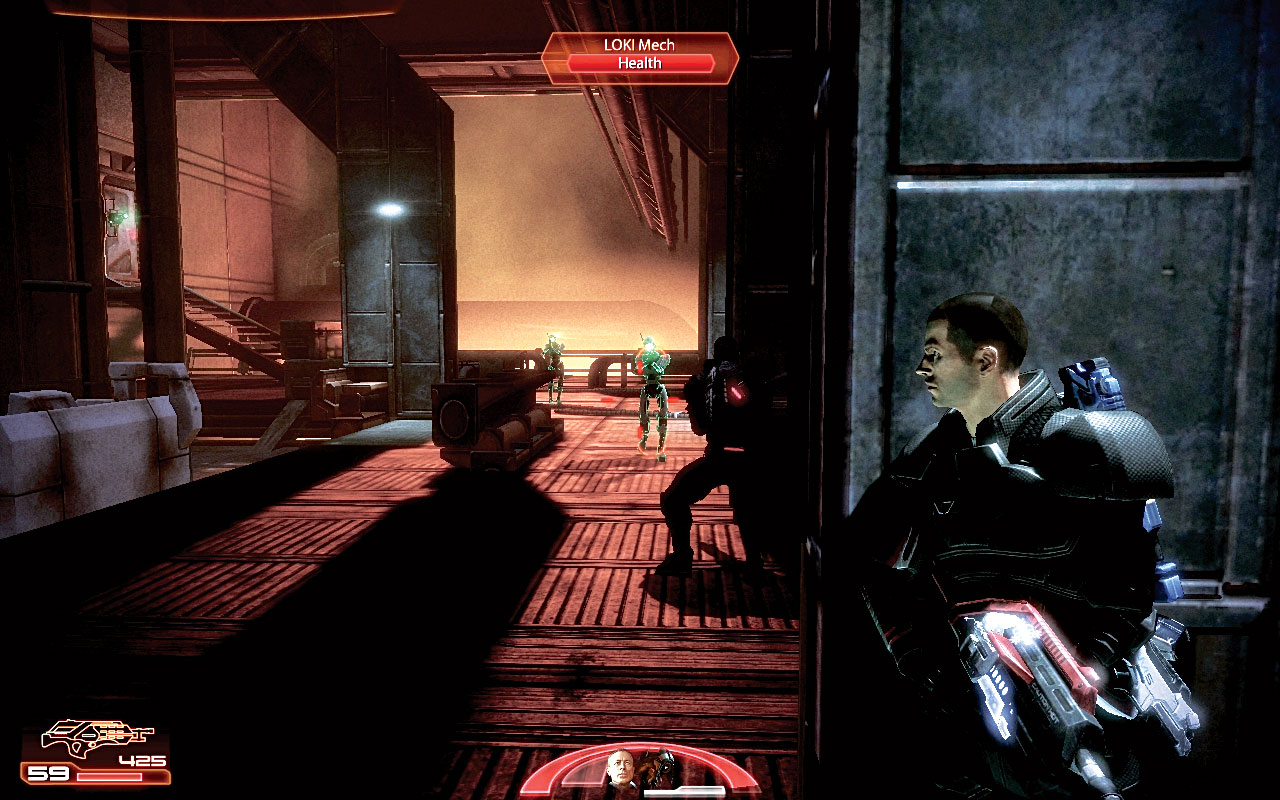
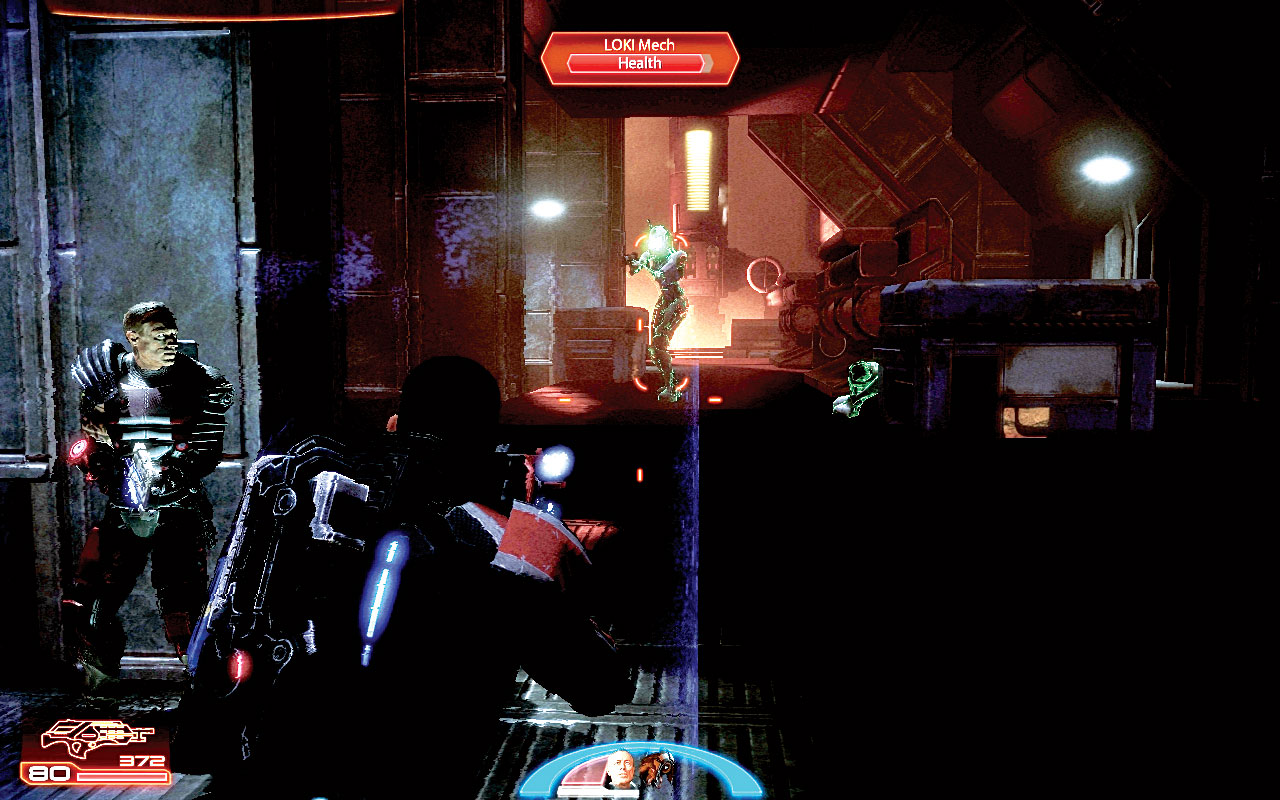
The main mech forces in this facility are contained in this chamber, and the threats cannot be understated. As soon as you enter the room, sidle up to the support pillar in front of you, to the right of the main walkway [021] .
Position a squad member against the other pillar. Running forward tends you get you killed and outflanked by a number of LOKI mechs in front and on your right. Behind them are assault drones, and a YMIR mech.
There’s no way out (the door opposite is sealed until the fight is over), so concentrate on taking down the foes.
[022]
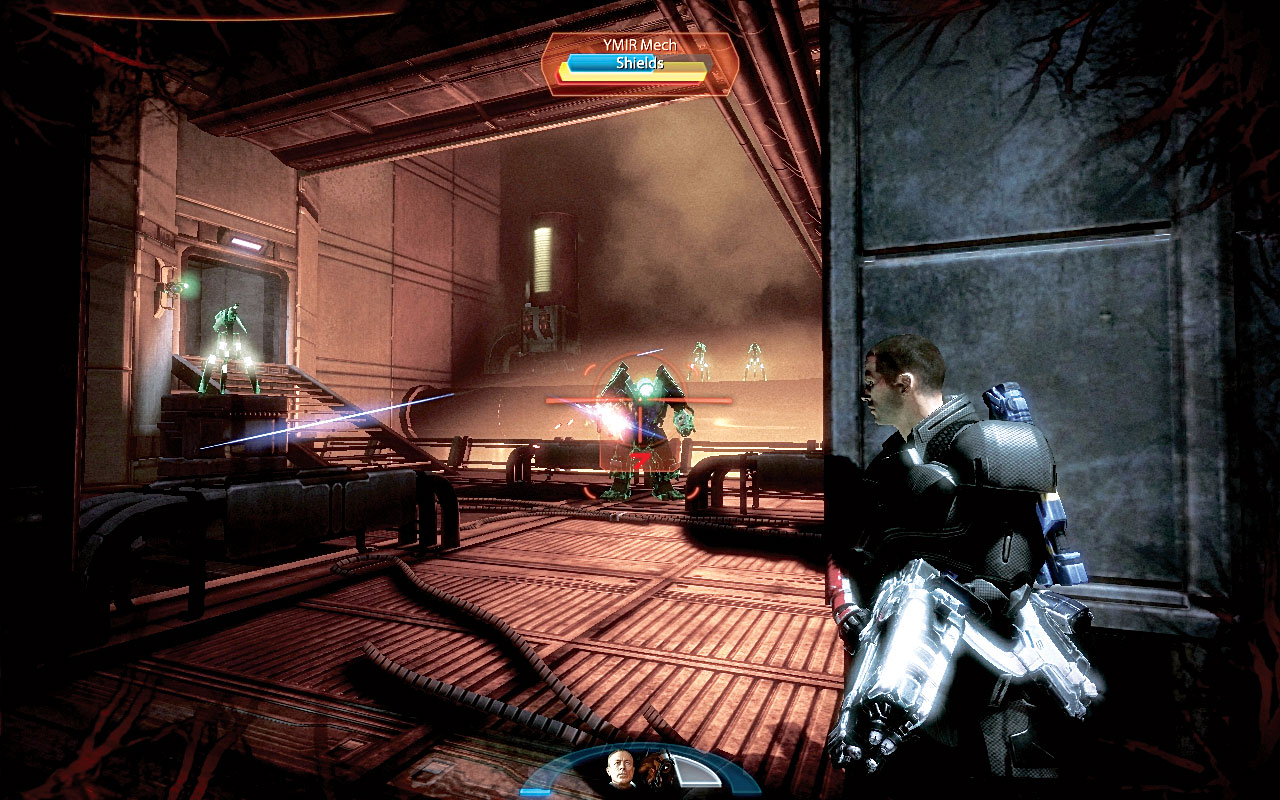
Begin by concentrating your firepower on the LOKI mechs. The pillar you’re standing behind allows you to target foes on the walkway to the right, as well as in the middle, and easily remove the threats without being outflanked.
Then edge forward and aim a long-range shot at the explosive containers on the smelting wall at the far end (these are on the left and the right sides); the explosion removes some of the assault drones. Then tackle the YMIR mech [022] ; there is plenty of cover as long as most of the drones are dealt with first.
Otherwise, stay at range. Remember; you can retreat back into the connecting corridor if need be. With enemy forces defeated, check the computer near the bookcases before leaving the room and bypassing the door at the top of the stairs.
|
|
Spoils of War > Computer > Access > 2,625 Credits |
[023]

[024]
A LOKI mech is attempting brute force techniques to destroy the override console. Preoccupied, it only notices Shepard after the squad draws its weapons [023] . Both of its arms are shot off, and the VI retreats from controlling the mech, which is now mostly armless.
Activating the override [024] , Archer comes in briefly over the communications terminal, which crackles with the VI’s insane fury. The station has been secured, and Shepard has a Renegade interrupt in which the LOKI mech is executed. Otherwise, a squad member does that job. The Hammerhead sets off, back onto the exterior of the planet’s surface.