
Mass Effect 2 Guide Walkthrough N7 ASSIGNMENTS
N7: Blue Suns
Archeological Dig Site
Scans of Joab reveal that an archeological dig site that has uncovered Prothean remains is under siege by Blue Suns mercenaries.
The Blue Suns must be stopped so that Prothean technology does not fall into dangerous hands.
Retrieving the Artifact
[001]
[002]
Unfortunately, the shuttle landing draws the attention of a Blue Suns scout. As you drop down to the surface, the merc runs inside the ruins to alert the rest of the group.
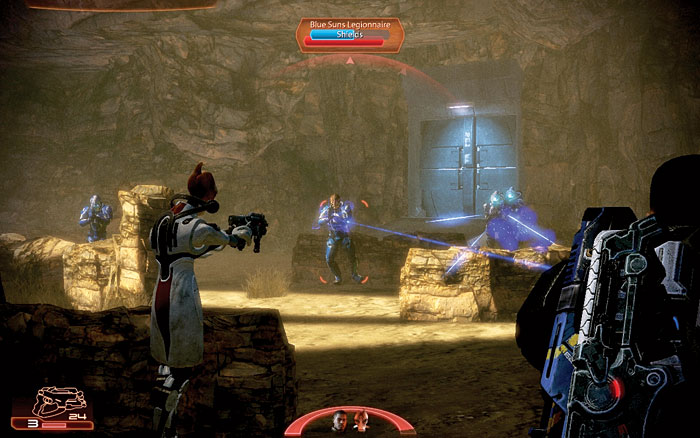
When you start to spread across the clearing in front of the entrance (direct your squad to set up a crossfire from various rocks), the Blue Suns erupt from the mine [001] .
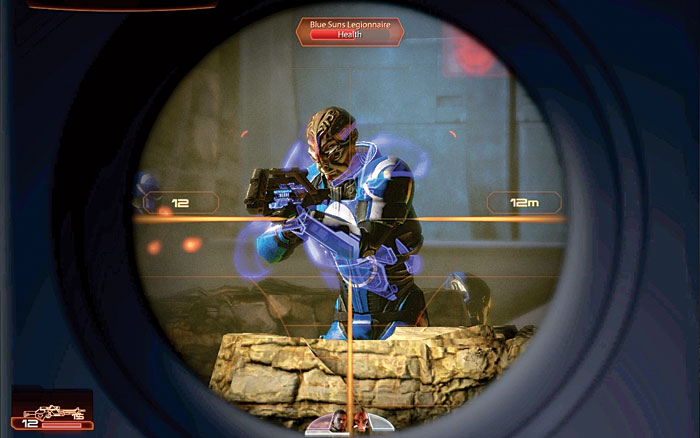
The mercs are led by a Blue Suns legionnaire [002] . His shields make it difficult to effectively use most biotic and tech attacks.
The troopers that flank him, though, are easy prey. Then pick up the crates of element zero from the clearing before moving into the mine.

|
Spoils of War > Resources > Refined Element Zero > Open > 175 Element Zero |
|
|
Spoils of War > Resources > Refined Element Zero > Open > 125 Element Zero |
[003]
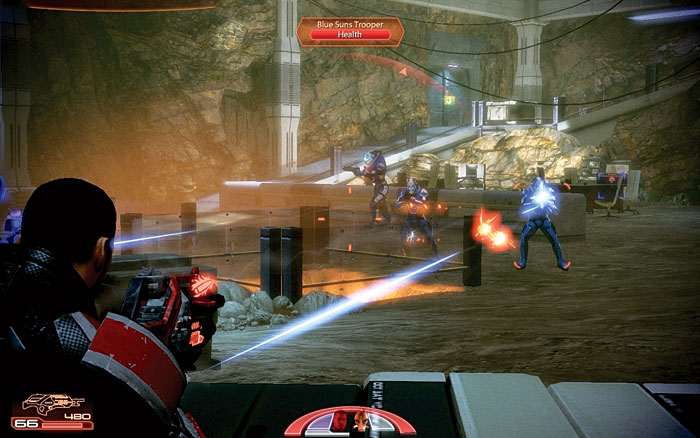
Inside the mine, use the crates as cover against the Blue Suns. As before, spread your squad across the mine so the Blue Suns do not concentrate their fire on a single spot.
Reinforcements arrive via two doors [003] . The first is on the main floor, off to the left. The second is at the top of the ramp on the back wall of the chamber.
Pick off the reinforcements just as they enter the chamber so they cannot dig into cover themselves.
Following the battle, loot the room and the side ramped tunnel for credits (in the personal lockers) and a medi-gel.

|
Spoils of War > Personal Locker > Open > 750 Credits |
|
|
Spoils of War > Personal Locker > Open > 750 Credits |

|
Med Kit > +1 Medi-gel > 100 Credits |
|
|
Spoils of War > Personal Locker > Open > 2,250 Credits |
[004]
[005]
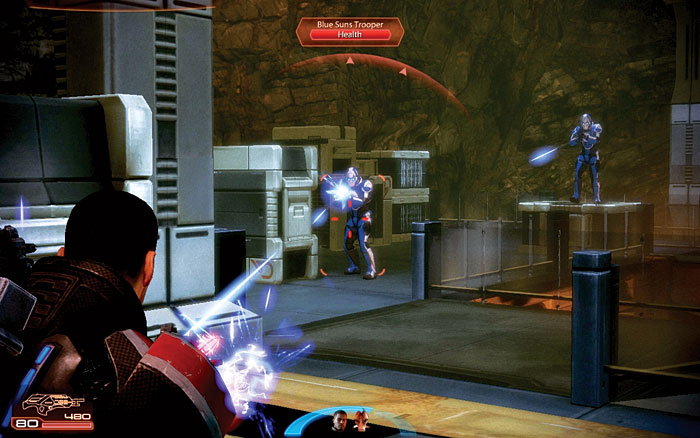
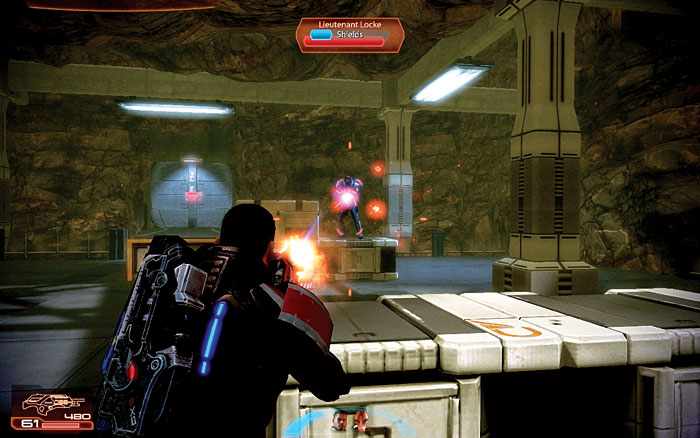
The door at the top of the large chamber leads to a smaller room with more crates and walkways to use as cover. More Blue Suns spring into action [004] .
They are tougher than the first wave of mercs, including a commando with both shields and armor. Use the upper landing of the room to spray bullets on the mercs below.
If you take the high ground, the mercs cannot effectively use cover. The Blue Suns are led by Lieutenant Locke [005] .
Locke has shields, so if you have any heavy weapon ammo, use it to blast through them and expose him. Then check the room; there is a crate of element zero just below the landing in the center of the chamber.
|
|
Spoils of War > Resources > Refined Element Zero > Open > 200 Element Zero |
[006]
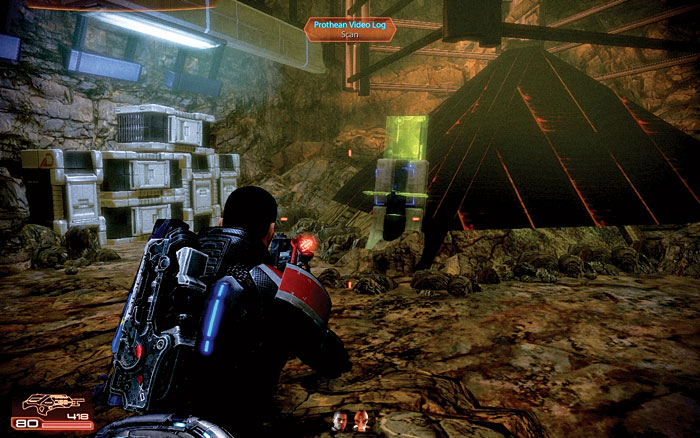
A datapad in the room reveals that an artifact has already been taken offworld on the MSV Strontium Mule . Enter the next room, though, to locate a Prothean ruin [006] .
Watch the video log on the ruin to see footage of a Reaper attacking a planet and wiping it off the face of the cosmos. This concludes the assignment.
You may now begin the next Blue Suns special assignment.

|
Special Assignment > N7: Blue Suns > MSV Strontium Mule Available |
MSV Strontium Mule
The MSV Strontium Mule has gone silent—the crew will not answer any hails despite repeated attempts. Scans, however, reveal that the ship is making transmissions using a known Blue Suns encryption key.
Board the ship via an emergency hatch in the cargo hold and stop the Blue Suns. This assignment appepars on your galaxy map as “Recapture Freighter.”
Recapturing the Derelict Ship
[001]
[002]
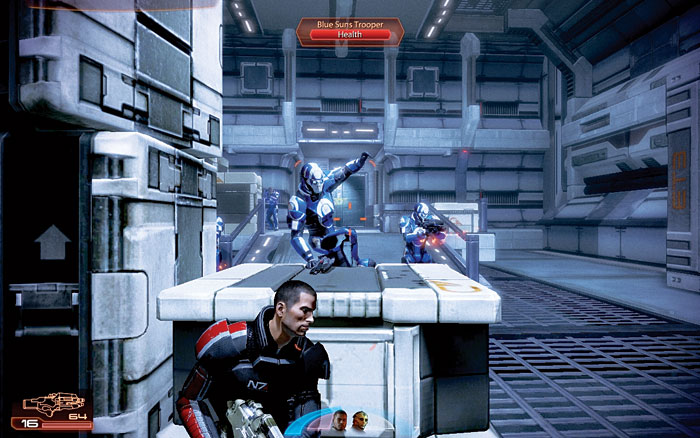
Upon entering the cargo hold of the vessel, take cover because the Blue Suns will flow through the door on the opposite side of the room within seconds [001] .
The Blue Suns crew includes troopers, legionnaires, and heavies, so watch out for rocket fire to streak through the air. There are explosive crates on the main floor, so be mindful about using those for cover.
They make a tempting trap for the Blue Suns, but if you can keep them pinned at the door by spreading out across the room and focusing all fire on their origin point, you are much better off.
Before leaving, check the merc transmitter; it appears to be orders from Captain Vorhess after the recent boarding.
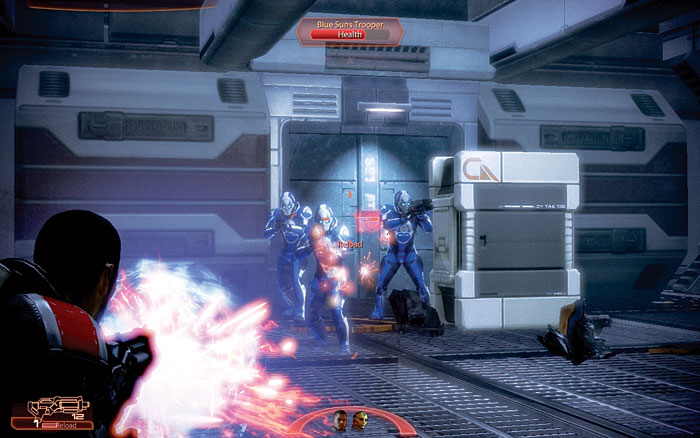
Now climb the ramps, passing the airlock security console, and locate a small Blue Suns patrol [002] . After the patrol has been neutralized, check another merc transmitter, with a message about some possible loot, and codes to unlock the cargo hold.
Head up the ramp and bypass the hub security console. This opens the previously locked doors.
There are three doors. Each winds around to another room of the ship that contains even more Blue Suns. Use the corridors to flank the Blue Suns.
If you place a squad member inside each corridor, you can attack the Blue Suns from multiple angles and keep them guessing.
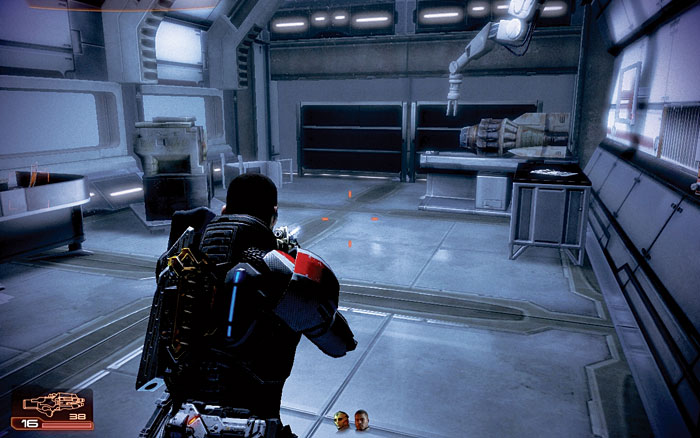
[003]
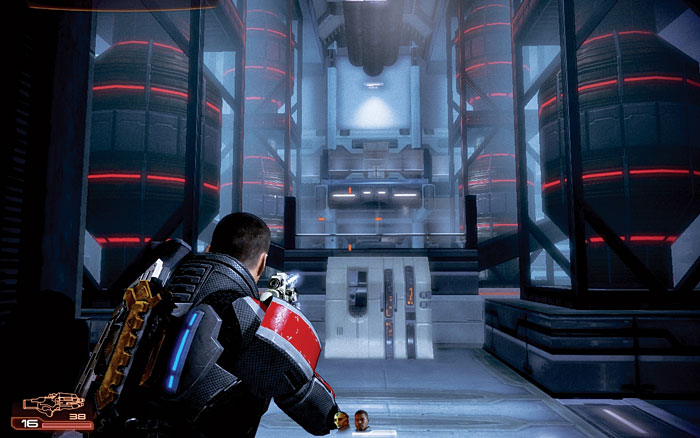
[004]
The left door leads to a corridor and a chamber with a maintenance records [003] terminal to read, then to a central upper walkway of the hold.
The middle door leads to a corridor directly into the engine room [004] where a main console is currently inactive; there is another merc transmitter to read here, announcing your arrival.
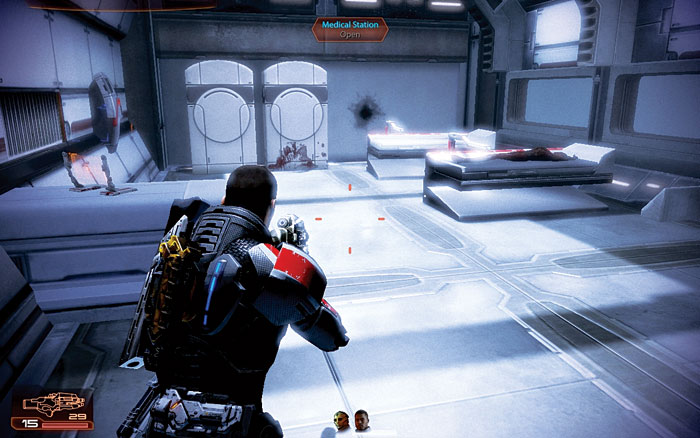
[005]
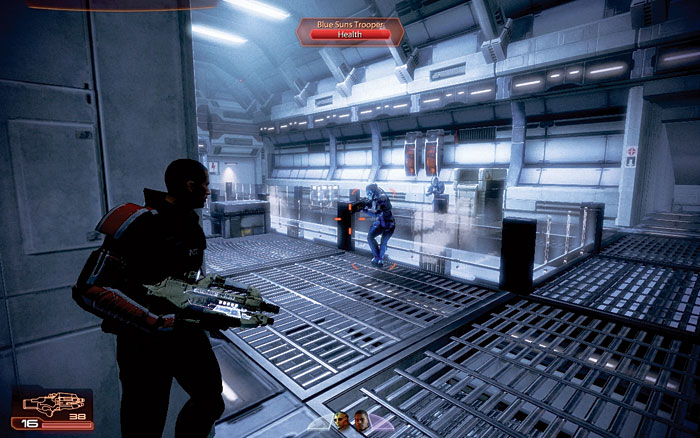
[006]
The right door leads to a corridor and a medical room [005] where medi-gel can be taken, and the corridor continues to the same central upper walkway of the hold [006] .
Expect combat at the walkway. Follow the corridor to the right of the MCS-77 sign to locate another security console. Bypass this to unlock the door to the bridge.
The transmission relay console on the left side is currently inoperable.
|
|
Medical Station > Open > Med Kit > 100 Credits |
[007]
[008]
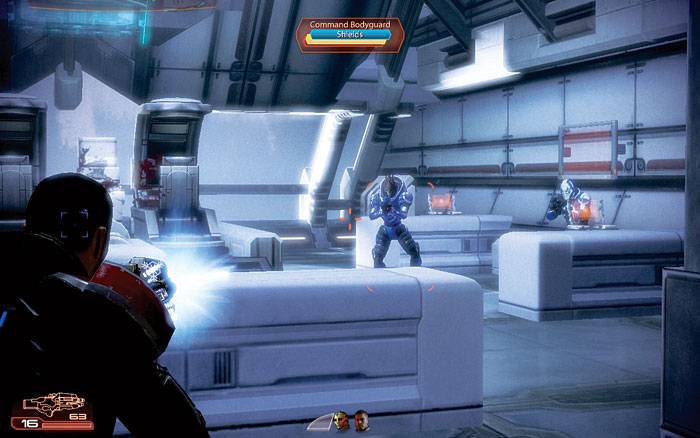
The bridge is the last stand for the Blue Suns thugs on the Strontium Mule [007] . The mercs are led by Captain Vorhess, a tough merc with shields.
However, even more dangerous is his bodyguard, who dons armor and has a shield up. Slam into cover and direct your squad to spread across the bridge.
Take out the troopers first since they have no armor or shields. Removing their guns from the battle early will let you concentrate on Vorhess and his guard.
Do not engage Captain Vorhess or the bodyguard at close range. The guard has a powerful shotgun, so just stick to your cover and lay into the mercs with medium-range weapons, such as assault rifles or submachine guns (the latter are very effective for chipping through shields).
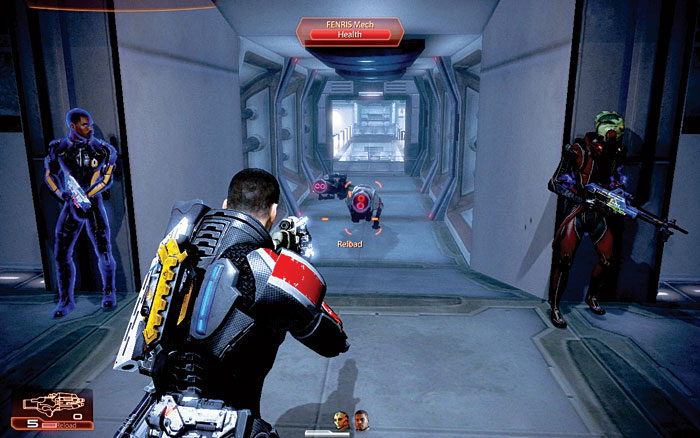
When you expose either Vorhess or the guard, use biotics or tech attacks to finish them off. Vorhess is able to engage his FENRIS mechs before dying [008] .
Turn around and face the bridge door to cut down the galloping mechs before they enter the bridge.
After checking the merc transmitter (messages regarding your intrusion), and the ship’s main log for the code to access the cargo, push through the Blue Suns that fell in behind you in the hold.
Recovering the Cargo Canister
[009]
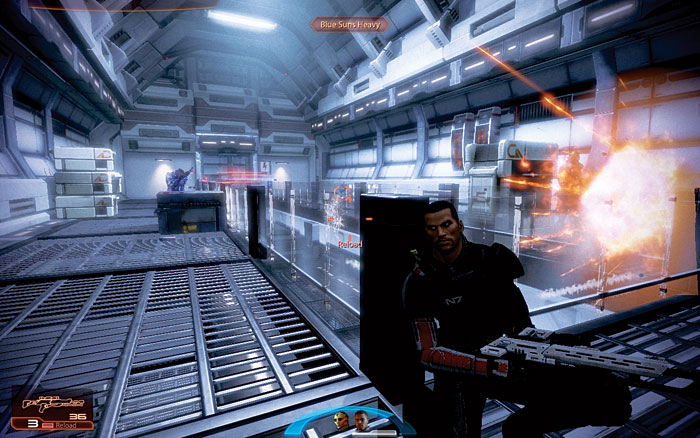
The mercs on the upper walkway of the hold are led by Sergeant Boortis. They set up an ambush at the end of the corridor that you will not break through without taking heavy fire [009] .
Use the doorway of the bridge as cover and fire on the mercs from safety. The mercs will expose themselves for brief moments, giving you ample chances to take your shots. This is not a clocked assignment, so take your time.
[010]
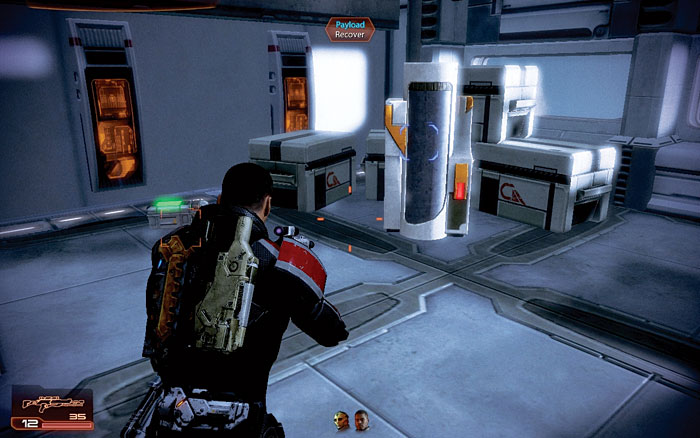
The Prothean cargo is on the far side of the ship, through the corridor marked EP-8. Enter the (previously locked) storage room and check the merc transmitter on the desk; it’s regarding a sneaky plan by Boortis.
Pick up the iridium in the smaller hold and the payload for your credits [010] , as well as to end the mission.
There is also a small mess hall in this area, where the flayed remains of the crew can be seen; this area is open throughout the assignment.

|
Spoils of War > Resources > Refined Iridium > Open > 2,000 Iridium |
|
|
Spoils of War > Payload > Recover > 3,750 Credits |
|
|
Special Assignment > N7: Blue Suns > Blue Suns Base Available |
Blue Suns Base
The Blue Suns are using a false distress signal from their base on Sanctum to lure ships into an ambush. The distress signal must be disabled before any more vessels fall into the same trap as the MSV Strontium Mule .
This assignment appears on your galaxy map as “Disable False Signal.”
Disabling the False Distress Signal
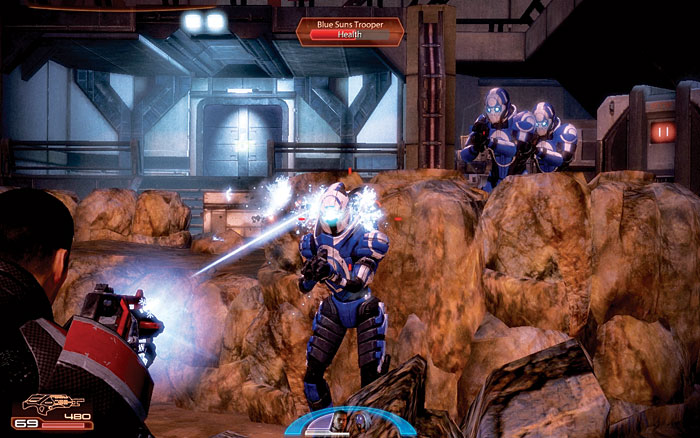
[001]
Just as at the mine entrance in the first part of N7: Blue Suns > Archeological Dig Site, the Blue Suns find themselves in a fortified position. You must push into their territory [001] .
Surround the door to their base by spreading the squad across the clearing and ducking behind the rocks for cover.
When the mercs explode from the front door to attack, your multiple positions prevent them from becoming a unified fighting force. With their attentions split, it is easier to pick them off.
Then look for a crate of iridium in front and to the left of the base door.
|
|
Spoils of War > Resources > Refined Iridium > Open > 400 Iridium |
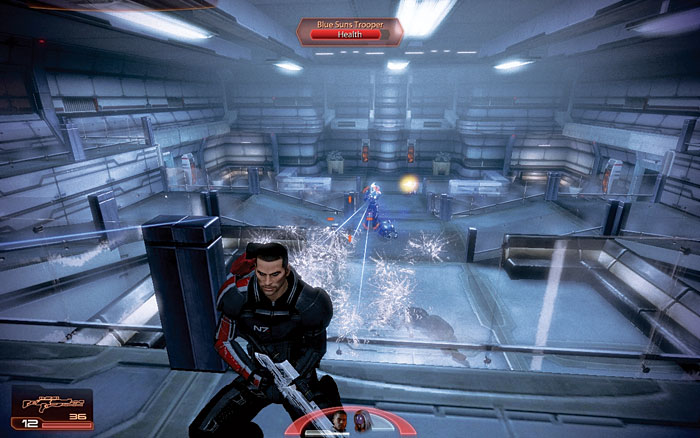
[002]
Inside the base, you have the advantage of high ground [002] . The mercs, including a powerful commando, must come up to meet you.
Use cover at the top of the room to rain fire down on the mercs as they attempt to wind up the ramps and take your position. As before, split the squad to cover all ramps.
Keep an eye on your teammates, though. If the mercs try to strong-arm one particular ramp, you will need to help out.
With the coast clear, check out the living quarters at the bottom of the room (off to the right) to locate a datapad with some minor information and a wall safe stuffed with credits.
|
|
Spoils of War > Wall Safe > Bypass > 1,875 Credits |
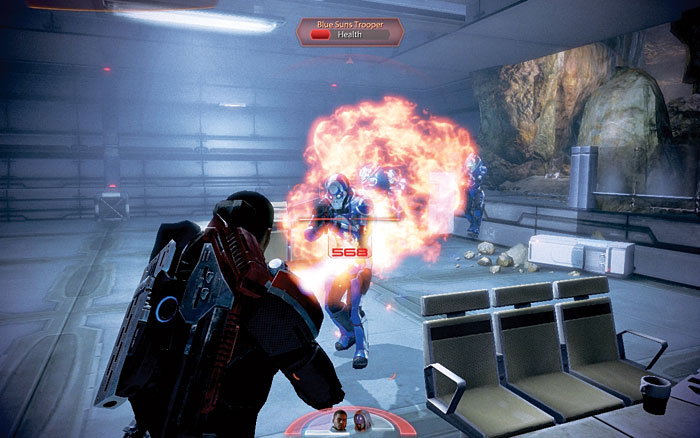
[003]
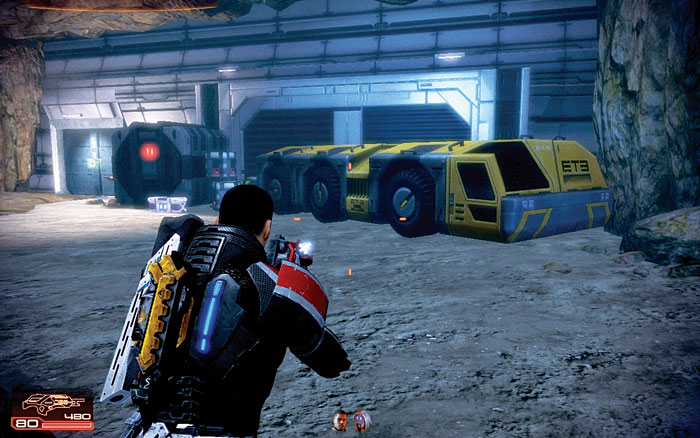
[004]
Next, move into the mess hall, checking the Closure Notice on the wall to the right before you enter. A mining accident has left a gaping hole in the wall of the mess hall.
The Blue Suns use that mine to enter the hall and launch their attack [003] . There is ample cover in the mess hall, so stake out positions and train your fire on the Blue Suns that emerge from the mine.
Then enter the hole and the mine, looking to a lit alcove on your left for some iridium. Head deeper into the mine and check the metal work surface as you enter a larger chamber [004] ; there’s more iridium here.
Now check the mine chamber for some power cells, a datapad, and yet more iridium.
|
|
Spoils of War > Resources > Refined Iridium > Open > 400 Iridium |
|
|
Spoils of War > Resources > Refined Iridium > Open > 400 Iridium |

|
Ammunition > Power Cells > 2 Heavy Weapon Ammo |
|
|
Spoils of War > Resources > Refined Iridium > Open > 400 Iridium |
|
|
Spoils of War > Resources > Refined Iridium > Open > 400 Iridium |
[005]
[006]
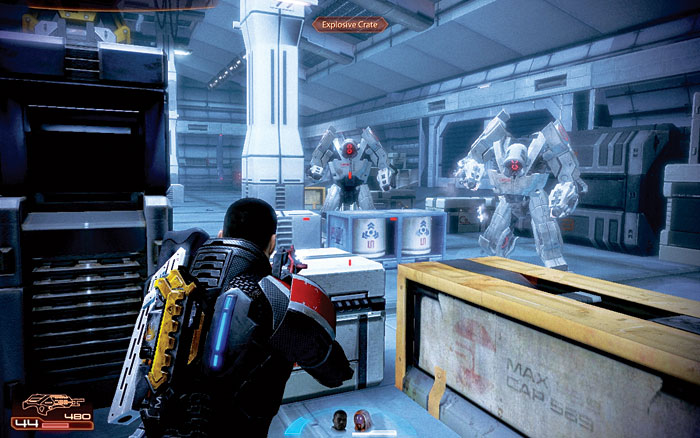
The mine leads to a transportation hub. When you enter the room, the Blue Suns [005] activate two YMIR mechs. Though there is a lot of cover to use in the room (watch out for explosive crates), handling two YMIR mechs is not an easy job.
Fall back from the YMIR mechs and seek cover, popping out to attack [006] once their miniguns have temporarily fallen silent.
Aim for the heads—those are the mechs’ weak spots. If you have any heavy weapon ammo, use it to break through the mechs’ shields and armor.
Before or after the fight, check the small raised platform on the left side of the room. Shoot through the fragile crate blocking the ramp to retrieve the medi-gel behind it.
|
|
Med Kit > +1 Medi-gel >100 Credits |
[007]
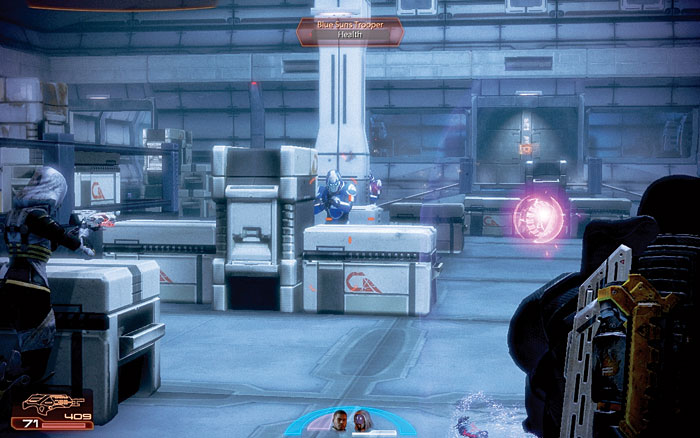
After the two YMIR mechs are down, the Blue Suns have no choice but to attack to keep you from retaking their base. The final merc band is led by Captain Narom.
He is the prime target, but do not ignore the troopers that flank him.
They may be weak, but if you let one get too close, they can ravage your shields with submachine gun fire.
When all foes are neutralized, check the left storage room ahead of you and empty the wall safe in the wall of the transportation hub.
|
|
Spoils of War > Wall Safe > Bypass > 1,875 Credits |
[008]
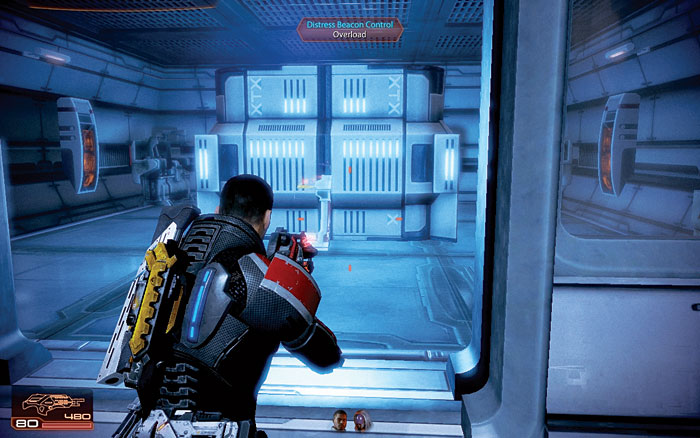
Now the battle is won, check the right transportation hub room for a computer terminal (where you can read missives), and then overload the distress beacon inside the middle room to put an end to the Blue Suns’ dastardly plot [008] .
EDI will now warn you that an Alliance colony on Watson is under attack by batarian radicals; this begins the Javelin Missiles assignment (although it could have been accessed at any time).
|
|
Special Assignment > N7: Javelin Missiles Available |