
Mass Effect 2 Guide Walkthrough SPECIAL ASSIGNMENTS
Overlord: Atlas Station
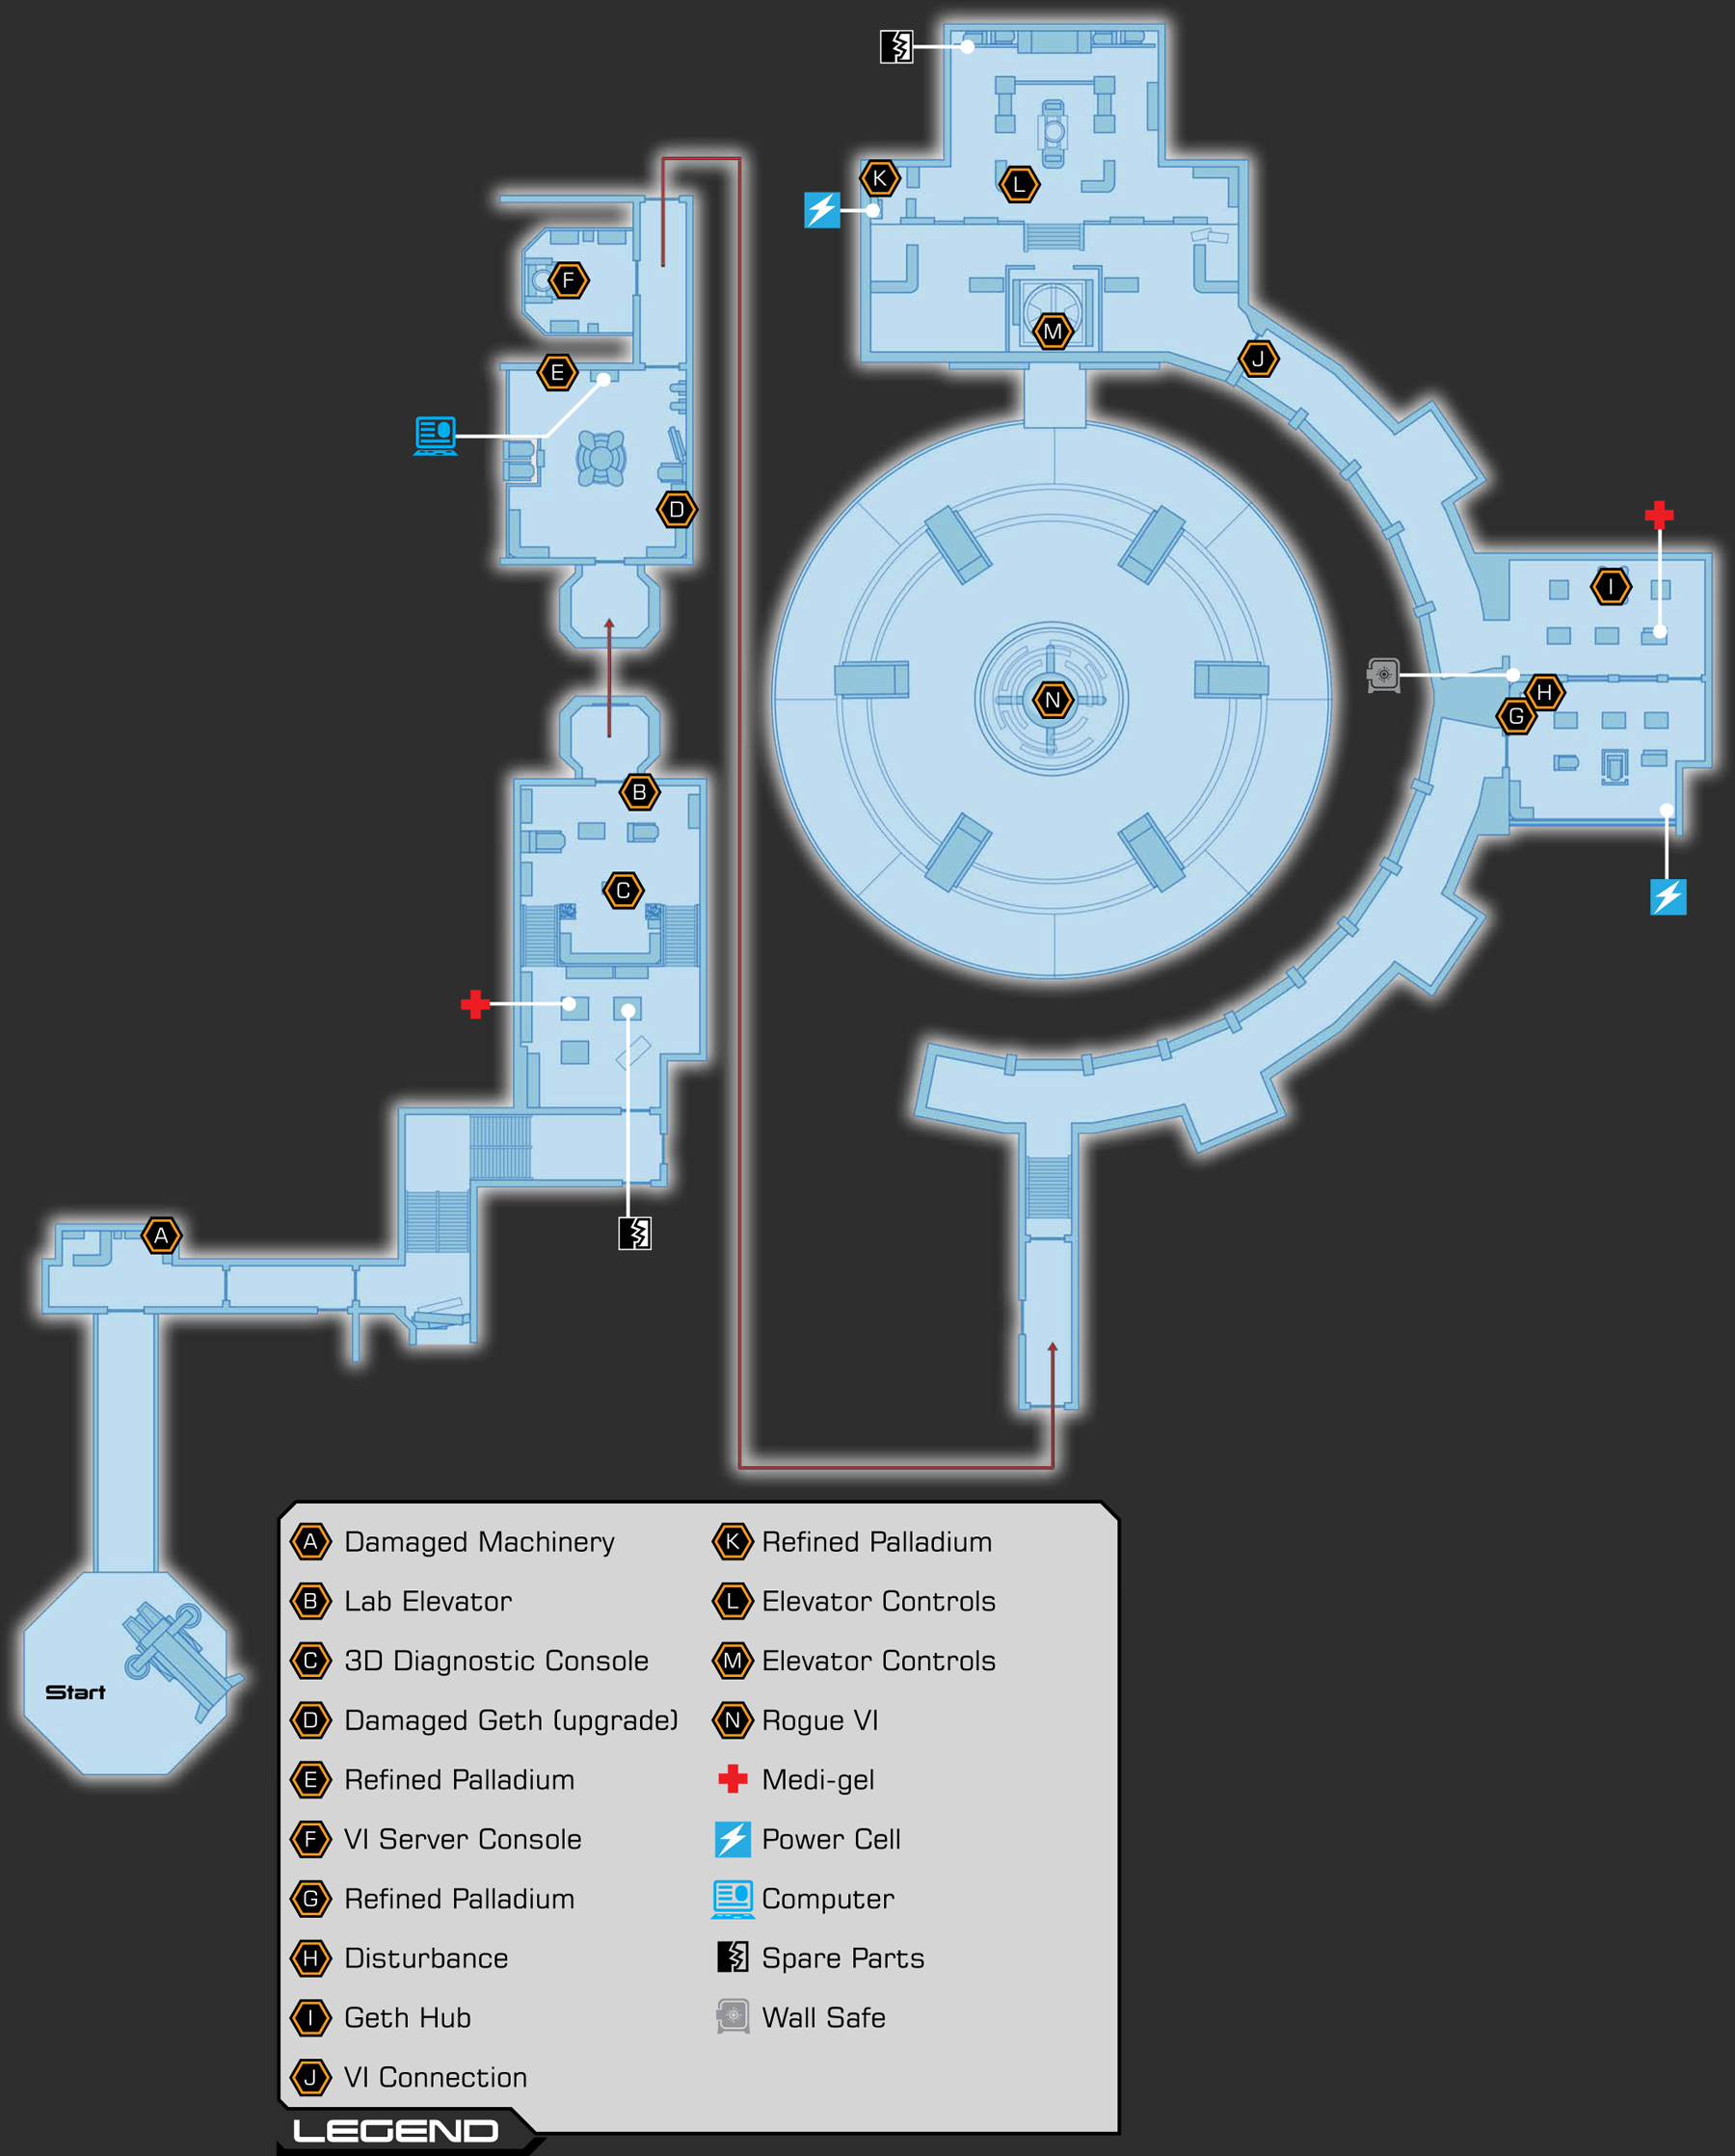
Part 8: Locating Atlas Station
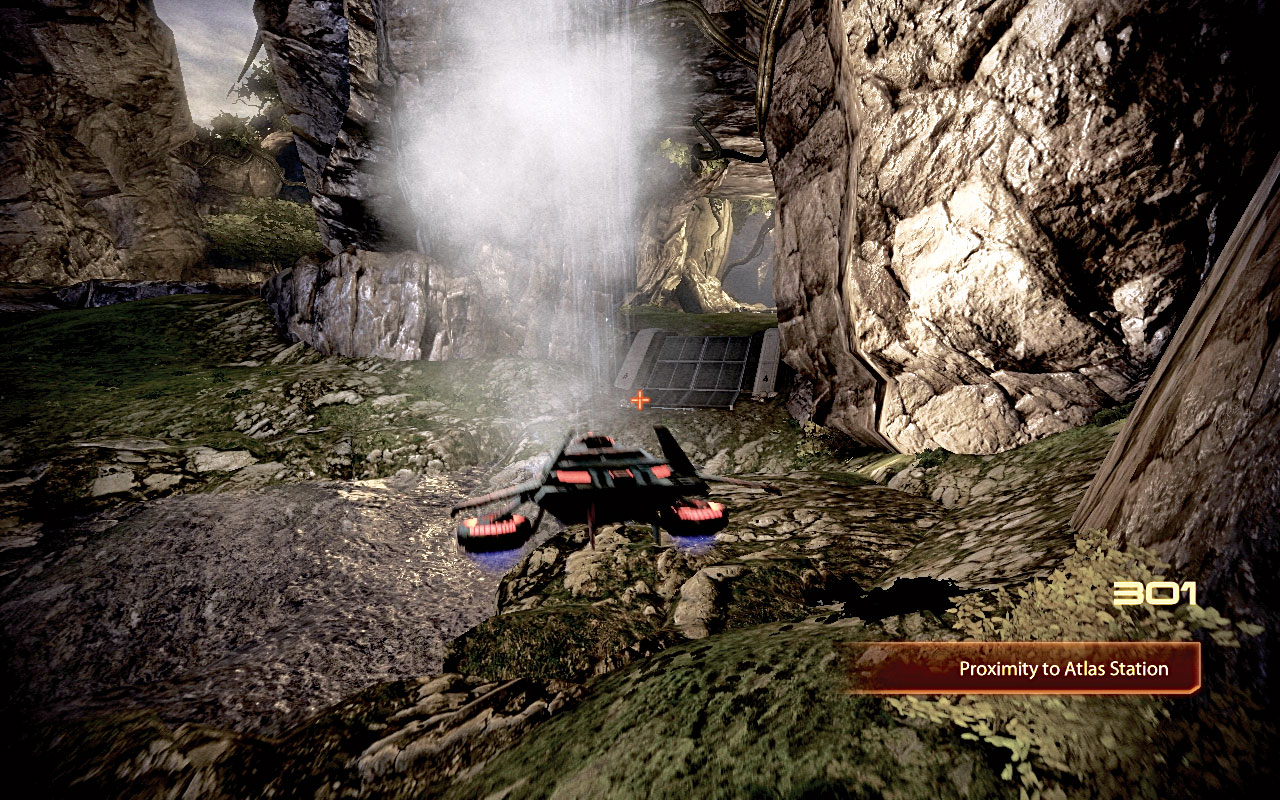
[001]
Atlas Station is encased in a giant cavern; head back toward the plains and vista, but stay with the cliff wall to your right. At the waterfall, swing right, up to the entrance embedded in the rocks to your right [001] , and enter the final facility.
Data packet #5 can be found here. Choose your squad members with geth-culling in mind. The Hammerhead touches down on the Cerberus landing pad, and Shepard’s team disembarks.
Finding the Server Room
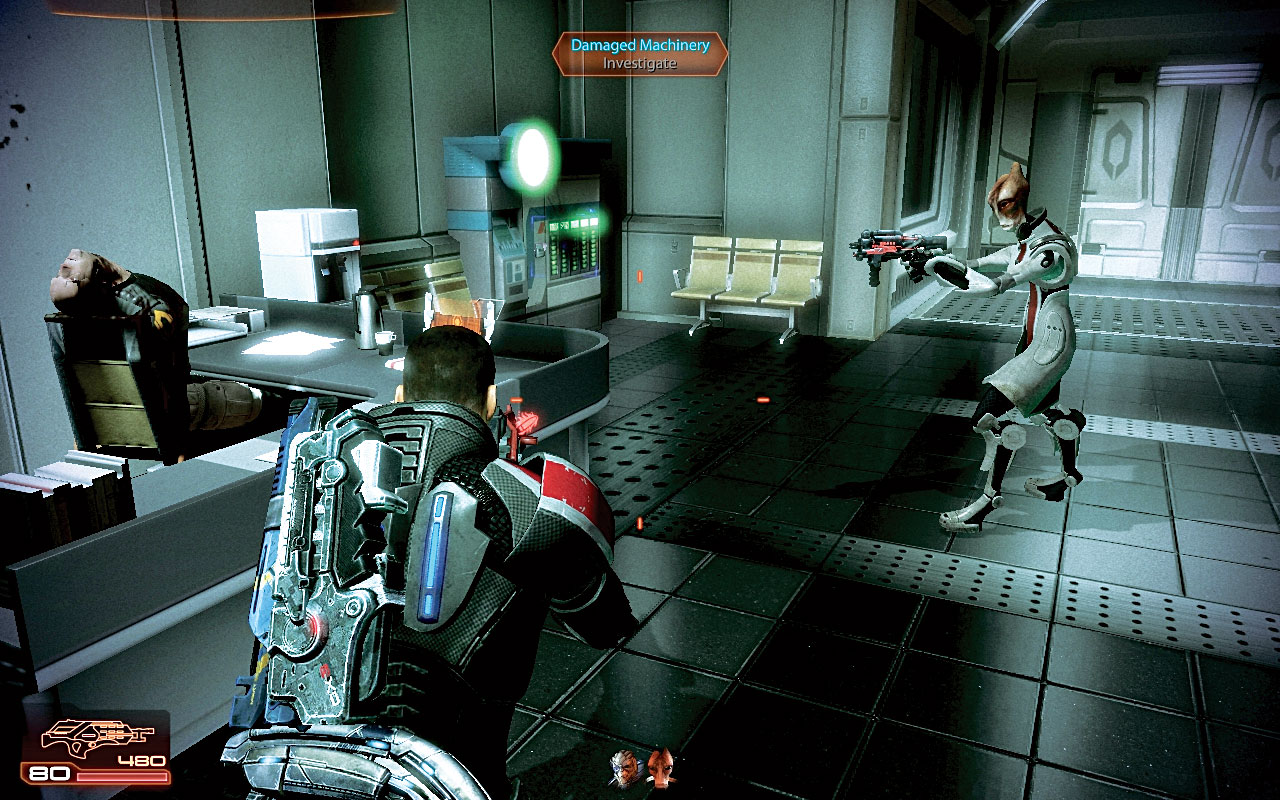
[002]
Archer radios in to let you know the VI is trying to upload directly from Shepard’s location; shutting down the core is the only option. Head for the door, which unlocks as you arrive and opens, which is troubling. Inside, investigate the damaged machinery, and the facility’s lights come on [002] .
Archer can be heard, possibly a recording, speaking about David’s autistic mind—the breakthrough the doctor needed. There’s little time for a medical malpractice suit, so follow the locked (and then opening) doors, past a laboratory with a door that slams open and shut.
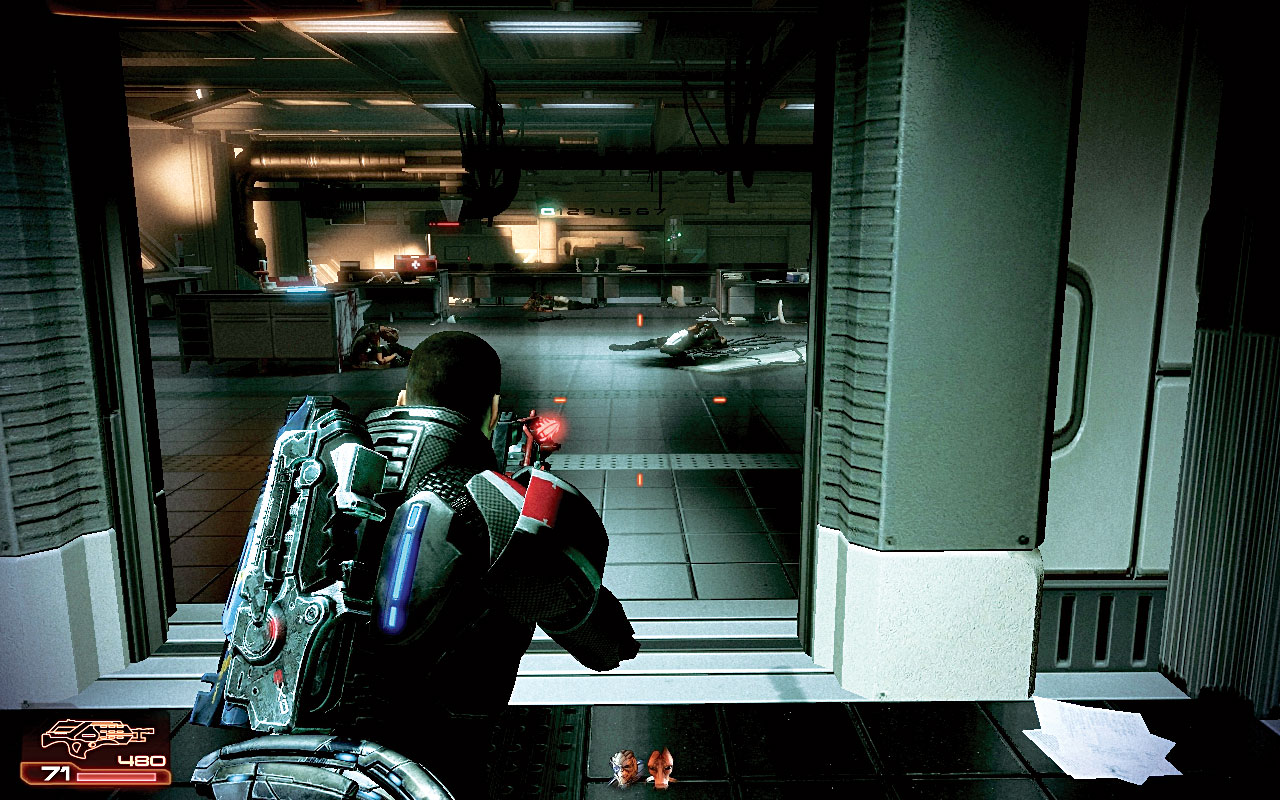
[003]
Passing the corpses of scientists and security personnel, reach the bottom of the steps. The rogue VI slams the doors shut in front of you, leaving a door to your left accessible. This leads to a laboratory [003] with an elevator on the far wall.
Before you inspect it, check a desk for computer hardware to salvage for credits and a med kit. Search for a thermal clip before checking the lab elevator.

|
Spoils of War > Computer Hardware > Salvage > 1,500 Credits |
|
Med Kit > +1 Medi-gel > 100 Credits |
[004]
[005]
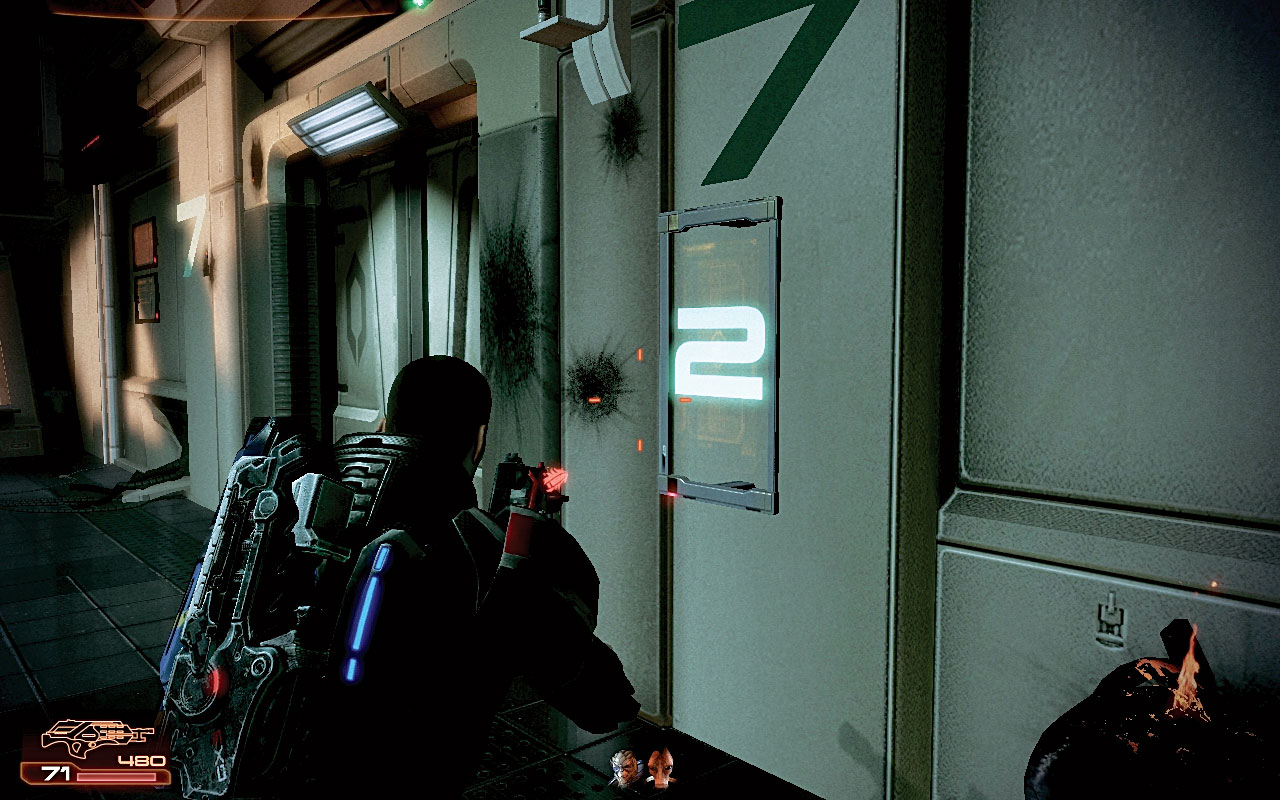
Chancing that the elevator will work correctly under current conditions, you can summon it up to level 7 (your current floor). However, as the elevator moves up two floors at a time, this proves to be a problem. The trick is to summon the elevator [004] from level 0 to 2, then 4, and then turn around.
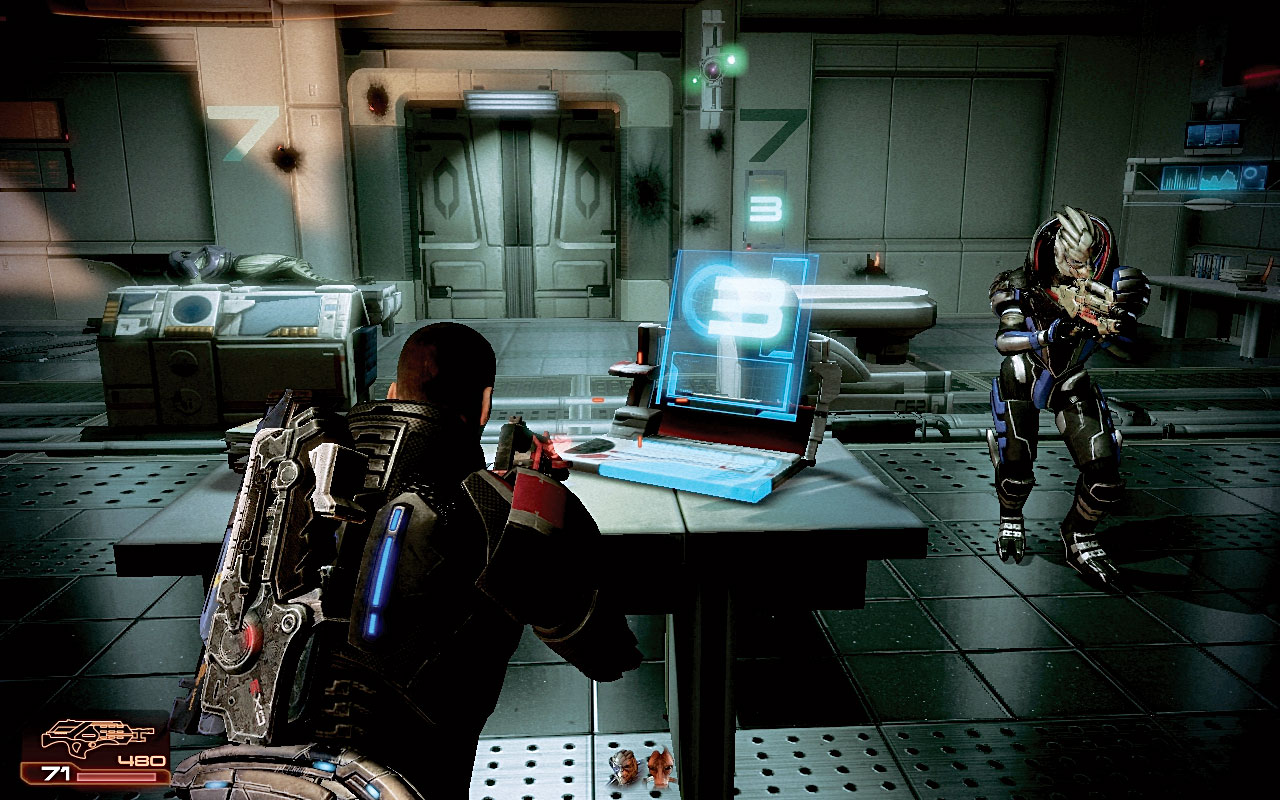
There’s a 3D diagnostic console behind you [005]. Click to begin a decomposition simulation, and the computer drops the elevator back down three floors to level 1. Return to the elevator bank and summon the elevator again; now it moves up to level 3, 5, and finally 7.
[006]
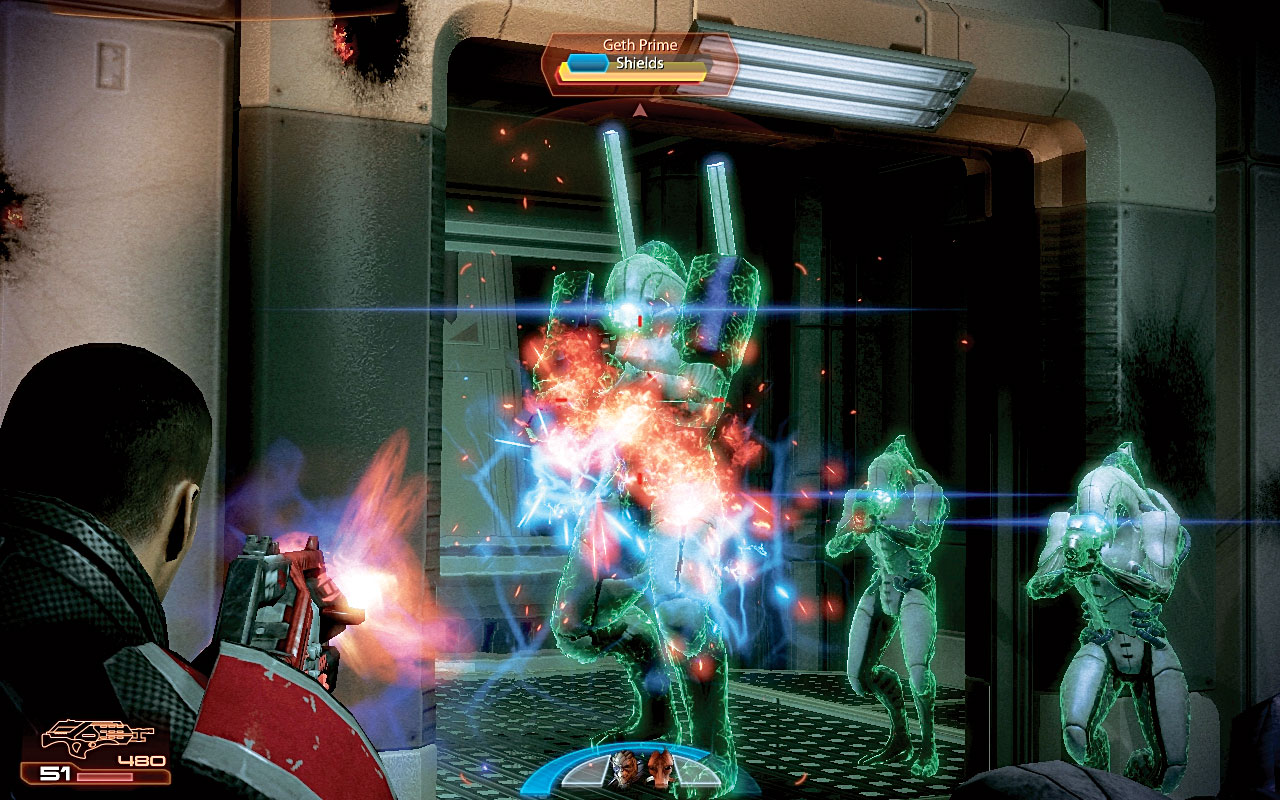
Waiting to enter the elevator is not a wise plan, as a geth prime and two troopers move out of the elevator when it is cut open [006] . Before the doors open, move your squad members behind cover on either side, while you hide behind the 3D diagnostic console or on the upper part of the room. Focus on the prime, then mop up the others before stepping onto the elevator.
[007]
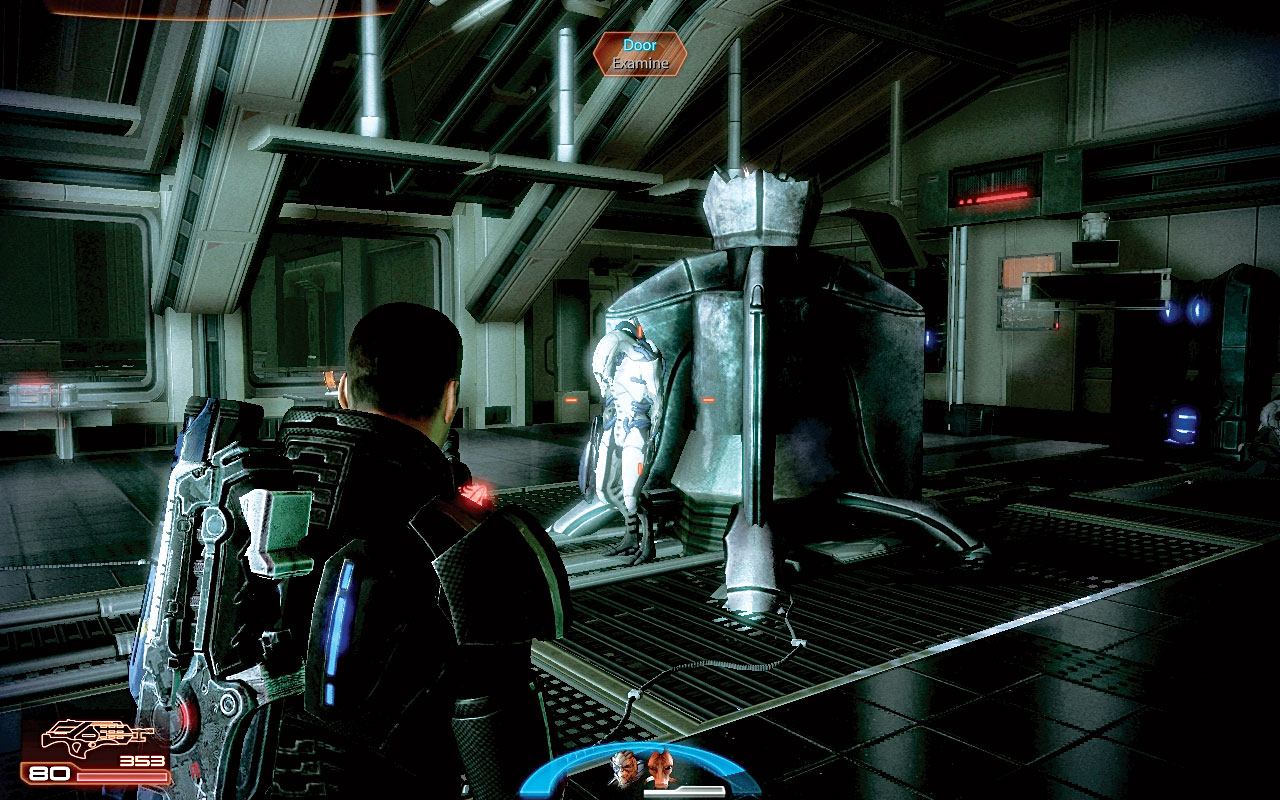
After an extremely bumpy ride and shrieking from the VI, the elevator opens at level 1. Step out into the main laboratory area, listening to Archer, and scan a nearby damaged geth [007] . Check the tables around the laboratory; there are thermal clips and refined palladium to take.
Hack an adjacent computer for credits. Save your game at this point if you wish. Move into the adjoining corridor and approach the unlocked door. The omni-lock begins to move, sliding across to the previously inaccessible door on your left. It opens, allowing access into a small server room.

|
Upgrade > Damaged Geth > Scan > Heavy Skin Weave |

|
Spoils of War > Resources > Refined Palladium > Open > 1,000 Palladium |
|
|
Spoils of War > Computer > Hack > 2,250 Credits |
[008]
[009]
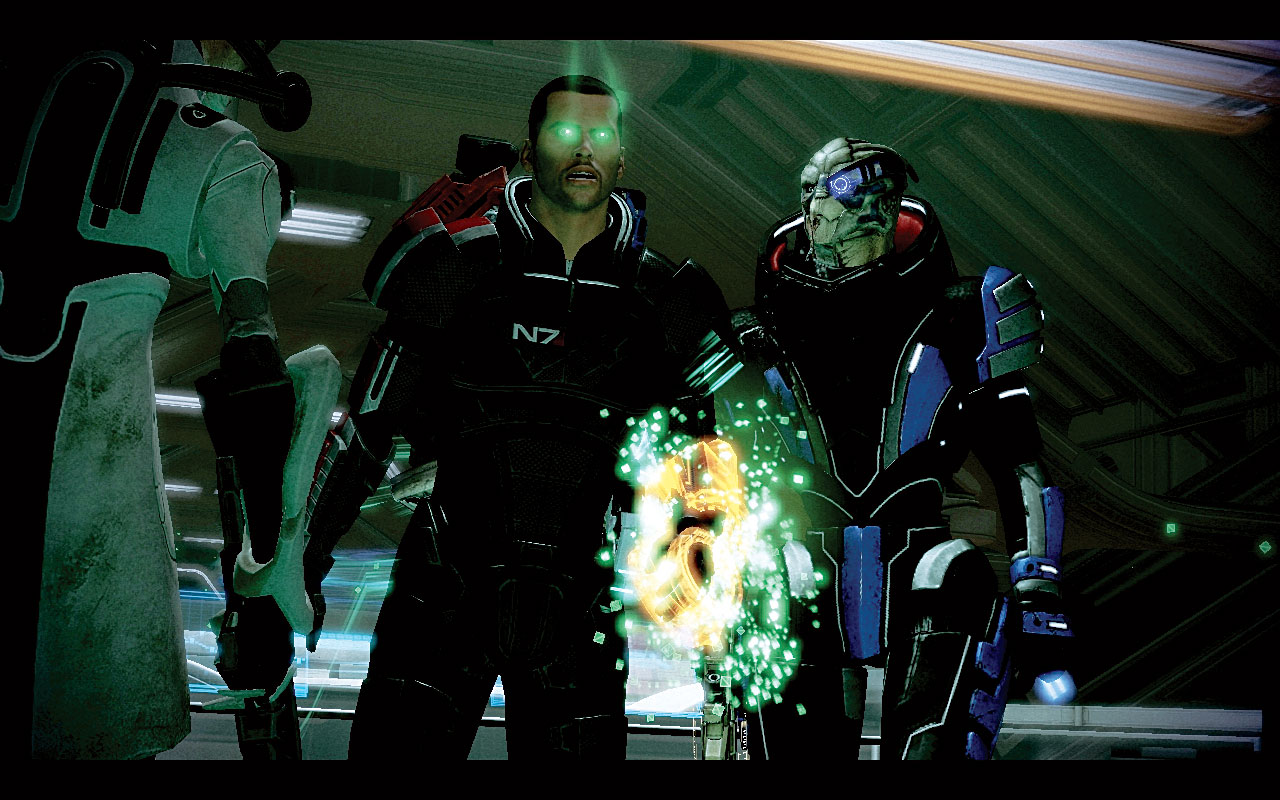
Shepard presses the VI server console, half-expecting a Reaper to be summoned. Instead, the rogue VI writhes and connects into Shepard’s omni-tool, possessing it [008] .
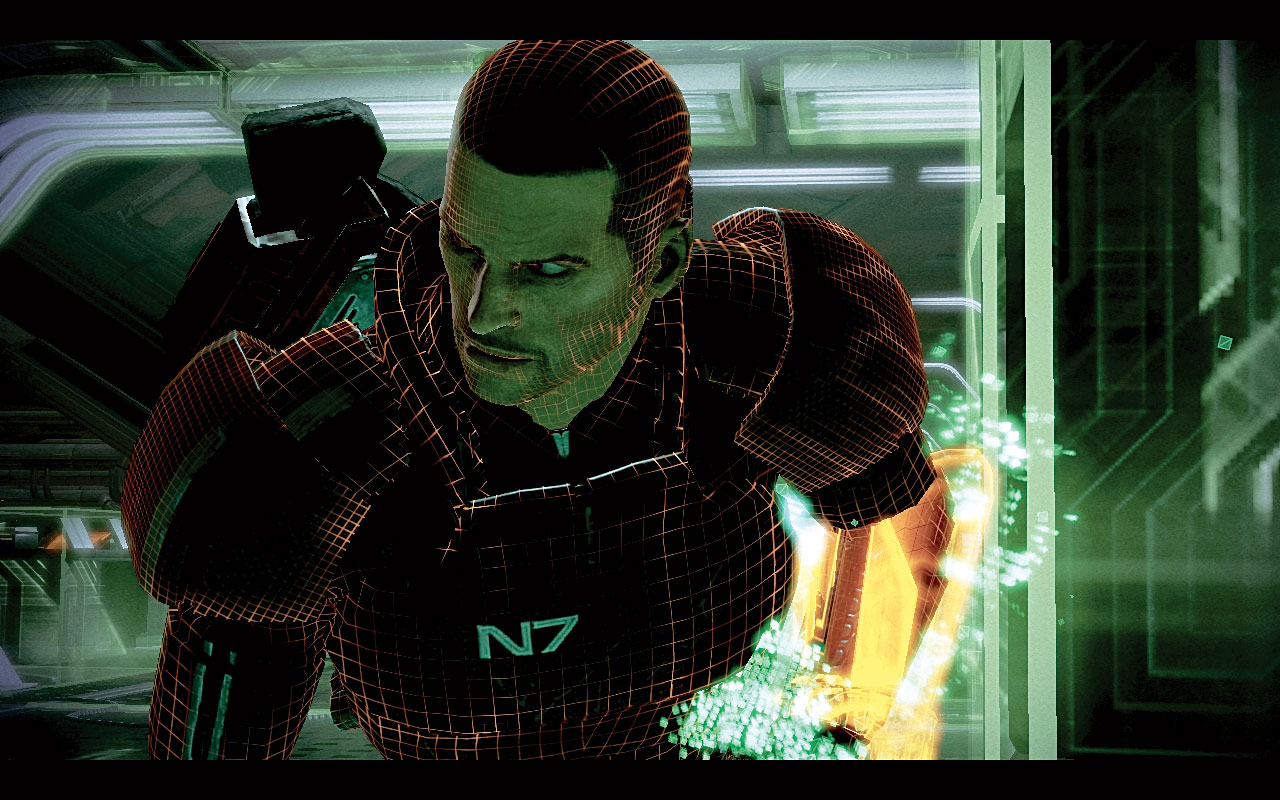
Perhaps because of the methods Cerberus used in the Lazarus experiment, Shepard becomes dazed, viewing a world both digital and organic, with ghosts from the present and the past.
Stumbling back from the console and out into the corridor [009] , the commander witnesses a man being dragged. The VI traps the squad members in the server room.
Destroying Rogue VI
[010]
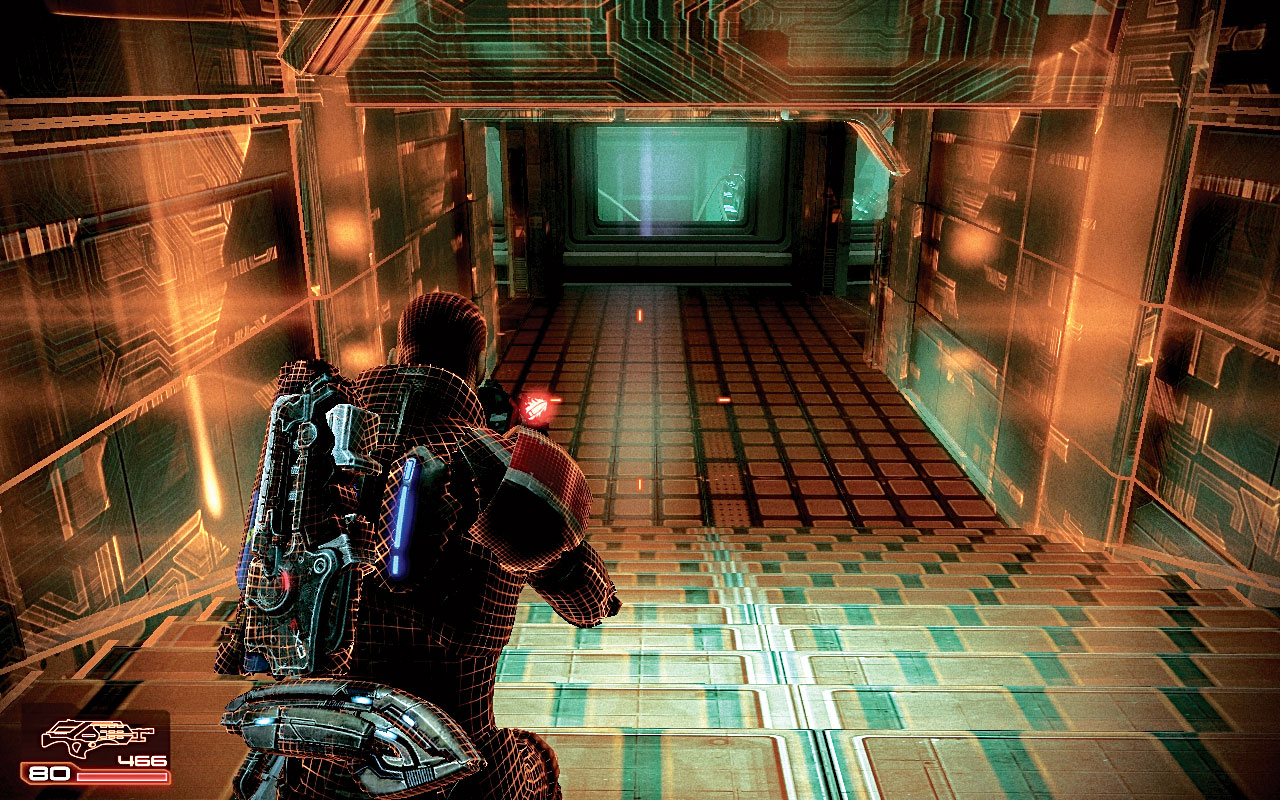
Shepard is experiencing some kind of hyper-reality, where the rogue VI’s more human memories intertwine with projected, ghostly conversations from the past, as Shepard moves through the present in real time.
The effect is quite disorienting [010] . With rogue VI embedded inside, Shepard must attempt to escape this virtual environment.
[011]
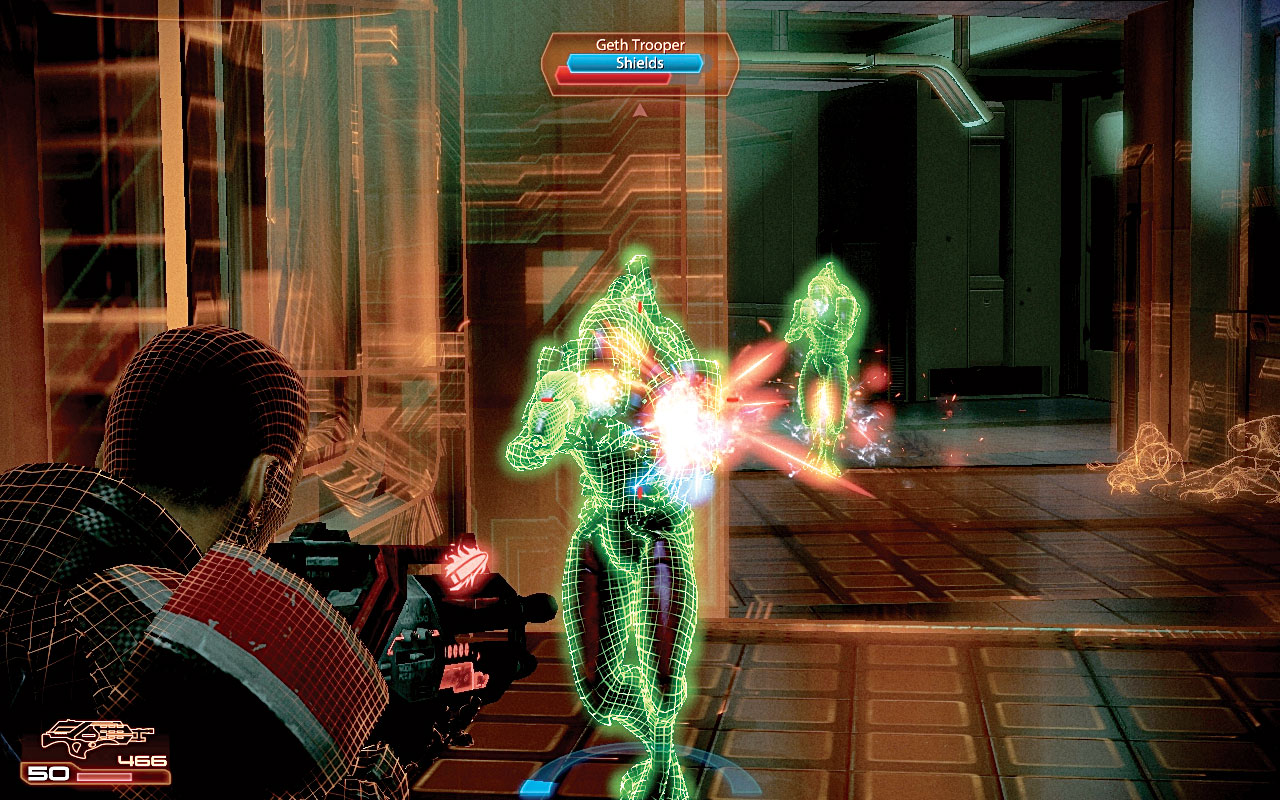
Head down the stairs and turn right as you spot David’s face in the core chamber beyond. For now, take cover behind the left wall indents, and remove the geth trooper threats [011] .
They may be real, or computer programs, but they explode in shards of digital ether. Continue to move around the curved corridor until you reach a door on your right.
[012]
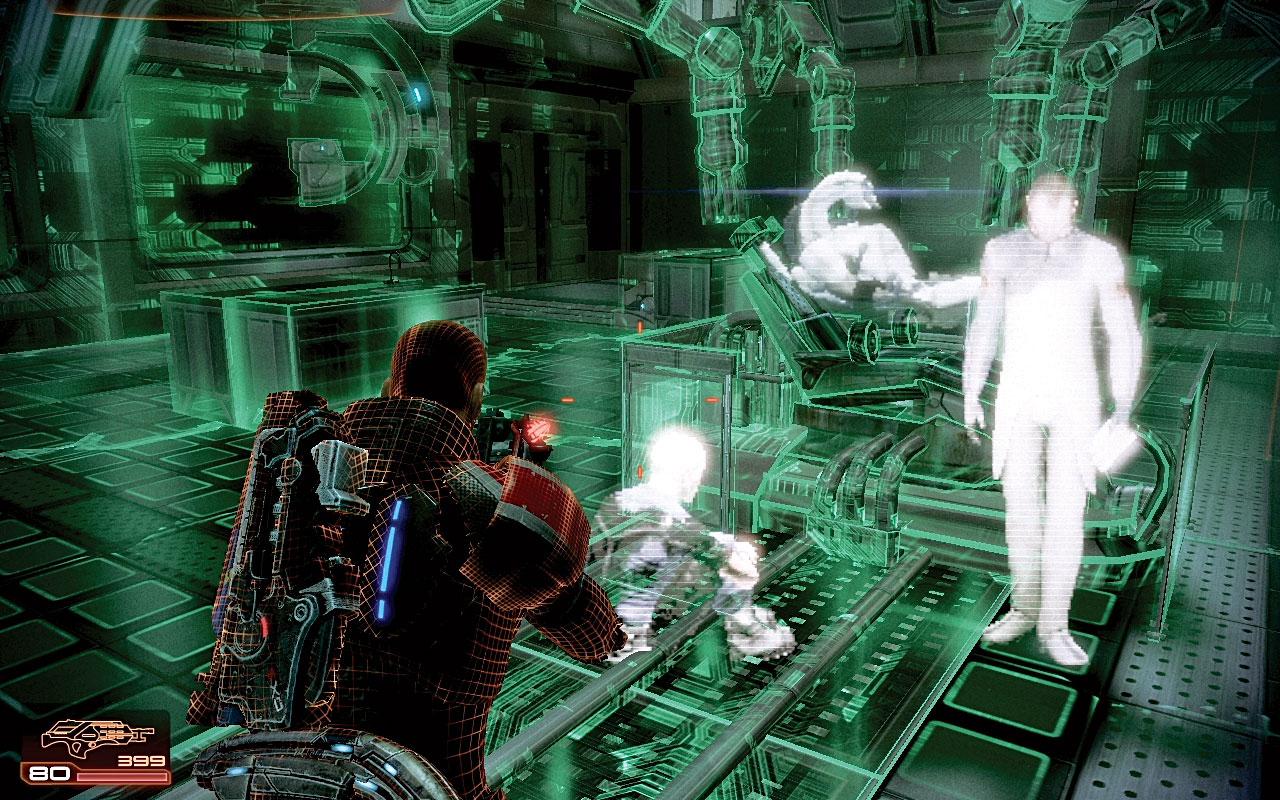
Step inside, and watch a past conversation between David and his brother Gavin [012] . With few options left to get the geth’s attention, Dr. Archer thinks of a plan most unethical, as David sits, cross-legged, working out impossible sums in his head. Check the room for power cells as you listen to David meld his mind with the geth computers. Search for refined palladium in one corner.
|
Ammunition > Power Cells > 2 Heavy Weapon Ammo |
|
|
Spoils of War > Resources > Refined Palladium > Open > 500 Palladium |
[013]
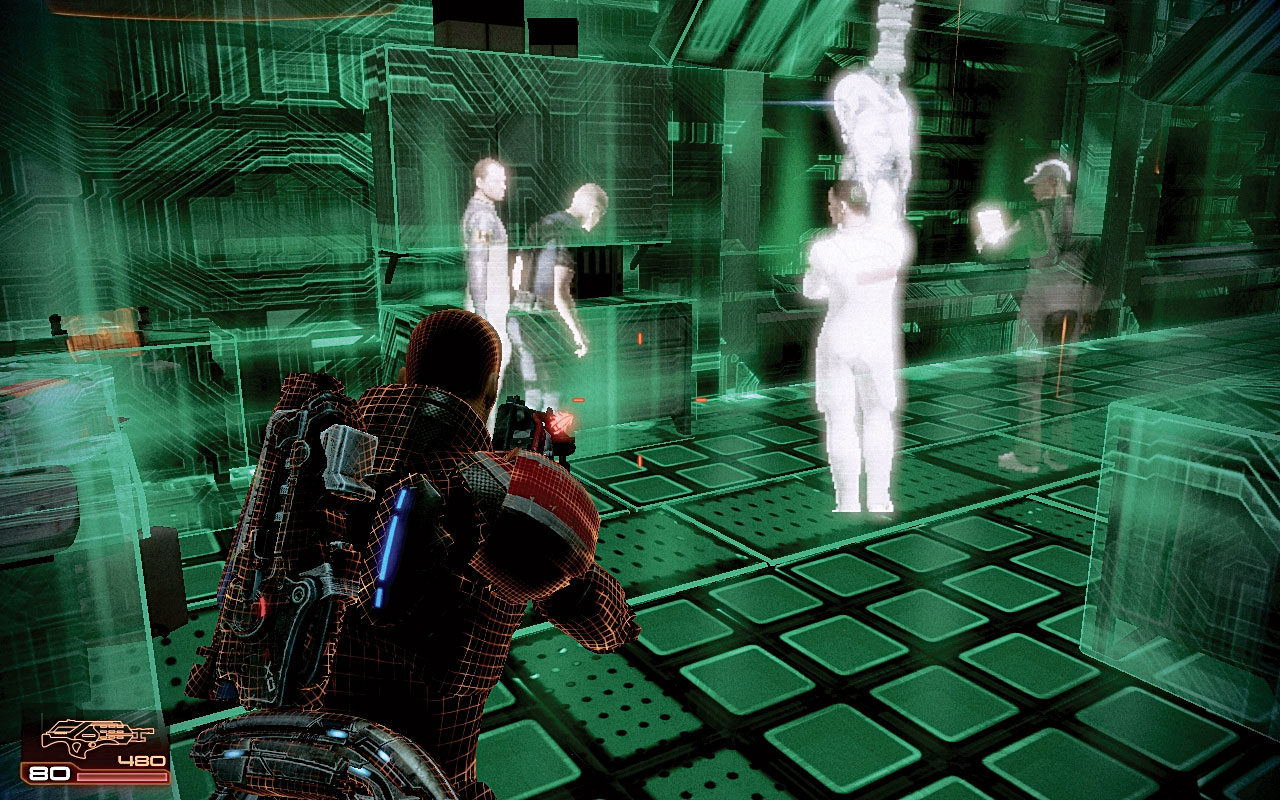
You uncover a disturbance and examine it. Past experiments, with David’s savant mind controlling the geth through pure mathematics, are shown to you. David has literally become a human computer.
Another disturbance in the room is spotted. Examine it. David is becoming unresponsive to his brother’s requests [013] . David is complaining of a “loudness.” The experiment is showing signs of failure.
[014]
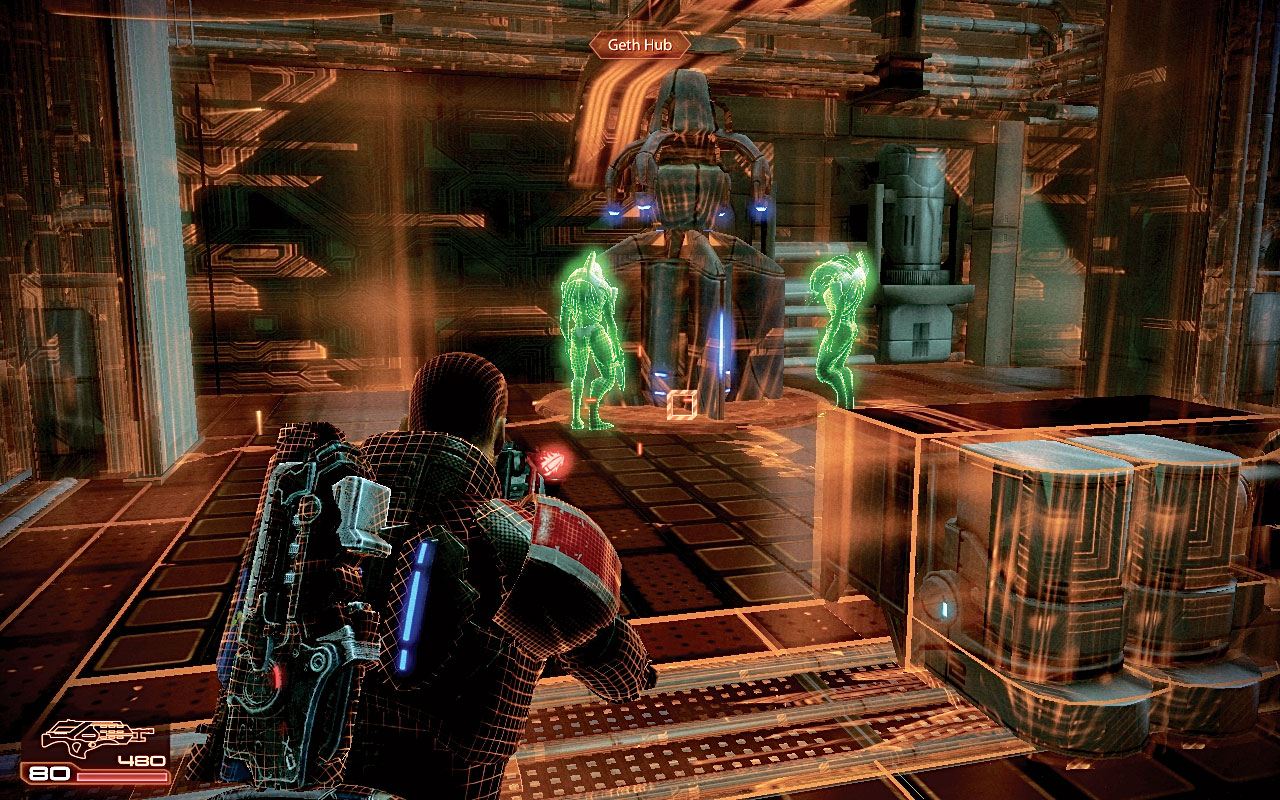
When the world turns from green to orange, vault over the window, into an adjacent room with a med kit and an easily overlooked wall safe. Then check the geth hub out, blasting it to damage the three troopers hooked onto it. Then finish them off quickly before they can return fire [014] .
Head out of the room and along the curved corridor. The rogue VI (David) is shrieking to “make it stop.” Ahead is a VI connection snaking close to a locked door. Shoot the connection, following it and firing until you remove the entire shield, and the door opens.
|
|
Med Kit > +1 Medi-gel > 100 Credits |
|
|
Spoils of War > Wall Safe > Access > 2,250 Credits |
[015]
Conduct a search of this second laboratory with an elevator, taking a thermal clip from the kitchenette and locating hardware to salvage at the far right corner of the chamber. Don’t forget the power cells and palladium in the storage area opposite.
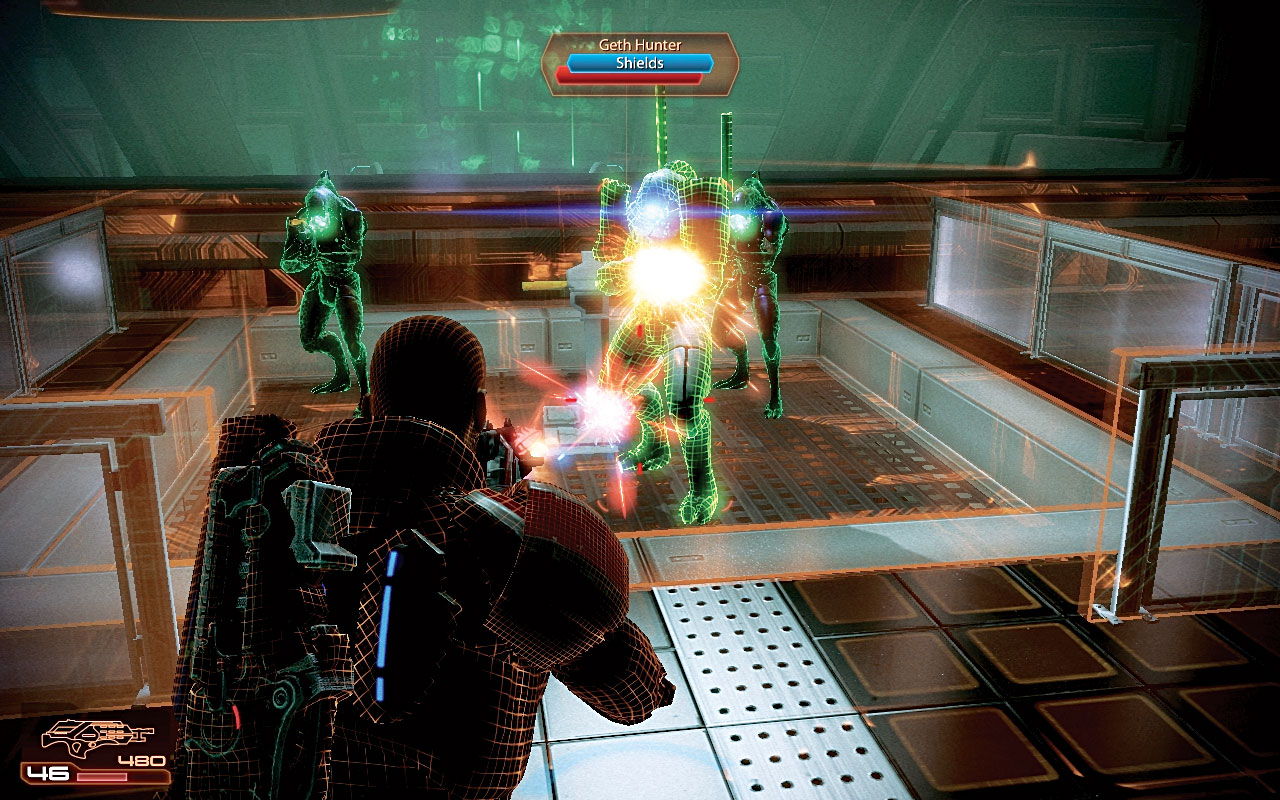
Then move to the elevator controls and activate them, moving immediately to cover and facing the direction of the core chamber with the rogue VI head watching you. Two rocket troopers and a hunter burn their way through the elevator door [015] .
You can catch them with an area-of-effect blast before they spread out (using the arc projector, for example), or use the cover and remove the hunter first, ensuring you’re on the higher ground. Then press the second set of elevator controls and ride the lift down to the main core.
|
|
Spoils of War > Hardware > Salvage > 1,500 Credits |
|
|
Ammunition > Power Cells > 2 Heavy Weapon Ammo |
|
|
Spoils of War > Resources > Refined Palladium > Open > 500 Palladium |
[016]
[017]
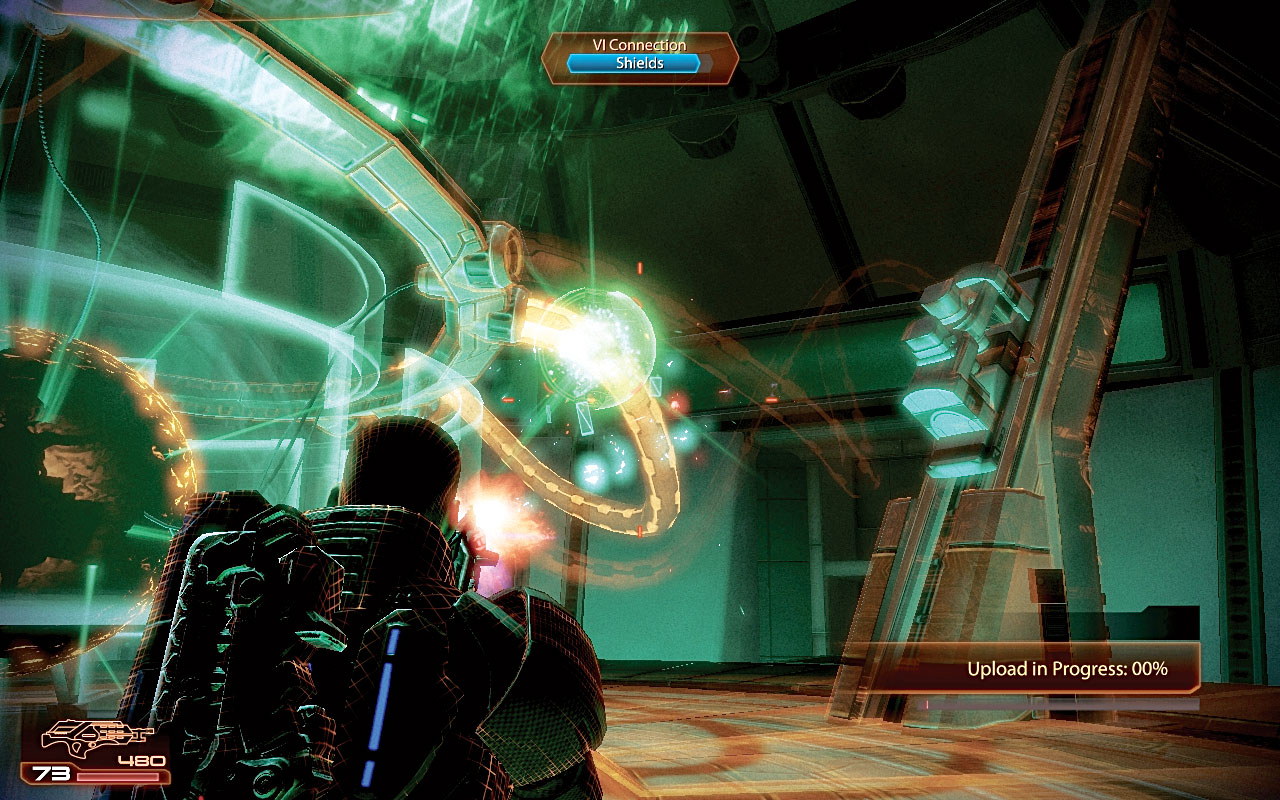
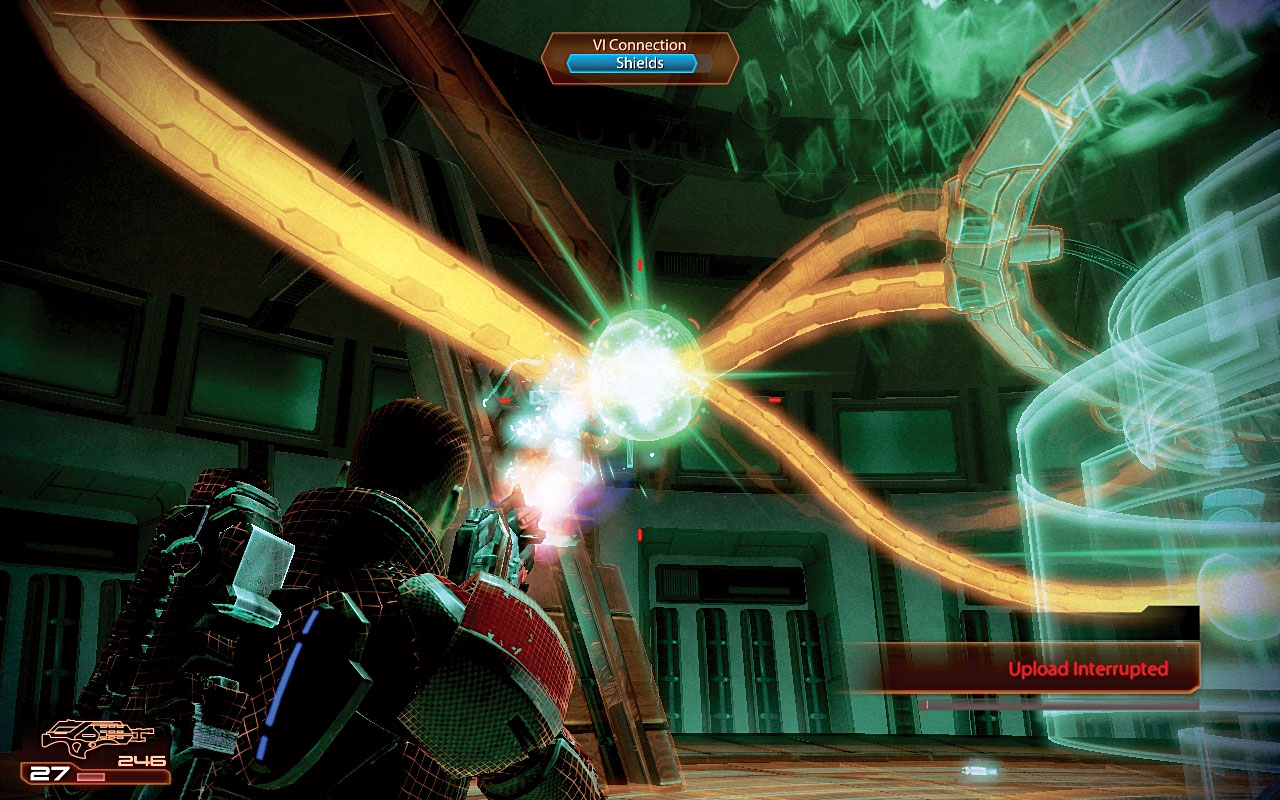
Walk toward the center of the circular chamber to watch ghostly images of David being connected into the core, complaining of the pain. Then the VI appears, and combat should begin. Quickly locate the globe-like VI connections [016] that are slowly winding along cable-like data strands, and shoot them, following their path until they explode, exposing the core sphere.
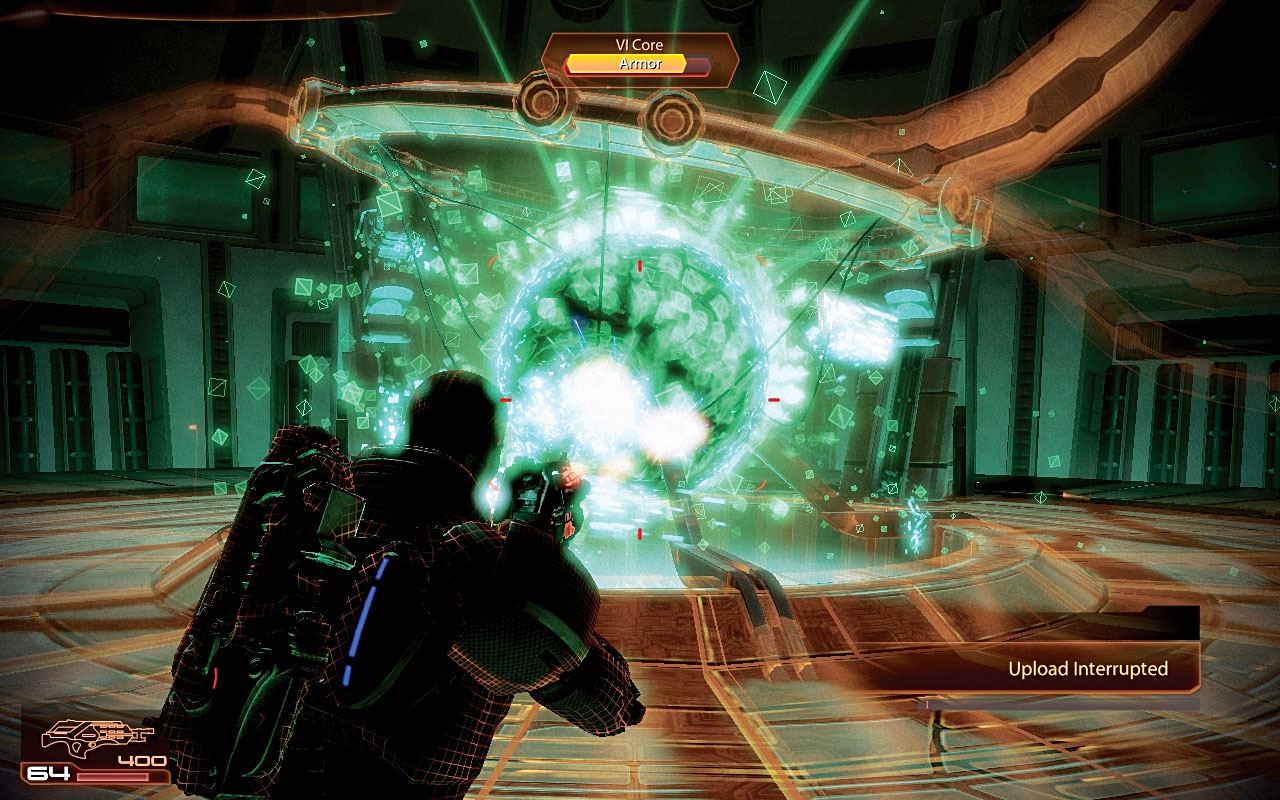
The sphere [017] should be shot at with highly damaging weapons at close range, such as your shotgun or heavy weapon.
[018]
[019]
Continuously strike the core until it glows orange and begins to rebuild its node structure. Target another VI connection, remove it to expose the core, and repeat this process [018] .
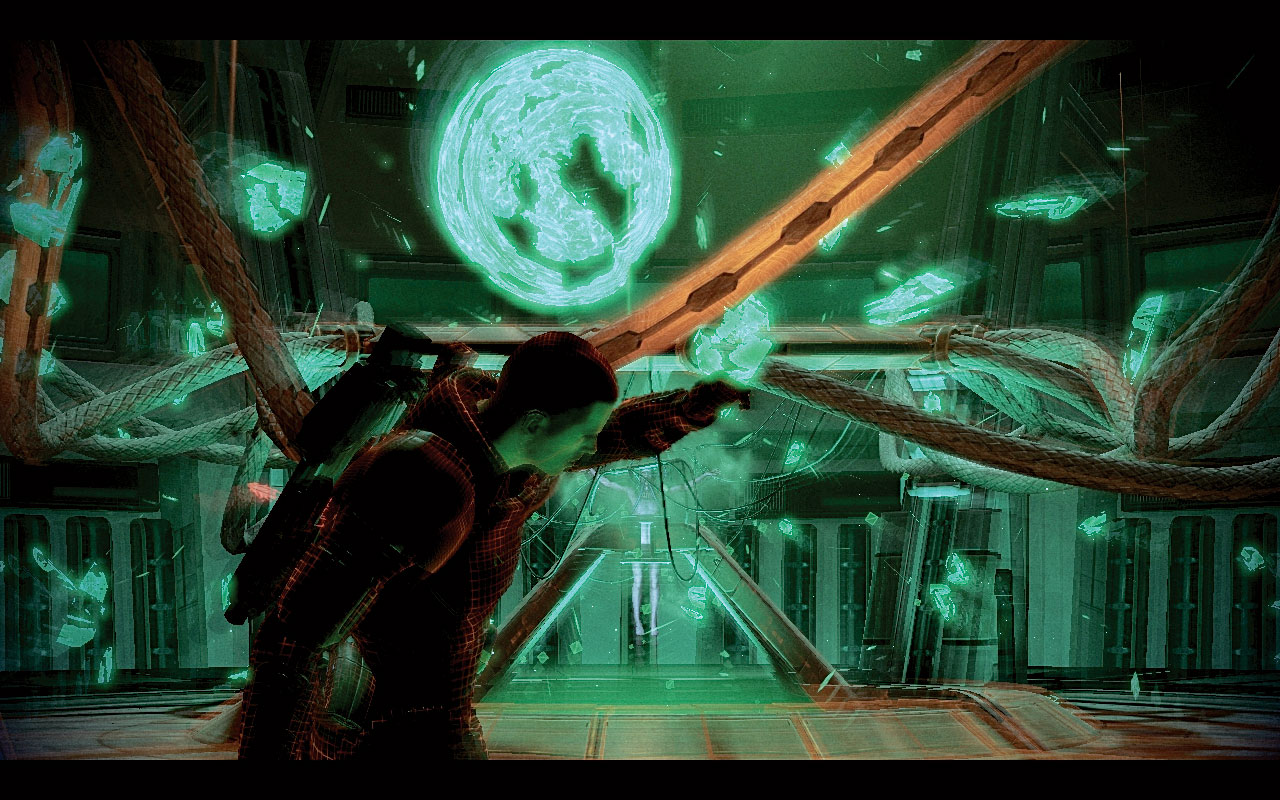
During the second round, there are two VI connections to expunge, then three for the rest of the battle; if you see a data strand turn green, David is uploading critical data to your ship, and if the “upload in progress” bar reaches 100 percent, your mission suffers a catastrophic failure. You must interrupt the upload and destroy the core [019] .
[020]
[021]
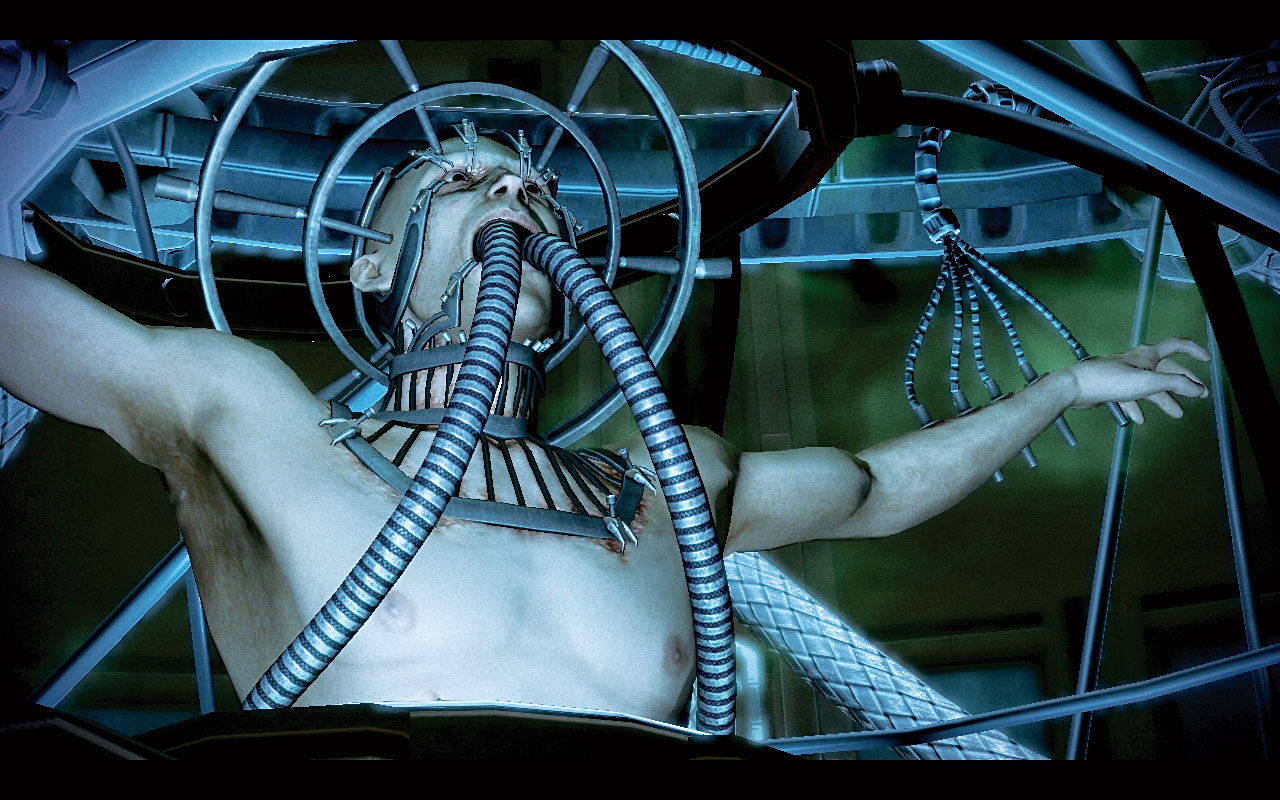
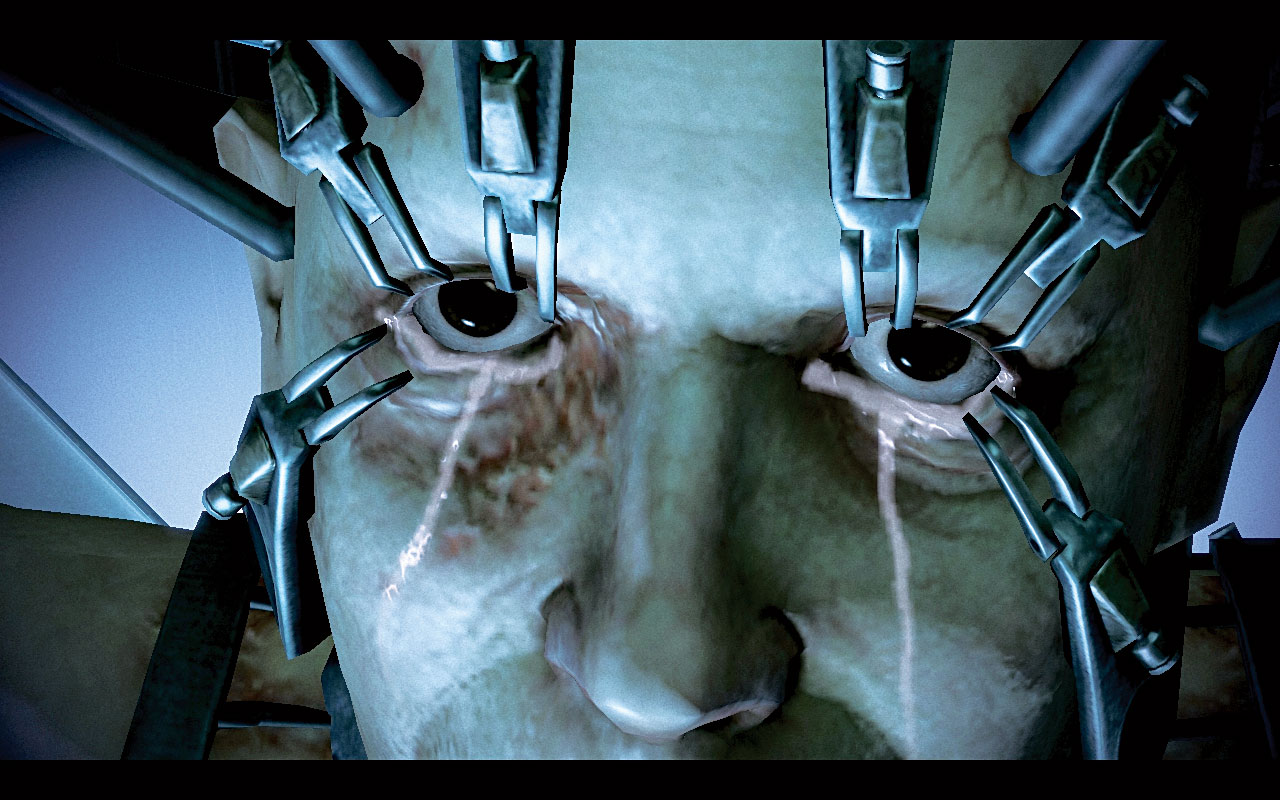
Virtual reality fades into actual reality as Shepard inspects David [020] , who is trussed up with cabling threaded through his mouth and arms as well as ocular pinning; it is an unpleasant sight, and shows the depraved lengths Dr. Archer went to in order to please Cerberus.
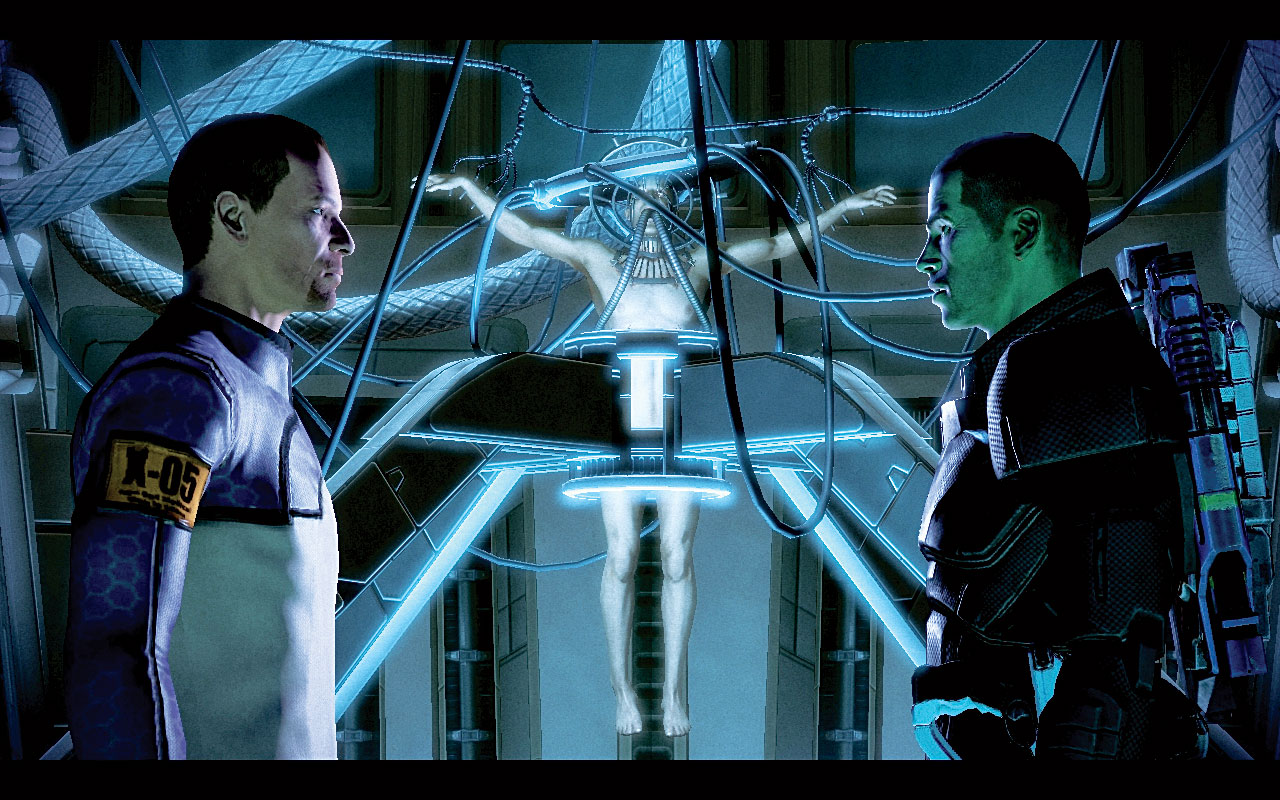
David begs Shepard to make it stop, just as Archer appears [021] , imploring Shepard not to do anything rash. David’s fate rests in your hands. You can:

Shut down this hellish operation, which infuriates Archer to the extent of him attempting to kill you. Use the Paragon interrupt to pistol whip Archer, and end the mission by transporting David to the Jon Grissom Academy, where his prodigious math skills and rehabilitation can begin.

Leave David with his brother, after punching Archer and letting him know he’s only living because of his research and the benefits it may bring when eradicating the geth.
[022]
Once your decision is made, Overlord is complete [022] .