Prima Games eGuides
primagames.com Browse Redeem a code Help
Mass Effect 2 eGuide
Sign in My Guides

Sign in or create an account

We'll email you a link. No password needed, and if you don't have an account yet, the link makes one.

By creating an account or signing in, you agree to our Terms of Service and Privacy Policy.

Have a password?

Had an account on the old eGuides site, or a code from a printed guide? Help and troubleshooting

Sign in with a password

By signing in, you agree to our Terms of Service and Privacy Policy.

Check your email

A sign-in link is on its way. It works once and expires in 15 minutes. Open it and you're in, with an account if you didn't already have one.

Contents

  • Essentials
    • INTRODUCTION
      • Humanity's Ascension
    • TRAINING
      • Introduction
      • Mission Computer & HUD
      • Character Creation
      • Character Classes
      • Character Management
      • Transportation and Commerce
      • Combat
      • Weapons and Armor
      • Powers
      • Enemies
    • CAST OF CHARACTERS
      • Squad Members
      • Dossiers
    • UPGRADES AND RESEARCH PROJECTS
      • Upgrading Technology
      • Weapon Upgrades
      • Cybernetics and Shield Upgrades
      • Medical/Health Upgrades
      • Bio-Amp and Omni-Tool (Tech) Upgrades
      • Squad Member Upgrades
      • Normandy Upgrades
    • PLANETARY DATABASE
      • Explorers of the 24th Century
      • Planets by Clusters
      • Cluster: Caleston Rift
      • Cluster: Crescent Nebula
      • Cluster: Eagle Nebula
      • Cluster: Far Rim
      • Cluster: Hades Nexus
      • Cluster: Hawking Eta
      • Cluster: Hourglass Nebula
      • Cluster: Ismar Frontier
      • Cluster: Krogan DMZ
      • Cluster: Local Cluster (Solar System)
      • Cluster: Minos Wasteland
      • Cluster: Nubian Expanse
      • Cluster: Omega Nebula
      • Cluster: The Phoenix Massing
      • Cluster: Pylos Nebula
      • Cluster: Rosetta Nebula
      • Cluster: Serpent Nebula
      • Cluster: Shadow Sea
      • Cluster: The Shrike Abyssal
      • Cluster: Sigurd's Cradle
      • Cluster: Titan Nebula
      • Cluster: Valhallan Threshold
    • APPENDIX
      • Achievements & Trophies
      • Shop Inventories
  • Walkthrough
    • WALKTHROUGH
      • Prologue: Normandy Lost
      • Prologue: Awakening
      • Freedom's Progress
      • Normandy SR-2
      • Citadel and Dossier: The Master Thief
      • Omega and Dossier: The Veteran
      • Dossier: The Professor
      • Dossier: Archangel
      • Dossier: The Convict
      • Dossier: The Warlord
      • Horizon
      • Dossiers, Part 2
      • Dossier: The Engineer
      • Illium
      • Dossier: The Justicar
      • Dossier: The Assassin
      • The Collector Ship
      • Loyalty: Dedication Before Bravery
      • Jacob's Loyalty: The Gift of Greatness
      • Miranda's Loyalty: The Prodigal
      • Kasumi's Loyalty: Stealing Memory
      • Zaeed's Loyalty: The Price of Revenge
      • Jack's Loyalty: Subject Zero
      • Tuchanka
      • Mordin's Loyalty: Old Blood
      • Grunt's Loyalty: Rite of Passage
      • Garrus's Loyalty: Eye for an Eye
      • Tali's Loyalty: Treason
      • Samara's Loyalty: The Ardat-Yakshi
      • Thane's Loyalty: Sins of the Farther
      • Derelict Reaper: Acquire Reaper IFF
      • Normandy Attacked
      • Legion's Loyalty: A House Divided
      • Endgame
      • Endgame: Collector Station
    • SPECIAL ASSIGNMENTS
      • Overview
      • Firewalker: MSV Rosalie
      • Firewalker: Artifact Collection
      • Firewalker: Geth Incursion
      • Firewalker: Recover Research Data
      • Firewalker: Prothean Ruin
      • Lair of the Shadowbroker: Learning Liara's Information
      • Lair of the Shadowbroker: Dracon Trade Center
      • Lair of the Shadowbroker: Azure Hotel
      • Lair of the Shadowbroker: Shadow Broker's Ship
      • Lair of the Shadowbroker: Shadow Broker's Ship (Interior)
      • Lair of the Shadowbroker: Defeating the Shadowbroker
      • Lair of the Shadowbroker: Aftermath
      • Overlord: Hermes Station
      • Overlord: Vulcan Station
      • Overlord: Prometheus Station
      • Overlord: Atlas Station
      • Hub World Assignments: Normandy
      • Hub World Assignments: Citadel
      • Hub World Assignments: Illium
      • Hub World Assignments: Tuchanka
    • N7 ASSIGNMENTS
      • Introduction
      • N7: Abandoned Mine
      • N7: Anomalous Weather Detected
      • N7: Blood Pack
      • N7: Blue Suns
      • N7: Eclipse
      • N7: Endangered Research Station
      • N7: Hahne-Kedar Mechs
      • N7: Imminent Ship Crash
      • N7: Javelin Missiles
      • N7: Lost Operative
      • N7: Mining the Canyon
      • N7: MSV Estevanico
      • N7: Normandy Crash Site
      • N7: Quarian Crash Site

Mass Effect 2 Guide › Walkthrough › SPECIAL ASSIGNMENTS

Hub World Assignments: Tuchanka

Location

Location: Milky Way > Krogan DMZ > Aralakh > Tuchanka

Combustion Manifold (Mordin: Old Blood)

Experience Available: 40

Availability > Immediately †
Entities Encountered > Assignment Started By:

  • Krogan Mechanic

Spoils of War > Total Credits: 1,000
[001]

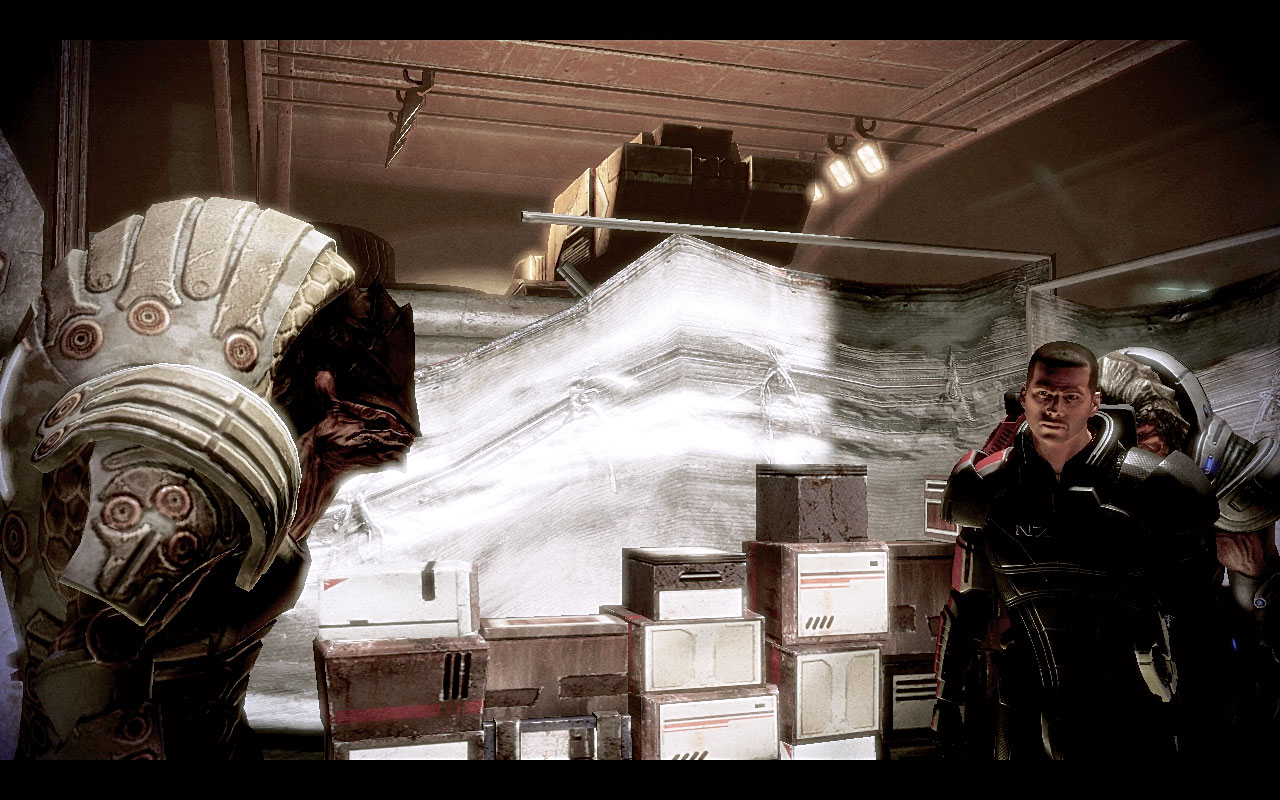
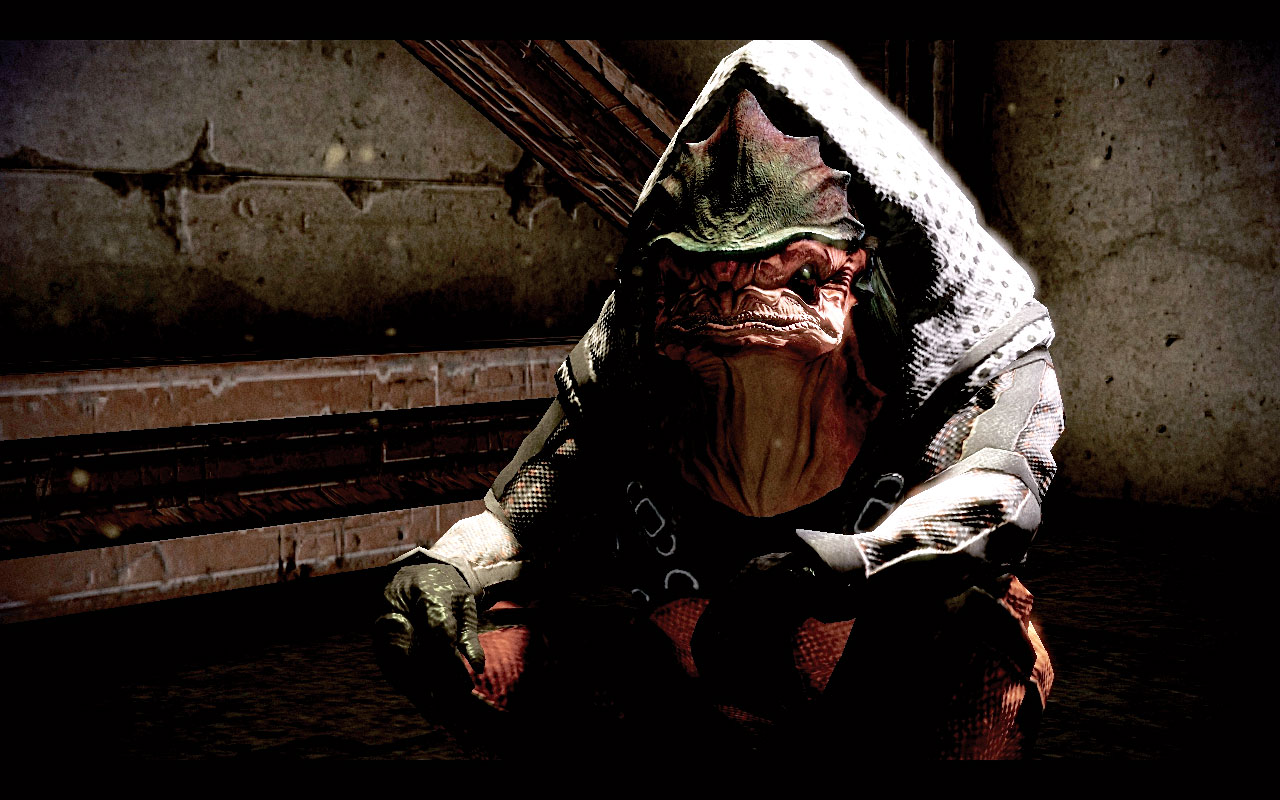
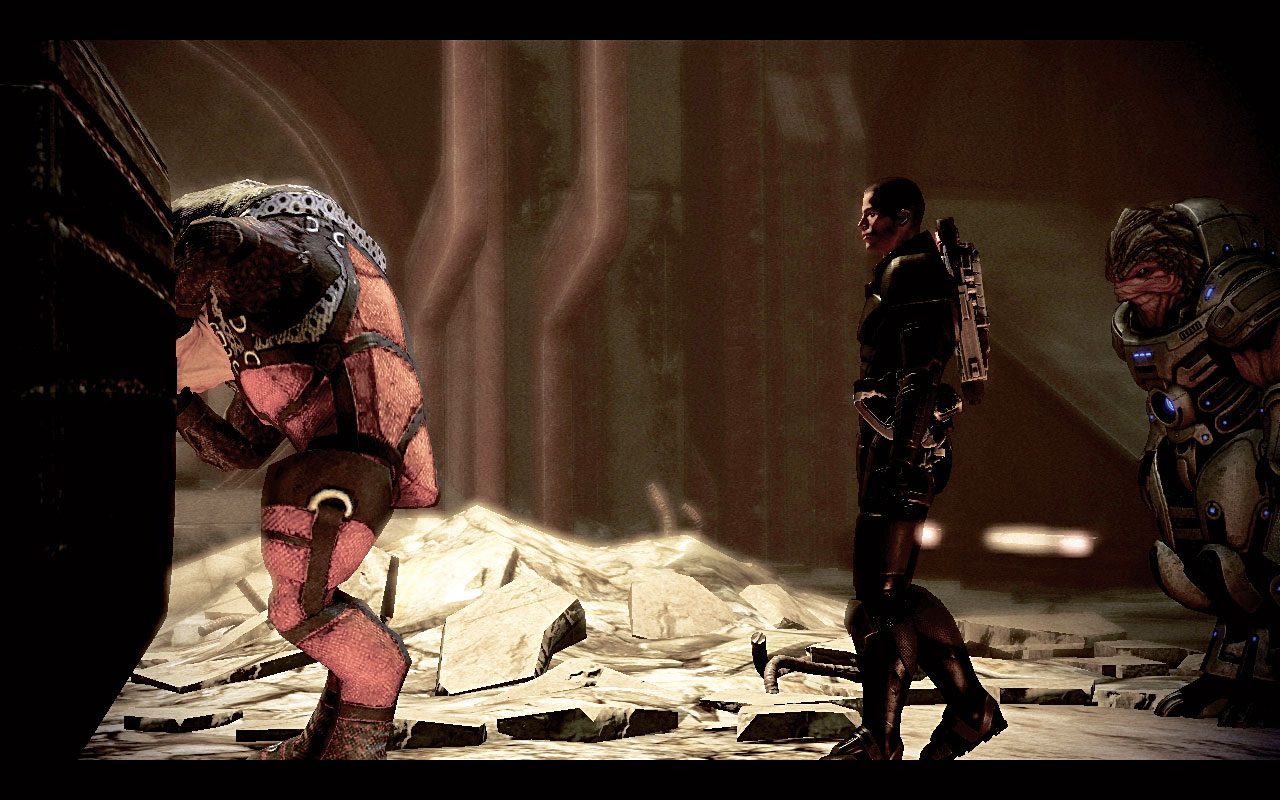
When you first arrive in Tuchanka, visit the mechanic working on the giant truck [001] . The mechanic needs a combustion manifold to make the necessary repairs to the truck.

He could make a new one, but that would take days. If you offer to find one for him, the mechanic tells you that you might find one outside of the city.

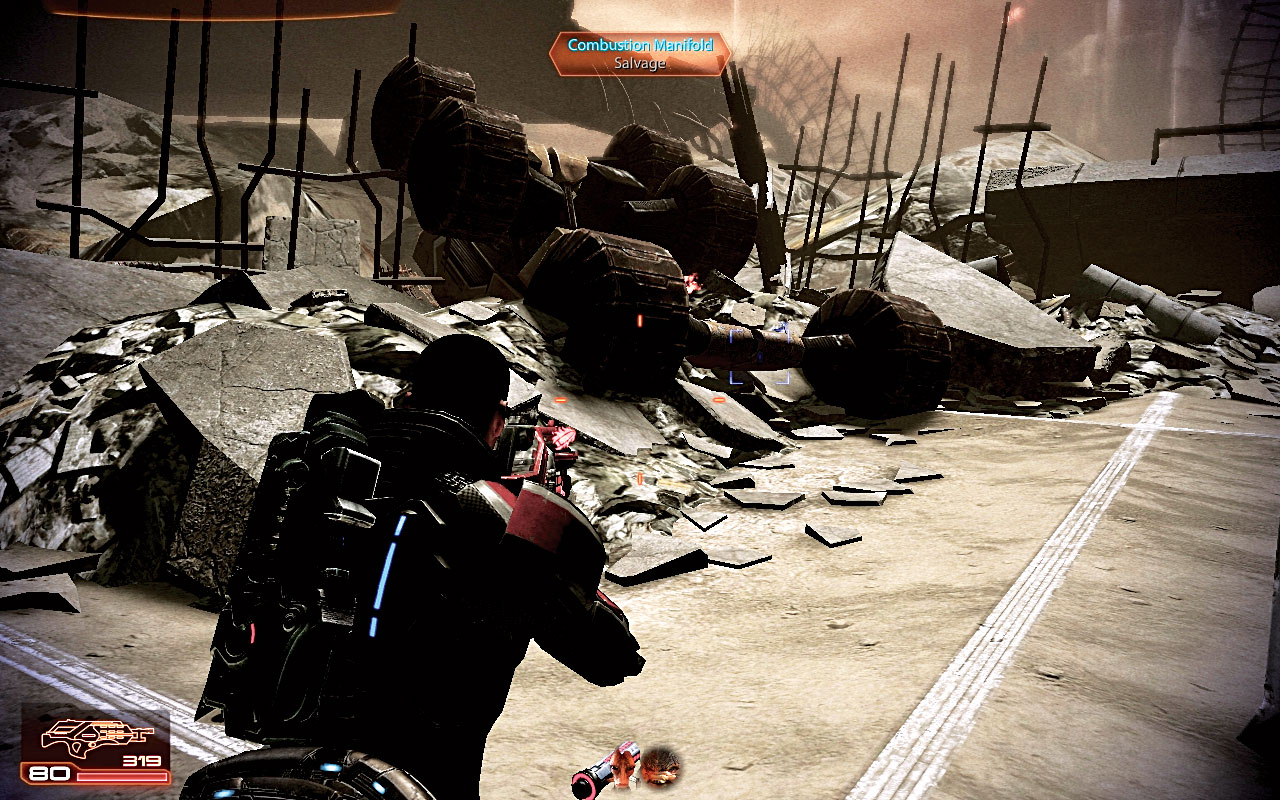
The combustion manifold the mechanic needs is found during Mordin’s loyalty mission, Old Blood.
[002]

During the loyalty mission, before entering the hospital swipe the combustion manifold from the overturned truck [002] .

After finishing the mission, return to the mechanic and give him the manifold to receive some credits. Assignment complete.

This needs to be done in the correct order: Speak to the mechanic, then find the combustion manifold.

If you don’t speak to the mechanic before starting the mission, or find the manifold but haven’t spoken to the mechanic, the mechanic offers you no reward.


Spoils of War > Special Assignment > Completion Bonus > 1,000 Credits

Killing Pyjaks

Experience Available: 40

Availability > Immediately Entities Encountered > Assignment Started By:

  • Ratch

Spoils of War > Ratch’s Wares > Discount Spoils of War > Ratch’s Wares > Pyjak Meat
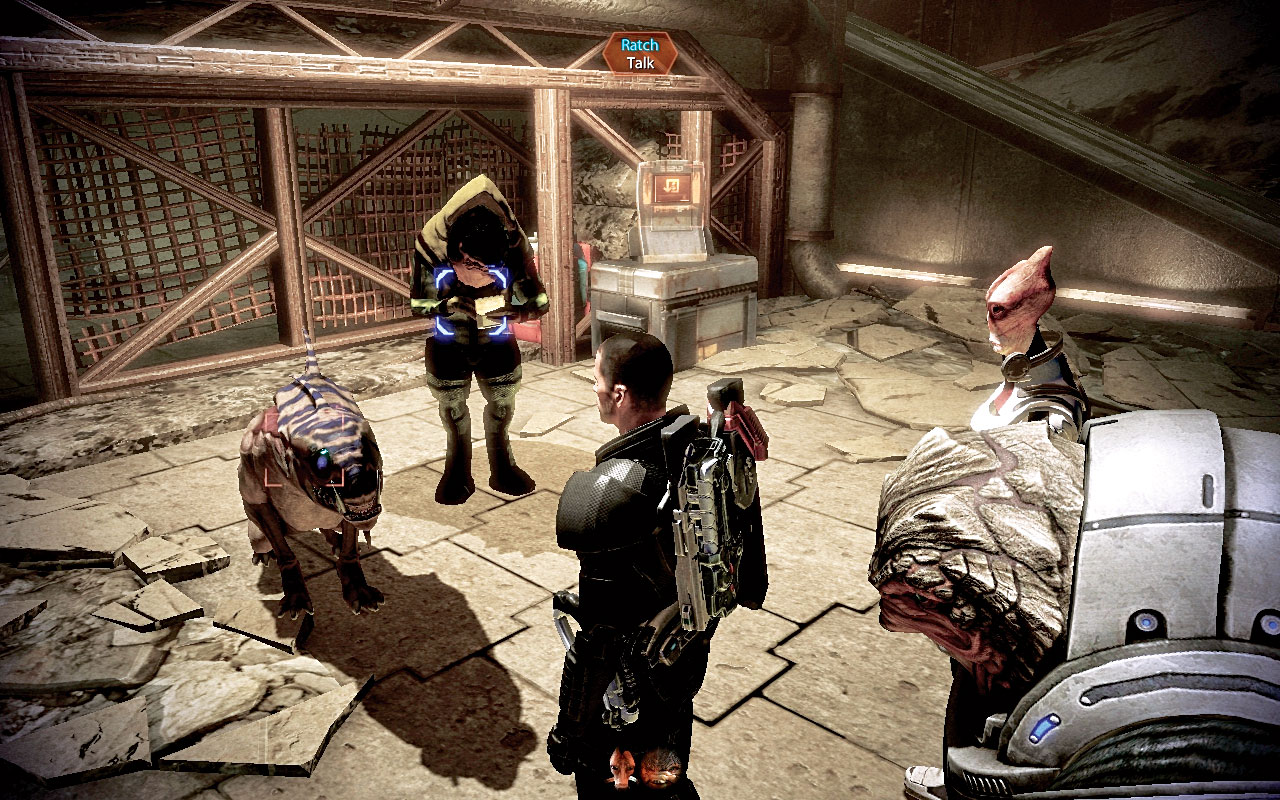
[001]
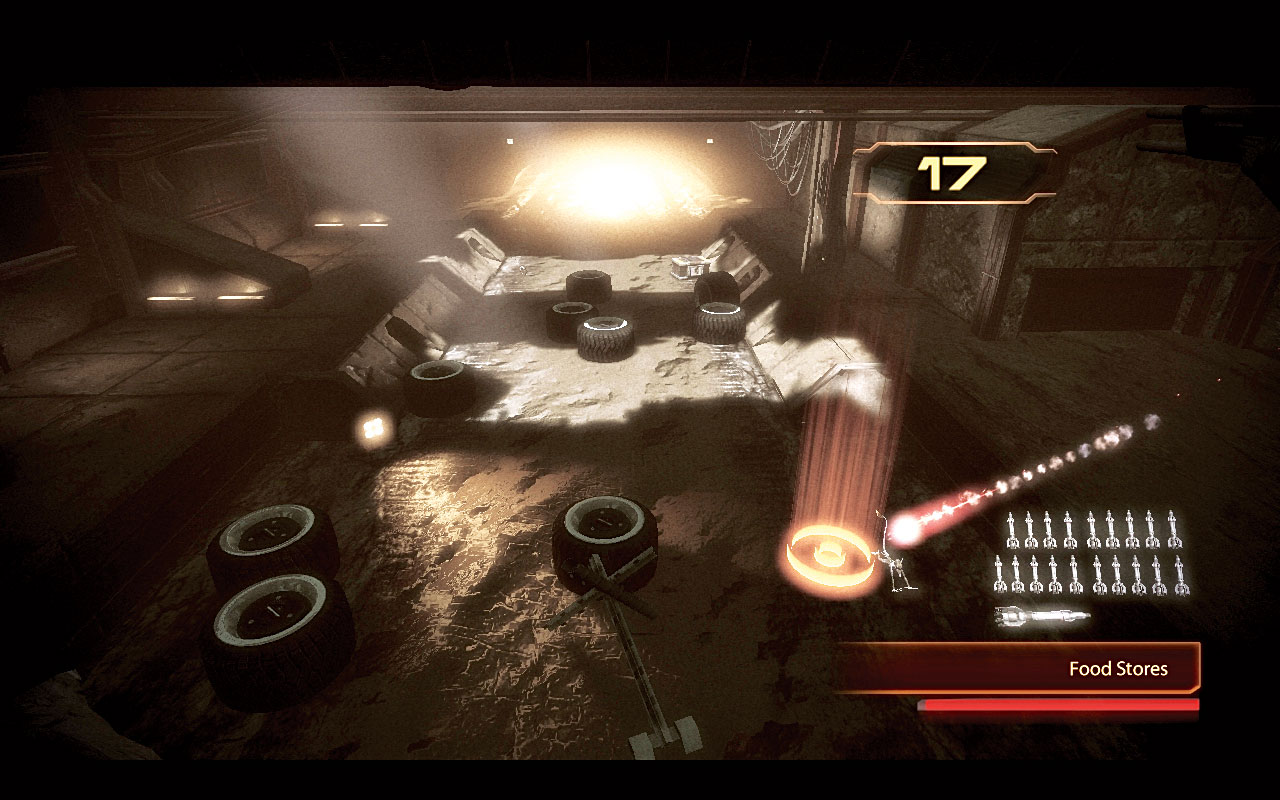
[002]

Shopkeeper Ratch is willing to offer you a discount to his kiosk [001] , but only if you help with the local pyjak problem.

The vermin are getting into the food stocks on Tuchanka. Use the shooting range next to the chief scout, which is only accessible once you’ve spoken to Ratch about the vermin.

Step up to the left gun battery. This begins the game [002] .

There are three waves of pyjaks. You must shoot all of the pyjaks in each wave without running out of ammunition, which is noted on the right side of the screen.

There is a catch to this range, though. There are two guns, one mounted on each side of the range. They alternate.

The pyjaks run through a field of old tires, and if you try to blast a pyjak with a gun on the opposite side of the range, you risk hitting only tires.

Try to get in a rhythm with the pyjaks. Aim ahead of the pyjaks so the shot lands right on top of the pyjak as it runs, although there is a blast radius that allows a little wiggle room.

Don’t let them get too far down the field by waiting for them to enter the clearings among the tires or else they may scurry away.

If you complete all the waves of pyjak shooting, Ratch gives you a discount at his shop. Killing pyjaks adds pyjak meat to the kiosk inventory.

Feed it to Ratch’s varren, Urz, to get a loyal friend. Urz can then be taken to the varren fighting pit, and bet on to win far more credits than the usual choices.

Missing Scout (Mordin: Old Blood)

Experience Available: 40

Availability > During Mordin: Old Blood †

Entities Encountered > Assignment Started By:

  • Chief Scout

[001]

[002]

In order to head out to the Clan Weyrloc base, you must talk to the chief scout for clan Urdnot, who is next to the pyjak shooting range [001] .

The chief scout mentions that he recently sent a scout out to Weyrloc territory to investigate the news of a salarian scientist in the clan’s custody. However, that scout has since gone missing.

Follow the Old Blood walkthrough to locate the missing scout. The scout sits in a cell, alone and dejected [002] .

Get that krogan off his feet through charm or intimidation. Lying to the krogan fails this assignment. Convince him to go back to the city, which takes a little tough love.

The missing scout roars to life and escapes the Weyrloc base, completing the assignment.

Caution

† You have to speak to the chief scout to access the area where the scout is located. If you miss the scout’s room, or ignore him, you cannot return, so ensure this is completed during the Old Blood mission.

Keep reading with a free account

The first 3 sections of Mass Effect 2 are open to everyone. An account opens the rest of it, and every other guide in the archive. It's free, and there's nothing to buy.

Bought guides on the old Prima Games site? Your account and every guide you own moved here, so there's nothing to buy again. Sign in.

Create a free account Or browse our free guides

PreviousHub World Assignments: Illium NextIntroduction