
Mass Effect 2 Guide Walkthrough WALKTHROUGH
Horizon
The Illusive Man sends Shepard the name of a human colony that the Collectors are about to strike: Horizon.
Shepard must rush to Horizon and try to stop the Collectors from abducting the colonists—if the operation cannot be stopped, he must gather as much information about the Collectors as possible.
Horizon is located in the Terminus Systems. The world is lush and offers abundant fresh water, making it an ideal location for a human colony.
The site was chosen for its economic potential, and within just eight years it has thrived. It would be a horrendous loss for humanity if the Collectors were able to abduct the colonists and spirit them away to the Reapers.
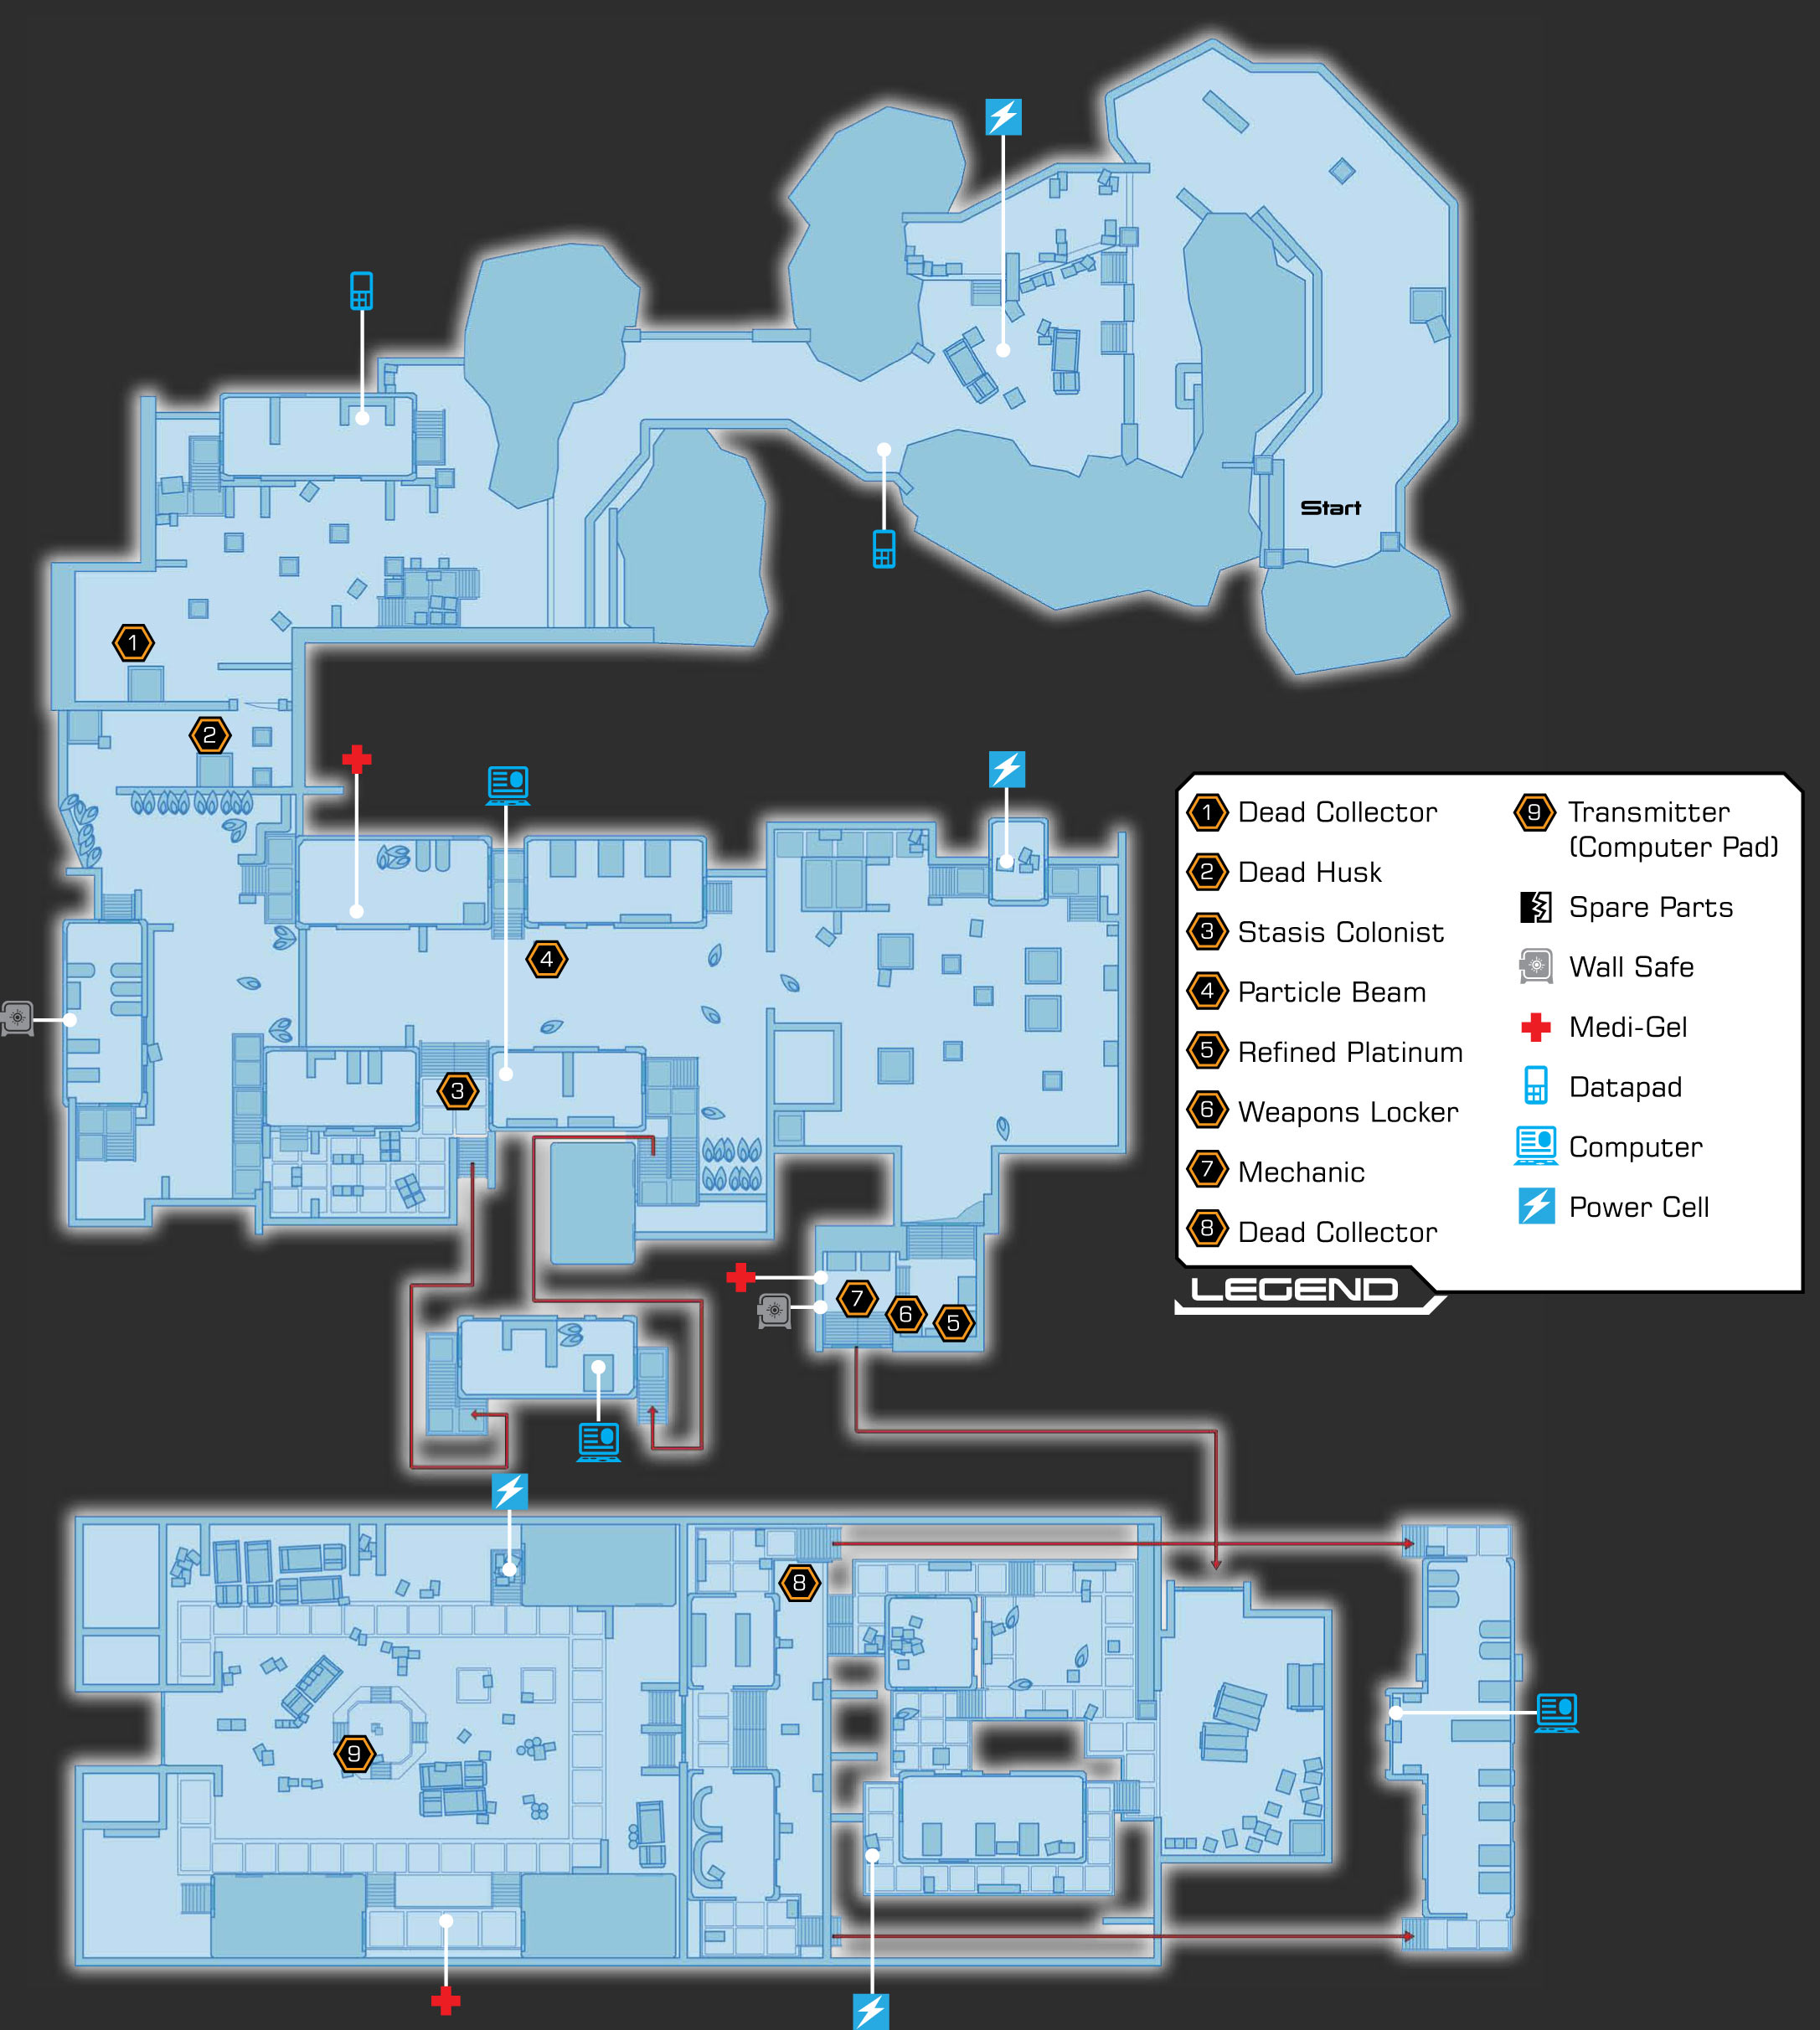
Part 1: Explore the Colony
[001]

[002]
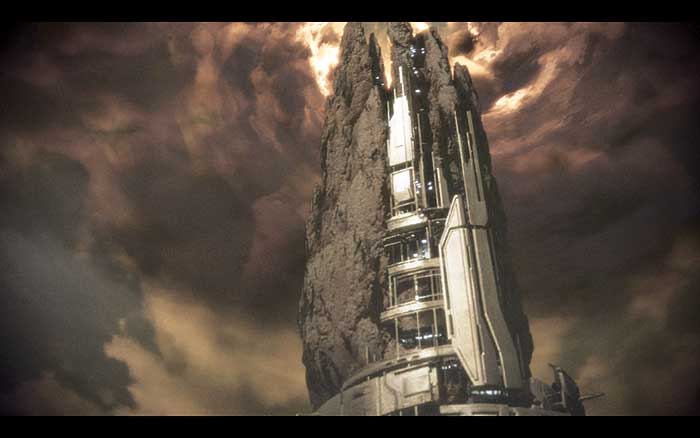
The Collectors reach Horizon before Shepard. The Collector ship drills down to the planet surface, casting its shadow across the colony [001] .
The swarms spread out, delivering their paralytic toxin to the colonists. Prior to the invasion, an Alliance trooper [002] was stationed on Horizon to get the massive defense guns that protect the colony online.
However, the trooper’s attention was diverted to communications as soon as the Collectors silenced the colony.
 The identity of the Alliance soldier on Horizon is determined by two factors: Shepard’s gender and the choices made during Mass Effect. If Shepard is male and Ashley Williams was killed, Kaidan Alenko is at the colony.
Ashley is in the colony if Shepard is female and Kaidan was killed. If this is a new game, then the Alliance soldier is the opposite gender of Shepard.
[003]
[004]
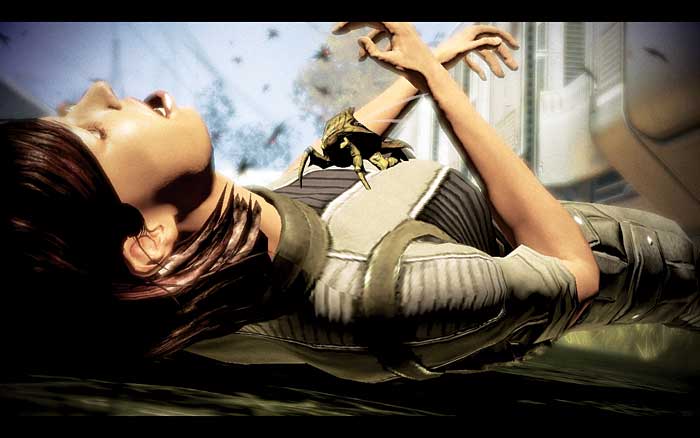
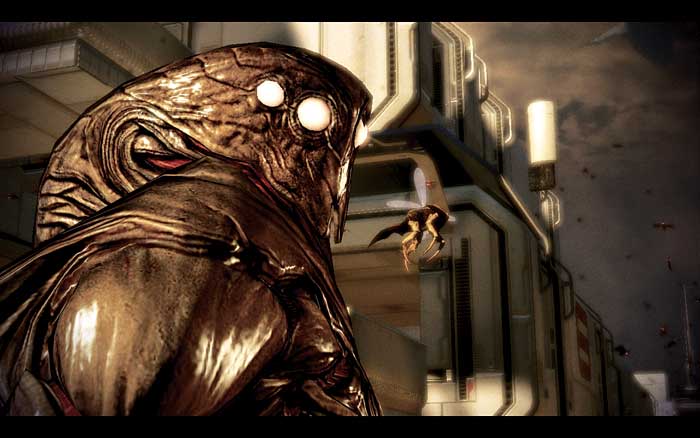
As the swarms freeze the colonists [003] , the Collectors drop down to the surface and begin sweeping up their quarry [004] . In the heart of the ship, Harbinger uses a special power to possess a Collector drone on the surface. Harbinger then directs the other nearby Collectors to seize the colonists.
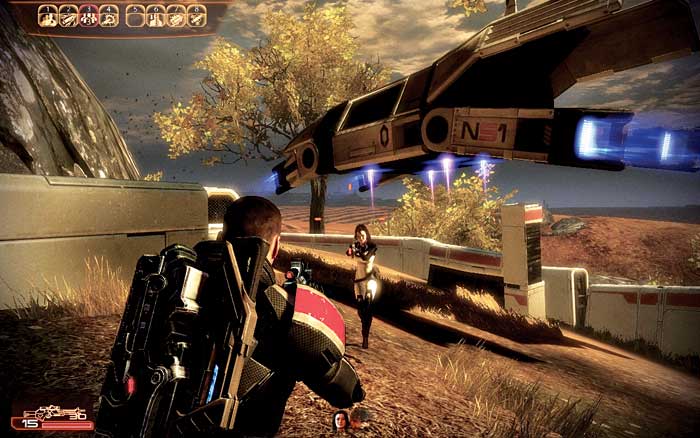
[005]
Shepard lands on Horizon [005] as the Collectors are in mid-operation.
The commander and his squad must move quickly to head off the Collectors before the colonists are abducted and the Collector ship raises anchor and vanishes back into the cosmos.
Advance on Horizon
[006]
[007]
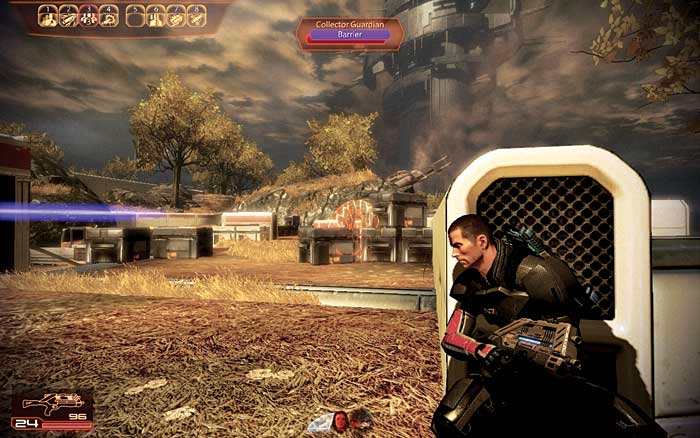
It doesn’t take long before Shepard encounters the Collectors on the outskirts of the colony [006] .
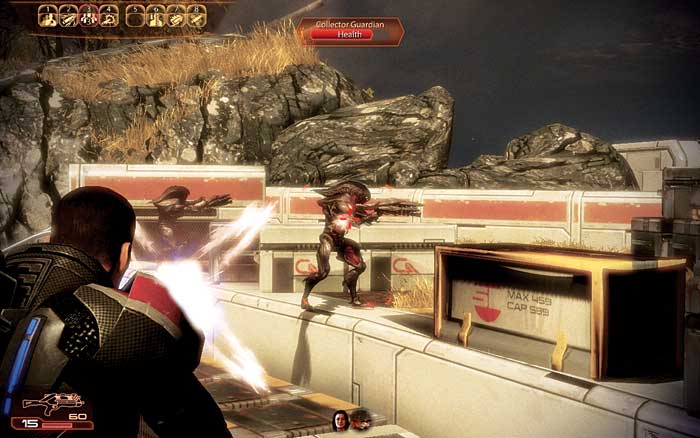
Collector guardians and Collector drones are stationed by the crates near one of the giant turrets that should have protected Horizon from the invasion.
Take on the Collectors, taking cover among the walls and crates and dodging their attacks [007] .
The Collectors are fearless. Although they will use cover, they are not exactly survivalists.
Collectors will move on you and your squad and take risky shots if they think they can bring you down.
Collector drones are susceptible to headshots, so look for a peeking drone and then blast its face off.
When combat concludes in this locale, pick up the power cells in the middle of the area to restock your heavy weapons. Then hack the datapad on the picnic table.

|
Ammunition > Power Cells > 2 Heavy Weapon Ammo |

|
Spoils of War > Data Pad > Hack > 6,000 Credits |
[008]
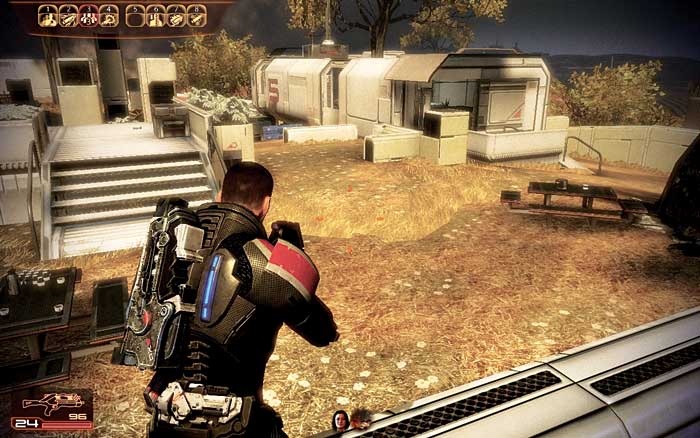
Follow the swarm’s trail of destruction to the Collector ship, looming in the distance over the colony. As you move deeper into the colony [008] , Joker tries to radio you, but the Collectors are disabling communications.
You are on your own until you drive the Collectors out.
[009]
[010]
[011]
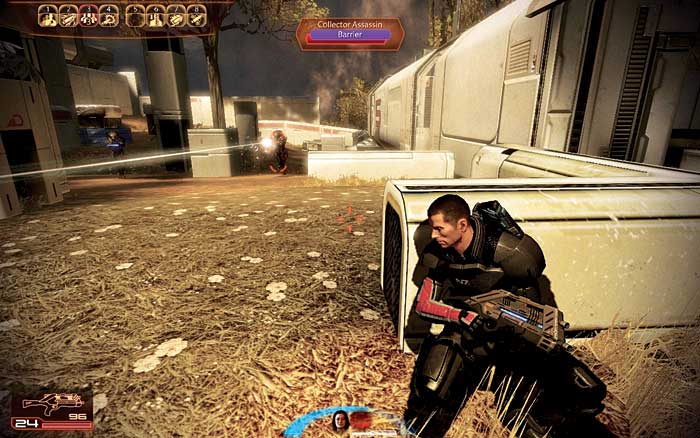
The Collectors advance on you through a small neighborhood of grass and prefabricated settler buildings [009] .
The Collectors come up the middle of the area, so either seek cover and take them head on or use the buildings on the right side to flank them.
The windows provide great vantage points for snipers and other long-range attacks. You can typically get off a few shots before the Collectors reorient themselves and turn their fire on the windows.
Flanking through the buildings is also a good way to neutralize the effectiveness of the hive shields. You can blast the Collectors from the sides instead of using rounds to shatter the shields.
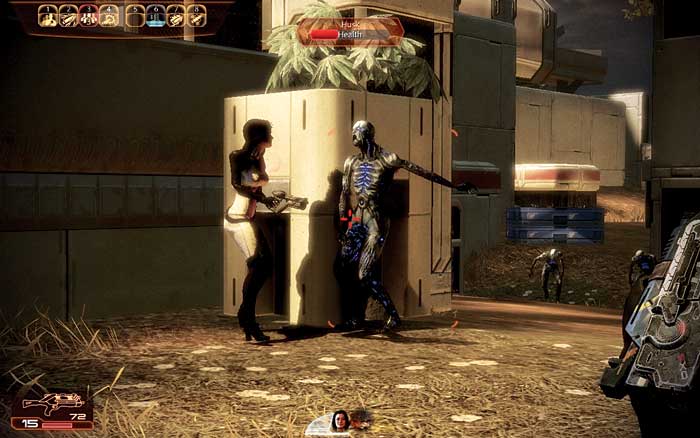
Husks [010] mingle with the Collectors in this assault. These are the same creatures you turned back on Eden Prime (during Mass Effect).
The appearance of husks, weaponless drones that attack with brute force and numbers, confirms that the Collectors are indeed in league with the Reapers.
When the immediate threats have been removed, take a moment to search the ground and nearby buildings. You’re looking for thermal clips, but there’s also a datapad to access in the building to the right.
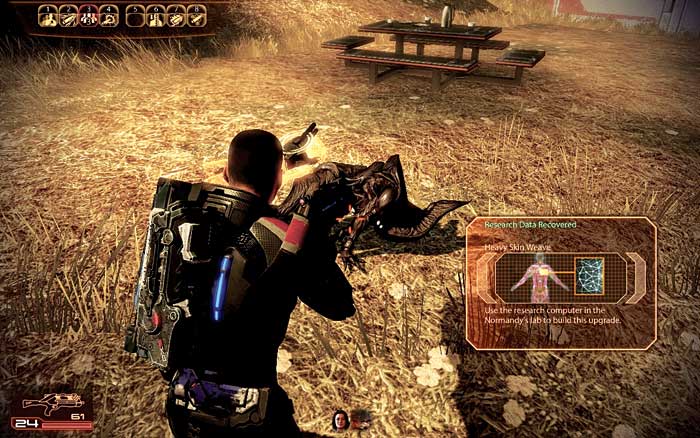
Then exit the structure and scan the dead Collector in the field [011] with your omni-tool to acquire the Lattice Shunting tech upgrade.
|
|
Spoils of War > Data Pad > Hack > 4,200 Credits |

|
Upgrade > Dead Collector > Examine > Heavy Skin Weave |
The Husks
[012]
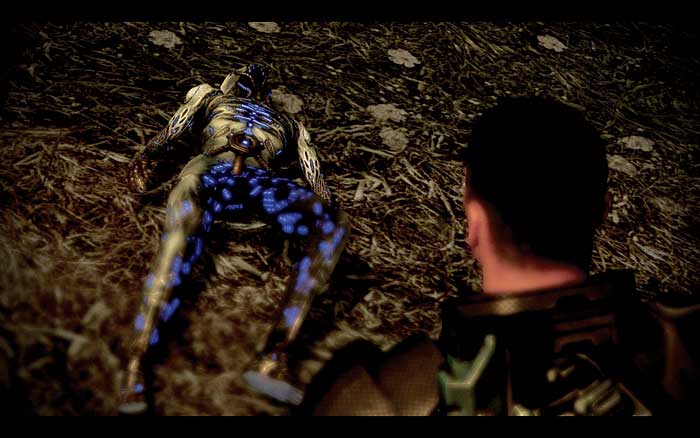
When you round the corner from the first big Collector attack, you locate a motionless husk [012] . On Eden Prime, Shepard witnessed the geth impaling humans on spires to turn them into husks.
This husk was already prepared, so the Collectors must have a supply of husks with them aboard the ship. Also, they’re not turning Horizon’s colonists into husks. I
nstead, they are taking the colonists alive. There is little time to waste, so push deeper into the colony to find the next batch of Collectors gathering up humans.
More Collectors Attack
[013]
[014]
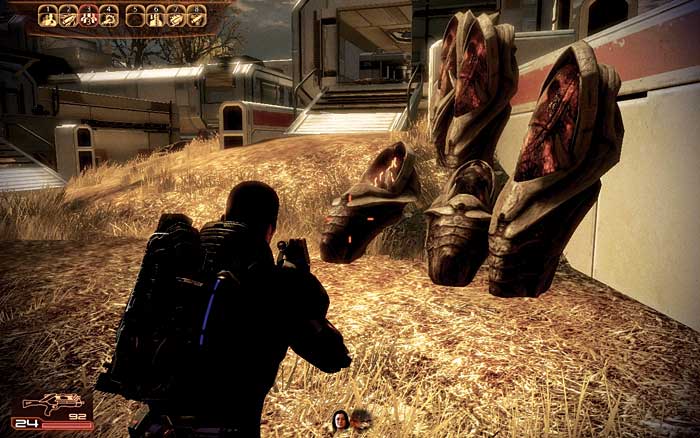
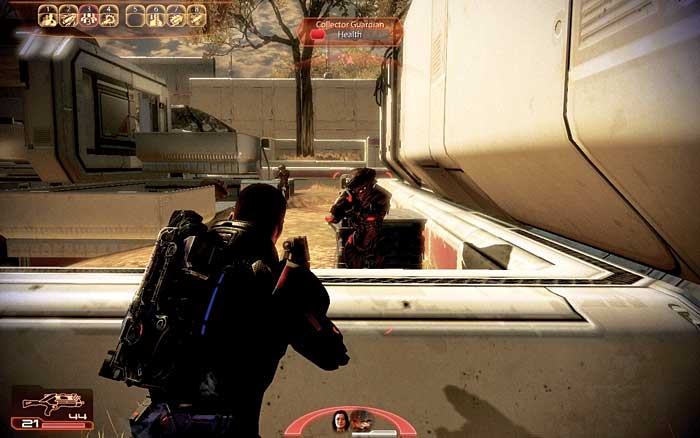
When you reach the pods stacked against the wall [013] , prepare for another platoon of Collectors. You can sneak up on the Collectors by inching up to the corner overlooking the next courtyard [014] .
From here you can launch a surprise attack. Pick off one with a headshot or lob a heavy weapons shell into the Collectors.
Or, you can detonate explosive containers on the flat pad outside the left building with the small crates stacked on it (which you can use as cover), and finish off any stragglers.
As in the previous area, there are buildings you can use for cover. Flank the Collectors from the sides instead of taking them on directly.
Winnow their numbers from the windows, taking shots at their heads and ducking down when they return fire with their particle weapons.
When the coast is clear, bypass the wall safe’s lock in the building to the right of the Collector attack. There is medi-gel in the building on the left.
|
|
Spoils of War > Safe > Bypass > 4,800 Credits |

|
Med Kit > +1 Medi-gel >
|
[015]
[016]
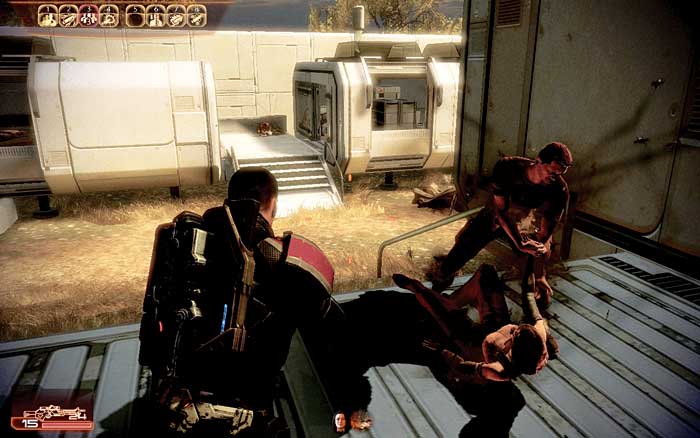
After the battle, move through the area until you reach the colonists stuck in stasis [015] .
Inspect the first pair of frozen colonists you find. Then head up two floors, past more frozen colonists to an upper apartment, where there’s a computer to hack.
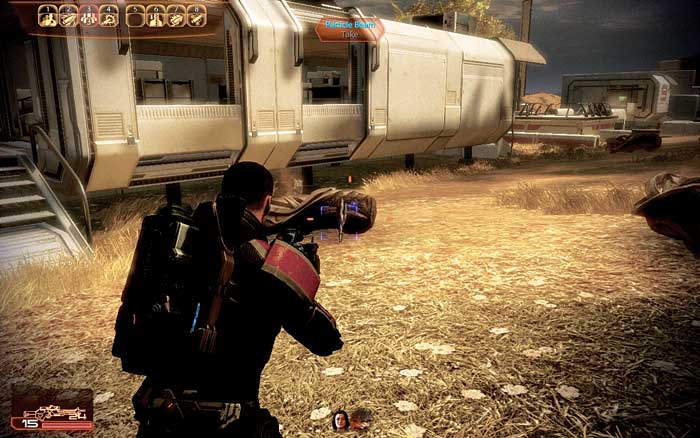
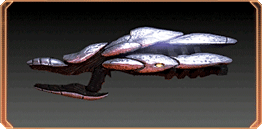
Descend, and then cross into the lawn to the left [016] . There is a Collector particle beam leaning against one of the pods. Pick it up.
It will be extremely useful against the new type of Collector you are about to encounter.
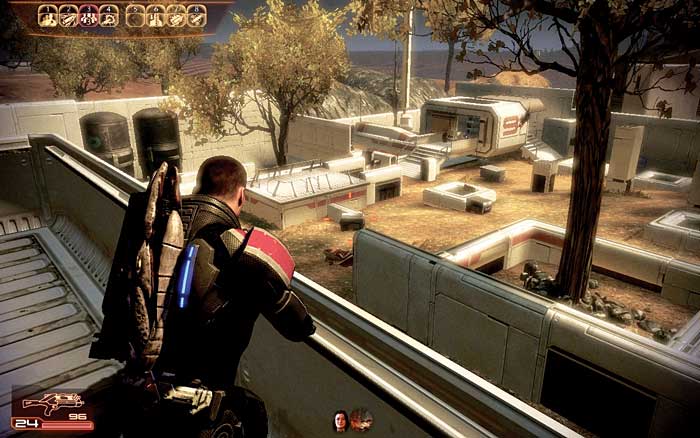
Then use the stairs to enter an apartment above the lawn—an excellent vantage point during the next battle [017] . Access the computer on the bed for 3,000 credits.
|
|
Spoils of War > Computer > Hack > 3,000 Credits |
|
New Weapon: Collector Particle Beam |
|
|
Spoils of War Computer > Access > 3,000 Credits |
[017]
[018]

[019]
[020]
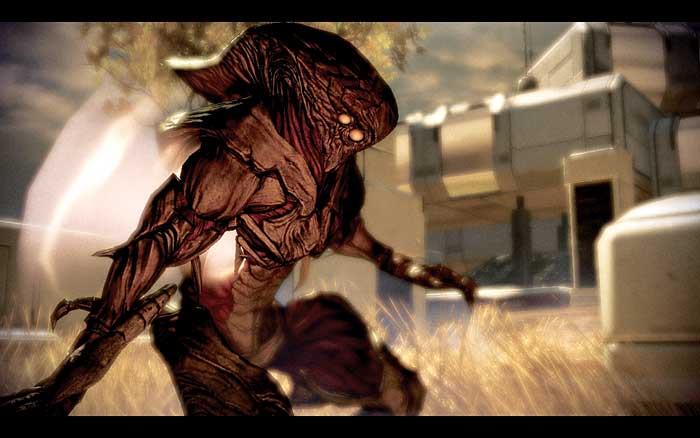
Several Collectors swoop down to the lawn [018] . In the ship, Harbinger watches the scene through the eyes of the troops in the field.
Harbinger picks one of the assassins and takes control of it [019] , just as Shepard witnessed when the colonists were abducted.
Harbinger takes on all of the powers of the Collector it assumes, but makes it stronger.
Harbinger is also very clever about possessing Collectors that are close to death. When a near-death Collector is possessed, it is replenished with full armor and full barrier.
As soon as the armor is destroyed, Harbinger leaves the Collector body.
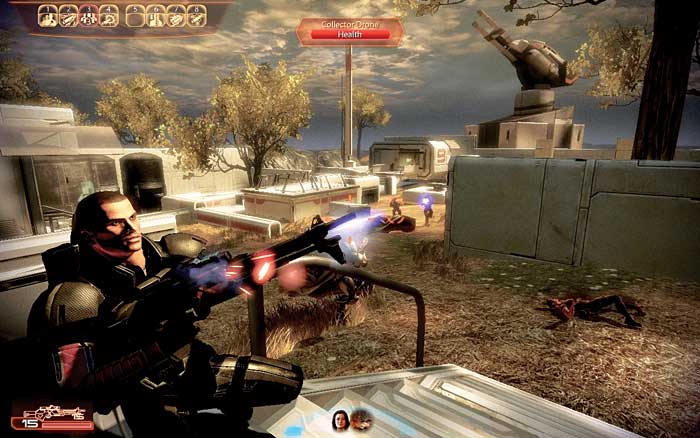
Take cover and use the particle beam to rip through your foe’s barrier and armor before it can attack.
Harbinger will keep possessing Collectors for as long as there are Collectors in the fight, so take down the Collectors as fast as possible [020] .
Leave no Collector with a sliver of health, lest Harbinger take possession of its body.
It’s easy for the particle beam to run dry, but more power cells are located in the small room at the back and left of the lawn.
Blast through the Collectors, using the building to flank from and the crates in the lawn as cover.
When the fight is over, collect any thermal clips dropped in the grass and then investigate the locked door off to the right.
Bypass the door controls and open it.
|
|
Ammunition > Power Cells > 2 Heavy Weapon Ammo |
The Survivor
[021]
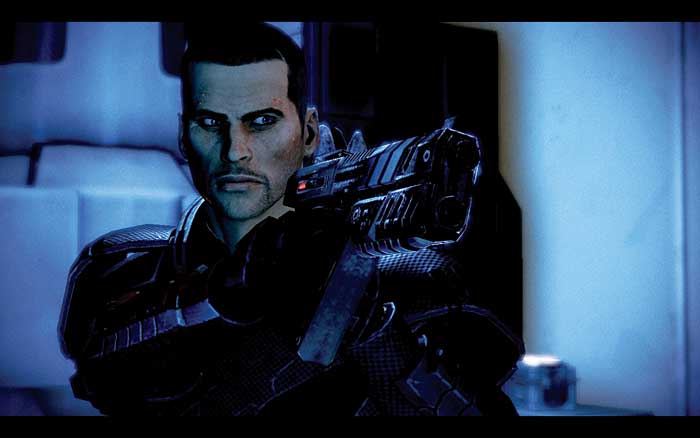
Shepard spots movement [021] . There is a lone survivor inside the small bunker—a man who sought cover as soon as the swarm attack began.
He is shocked to learn that the colony’s assailants are Collectors. He always thought Collectors were myths to keep humans out of corners of the galaxy where they weren’t wanted.
The mechanic blames the Alliance for the attack. The colony was fine until the Alliance showed up, installed one of their representatives, and built the giant defense guns.
The mechanic also thinks the Alliance was poking around Horizon for reasons other than installing defenses.

[022]
The mechanic complains that the guns don’t even shoot straight [022] . Calibrating the guns had been a major headache. The guns, though, could be your ticket to turning back the Collectors.
If you can reach the main transmitter on the other side of the colony, you can access the targeting controls of the defense tower guns.
The mechanic will stay behind. Load up at the weapons locker, take the medi-gel and platinum, and then move out.
|
|
Med Kit > +1 Medi-gel > 100 Credits |

|
Spoils of War > Resources > Refined Platinum > Open > 2,000 Platinum |
|
|
Spoils of War > Wall Safe > Open > 6,000 Credits |
Part 2: Locate the Spaceport
Battle at Block 7
[023]
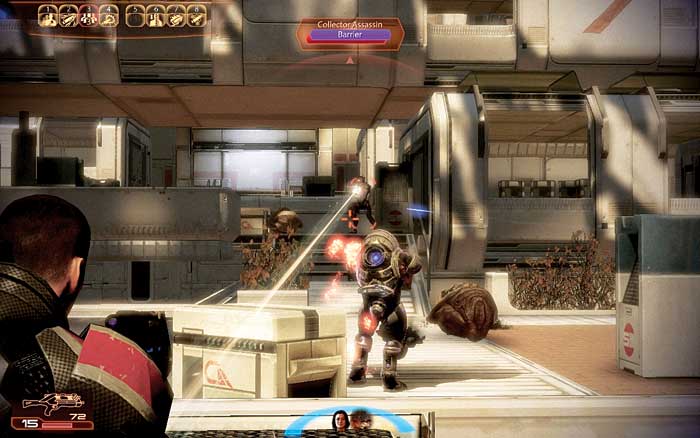
Look for Collectors by the stairs to your left when you step out of the mechanic’s hideout and into the next block of the colony.
They have not seen you yet. Don’t linger.
Raise your weapons and take the first shot. Make it count! As soon as that first shot rings out the Collector drones, guardians, and assassins will swarm the area [023] .
[024]
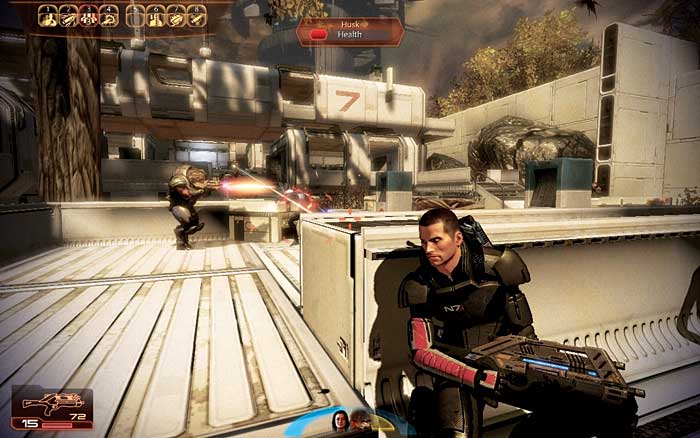
The scene soon gets complicated. Harbinger possesses one of the Collectors, and husks rush through the middle of the area.
The throng of husks can be cut down with gunfire, although you must stay aware of the assassins and possessed Collector. Don’t take many risks here.
Stick to cover [024] and move up only when you can take and hold position.
[025]
Don’t relent against this batch of Collectors. As soon as you take down one possessed Collector, Harbinger will have another Collector body picked out.
Weed out any weak Collectors because there is a good chance one will be the next hijacked Collector. Harbinger’s attacks are deadly.
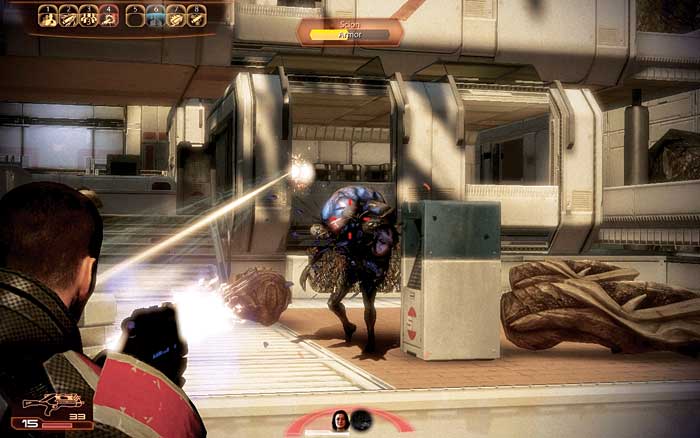
Just a few direct hits are enough to put Shepard down. The battle usually ends with you taking down a wandering scion [025] while avoiding its rolling blast.
[026]
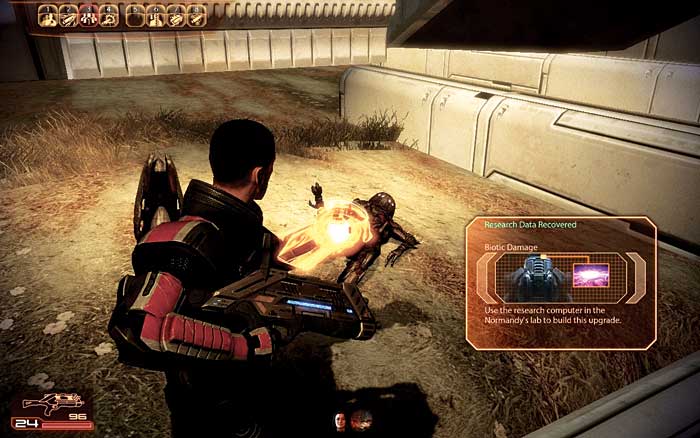
Now scour the scene for extra thermal clips and power cells. Then scan the dead Collector [026] farther up the stairs in the block to pick up the Hyper Amp.
This tech increases damage from biotic attacks by 10 percent. Now access the computer in the bridge that spans the block.
Bypass the locked door on the opposite side of the block after you have eliminated the Collectors and scoured the place for clips, power cells, credits, and tech scans.
This door leads to the spaceport, where you can work on the targeting systems for the colony’s defense towers.
|
|
Ammunition > Power Cells > 2 Heavy Weapon Ammo |
|
|
Upgrade > Dead Collector > Examine > Biotic Damage |
|
|
Spoils of War > Computer > Access > 3,000 Credits |
Part 3: Activating the Tower
First Wave
[027]
[028]
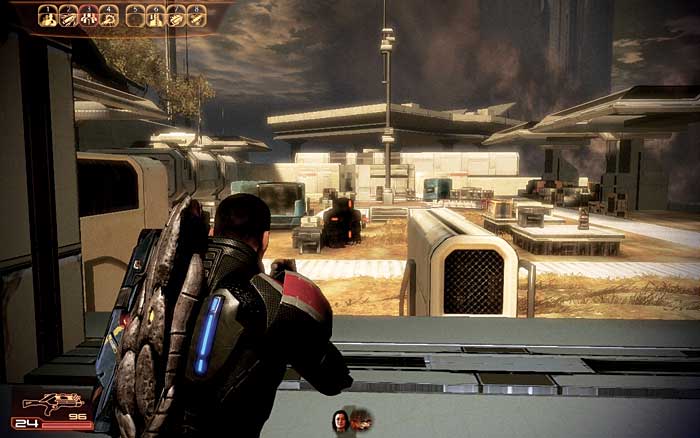
The spaceport looks abandoned [027] . The transmitter is on a raised platform in the middle of the area. However, the silence is soon broken by the moans of husks.
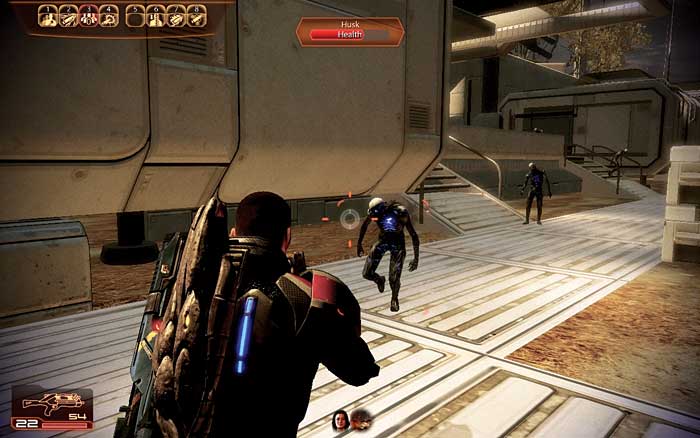
Look to the left of the port. The stirring behind the railing is husks pulling themselves off the ground and getting ready to charge you [028] .
Target them before they get out from behind the railing and can surround you and your squad.
There is medi-gel up there to collect once the husks are down, and there are power cells on the right side of the spaceport.
[029]
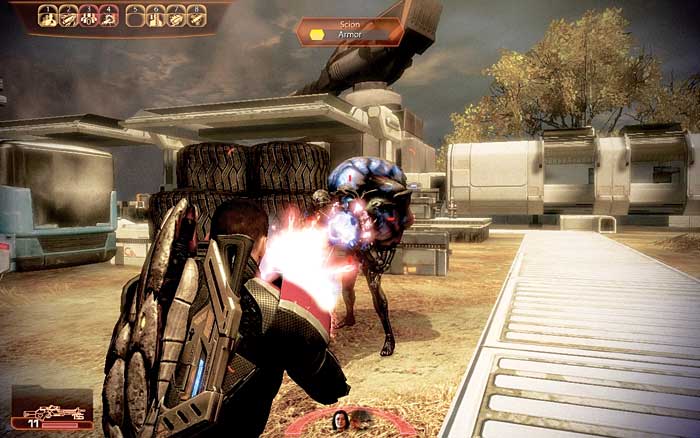
Before long, more husks activate. They are joined by a scion that moves across the port like a tank, blasting anything in front of it [029] .
Though it moves slowly, it’s difficult to bring it down.
The scion seems to inhale ammo, which will make the rest of this battle harder. Heavy weapons bring the husks down faster, but don’t waste all of your ammo.
En route to the spaceport, you’ll find no shortage of enemies you should use heavy weapon ammo on.
|
|
Ammunition > Power Cells > 2 Heavy Weapon Ammo |
|
|
Med Kit > +1 Medi-gel > 100 Credits |
Investigating the Transmitter
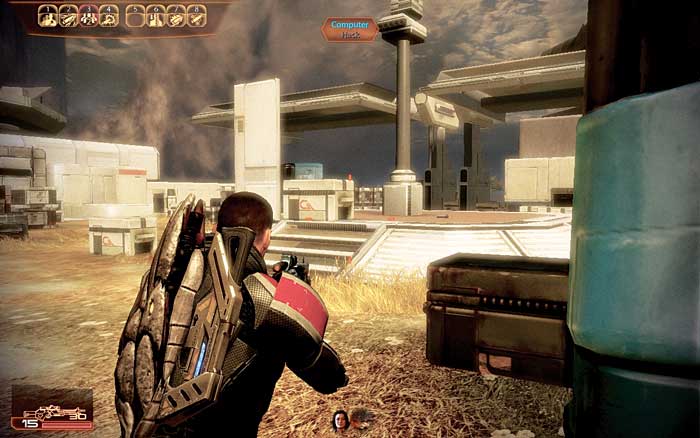
[030]
After eliminating the first wave of husks and scions, you need to hack the computer terminal on the platform [030] .
The terminal puts you in contact with the Normandy. EDI is able to recalibrate the defense towers on Horizon, but it will take a little time to bring the towers fully online.
While EDI is working on the towers, the Collectors will surely see the energy signals at the transmitter. They will realize what you are doing and launch an attack.
Get ready for a serious Collector push-back. Reload all of your weapons and find some cover.

|
Journal Updated > Computer > Hack |
Defending the Tower
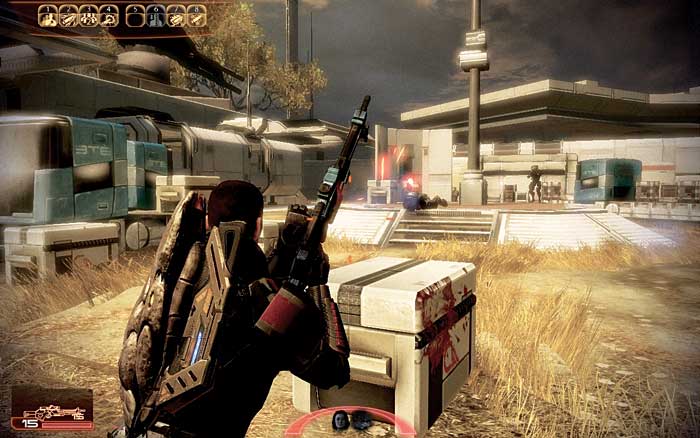
[031]
The Collectors drop down to the far side of the port behind the transmitter.
Within seconds, Harbinger possesses a Collector and the remainder of the Collectors spread out [031] .
The port is full of crates, so you have no shortage of places to hide. Use cover to rest and reload.
In addition to Collectors, look for more husks and scions.
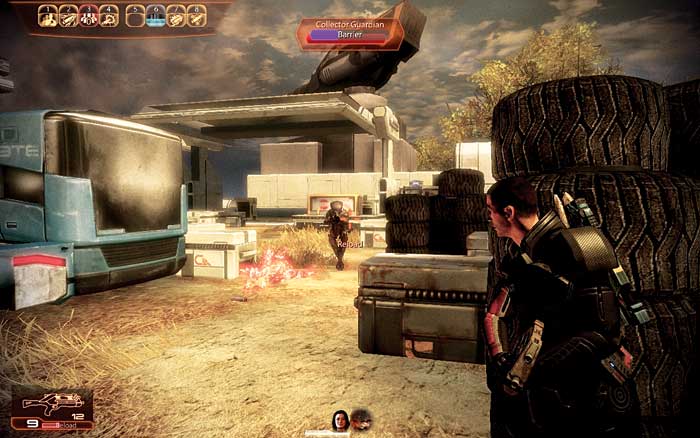
[032]
Move around the port. The Collectors are always on the lookout for you [032] , and if you stay in one place, they will converge on your position.
Flank Collectors by darting from crate to crate, getting the Collectors to either look around for you or get distracted by your squadmates.
While a Collector trains its particle weapon on a friend, you can line up a punishing headshot.
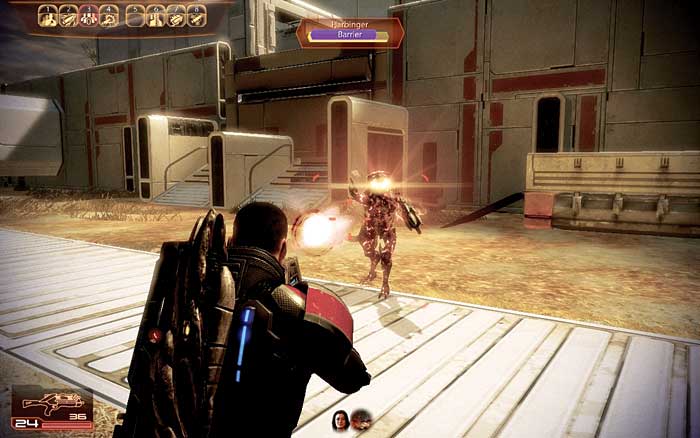
[033]
Fueled by rage, Harbinger possesses drone bodies and moves around. It tends to mount assaults [033] rather than stick to cover.
If you spot a Collector guardian ducking behind a hive shield, flank and try sniping the foe from the side rather than shooting apart the shield.
As the battle rages, EDI keeps you abreast of the status of the recalibration. You must hold the port until the guns are fully online.
The Collectors do not let up, moving on the port in waves.
Just when you think you have stopped their assault, Harbinger possesses another Collector and the assassins take up defensive positions around the perimeter of the port.
The Praetorian
[034]
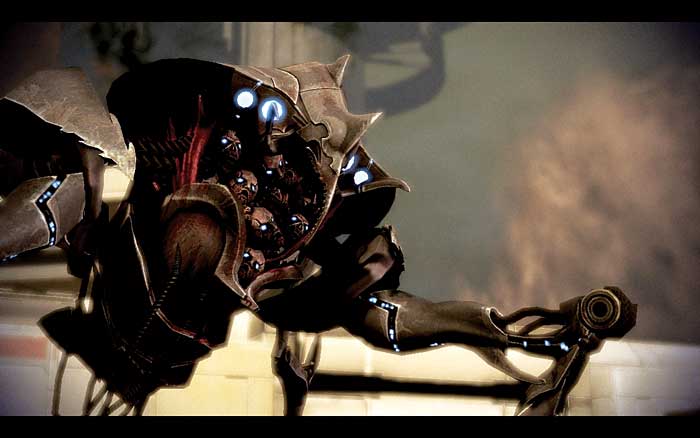
The Collectors soon realize that the guns are almost online, and so Harbinger sends in a praetorian, a monstrous entity that is the toughest monster you’ve fought yet [034] .
The praetorian drops in from the sky, ready to do what the Collectors could not: bring you down. The other Collectors fall back, leaving you to deal with the praetorian in a three-on-one fight.
Despite those odds, it’s still the praetorian that has the upper hand.
[035]
[036]
[037]
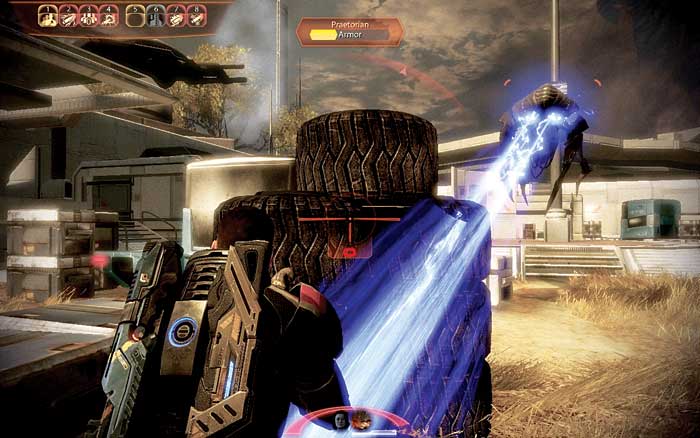
Keep moving during this battle. Do not let the praetorian draw a bead on you. Always have cover nearby.
When you spy the particle beams charging up, slam into cover and dodge the incoming strike [035] .
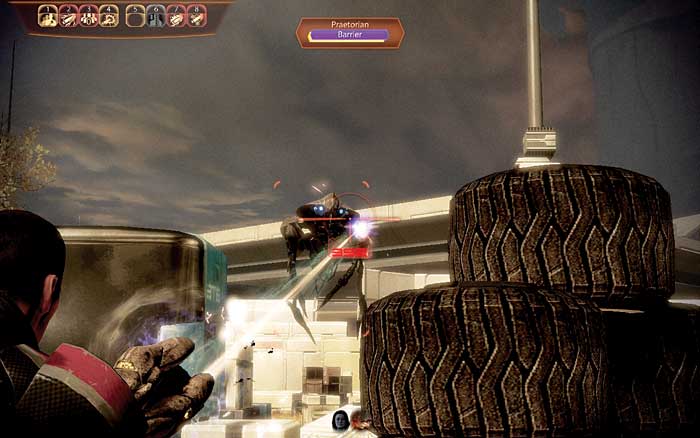
When the praetorian’s barrier is down, capitalize on those few seconds before the creature crashes into the ground and uses Death Choir.
Another plan is to forgo cover in favor of circling around the Praetorian while attacking.
Wait until a particle beam attack is finished and then pop out of cover [036] . If you have heavy weapon ammo left, unload it and then back away before the Death Choir recharges.
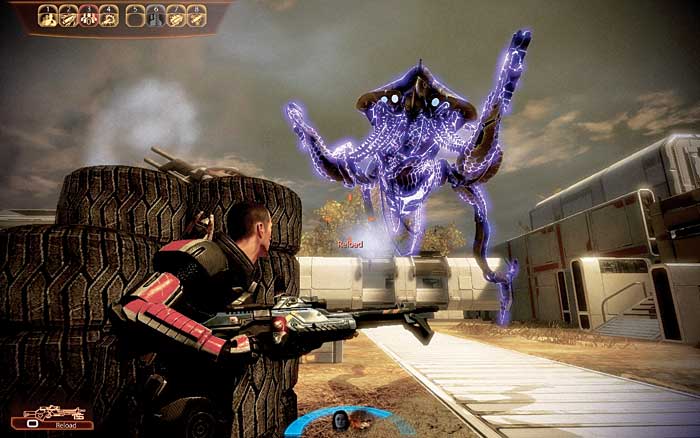
The praetorian cannot be damaged while it is charging up its barrier. It needs a few moments between particle beam attacks.
Use those seconds to pop out of cover and pepper its underbelly with rounds [037]. You may also find it beneficial to circle-strafe around the central transmitter.

[038]
Just as you neutralize the praetorian, the Collector ship leaves the colony [038] .
Half of the colonists havealready been harvested by the Collectors and are aboard the vessel, but you struck a blow against the Collectors today.
You killed many of them, dropped possessed Collectors, and took down a praetorian. The Collectors will not be able to ignore that.
Reunion
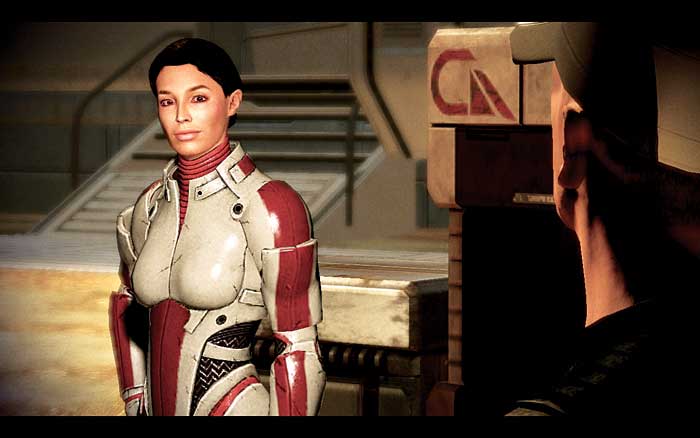
[039A]
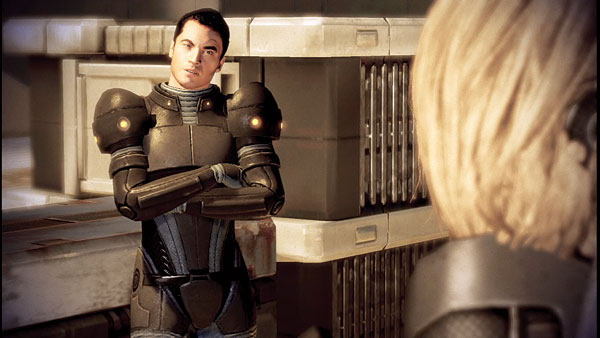
[039B]
Once the Collector ship departs, the Alliance representative comes out of hiding [039A] . (For the sake of this meeting, let’s just refer to the Alliance rep as Ashley.
If you are playing as a female commander or if Ashley was killed in the first Mass Effect, it would be Kaidan striding across the port to greet you [039B] .
Ashley is not exactly happy to see Shepard. She’s upset that the commander has not been in contact in over two years. Nor is she pleased to hear that Shepard is involved with Cerberus.
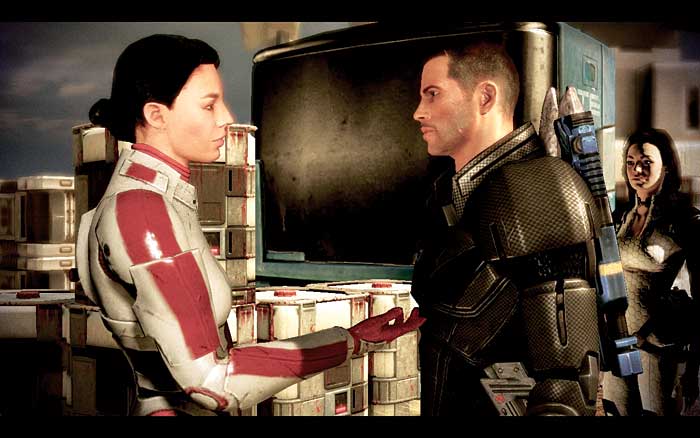
[040]
Ashley is hearing none of Shepard’s rationale for falling in with Cerberus [040] .
She has too much history with Cerberus to believe they are acting nobly. She questions the commander’s loyalty and refuses to join Shepard’s crew.
Ashley storms off to file a report with the Alliance, leaving Shepard to call Joker for a lift back to the Normandy .
Back on the Normandy

[041]
Shepard joins the Illusive Man via holo-conference [041] . The Illusive Man is pleased that Shepard was able to fight the Collectors and interrupt their operations on Horizon.
Shepard is not amused that the Illusive Man let slip to the Alliance that Shepard is working with Cerberus, thus souring a close past relationship.
But the Illusive Man says he needed to do this to find out if the Collectors are just after humans or if they are trying to get directly to Shepard. Attacking a colony where there is a former associate of Shepard makes it clear.
The Collectors are after Shepard.
The Illusive Man says that he is devoting all of his resources to discovering a way to pass through the Omega 4 mass relay and take the fight into Collector territory.
While he works on that part of the puzzle, Shepard must continue building a team. The Illusive Man gives Shepard three more dossiers on potential recruits: an assassin, a justicar, and a quarian.
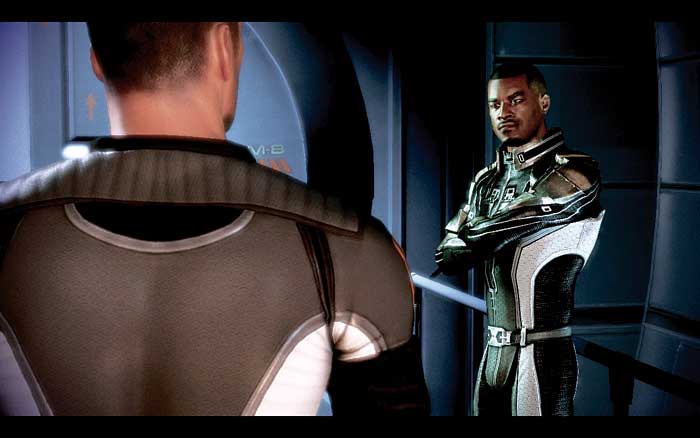
[042]
During the meeting, the Illusive Man says that Shepard needs to make sure not only that the team is complete, but also that it is completely dedicated to the mission.
Shepard needs to go to the members of the team and make sure they have no qualms about rushing headlong into a dire situation.
They need to be focused. And that means cleaning up any loose ends in their lives.
So in addition to the finding new recruits, Shepard should find time to also see how to best earn the absolute loyalty of the team.
As always, take the time to make the rounds on the Normandy [042] , checking in with every crew member.
Check in with Chambers for any updates, read the private terminal to see if any new special assignments are available, and launch research projects.
If minerals are an issue, there is no better time than now to travel to distant worlds and mine resources to put into tech.
 Lives will be at stake if you don’t enhance your ship’s shields and defenses. Think seriously about these upgrades now.