
Mass Effect 2 Guide Walkthrough SPECIAL ASSIGNMENTS
Lair of the Shadowbroker: Dracon Trade Center
Part 2: Dracon Trade Center
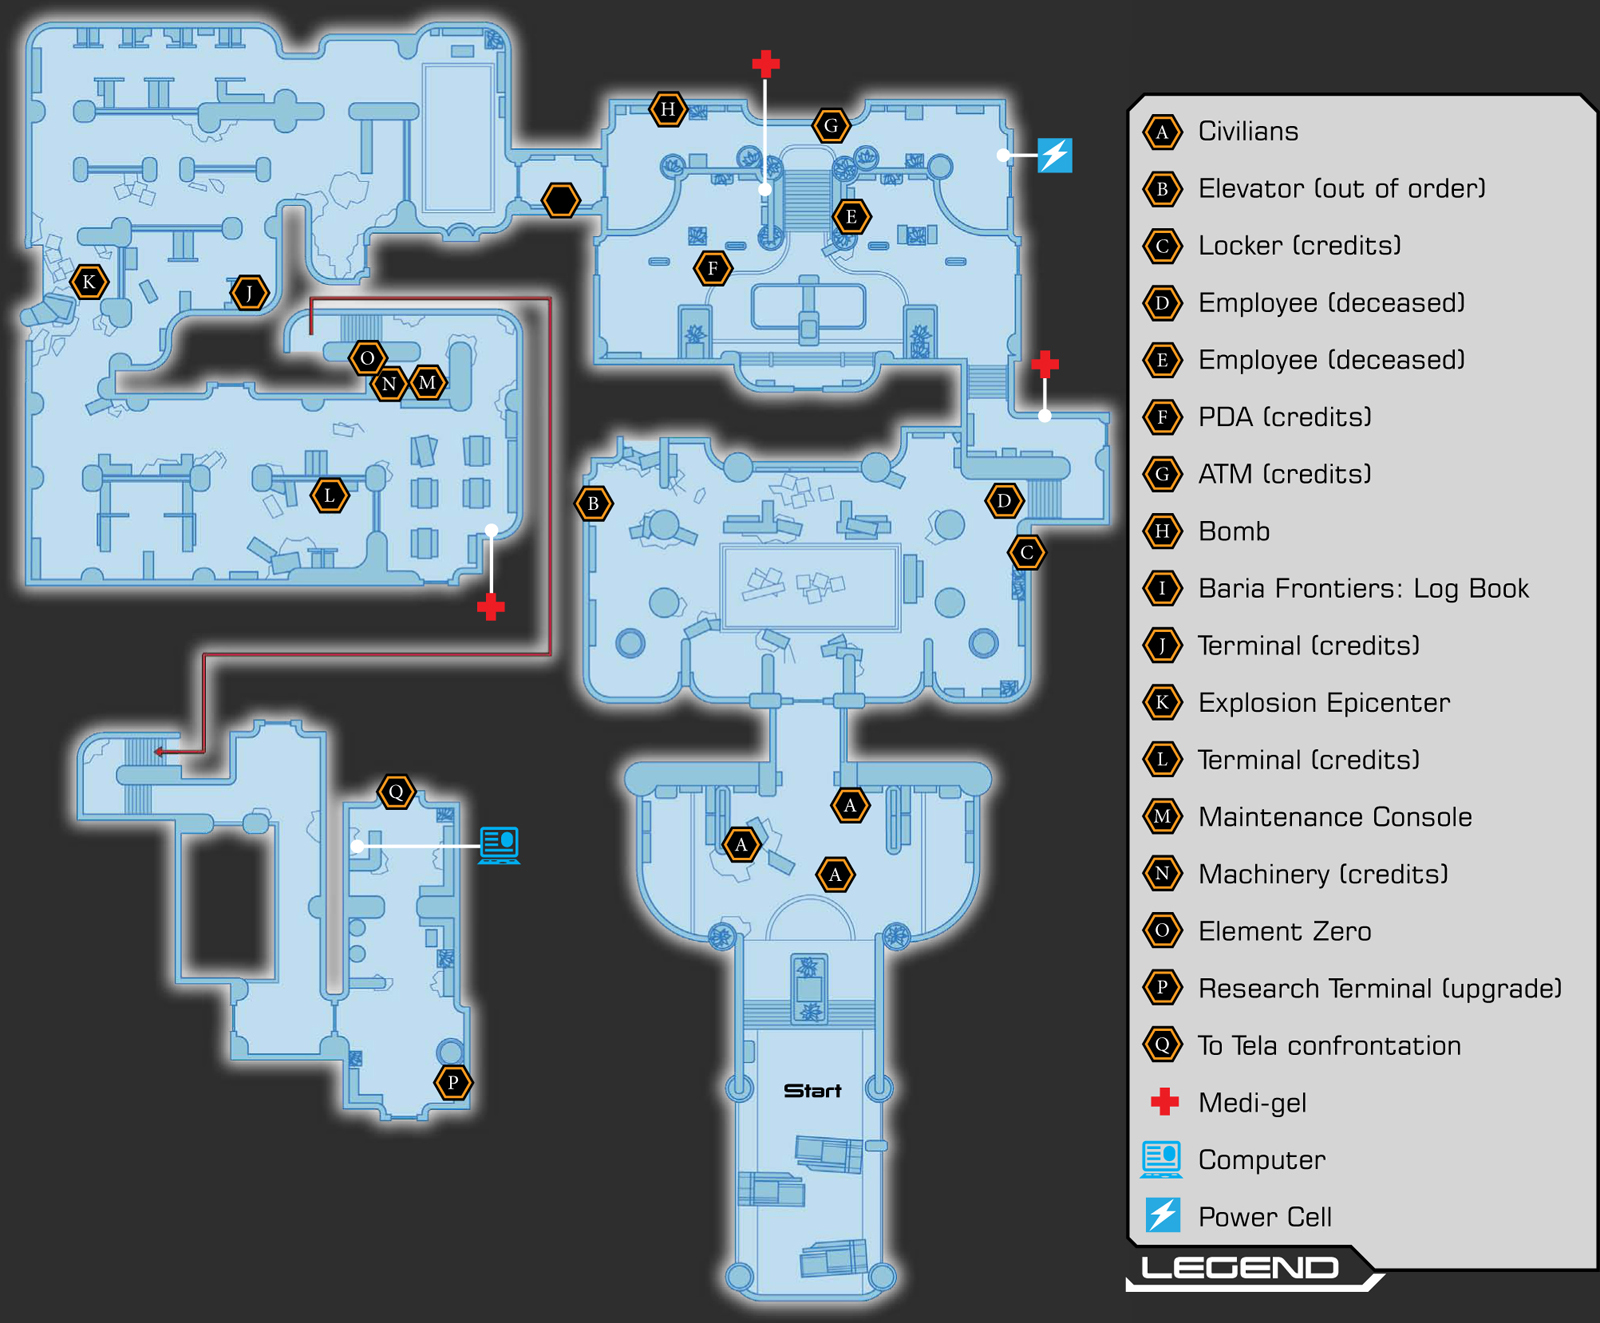
Entering the Trade Center
[010]
[011]
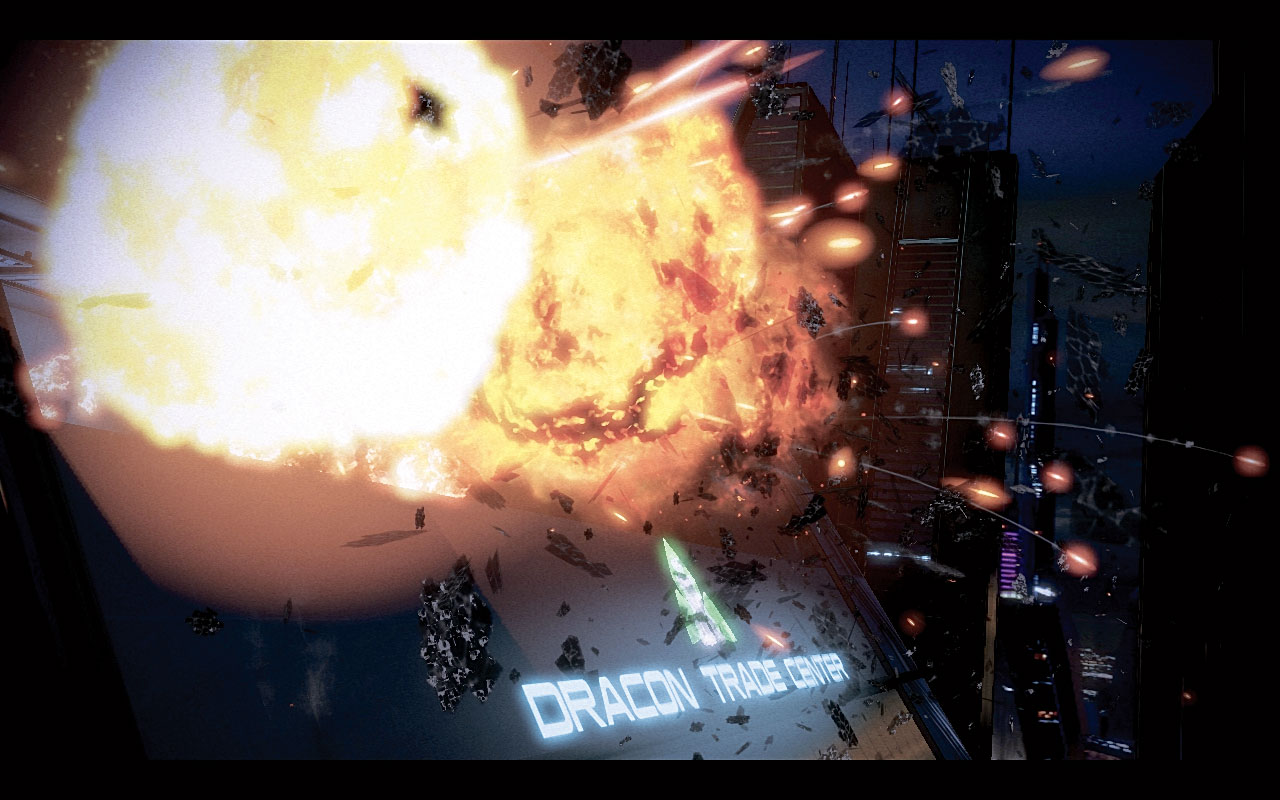
As Shepard arrives at the center, Tela mentions that the Baria Frontiers office is on the third floor of the trade center—which promptly explodes in a massive blast of glass and fire [010] .
The explosion continues, blowing Shepard and team to their knees as the entire building rocks. Tela shouts that whoever is after Liara just took out three floors to make sure she’s dead!
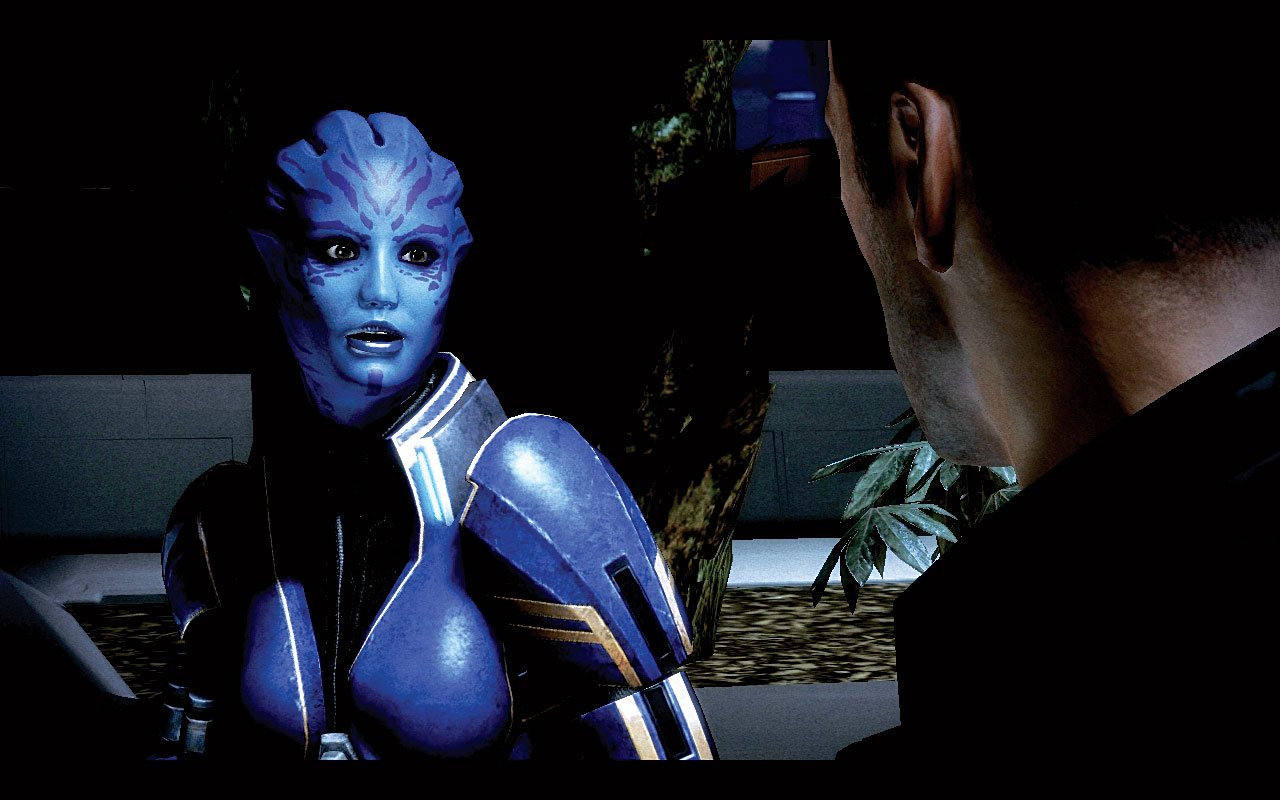
While Tela seals off the building from the roof, Shepard starts at the ground floor and works on finding clues inside [011] .
[012]
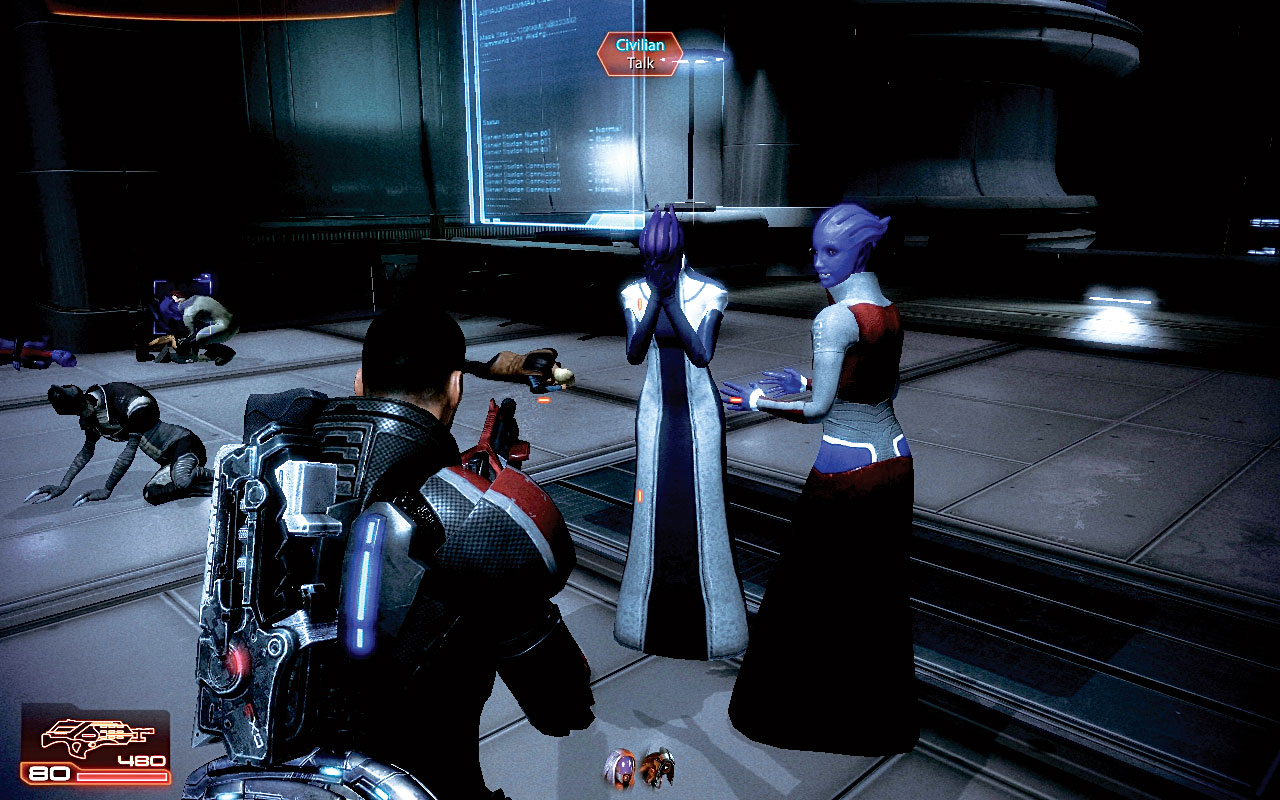
Move toward the building entrance, optionally talking to the confused and injured personnel picking portions of the structure out of themselves and tending to the badly wounded [012] .
They offer no further clues, so head straight for the door, pass by the empty security office, and enter the transit terminal lobby.
Finding Baria Frontiers
[013]
[014]
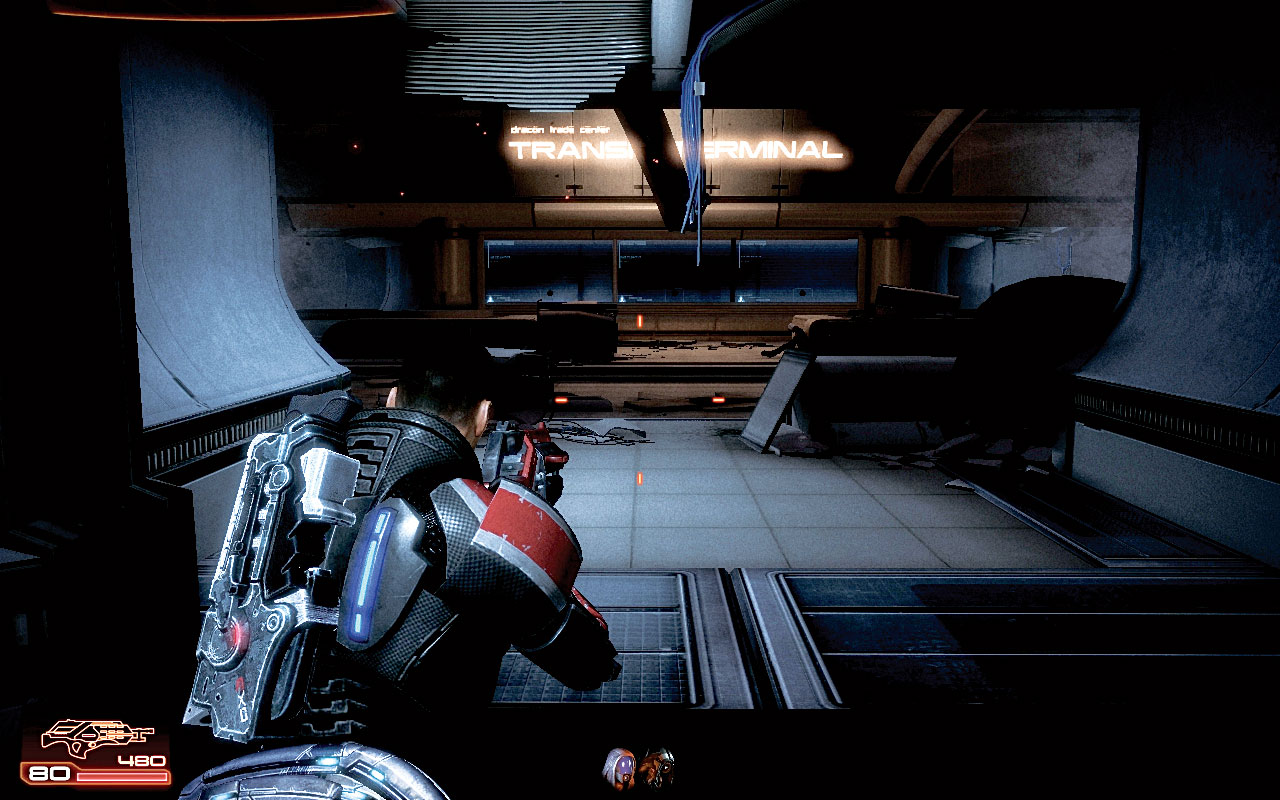
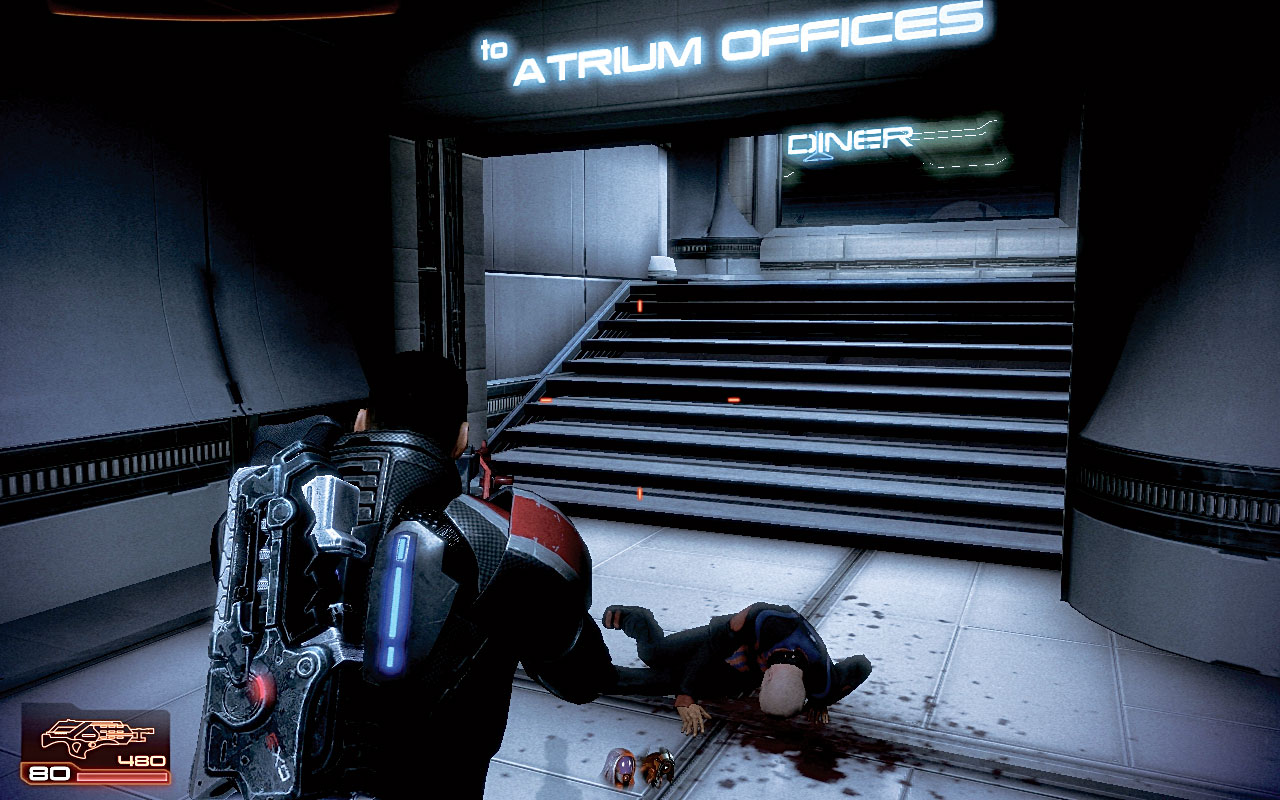
Automatic sprinklers and announcements are going off as you enter the debris-strewn lobby [013] . The elevator to the far left isn’t safe to use, so you’ll need to take the stairs up to the atrium offices [014] .
Close by the steps up to the next floor is a locker. Check it for credits. At the foot of the steps is a dead employee of Baria Frontiers. He didn’t make it, and Tela reckons Liara’s informant isn’t likely to be alive, either.
Head up the stairs, passing the (locked) diner, and snagging some medi-gel from the wall.

|
Spoils of War > Locker > Examine > 3,750 Credits |

|
Medical Station > Open > Med Kit > 100 Credits |
[015]
[016]
Step out into the large, open-air atrium level. Still impressive, the plaza bears the marks of the recent explosion, and holds the offices of Nezo Transportation and the Salarian Embassy.
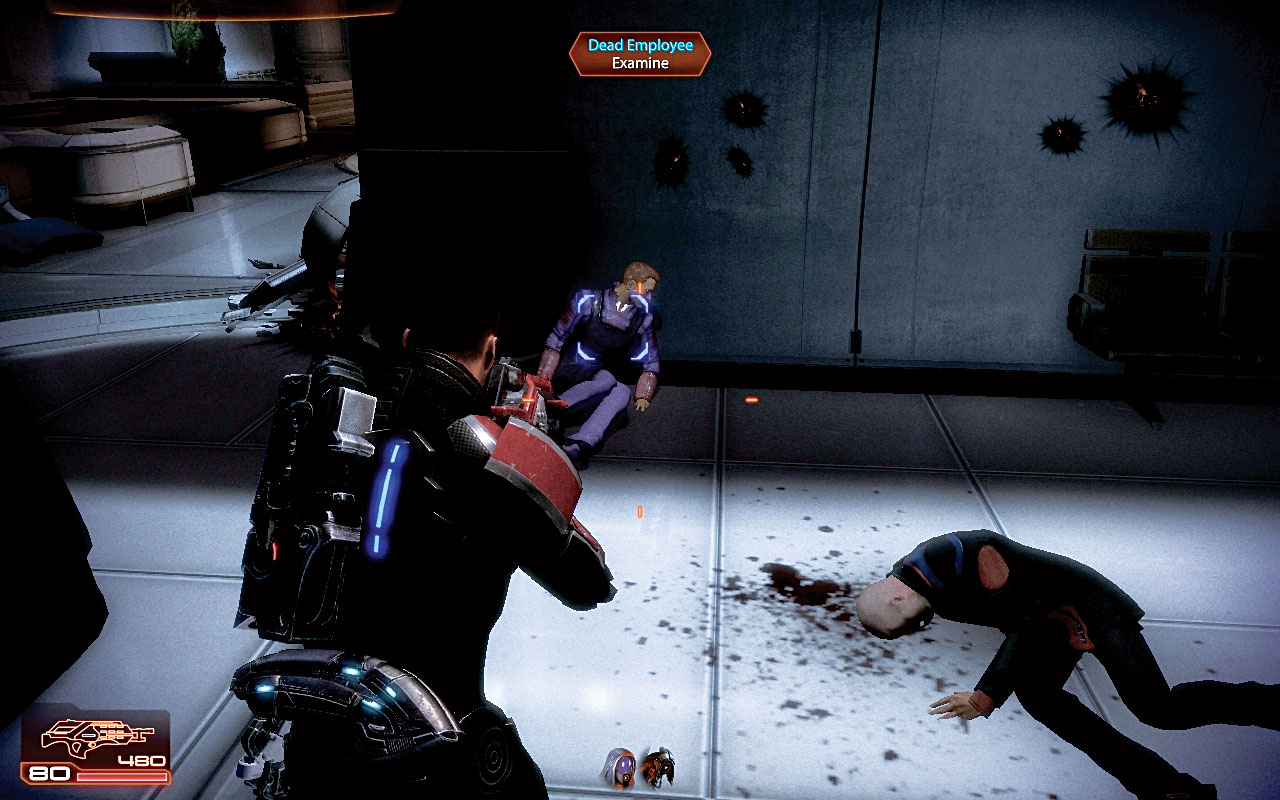
Both offices are closed. A slumped (and dead) employee should be inspected [015] ; he’s peppered with bullets, leading Shepard to believe military-grade hardware was used in the attack.
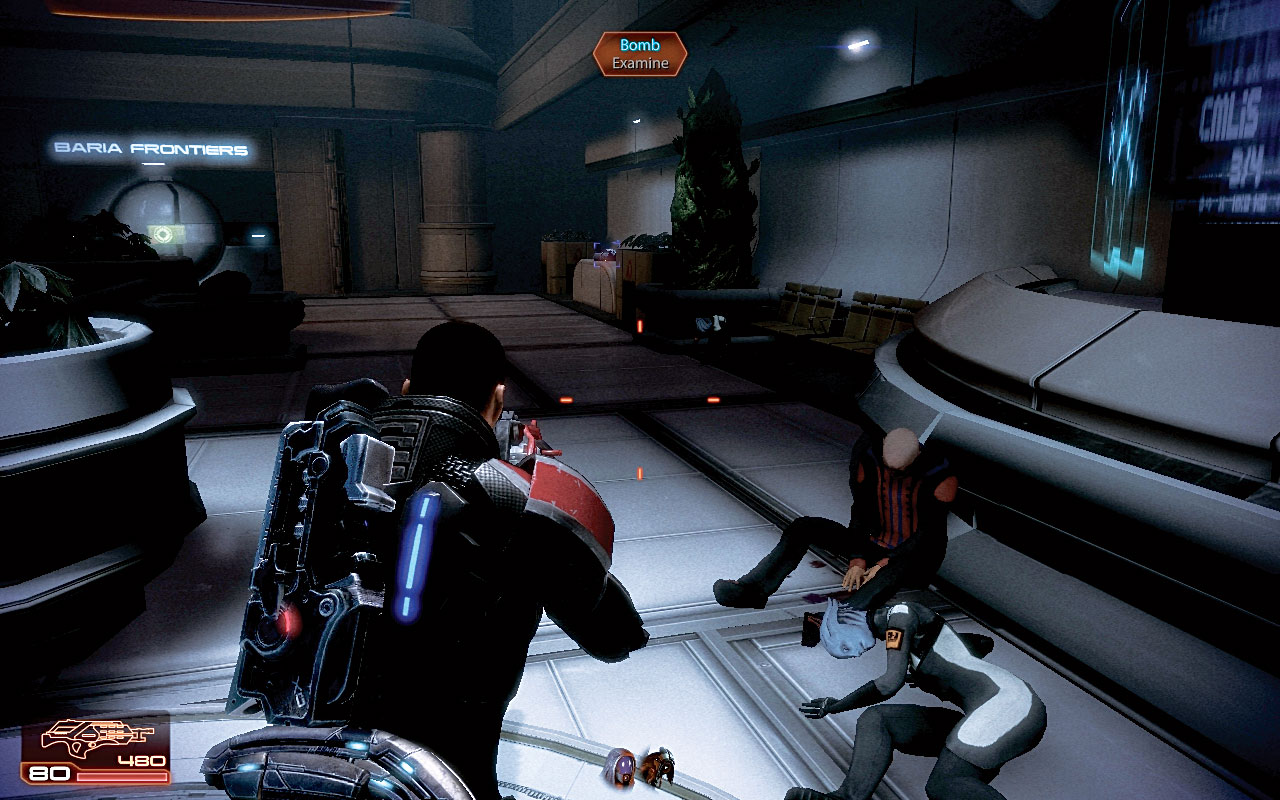
Check the corpse across the plaza for a PDA with credits, and find another medical station on the outer left wall of the main stairs. Climb the stairs and hack the ATM for further credits. Check to the right, at the (closed) entrance to Exsolar Shipping, for some power cells. Then pass more casualties and examine a bomb [016] , a military-grade explosive device that has failed to detonate.
It doesn’t appear to have been armed; Tela reckons it’s sloppy work—such devices are used when you don’t have time to plan.
|
|
Spoils of War > PDA > Use > 2,500 Credits |
|
|
Medical Station > Open > Med Kit > 100 Credits |
|
|
Spoils of War > ATM > Hack > 6,250 Credits |

|
Ammunition > Power Cells > 2 Heavy Weapon Ammo |
Searching for Liara
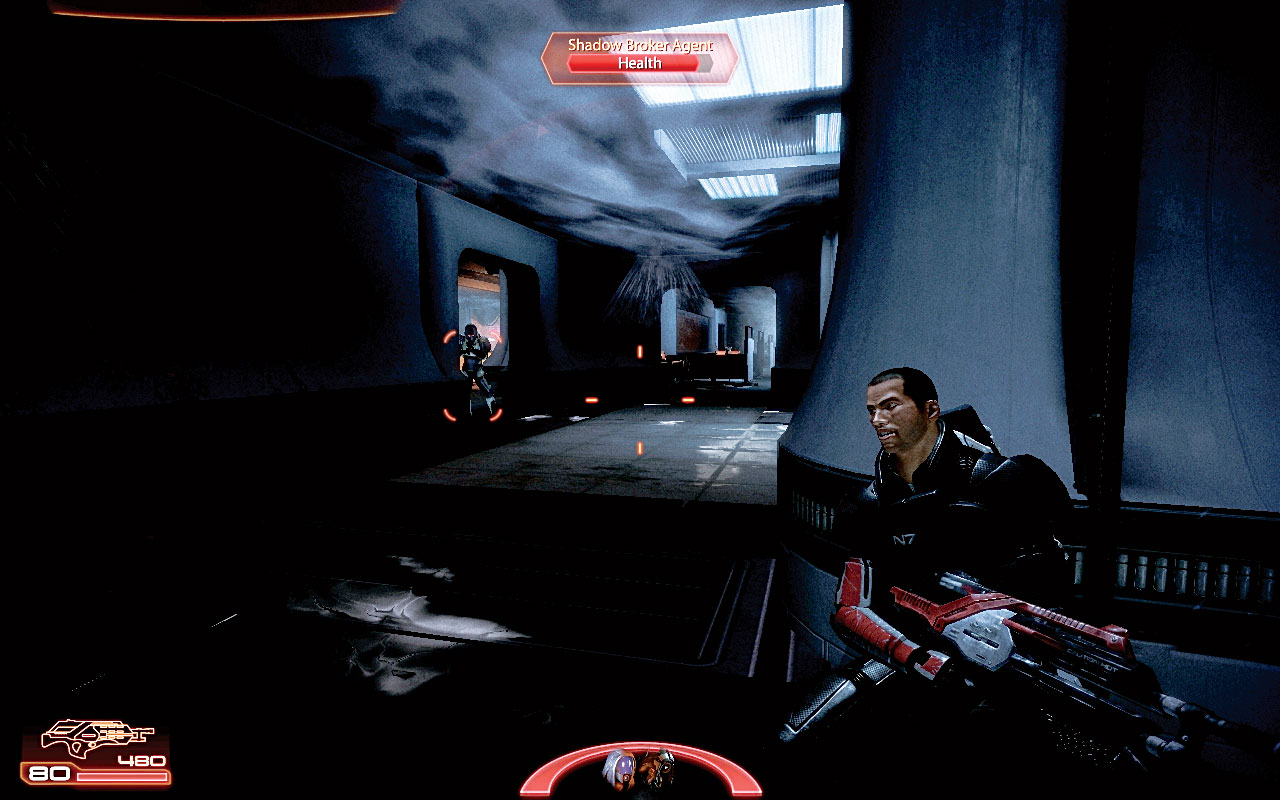
[017]
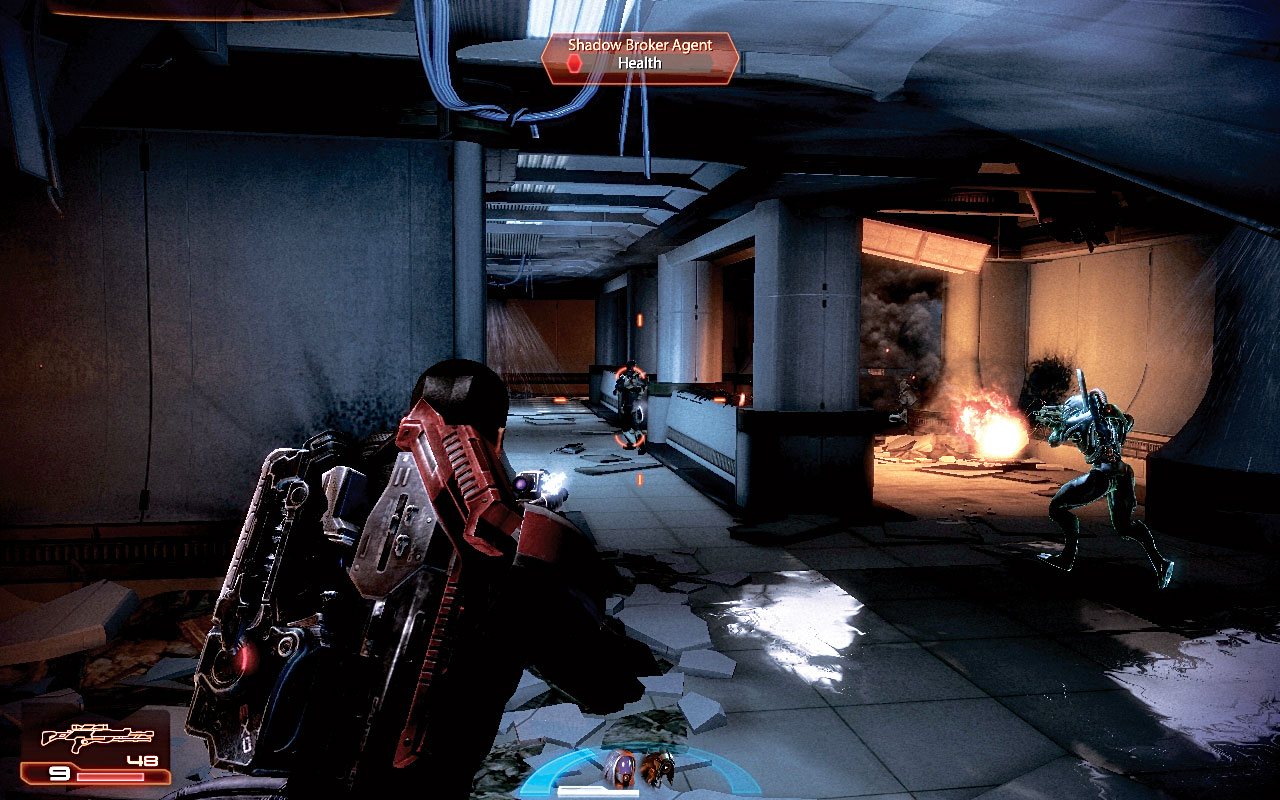
[018]
Adjacent to the bomb is the entrance to Baria Frontiers; enter and use the log book. It appears Liara signed in just a few minutes ago. The sprinkler systems are on, and the automated greeting is playing.
Be on your guard as you round the corner; a flashbang grenade goes off to signal the start of an attack [017] . Shepard radios in to Tela to tell her they’re pinned down.
Begin to fight the Shadow Broker’s private army; this initial attack consists of three agents and a heavy. Use the wall cover to the left and right, and begin to fight back using your preferred weaponry.
The corridor splits into two parallel paths, with an office on the right side and a thoroughfare in the middle. Order your team to split up, with you heading up one of these paths while your squad members take the other [018] .
This way you can flush out the foes by outflanking them or firing through the windows and into the next corridors. Once the fight is over, step into the side office to the left and check the terminal.
|
|
Spoils of War > Terminal > Access > 3,000 Credits |
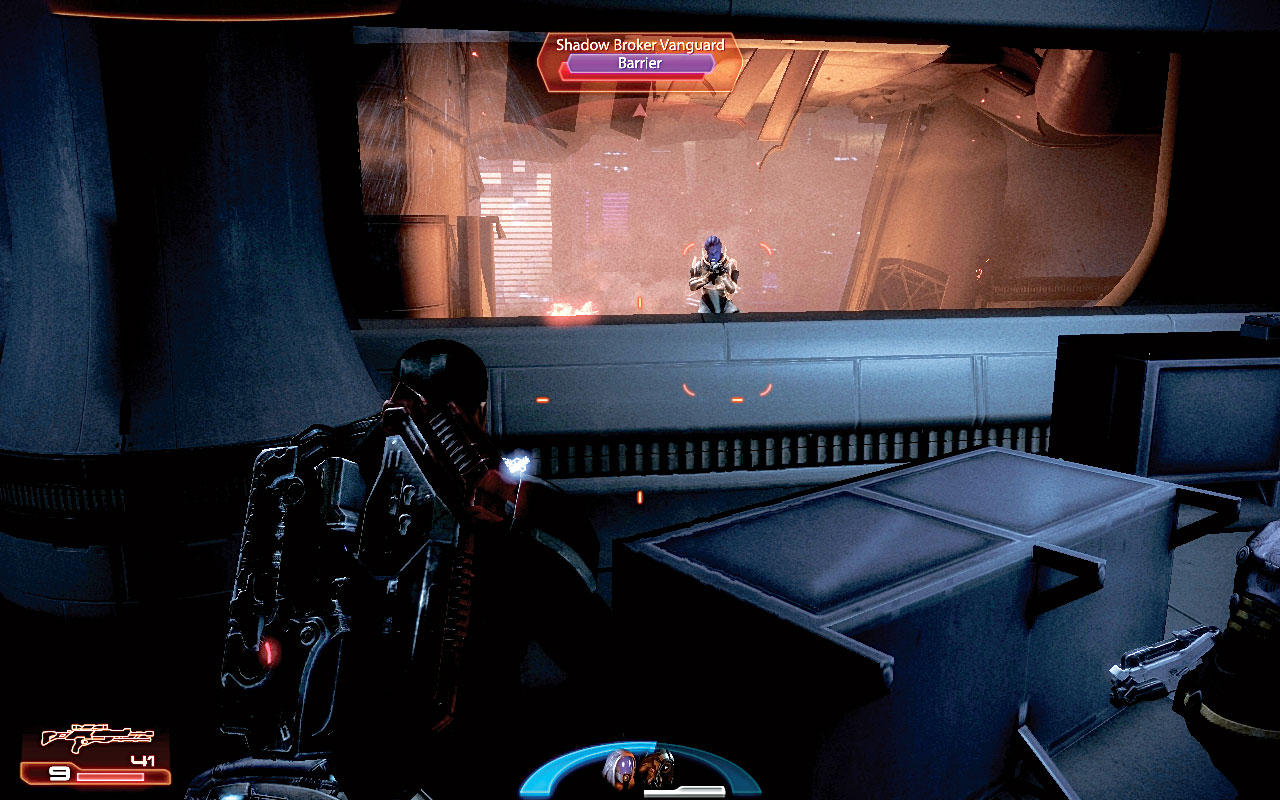
[019]
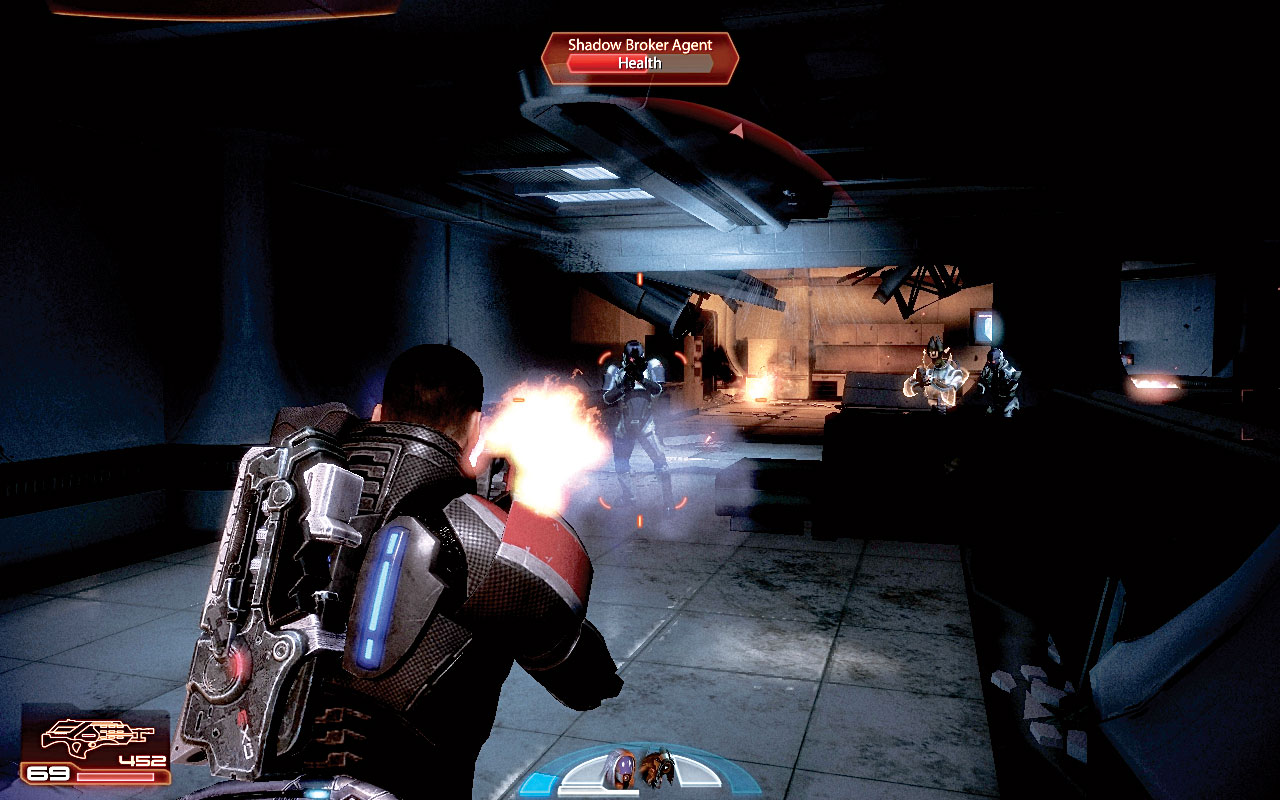
[020]
There are three more agents behind the windowed area ahead of the left office and a heavy farther down the corridor to the left; shoot through the window at their heads before they can react to you [019] .
Watch for the foes trying to outflank you as you tackle the vanguard that is also part of the enemy quartet.
Move back into the initial central corridor should you be outflanked, and use the numerous walls and cubicles as cover.
Then push back from the still-blazing bomb site and toward another office area with a main corridor, where further foes are encountered.
These include four or five agents, a heavy, and an engineer; the mixture of combat drones and flashbang grenades means that staying at range and firing, rather than charging in, is a preferred tactic [020] .
Have one of your team stay in the corridor as it turns to the left while you rush the offices to the right, and move up in unison.
Your primary target is the engineer, as the combat drone impedes your progress more than flashbang blindness. Then locate the heavy at the far end of the final corridor, watching for those rockets.
The heavy makes his last stand near a medical station. Check that, along with a terminal at the end of the office.
|
|
Medical Station > Open > Med Kit > 100 Credits |
|
|
Spoils of War > Terminal > Access > 3,000 Credits |
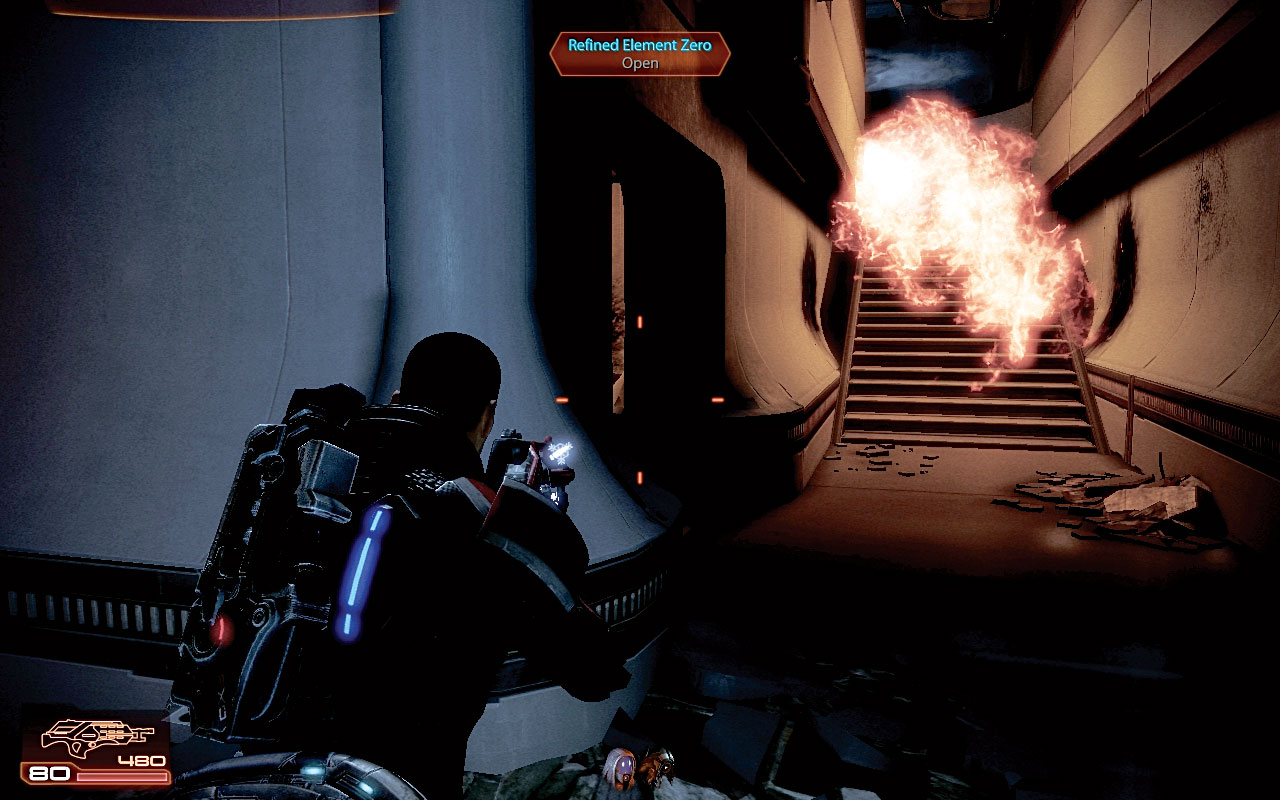
[021]
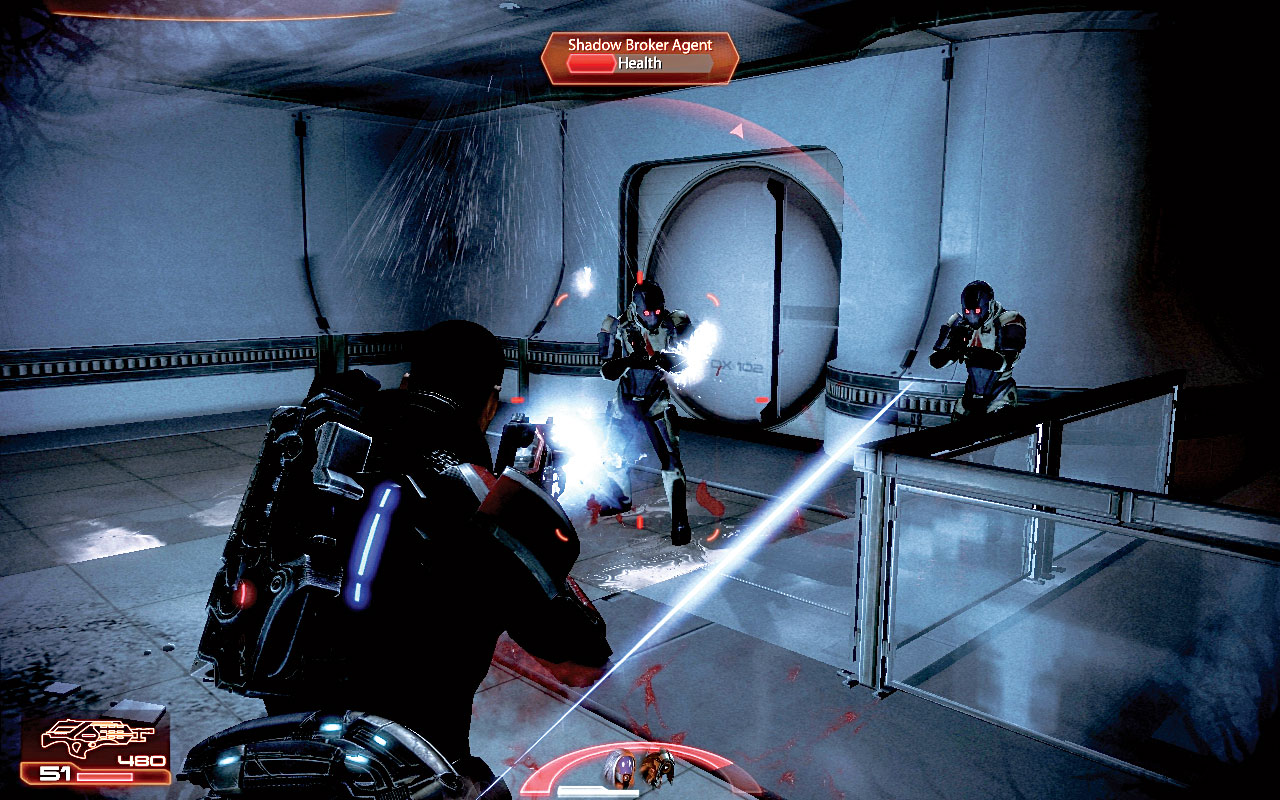
[022]
Pass through the smoking doorway to your left and around to the stairs.
There’s a gout of fire burning halfway up, so sidestep into the maintenance alcove [021] and use the maintenance console to activate the fire- suppressant systems; then salvage the adjacent machinery.
Open the eezo crate here, too. At the top of the stairs is a balcony with three more agents [022] . Drop behind the pillar or railing cover, and send your squad members out to catch their fire and easily drop them.
Head through into the adjoining corridor and locate the circular research terminal for an upgrade to your heavy pistol.
Pass between the small patches of fire and smoke, to a reception desk with a door, as well as a wall safe to open for credits. Then open the door.

|
Spoils of War > Resources > Refined Element Zero > Open > 1,000 Element Zero |
|
|
Spoils of War > Machinery > Salvage > 1,500 Credits |

|
Upgrade > Research Terminal > Access > Heavy Pistol Damage |
|
|
Spoils of War > Wall Safe > Open > 5,000 Credits |
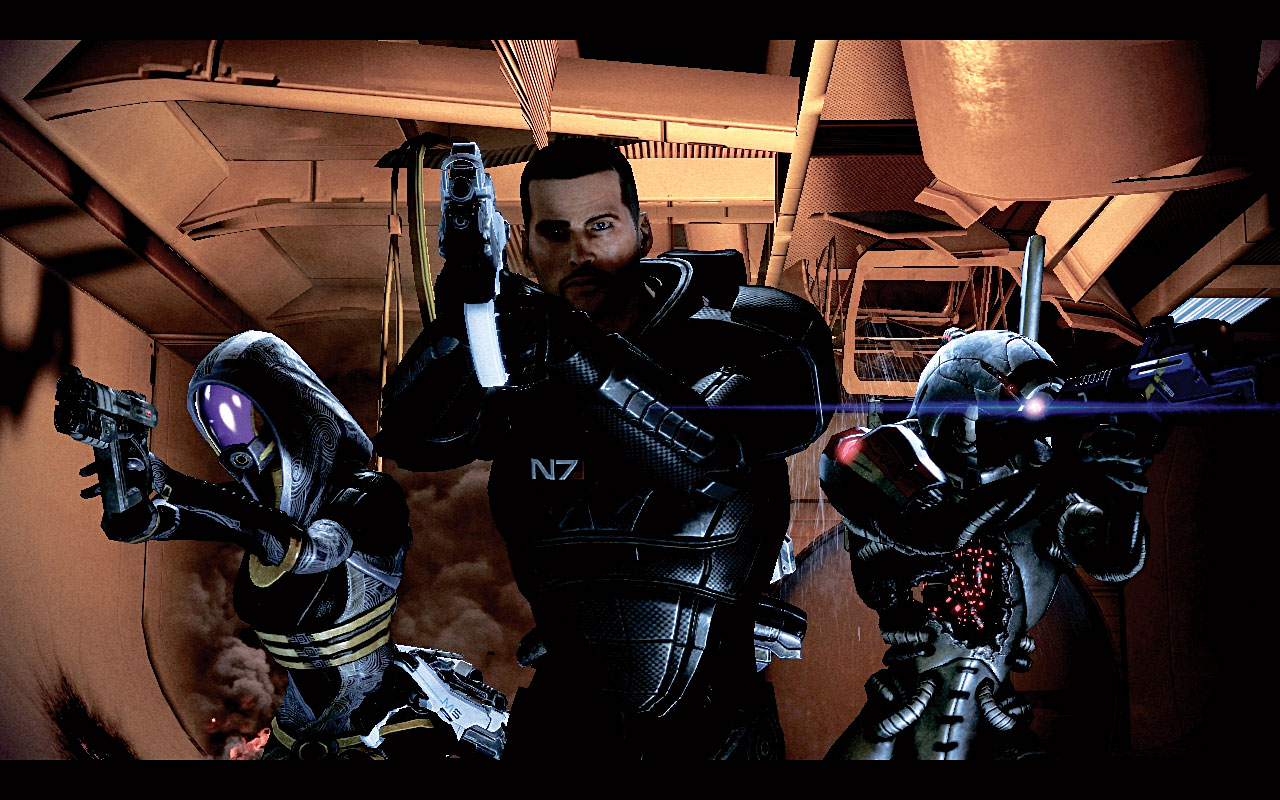
[023]
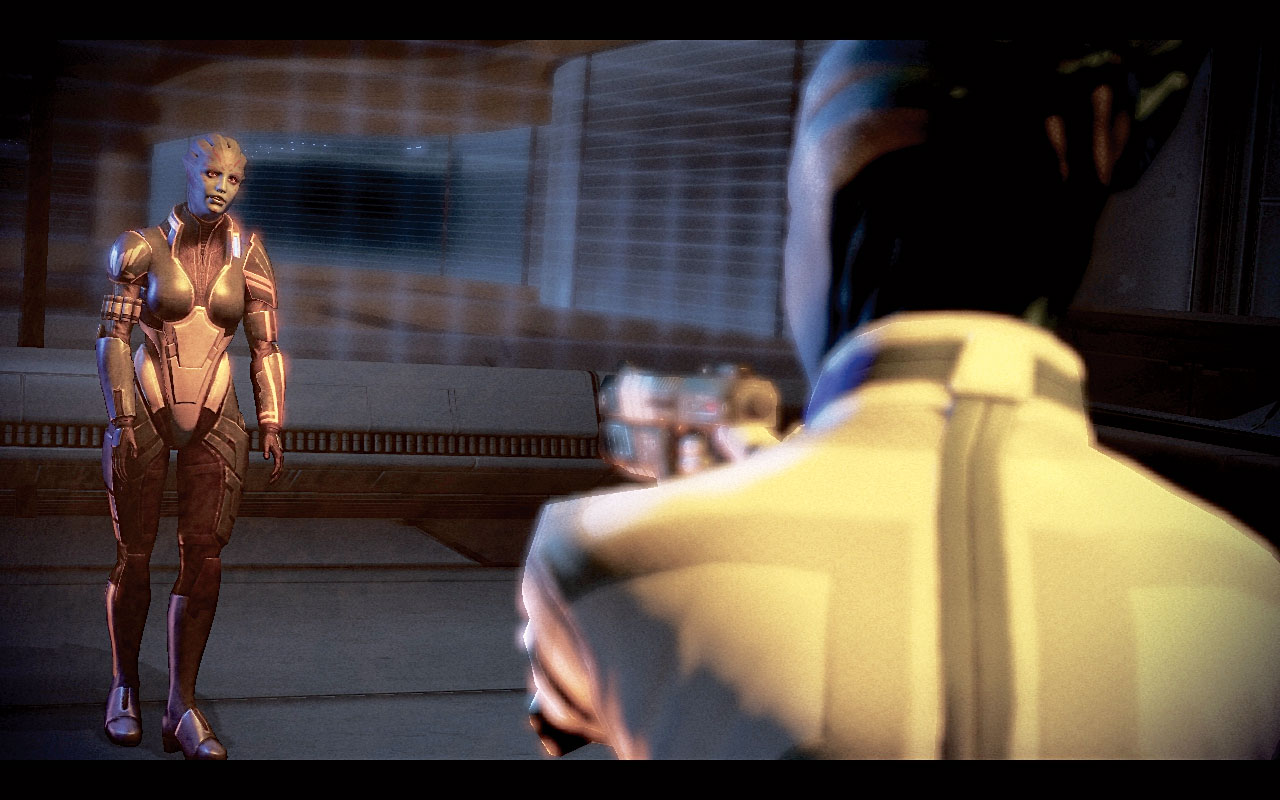
[024]
Liara’s salarian contact is executed by a Shadow Broker agent just before Tela arrives, levels her weapon at the agent’s head, and pulls the trigger.
Shepard’s team barges into the room [023] just as the agent crumples to the ground. Shepard inspects the corpse of Sekat, and Tela asks if Liara’s body has been found.
Moments later, Liara herself answers that question, stepping through the door with a gun pointed at Tela [024] . Liara accuses Tela Vasir of sneaking into her apartment.
Shepard’s team draws their weapons. It seems Tela signaled the Shadow Broker’s forces and was responsible for Sekat’s demise.

[025]
[026]
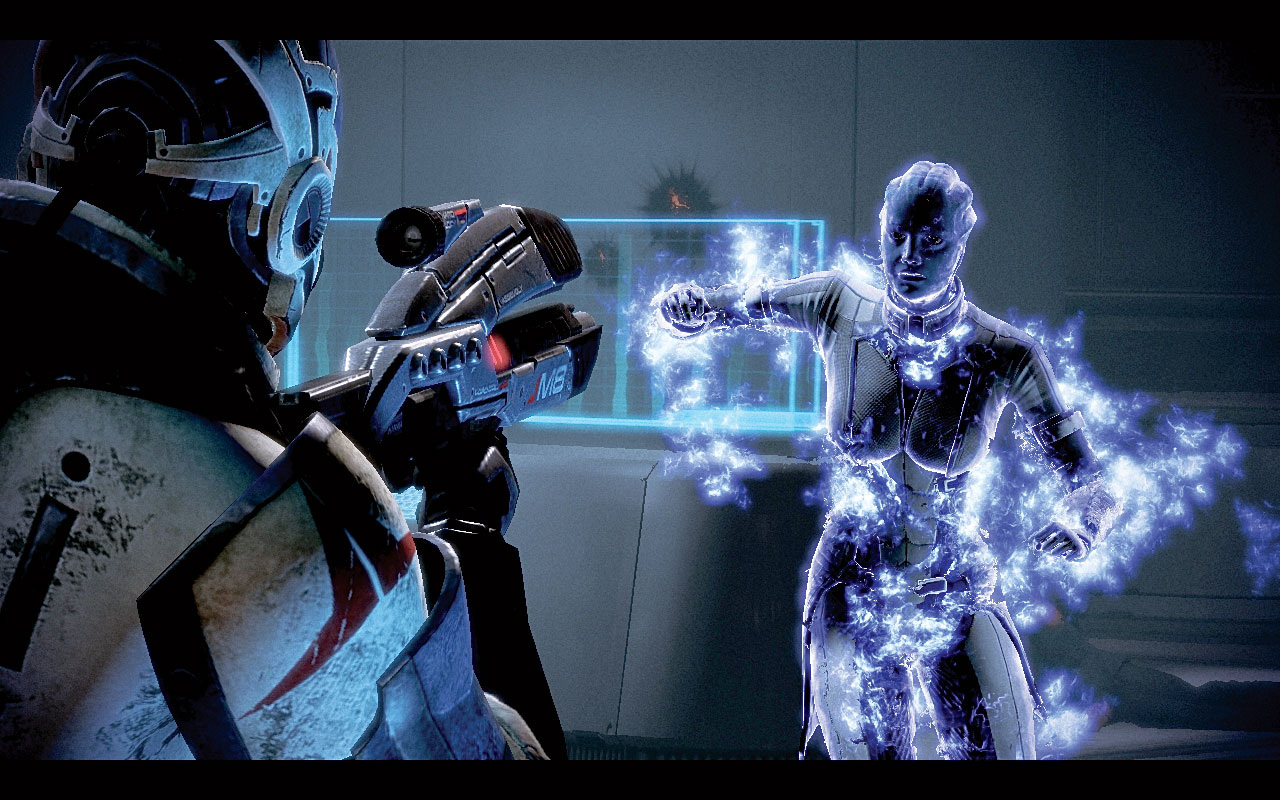
Tela confirms she has the data, then forms a biotic energy wave to crack the building’s glass and stop Shepard’s team. Liara raises a barrier to prevent the team from being struck by Tela’s attack, and Tela turns and runs.
Shepard tackles Tela and they grapple as they fall from the window [025] . Vasir slows her fall and throws Shepard to the ground, stepping toward him before Liara leaps down.
Tela flees with Liara chasing after [026] , knocking down two agents as they head for the steps. Shepard is about to follow when agent reinforcements arrive from the Eldfell-Ashland Energy offices.
Pursuing Vasir: On Foot
[027]
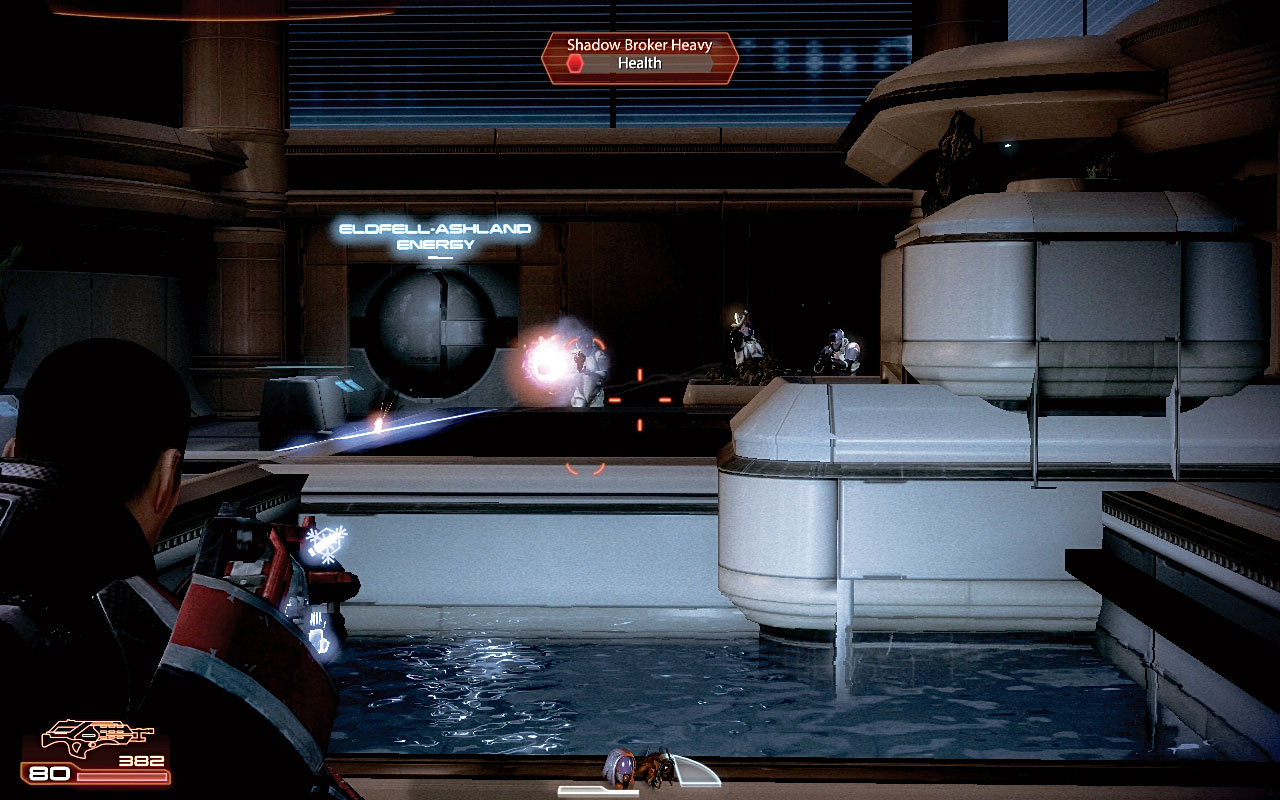
You appear behind cover across from the Eldfell-Ashland offices and must quickly deal with a heavy and two agents, followed by a further trio of agents and a vanguard [027] .
The low walls of the fountain provide excellent cover, allowing you to snipe heads and punish foes from a distance. When the combat abates, head and descend the steps, checking the area for any thermal clips.
[028]
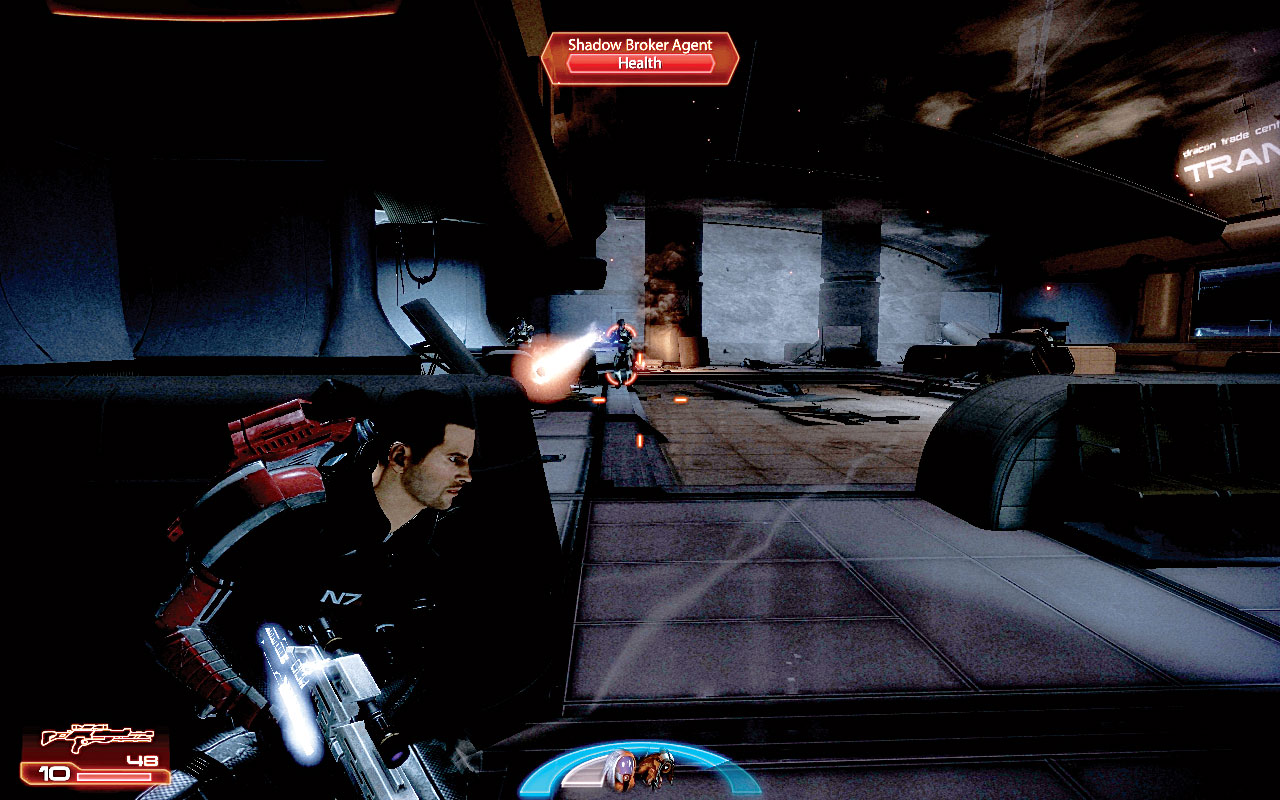
Further Shadow Broker forces are in the entrance foyer [028] ; there are 8–10 agents, along with a heavy and an engineer. Target the latter two foes first, using the pillars, low walls, or circular terminal to the left as cover.
Quickly remove the threats already in the room, and then concentrate on reinforcements dashing in from the entrance; use area-of-effect weapons to take down more than one, or quickly tag each before they can split up.
Then exit the structure via the door you used to gain entry.
[029]
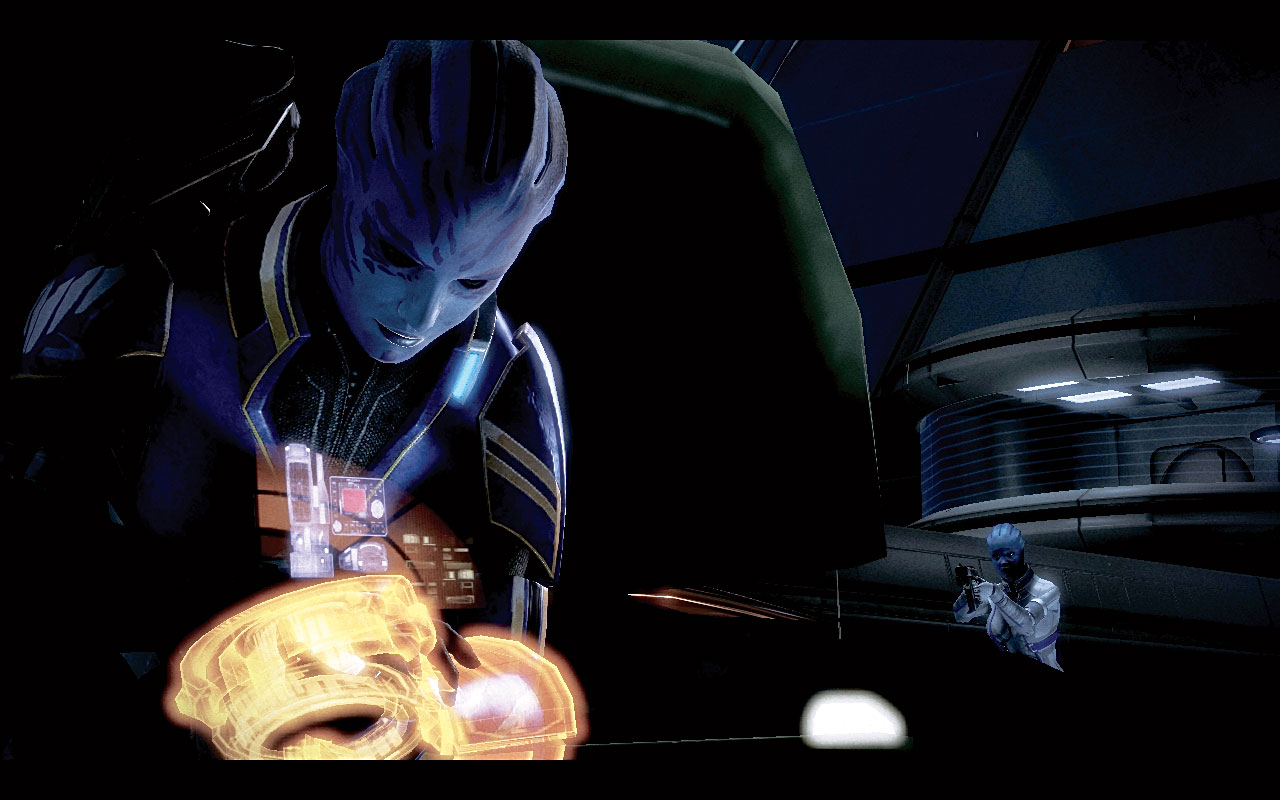
Vasir and Liara are embroiled in a skirmish [029] where the renegade cop parked her skycar, which she leaps into. Liara commandeers a skycab, and Shepard leaps into the seat.
There is room for one other squad member, who assists you with Liara for the remainder of this mission. You begin a vehicular chase through the Illium conurbation.
Pursuing Vasir: Skycab
[030]
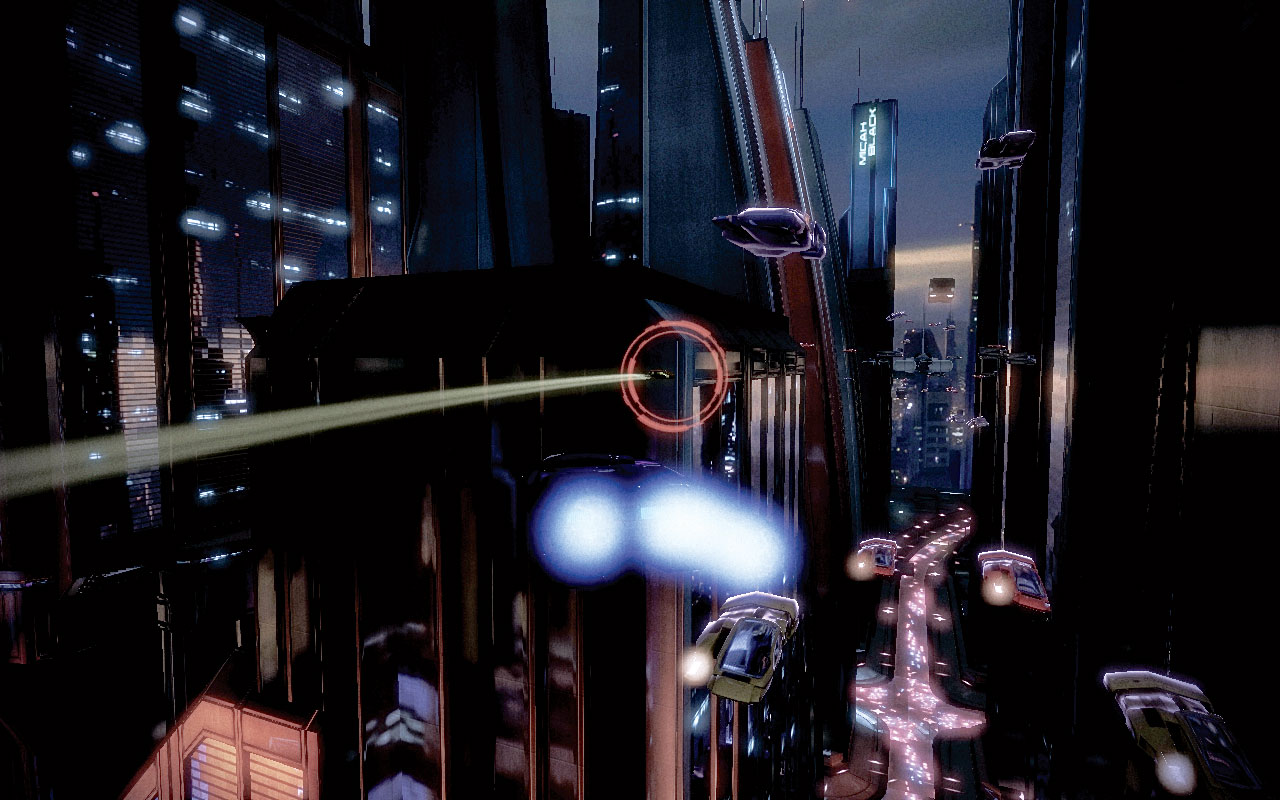
You’re given the controls of the skycab [030] , which consists of left and right steering, plus a boost.
Keep your eyes peeled for the sides of buildings and other vehicles, and boost as you come out of targets, if Tela’s vehicle is too far away and warning signs are displayed, or if you have a long distance straight ahead of you.
Boosting reduces the steering capabilities of your skycab, so never boost while attempting a corner or other sharp maneuvers.
During the chase, usually witty banter is exchanged, until the chase becomes more violent; Vasir begins to drop proximity mines, which should be deftly avoided by steering around them, and boosting afterward if you’re losing your target.
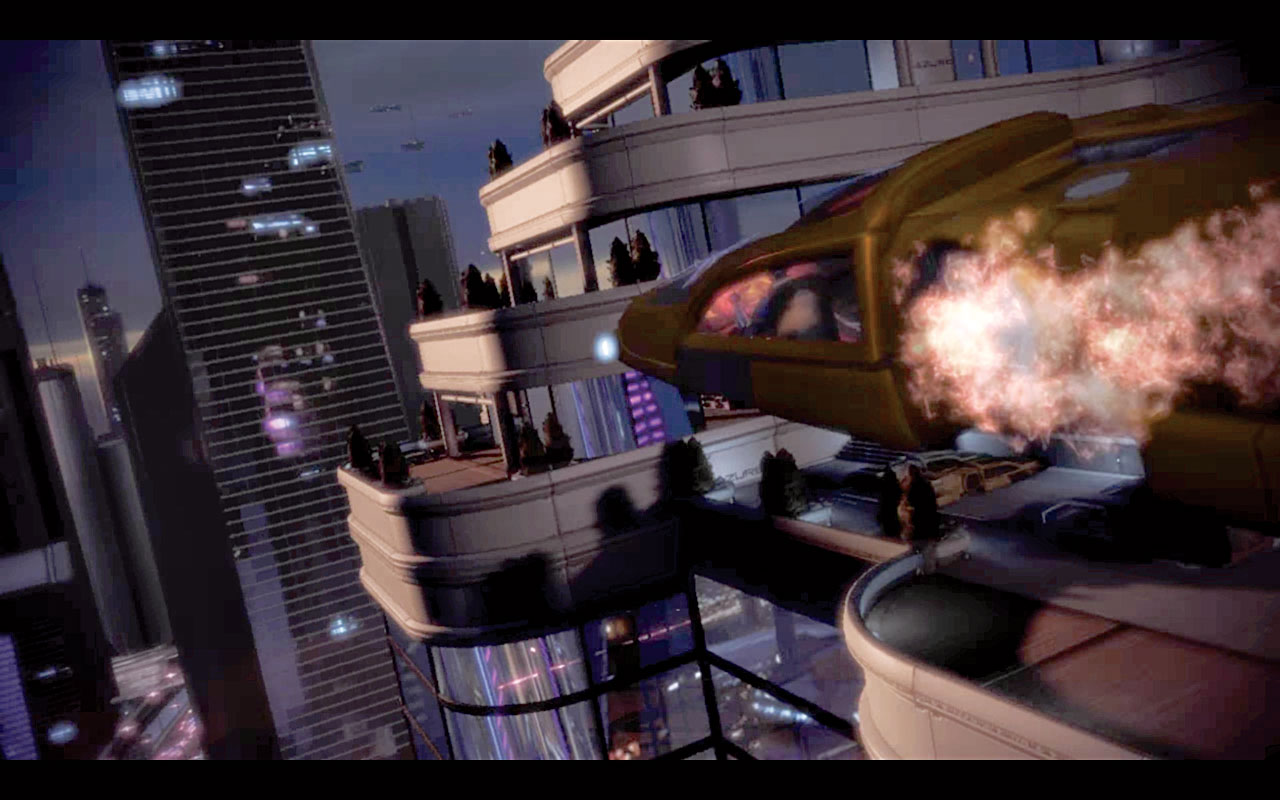
The chase concludes with a hectic back-and-forth side shunting at high altitude, which ends with Vasir’s car colliding with another vehicle, spinning wildly, and crash-landing onto the upper balcony of a nearby structure [031]: the Azure Hotel.
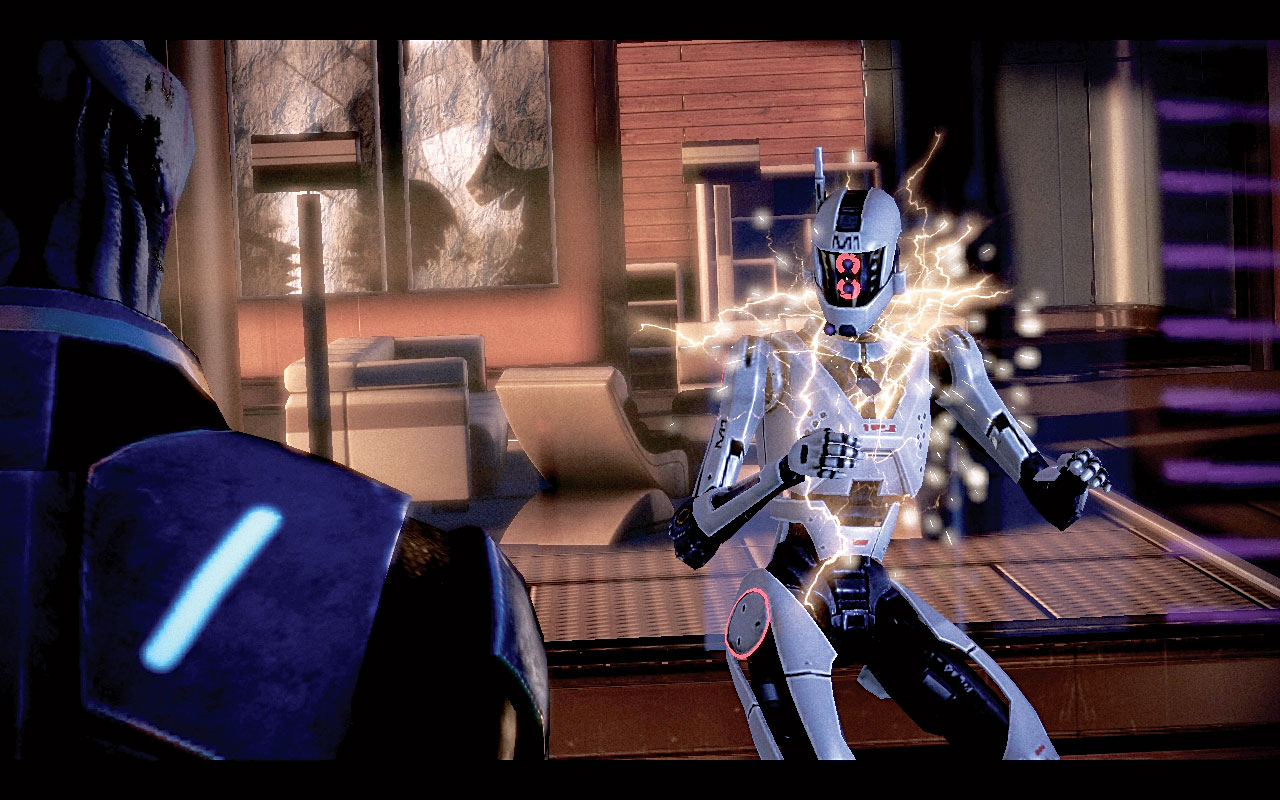
As Shepard brings the chase craft around, Tela extricates herself from the flaming vehicle and deals quickly with an inquisitive security mech [032] .
Requesting backup, she dives into the hotel while Shepard lands the skycab at the parking lot in the penthouse balcony entrance of the hotel.
[031]
[032]