
Mass Effect 2 Guide Walkthrough SPECIAL ASSIGNMENTS
Overlord: Prometheus Station
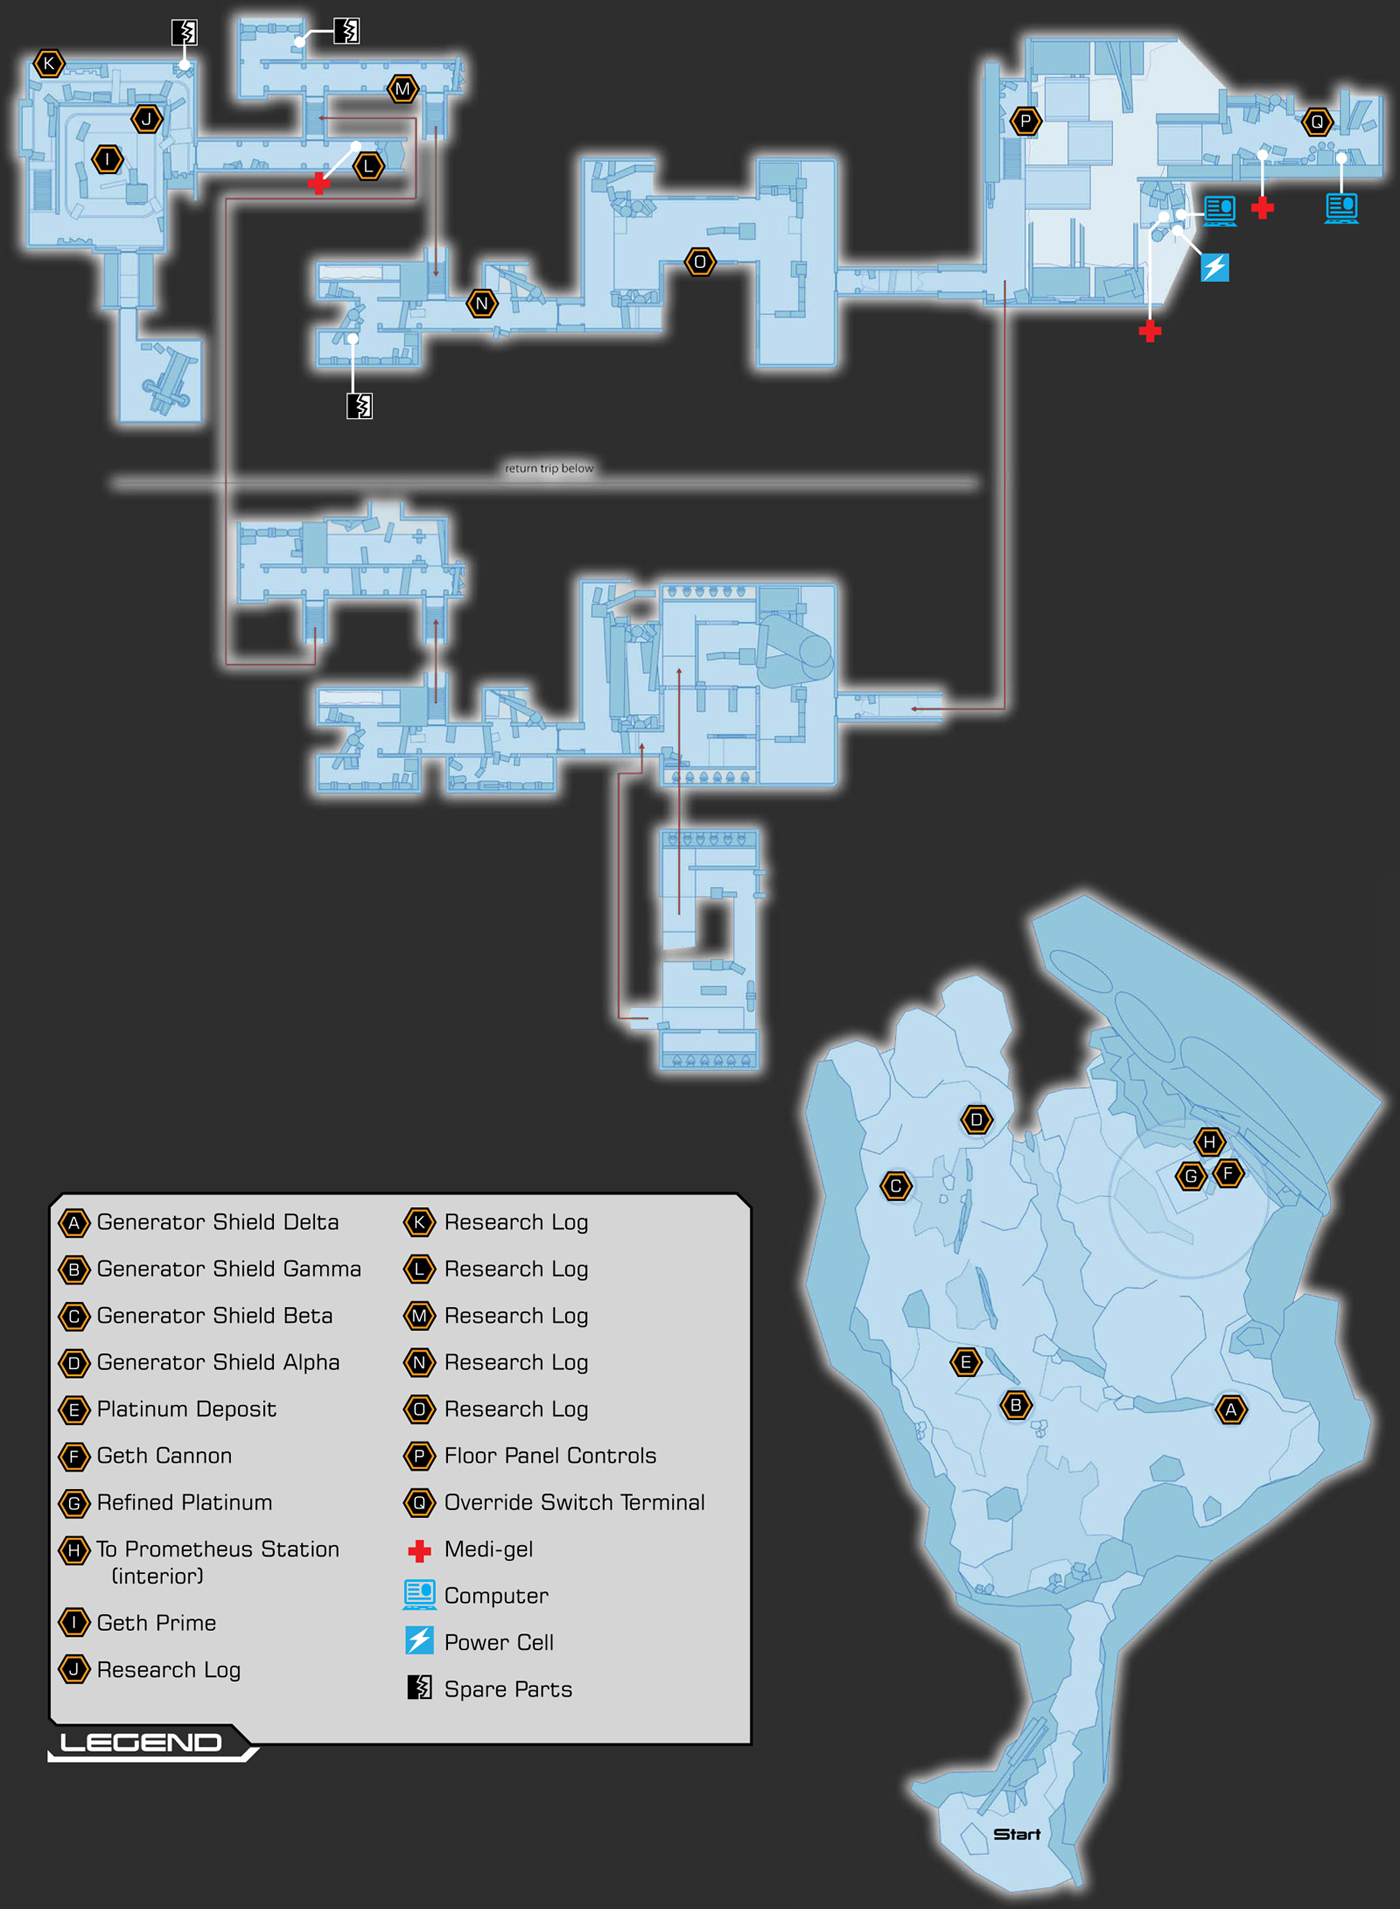
Part 6: Locating Prometheus Station
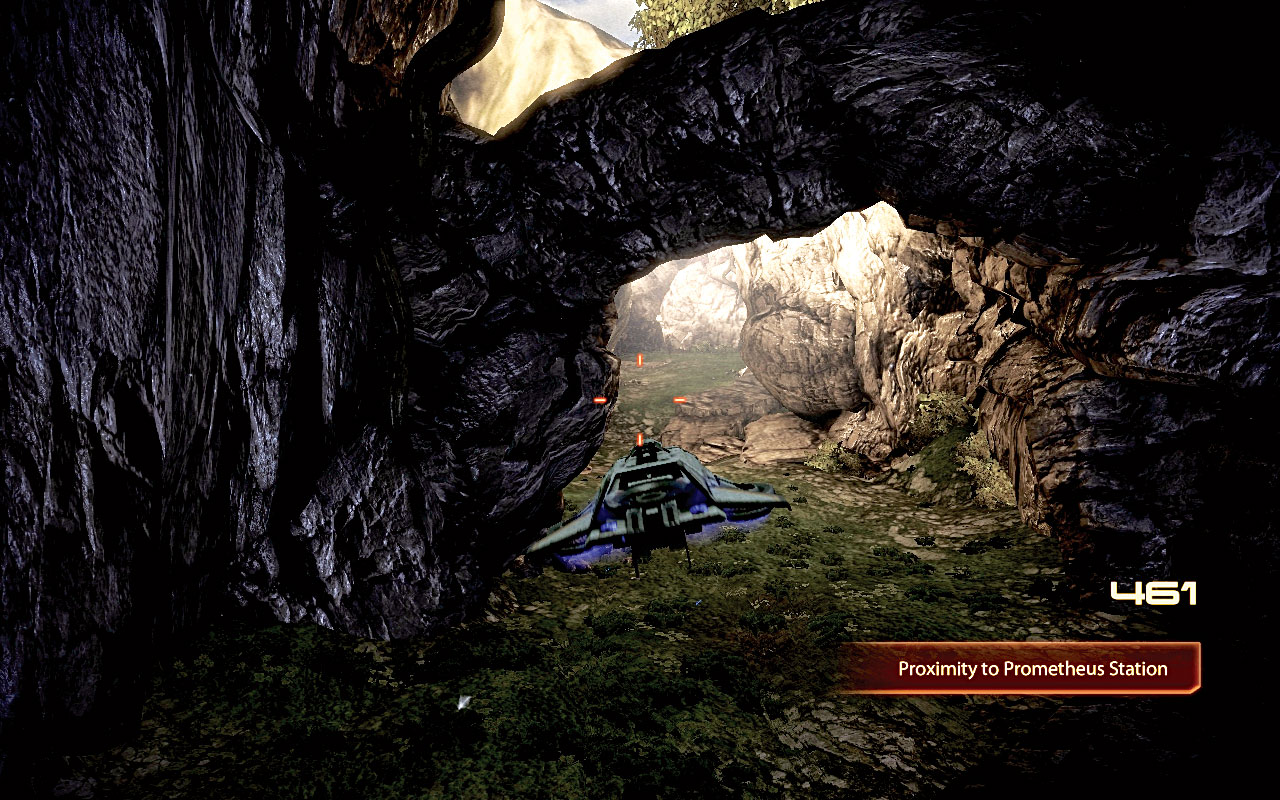
[001]
Beginning at the entrance to Vulcan Station, follow the proximity sensor and onscreen arrow prompts, keeping the long cliff wall on your left, and jet onward and slightly downhill, past data package #4 and the entrance to Atlas Station (which isn’t registering at the moment).
Pass the outpost with data package #6 on your right, and look for the natural arch above the valley [001] . The entrance to Prometheus Station is just through it. As you arrive, choose two squad members to accompany you. Bring your best geth removal specialists!
Disabling the Generators
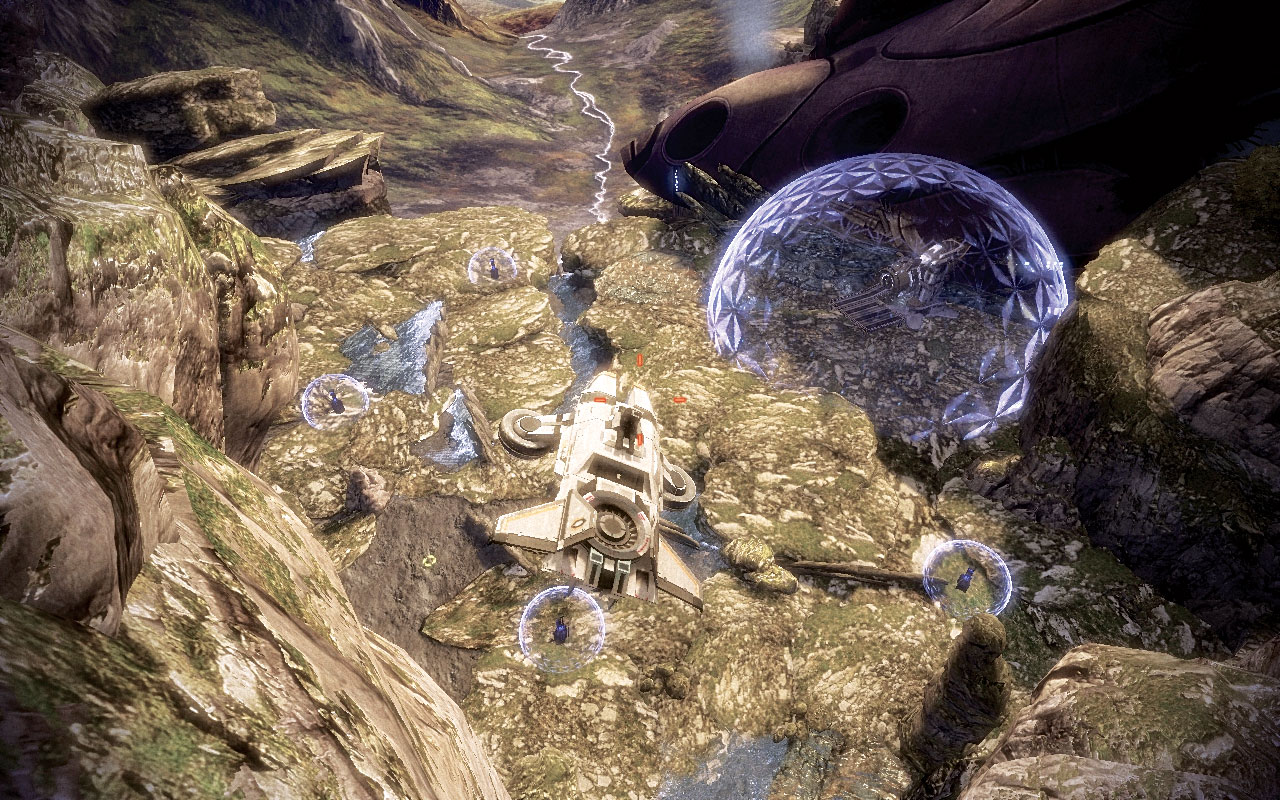
[002]
Dr. Archer attempts contact as you move the Hammerhead down the treacherous precipice. Apparently, someone thought it a good idea to appropriate a crashed geth ship full of dormant machines to utilize at Prometheus Station. As you arrive at the cliff edge [002] , study the rocky plateau below for the locations of all shielded structures.
Your onboard computer postulates that the rogue VI has control of the large geth cannon. Four generators, each with its own generator shield (Alpha, Beta, Delta, and Gamma), are powering the geth cannon’s main shield. You must remove the shields from each of the four generators and then destroy the cannon.
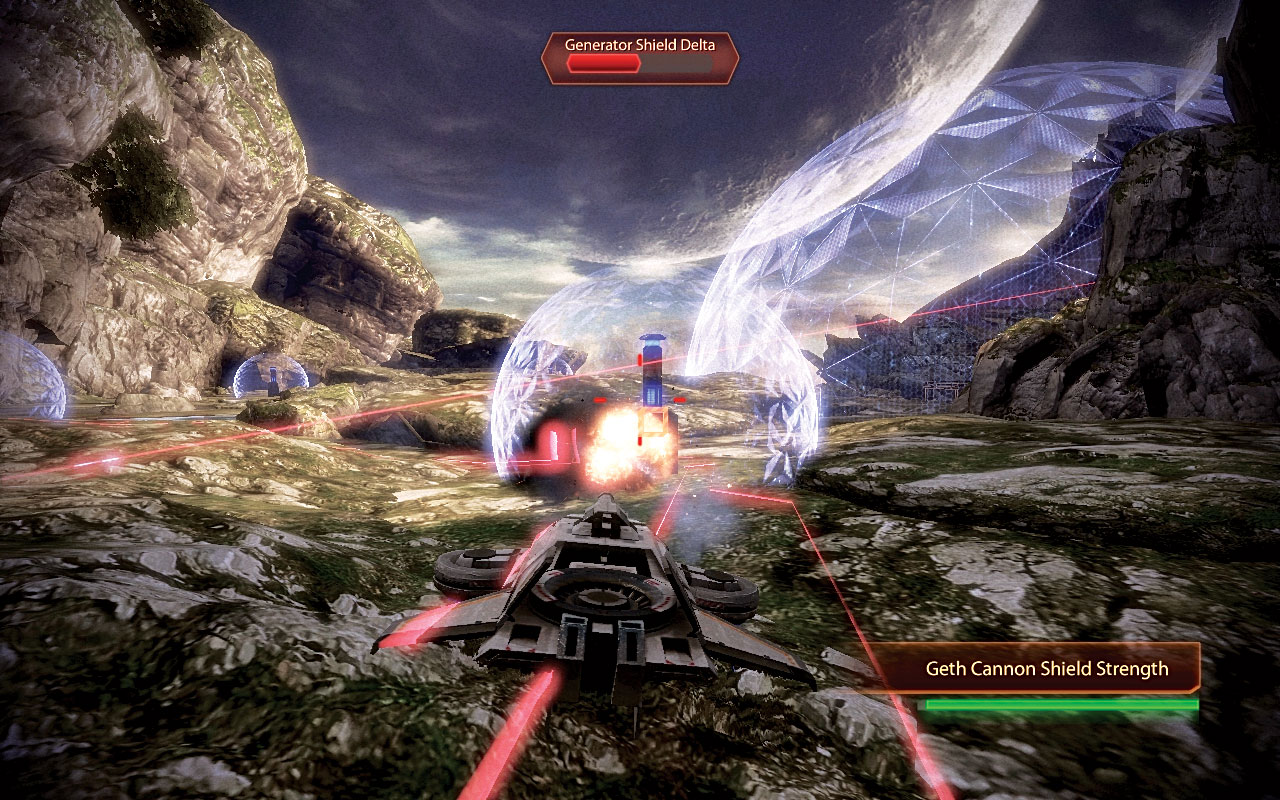
[003]
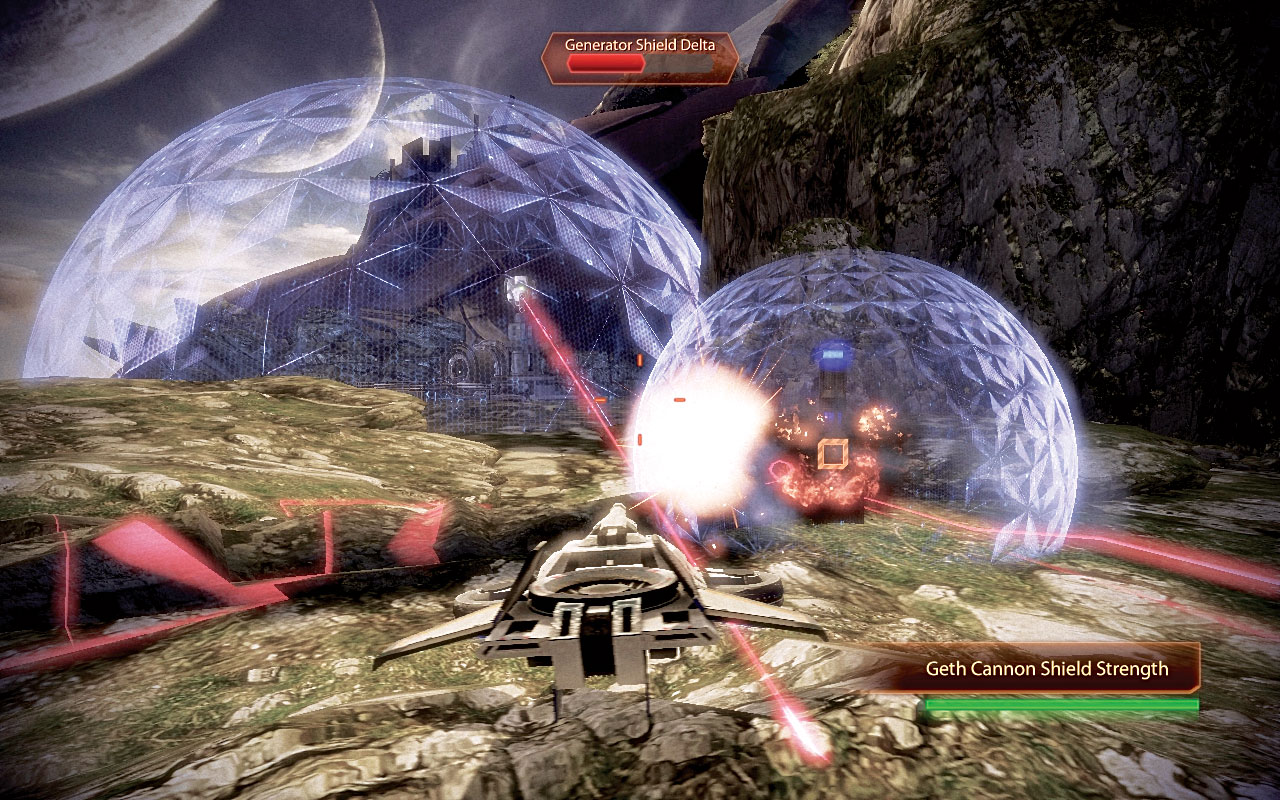
[004]
This is straightforward in theory, but slightly trickier in reality. Make sure you learn the “correct” way [003] to remove the generator shields, and the “incorrect” way [004] . The former is to turn the Hammerhead away from directly facing the main cannon and, while you’re shooting at the generator, position the craft with an escape route.
The latter provides good strikes against the shielded generator, but there’s nowhere to dash when the main cannon fires.
When you spot the pink targeting ground lights in your general area, immediately boost and escape the incoming blast, or your craft explodes. Boost immediately, and you’ll be safe; then target the nearest new generator shield and remove some of it while positioning yourself for another escape.
Continue with this pattern until all of the generator shields are down and you’ve destroyed the generators as well.
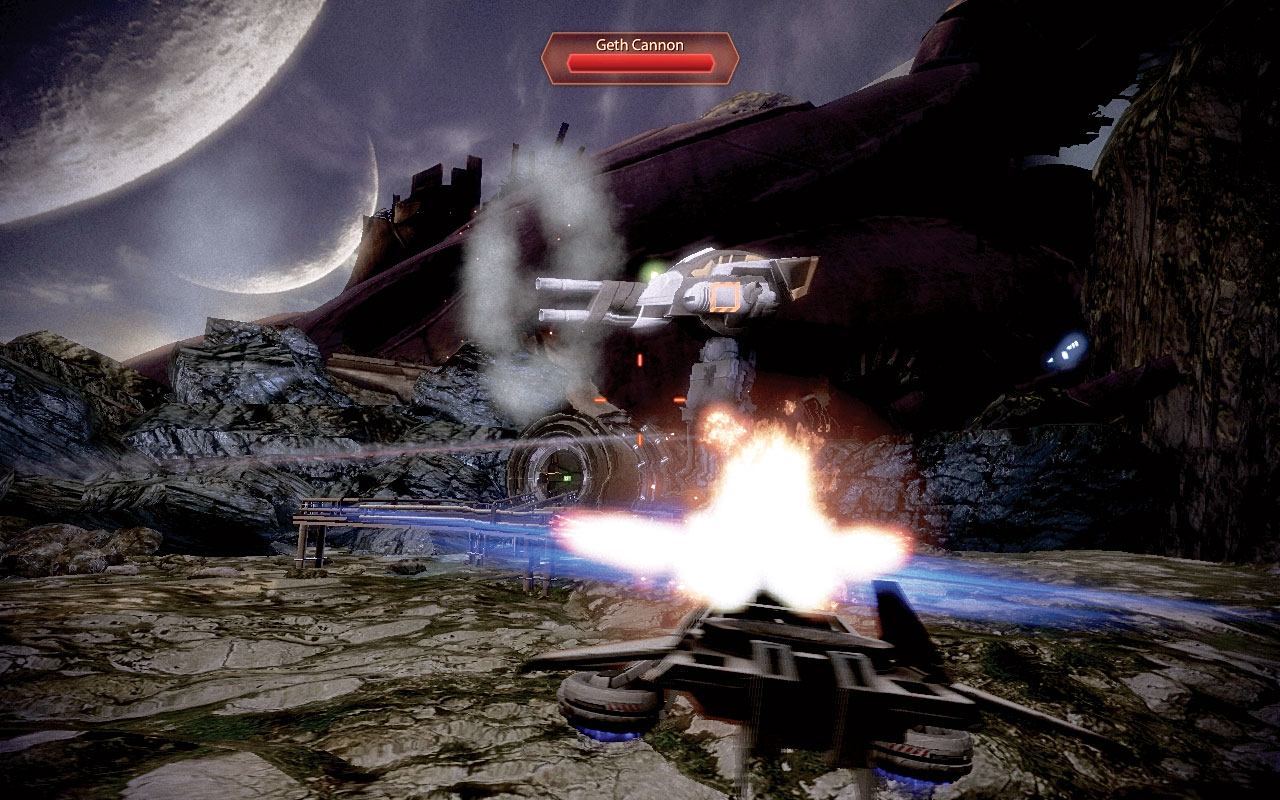
[005]
With all shields and generators removed, you can target the cannon itself. Moving closer is the preferred plan, as you can drive under the cannon’s aiming mechanism [005] and rake it with rocket fire until it explodes.
With no further threats, you should locate all the available platinum. Do not disembark yet! At the rear of the plateau, between generators Beta and Delta, is a mining spot to remove platinum from. Then park, disembark, and locate more platinum, this time inside a crate close to the entrance door.

|
Spoils of War > Resources > Refined Platinum > Mine > 1,200 Platinum |
|
|
Spoils of War > Resources > Refined Platinum > Open > 800 Platinum |
Locating the Override Switch
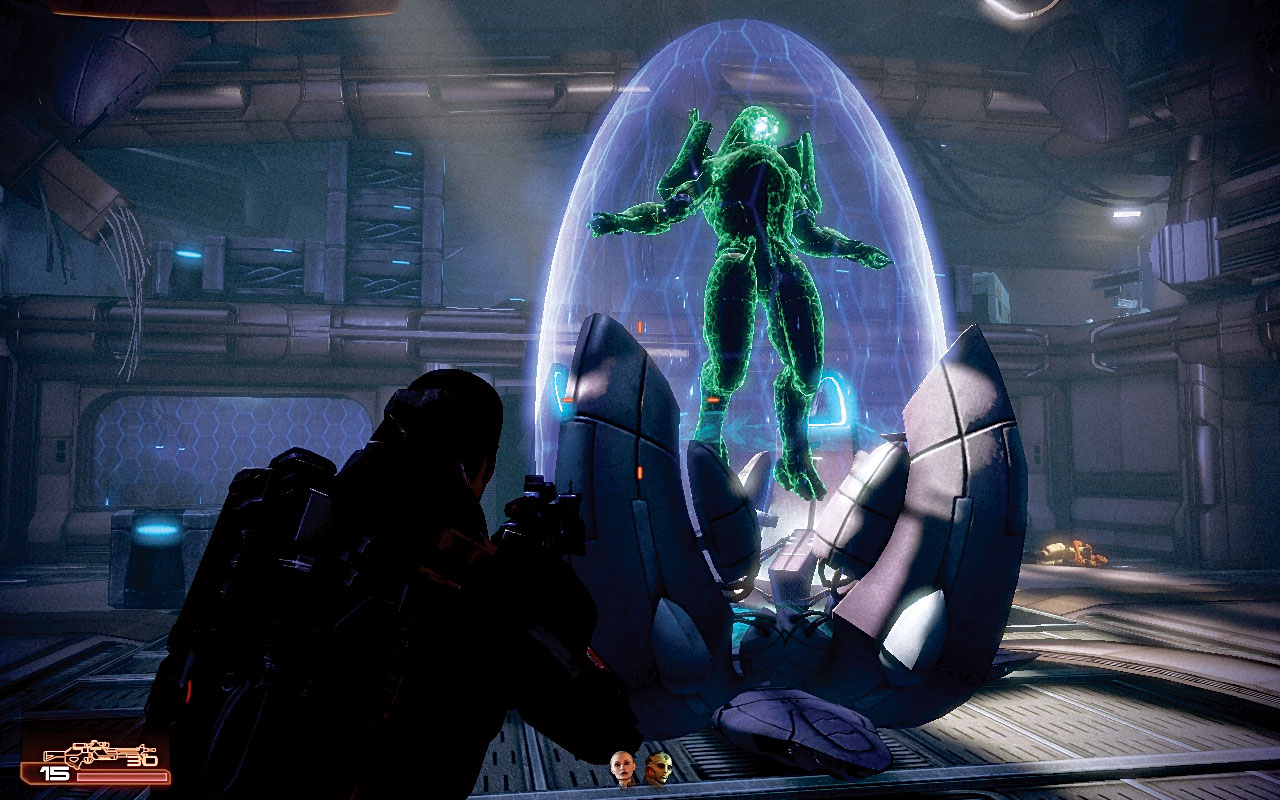
[006]
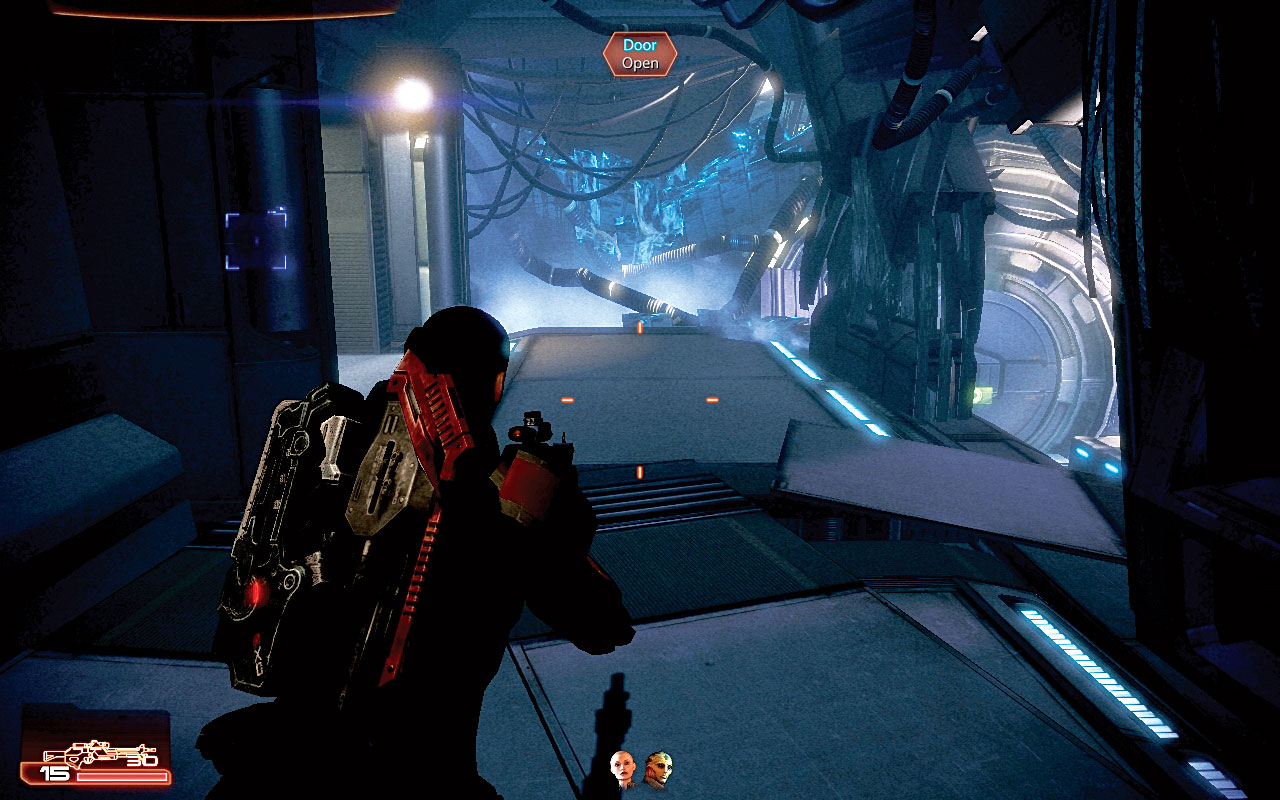
[007]
Walk down the entrance tunnel as the computer informs you of the dangerous AI housed in this facility. Inside the first chamber, a stasis pod houses a geth prime (fortunately inactive) [006] . Search the room for a research log near a fallen worker; apparently, Altas Station was requesting a dozen more geth for an experiment.
Head up the ramp to the left, where another research log categories the dormant geth as “creepy.” As you move around, salvage some lab equipment, but prepare for a digital growl from the VI, which is creating a face more human-like by the minute.
Exit via the door at the end of the upper walkway [007]. This leads to a corridor where the VI makes its presence felt, and the ship shudders. Check the far end of the corridor for a med kit, and listen to another research log, with grim findings. Open the only accessible door

|
Spoils of War > Lab Equipment > Salvage > 375 Credits |

|
Med Kit > +1 Medi-gel > 100 Credits |
[008]
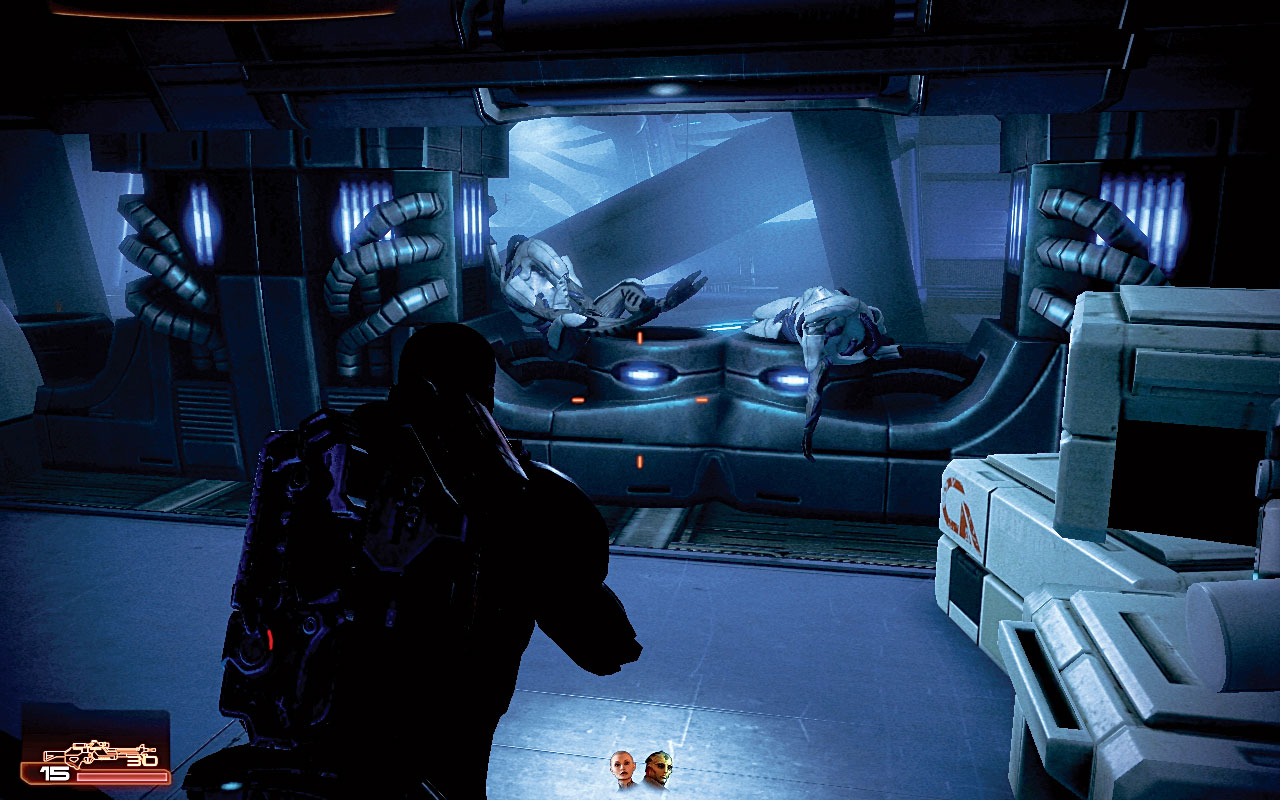
This leads down a steep set of stairs to a lower corridor area. Check to the left, and head around the corner into a storage room. Salvage some lab equipment, and view the dormant geth [008] .
Back in the corridor, head to the far end, stopping to listen to another research log detailing happenings on Halloween. The door at the far end on the right side leads down more steep stairs.
|
|
Spoils of War > Lab Equipment > Salvage > 525 Credits |
[009]
Open the door onto the lowest-level corridor and check to the right. Vault over the storage bench and inspect what appears to be the main location of the impact where the ship collided with the planet’s surface. There is lab equipment to salvage here.
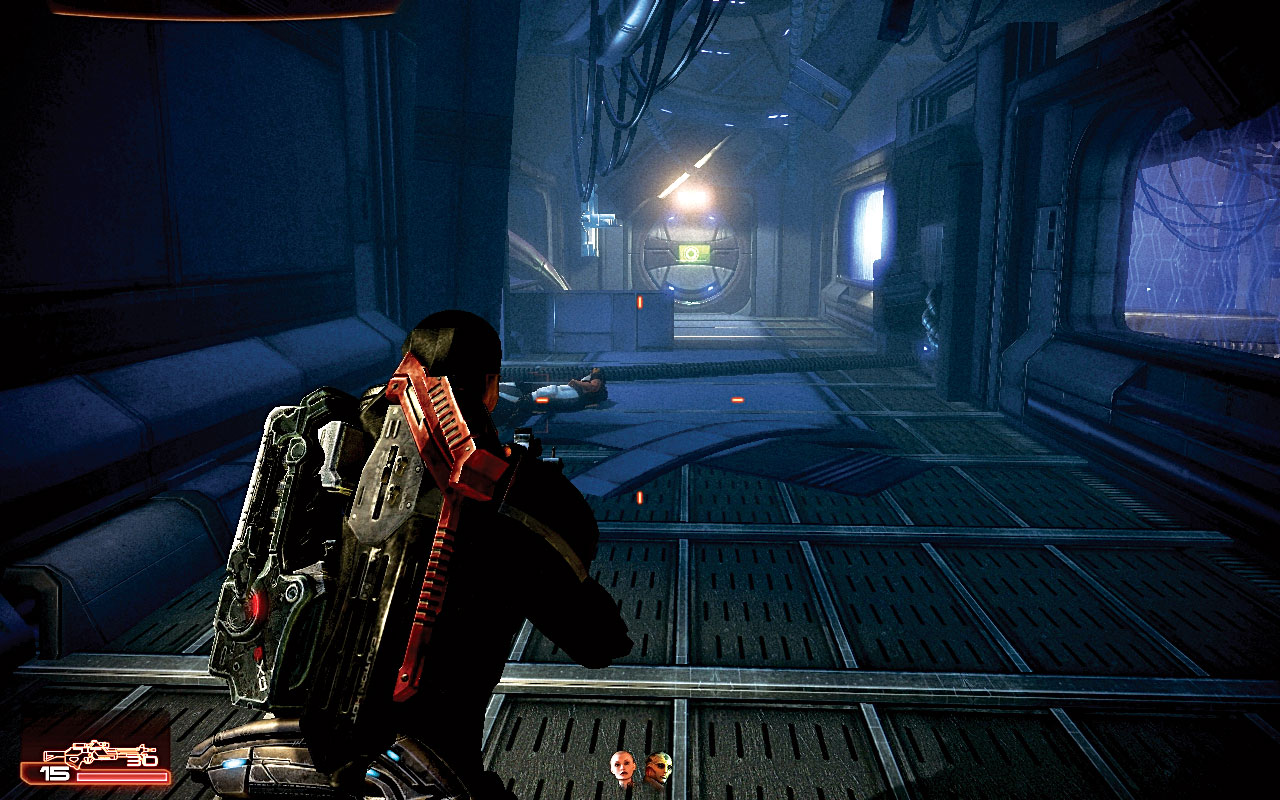
There’s some ominous creaking as you head back and down the long corridor [009] , past the door you came through, and inspect a lab worker’s corpse to play another research log.
Archer recently declared a lockdown, and everything went offline, but the worker’s station was already infected. The ship shudders again as you reach (and open) the door at the end of the corridor.
|
|
Spoils of War > Lab Equipment > Salvage > 375 Credits |
[010]
[011]
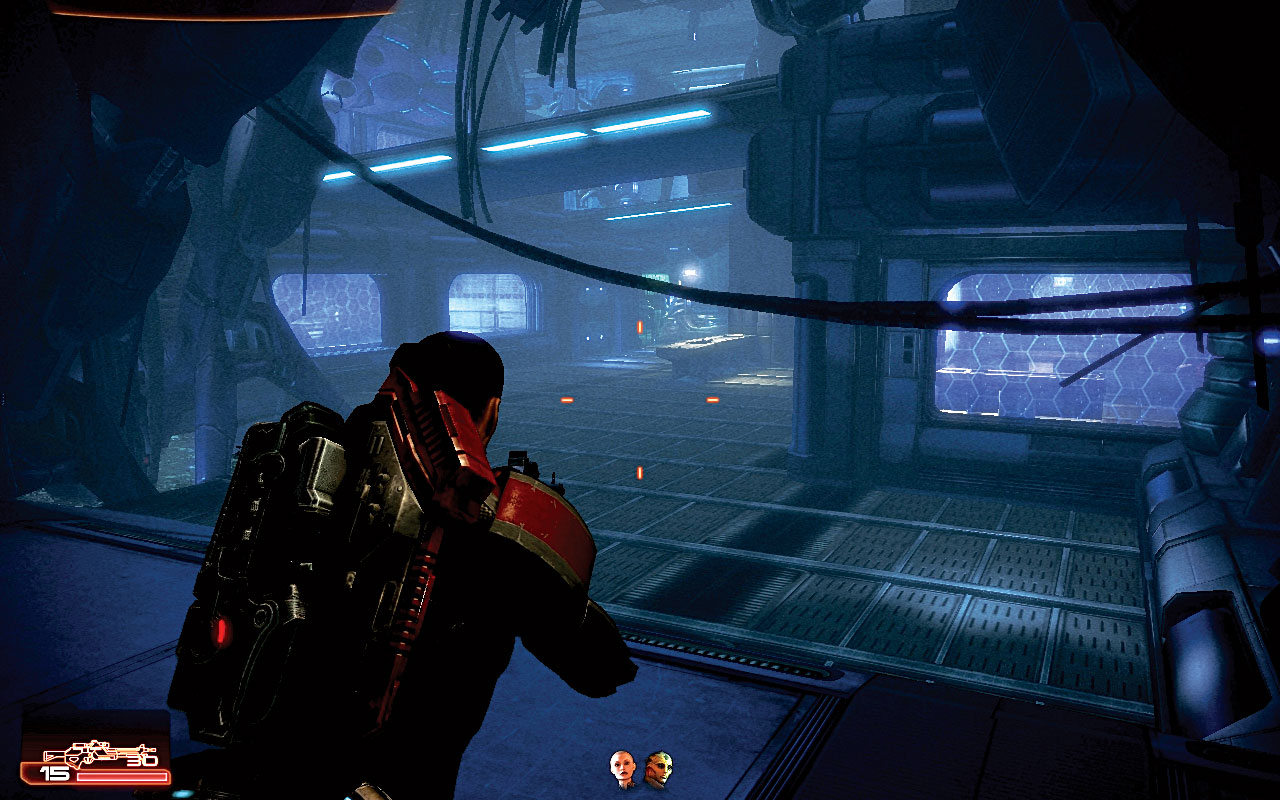
This appears to be a two-level open laboratory [010] , with chambers ahead and to either side of you. It is in partial decay. A research log describes the VI as “herding” the scientists. The digital roar of the VI beast echoes through the chamber as you reach the door at the far end.
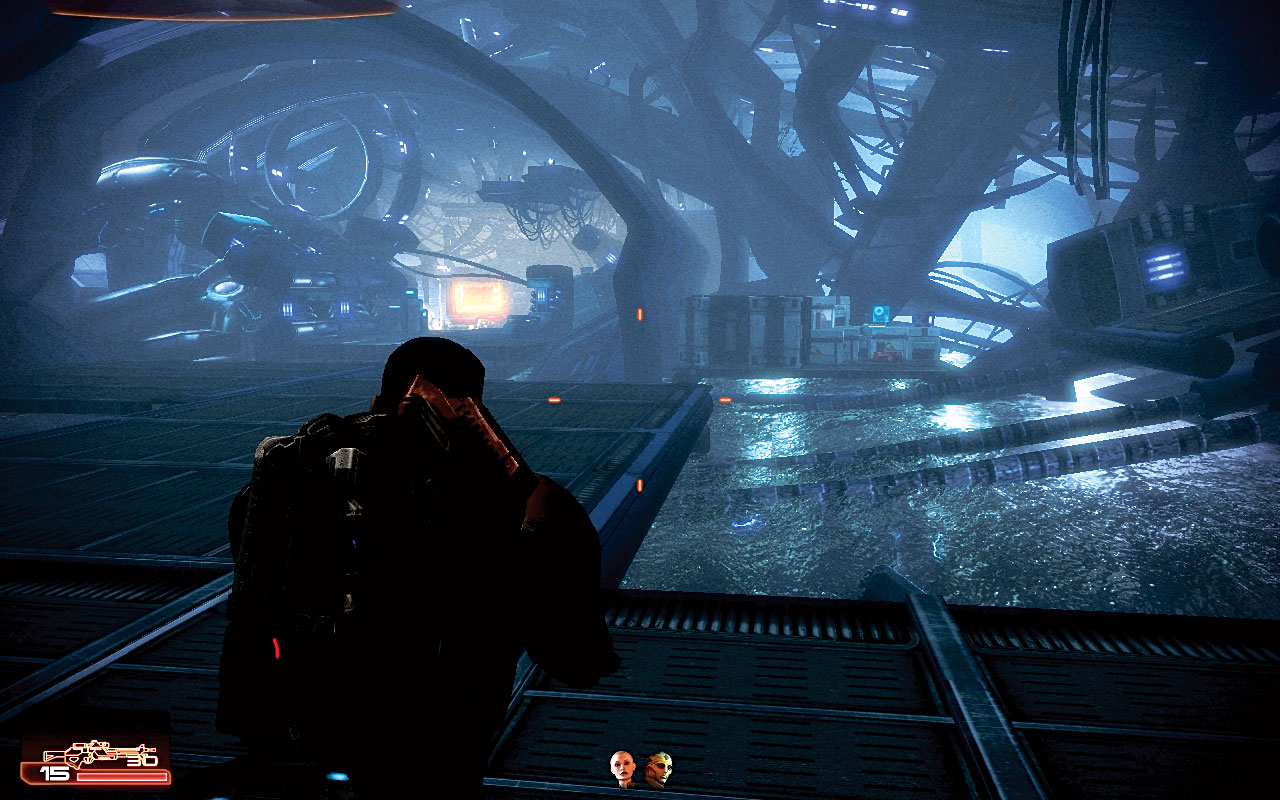
Open it, and enter a short, ruined and waterlogged corridor. You’ve reached the belly of the ship, where mangled sections of superstructure creak and mingle with the core, and a series of movable platforms [011] . The Hammerhead computer chimes in; the objective is located on the far side of the impasse.
[012]
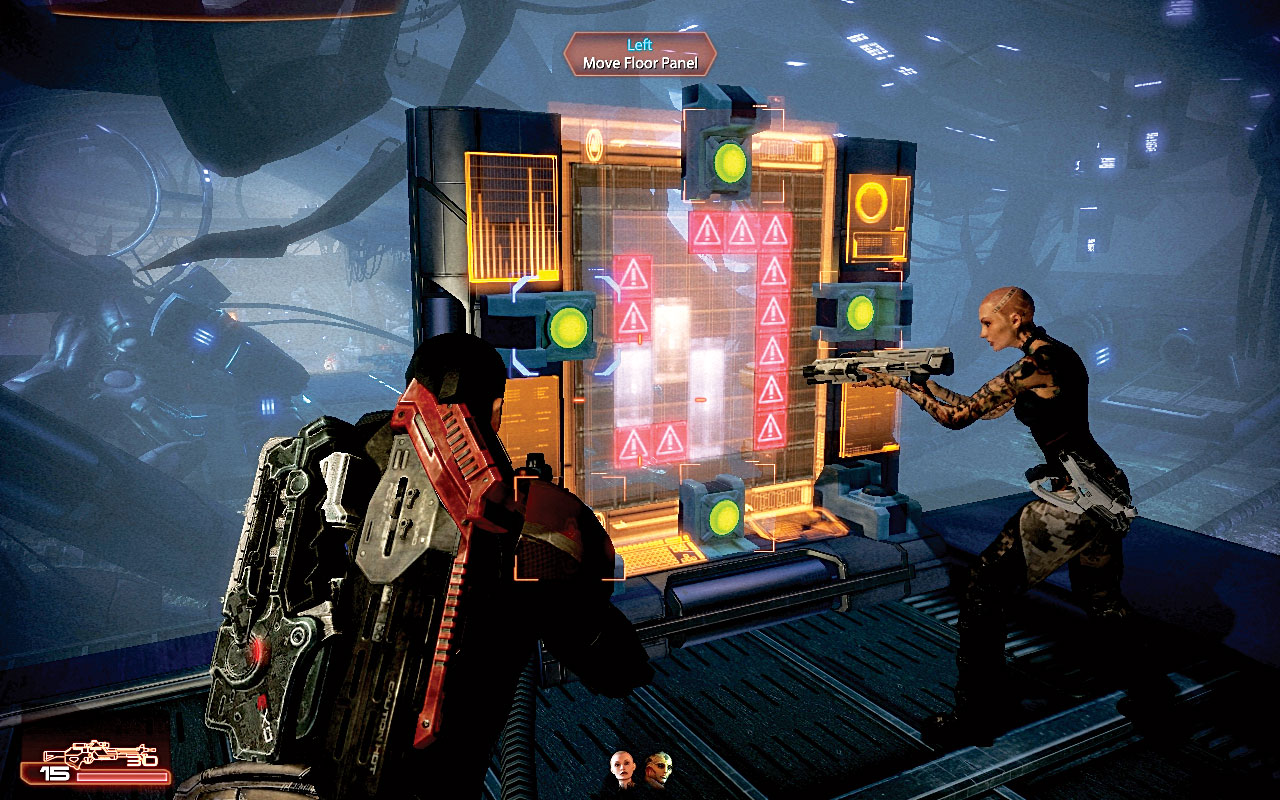
At the top of the steps on your left is a floor-panel diagram [012] . On the diagram, each floor section (two are two “squares” in size, and one is three “squares” in size) has a transparent sheen to it. Every gap between sections has no detail at all.
Dangerous areas are color-coded red, with an alert icon. Use the horizontal cycle to switch between the three floor sections. Then use the four directional buttons to move each piece around the floor.
[013]
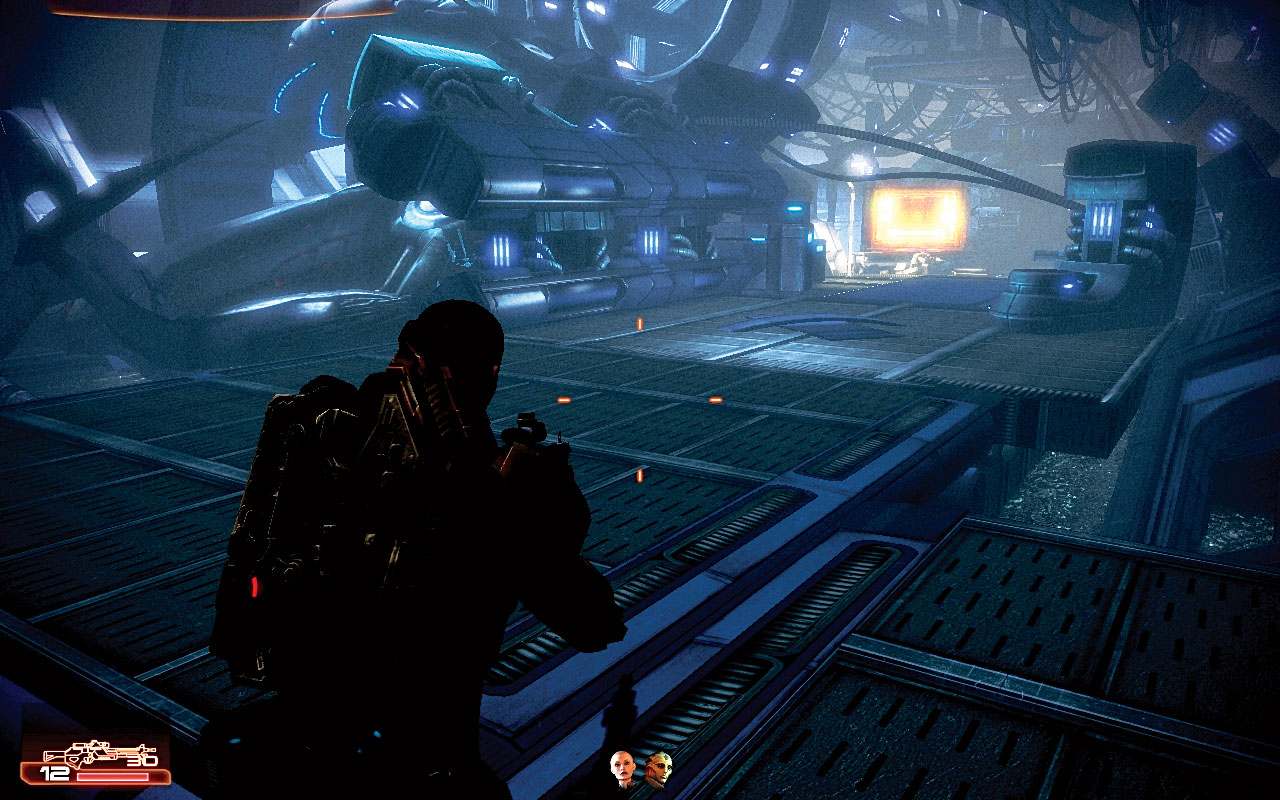
First, you may wish to access a small “island” in the far right area of the room with a number of items to pick up. Move the middle platform up once and right twice, into the top right corner of the diagram.
Then descend and run across the three-square and then two-square panel (that you just moved) [013] to reach a med kit and laptop, as well as power cells.
|
|
Med Kit > +1 Medi-gel > 100 Credits |
|
|
Spoils of War > Laptop > Access > 600 Credits |

|
Ammunition > Power Cells > 2 Heavy Weapon Ammo |
Secondly, move the far left panel right once and up three times, as far as it can go. Then move the top right panel left just the once. This creates a path.
You don’t need to move the three-square panel at all. Cross the panels and enter a large storage area, where a med kit and a hackable laptop are available. Now use the override switch.
|
|
Med Kit > +1 Medi-gel > 100 Credits |
|
|
Spoils of War > Laptop > Hack > 1,875 Credits |
Part 7: Escaping the Ship
[014]
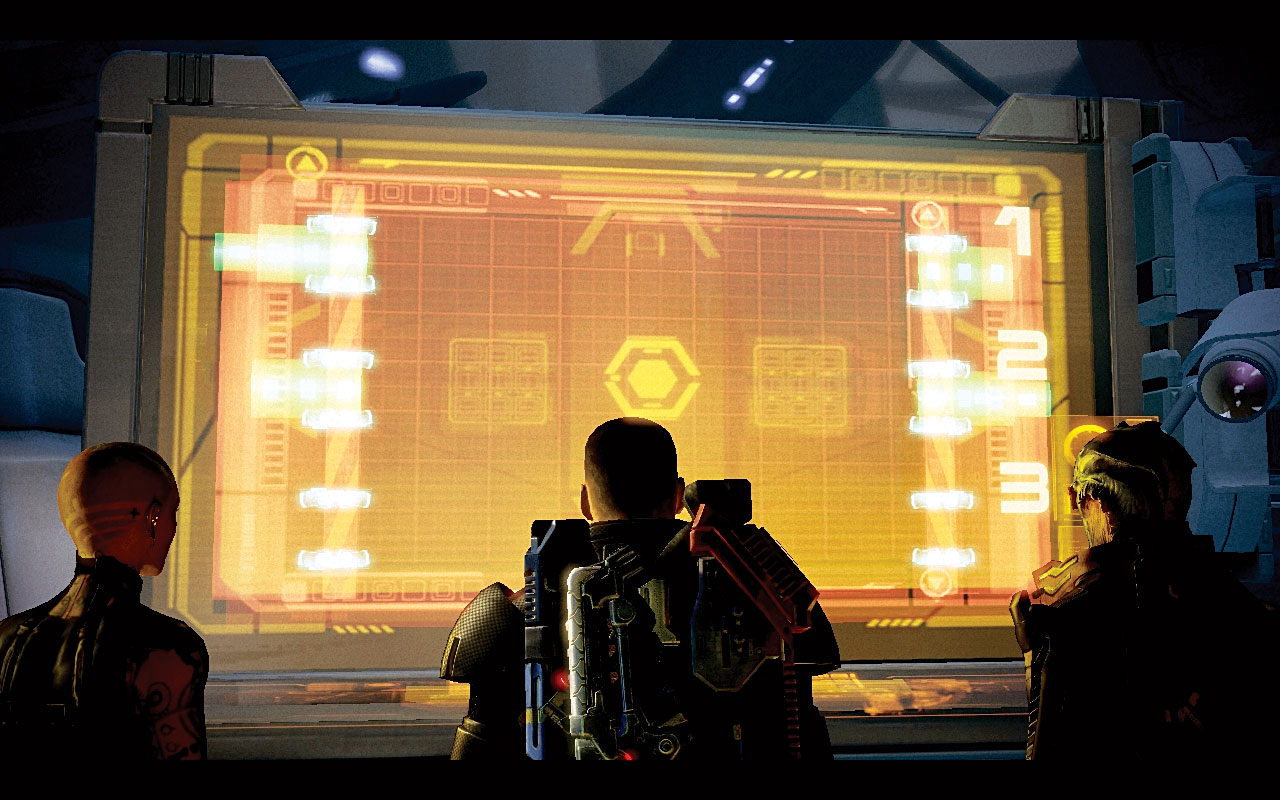
Shepard overrides the lockdown on Atlas Station (if you’ve already overridden the VI at Vulcan Station), and the computer wall crackles into life [014] . And there’s the catch; the dormant geth begin to stir…
[015]
[016]
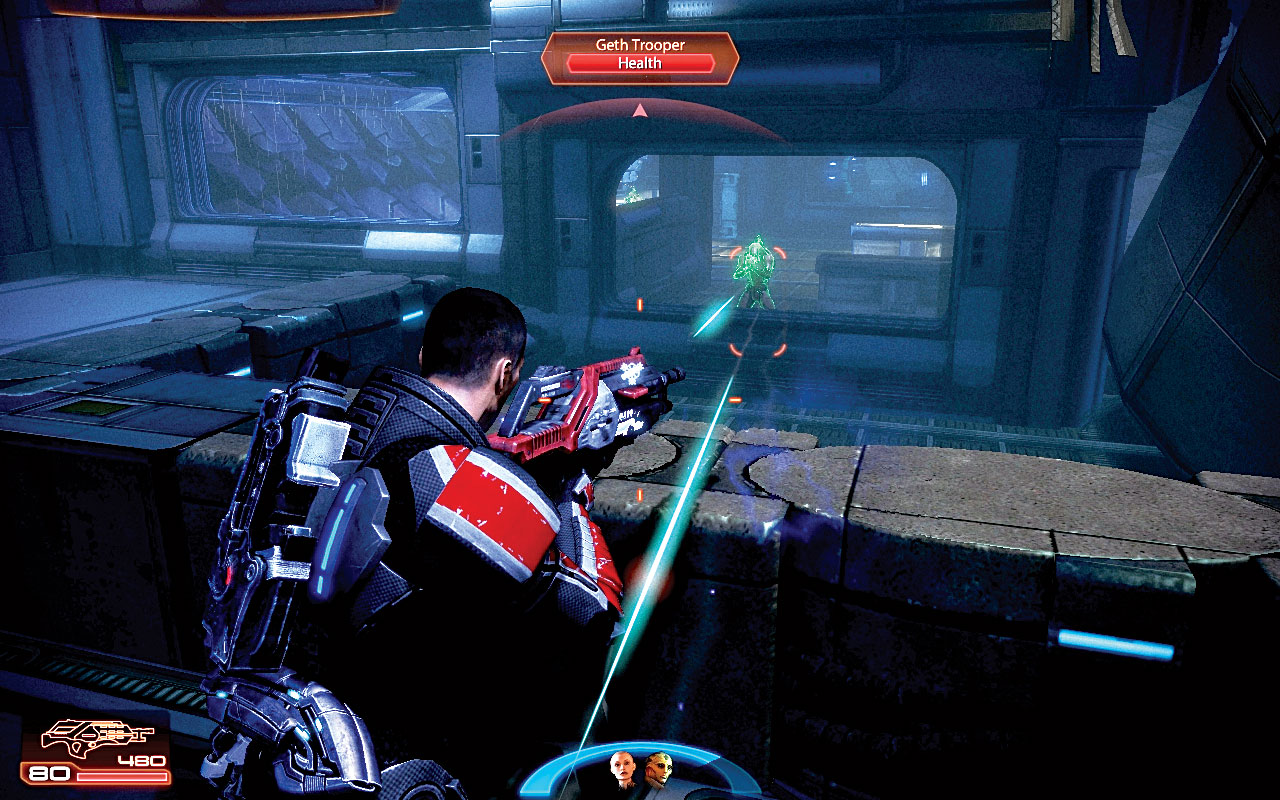
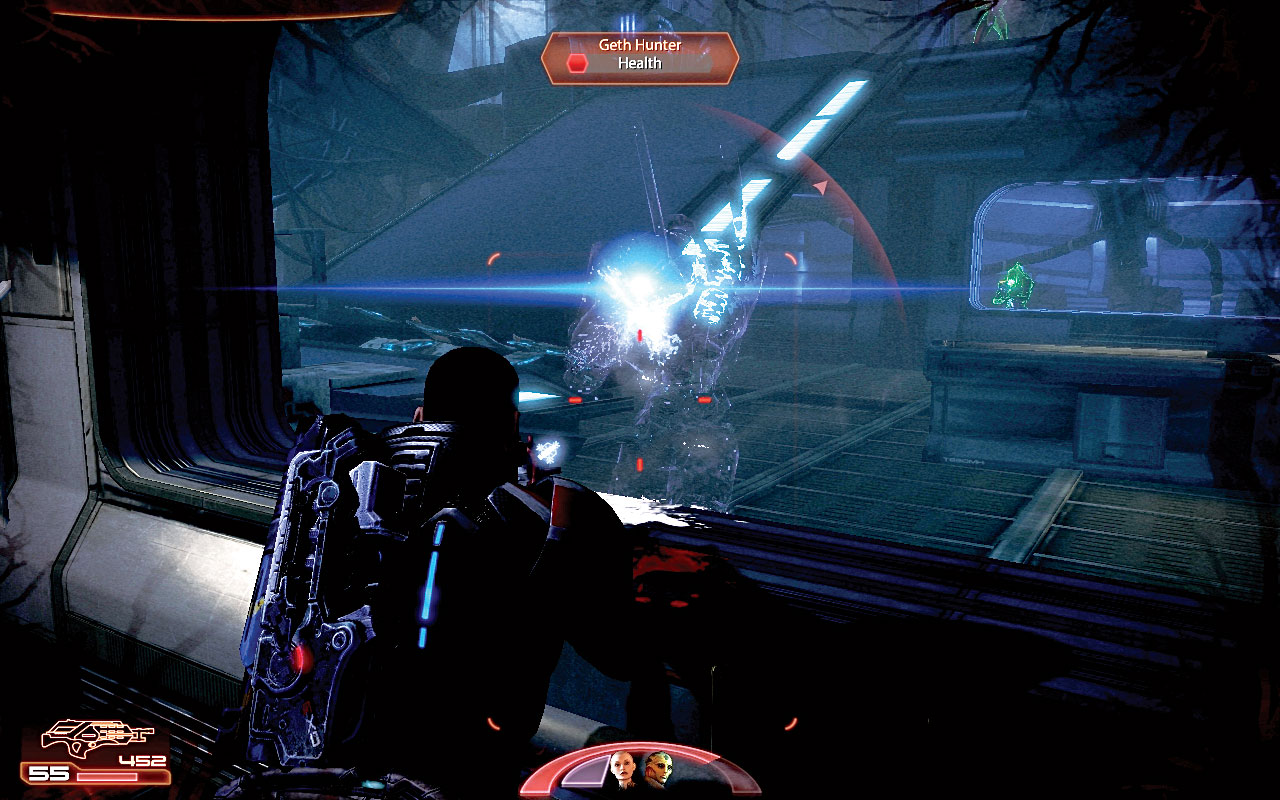
After dropping the geth just as it rises, make a dash across the panels. The Cerberus computer notes hostile geth have been detected aboard this vessel. They don’t make an appearance until you’ve crossed the waterlogged corridor and opened the door to the two-level open laboratory [015] .
Slide behind cover and remove the trooper threats behind the windows in front of you. Then move to the left window and strafe anything moving inside [016] .
[017]
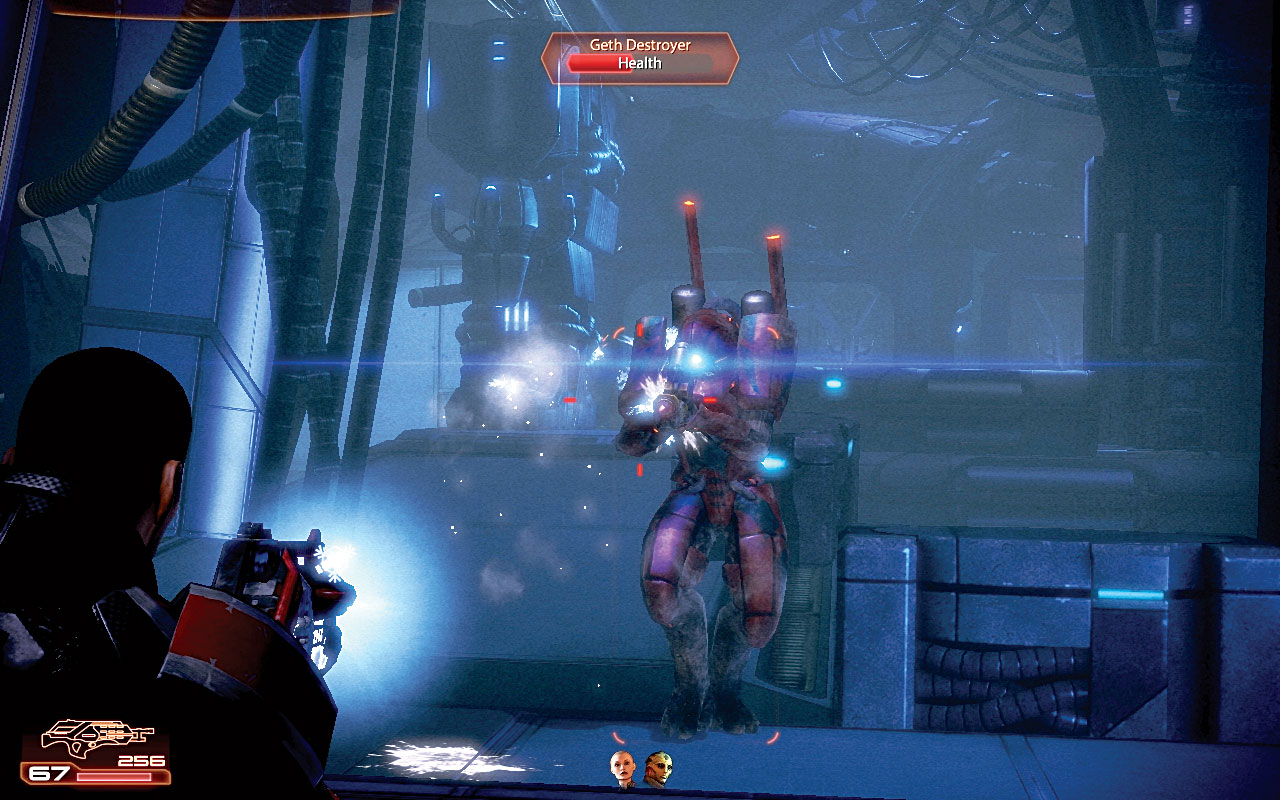
Vault across into the lab and take cover behind a low wall, as a geth hunter and rocket troopers attack. Fight back, then move into the ramped area of the room and ascend the ramp. You may catch a trooper straggler as you reach the balcony.
Order your team behind cover (the open windows to the left are a good idea) before swinging round and seeing more geth incoming from the second level [017] , at the top of another linked ramp.
Dispatch the hunter, troopers, and a rocket trooper, and be very wary of the geth destroyer atop the ramp. Coax the bigger foes down the ramp, and catch them in crossfire.
[018]
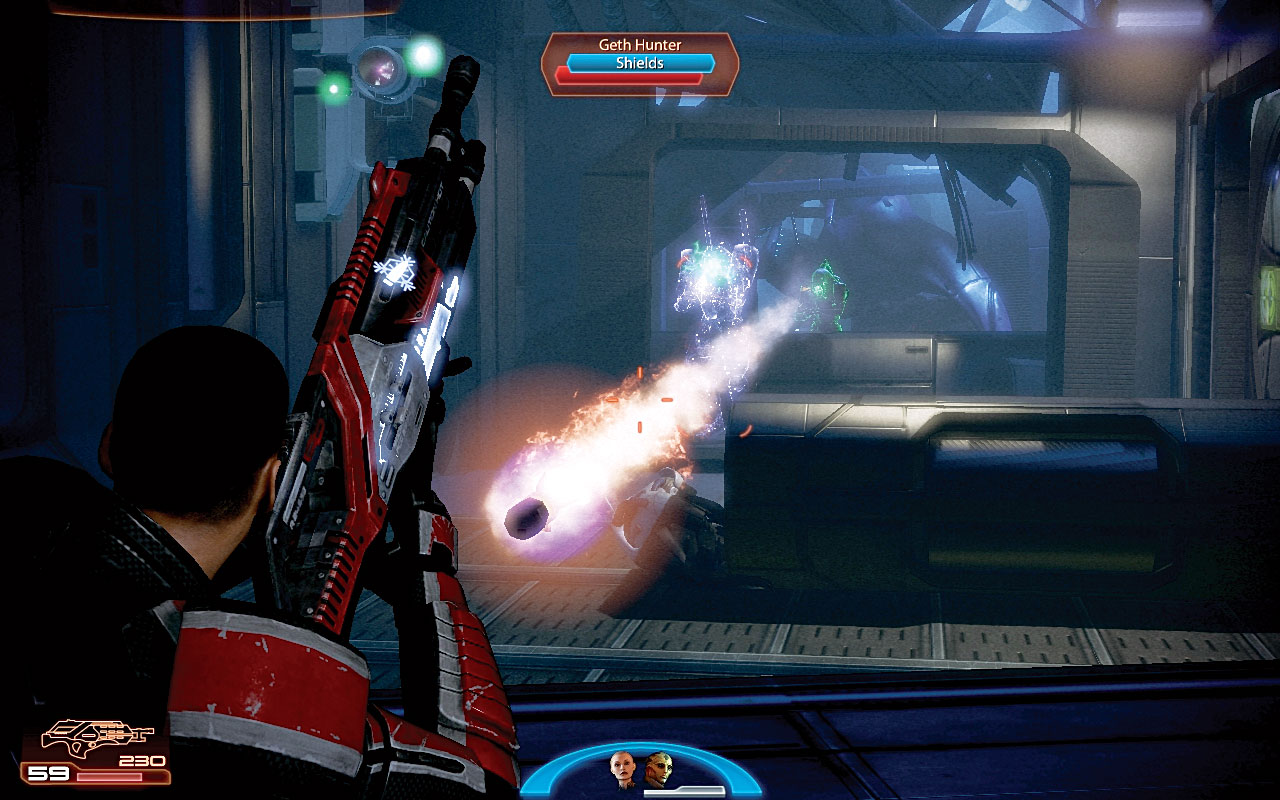
The ground floor of this laboratory is blocked, forcing you to drop down from the balcony and locate the unlocked door opposite the one you entered. In the corridor, seek cover to the left or right, especially doorways, and bring down further troopers, and a couple of hunters as you slowly press forward [018] .
Watch for rocket troopers at the far end; utilizing biotics to remove them from their dug-in spot is always an option.
[019]
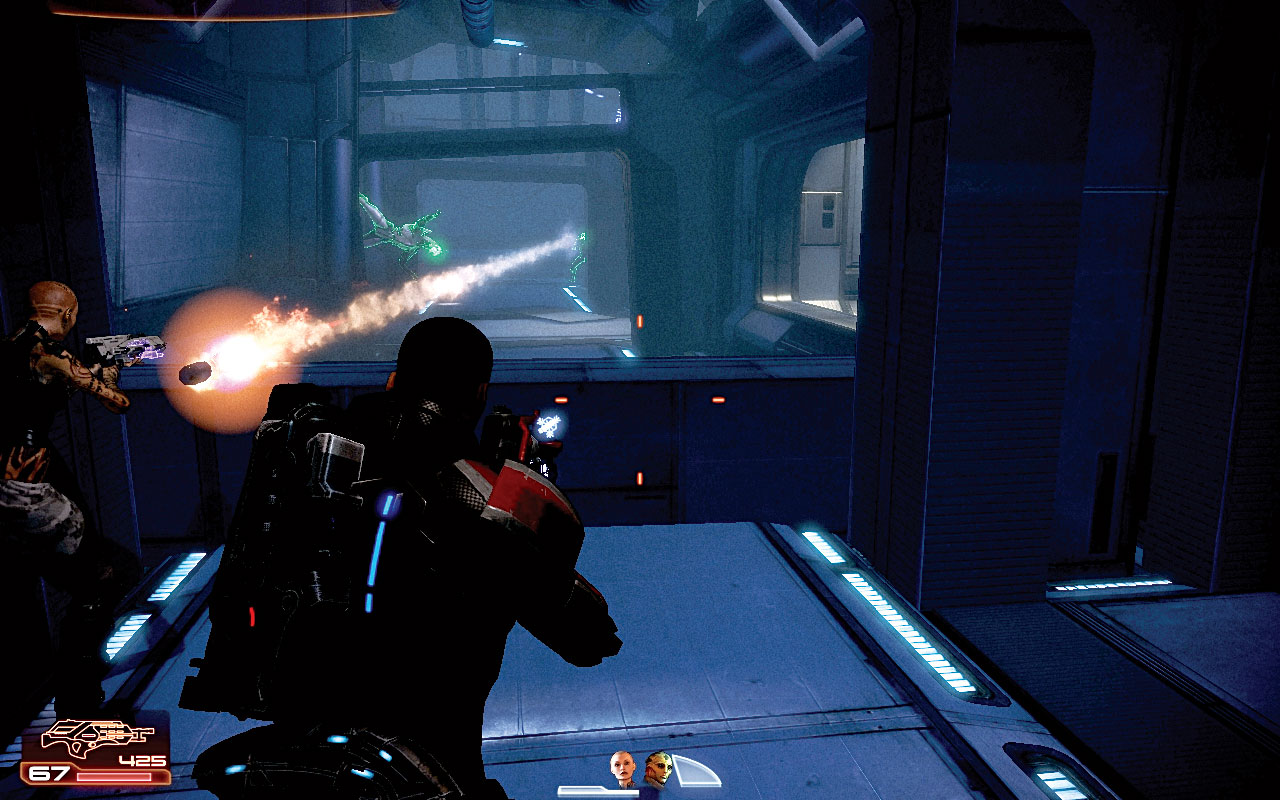
Head up the stairs and face a similar set of foes; troopers, two hunters, and a rocket trooper in the corridor to your left. You can flank them by moving into the adjoining corridor to the right (which also has thermal clips to pick up). Or, stay in cover and blast the geth as they come to you [019] .
Locate the door in the left wall, climb more stairs, and enter the entrance chamber with the geth prime in the stasis pod. Alas, the pod has opened…. Save your game before continuing.
[020]
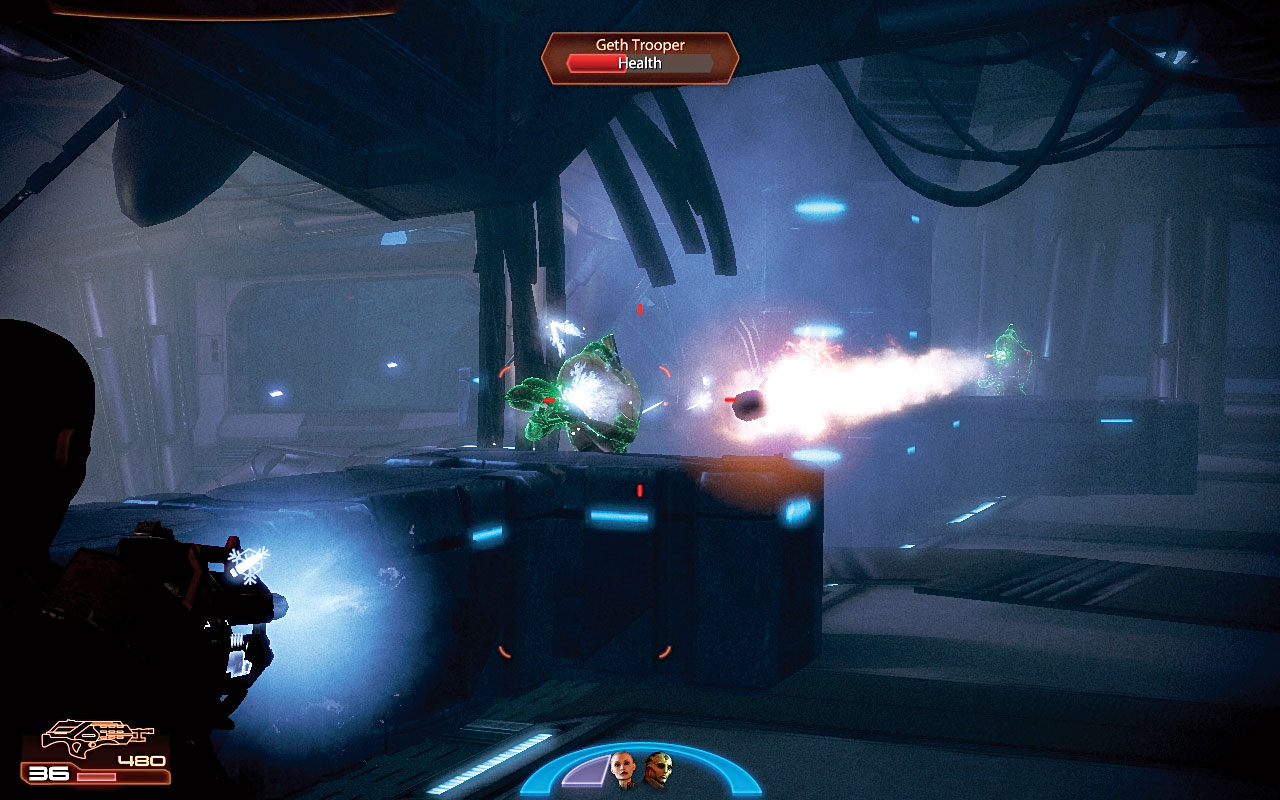
A fraught battle begins as you enter via the balcony, so immediately seek cover (away from an exposed balcony edge), and let the geth come to you. There’s a limited number of them, so bring down the rocket trooper and regular troopers on the balcony [020] .
Shoot any combat drones that are summoned, but don’t advance too quickly, as you’ll be attacked from all directions.
[021]
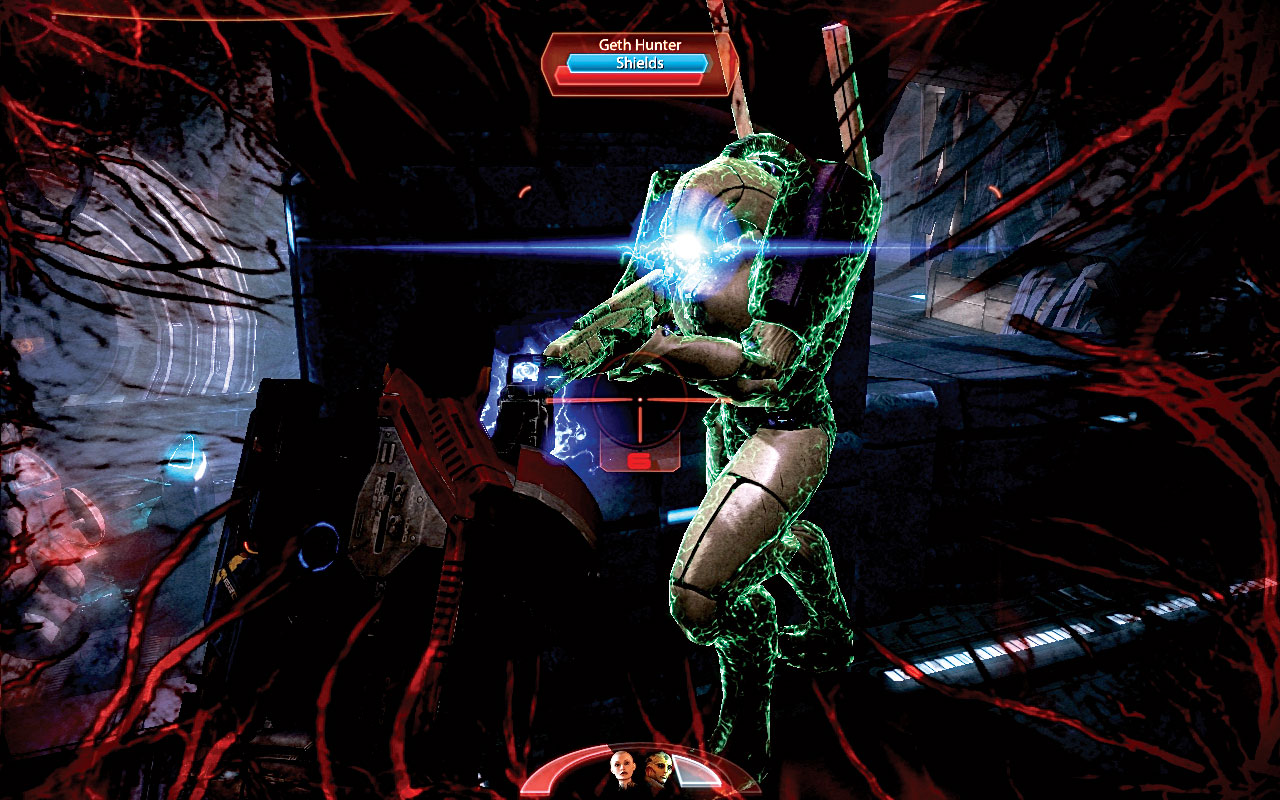
Instead, focus on the troopers, rocket troopers, and then the hunter [021] ; change your target to the nearest geth if any encroach your team. Be patient, and seek the lesser geth on the ground floor from the balcony if none are coming straight for you.
Spread your squad members out, moving them to cover in front of you, so you’re all attacking from three different angles, making it more difficult for the geth to tag all of you at once.
[022]
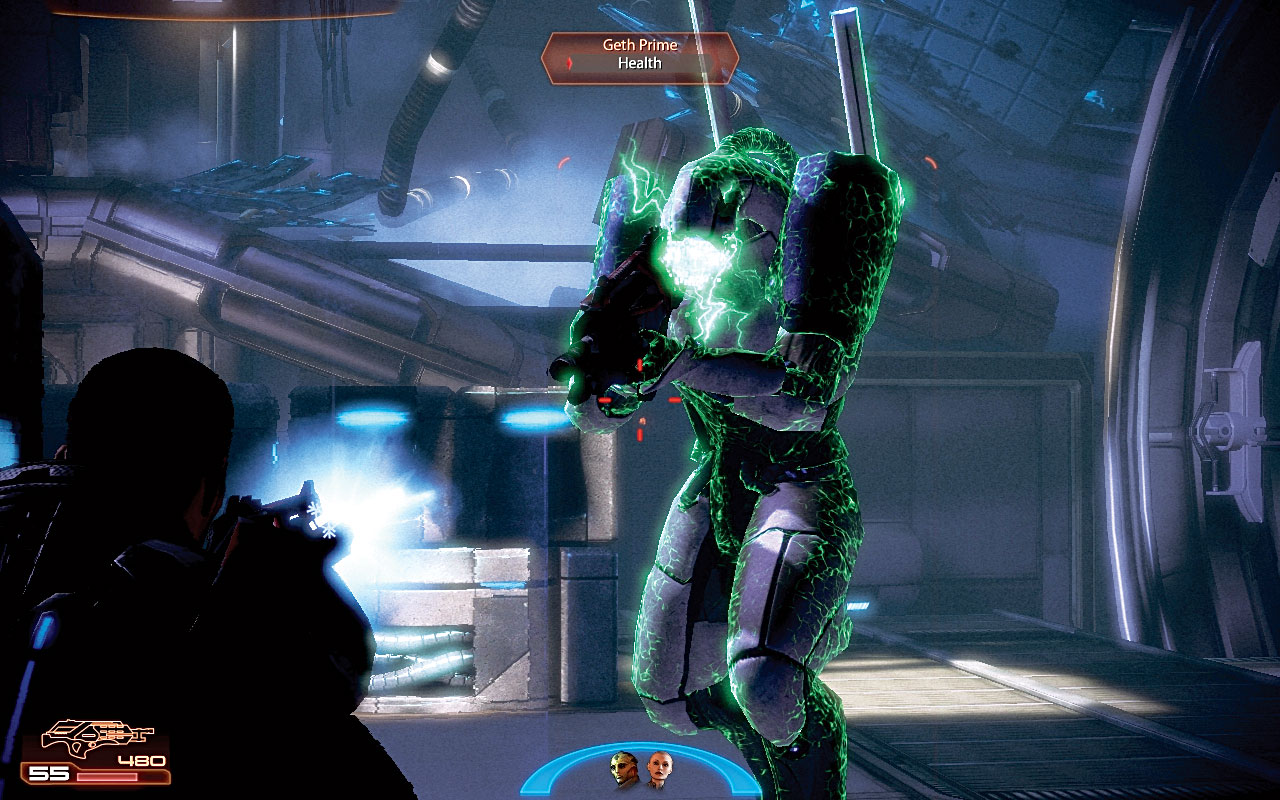
All your weapons are beneficial here, from the sniper rifle to tag foes down on the floor to the shotgun if enemies are getting too close. Mainly though, rip through enemies using your heavy pistol or assault rifle fire, backing this up with favored biotics (using Pull to rip foes dug in behind cover, for example), and don’t forget to add a power to your weapons, such as cryo.
Only after all other geth are defeated should you attack the geth prime [022] . Attack from three different angles and stay in cover; there’s no need to rush it. After it falls, exit the station: Atlas is your final destination.