
Mass Effect 2 Guide Walkthrough SPECIAL ASSIGNMENTS
Overlord: Hermes Station
This mission is sanctioned by Cerberus Information Processing, and is too long to be known as a special assignment. It should be viewed as an additional mission. It becomes accessible at your earliest convenience, once activated at your private terminal. The Illusive Man would like you to visit a Cerberus station (known as a “cell”) on the planet Aite that has recently gone off the grid.
The cell was involved in experimenting with highly volatile technology, and the work was extremely compartmentalized. An investigation and quick resolution would be most appreciated.
Mission Data

Location: Milky Way > The Phoenix Massing > Typhon > Aite
Experience Available: 250/312
Entities Encountered > Enemies
- Geth > Destroyer
- Geth > Hunter
- Geth > Prime
- Geth > Rocket Trooper
- Geth > Trooper
Spoils of War > Total Credits: 7,500
- Cerberus Funding: 3,750
- Credits: 3,750
Spoils of War > Resources > Palladium: 2,000
Part 1: Retracting the Dish
[001]
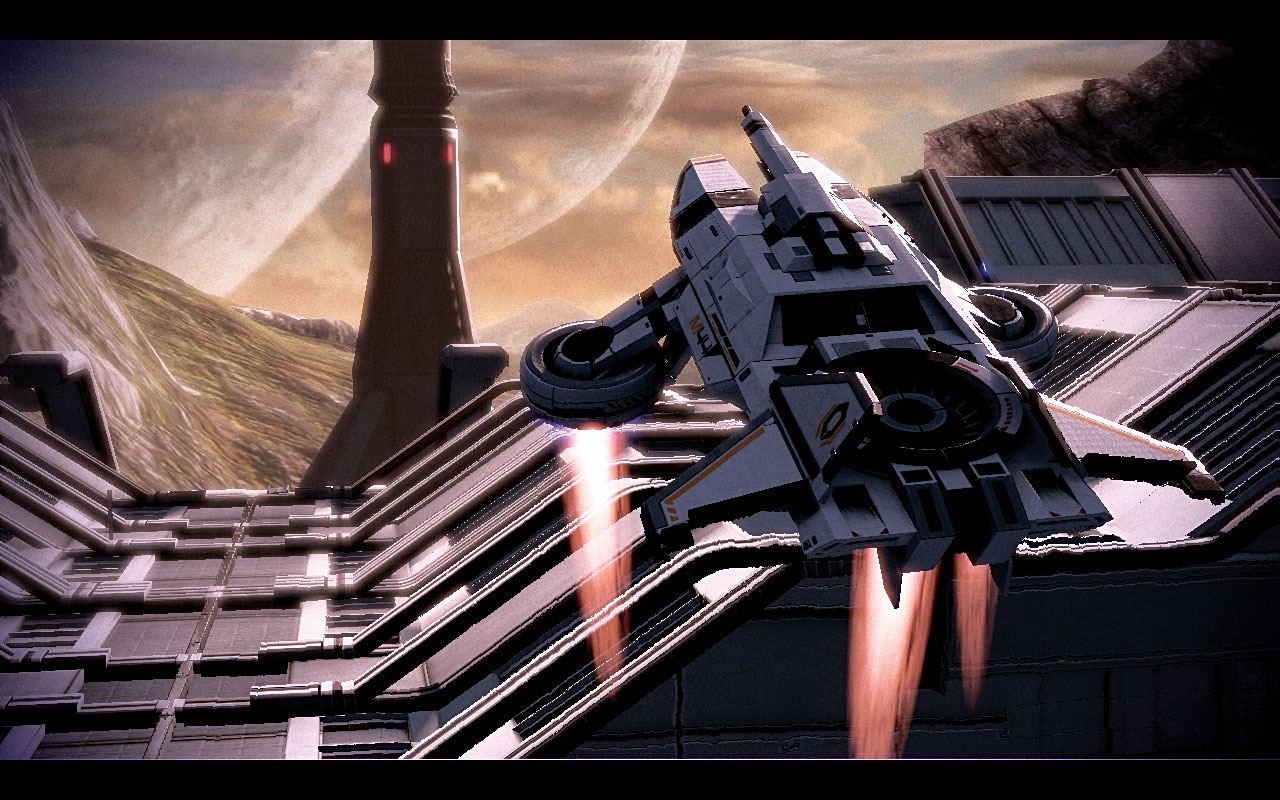
Select your best geth-fighting squad members before disembarking. The Normandy’s M-44 Hammerhead all-terrain hover vehicle touches down just outside the base [001] .
Your first task is to retract the large transmission dish, in case sensitive information is being leaked.
Entering Hermes Station
[002]
After disembarking, you hear the frantic but thankful Dr. Gavin Archer on your radio; apparently a catastrophic VI (Virtual Intelligence) breakout is infecting the facility.
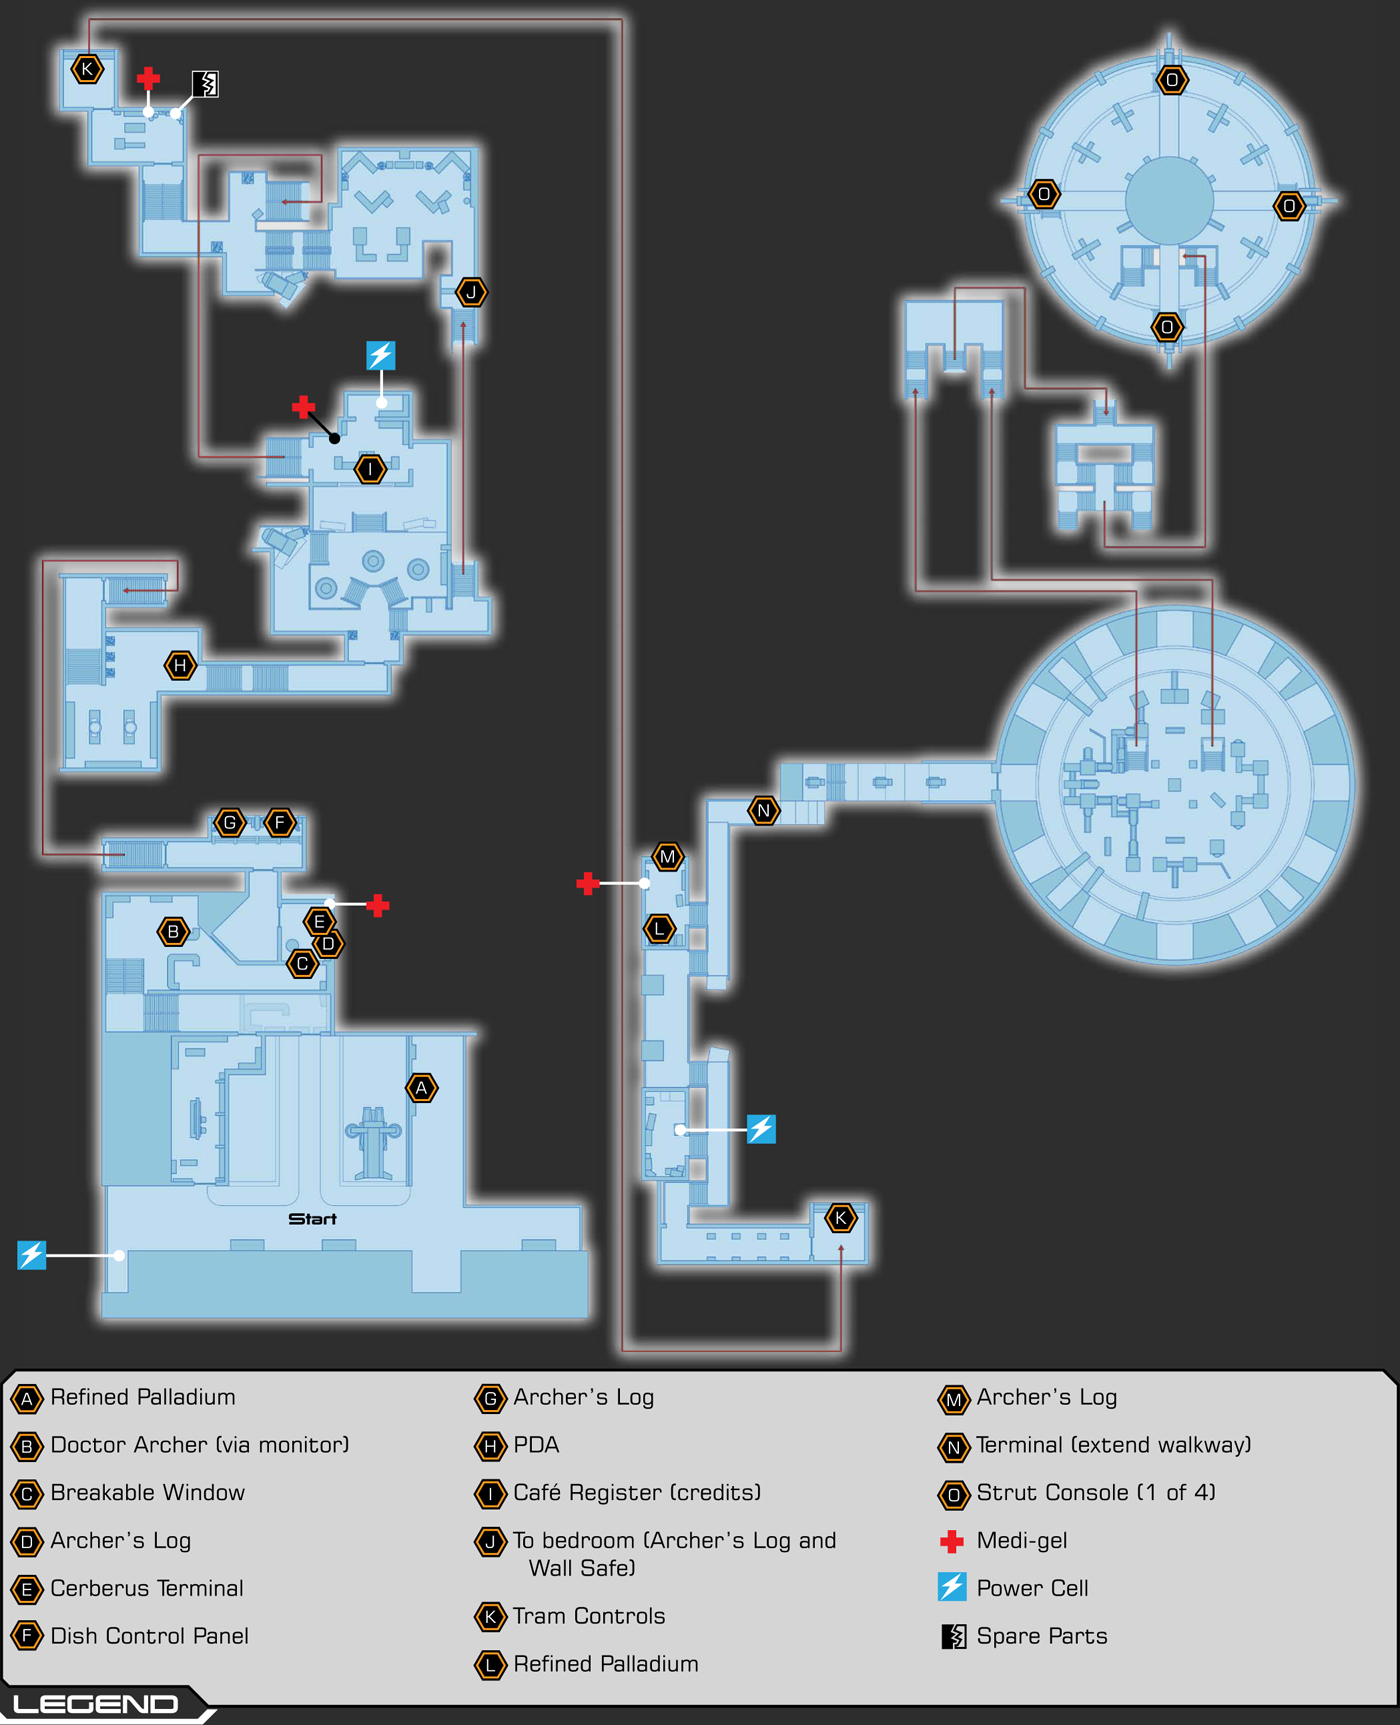
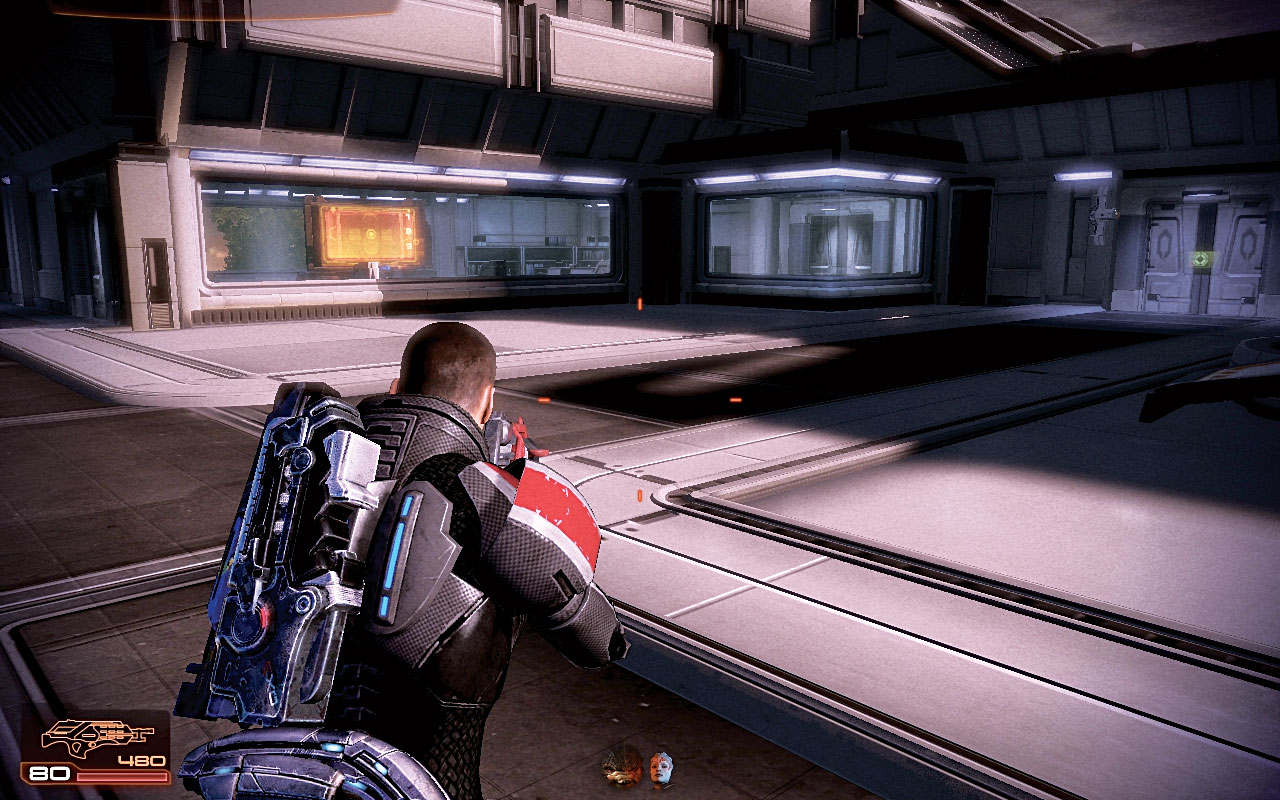
The dish must be retracted, and time is of the essence. Spend a few moments checking the forecourt [002] ; there is a ramp down to a cargo bay, where you’ll find some palladium.
Check around the corner alcove of the building behind you, to the left (if you’re facing the dish), for some power cells. Then enter the structure opposite.

|
Spoils of War > Resources > Refined Palladium > Open > 1,000 Palladiums |
|
Ammunition > Power Cells > 4 Heavy Weapon Amm |
[003]
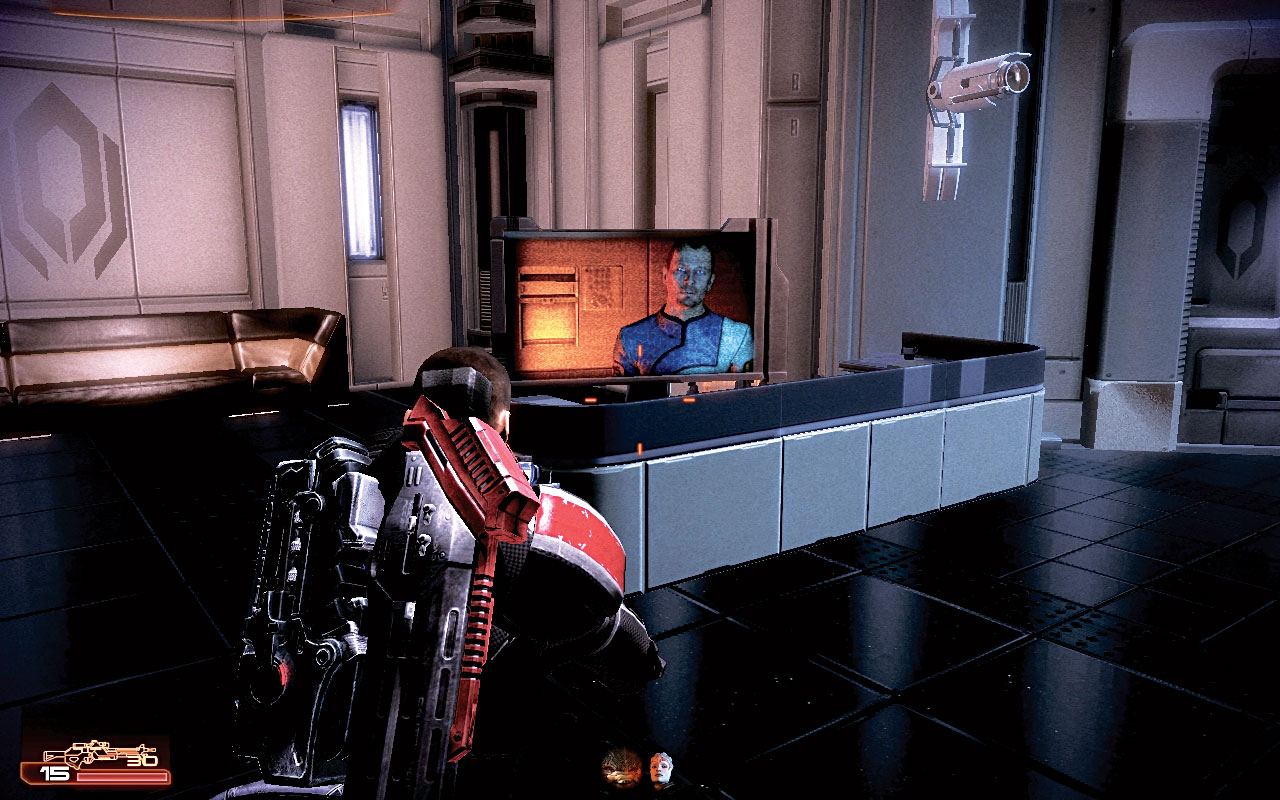
Ignore the requests to check in your weapons, as security isn’t currently functioning well in this base, which shows evidence of a massacre. Archer beckons you over to a monitor [003] , and tells you he’s locked himself inside a computer room at the far side of the base.
He warns you of geth activity in the facility. Before heading through the door, shoot out the weakened window to the right of it, to the right of the security checkpoint. This allows you to vault over and into a room otherwise inaccessible (as the door is locked on the other side).
[004]
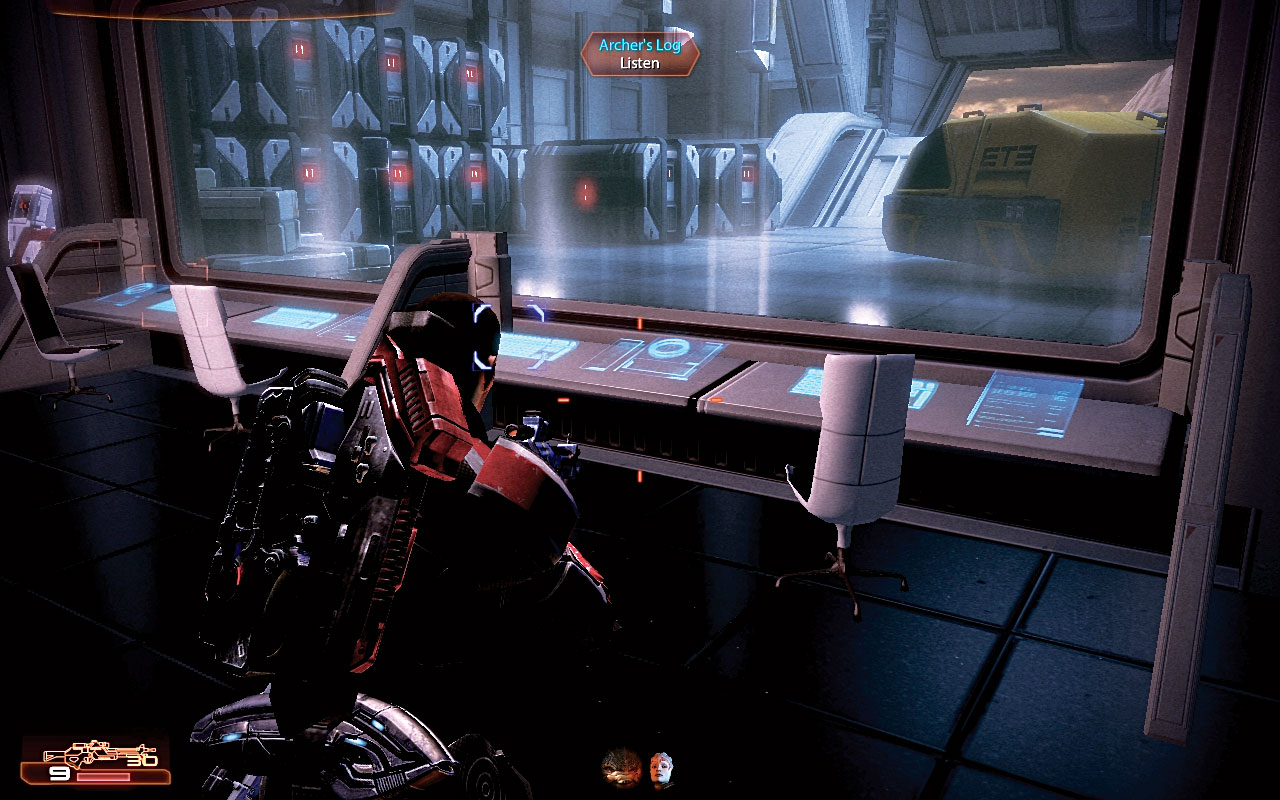
In the security room overlooking the (inaccessible) cargo bay [004] , there’s Archer’s log to play, which is a communication between him and the Illusive Man regarding great strides in Archer’s research.
Check the Cerberus terminal for some funds, and the medical station too. Then leave, ideally via the door that was locked from the other side, or go around and through the initial security door.

|
Spoils of War > Cerberus Terminal > Recover Funds > 1,125 Credits |
|
Medical Station > Open > Med Kit > 100 Credits |
[005]
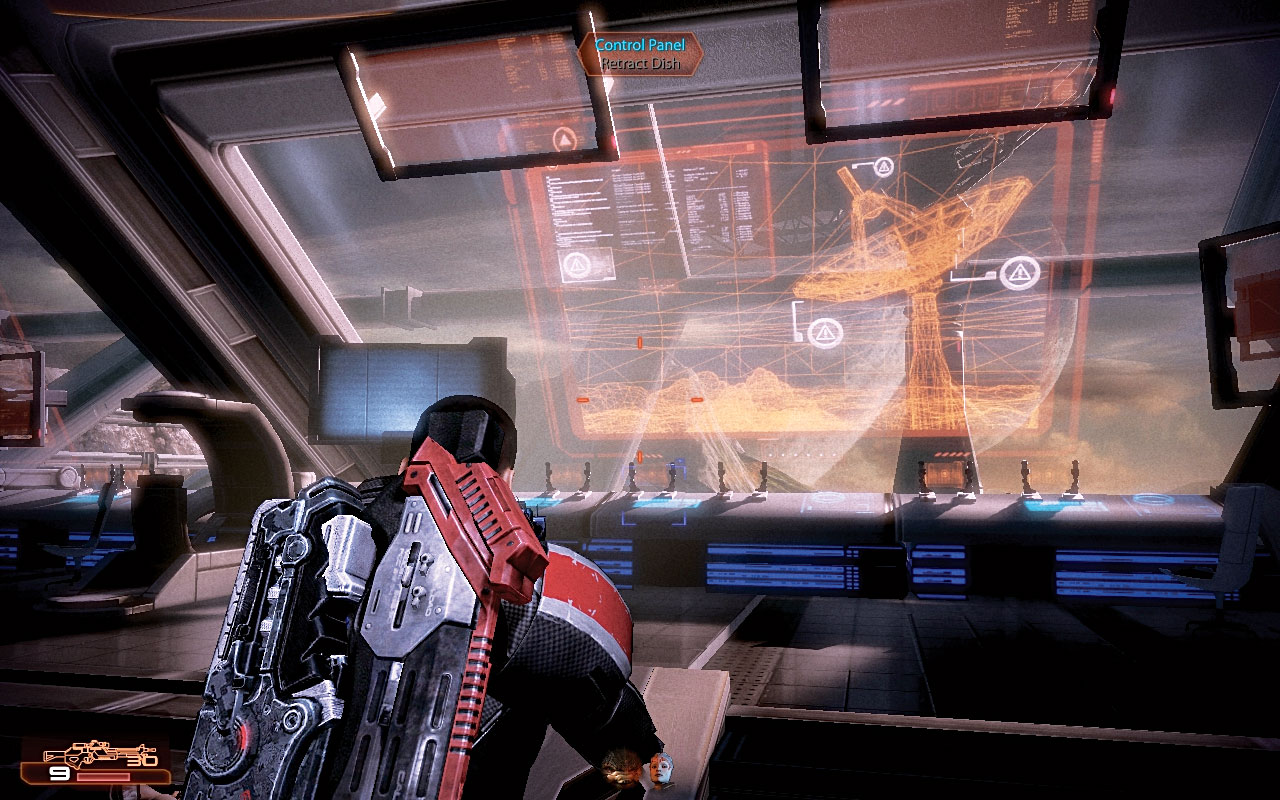
Head through into the main radar control room [005] . Schematics of the dish appear on the window screens. Listen to Archer’s log first, and then retract the dish, which slowly descends into the earth before coming to a juddering halt.
The screen flickers and turns green with an almost demonic shriek. The VI appears briefly, and you may be able to make out the word “stop!” before it vanishes, jamming the dish in place. Archer appears on a monitor, informing you that the VI has overridden the controls.
Furthermore, the VI is trying to offload its program off-planet, and the consequences could be…dire. You’re to destroy the antennae inside the dish. A tram on the inside level will take you there.
Part 2: Destroying the Antennae
[006]
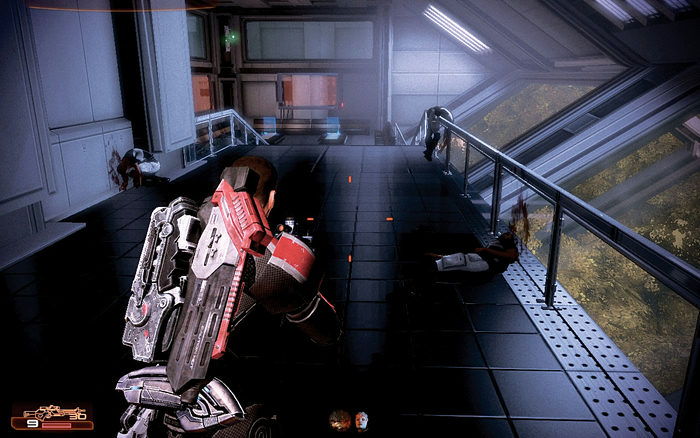
Turn and head down the stairs, watching wearily as a pair of what appear to be green, eye-like pixels stare back at you. Down the stairs, the VI makes its trumpeting, growling presence felt.
Head down past the draped bodies of the dead workers [006] , watching the VI take form inside the screens and holoterminals, and check the floor for a PDA.
An automated security message begins; geth activity has been detected in the premises.
|
|
Spoils of War > PDA > Examine > 525 Credits |
[007]
[008]
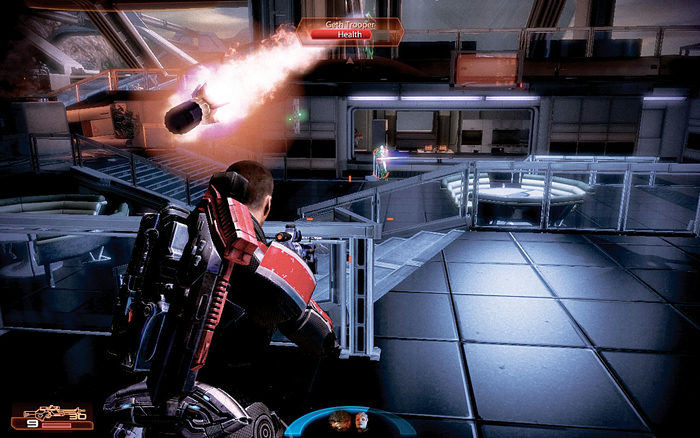
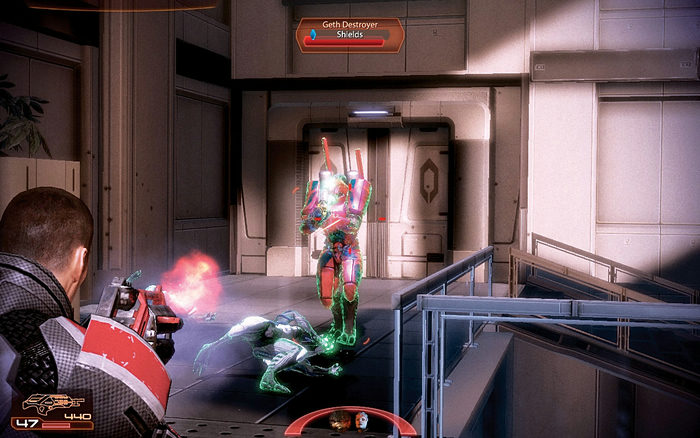
Open the door to the mess hall. The special of the day isn’t egg salad as the computer voice informs you, but a vicious firefight with a number of geth [007] . There are geth troopers, geth with rocket launchers, and destroyers to face in this chamber.
Dive into cover by the door, and take out the rocket trooper on the opposite balcony. Then send your squad members to the left and right to catch a destroyer on the ground below in crossfire.
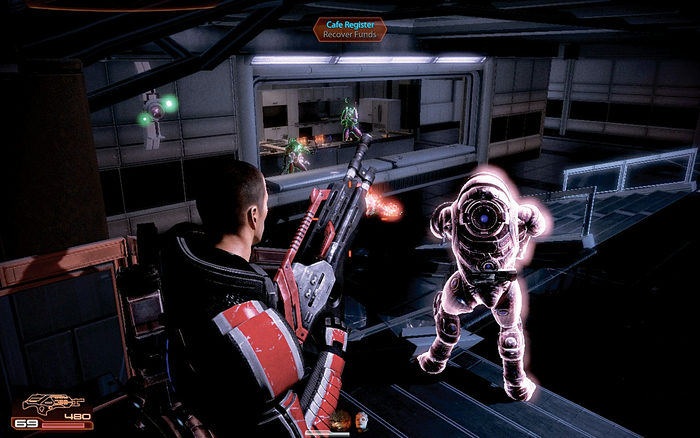
You may wish to keep your team in cover, as additional troopers appear, and another destroyer encroaches into the canteen ahead and below the balcony [008] . Fan out and bring down the geth, but don’t get too close. It is better to drop them from range with less risk.
As before, the rocket trooper and destroyer are your higher priorities (in that order). Be sure to augment your ammunition with a favored ammo power.
[009]
When combat draws to a close, inspect the canteen area; recover funds from the cash register, check the medical station, and snag the power cells in the back room.
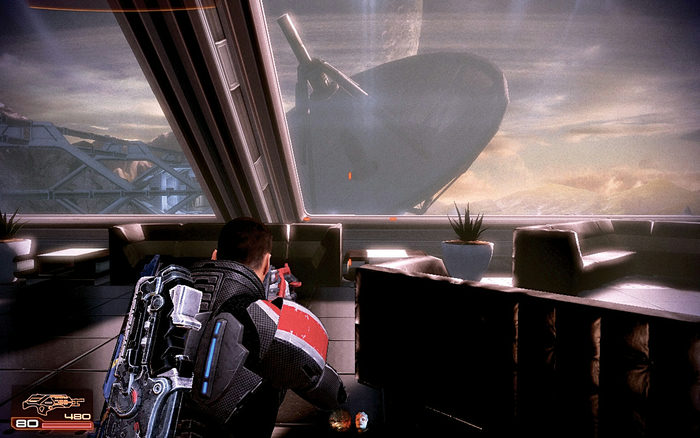
Then search the mess hall for thermal clips. Now head to the right side (as you came in) and open the door at the top of the stairs, near the balcony [009] .
Another of Archer’s logs (this one is a pep talk about a forthcoming experiment that’s about to be activated) can be found, as well as an open wall safe in the bedroom.
|
|
Spoils of War > Cash Register > Recover Funds > 450 Credits |
|
|
Medical Station > Open > Med Kit > 100 Credits |
|
|
Ammunition > Power Cells > 2 Heavy Weapon Ammo |
|
|
Spoils of War > Wall Safe > Open > 1,125 Credits |
[010]
[011]
Use the mezzanine or the mess hall floor to move across, toward the tram station entrance. Take cover as further troopers, a rocket trooper, and a destroyer step out from the door [010] ; remaining at height helps you target these foes.
Don’t be afraid to back up, and always attack from cover. When the geth are defeated, head down to the open door, into the waiting room with the dead personnel, and check the wall for a medical station and some spare parts to salvage.
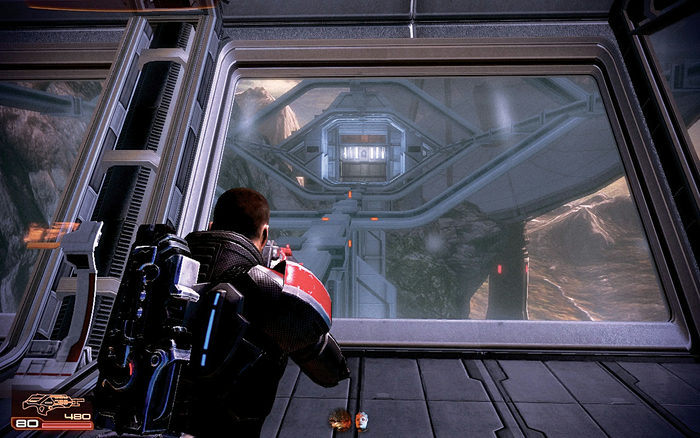
Then head through the door opposite, and onto the tram itself. Use the tram control, and spend a few moments checking the gigantic radar dish [011] —your next port of call.
|
|
Medical Station > Open > Med Kit > 100 Credits |
|
|
Spoils of War > Spare Parts > Salvage > 525 Credits |
Entering and Climbing the Radar Dish
[012]
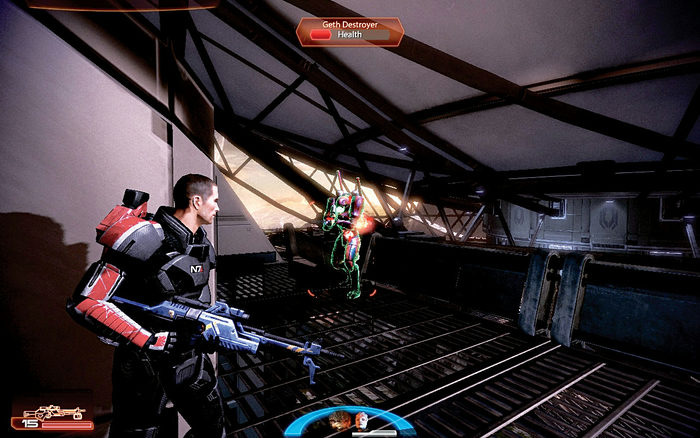
Exit onto the exterior walkway [012] and check the first storage shed on your left for some power cells.
When you reach a break in the lower balcony, head to the upper one and engage a trooper and destroyers from cover.
The satellite window is opening soon, and the rogue VI will transmit as soon as the dish aligns. Cross to the other side and step down into a second storage shed where palladium, a medical station, and another one of Archer’s logs (this one describing a catastrophic security failure) can be found.
|
|
Ammunition > Power Cells > 2 Heavy Weapon Ammo |
|
|
Spoils of War > Resources > Refined Palladium > Open > 1,000 Palladium |
|
|
Medical Station > Open > Med Kit > 100 Credits |
Entering and Climbing the Radar Dish
[013]
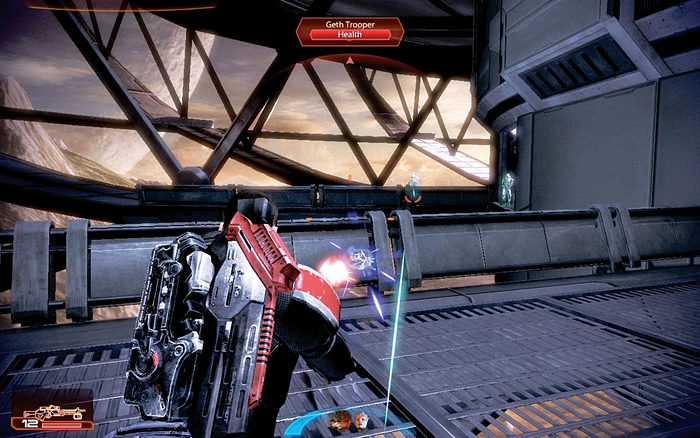
Extend the walkway bridge into the dish entrance door, and head down the connecting ramp. As you reach the door, you’re attacked from the left side by troopers and rocket troopers [013] .
Use your sniper rifle or biotic powers that knock the enemies off the platform, and deal with the rocket troopers first.
By now you’ll have noticed the green hue to these geth; they appear to be controlled by the rogue VI. Step up to the dish door and bypass it.
[014]
[015]
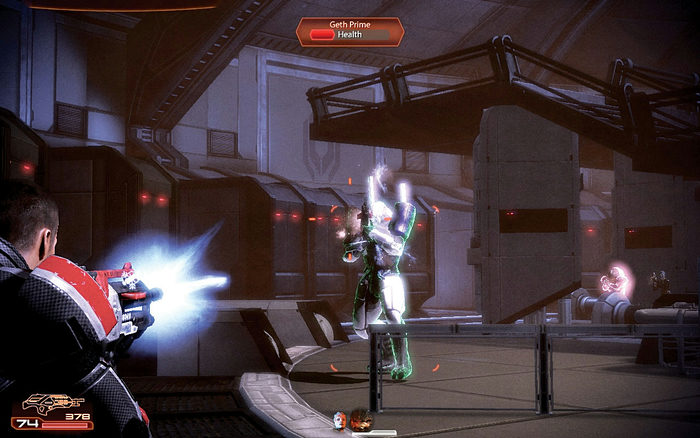
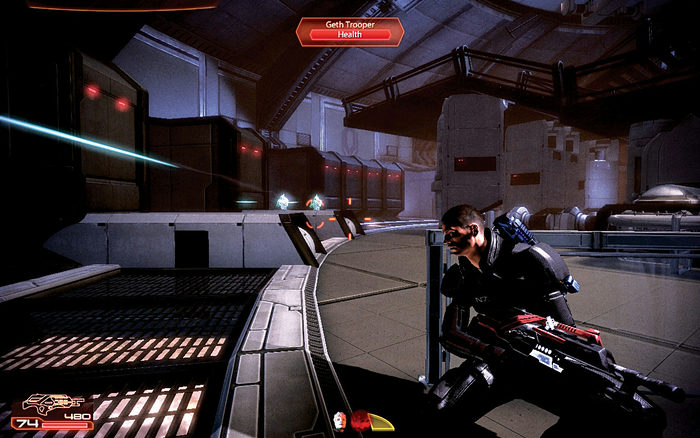
Step into the base interior of the dish, and begin a protracted battle with the geth forces. Face down troopers and a deadly prime; you should immediately seek cover and bring your squad members to help you.
Place one behind you, so you’re not outflanked from behind, and the other to increase the number of targets the geth aim at. Then tackle the prime first [014] , as it is closing in fast.
Then move quickly to your next cover spot and continue to take down geth [015] , edging around to the stairs in the middle of the chamber.
[016]
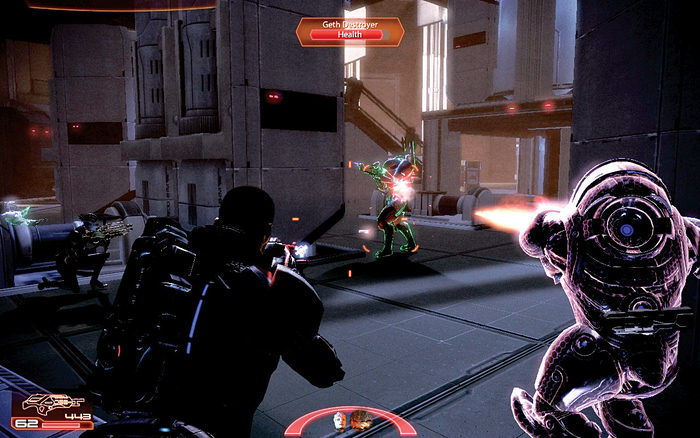
There’s a destroyer or two here [016] , and rocket troopers to deal with. Remove the long-range threats first, and back up if you’re in danger of being swarmed or attacked by the destroyer’s flamethrower.
You can continue to mill about on the ground floor, before seeking out and destroying another prime and any other geth still functioning. Or, you can sprint up the stairs,
Destroying the Capacitors
[017]
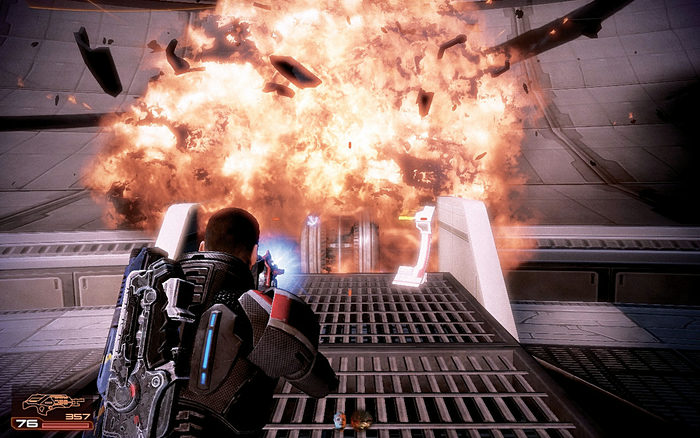
As you reach the top of the stairs, Archer informs you that there are capacitors locked into the support struts, and shooting them is the key to destroying the dish. First though, you must expose the capacitor by activating the strut console by the side of the shielded capacitor.
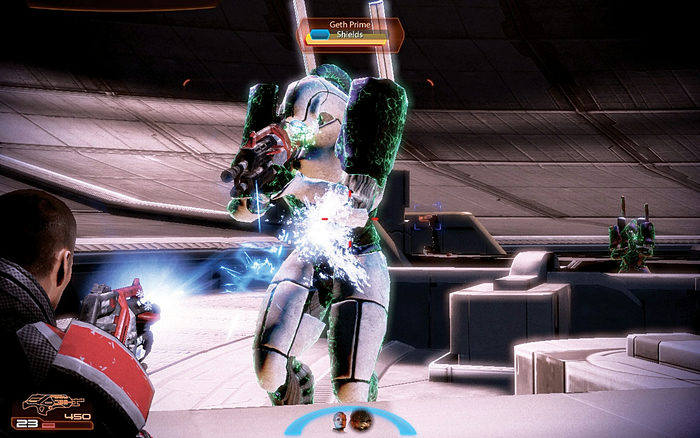
The shield slides down, and you need to shoot the capacitor connector immediately [017] ; you can do this even while the shield is sliding down. There are three of these, equidistant around the dish itself.
[018]
The reason for speed and accuracy is that the geth attack as soon as the strut consoles are touched. Blast the capacitor and then get into cover, bringing down a couple of rocket troopers, a prime, and a destroyer [018] as you uncover and remove more capacitors.
You should send your team in to tackle these enemies while you remove the capacitors as quickly as possible.
However, before you reach the third capacitor, expect to pause and deal with the destroyer, prime, and rocket threats. There is enough cover and the range to complete this.
[019]
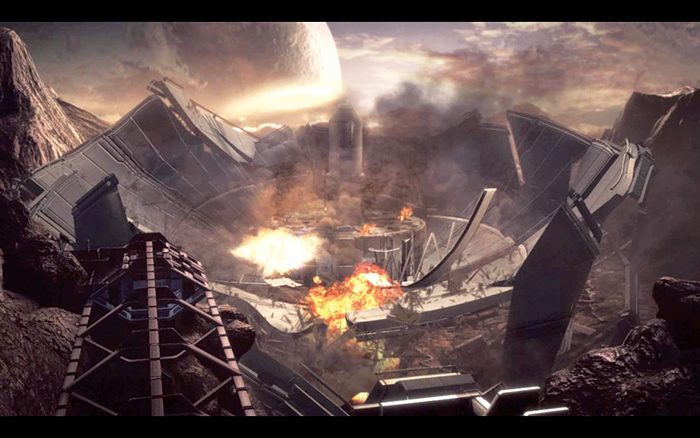
Once the third capacitor coupling is removed, the dish is severed, and the communications antennae topples off the summit of the dish [019] , slamming into the dish and narrowly missing Shepard.
[020]
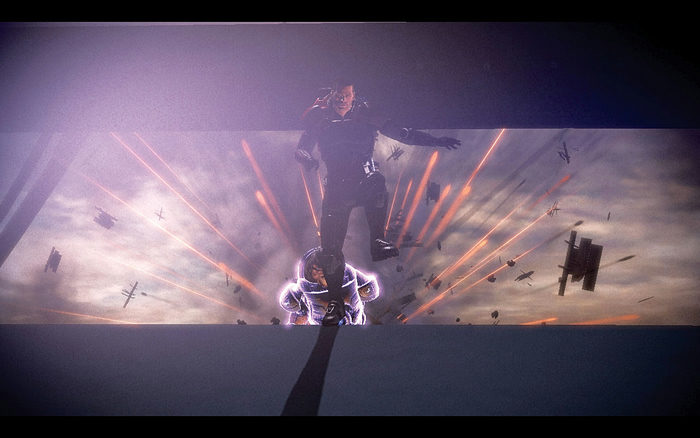
The entire dish begins to creak and give way as Shepard and teammates sprint for safety [020] . Leaping to the walkways, Shepard watches the entire dish collapse, falling down into the valley floor below.
Dr. Archer runs in to meet them, and Shepard wants to know what’s going on: It appears that man’s reach is exceeding his grasp. Archer beckons the team; he’ll explain everything…
Aftermath: Assessing the Situation
[021]
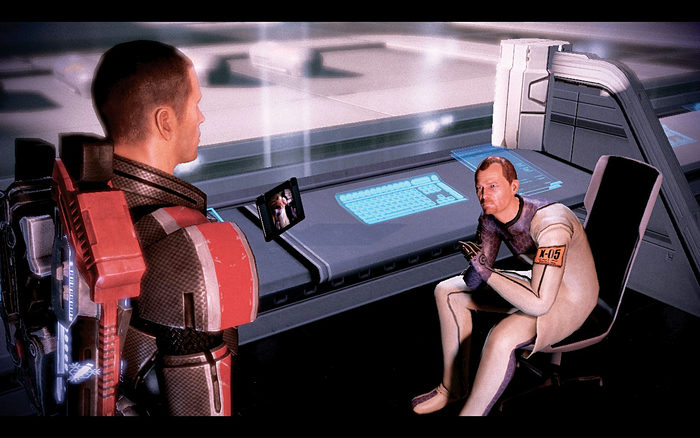
[022]
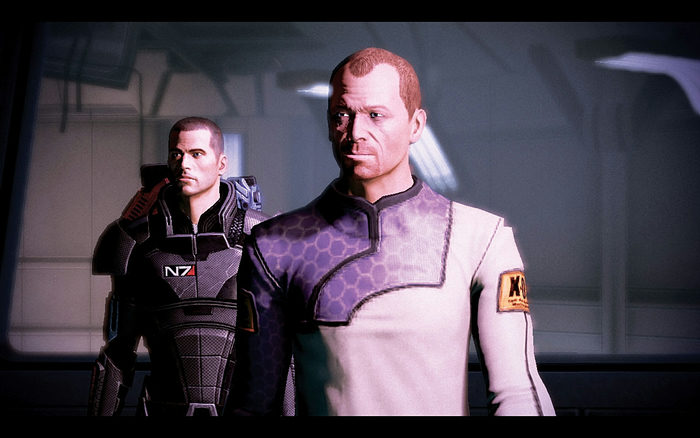
Shepard wants to know exactly what the situation is [021] , and Dr. Archer explains. Use any conversation remarks you wish. It appears this project, known by the code name Overlord, was attempting to gain influence over the geth by interfacing a human mind with the VI.
With less-than-satisfactory results. While a squad member checks on the dead, Archer gives further information; his brother David was the test subject, but his mind couldn’t handle the VI connection. And now David is acting like a virus, infecting any technology he finds.
The VI has fortified itself in the main laboratory, which is in lockdown. As the corpses are tagged and bagged, Archer tells Shepard [022] to override the security from their facilities in the Prometheus and Vulcan stations.
You can elect to leave, complete other missions or tasks and then return, or begin the journey to the Prometheus and Vulcan Stations using the Hammerhead now. Vulcan station is the nearest.
Part 3 (Optional): Data Hound Welcome to Aite
[001]
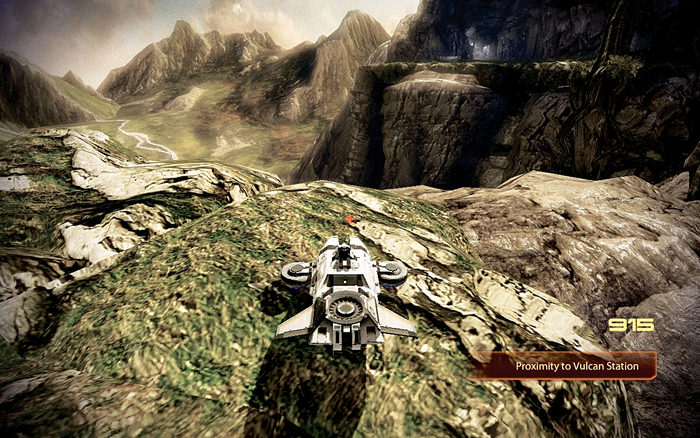
Aside from roasting innocent herbivores with your Hammerhead’s rocket cannon, the surface of Aite [001] is where you move to and from the different stations. You depart from Hermes Station.
You can now access either Vulcan (the closest) or Prometheus Station; both must be investigated before you can enter Atlas Station, where the rogue VI is located.
However, there is an additional task to complete while on the planet’s surface; the location and pickup of six data packets. These are on the exterior surface itself, not the areas you traverse in the Hammerhead once you reach the outskirts of each station. The locations of all six data packets are detailed here.
[002]
[003]
Station Proximity:
Approx. 619 (Vulcan)
Data Packet #1:
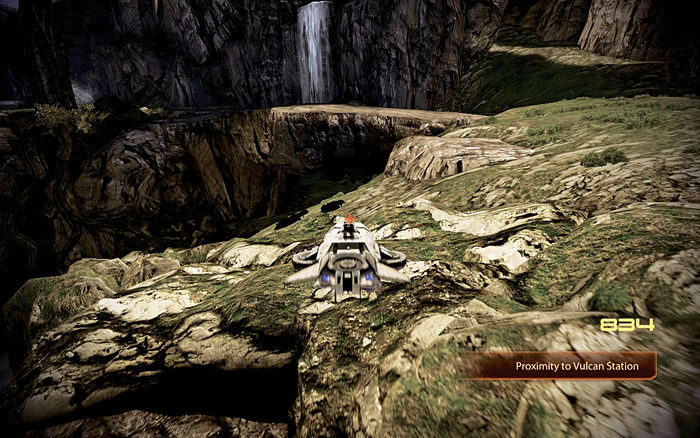
By the “aesthetically pleasing” view as you depart Hermes Station, drive under the rock bridge
[002]
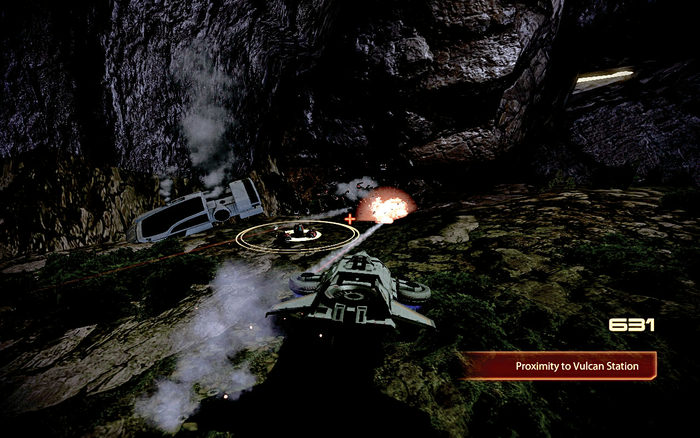
, and locate a crashed shuttle with two YMIR mechs to defeat
[003]
. Be sure to glide left or right to avoid their armor. Use the rock bridge base as cover.
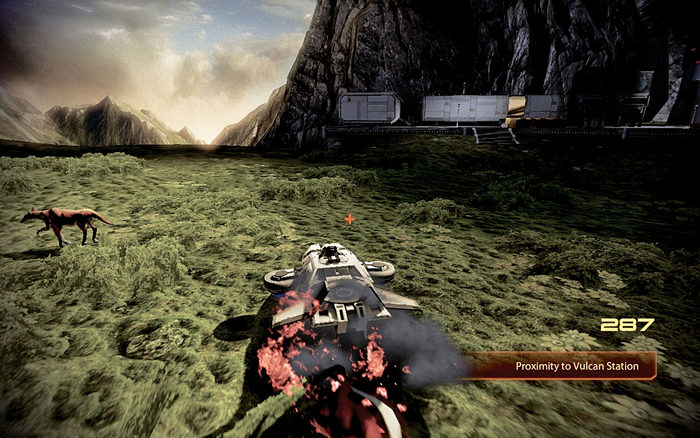
[004]
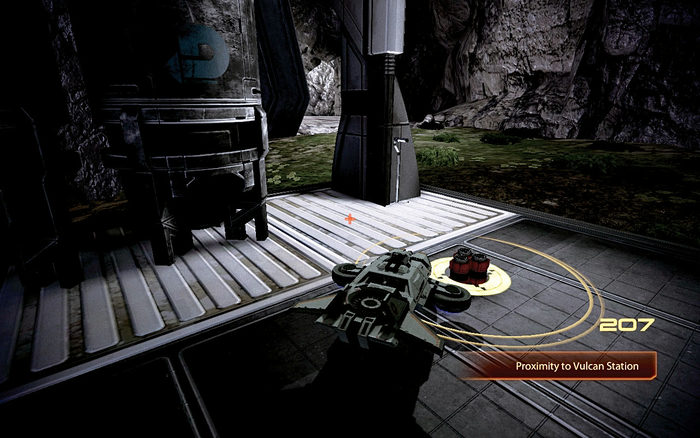
[005]
Station Proximity:
Approx. 204 (Vulcan)
Data Packet #2:
Traverse the rock bridge
[004]
, passing the waterfall on your right and massive cliff to your left. At the entrance to the tunnel to Vulcan Station is a set of cargo buildings
[005]
. There are no enemies to worry about.
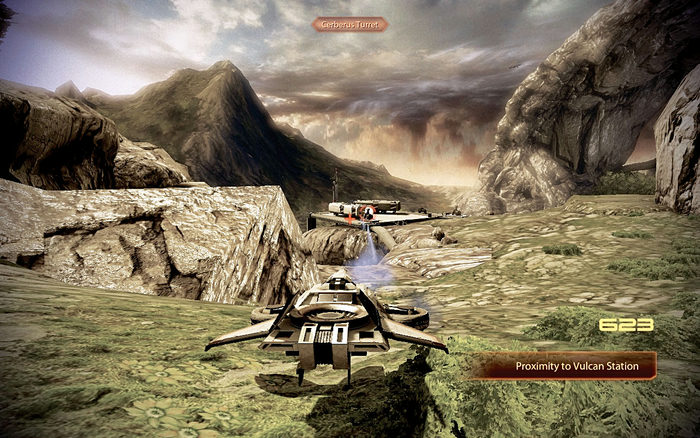
[006]
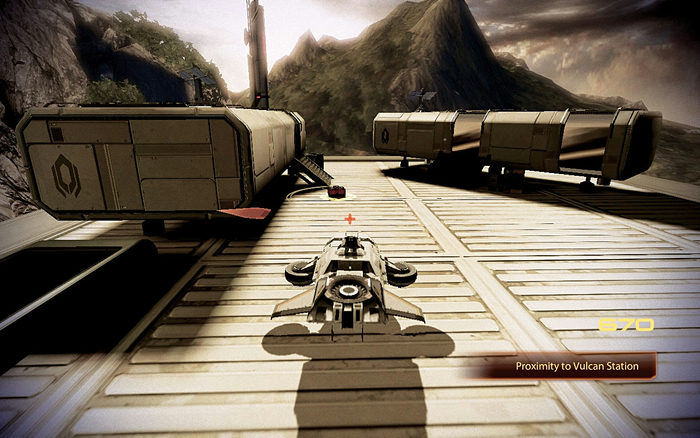
[007]
Station Proximity:
Approx. 660 (Vulcan)
Data Packet #3:
At the rock bridge to the left, head slightly right, uphill and through a gap in the cliffs
[006]
. There is a small observation station on the other side, looking out over a huge valley
[007]
. Beware of two Cerberus turrets; destroy them at range.
[008]
[009]
Station Proximity:
Approx. 924 (Prometheus)
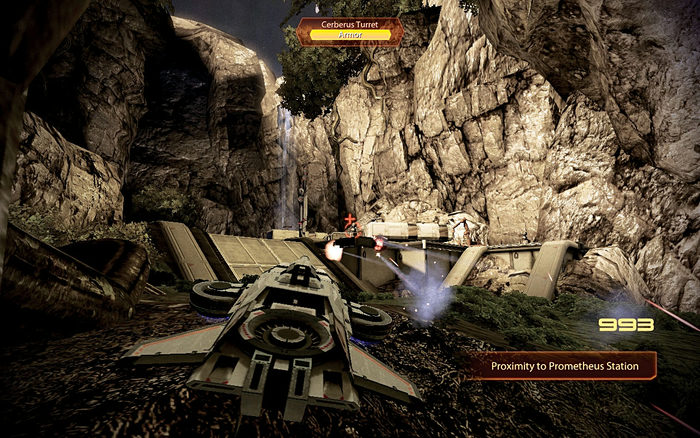
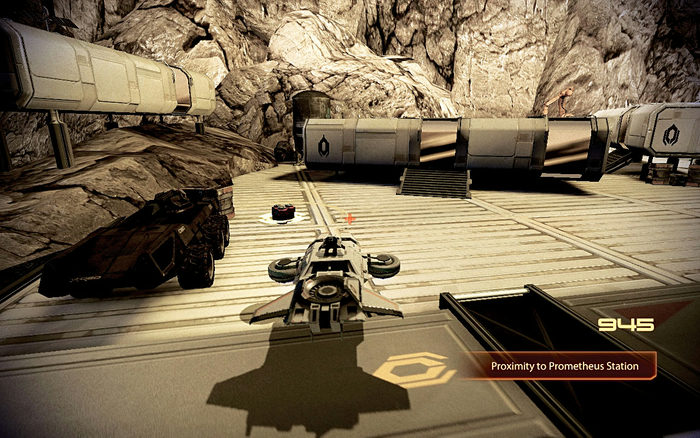
Data Packet #4:
Head down the rocky cliffs from #3 and find the rocky alcove
[008]
, which is also accessible from the initial grassy plains, to the right of the rock bridge. There are two Cerberus turrets; stay low, and ensure your rockets strike the turrets and not the structure below them
[009]
.
[010]
[011]
Station Proximity:
Approx. 630 (Prometheus)
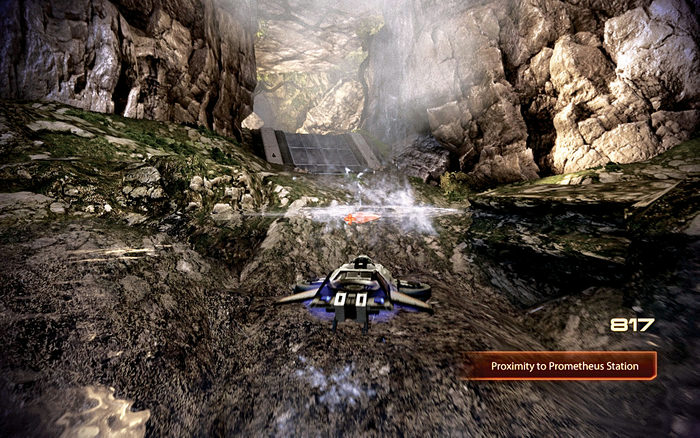
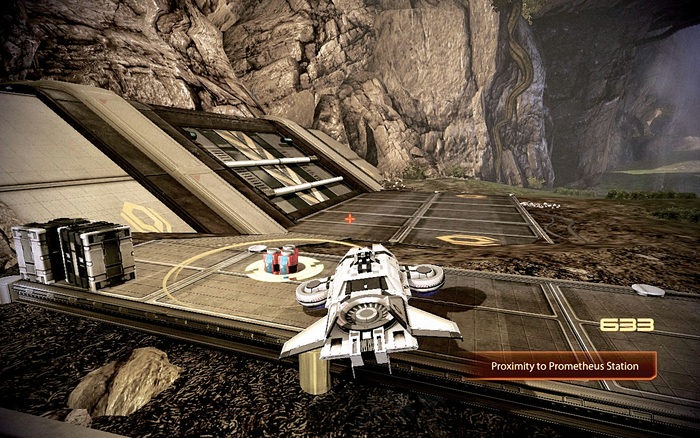
Data Packet #5:
Head past the gigantic tree in the main plains, or stay along the cliff wall (on your left) from #4, and locate the pool and waterfall
[010]
. This is the (currently dormant) entrance to Atlas Station
[011]
. The packet is by the landing pad.
[012]
[013]
Station Proximity:
Approx. 1,249 (Prometheus)
Data Packet #6:
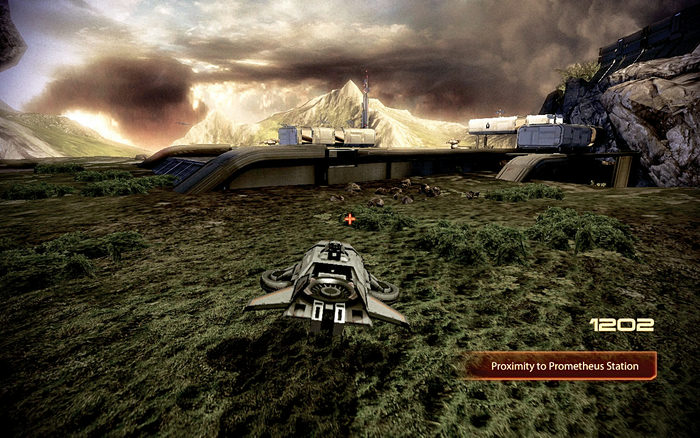
From the giant tree in the initial plains, work your way along the cliff wall (on your right side) to a natural pillar and boost up into a plateau area
[012]
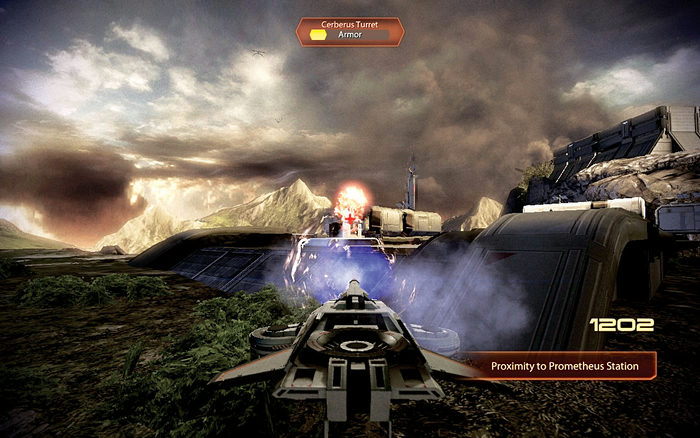
. There is a forward station with two Cerberus turrets
[013]
. Remember to keep your distance, or use the base of the station as cover.