
Mass Effect 2 Guide Walkthrough WALKTHROUGH
Dossier: The Warlord
The Illusive Man recommends that Shepard find Dr. Okeer. The krogan, also known as Warlord Okeer, is researching a cure for the genophage and has been in contact with the Collectors in hopes of trading for the technology needed to develop an antidote.
This familiarity with the Collectors makes Okeer an ideal candidate for the crew. Shepard has experience with the krogan, despite not always seeing eye to eye with former crew member Wrex about the morality of genophage.
Part 1: Compound Infiltration
[001]
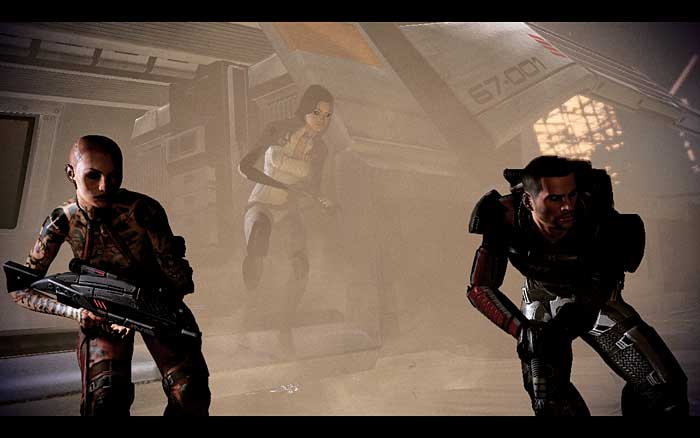
Dr. Okeer is currently working in a Blue Suns compound on wreckage-strewn Korlus. It’s not known if Okeer is on Korlus by choice or by force.
What is known is that the Blue Suns don’t like unexpected visitors. The landing party should be prepared for combat. The long road to the Blue Suns outpost is littered with derelict ships. The initial area is suspiciously silent [001] until contact at the observation post.
Observation Post
[002]
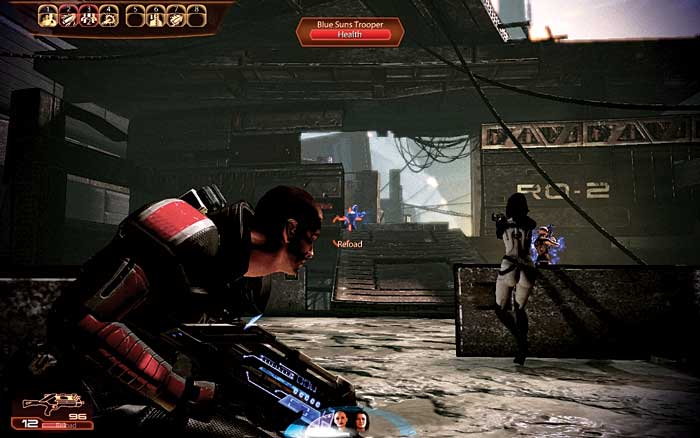
The post is the first point of contact and combat with the Blue Suns on Korlus. Use the barricades outside of the post for cover, and fire on the Blue Suns troopers that guard the door to the observation post [002] .
[003]
[004]
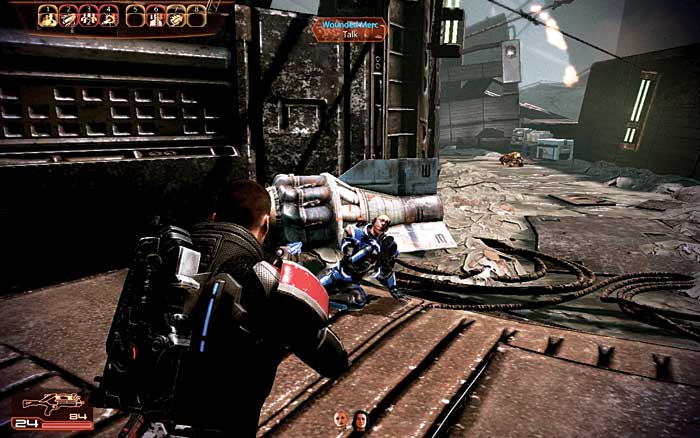
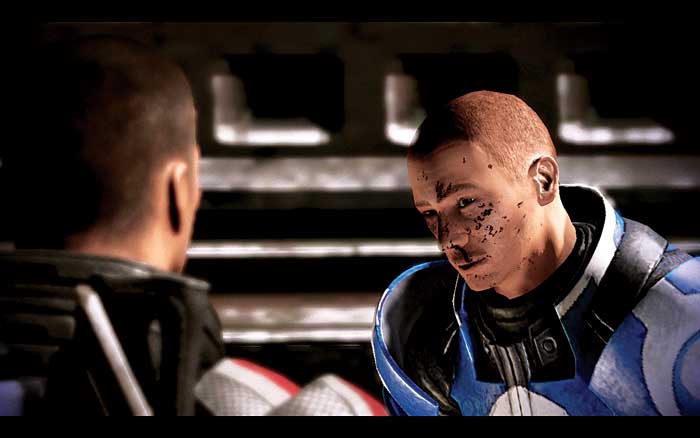
After the fight, you stumble upon a wounded Blue Suns merc just beyond the observation post [003] . The merc’s injuries are not as bad as he thinks. Use that to your advantage. When the merc starts to clam up during the interrogation, offer a medi-gel to loosen him up.
He’ll tell you that Okeer is in a lab engineering an army of krogan for Jedore, the leader of the Blue Suns.
The problem with the army, though, is that most of the krogan Okeer creates are crazy. The Blue Suns use the mad krogan for live ammo target practice.
When talking to the wounded merc [004] , you can tell him not to answer the radio. When he decides to disobey you and radio to base, you can silence him with a Renegade interrupt.
No matter your choice, Blue Suns command radios the wounded merc, demanding a situation report.
You can either convince the merc to give them the all-clear or force him to report that Shepard’s squad is heading to another part of the base, sending security the wrong way. This choice results in Paragon or Renegade points.
If you shake the possibility of reinforcements, continue to question the merc about the whereabouts of Okeer and the lab’s fortifications. The merc lets slip that the main defenses are big guns for ship attacks.
There are not many defenses against commandos like your squad. You have the advantage if you move on the lab. You can tell the merc either to take a hike or that it’s too risky to leave him alive before seeking out the lab.
If you failed with your persuasion and the merc calls for reinforcements you can choose whether or not to kill him.
Part 2: Find the Lab
Blue Suns Assault
[005]
[006]
[007]
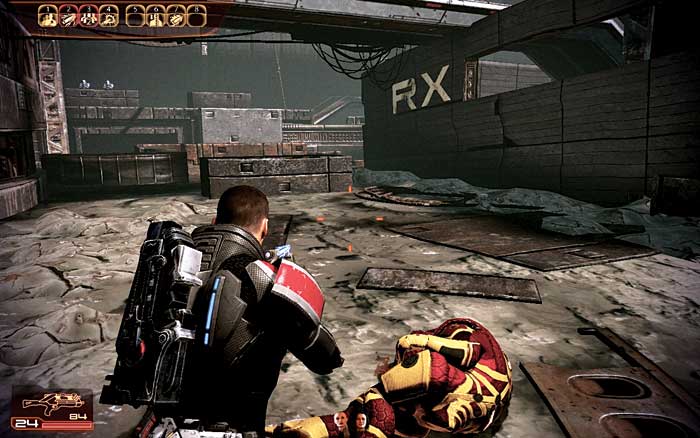
It doesn’t take long before you run into the next line of Blue Suns. When you see the giant RX painted on an abandoned hull and fallen krogan, you’d better seek cover by the barricades [005] . Blue Suns troopers are on the landing across the clearing.
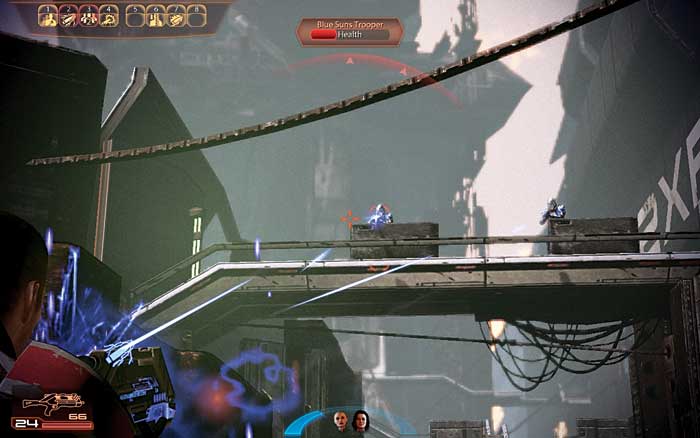
Follow the path down into the trench. Several dead krogan lie face down in the dirt, victims of a recent round of target practice. Take cover at the barricade and look for a Blue Suns trooper on the bridge above the trench [006] .
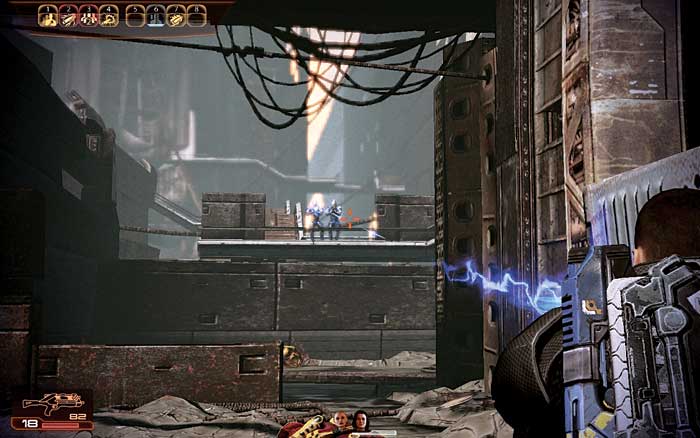
Pick him off and then inch forward in the trench. More Blue Suns troopers are waiting for you to get a little closer to the back of the trench. At least two Blue Suns troopers are at the end of the trench on the landing [007] .
Wait for them to show themselves and then take your shots. Pull and other biotic attacks are useful for removing some of these foes from their cover. Then check for a medi-gel pack in the trench. It’s off to the left, near the middle of the trench.

|
Med Kit > +1 Medi-gel > 100 Credits |
Second Assault
[008]
[009]
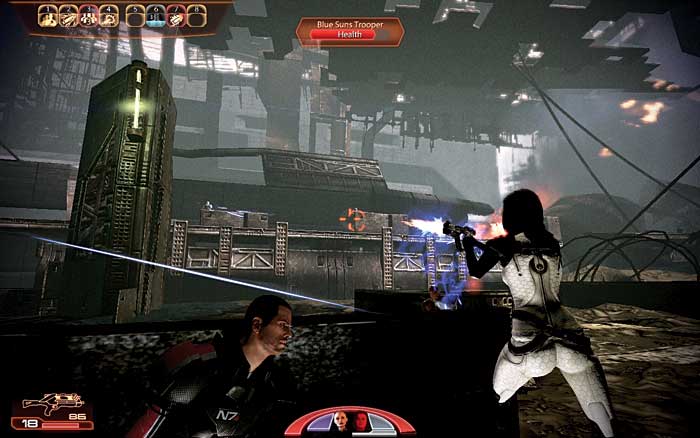
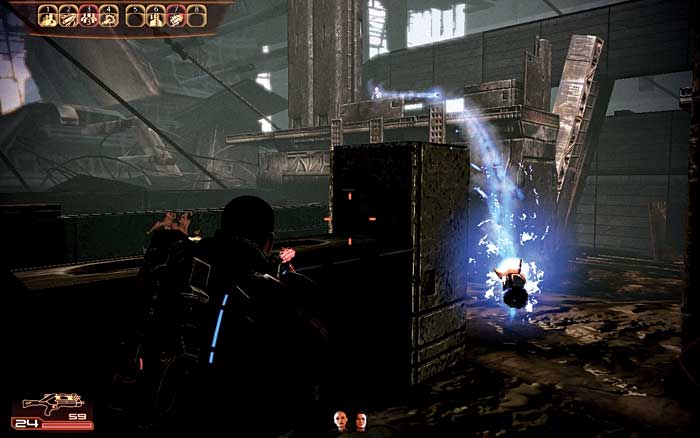
The end of the trench feeds into another yard. More Blue Suns heavies are waiting for your squad farther down the yard. A long landing on the opposite side of the wrecking yard is crawling with Blue Suns [008] .
In addition to Blue Suns troopers, look out for the Blue Suns heavy packing the rocket launcher.
Use cover to avoid getting plastered by a rocket. Fortunately, there’s cover you can methodically dash to and hide behind as you remove the foes from the landing, working from right to left [009] .
Target Practice
[010]
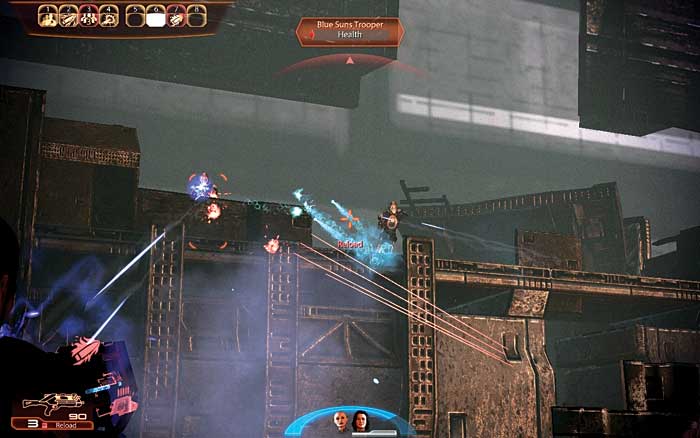
The yard leads to a Blue Suns firing range, where the mercs have cornered a krogan [010] . The krogan is peppering the ledge above him with shotgun blasts, leading the Blue Suns to duck and cover.
Let the krogan keep the Blue Suns busy while you take shots from the relative safety of the back of the range.
[011]
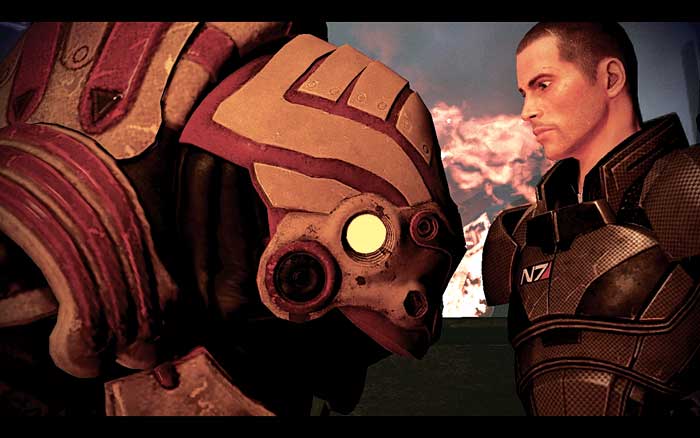
After the fighting subsides, approach the krogan. The krogan does not attack, recognizing that you are also fighting the Blue Suns mercenaries.
Though his speech is not fully developed, the krogan is able to articulate some disturbing information about his short life. He’s been alive for just seven days and is burdened with the need to kill [011] .
The krogan explains that he feels the need to fight in his blood and bones. He recalls a voice he heard in the tank (these krogan are born fully grown out of a tank) that told him he was a failure.
You may question the krogan about Jedore and the voice in the tank, which the krogan called “father” until he was rejected. Before leaving, the krogan tells you that the lab is beyond the “broken parts” and guarded by many of “you fleshy things.”
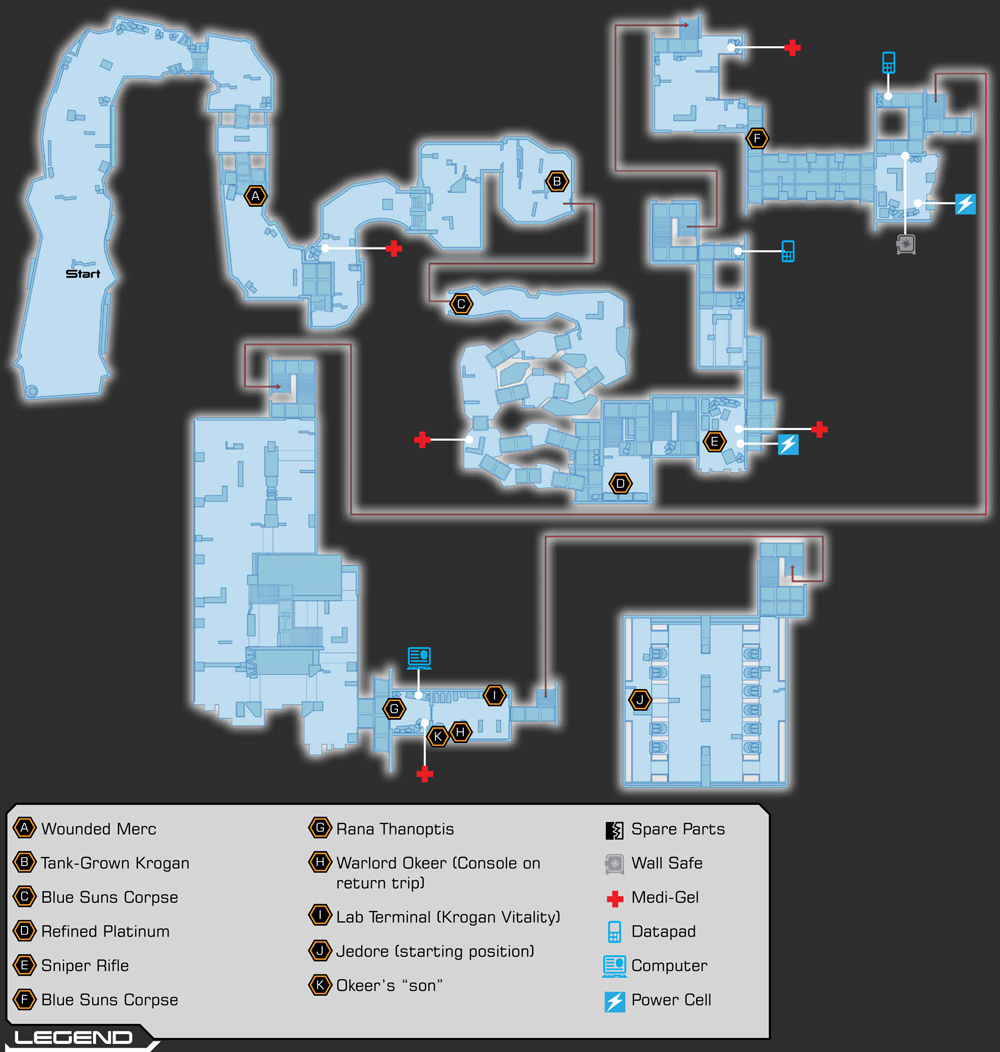
He opens a shortcut to the lab, but it’s a narrow corridor—there’s not a lot of room to plan evasive action should the situation go sideways. Loot the Blue Suns corpse just inside the shortcut before you continue.
Running the Gauntlet
[012]
[013]
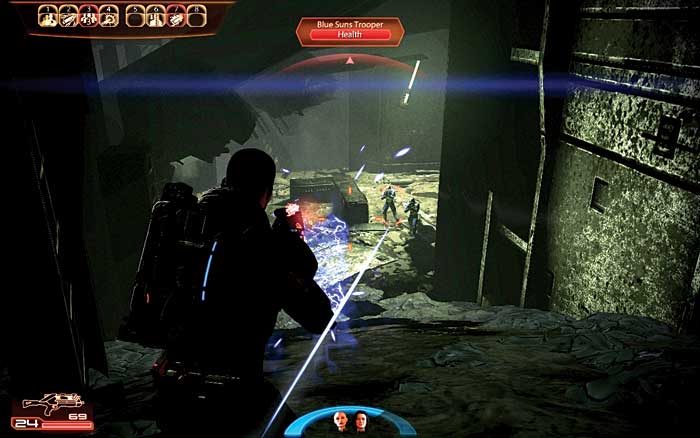
Sure enough, as soon as you start down the path the krogan revealed, Blue Suns troopers step out to attack [012] . There’s nowhere to hide, so give the mercs everything you have to bring them down.
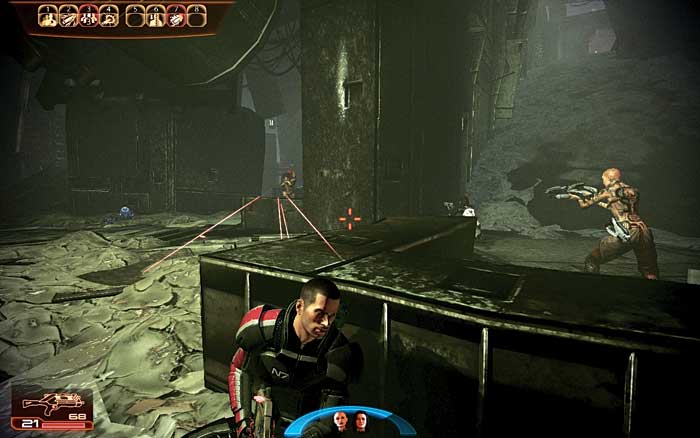
The barricades at the bottom of the slope are a good place to set up defenses against the incoming krogan berserkers, bred by Okeer [013] . These mindless krogan warriors stomp through the paths carved in the wreckage.
They are armed with shotguns and use devastating charge attacks to slam your squad. Keep the krogan at a distance with long-range attacks and biotics. Fall back if necessary. Do not engage the berserkers in close combat.
[014]
[015]
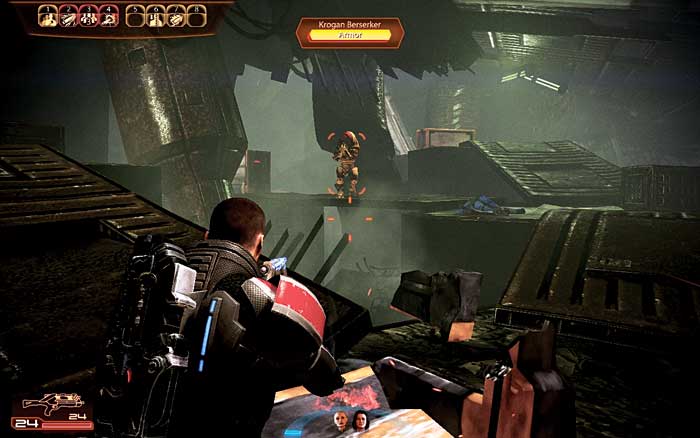
Continue up through the bridges and platforms [014] . These look more confusing than they are; refer to the guide map if you get lost.
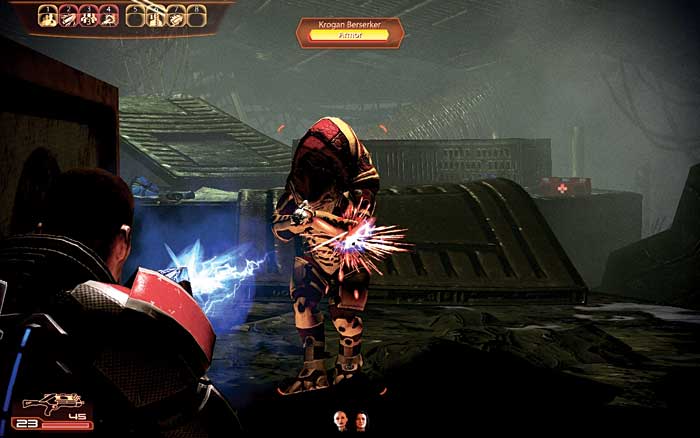
You can choose which platform path to take, and it isn’t necessary to maneuver through every part of the path, as long as you pause to take the medi-gel along the way and bring down additional krogan berserkers [015] without suffering charging damage or expiring completely.
|
|
Med Kit > +1 Medi-gel > 100 Credits |
[016]
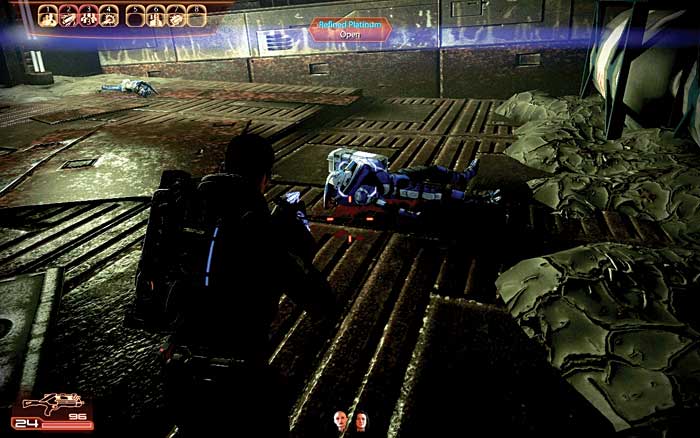
After dispatching the berserkers, follow the sounds of the Blue Suns as they regroup. Pick up the refined platinum from the crate on the far side of the walkways [016] and then turn to the left to start ascending the lab tower.
Okeer is at the very top, but there are many Blue Suns between you and him.

|
Spoils of War > Resources > Refined Platinum > Open > 2,000 |
Rising with the Blue Suns
[017]
Hack the door at the top of the first flight of stairs to proceed up the tower. Continue up the stairs, checking that your squad members are close by.
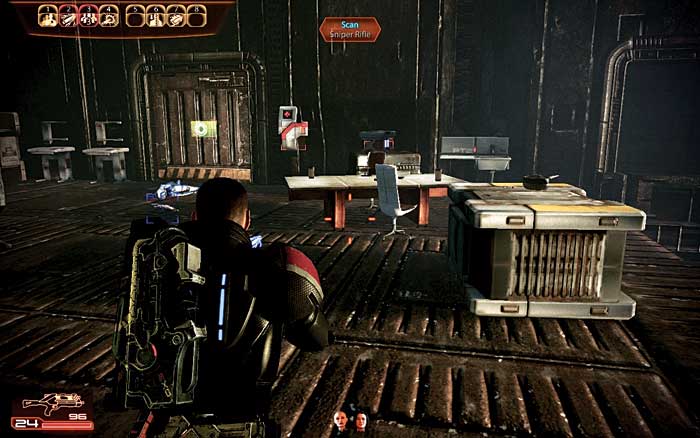
The next landing [017] (which also seems to function as a mess room) is a gold mine of pickups: medi-gel, power cells, and a sniper rifle that grants you the Scram Pulsar tech. It adds 10 percent to sniper rifle damage for the entire squad.

|
Upgrade > Sniper Rifle > Scan > Sniper Rifle Damage |

|
Ammunition > Power Cells > 2 Heavy Weapon Ammo |
|
|
Medical Station > Open > Med Kit > 100 Credits |
[018]
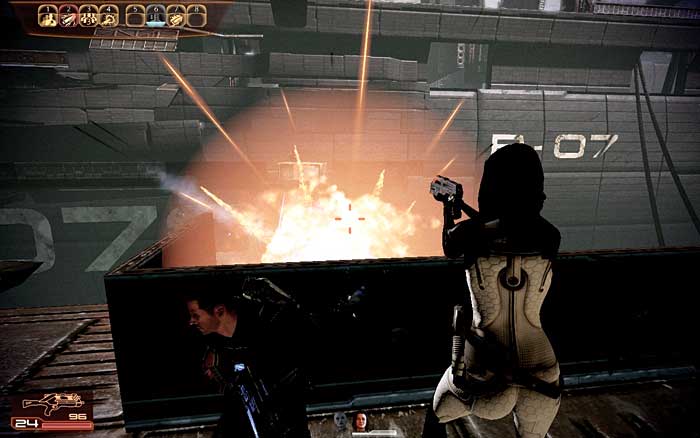
Just outside the treasure trove, several Blue Suns heavies are ready with rocket launchers. They volley rockets across the divide as soon as you open the door, so dive in and take immediate cover [018] .
Wait for the heavies to reload their launchers and then open fire from safety.
[019]
[020]
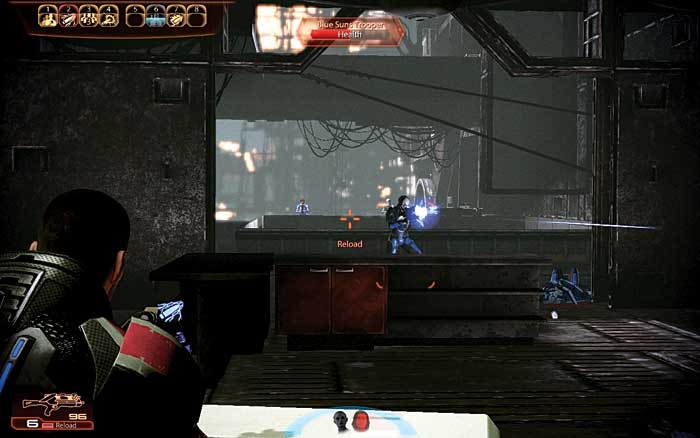
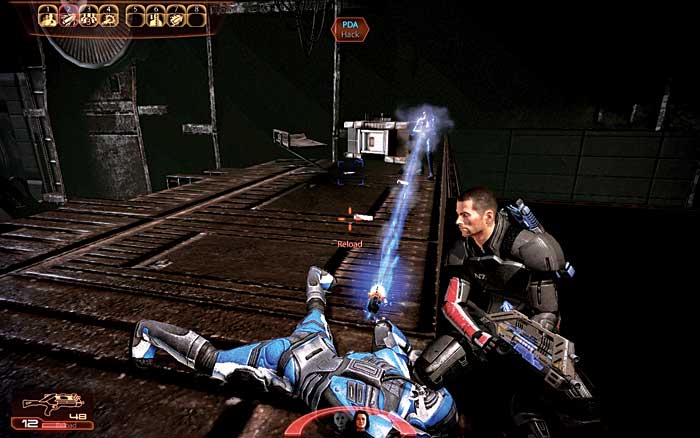
The Blue Suns don’t let up until you move deeper into their tower. Heavies continue to launch rockets from great distances as you head from the initial balcony [019] . This gives you time to take evasive action.
Dive into cover so the rockets streak harmlessly overhead. Move up when it’s safe and pick the heavies off as they reload. Do not stand up if there is a rocket airborne. A direct hit from a rocket is absolutely devastating.
Move along the precarious catwalks, dropping more foes, but ensuring those with rocket launchers are dealt with first. Keep running and dropping behind cover, and push forward, toward a C-shaped walkway [020].
Deliver weapon- or biotic-based killing blows to the remaining enemies before moving toward the door. Then hack the PDA on the ground where the Blue Suns heavies were positioned.

|
Spoils of War > PDA > Hack > 4,000 Credits |
[021]
[022]
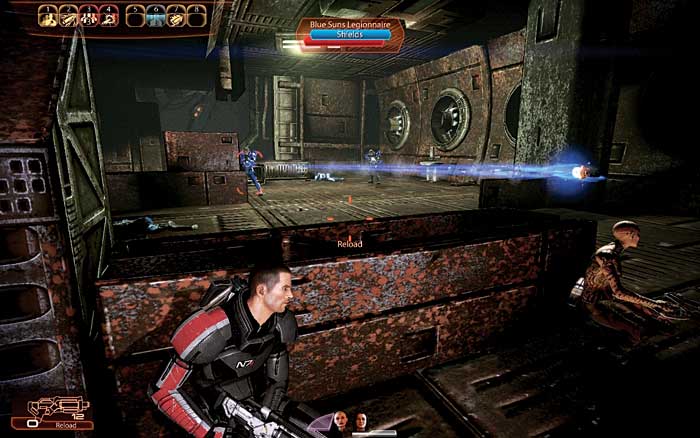
Continue up the tower and take cover when you hear the next Blue Suns squad, at the upper landing with two separate entrances (the left one has medi-gel to take). The squad is made up of heavies, centurions, legionnaires, and troopers.
Watch out for both rockets and regular gunfire [021] . Splitting the squad up here to flank the Blue Suns will keep the bad guys guessing, so don’t be afraid to throw an order to a comrade to break away and advance alongside the enemies.
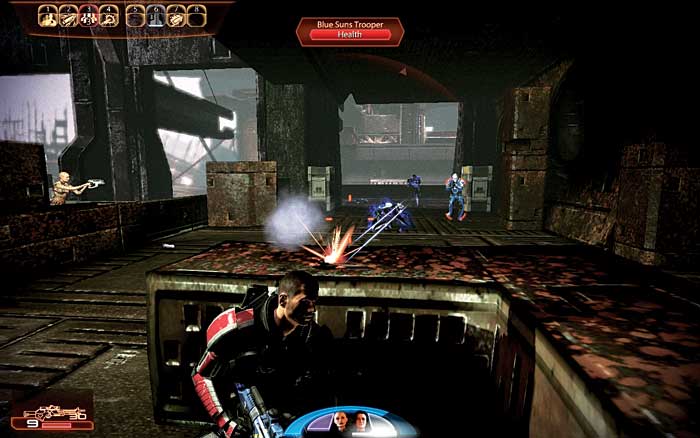
Tear up the centurions as they round the corner to back up the heavies [022] , and don’t forget to search the corpse of the Blue Suns merc behind where the centurions appeared.
|
|
Med Kit > +1 Medi-gel > 100 Credits |
|
|
Spoils of War > Blue Suns Corpse > Access > 2,000 Credits |
[023]
[024]
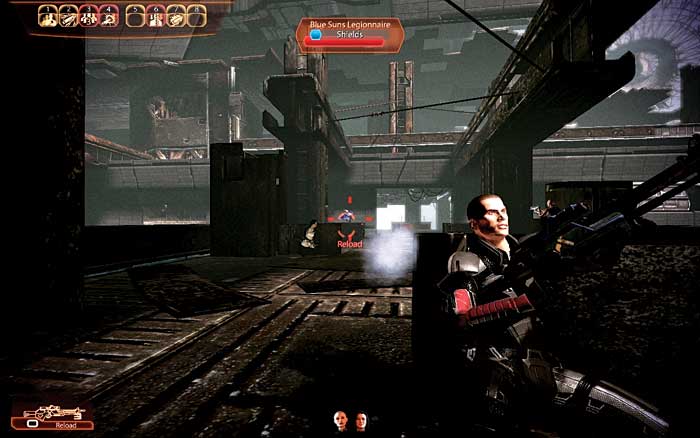
You can overhear the Blue Suns leader command that they fall back out of the labs (where the berserkers are made) and refocus their attack on Shepard’s squad. Keep pressing into Blue Suns territory, putting down mercs as fast as you can.
Since these are humans, incendiary and cryo ammo do extra damage to them. As you progress down this long stretch of walkway, the sniper rifle becomes a more and more potent weapon to employ (from cover).
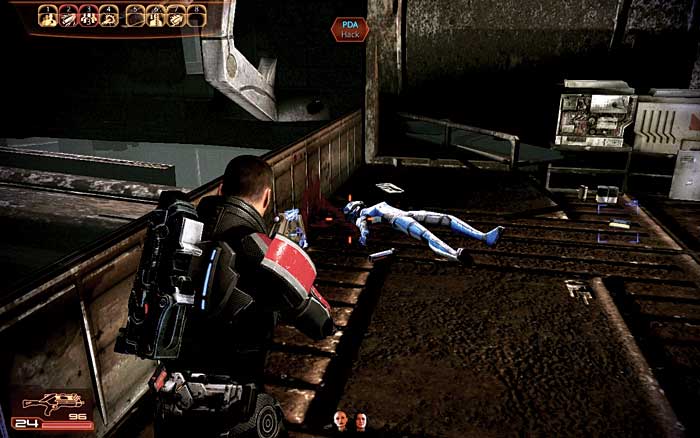
Then search the area at the end of the long section of walkway and the corpse [024] at the dead-end around to the left, just before the next door, for the following items:
|
|
Spoils of War > Wall Safe > Access > 4,000 Credits |
|
|
Ammunition > Power Cells > 2 Heavy Weapon Ammo |
|
|
Spoils of War > PDA > Hack > 4,000 Credits |
Last Stand
[025]
[026]
Just beyond the door at the top of the stairs, the Blue Suns mount one last big counteroffensive. The mercenary gang calls in every man in the facility, from troopers to heavies.
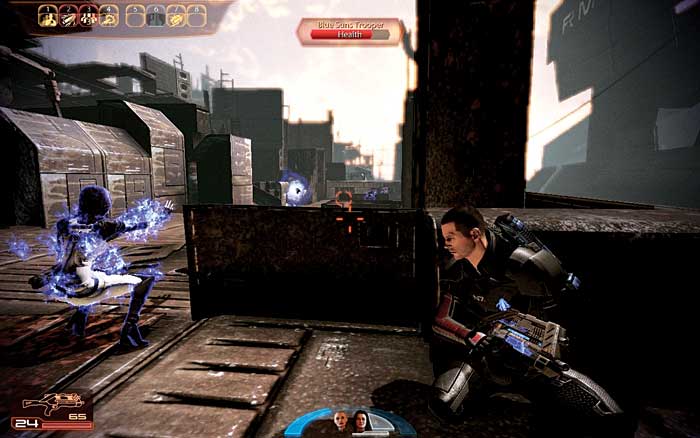
They spread across the area and take cover, forcing you to stay low and pick your targets [025] . You can do more damage if you split your forces and cut paths into the Blue Suns territory.
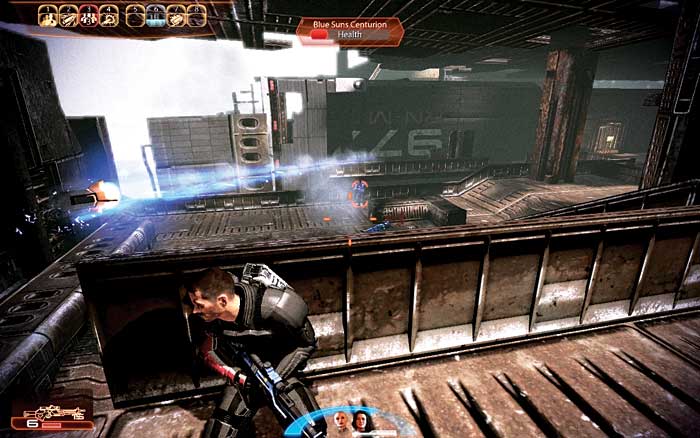
Watch for Blue Suns on the high ground, and blast the centurions on the bridge and then use it yourself [026] to mop up the next batch of Blue Suns that attack.
[027]
[028]
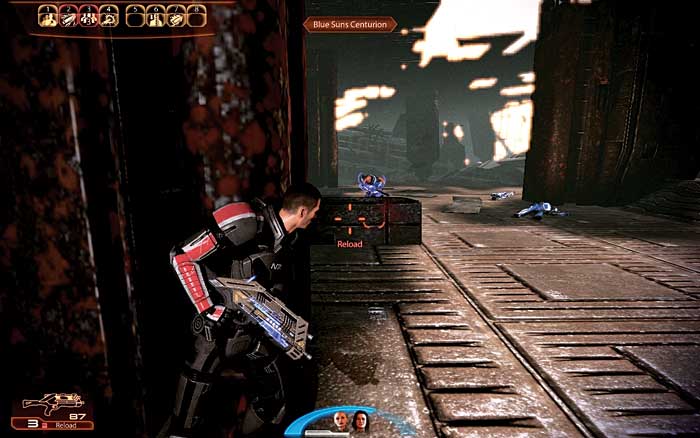
However, don’t rush too far, too quickly, and get cut down by foes dug in behind cover [027] . Check the ground where your adversaries have fallen to grab thermal clips and build your ammo collection back up.
Once the immediate threats are nullified, the majority of the Blue Suns are down, but this battle isn’t over yet.
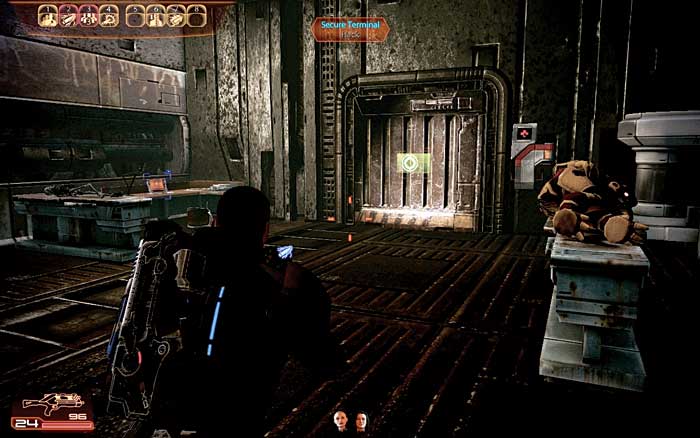
Pass through the door the Blue Suns were guarding to recover medi-gel and access a terminal [028] , and perhaps meet a past acquaintance.
Once you collect the goods, move through the next door to catch up with the good krogan doctor. During your time in the next chamber, be sure to hack the lab terminal for an upgrade, too.
 If Rana Thanopolis, on Saren’s base (Virmire), lived during Mass Effect, she appears at this point and tells you about her survival and more about the current situation.
|
|
Medical Station > Open > Med Kit > 100 Credits |
|
|
Spoils of War > Secure Terminal > Hack > 4,000 Credits |
|
|
Upgrade > Lab Terminal > Bypass > Krogan Vitality |
An Audience with Okeer
[029]
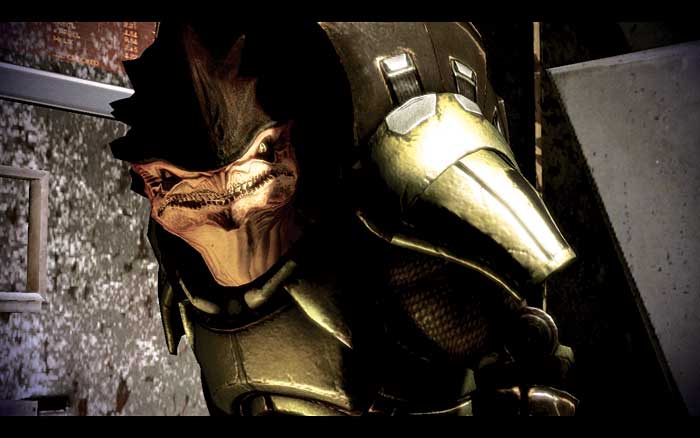
Okeer has been waiting for you to finish with the mercs and come help him complete his experiment. Okeer does treat you with a mix of suspicion and respect [029] .
The krogan brings up Shepard’s actions on the commander’s original mission as a Spectre, when it was discovered that Saren was working on a cure for the genophage.
Okeer does not necessarily disagree with the outcome of that event.
He believes it was necessary to stop Saren and that the krogan Saren wanted to mass produce would not have been real krogan. Okeer believes that his engineered krogan are superior to Saren’s.
[030]
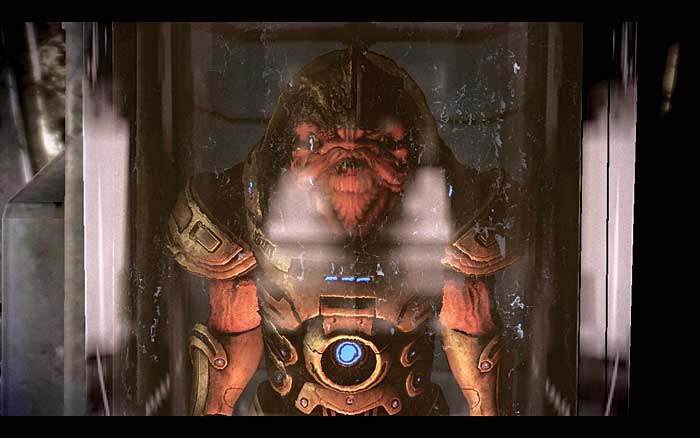
Okeer has been working hard on creating the perfect krogan, a flawless soldier [030] . The rejects from his experiments were supposed to be used in Jedore’s Blue Suns army, but the berserkers proved too difficult to train and contain.
But Okeer has now completed his one perfected krogan and is ready to leave Korlus with his precious cargo in tow. Since Okeer has knowledge of the Collectors, Shepard is eager to accommodate this request.

[031]
Before Shepard can extract Okeer back to the Normandy , Jedore intervenes [031] . The Blue Suns leader orders the release of a toxic gas into Okeer’s lab.
Okeer requests that you take out Jedore before she can poison the new krogan soldier.
If you do this, Okeer will tell you everything he knows about the Collectors. Now save your game.
Part 3: Defeating Jedore
The Deadly Jedore
[032]
[033]
[034]
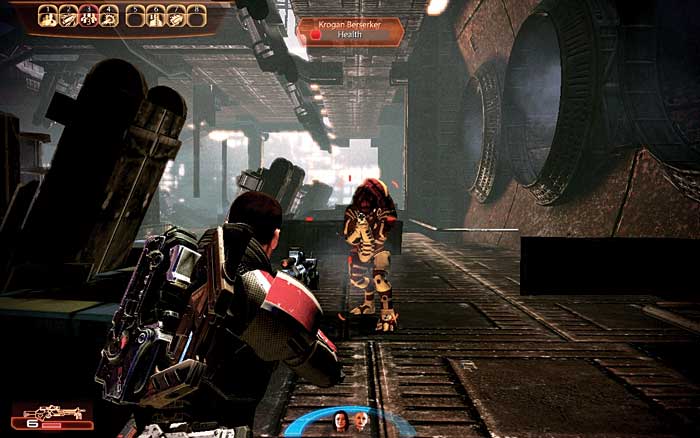
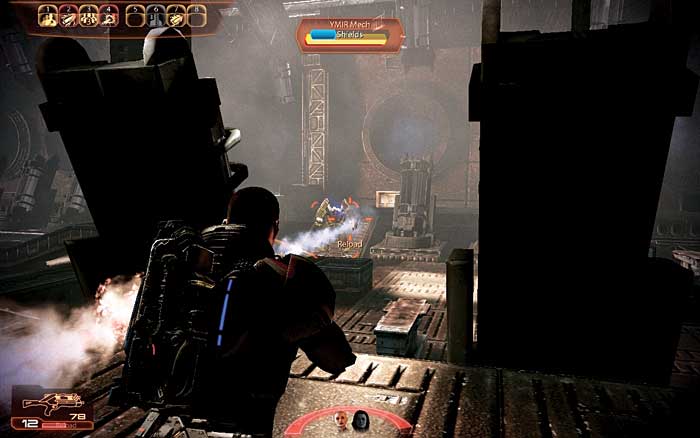
The merc leader is in the warehouse below Okeer’s lab. Jedore can be heard barking orders as you enter, and berserkers begin to appear, heading down to intercept you [032] . Take cover behind the huge metal panels [033] .
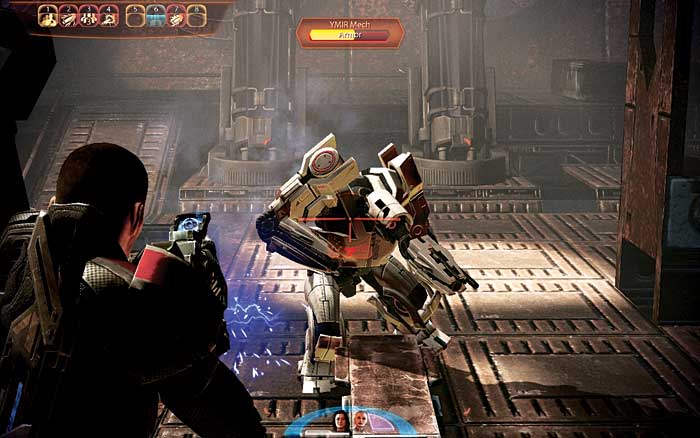
Watch out for Jedore’s YMIR mech [034] , which is equipped with miniguns and a rocket launcher. Lure the YMIR between the metal plates on its side of the warehouse. Peg the arms as they stick out, and request biotic help from your squad members.
[035]
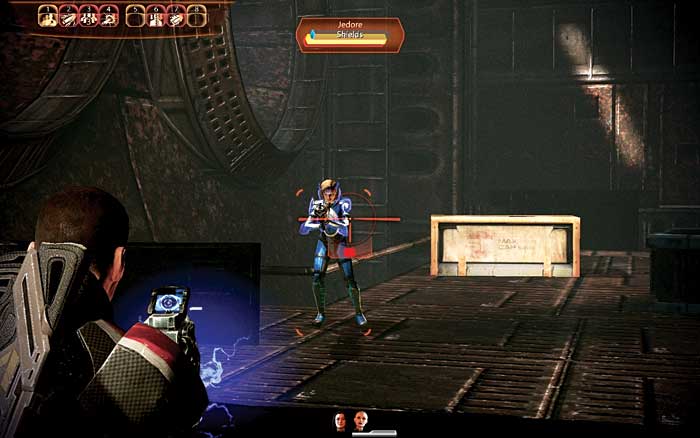
Jedore also has a rocket launcher [035] , so stay in cover as much as possible. The longer Jedore lasts, the more berserkers she calls into the battle; focus on her as soon as the mech is destroyed.
You are wise to employ sniper rifles or heavy weapons against Jedore, especially if fighting from long range.
Return to Okeer
[036]
Once Jedore and the YMIR are defeated, EDI comes over the comm and warns you that the lab is flooded with toxins and that Okeer’s life signs are failing.
Hurry back to the lab before Okeer dies and his knowledge of the Collectors is lost. As you close in, you hear emergency vents kicking in to flush the gas out of the lab. But is it too late?
Unfortunately, Okeer succumbed to the gas before you could finish off Jedore. However, the krogan recorded a message for you with his last breath.
He admits that he doesn’t know why the Collectors have been targeting humans but asks you to take care of his legacy, his perfect soldier.
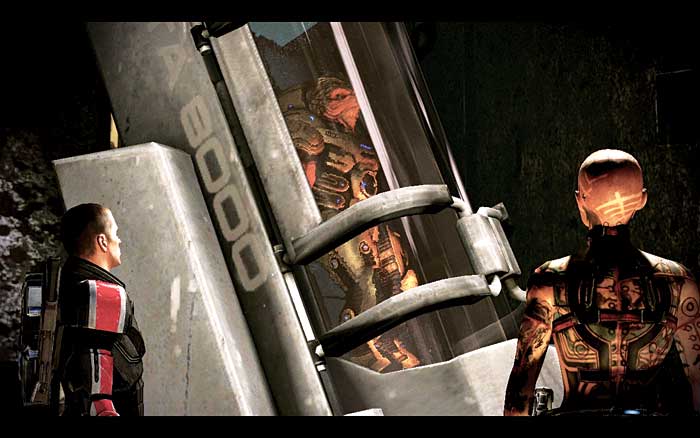
The squad comes to a consensus (some grudgingly) to take Okeer’s krogan [036] . If the krogan is as strong as Okeer suggested, then he could be a worthy ally in the fight against the Collectors. Shepard orders the Normandy to prep for an extraction.

|
Entities Encountered > Squad Members > Grunt |
Back on the Normandy

[037]
Jacob and Miranda are split on the value of the genetically engineered krogan joining the mission [037] .
Miranda worries he will be impossible to control and could do a great deal of damage in the confines of the Normandy because krogan are best in close-quarters combat.
Shepard decides to place the krogan in the cargo hold until the decision is made to release the krogan or keep him permanently in stasis.
Following the meeting, make the rounds on Normandy . Stop in to visit with Jacob and Miranda. They become a little more talkative as the mission goes on.
[038]
[039]
After checking in on the crew, it’s time to finally make the big choice about the krogan in the cargo hold down on deck 4.
Shepard is not required to open the tank. But the krogan could be such a great asset to the crew that it should be difficult for Shepard to resist. After a brief talk with EDI about the ramifications, Shepard opens the tank. The krogan emerges.
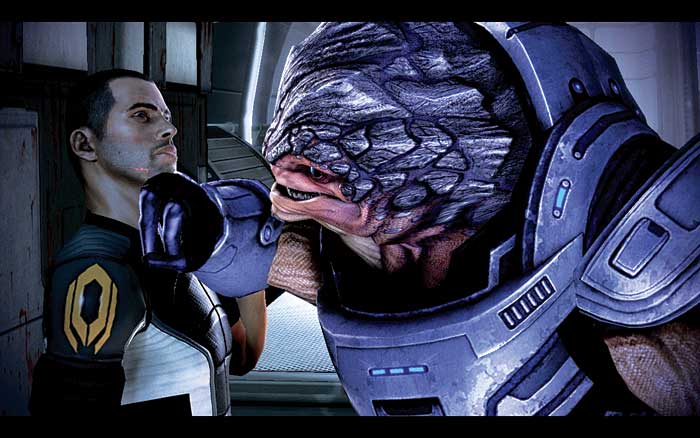
And sure enough, Miranda was right [038] .
The krogan explodes out of the tank and slams Shepard into the back wall, holding the commander down with his massive forearm. The krogan gets right in Shepard’s face. He does not attack. He assesses. He demands a name.
The krogan speaks of Okeer clinically. Whereas the berserker on Korlus seemed to have an affinity for Okeer as some kind of father, this krogan finds Okeer’s voice hollow.
The krogan remembers hearing the word “grunt,” though. That’s what he will call himself: Grunt. Grunt says he will follow Shepard if he can prove his strength against him. Otherwise, the krogan will snap Shepard in half right here.
Shepard appeals to Grunt’s inherent sense of pride by telling him he will only make the crew—the clan—stronger. And Grunt will have the chance to kill some worthy adversaries.
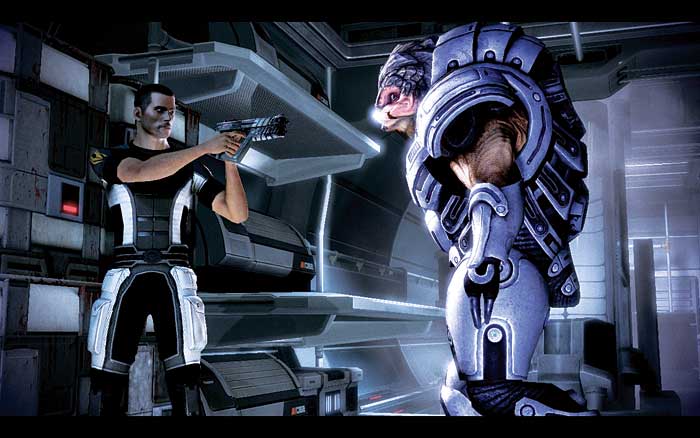
The gun Shepard has been pointing at Grunt’s gut the whole time greases the wheels of Grunt’s loyalty, too [039] .