
Mass Effect 2 Guide Walkthrough SPECIAL ASSIGNMENTS
Lair of the Shadowbroker: Defeating the Shadowbroker
Part 6: Defeating the Shadow Broker
[009]
[010]
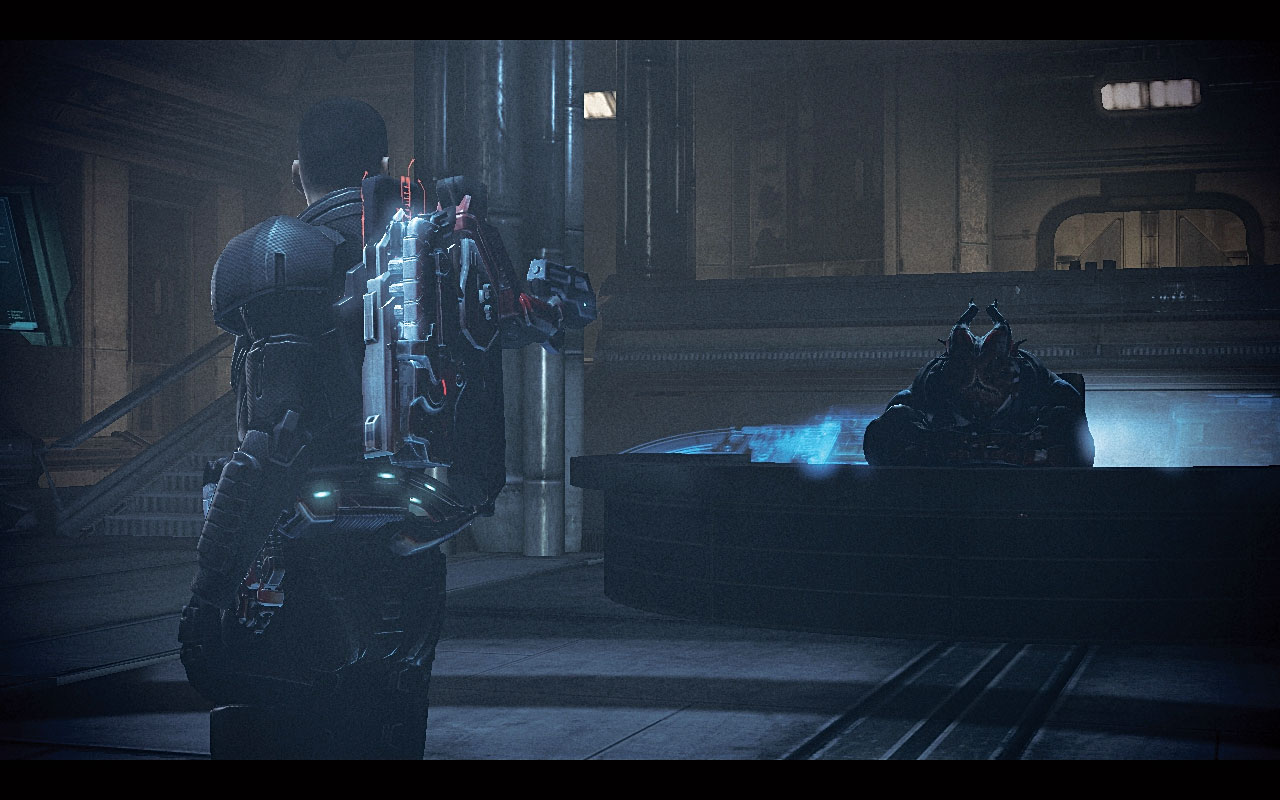
Shepard strides into the Shadow Broker’s chamber of command and peers into the gloom. A massive yahg sits resting on his chair [009] , and comments about Shepard’s reckless behavior.
Liara raises the capturing of Feron, and the Shadow Broker reminds her that it was her deeds that caused the current situation.
[011]
The Shadow Broker has worked with the Collectors (and his intentions differ depending on whether the Collectors are defeated in the main missions or not).
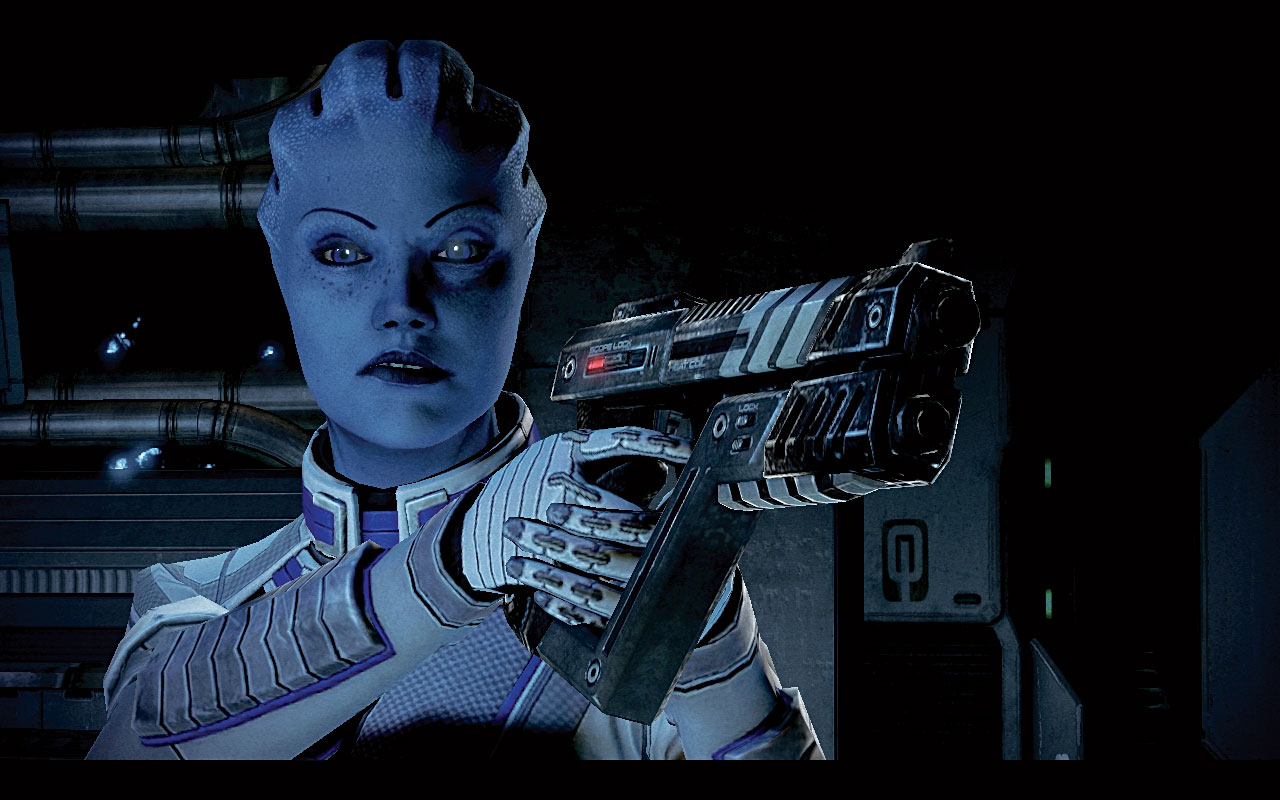
The Shadow Broker and Liara trade threatening verbiage [010] , before the Shadow Broker comments on the third squad member—giving all-too accurate information about them.
The Shadow Broker tells Liara it is pointless to challenge him; he knows all her secrets. She responds by telling the Shadow Broker he is a yahg, likely removed from his homeworld by the first Shadow Broker and kept as a trophy, or a pet.
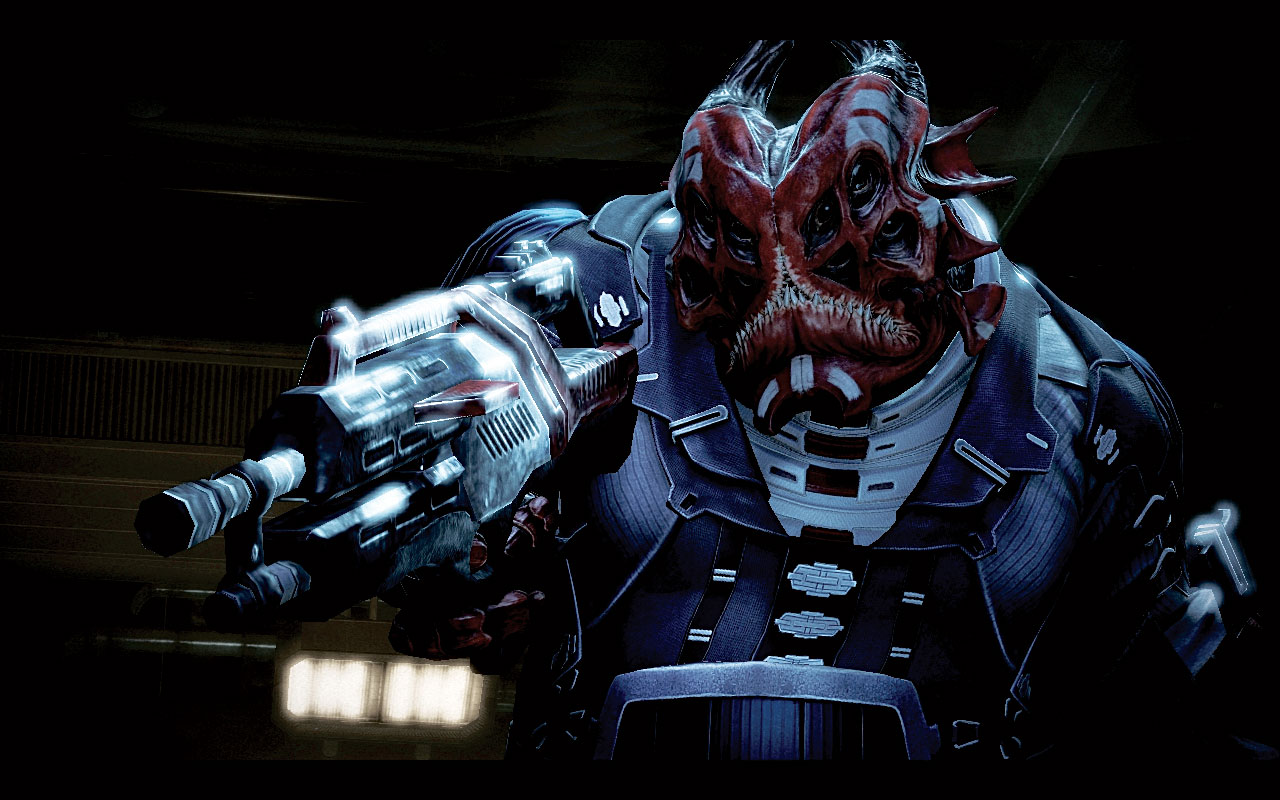
This does the trick; the yahg stands up [011] , towering over Shepard’s team, and pulverizes his desk, throwing parts of it and incapacitating your third squad member.
[012]
The Shadow Broker is the very definition of brute force, and to begin with, keep yourself as far from him as possible.
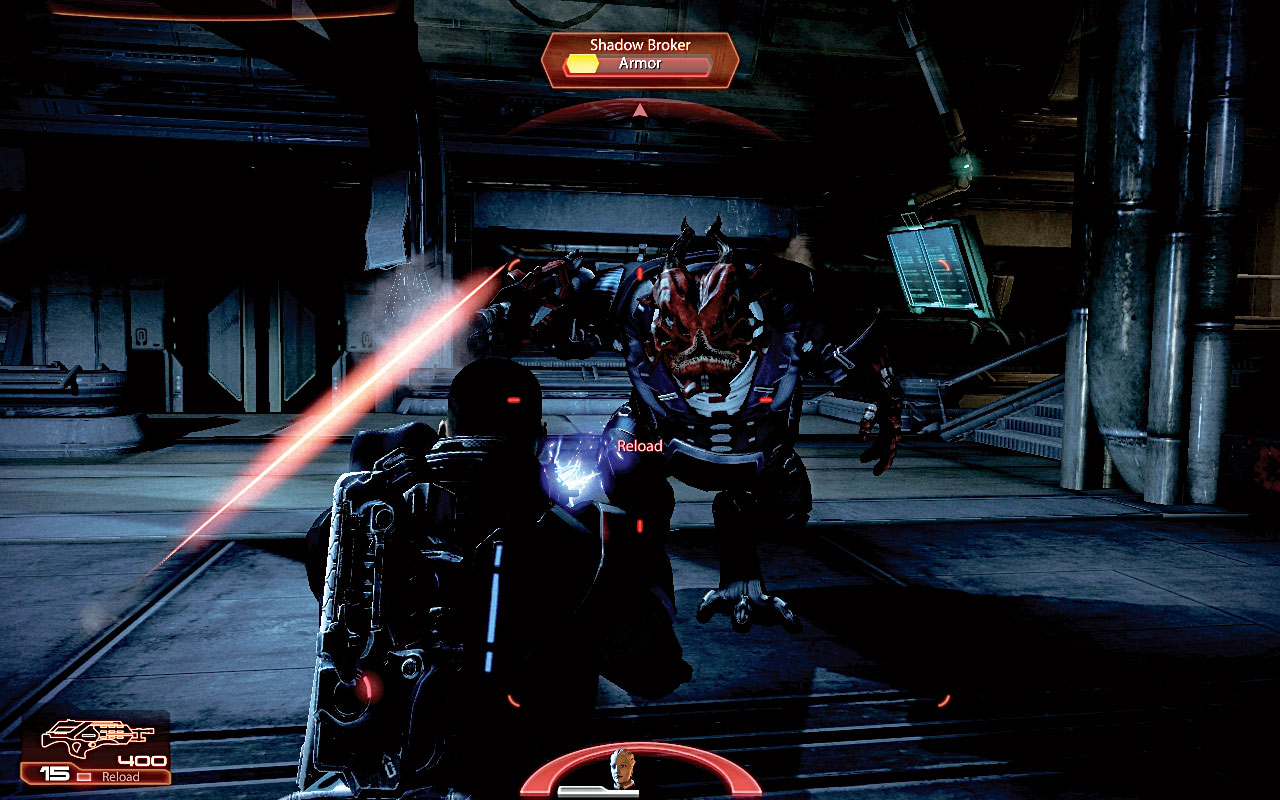
Use your favored weapon (a shotgun or assault rifle is recommended) to blast away at the Shadow Broker’s shields and armor [012] . Save any powers for later into the fight.
Whittling down the shields and armor should go suspiciously well; in fact, aside from predicting his charge so you aren’t struck, by keeping your distance and circle-strafing, and continuously firing, you may remove his armor without being hit once.
[013]
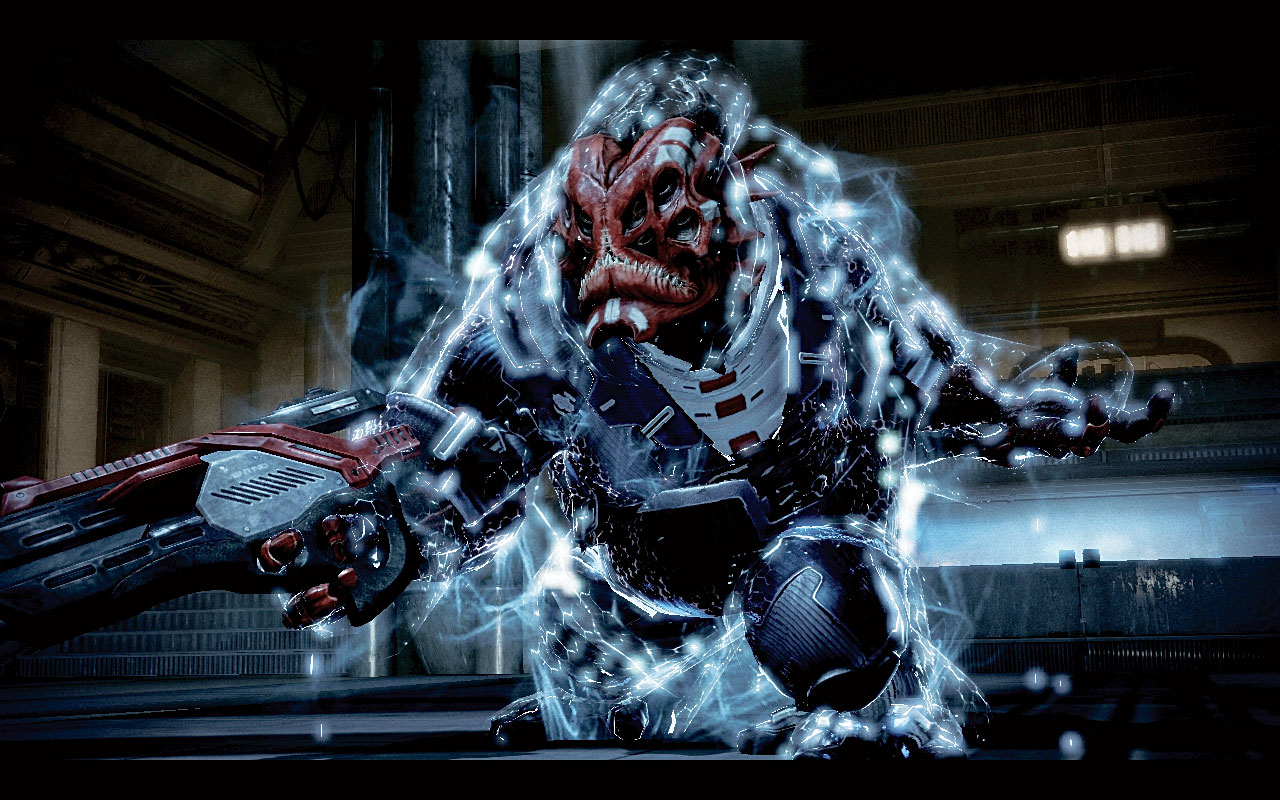
The Shadow Broker bellows and raises a kinetically sensitive shield about his bulk [013] , and Liara’s bullets and biotic attacks simply bounce off. Shepard responds that the Shadow Broker needs to be taken down the hard way.
[014]
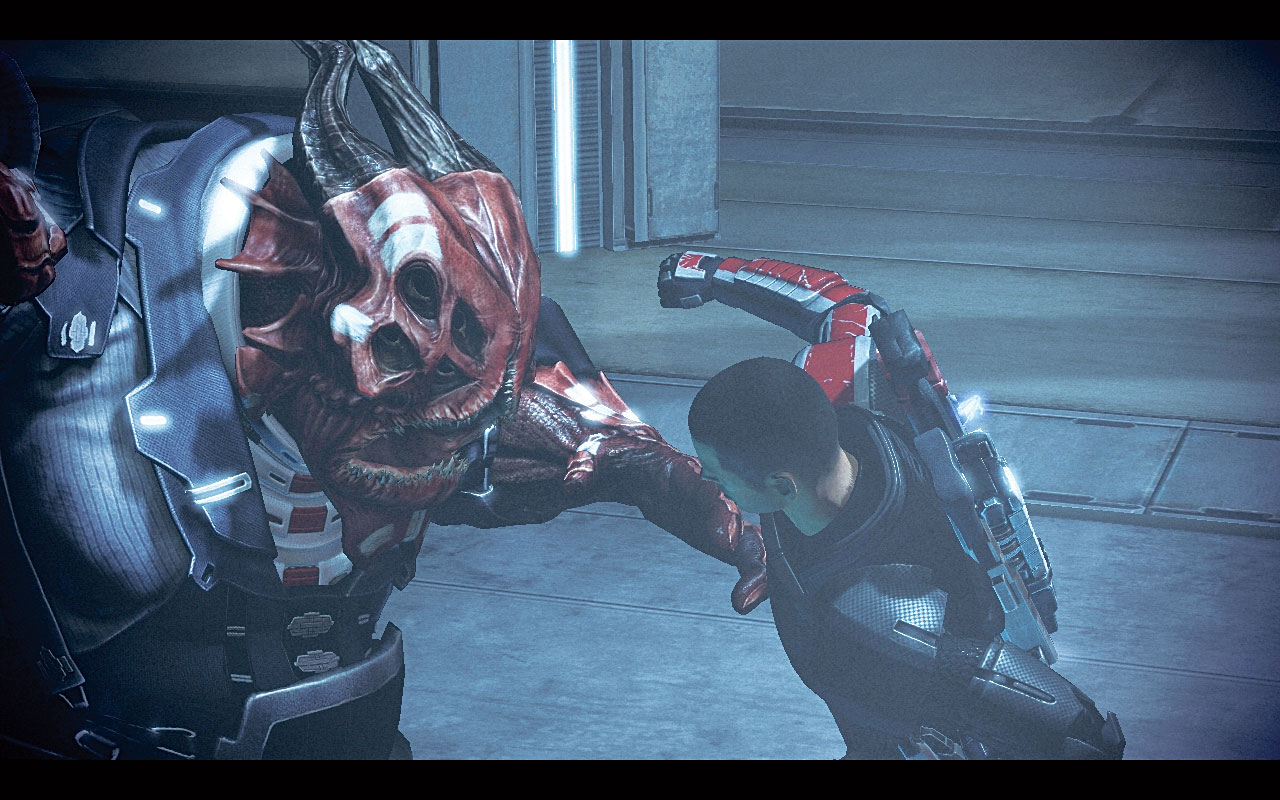
Run quickly up to the Shadow Broker and execute a melee attack with the butt of your weapon [014] .
Shepard begins a series of damaging punches that send the Shadow Broker reeling, until he raises a shield, sending Shepard tumbling backward. Combat begins anew.
[015]
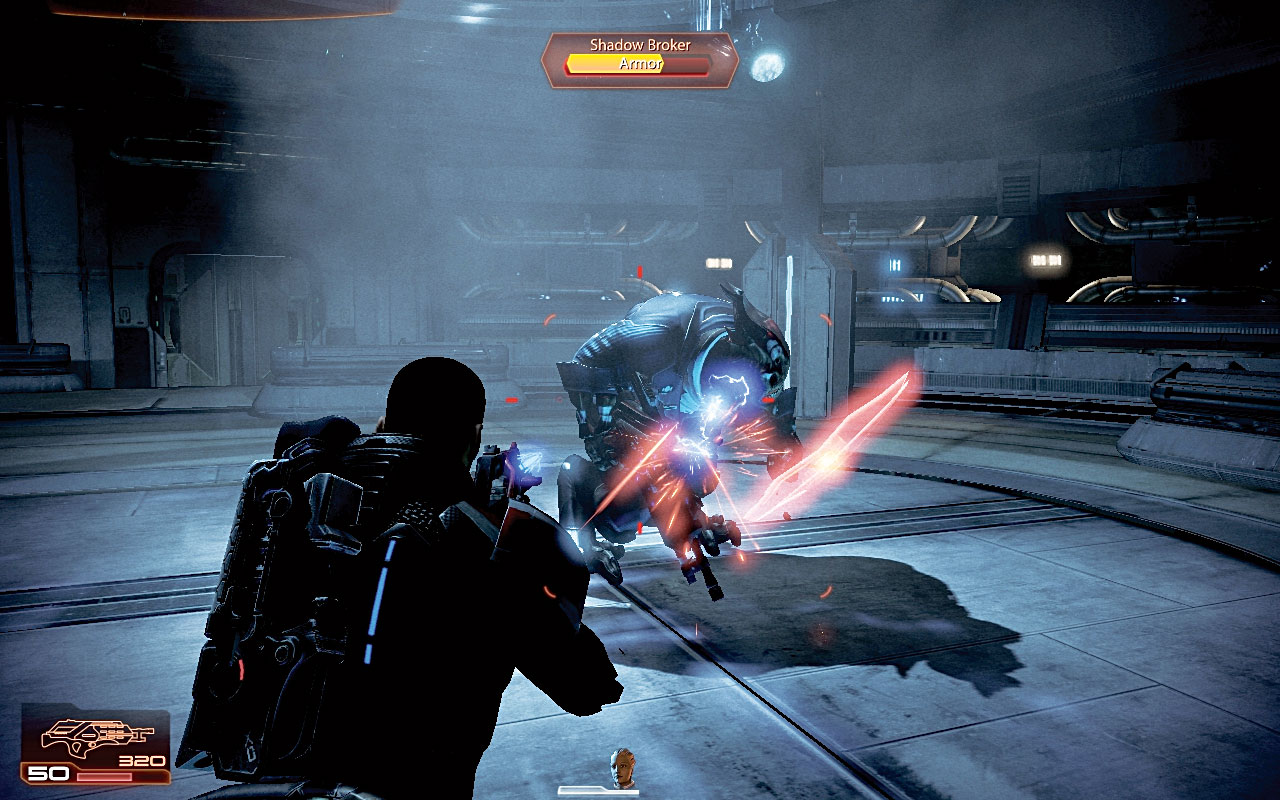
The Shadow Broker’s shields are fully restored, and he is sporting an omni-powered shield.
Use the same tactics as you did previously [015] , but begin by bringing out your shotgun and carefully aiming it to the left of the shield, as shots fired into the shield harmlessly ricochet off.
Bring down the shields and armor as quickly as you can.
[016]
[017]
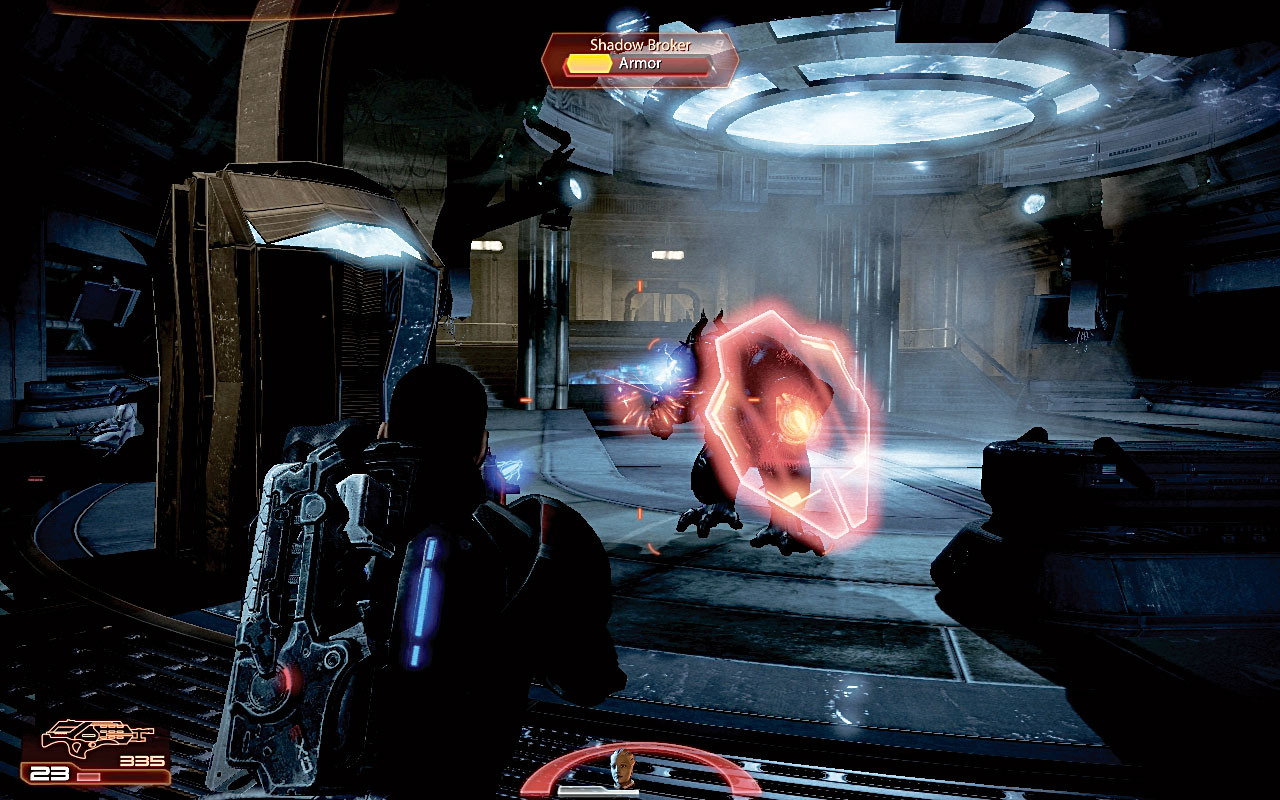
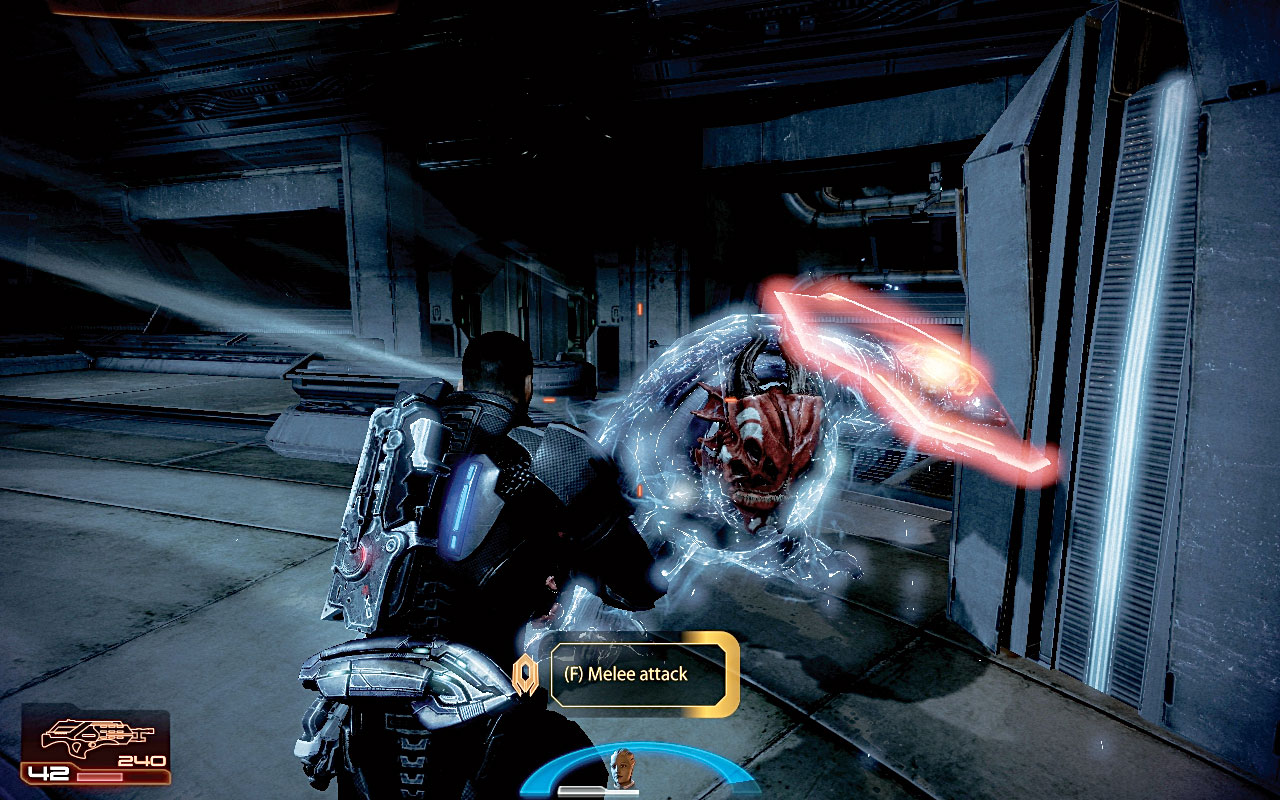
Liara periodically stalls him with a biotic attack, but you should unload with your assault rifle [016] , firing constantly once the Shadow Broker finishes firing at you.
Stay behind cover, but don’t hide behind it; if the Shadow Broker charges, he destroys the cover and seriously damages you in the process. This can easily result in Shepard’s death.
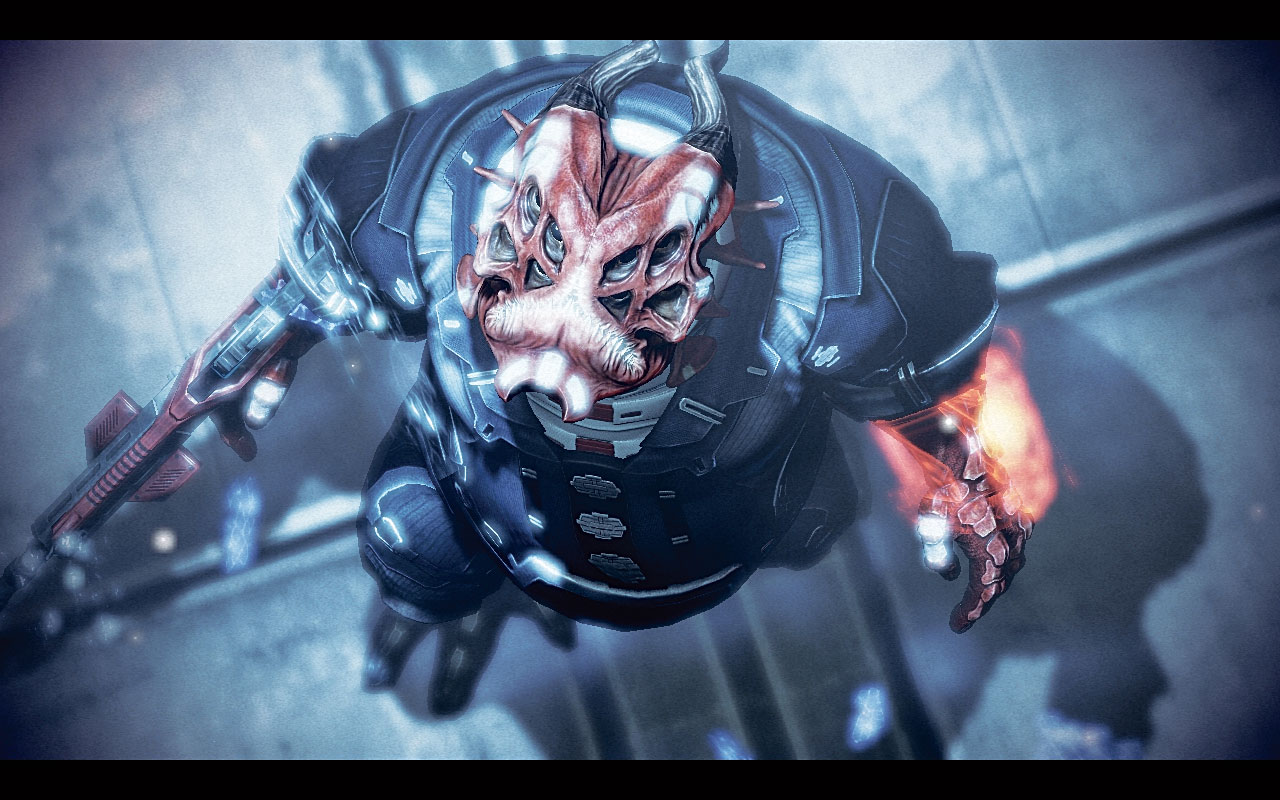
Remove both the shield and armor, and the Shadow Broker raises his biotic shield. The white, writhing energy surrounding him [017] is your cue to sprint forward and execute a melee strike.
This wounds the Shadow Broker, but Shepard is soon pushed away as the yahg regains his composure.
[018]
Begin this battle one last time, as Liara has a plan to end the Shadow Broker once and for all. Repeat the shield and armor takedown, and melee attack the Shadow Broker when his biotic shield goes up.
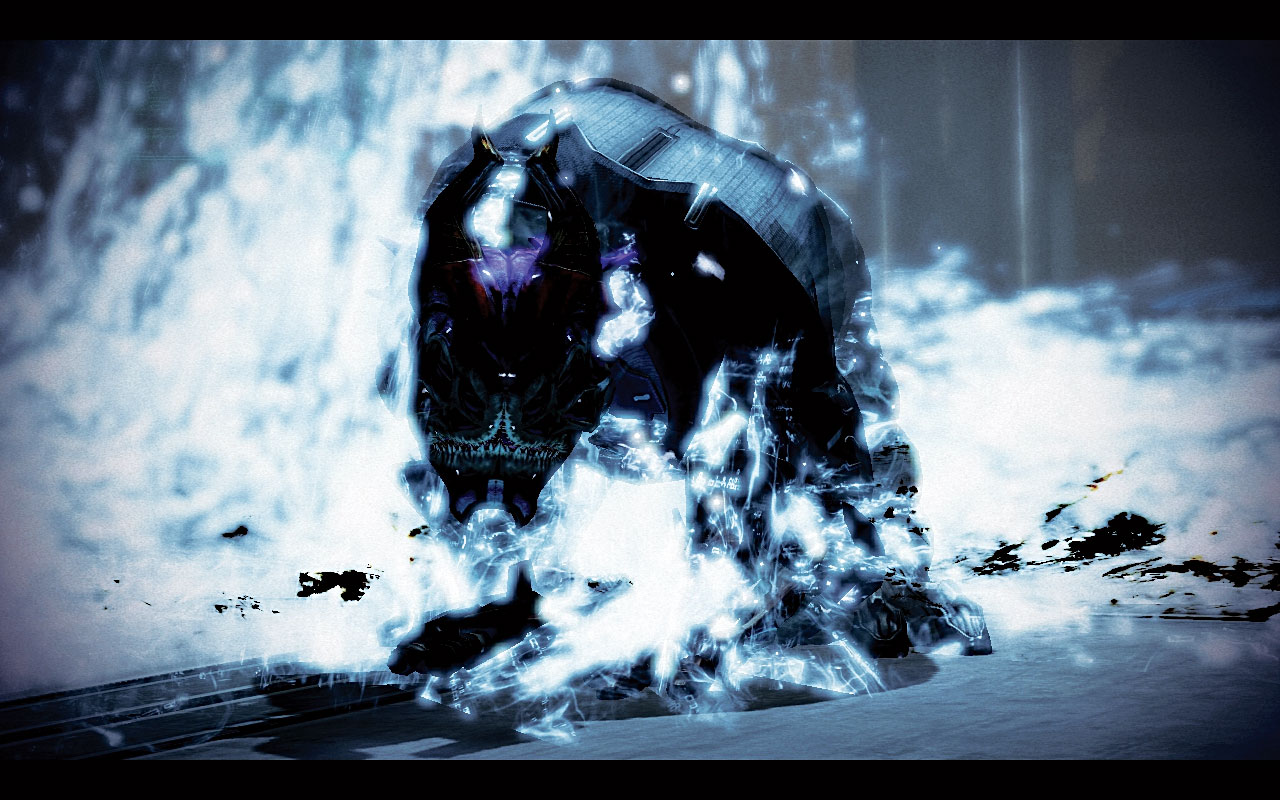
Summoning a biotic bolt of energy, Liara begins to crack the large energy conduit above the Shadow
[019]
Broker’s command chamber [018] and, finally, brings the storm of electrical energy down on the foe.
The full force of the ship’s energy storm is concentrated on the Shadow Broker’s omni-shield, which overloads immediately [019] and vaporizes the Shadow Broker in a maelstrom of electricity, light, and discharge.