
Mass Effect 2 Guide Walkthrough SPECIAL ASSIGNMENTS
Lair of the Shadowbroker: Shadow Broker's Ship
Part 4: Shadow Broker’s Ship
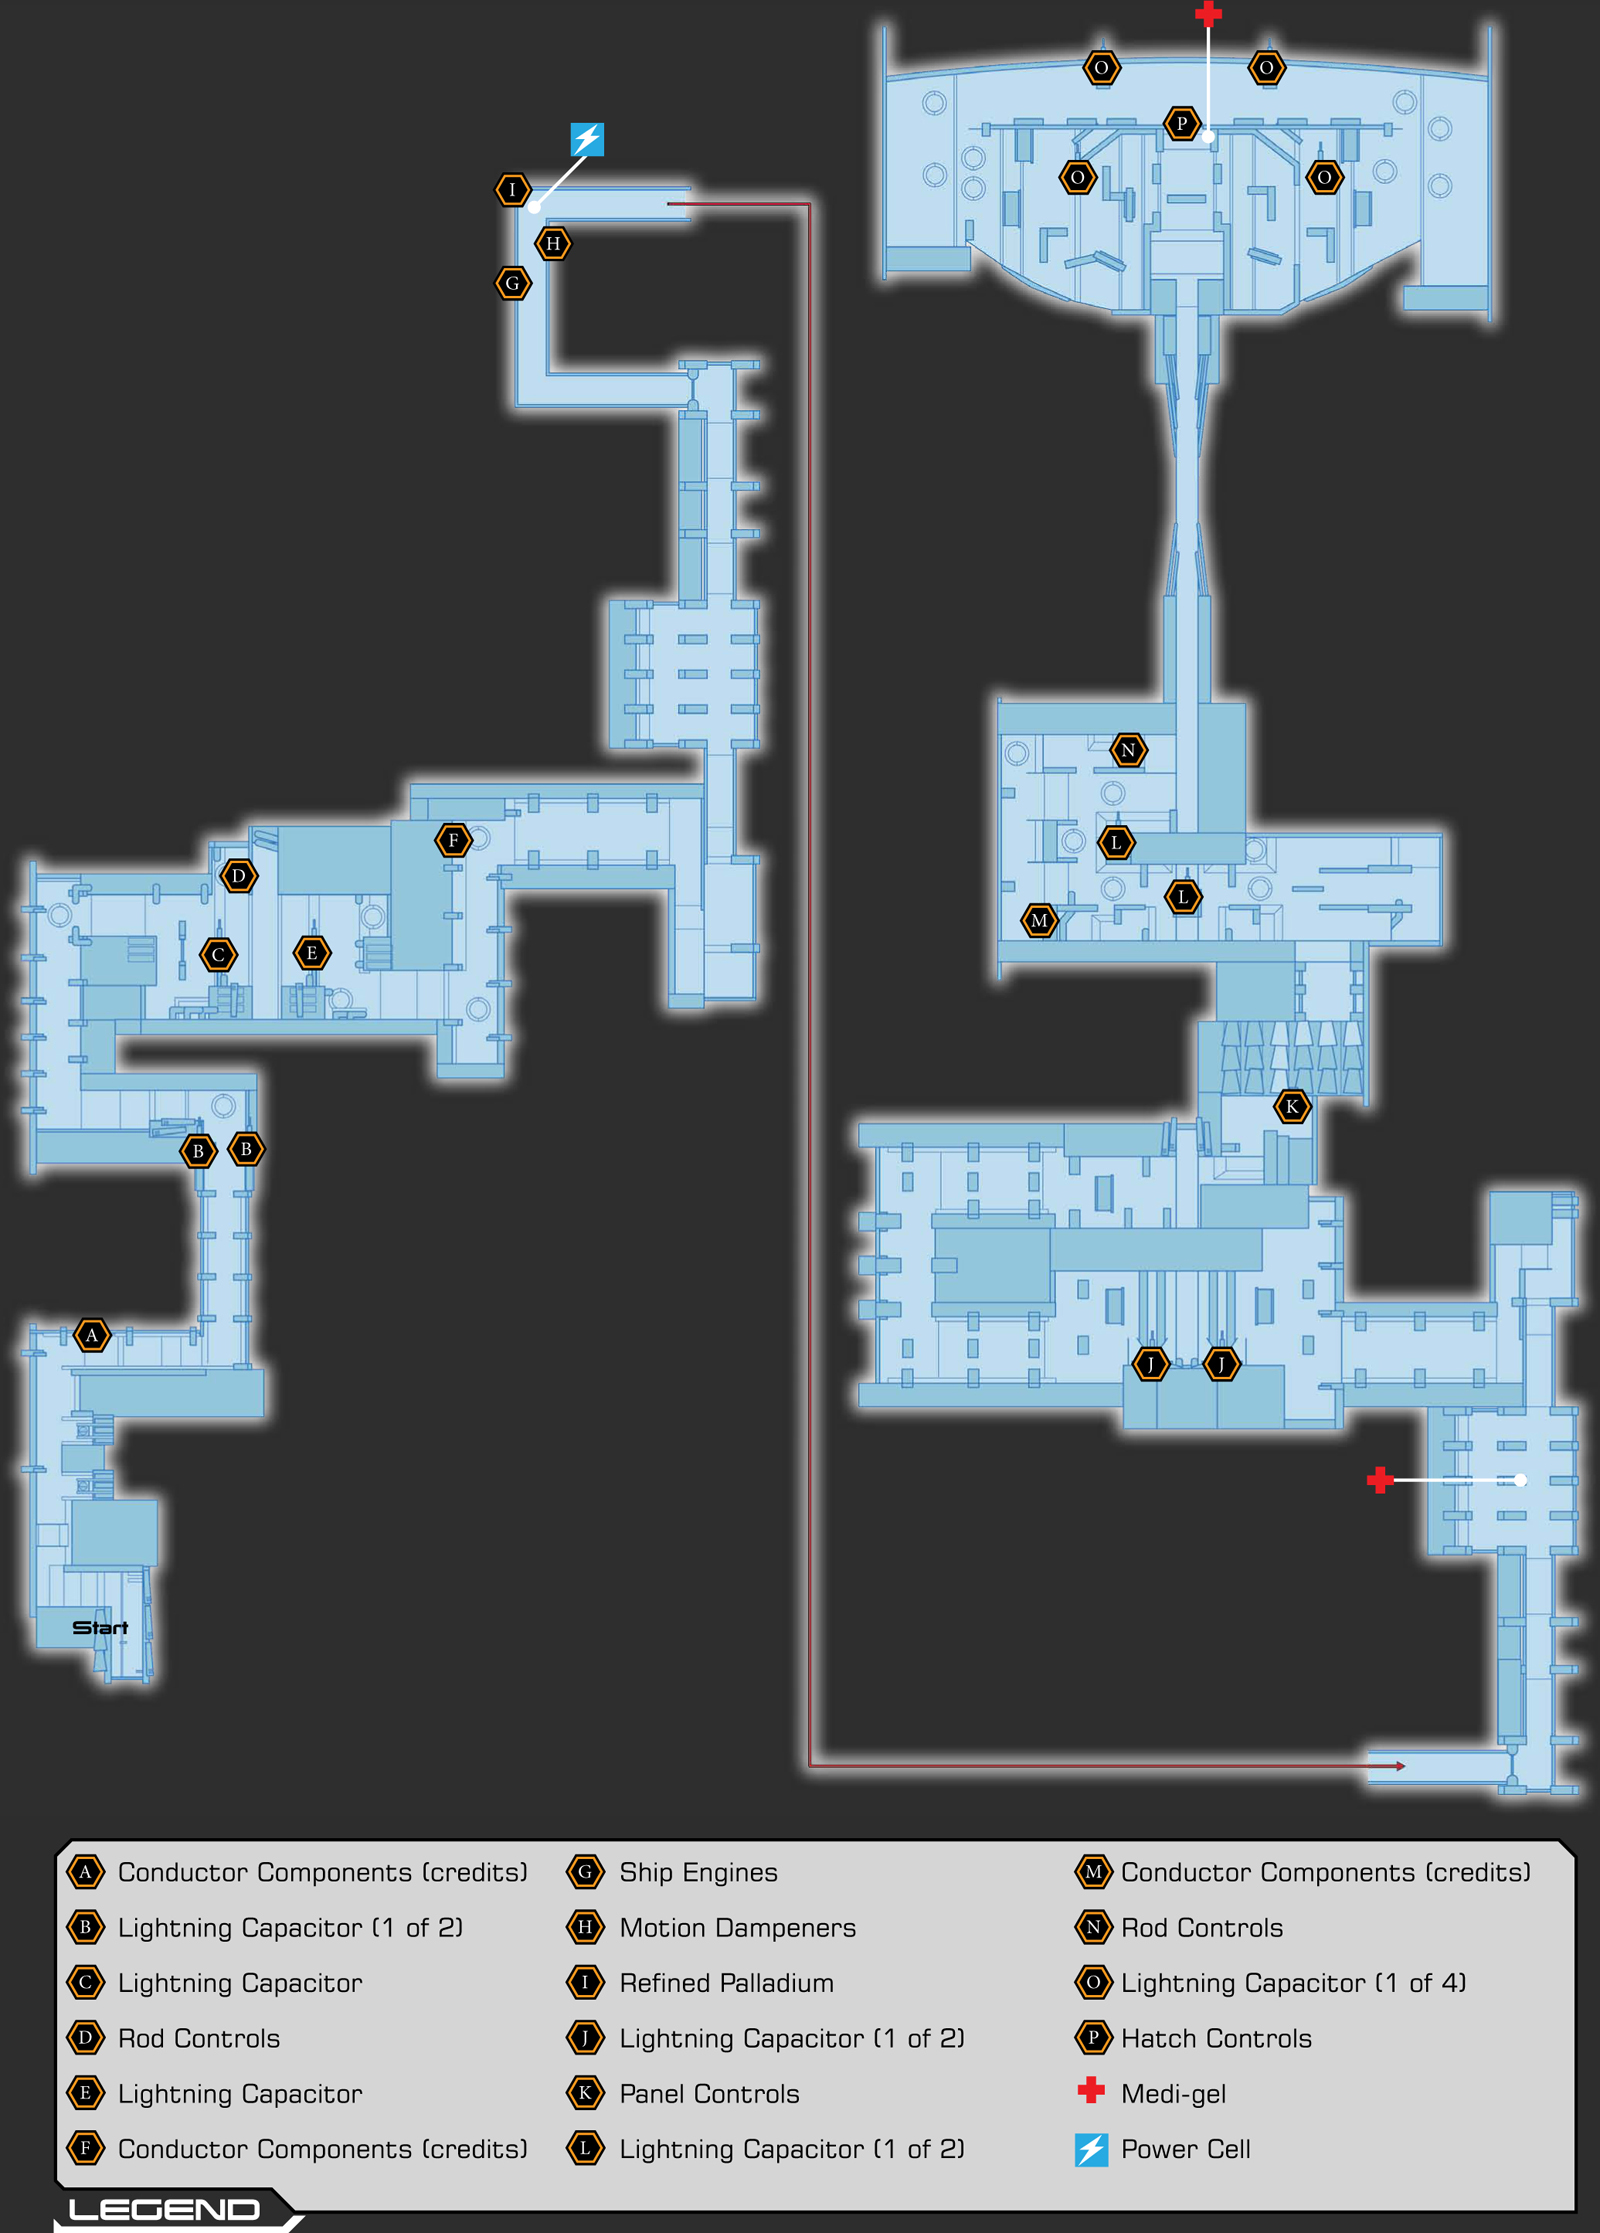
[001]
[002]
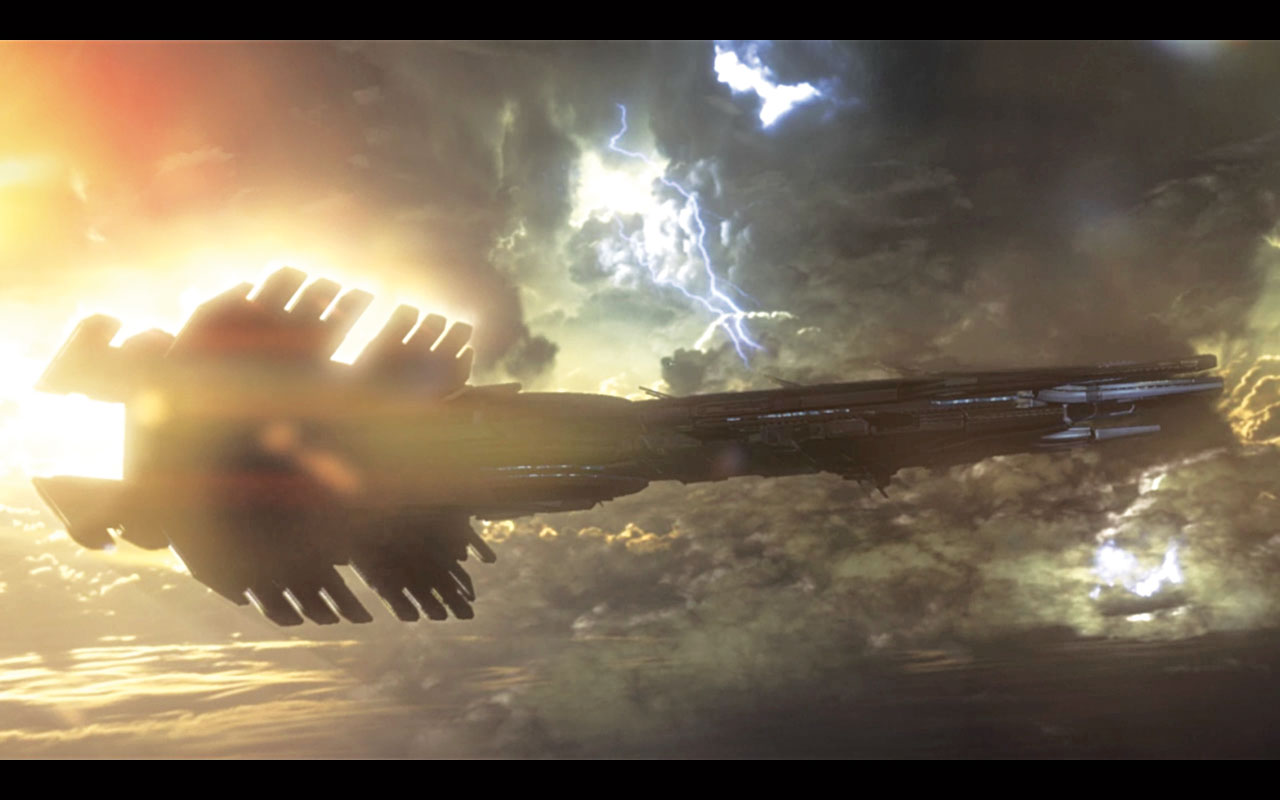
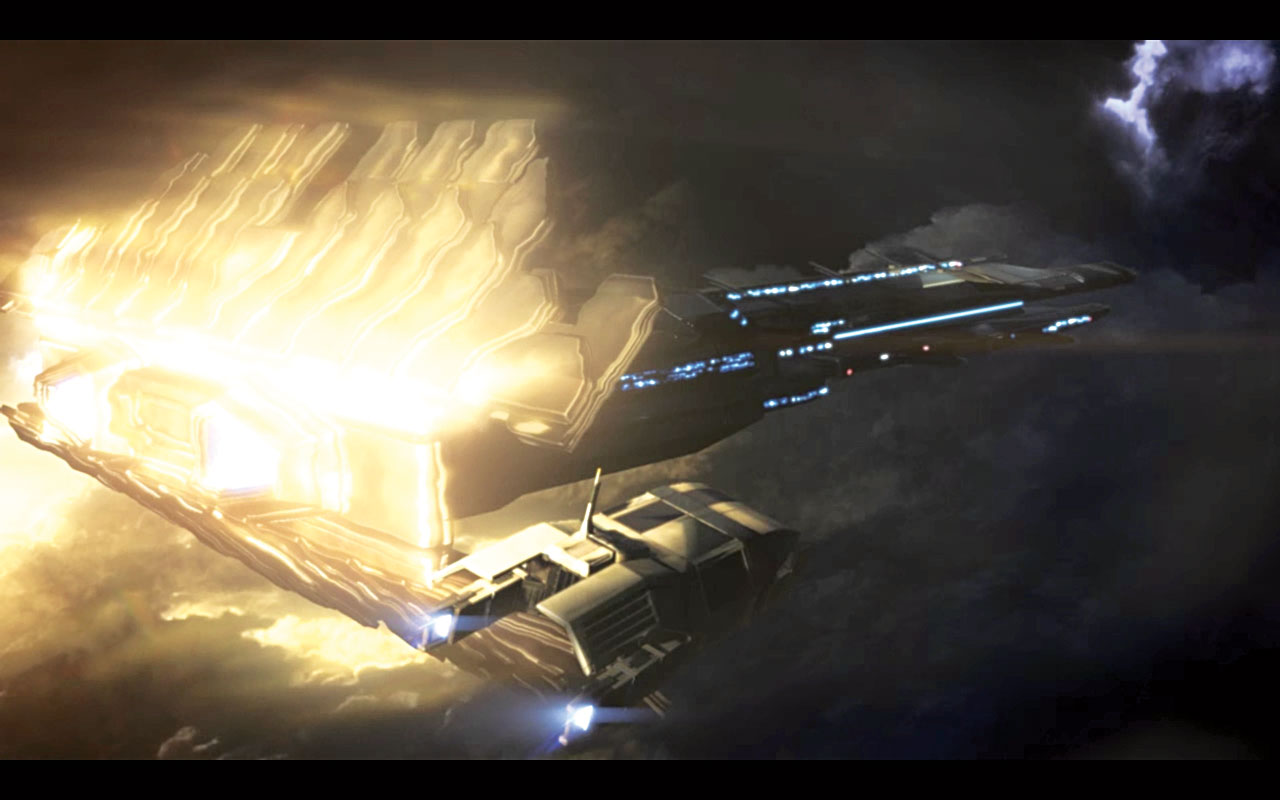
A Kodiak craft is launched from the Normandy and makes a beeline for the Shadow Broker’s large craft as a fierce electrical storm crackles through the atmosphere [001] .
The weather is a topic of conversation; the oceans boil during the day and then snap-freeze 10 minutes after sundown.
The Shadow Broker’s ship follows the sunset, completely undetectable in the storm. Until now. The plan is to land on the hull of the ship [002] and find a hatch.
Finding the Entrance
[003]
[004]
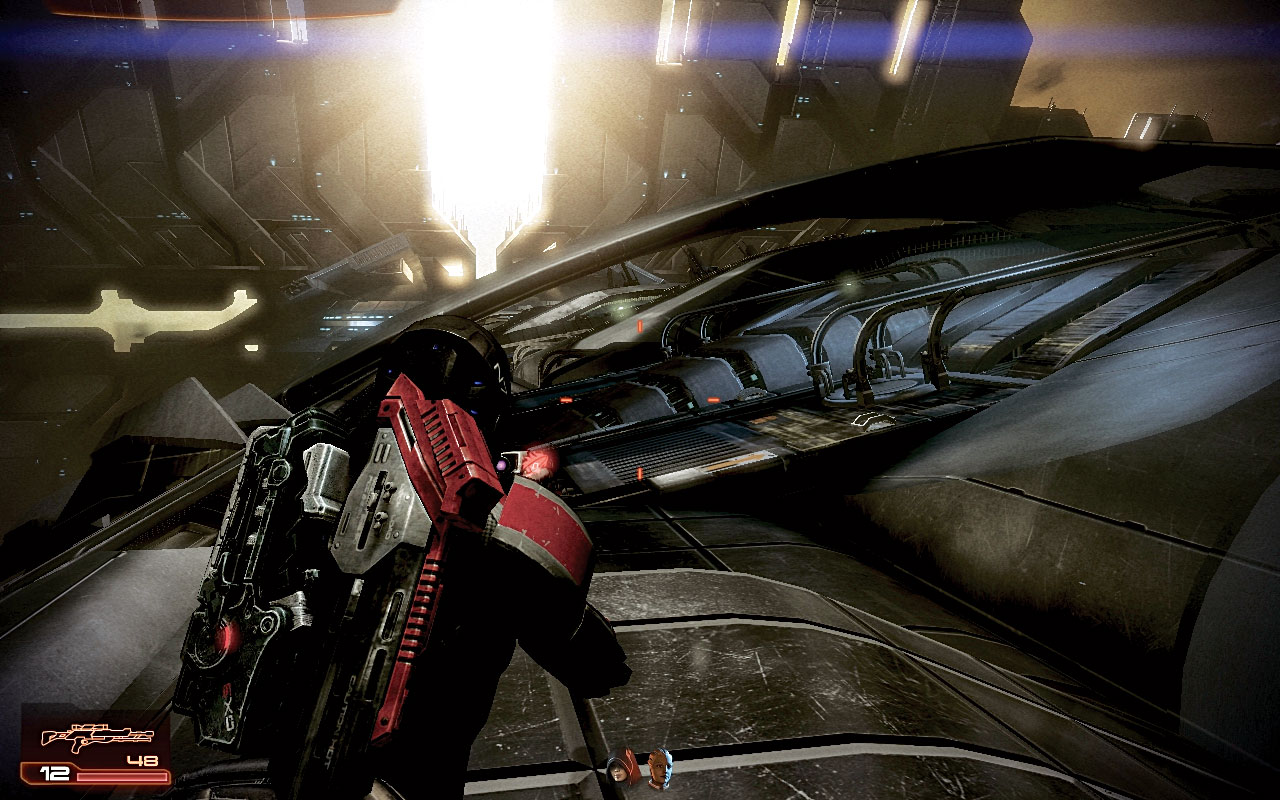
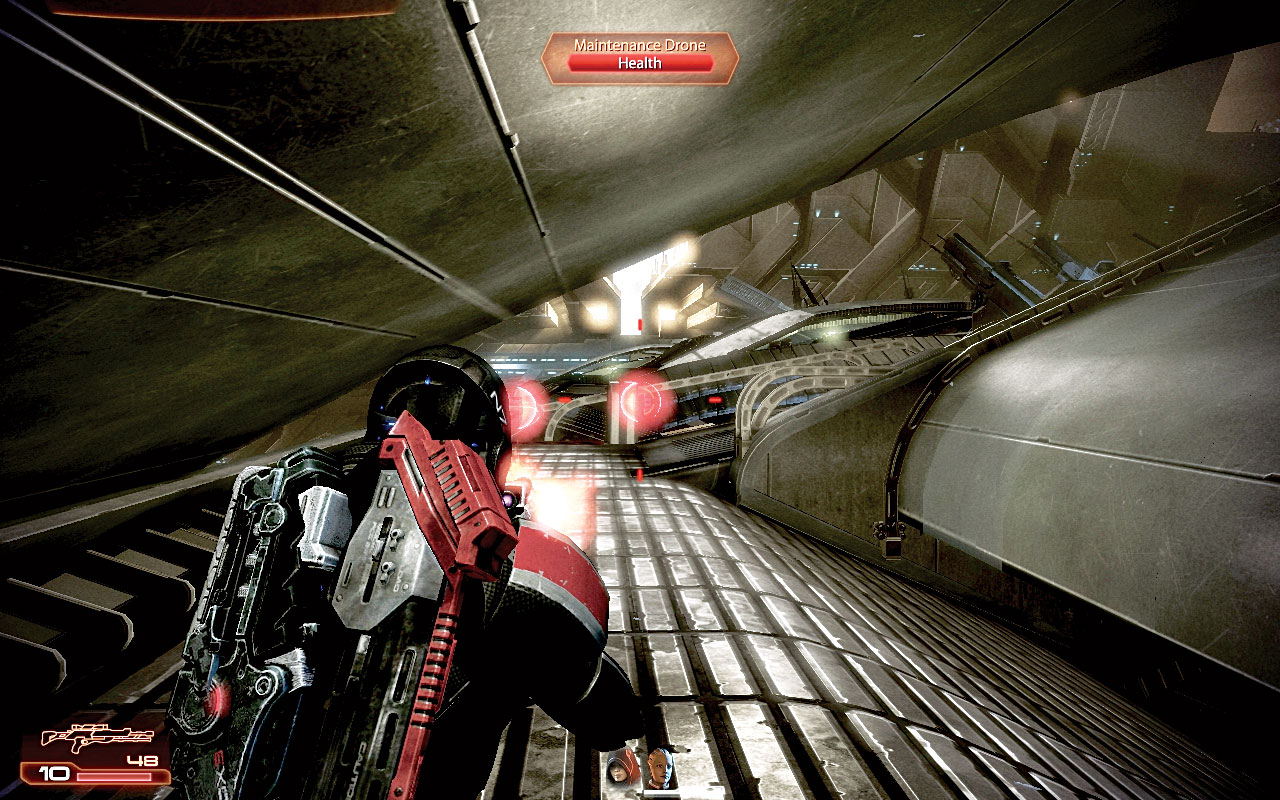
Liara is picking up a communications signal from the array at the opposite end of the ship. Head forward, then down the left side of the ship [003] , and vault over the raised section until maintenance drones are spotted.
Liara figures they think the three team members are debris. Shoot the two pairs as you continue under the overhang [004] , and turn right, up to the middle of the ship again.
Salvage some conductor components as you go.

|
Spoils of War > Conductor Components > Salvage > 3,000 Credits |
[005]
[006]
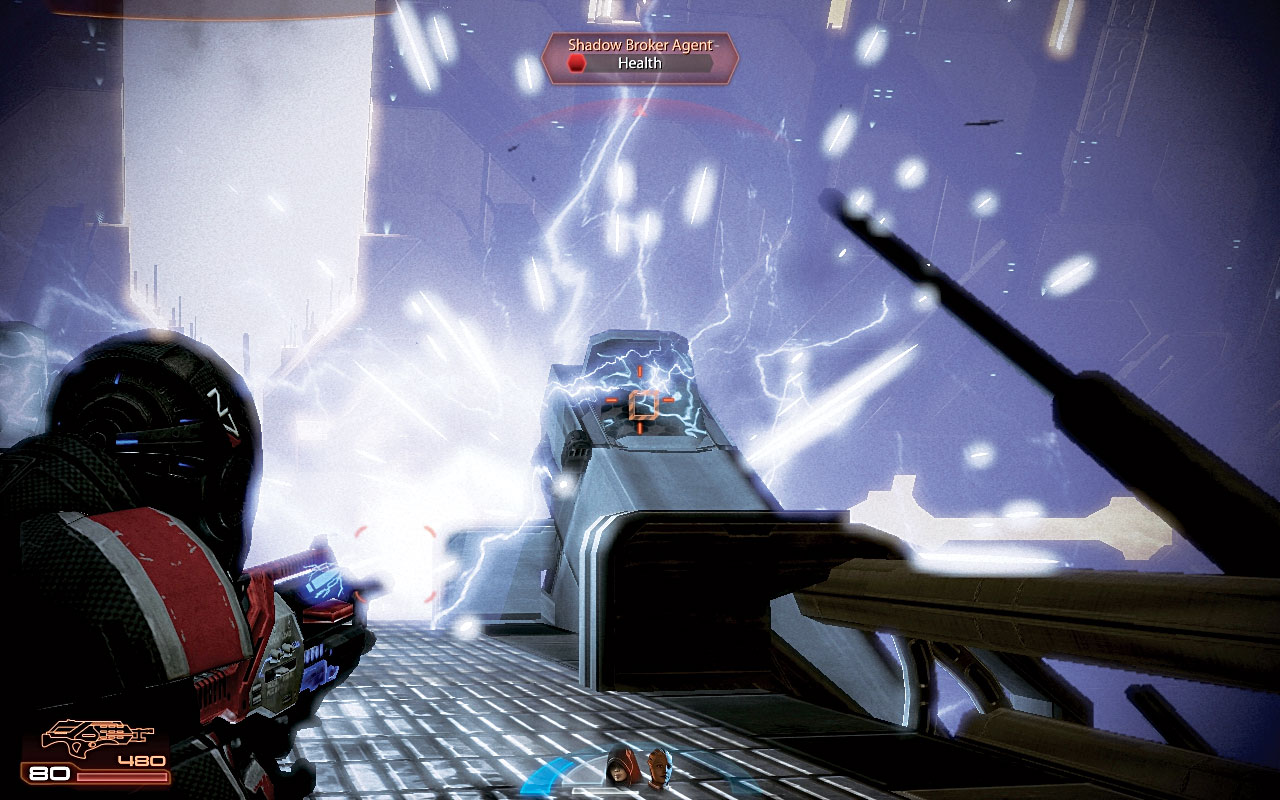
Ahead are capacitors that discharge the lightning that constantly strikes the ship. Shadow Broker agents are spotted on the hull.
Follow Liara’s advice and target either capacitor, shortening the fight considerably as the capacitors electrocute the agents [005] immediately in a flash of energy.
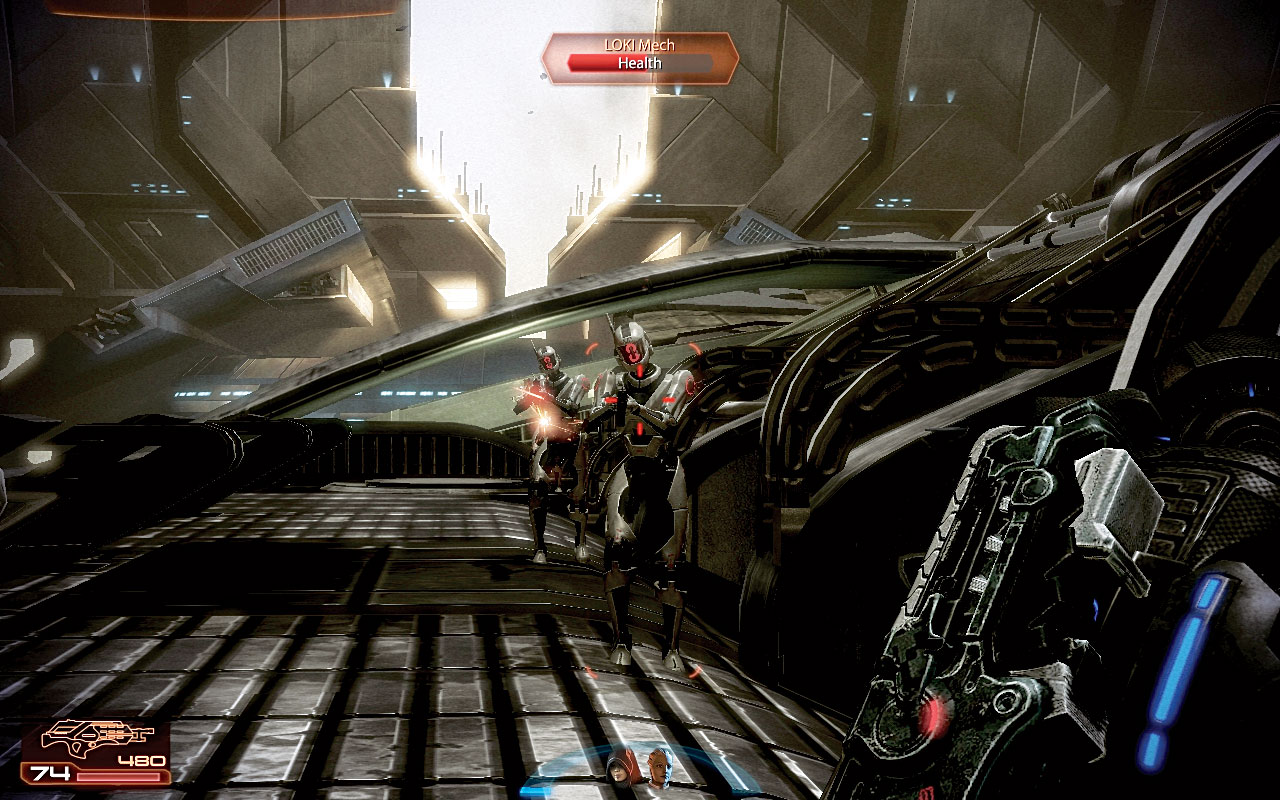
Continue to the end of the walkway and head left and down to the edge again, turning right to encounter a trio of easily defeated LOKI mechs [006] . Use firepower or biotics to deposit them over the edge of the craft.
[007]
[008]
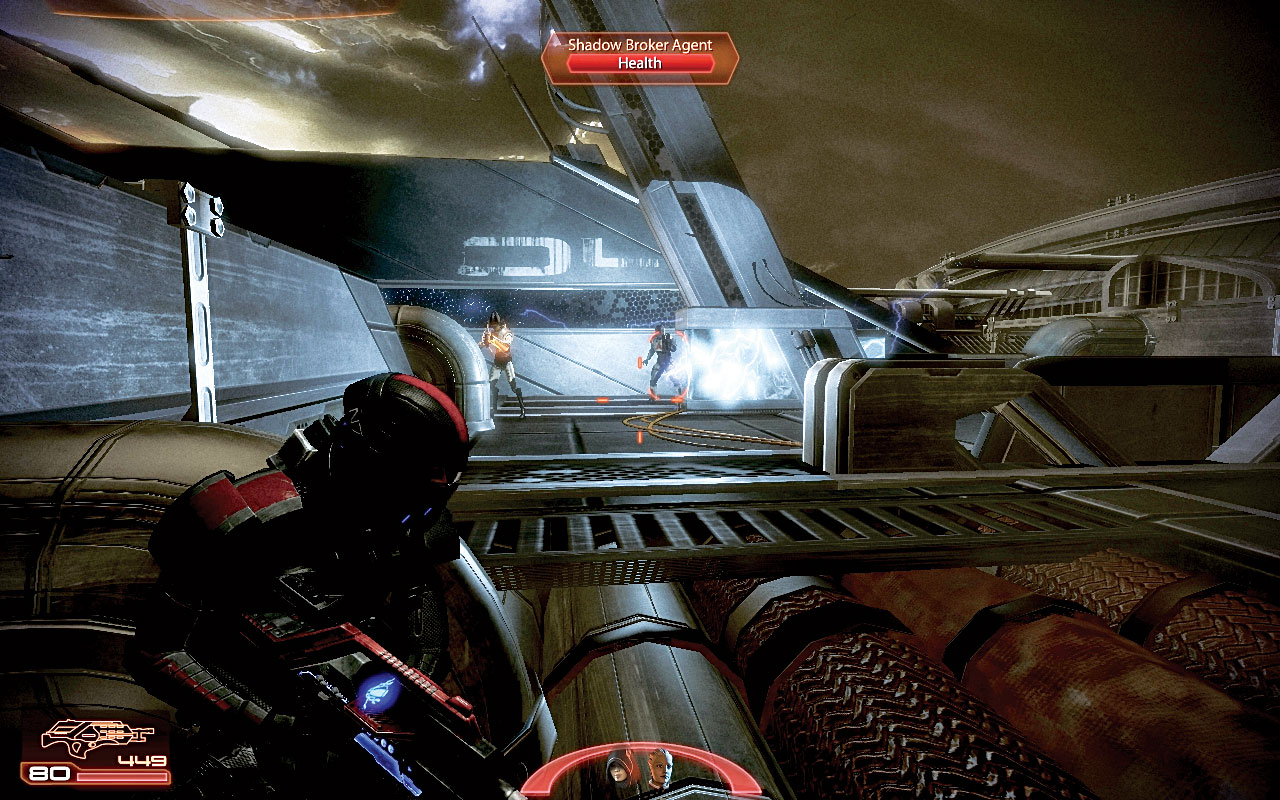
Head around the corner and up the right ramp, just as another more Shadow Broker troops appear [007] . Dive behind the pipe to your left and use the nearby capacitor to take down the agents, leaving you with the engineer to deal with.
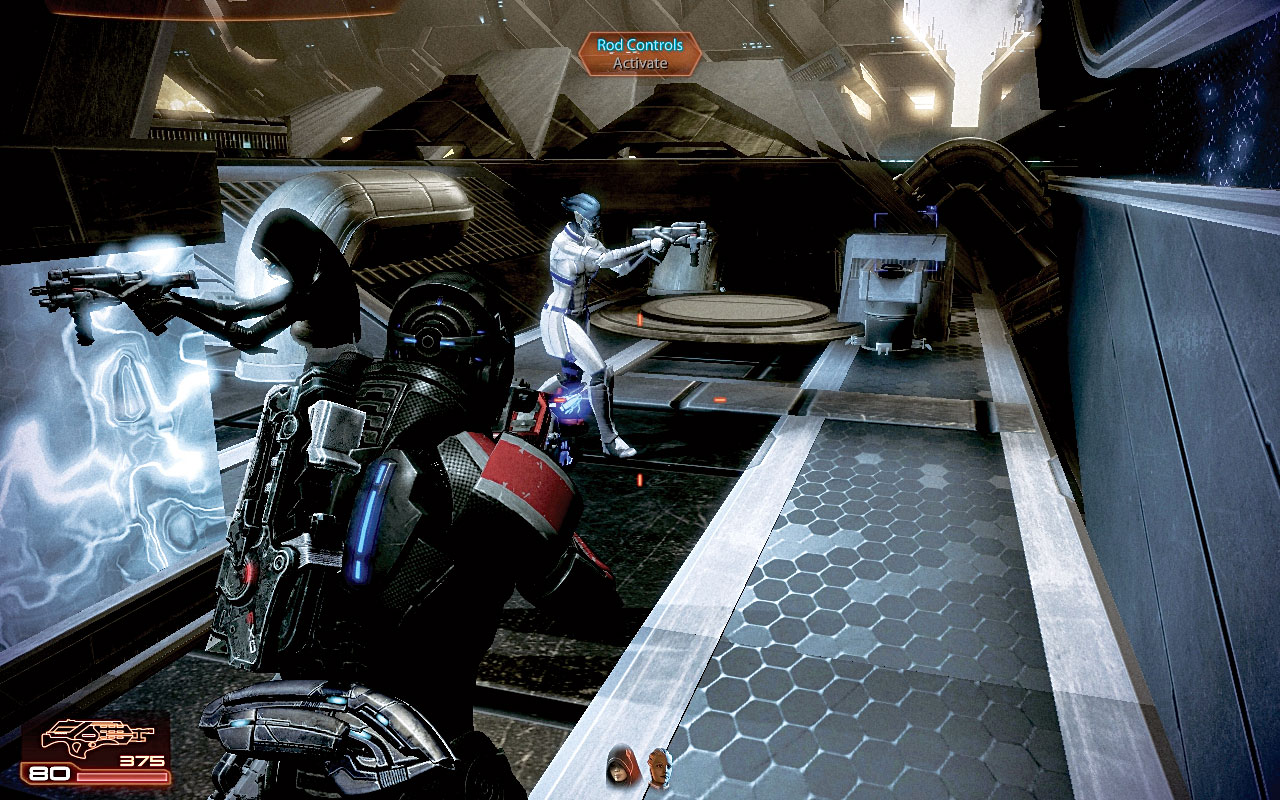
You can play a waiting game until the capacitor recharges, and zap the foes again, or use conventional means to defeat them. Behind the capacitor to the right are the rod controls [008] .
Activate these, and the gigantic lightning rods retract into the superstructure, leaving a trench behind.
[009]
[010]
[011]
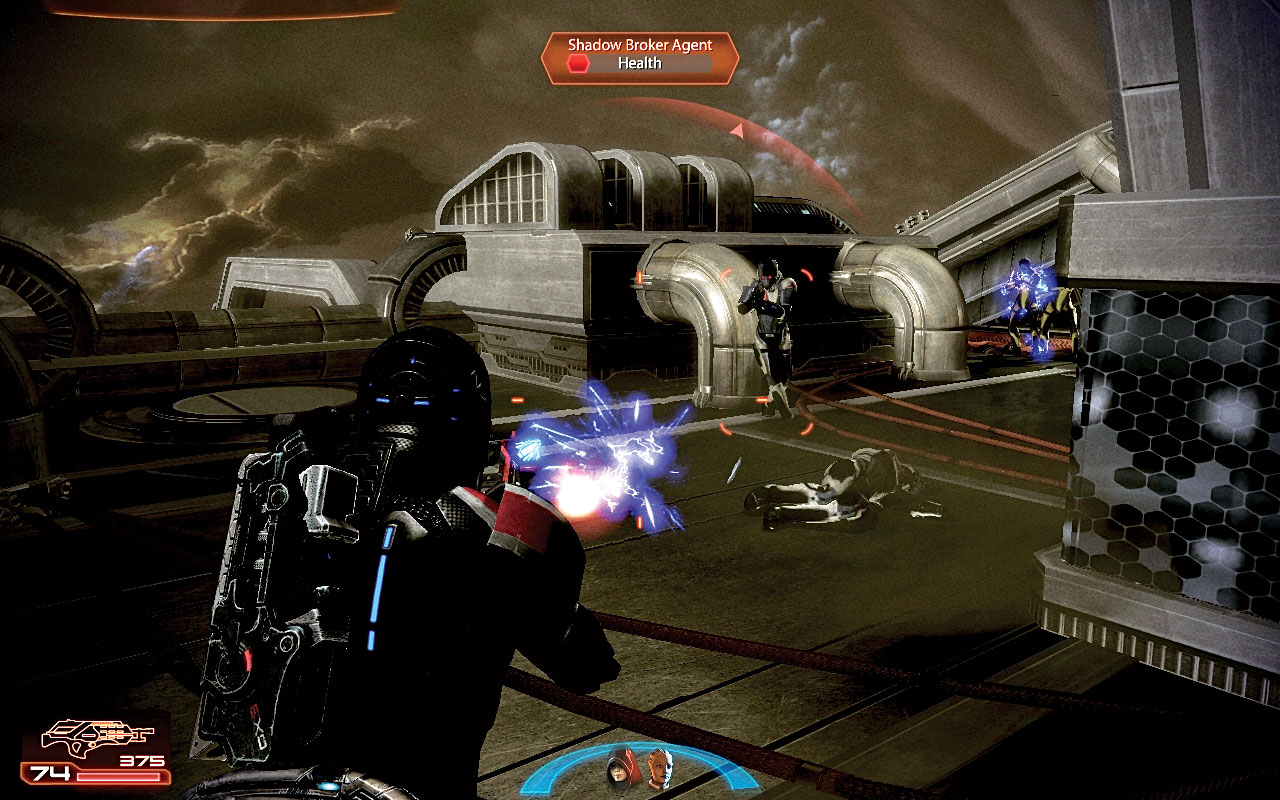
You are wise to drop into the trench, as you’re targeted by agents, a heavy, and a vanguard. Fortunately, the lightning capacitor is still fully functional, and should be used to easily remove these enemies [009] .
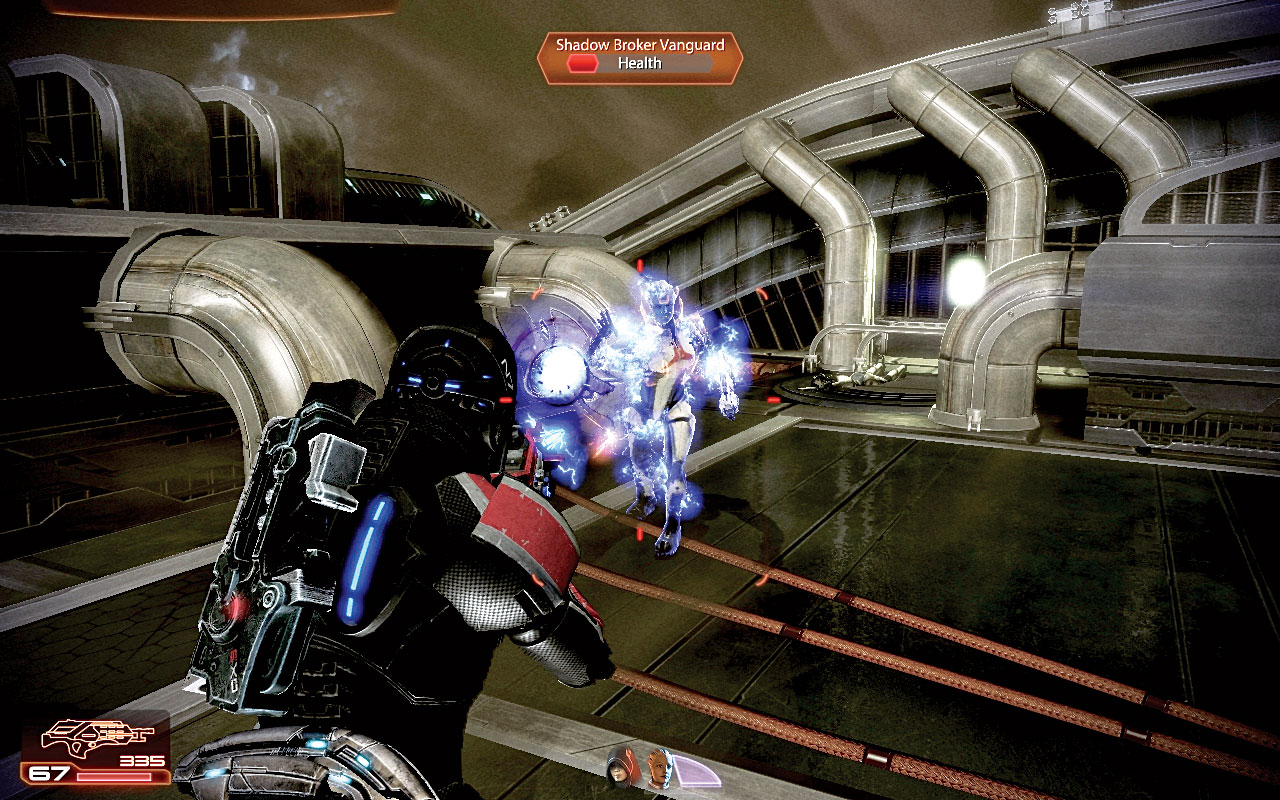
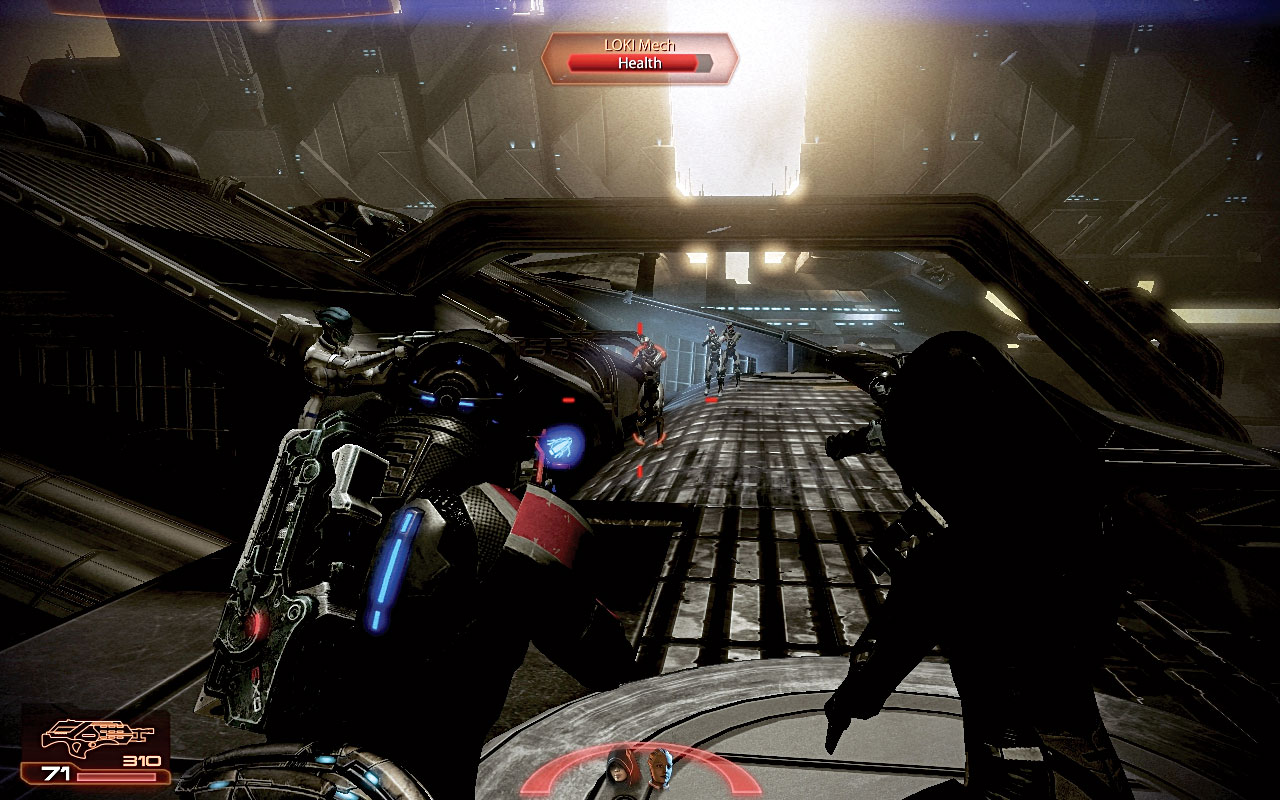
You may opt to charge and tackle the vanguard from closer quarters if you’re feeling rash [010] . Head down the right-side ramp and look left; three more LOKI mechs are advancing [011] .
Dispatch them with ease before continuing, and check to the left for more conductor components to salvage.
|
|
Spoils of War > Conductor Components > Salvage > 4,000 Credits |
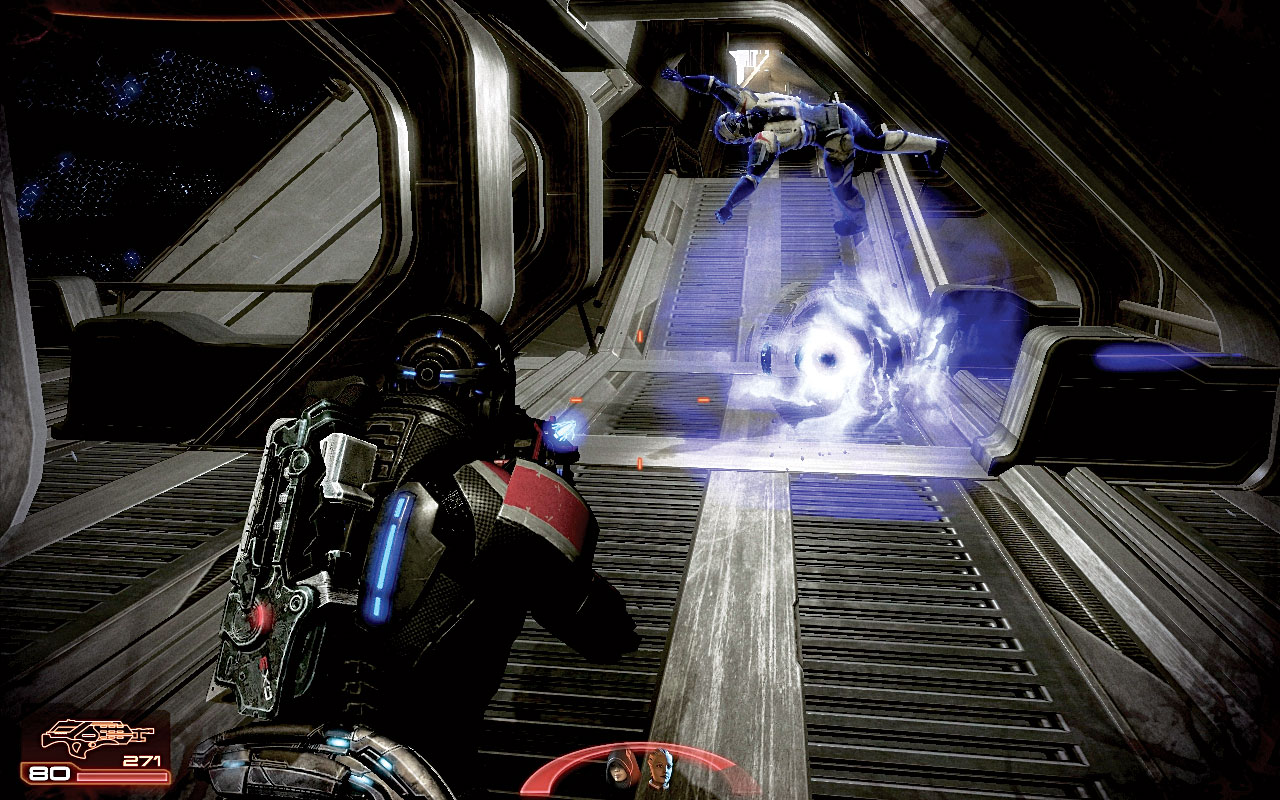
[012]
Work your way farther down, and around to a lower walkway on the right edge of the ship. Head down the steep ramp to a series of overhangs where two agents open fire on you [012] .
There are two walkways and numerous cover spots to crouch behind as you deal with them, and three LOKI mechs. The agents’ use of flashbangs should prompt you to target them first.
Although you may be using ammunition, biotic powers are just as potent in these battles. Then head up the other side and look for the door on the left.
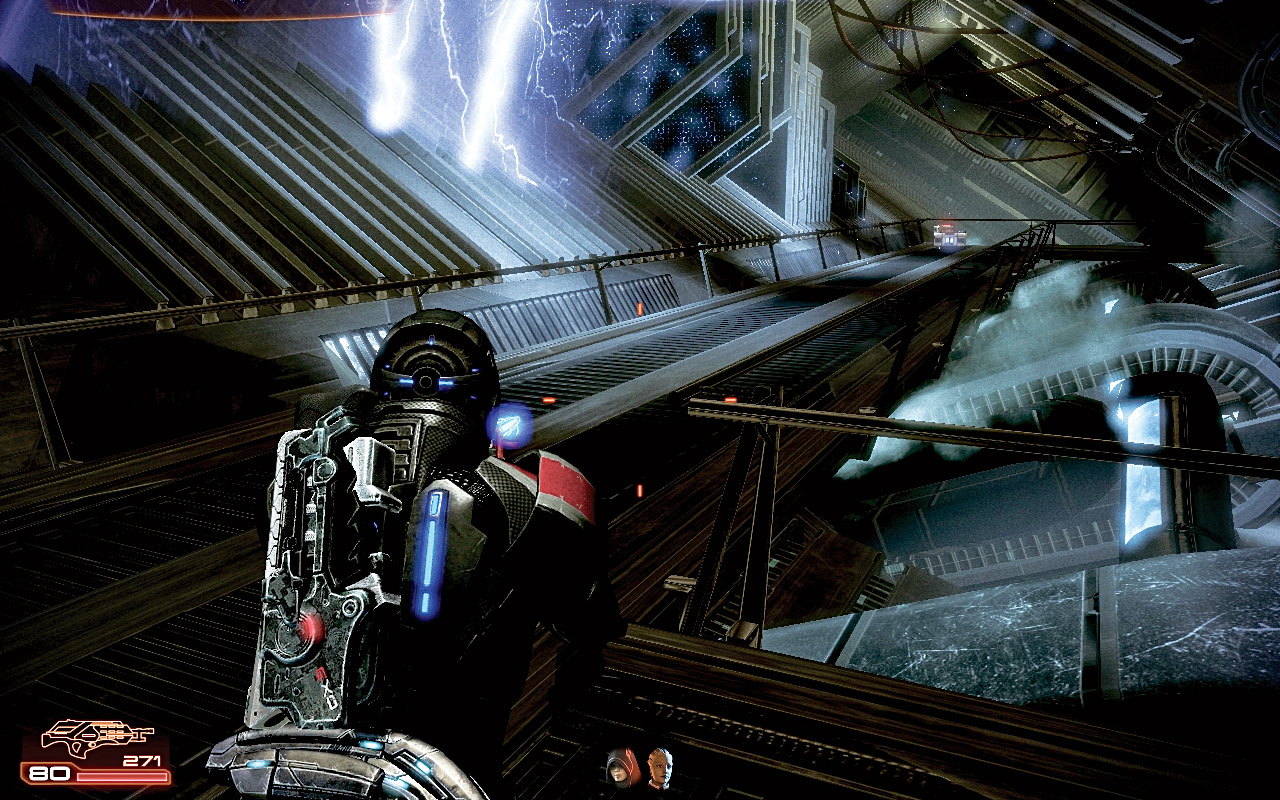
[013]
Your team is amazed at the ship; it must have taken decades to build. Head into the engine room [013] . You can receive further information about the motion dampeners and the ship’s engine from Liara.
Then search the small and large crates for a huge stash of palladium and power cells. Then head back outside, under another series of overhangs; these are empty aside from a medical station.
Begin to climb back up the ramped walkway, onto the top of the ship once again.

|
Spoils of War > Resources > Refined Palladium > Open > 4,000 Palladium |

|
Ammunition > Power Cells > 4 Heavy Weapon Ammo |

|
Medical Station > Open > Med Kit > 100 Credits |

[014]
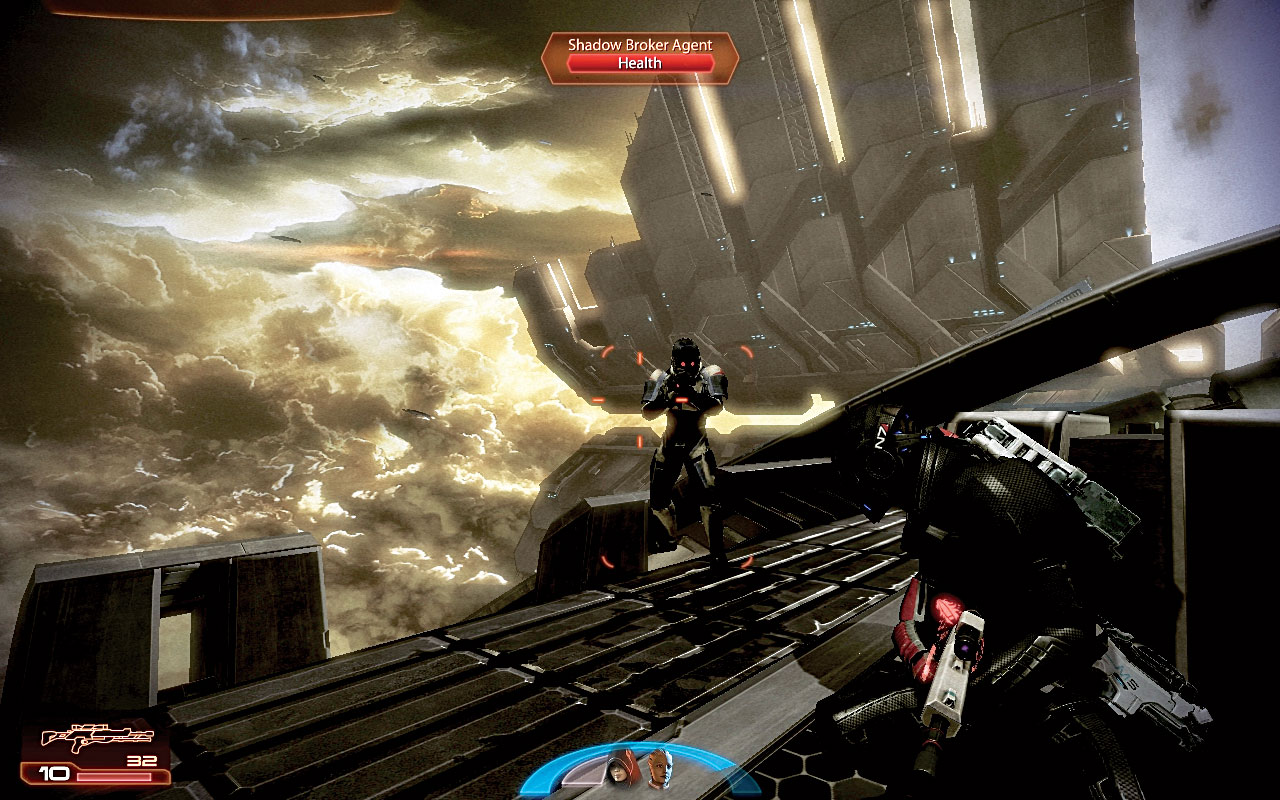
[015]
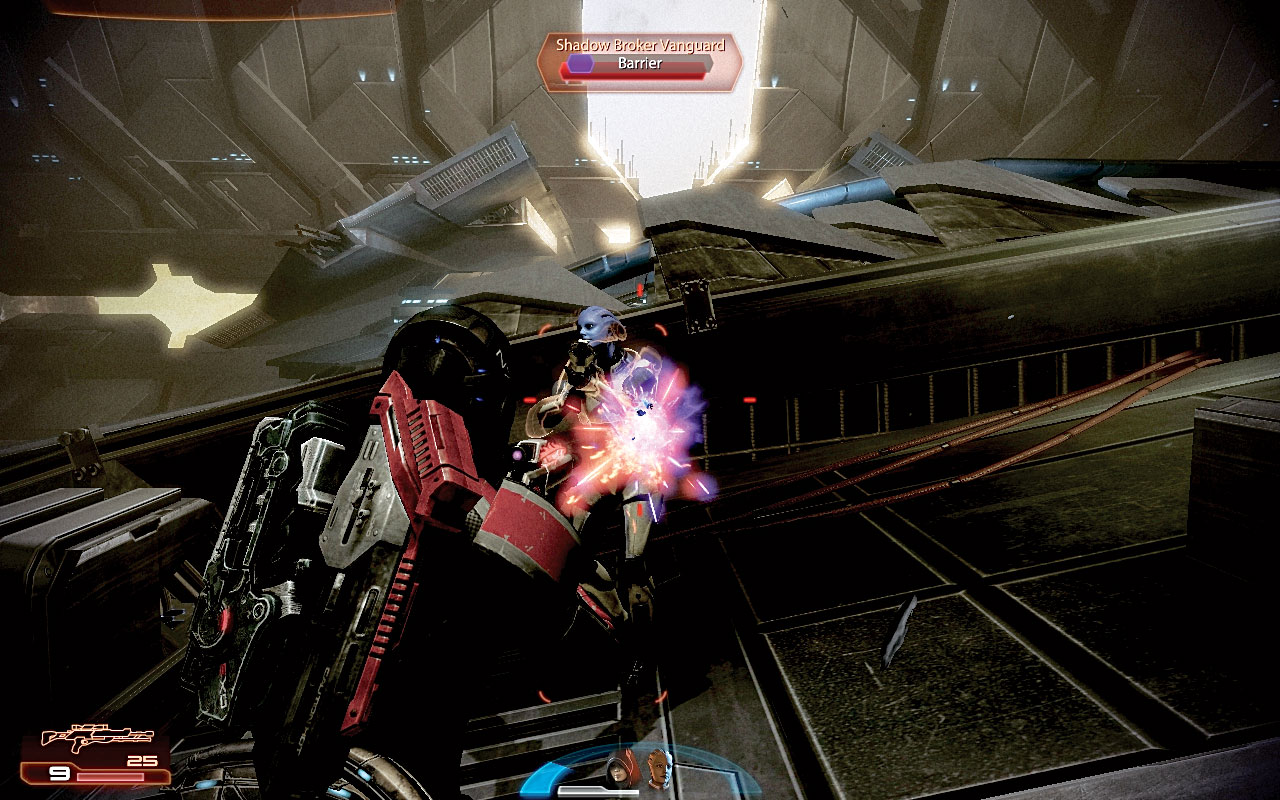
[016]
Take immediate cover behind the open hatch door, as agents, heavy troopers, and a vanguard appear from the top of the ship’s hull [014] .
Target the lightning capacitor (one of two you can hit) and remove most of the agent threats, and then tackle the heavy enemies and the vanguard.
If you have biotic powers such as Pull, or ones that cause foes to float up and catch the wind, use them. Then clamber across to the other side, and begin to cut down agents coming up the steep left side of the ship [015] .
Turn right, and deliver killing blows to three LOKI mechs on the slanted superstructure. Then clamber back up to the top. This new area [016] has two agents, a heavy, and a vanguard to deal with, but no capacitors.
Normal combat techniques apply here; don’t spend too long in cover, as the vanguard tends to try flanking you. Then leap up and activate the panel controls.
[017]
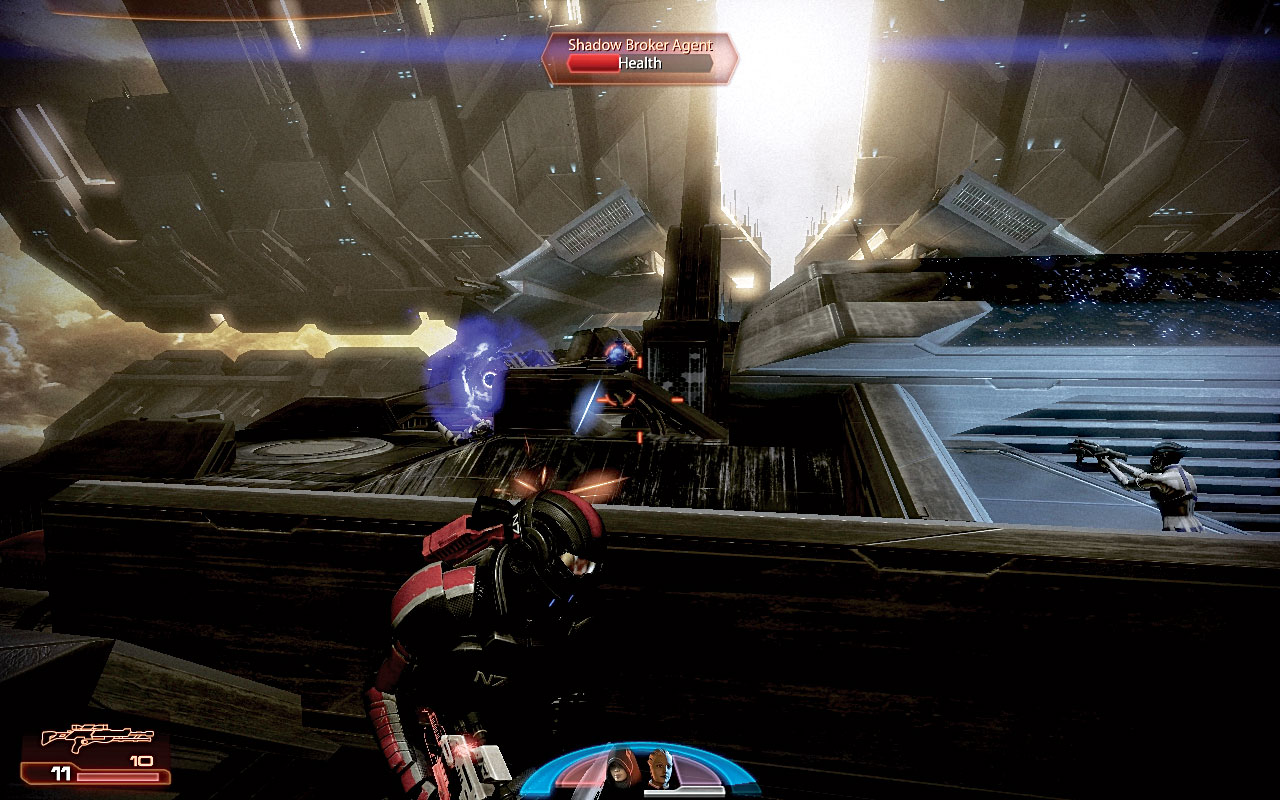
The panels shift, allowing you access under an overhang, which leads to further combat with agents and an engineer.
Expect further agents and a heavy, and a possible vanguard as you move between the capacitors, removing the Shadow Broker forces [017] until you reach a lightning rod mounted to a rail.
Check the left edge for some conductor components to salvage, before heading up to the rod controls on top of the hull, near some thermal clips. Activating the rod controls causes another trench to open.
|
|
Spoils of War > Conductor Components > Salvage > 3,000 Credits |
[018]
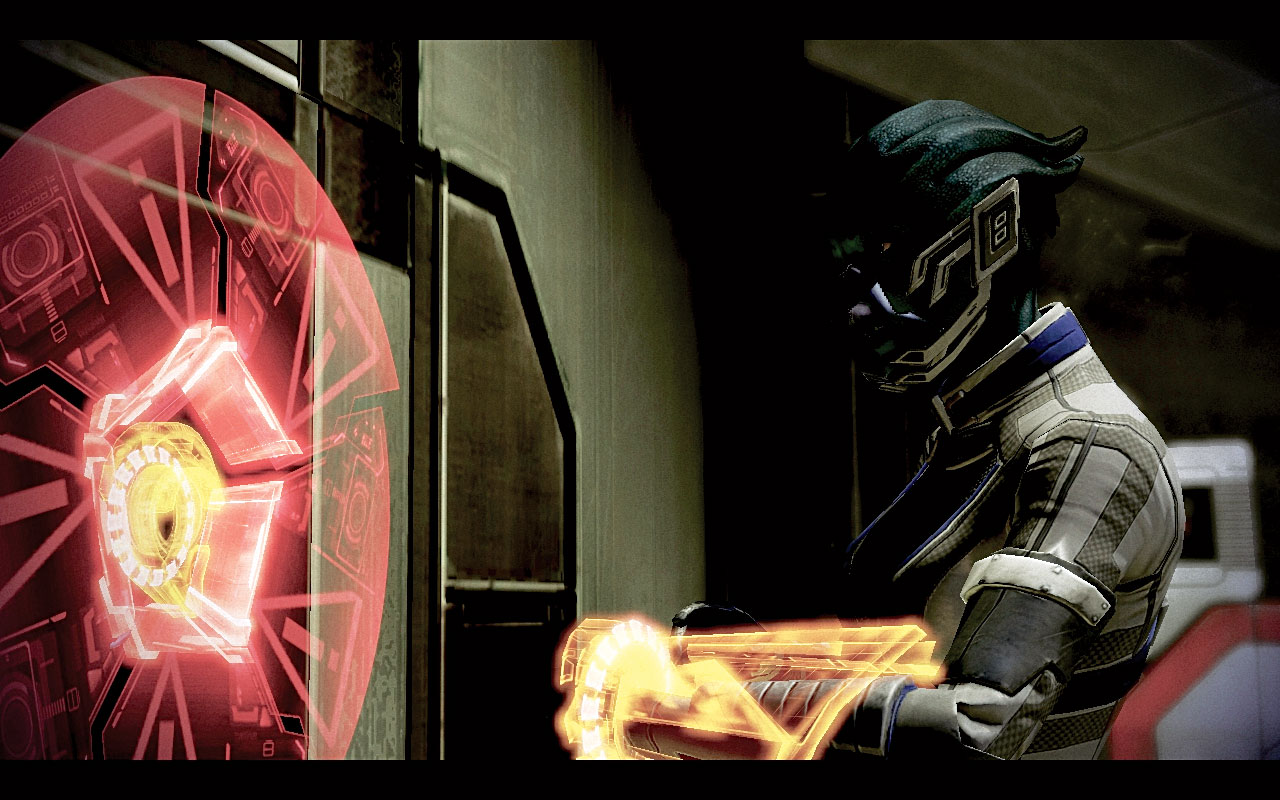
Head down the trench, which Shepard mentions has no guard rail, and up the ramp on the other side. Liara spots the hatch that leads directly to the communication signals.
Above and either side of it are capacitors (a total of four), and there’s a medical station next to the hatch itself. Liara attempts a bypass shunt program to unlock the hatch [018] , but this will take some time.
The hatch must be defended until the hack is complete.
|
|
Medical Station > Open > Med Kit > 100 Credits |
Defending the Hatch
[019]
[020]
Naturally, the Shadow Broker isn’t too keen on his inner sanctum being compromised and sends a large number of troops to stop you.
These appear from one side to begin with, so spin around and check where the gunfire is coming from. Position your squad members behind cover and spread out, so you’re not outflanked.
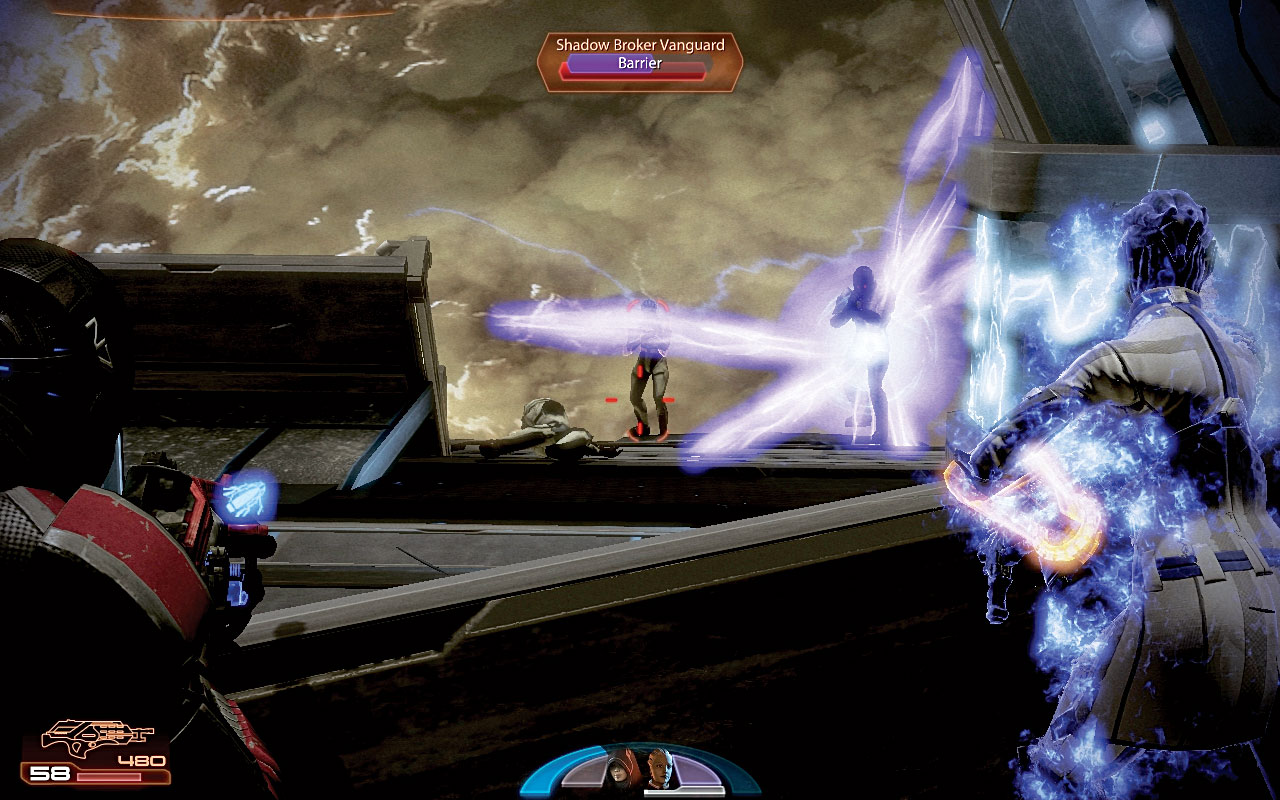
Then dive into cover yourself, and prepare to repel agents, heavies, engineers, and vanguards [019] .
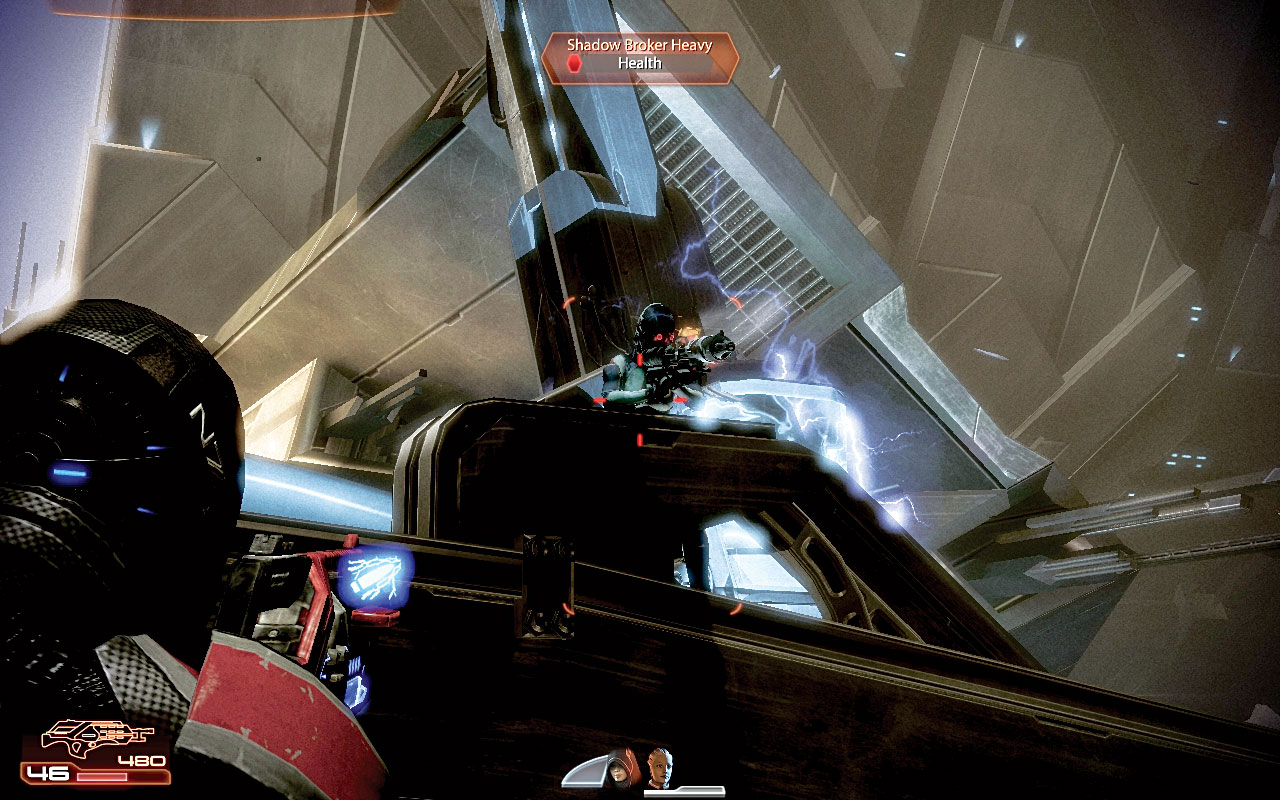
Focus on the most threatening first; tag the two capacitors near the foes when any are near [020] , and then finish them off with gunfire or a biotic power such as Slam or Pull.
As always, any biotic technique that lifts a foe off the ground and lets the wind do the rest is of great help.
[021]
[022]
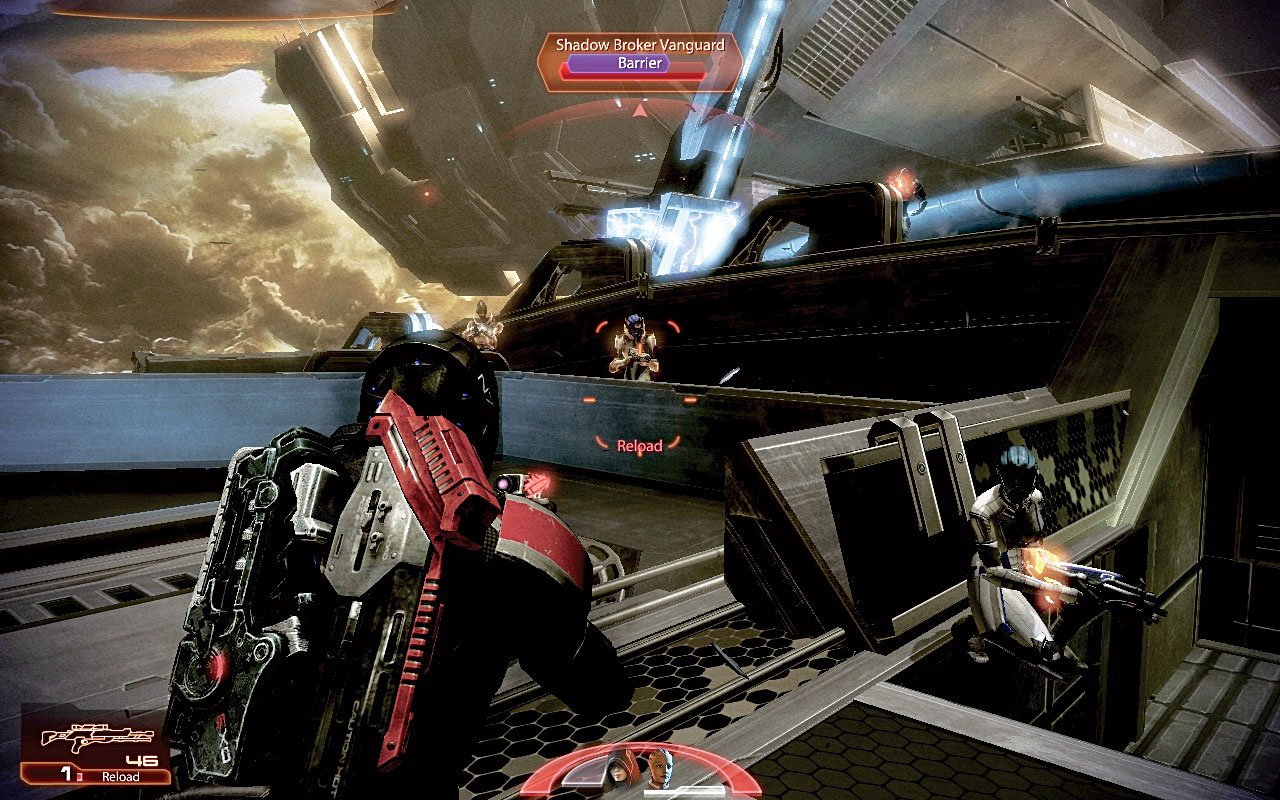
Make continuous checks to your left and right to ensure the enemy hasn’t got past your squad members and is flanking you. After a brief chat with Liara, a second wave (from the opposite side of the hull) appears [021] .
Make the initial attack a shot at the capacitors, and repeat the tactics you’ve honed during this exterior outing.
The third wave of attackers consists of around six rocket drones from behind the hatch (the front of the ship). Take cover and pick them off one by one.
A fourth wave of infantry now appears from the same side as the first wave. Remove these threats, and then a fifth wave from the opposite side.
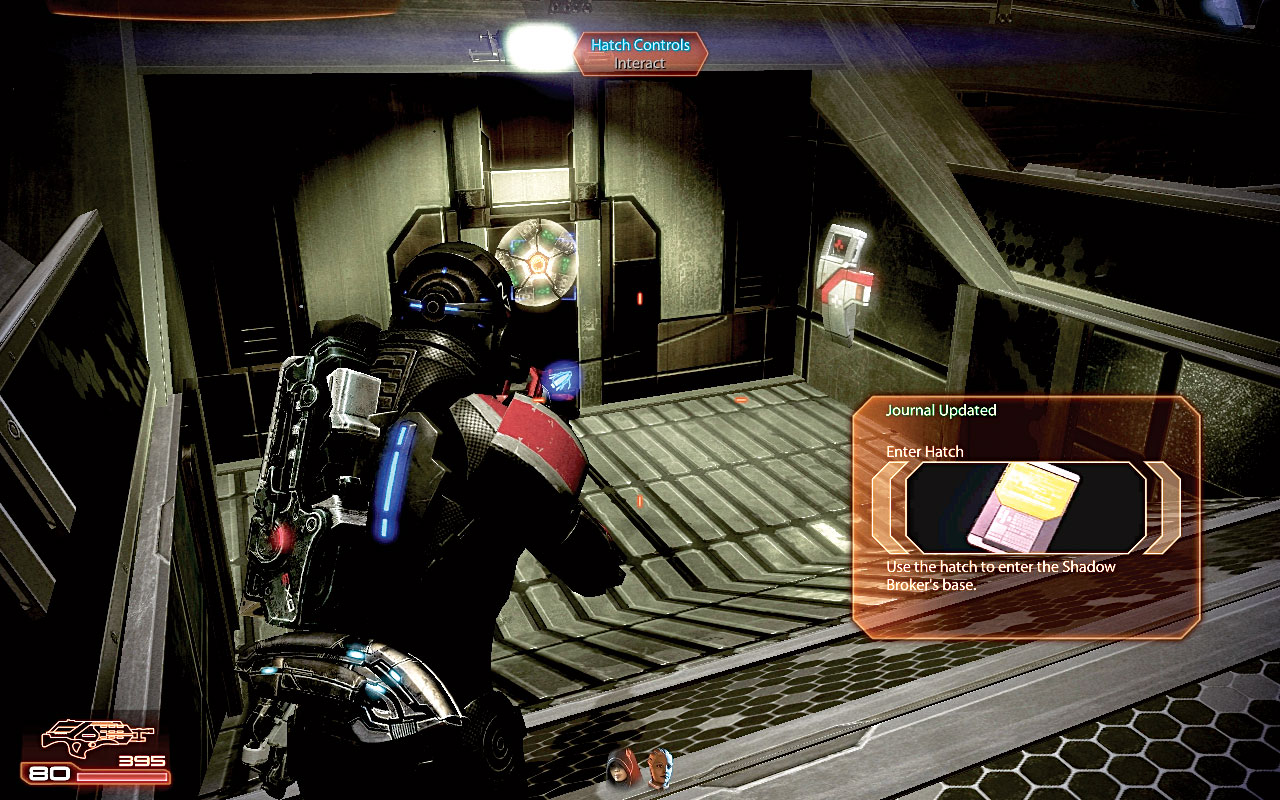
Remember; if heavy troopers are dug in behind the upper capacitors, electrocute them! Finally, after this fifth and final wave, the hatch can be opened [022] !