
Mass Effect 2 Guide Walkthrough SPECIAL ASSIGNMENTS
Firewalker: Recover Research Data
A research station has been detected within a volcano on the planet’s surface.
The data storage systems inside the facility are still active and may contain valuable information.
Warning: The volcano is still active, and extreme caution is advised.
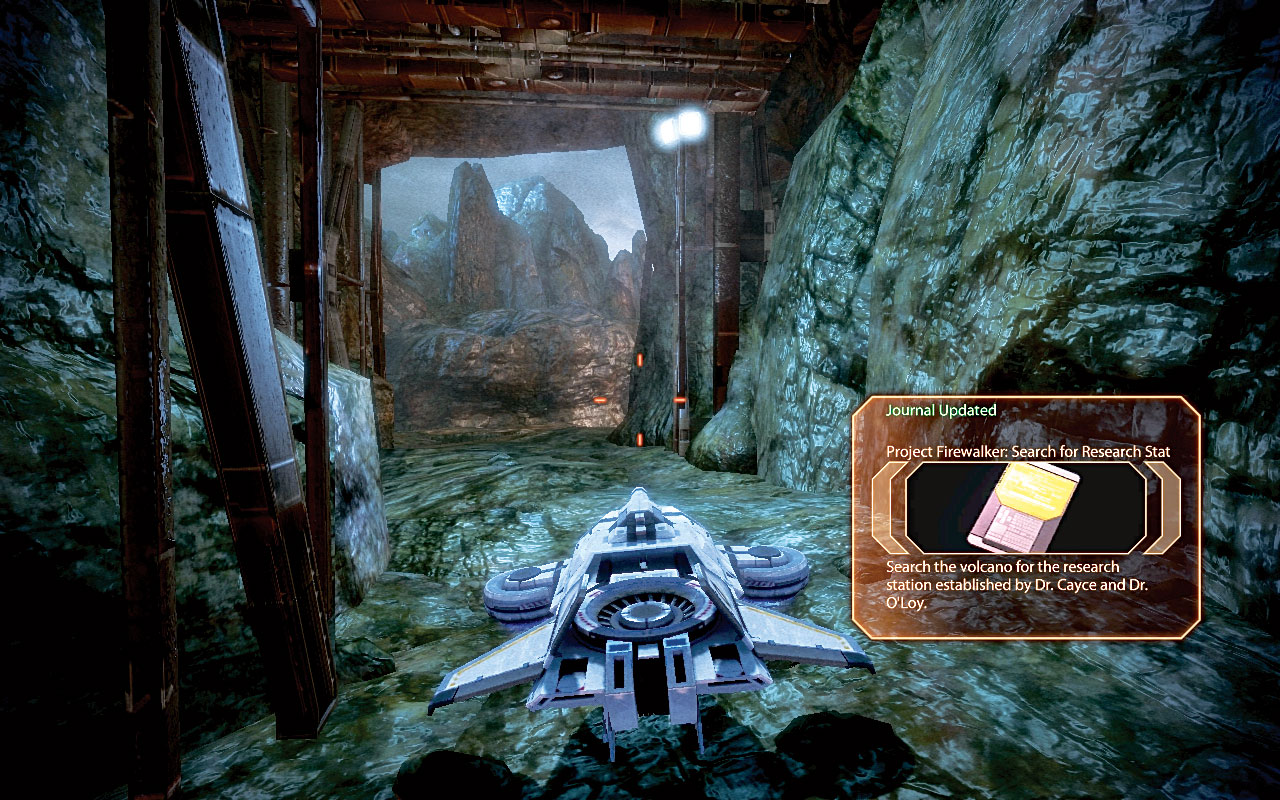
[001]
Plot a course to Karumto, in Yakawa, which is part of Caleston Rift. When you reach the planet, start the scanner and launch a probe. Scan the planet’s surface until an anomaly is detected.
Only then can you land on the planet’s surface [001] , which proves to be volcanic, with some extremely narrow ledges to navigate the Hammer head along.
Part 4: Project Firewalker:
Searching for Research Storage
[002]
[003]
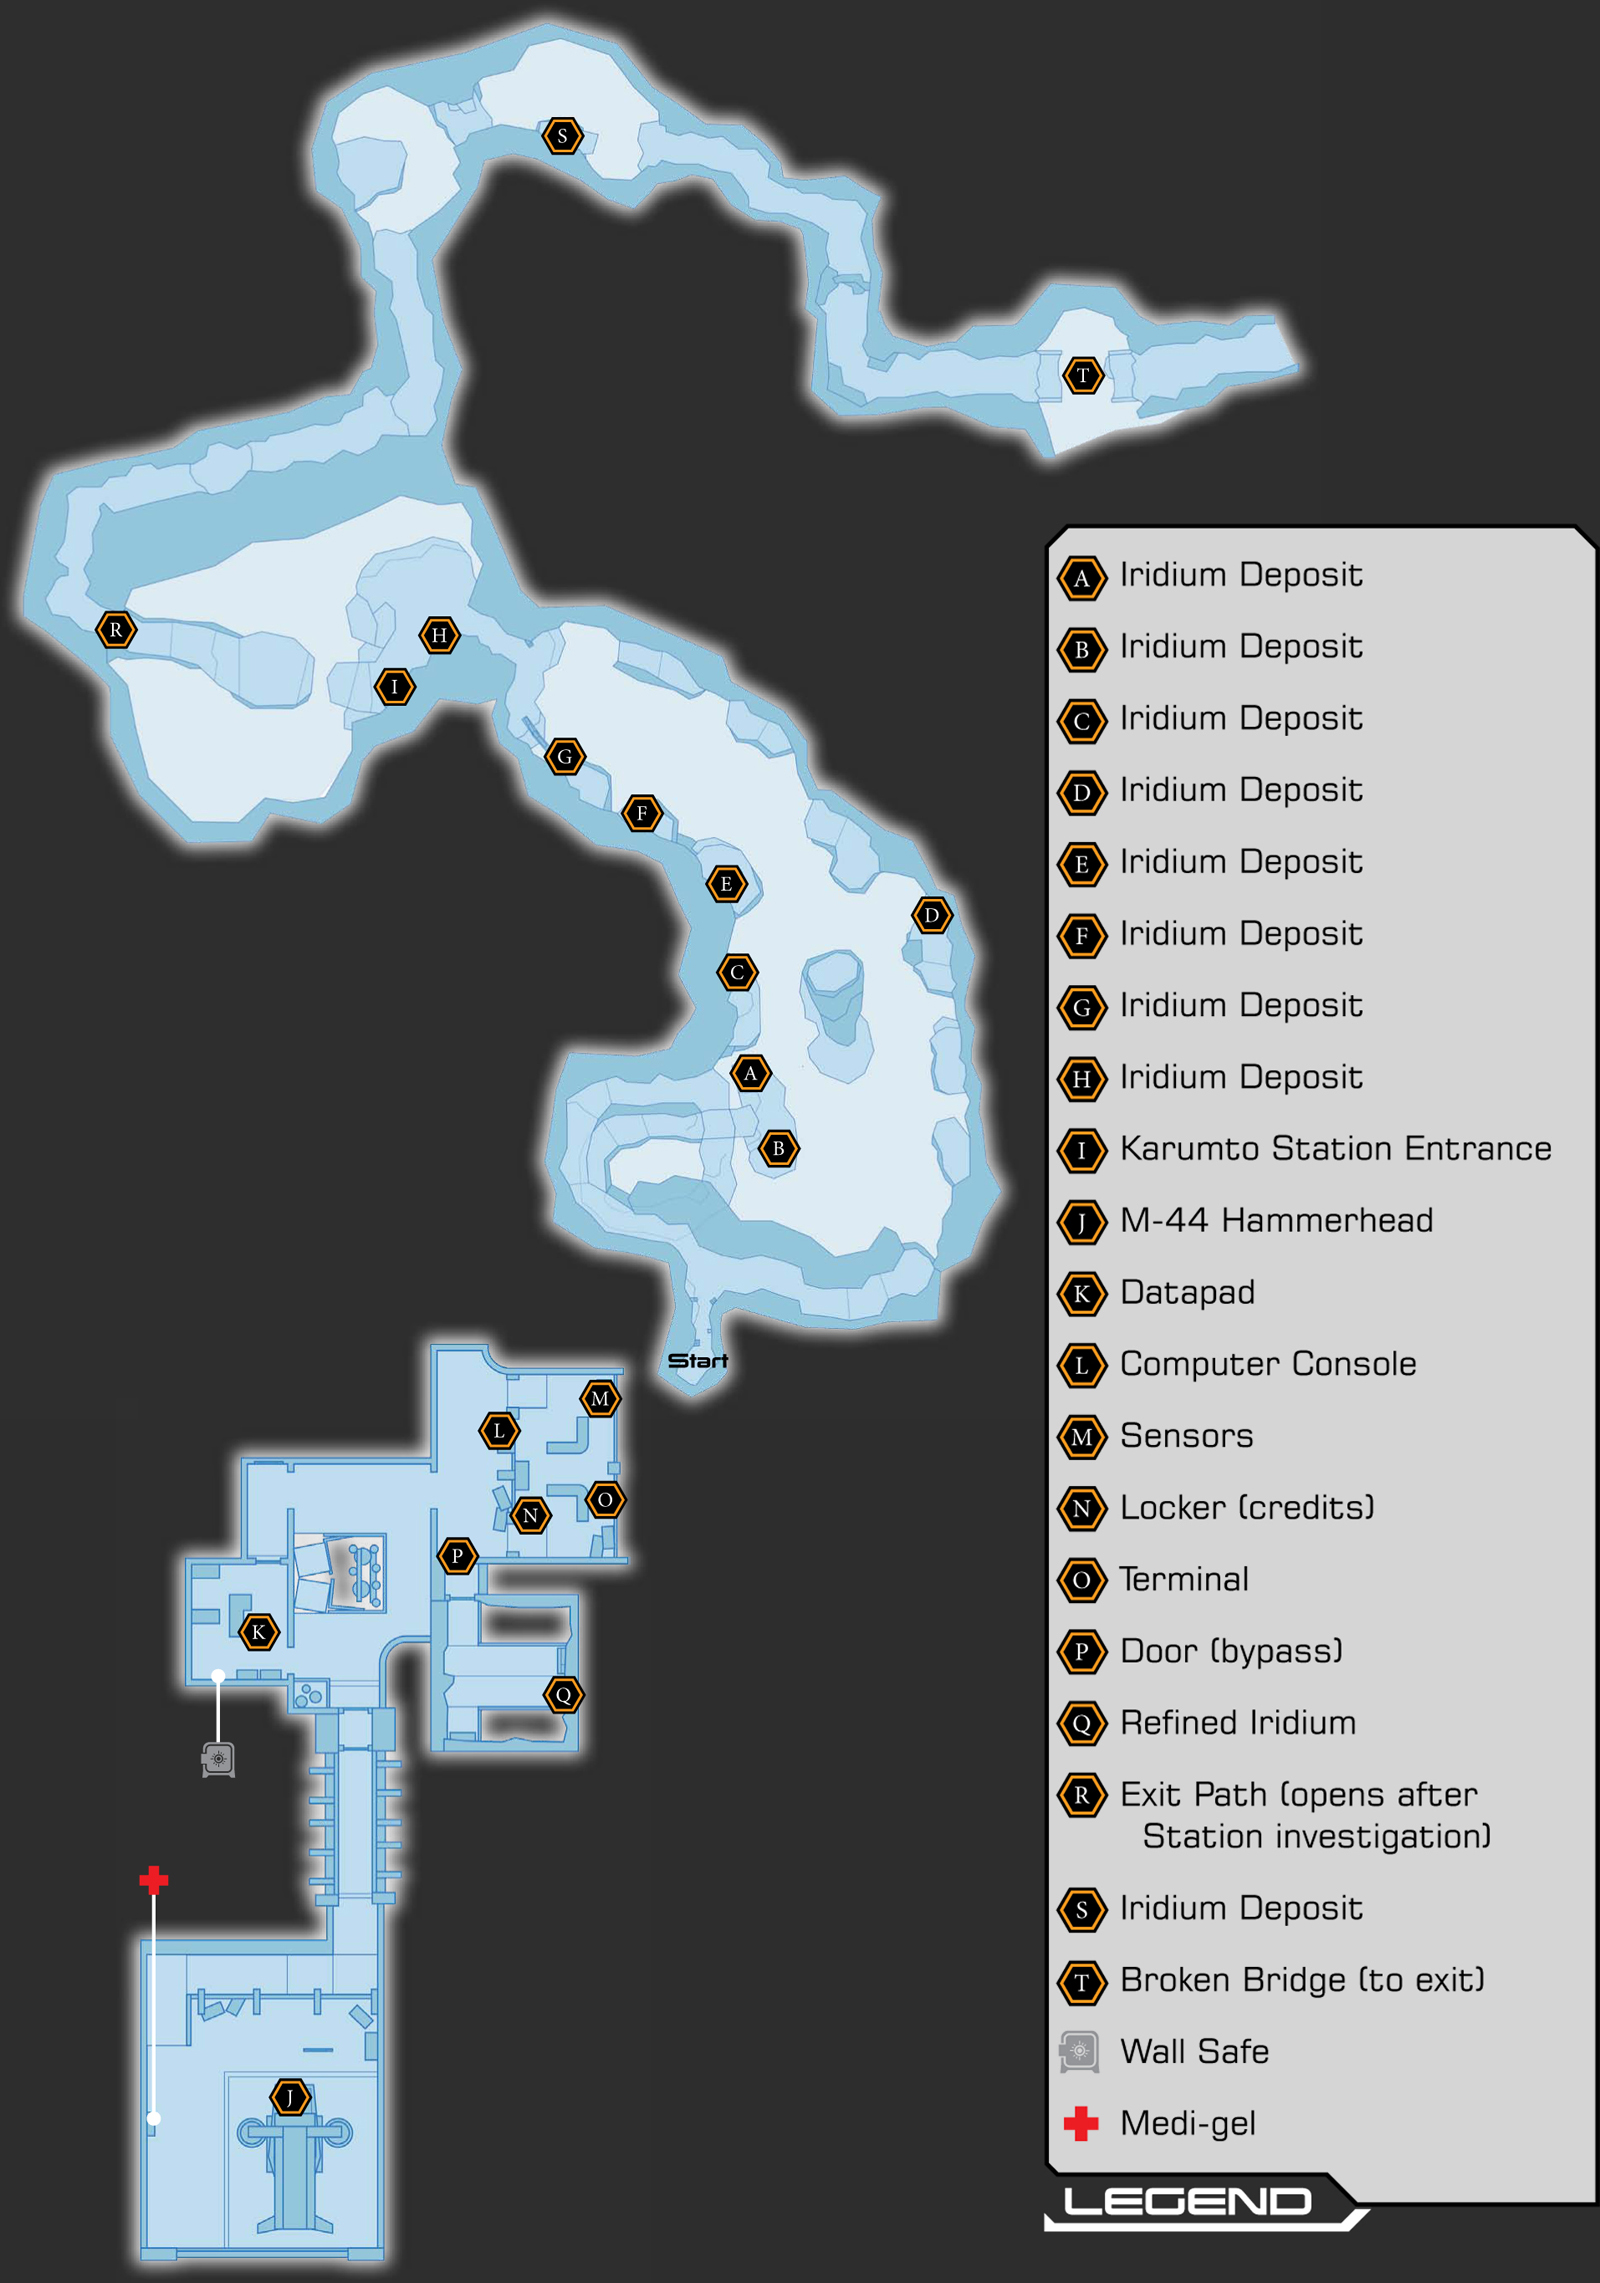
There is no scanning available due to the volcanic conditions, so manual driving is necessary to reach the research base.
This simply means a lack of HUD hints to where you’re headed, so follow the guide map.
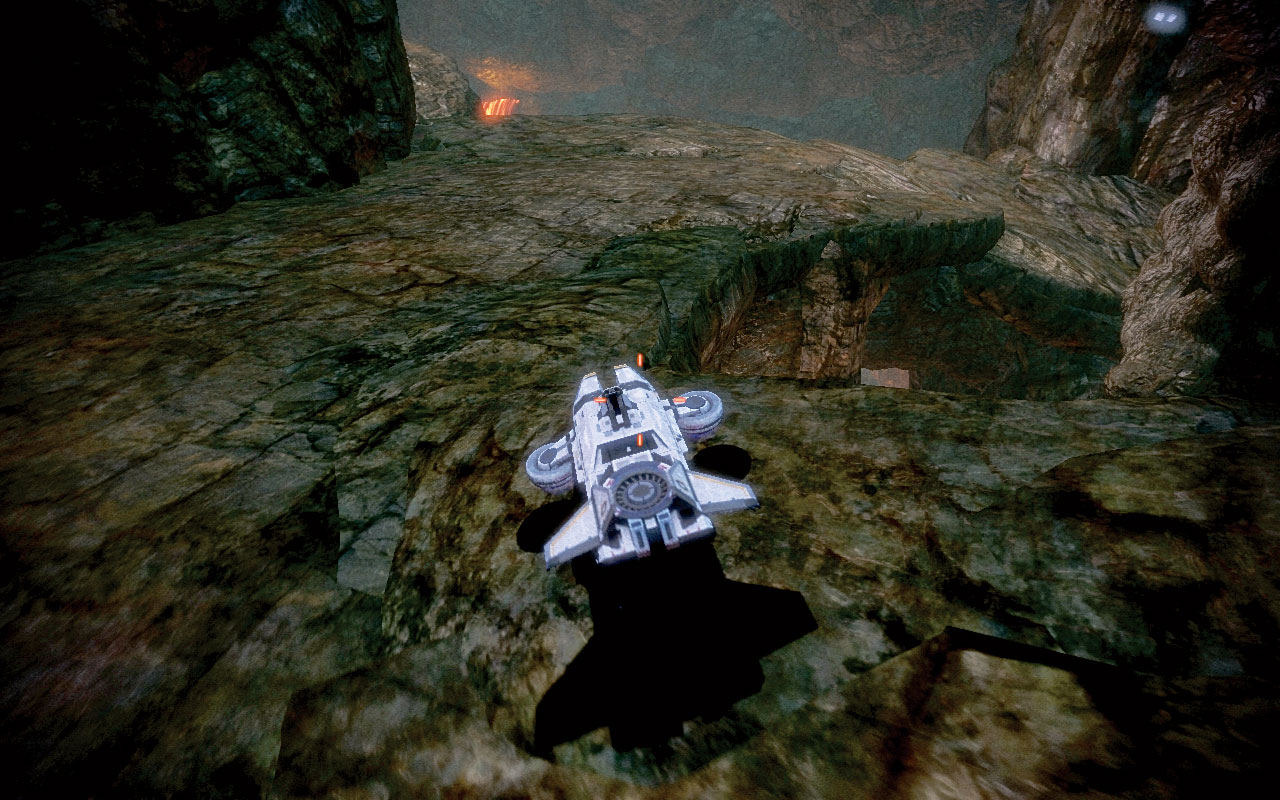
Begin by heading left at the junction, down a steep and natural rock ledge that turns into a bridge [002] .
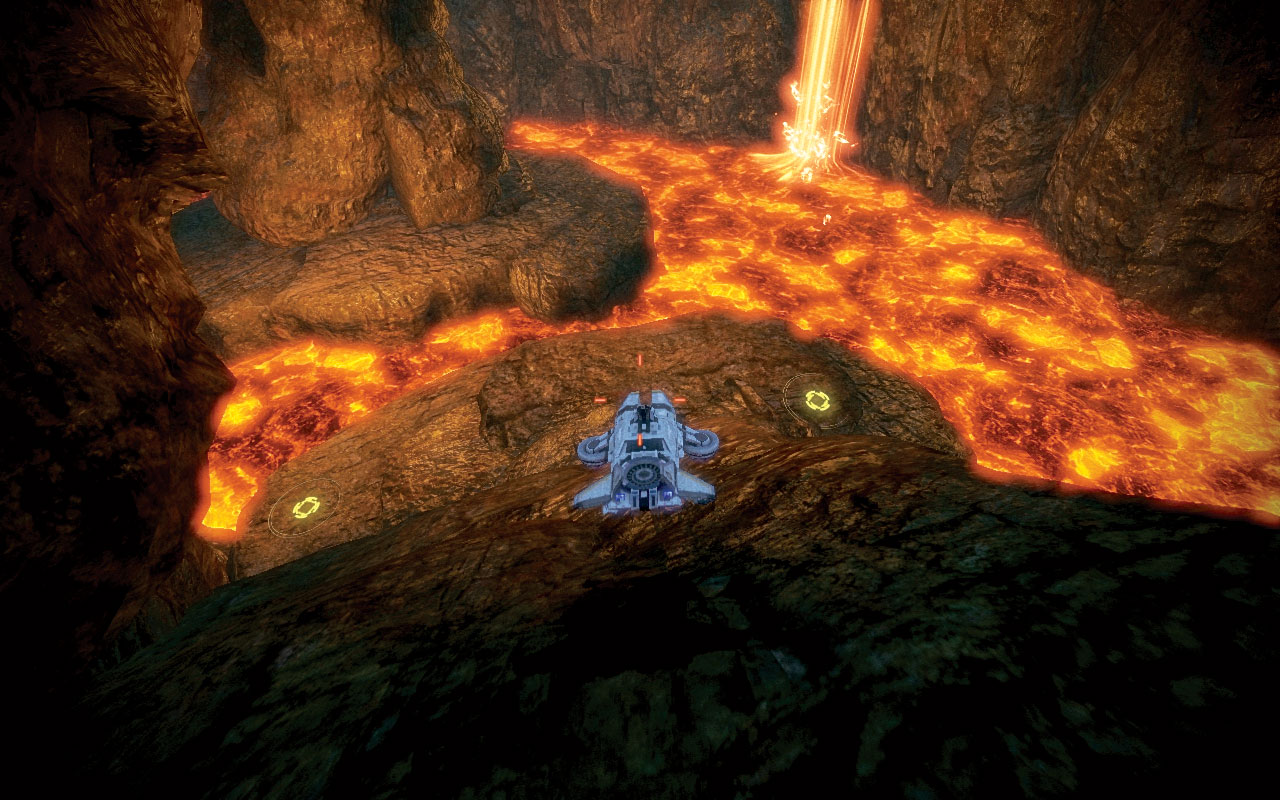
Continue to follow the ledge as it spirals all the way to the lava floor, where two iridium mining spots are available [003] .
|
Spoils of War > Resources >
|
|
|
Spoils of War > Resources >
|
[004]
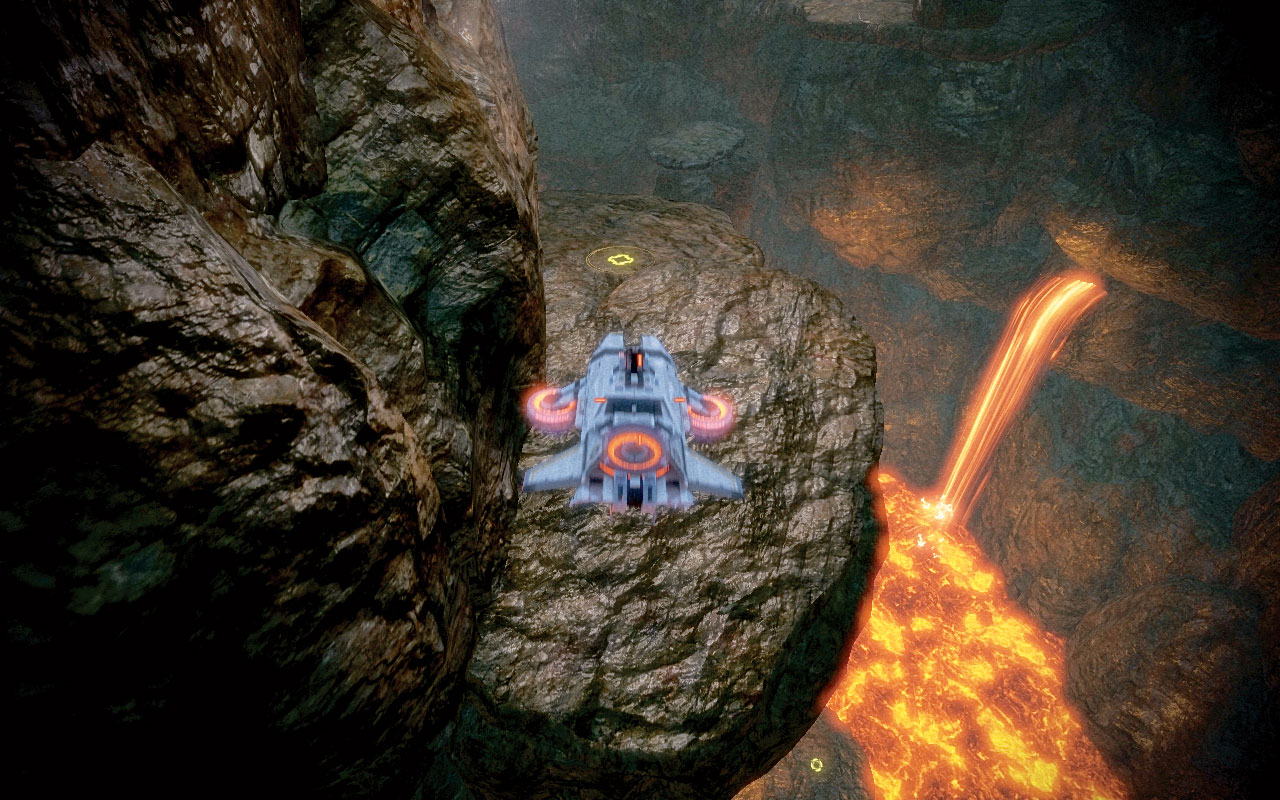
Backtrack up the spiraling ledge. Stop halfway up the bridge and turn right [004] .
Then boost across to a rock ledge on the left wall of a gigantic fissure. Mine for iridium here.
|
|
Spoils of War > Resources >
|
[005]
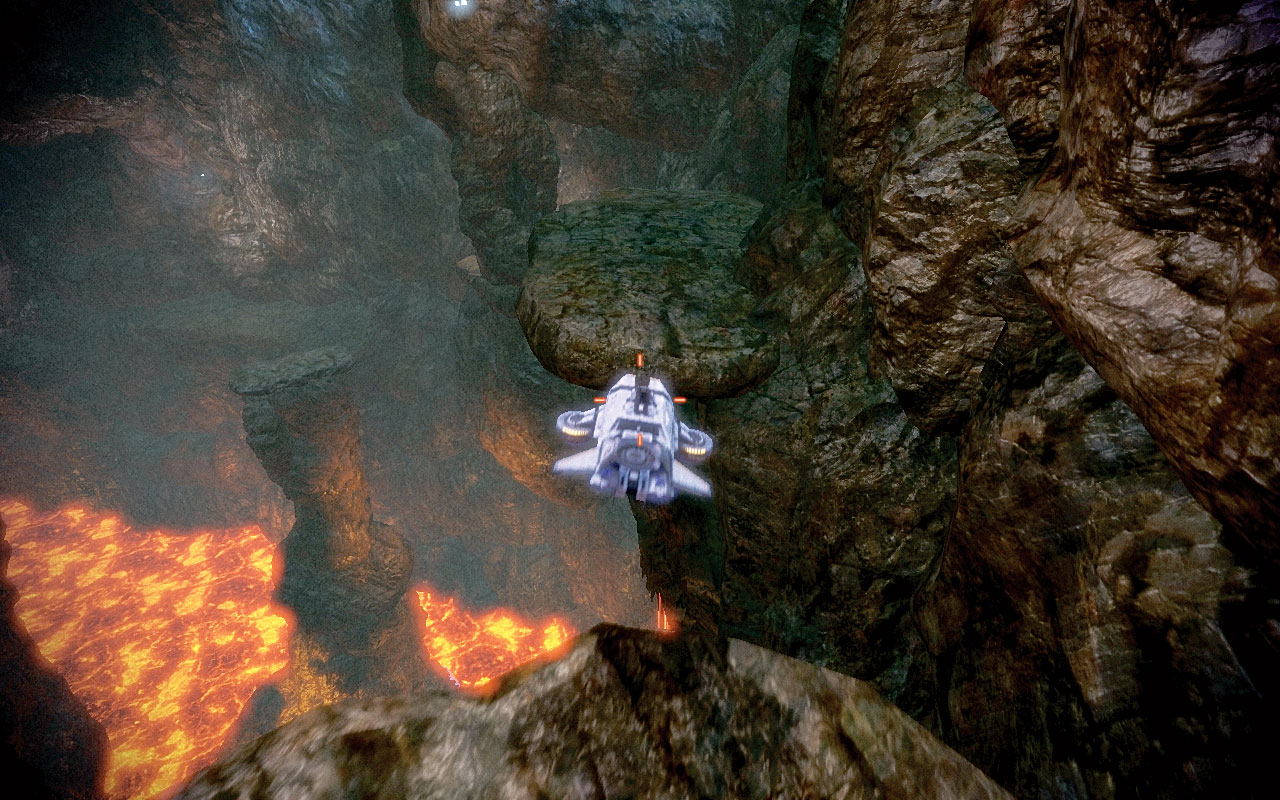
Further mineral resources are available if you return to the entrance. Drive along the right path with the cliff side to your right, boost over a rock ramp [005] , drive under an arch, and locate a deposit of iridium on another ledge.
|
|
Spoils of War > Resources >
|
[006]
[007
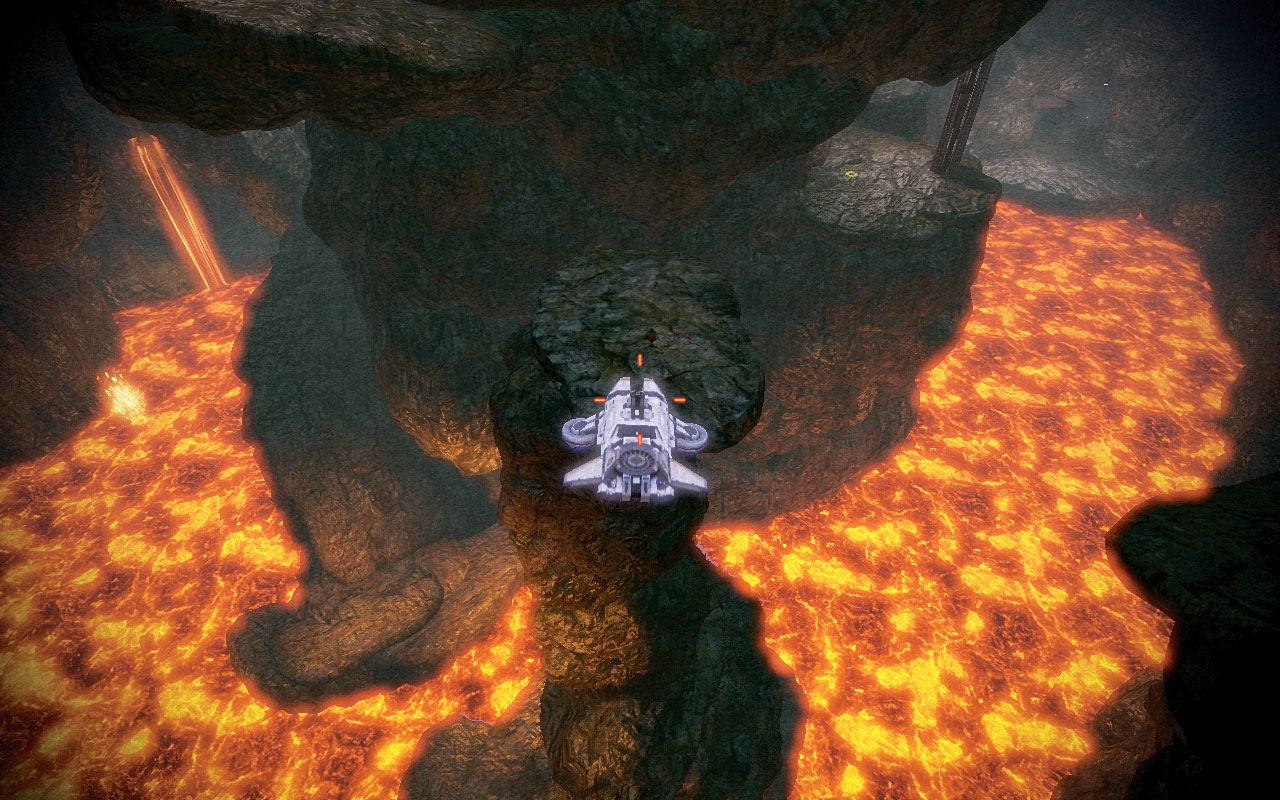
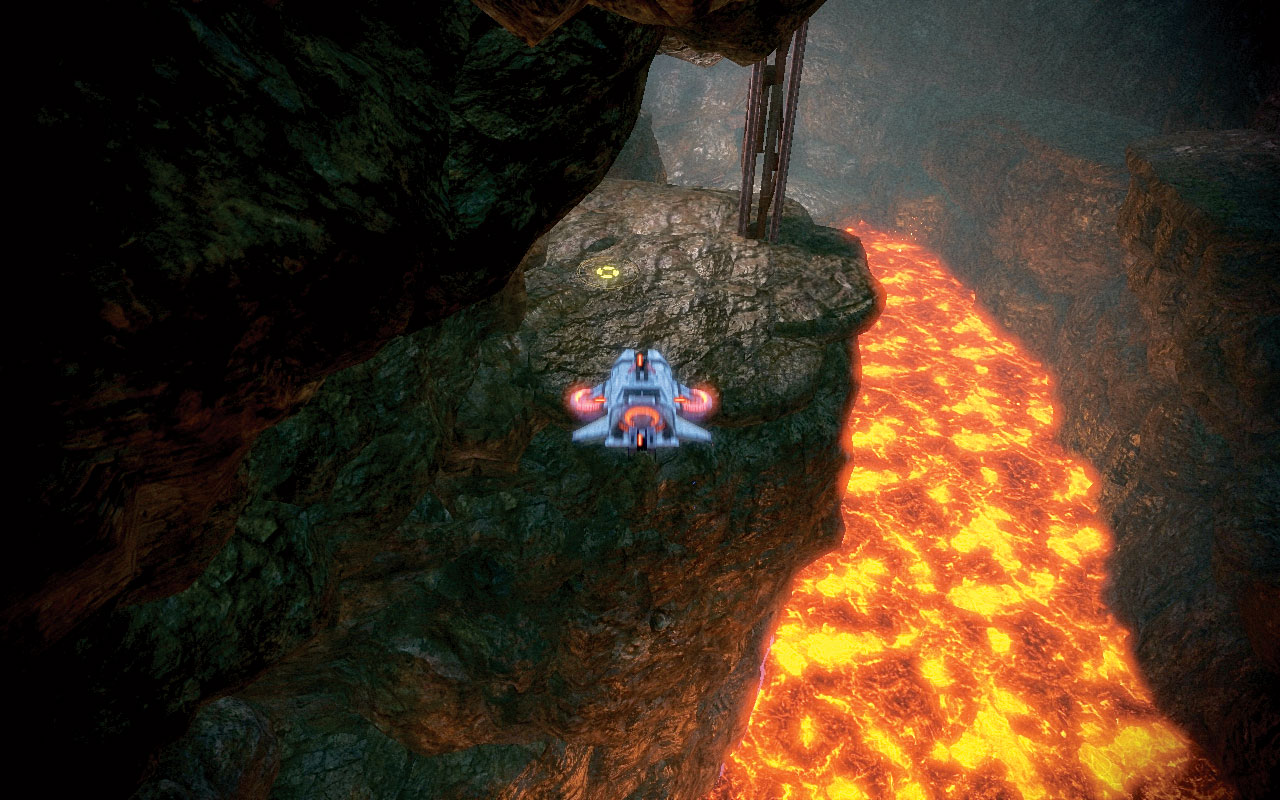
Turn left so you’re facing into the fissure, and then boost over the lava, landing on a (relatively) tiny rock platform [006] .
Then boost and turn right, landing farther down on the left side, on a ledge with a metal support pillar cut into it and another iridium deposit [007] .
There are two more “stepping stones” along the left cliff wall for further iridium.
|
|
Spoils of War > Resources >
|
|
|
Spoils of War > Resources >
|
|
|
Spoils of War > Resources >
|
[008]
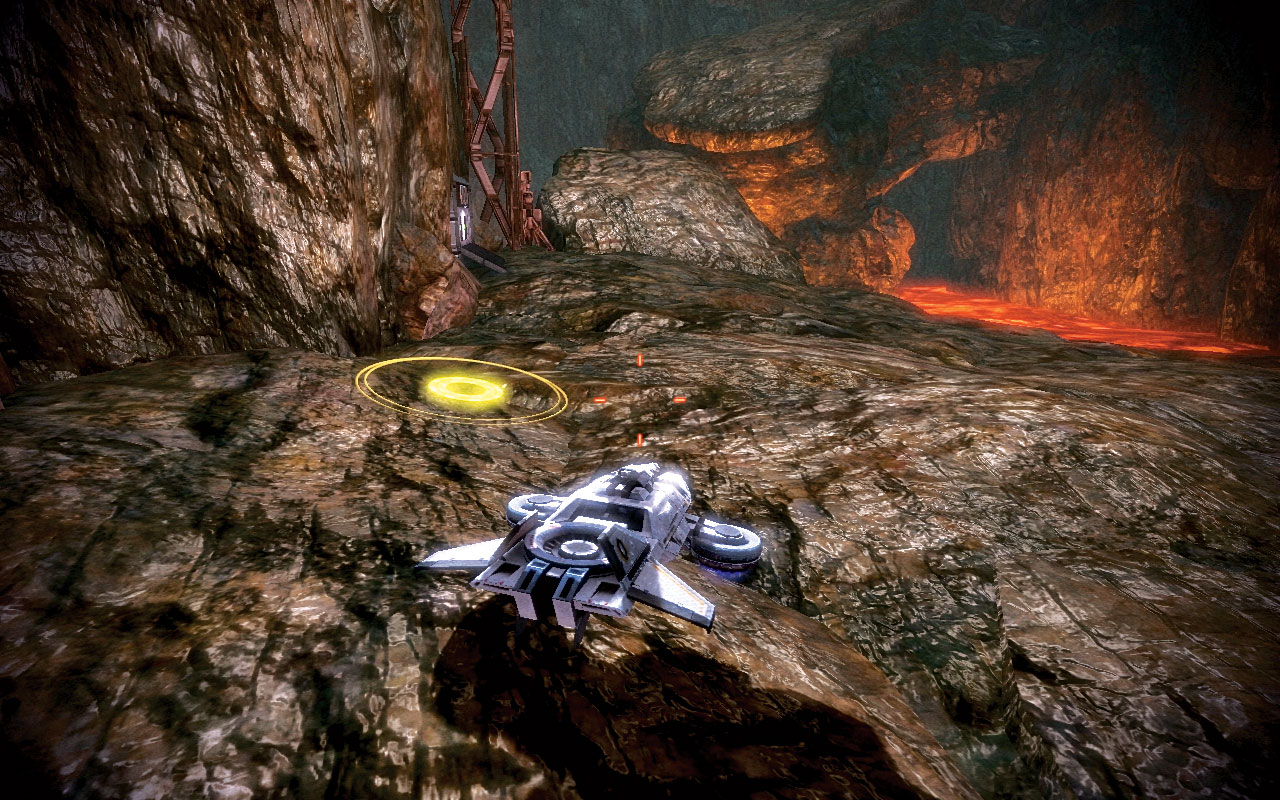
Drop down to the entrance at the far end of the lava fissure, and boost through it to a rocky area on the other side, with another iridium deposit [008] .
The research base entrance is on the left cliff wall, just to the right of the iridium. Disembark and head inside.
|
|
Spoils of War > Resources >
|
Finding Clues
[009]
[010]
Load up with a favored (and augmented) weapon, and grab the medi-gel from the station in the docking bay.
Cross the bridge and open the pair of doors.
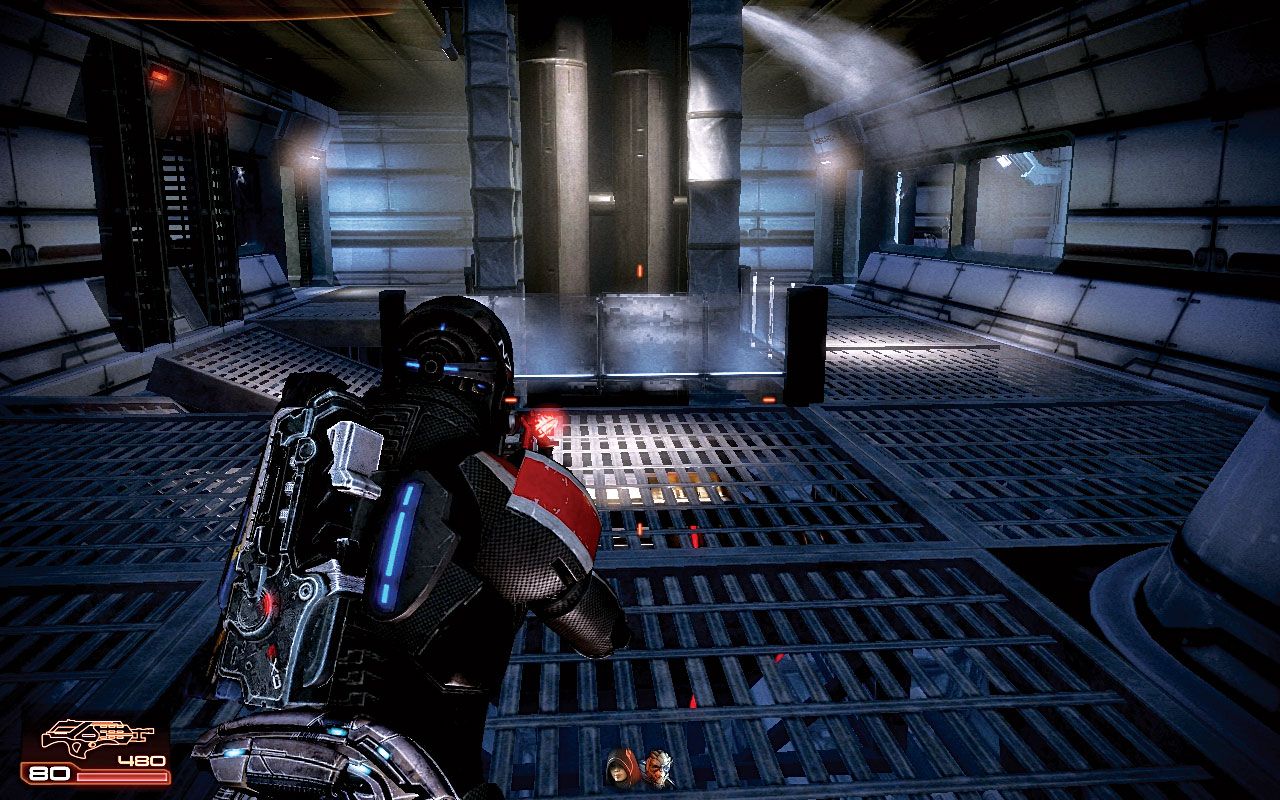
You step into a seemingly deserted corridor around a central support strut [009] . A portion of the floor has given way and is impassable.
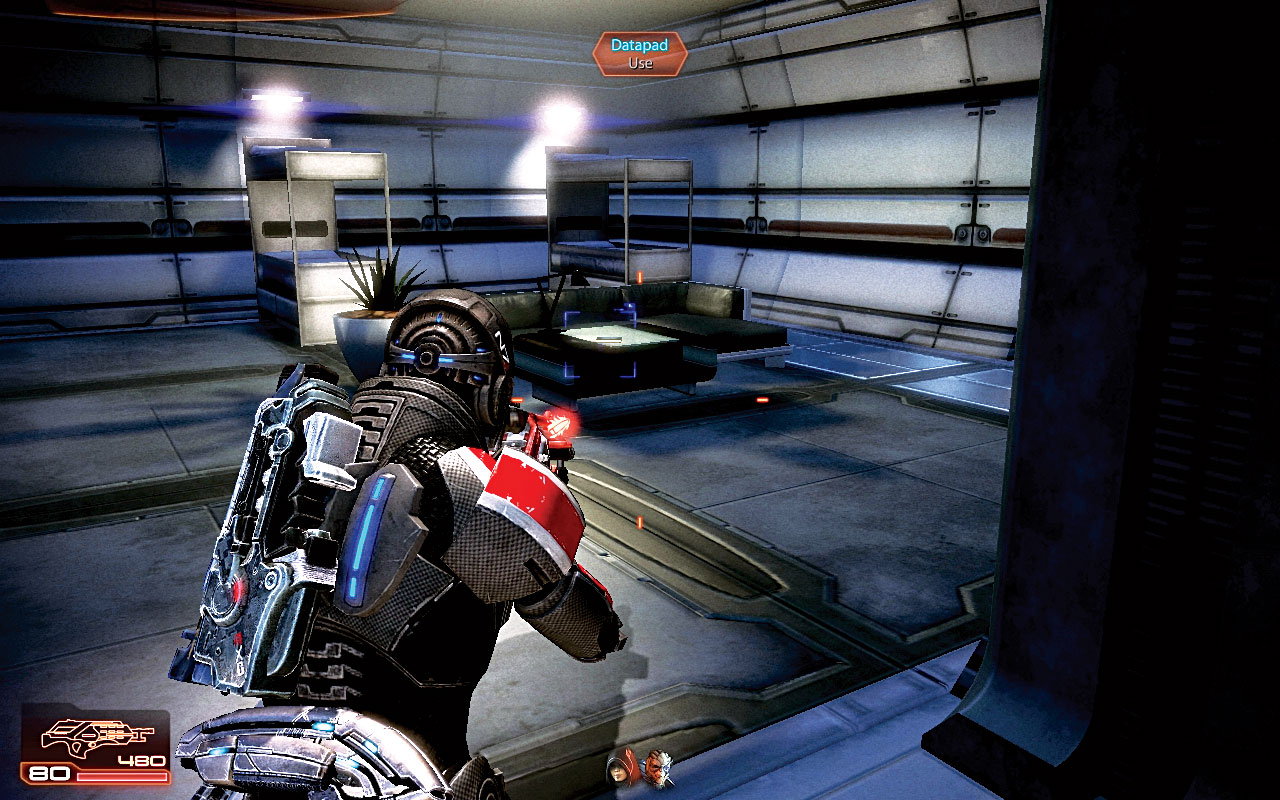
Open the door next to it, and check the dorm room beyond [010] for items of interest: There’s a datapad on the table; it is Cayce’s log, listing a “site of incredible significance” beneath the volcano.
Open the wall safe for some credits before you leave.

|
Medical Station > Open >
|

|
Spoils of War > Wall Safe >
|
[011]
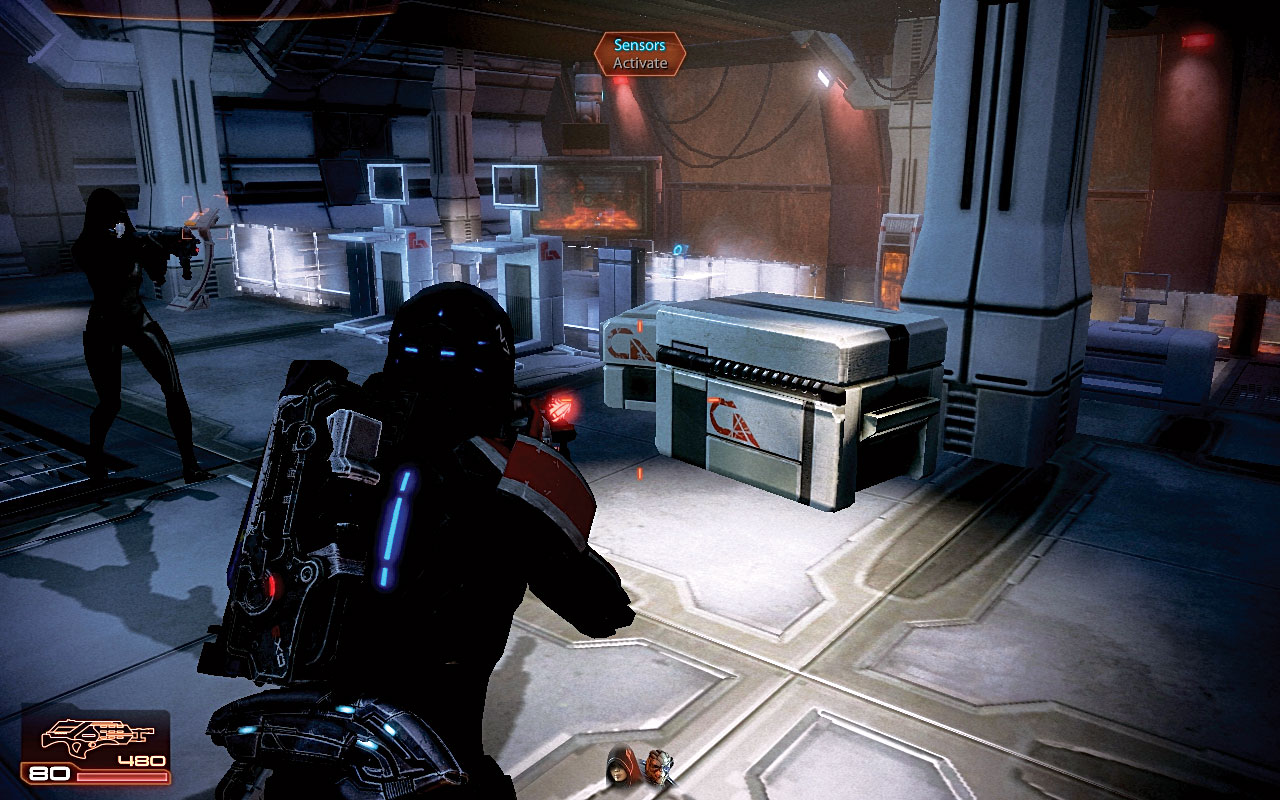
Back in the linking corridor, the open door on the far right side leads to the control room [011] .
Activate the computer console and you’ll hear Dr. Cayce confirm that this site was a road map leading to the main Prothean ruins!
On the lower level is a locker with credits in it. A terminal near the lava window can also be accessed; a data log reveals this planet to be a star map to a Prothean site.
Unfortunately, volcanic instability is magnified by the doctors’ power grid.
|
|
Spoils of War > Locker >
|
[012]
[013]
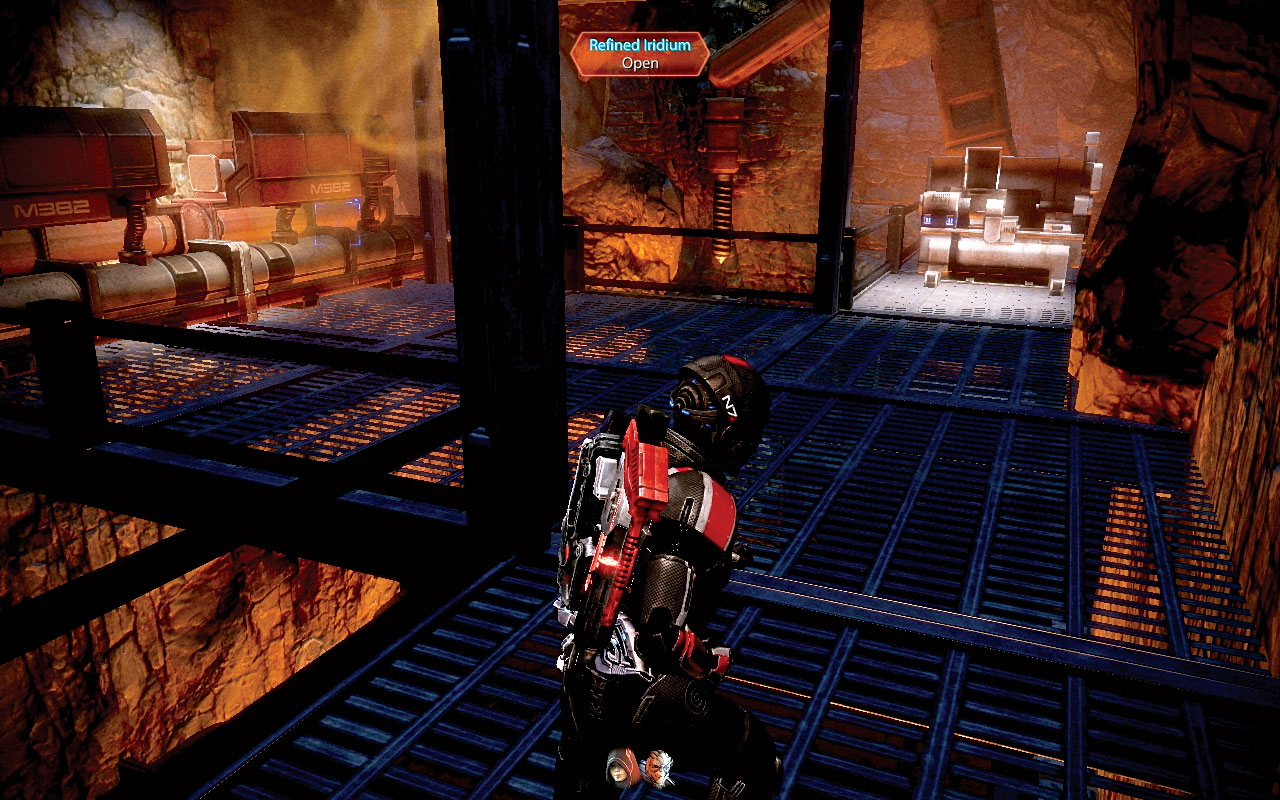
Now check the door to the side, on your right as you came in. Bypass it to open it, and head into a small smelting room [012] with refined iridium to gather.
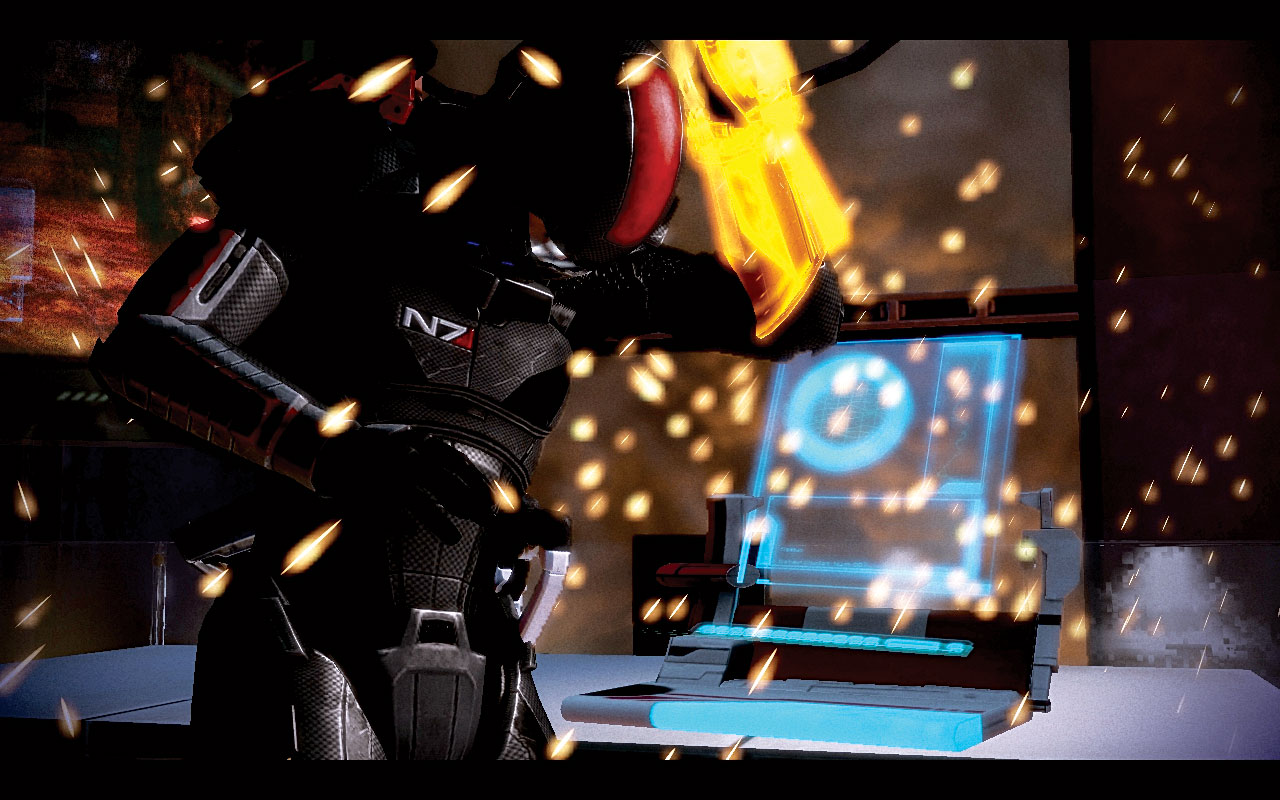
Head back into the control room, move to the lower area, and activate the sensor.
This unfortunately triggers additional volcanic instability [013] , forcing you to escape or face death.
|
|
Spoils of War > Resources >
|
Escaping the Volcano
[014]
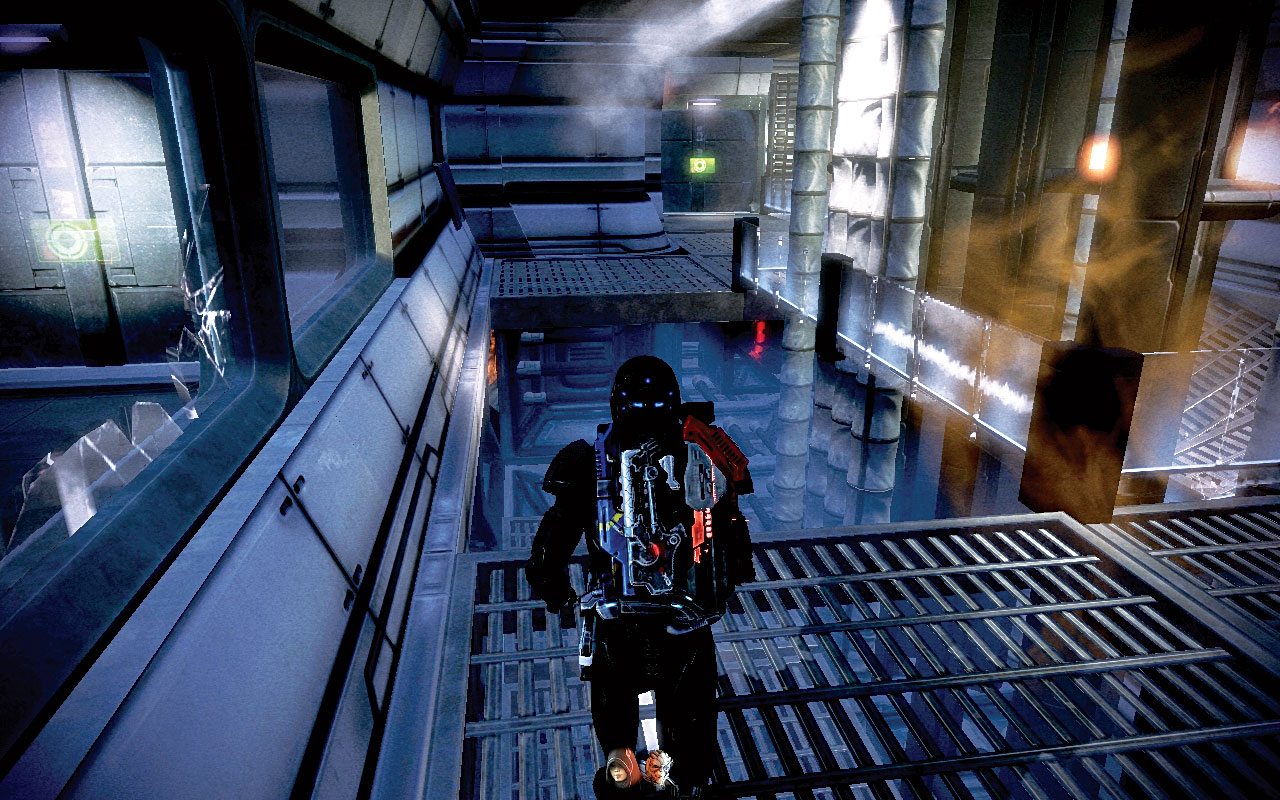
The floors have collapsed in the main corridor [014] , so run across into the open doorway, turn left, run over the small detonation and into the dorm, and then exit via the dorm door in the left wall.
The structure is shaking badly as you reach the docking bay and enter the Hammerhead.
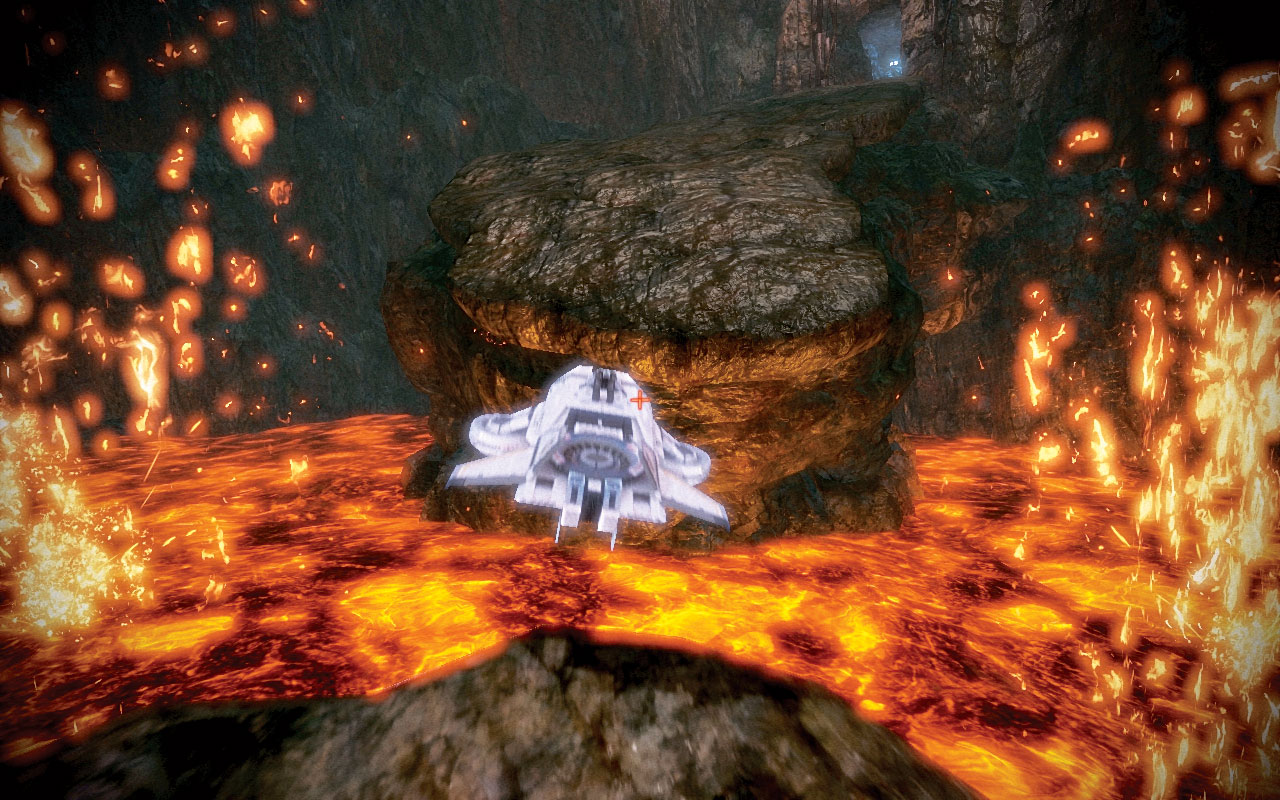
[015]
Turn your craft slightly left and boost up the rock ramp, over the lava lake spurting magma into the air, and through the carved stone entrance with the lights either side [015] .
Continue through the tunnel as it rumbles and shakes around you. As you emerge, vertically boost up and onto a rock ledge.
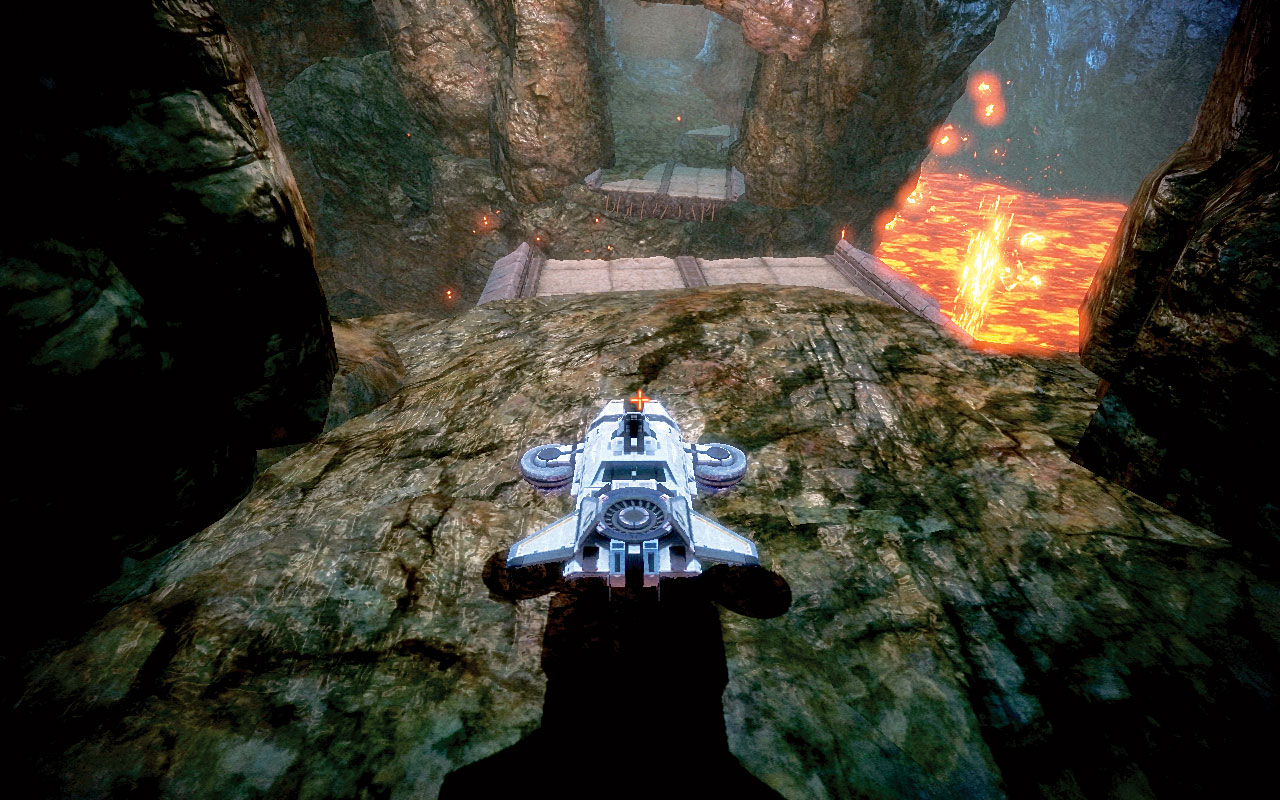
[016]
Boost across to a second ledge linking both cliff walls, and to a third ledge jutting out of the right wall. This has a final iridium deposit, and it is sizable—well worth stopping to grab.
Boost across to another tunnel entrance, and jet all the way to a broken bridge [016] . Boost up and over the bridge, and exit the volcano just in the nick of time.
Your docking with the Normandy isn’t pretty, but you make it!
|
|
Spoils of War > Resources > Refined Iridium > Open > 1,500 Iridium |

|
Spoils of War > Wall Safe >
|
The following additional missions are now available and can be attempted in any order.
|
|
Firewalker > Artifact Collection (Hawking Eta) |
|
|
Firewalker > Geth Incursion (The Pheonix Massing) |