
Halo Wars 2 Guide Multiplayer Multiplayer Atlas
Ashes
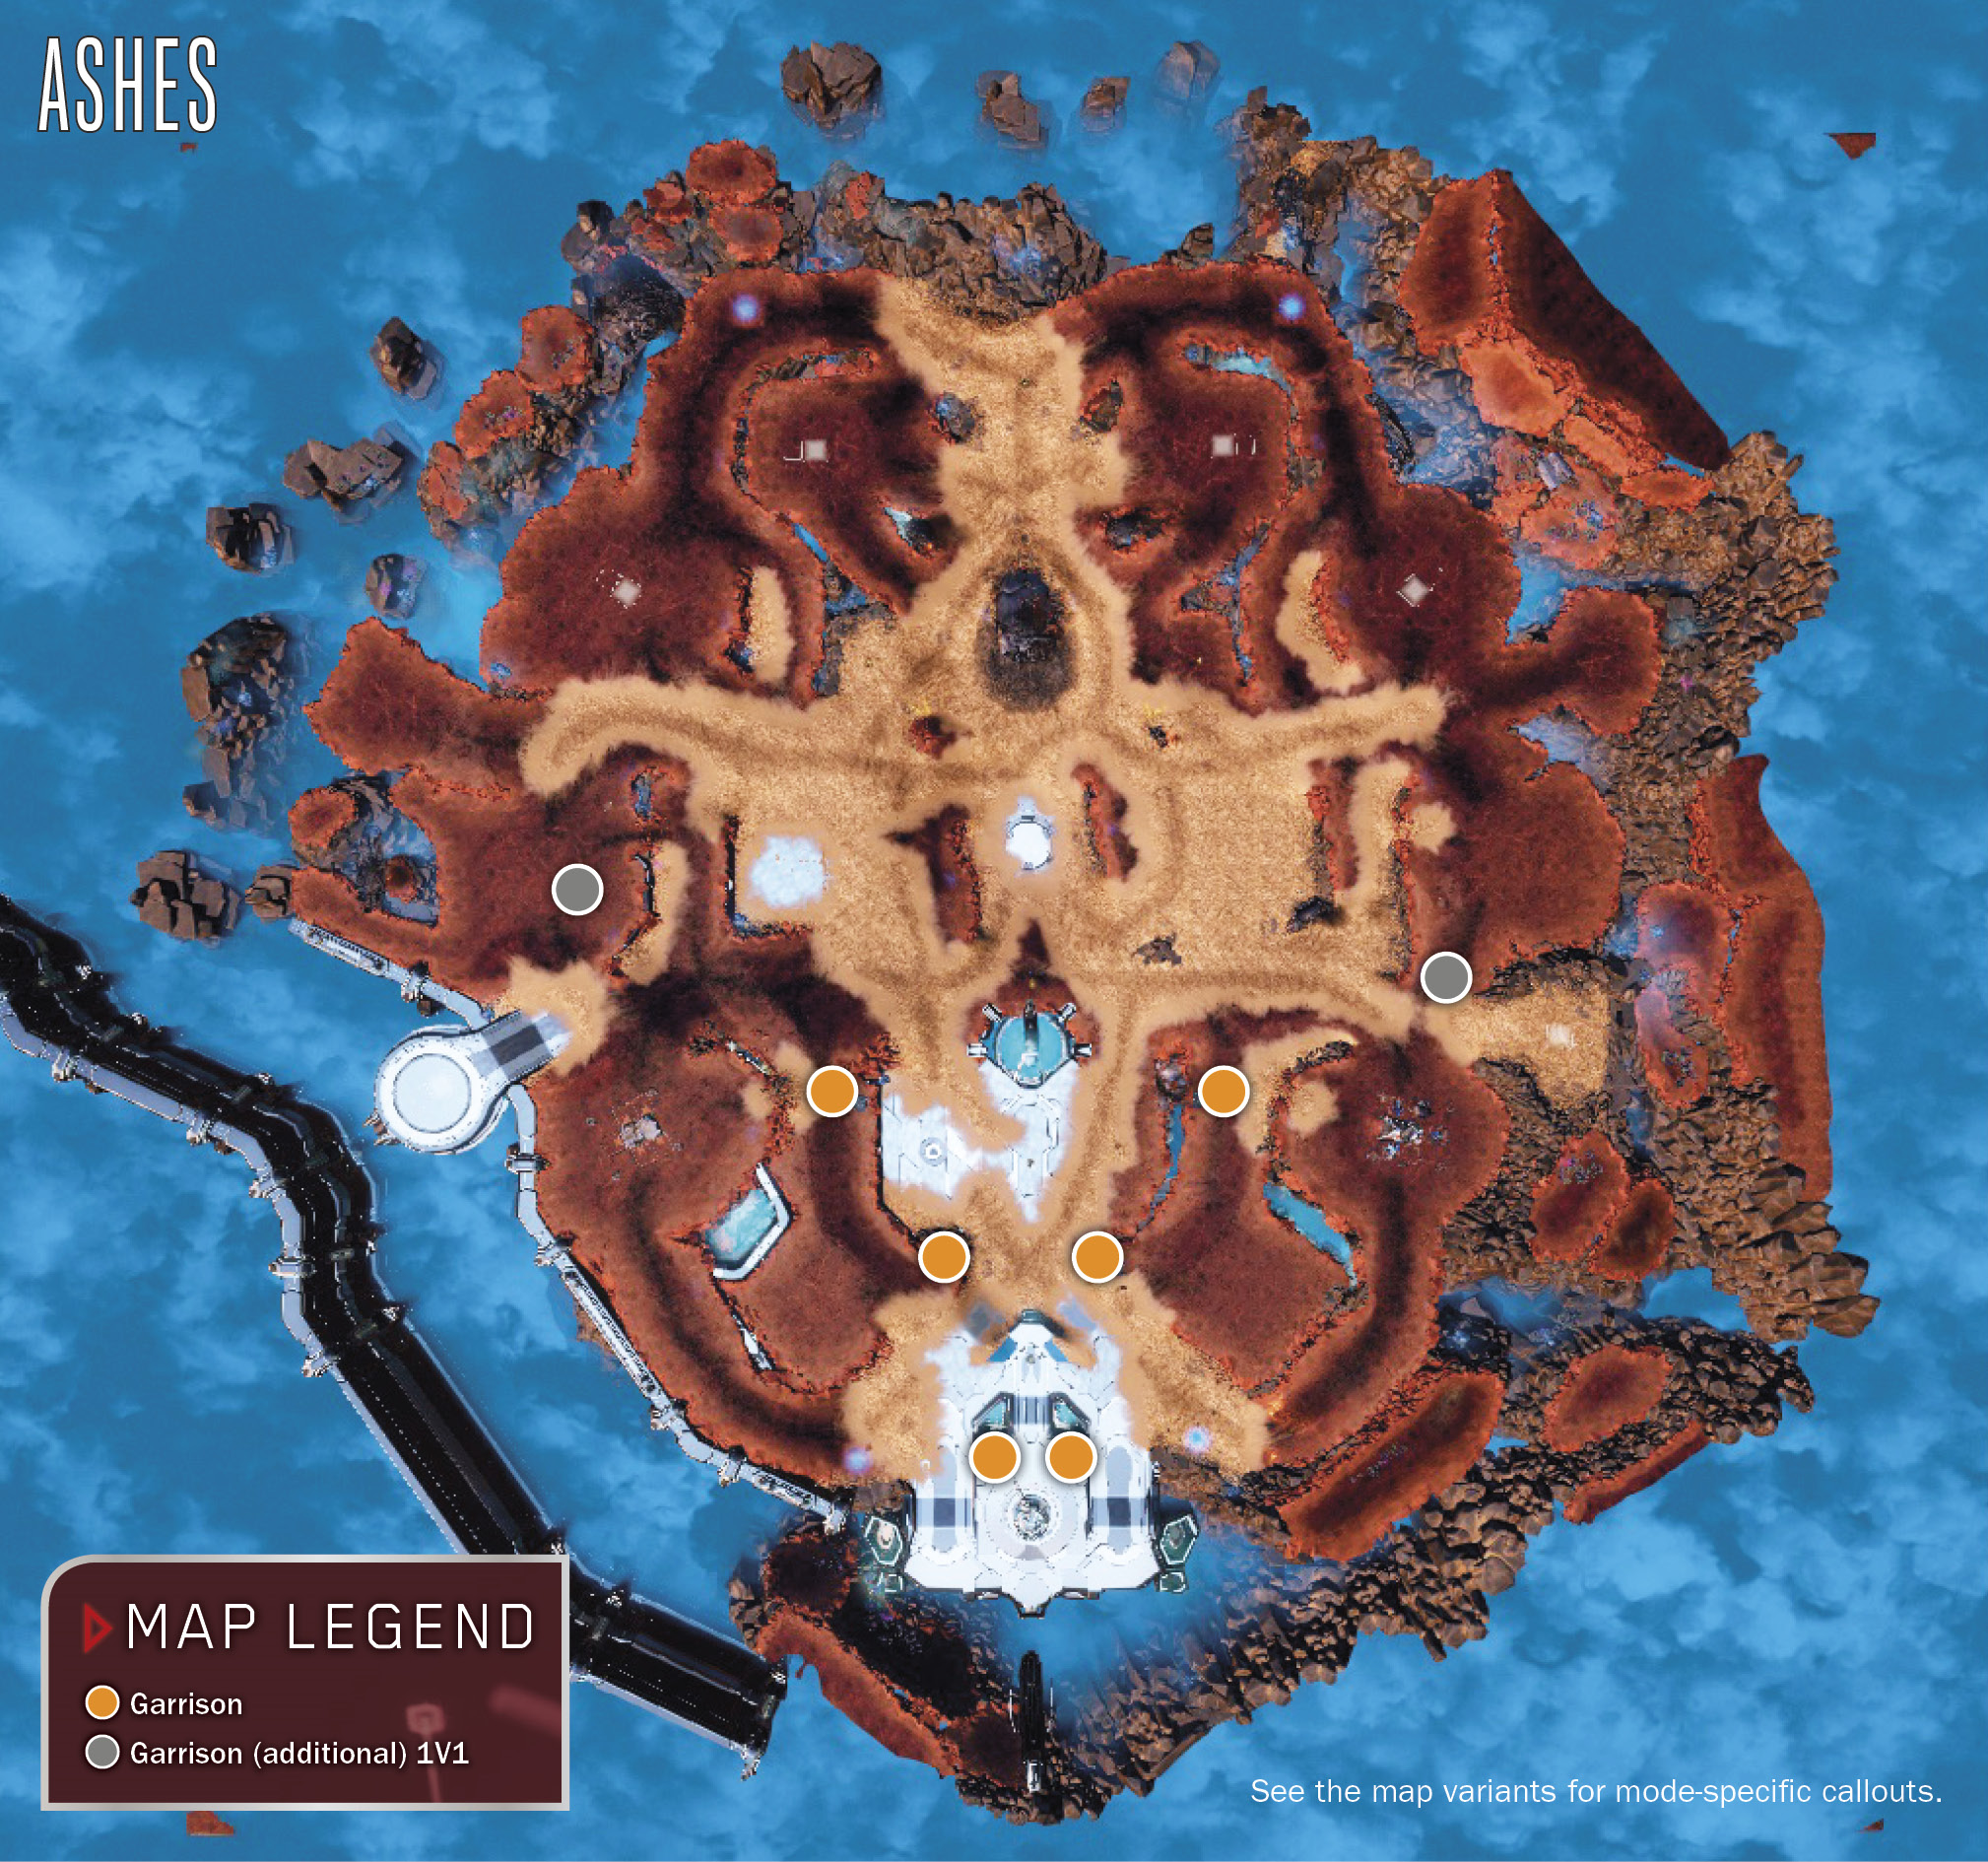
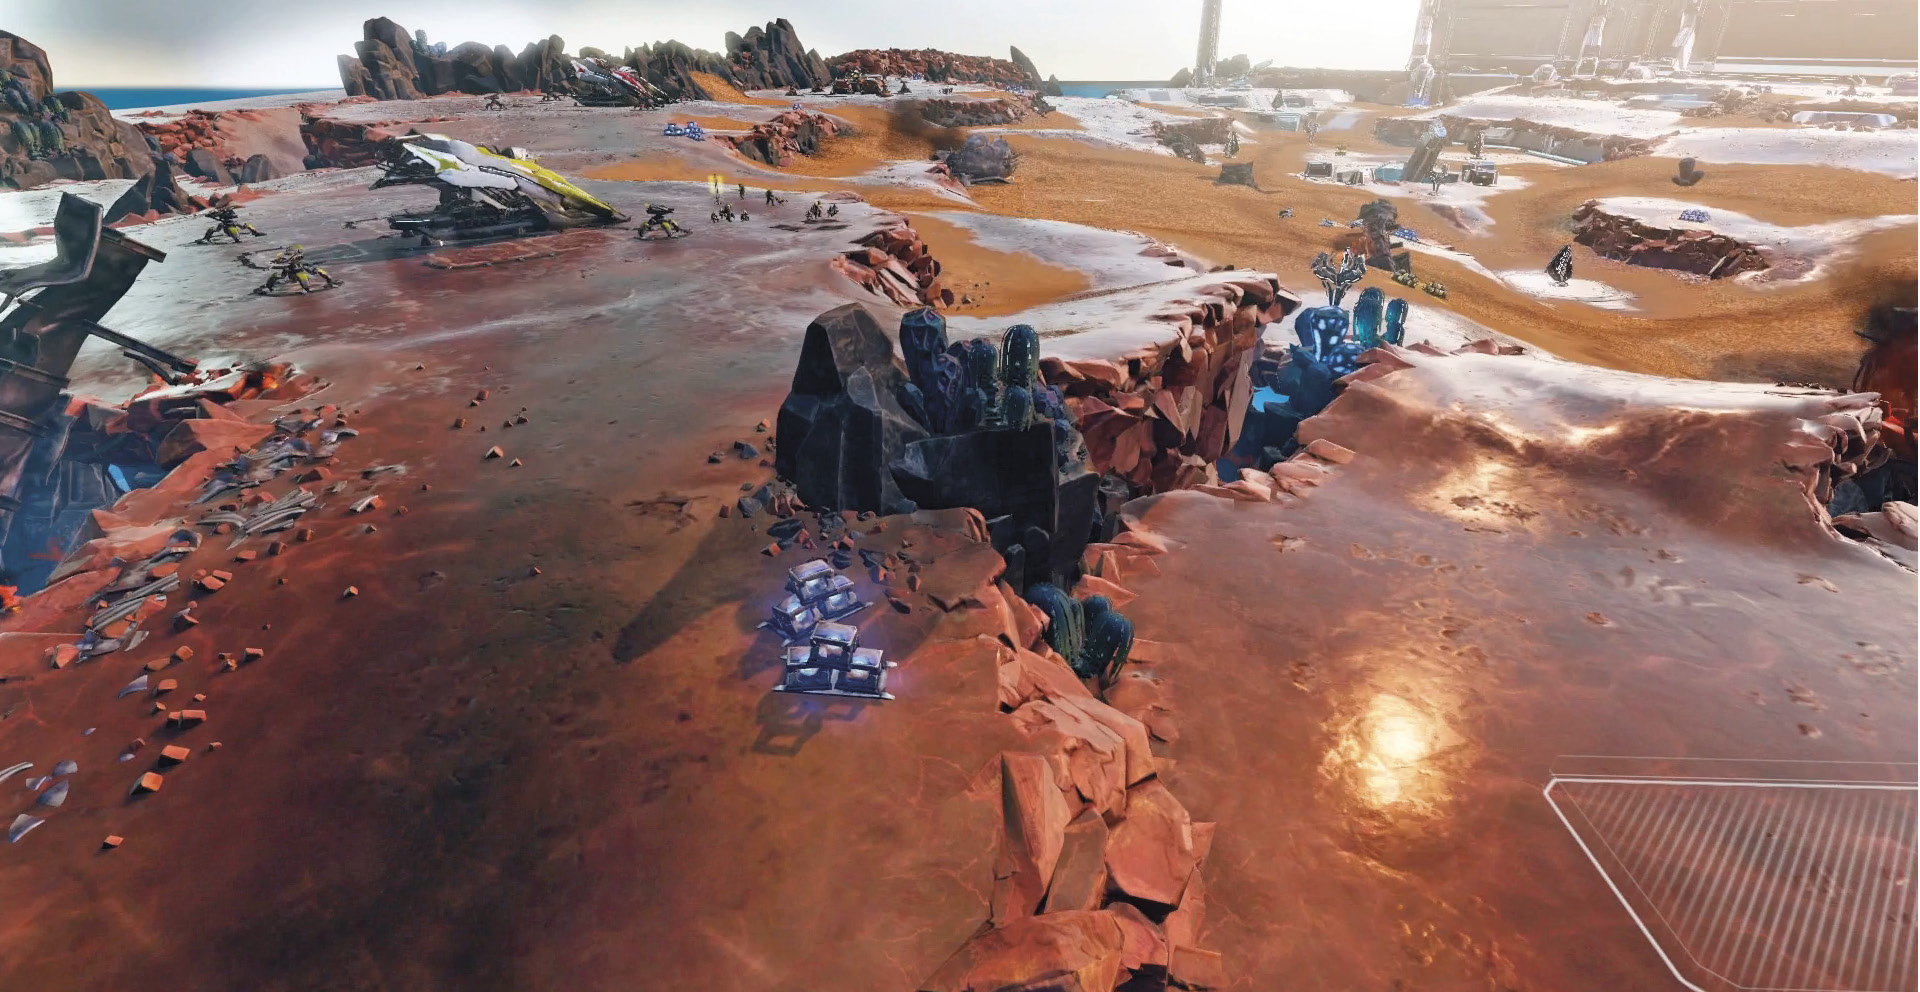
This hostile environment, blood-red and battered by harsh winds, is rendered even crueler by the scorched and smoking remains of a Covenant freighter, blasted out of the sky by Forerunner defenses, to lie scattered across the amber wasteland. The impact trench created by the crash leads down into a deep crater, where the force of the collision has destroyed the top layer of the refugia, revealing the proto-Forerunner substructure underneath.
Tips
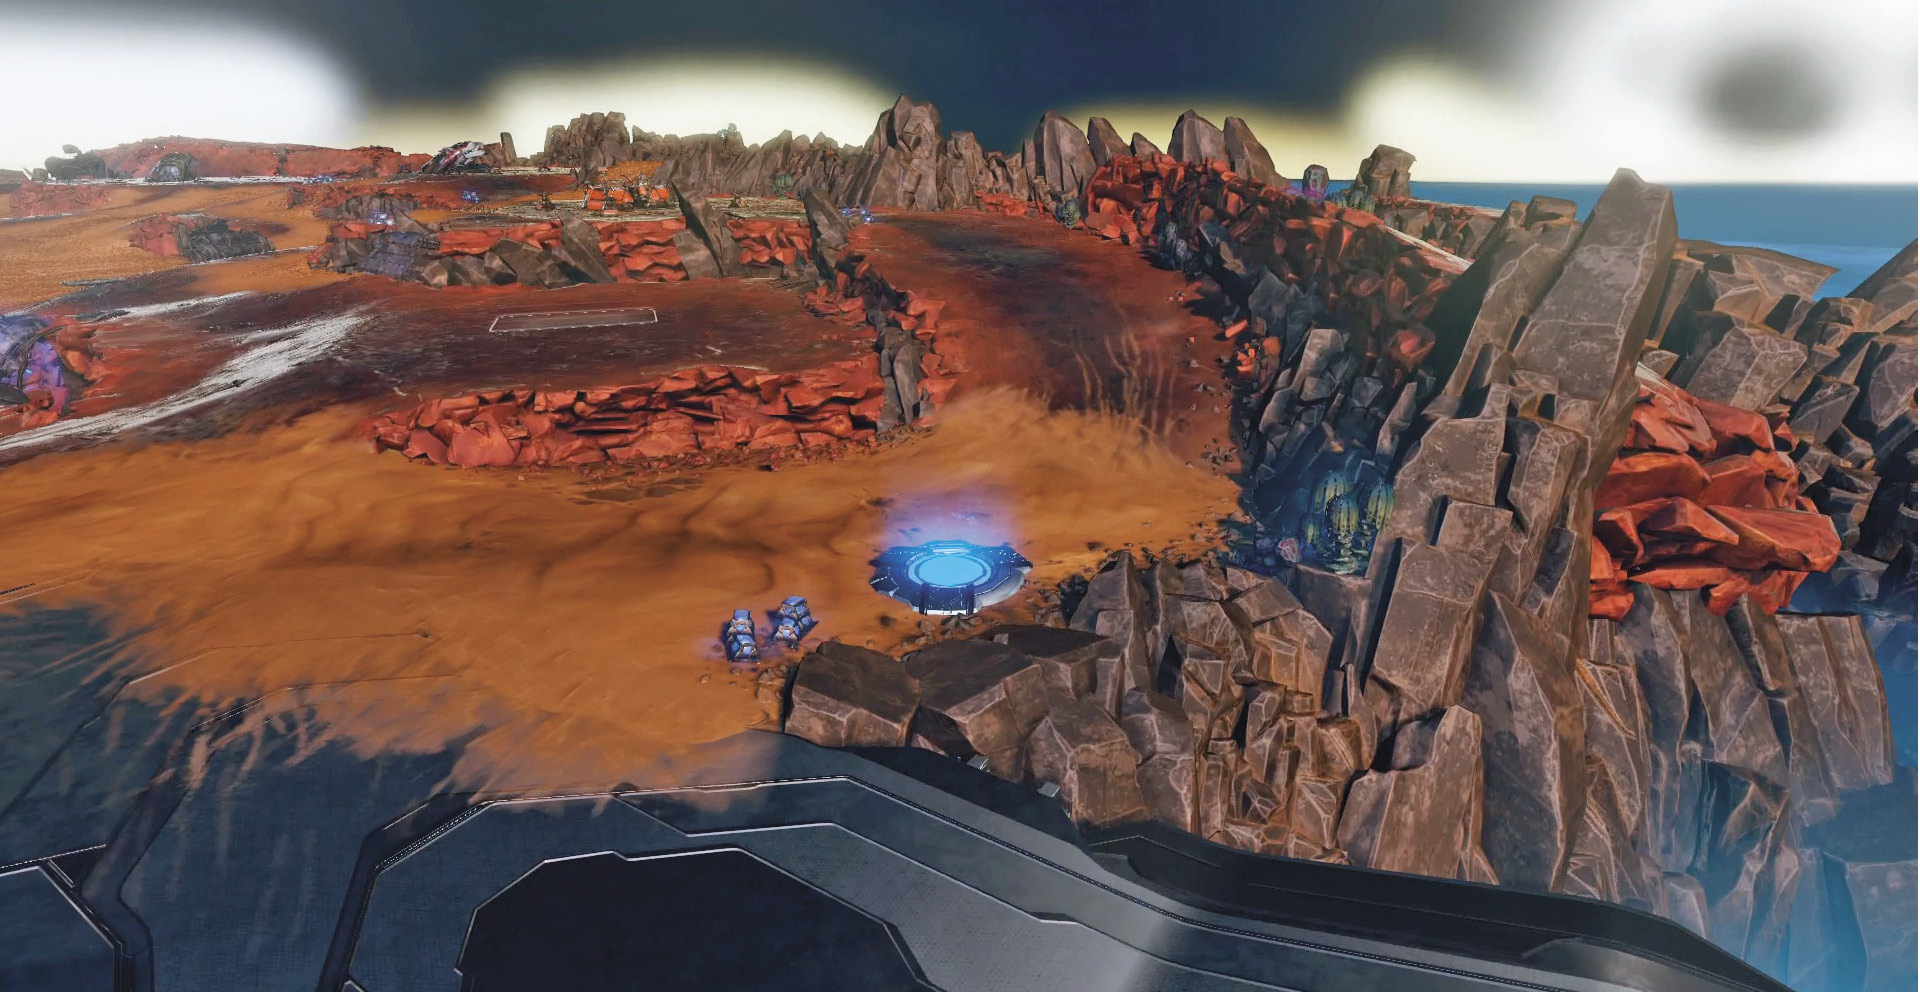
When playing 1v1 on Ashes, make sure to watch your back. The teleporters can move units from the opposite end of the map to just behind your base in a matter of seconds.
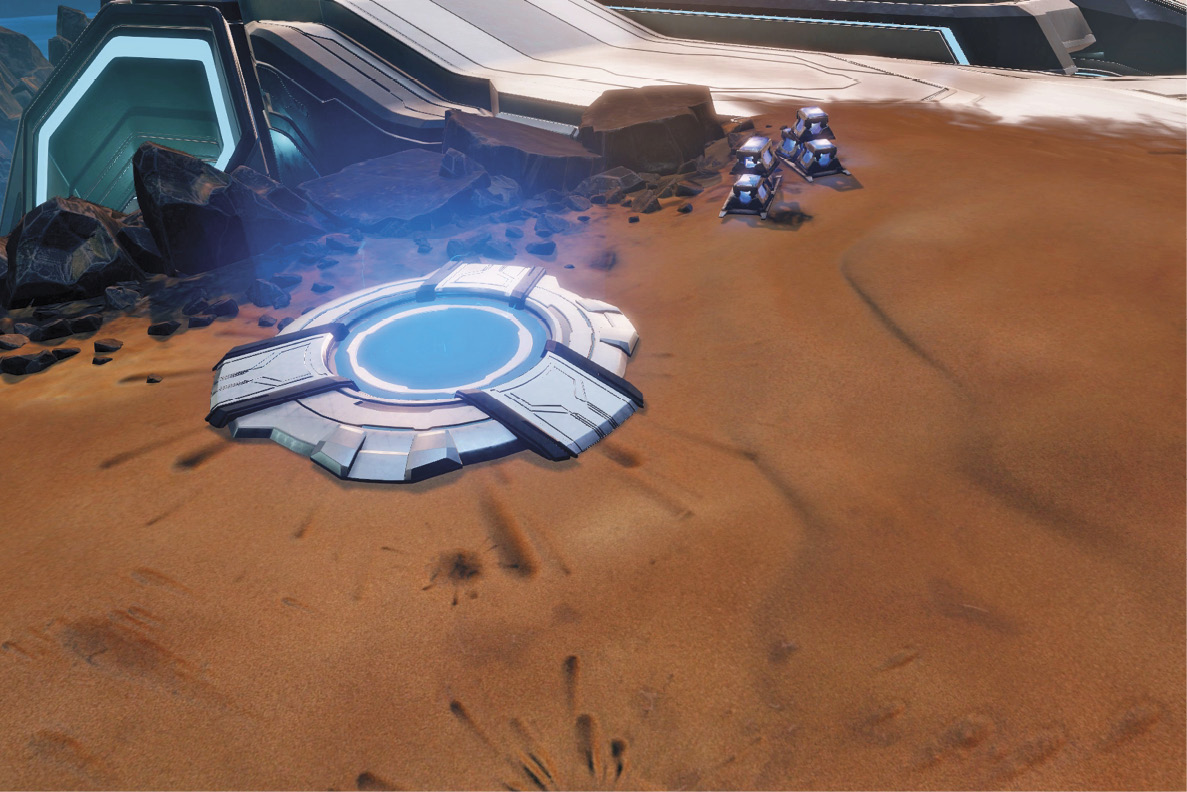
In Domination, use the teleporter to quickly move your ground units from the bottom set of objectives to the top. This is much handier when playing 1v1, as there are only three objectives. When playing 3v3, the majority of the objectives are grouped at the bottom of the map.
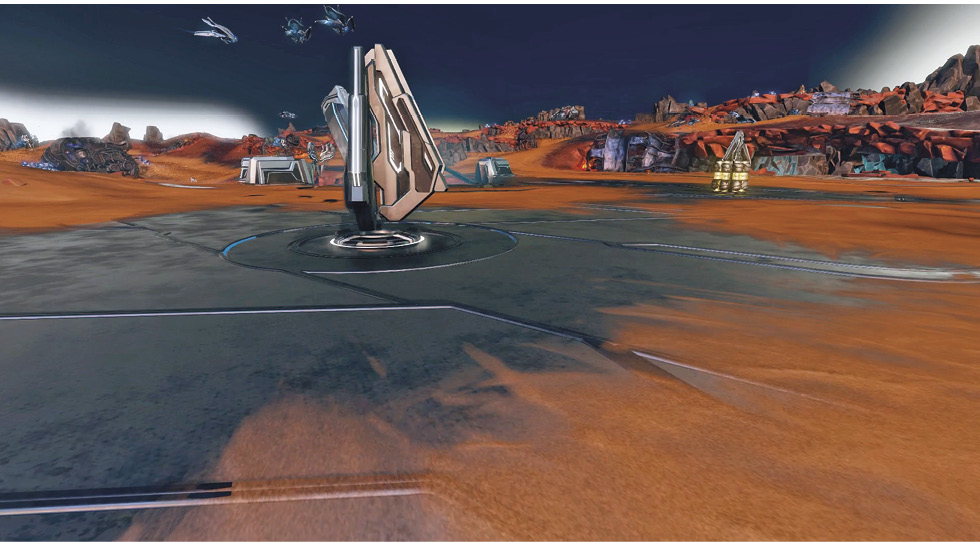
When playing 3v3 Domination, don’t worry about Control Points A or B. Focus on holding Points C, D, and E. These three Points are located in close proximity to one another and give you the majority share of the total available Control Points.
When playing Deathmatch, don’t forget about air units. The enemy may place the bulk of their defensive units facing toward the teleporters, which leaves them open to a quick attack from the air, straight over the geological barriers.
Ashes Map Variants
Domination
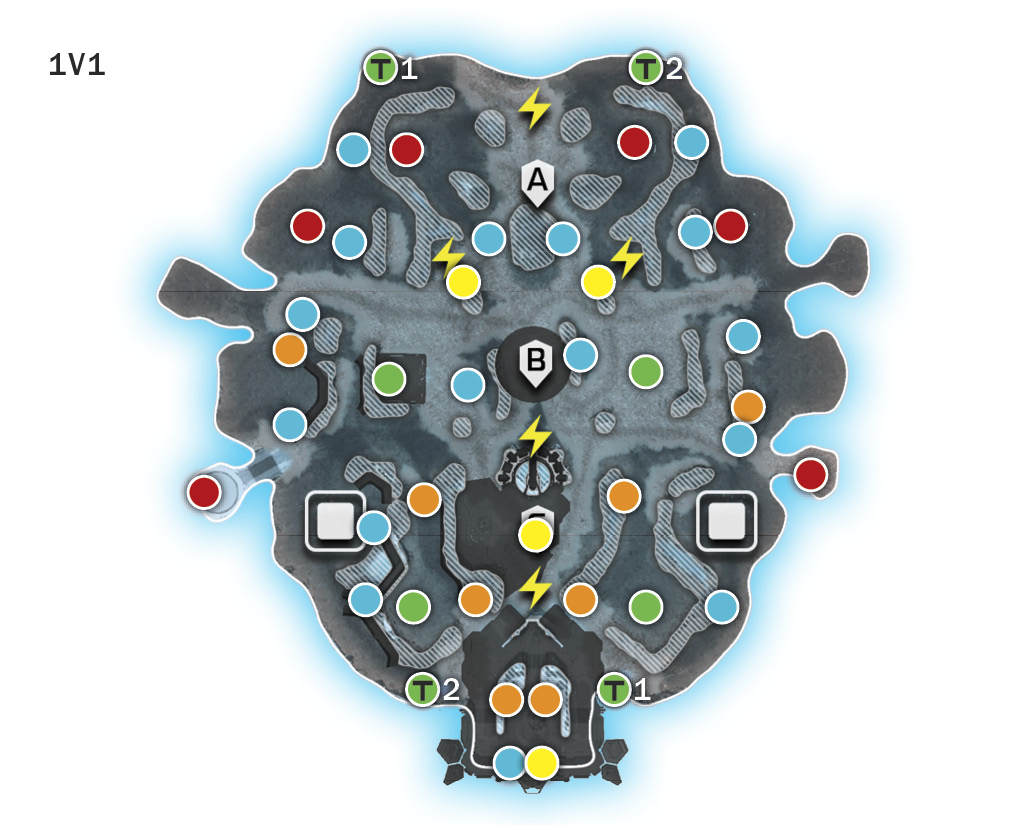
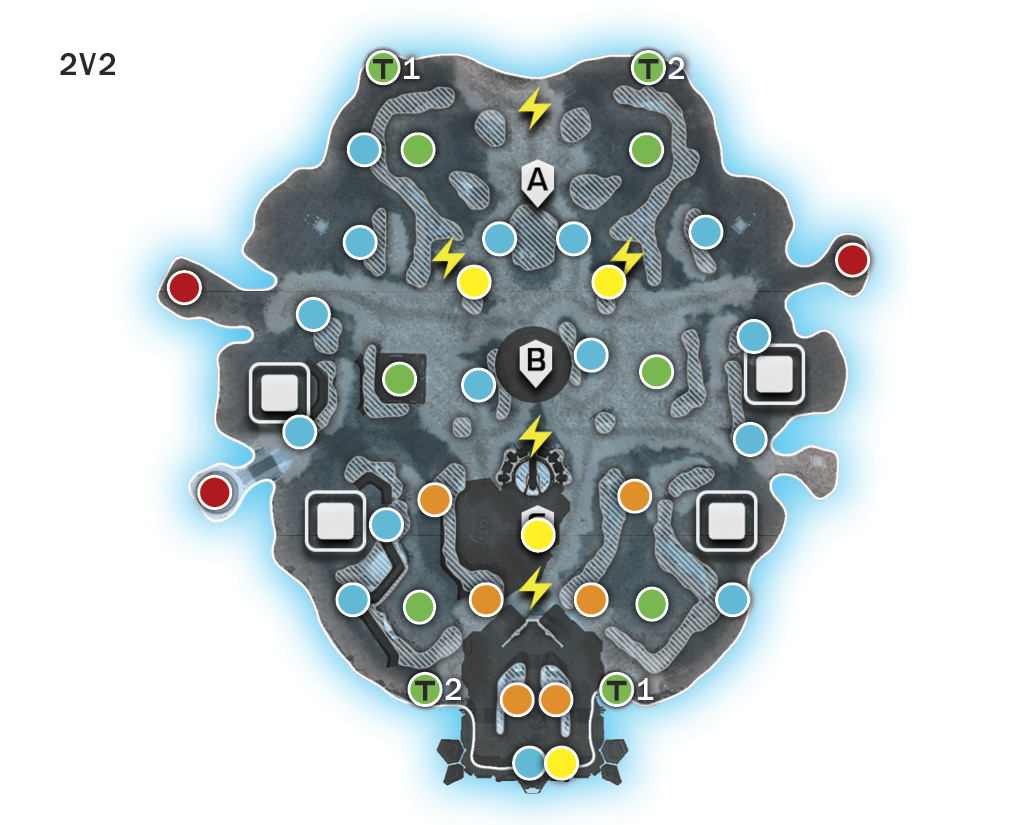
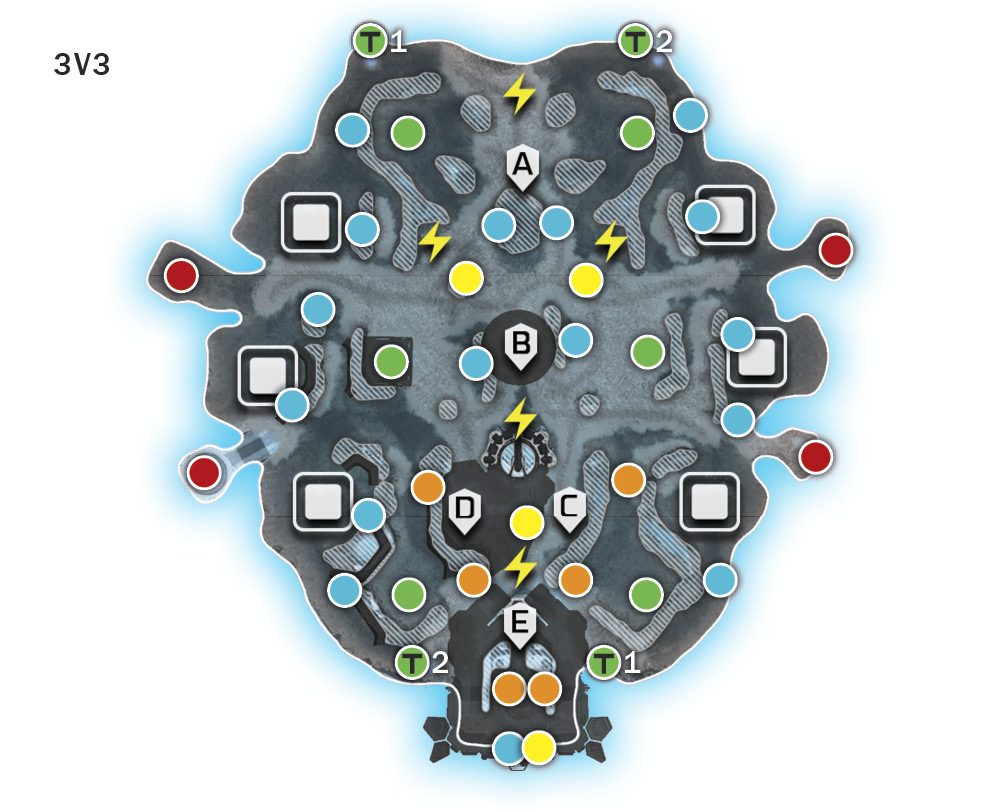
Deathmatch
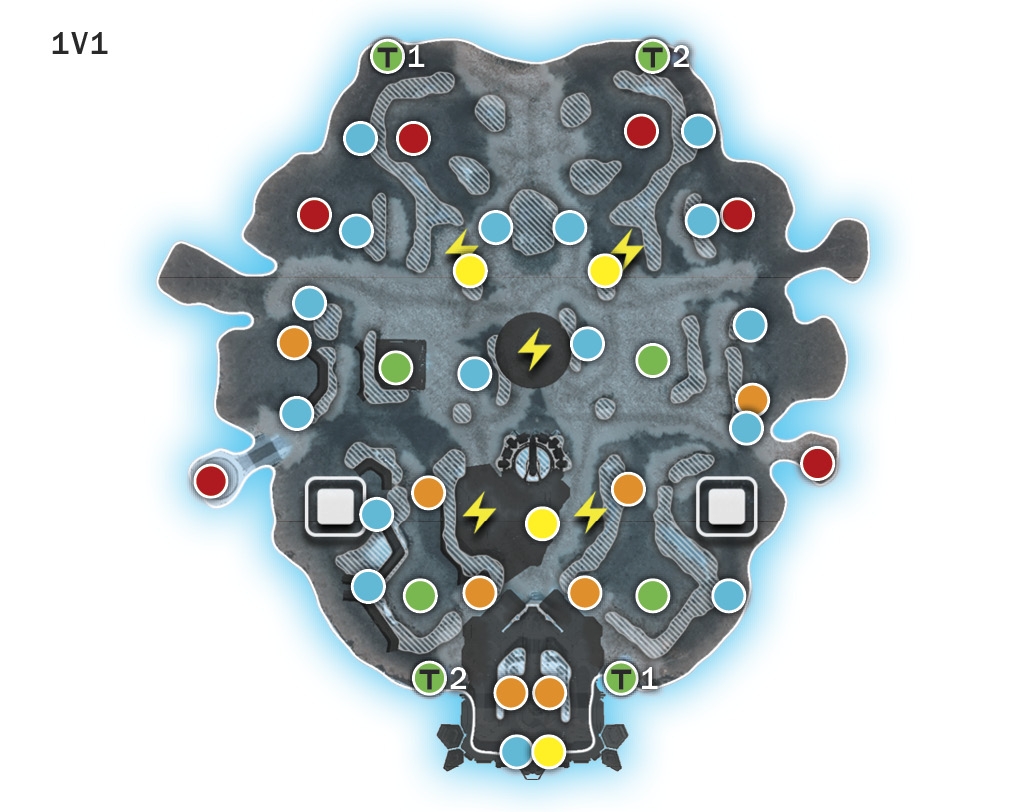
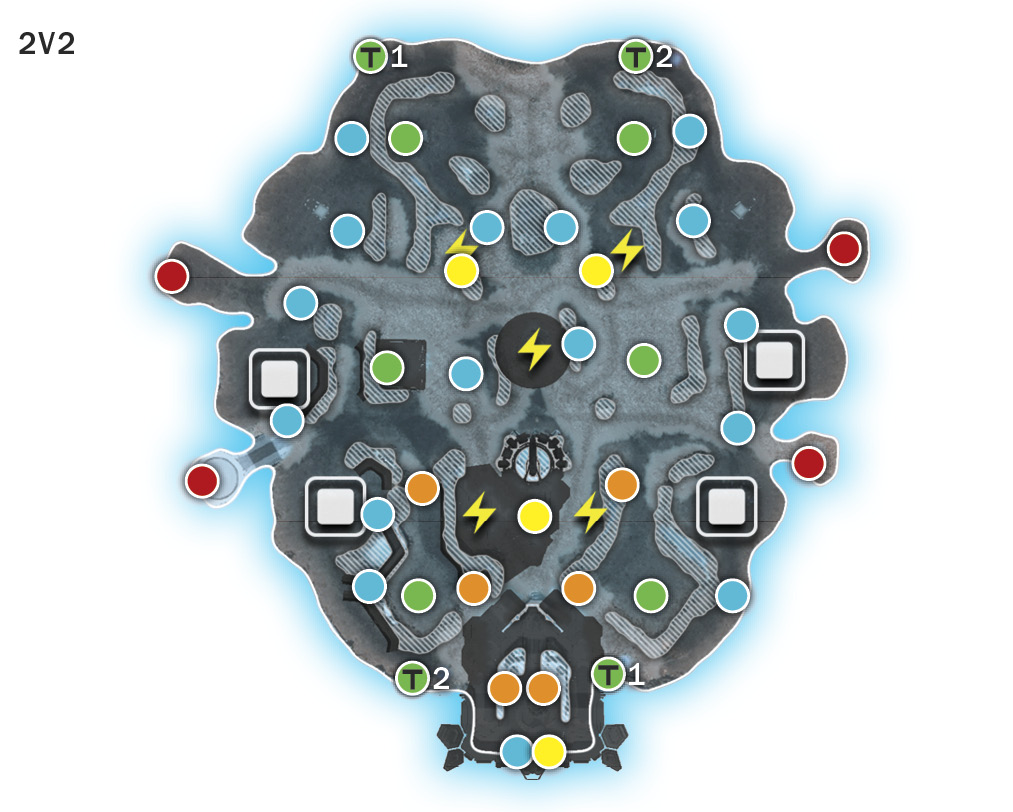
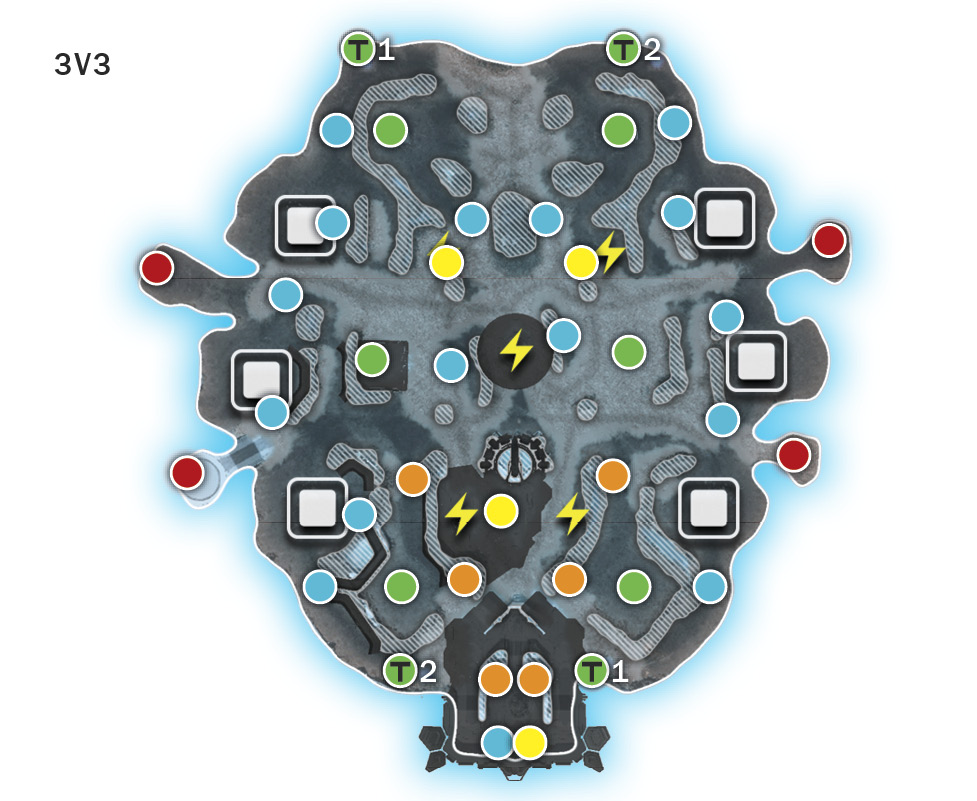
Strongholds
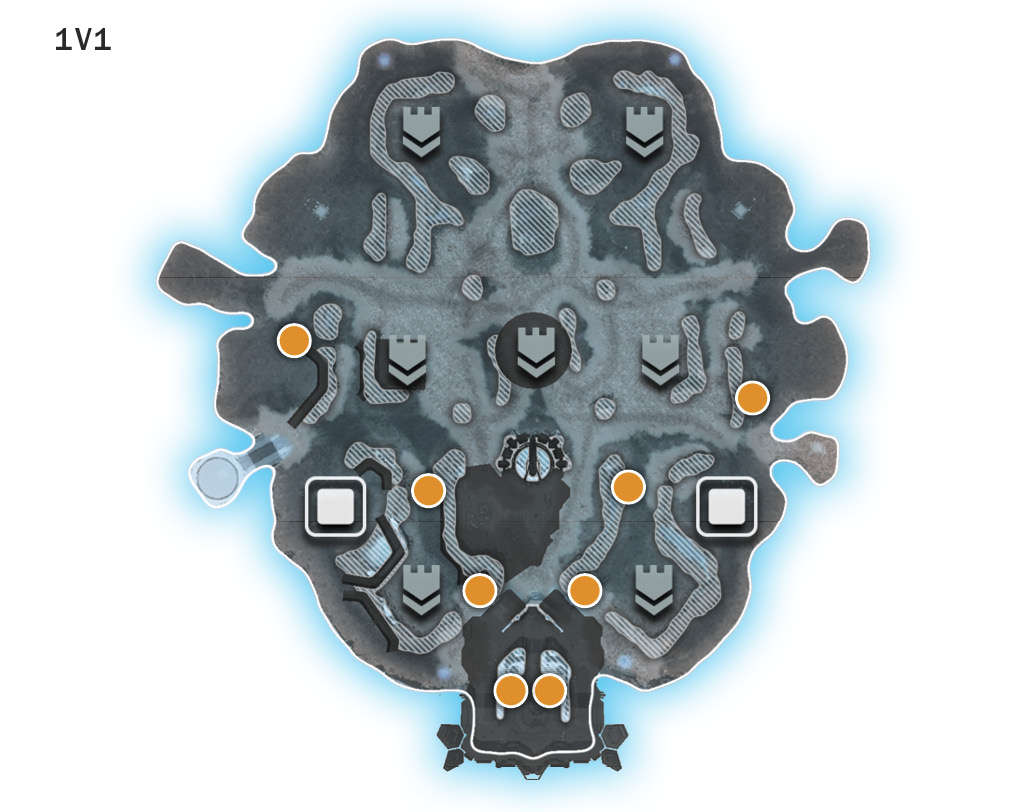
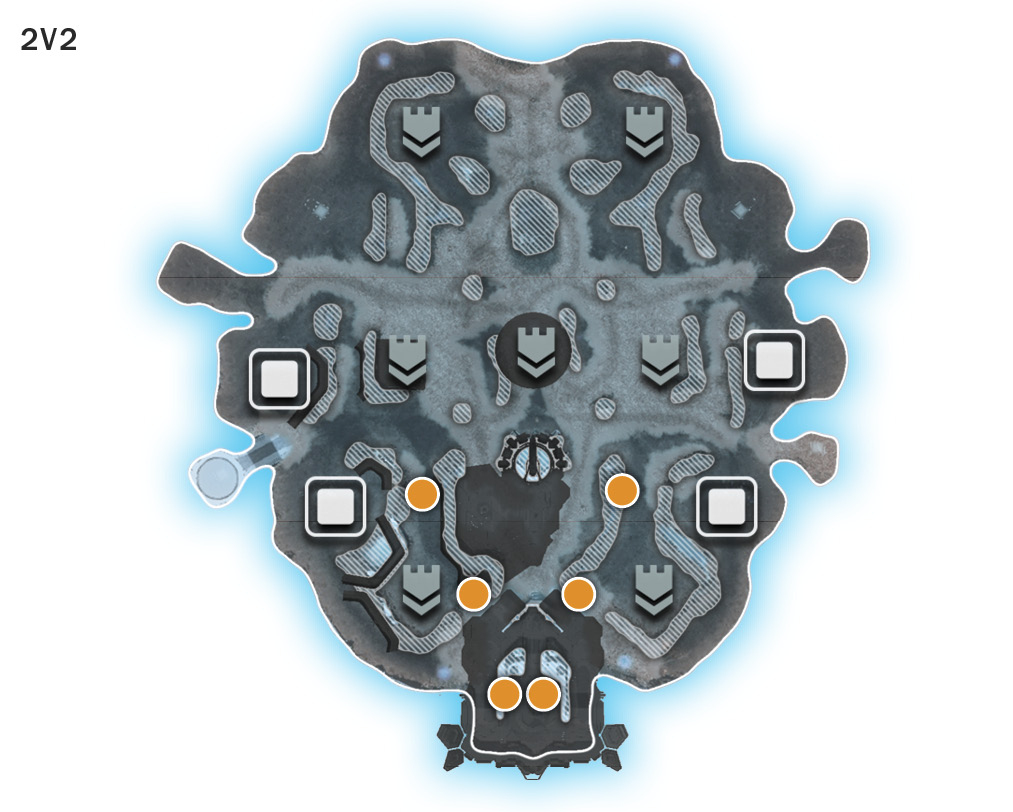
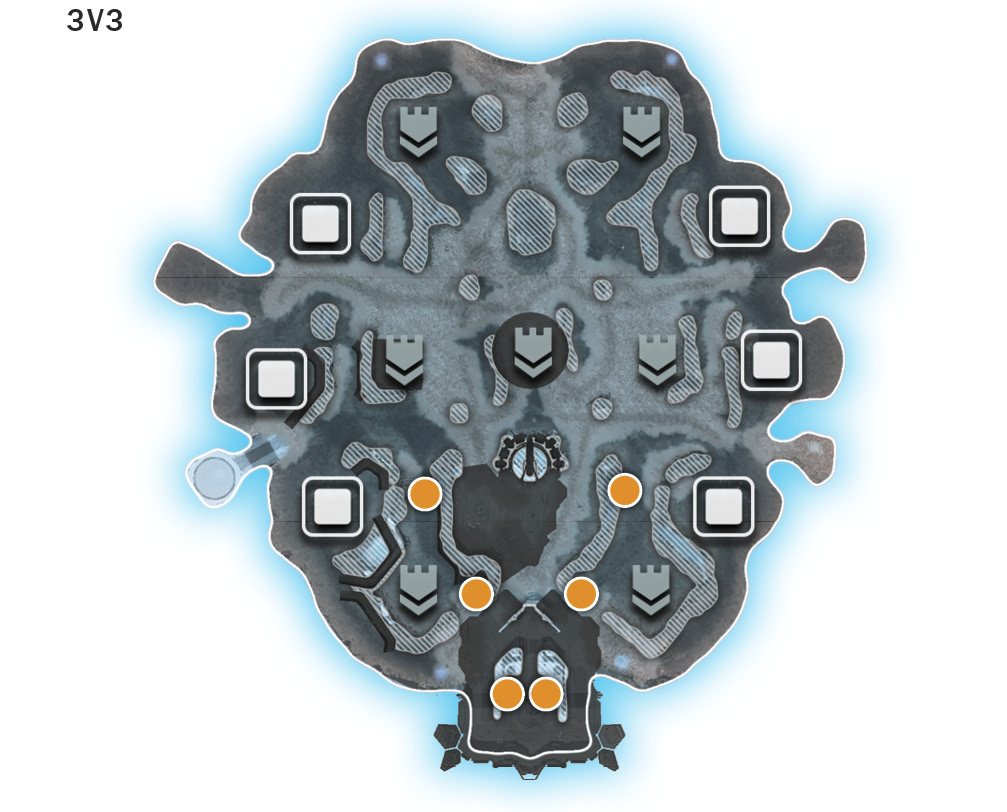
Map Legend
|
 HQ
HQ Power
Power Turret shield Watchtower
 Stronghold base
 Garrison
 Two-Slot garrison
 One-Slot Minibase
 Two-Slot Minibase
 Expansion base
 Supply pickup
 Power pickup
 Teleporter entrance/exit
 Light barrier
 Control console
 Healing pylon
 Lightbridge