
Halo Wars 2 Guide Getting Started
Deploying Your Army
Unit Selection
One of the most important RTS skills to master, especially early on, is how to select your units. Rookies lose a lot of precious time in fumbling attempts to simply select the units they want to move. Your goal should be to make unit selection something you do quickly and instinctively, almost without thought.
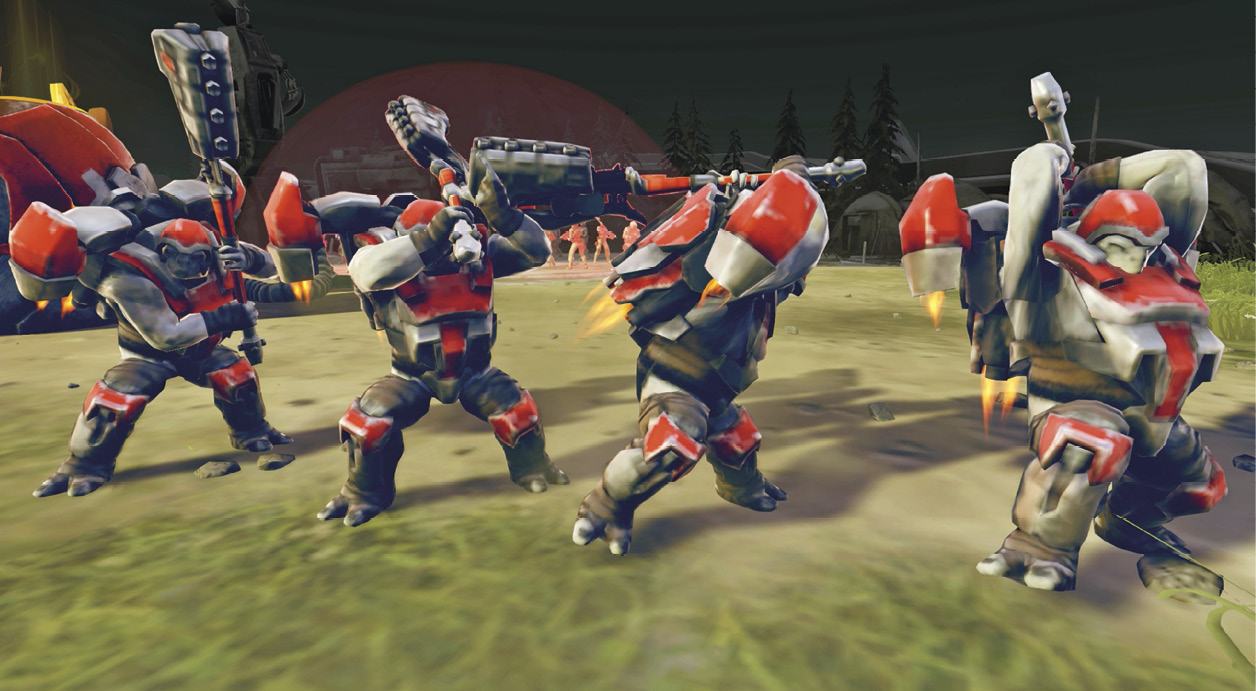
As you play the early missions, spend some time practicing each of the following methods:
- To select a single unit from your army, move the cursor over that unit and press the Select button (
 on your Xbox One controller). Simple enough, right?
 - To “paint-select” several units currently visible onscreen, press and hold the Select button () until a selection circle appears. Every unit “painted,” or touched, by that circle is selected when you release the Select button. Two important notes regarding this method: First, the longer you hold the Select button, the bigger the selection circle grows, up to a point. Second, while holding the Select button, you can move the selection circle using the left control stick. Again, every unit touched by the circle is selected when you release the Select button.
- To select every unit of one type currently visible onscreen—e.g., all visible Warthogs, or all visible Marines—move the cursor over one unit of that type and double-tap the Select button (). Note that other units of the same type that are not visible onscreen are not selected.
- To select every unit currently visible onscreen regardless of type, single-tap the Local Units button. (On your Xbox One controller, tap
 once.)
 - To select every unit currently active on the entire map, double-tap the All Units button. (On your Xbox One controller, tap twice.)
- To select every unit of the same type currently active on the entire map—e.g., all available Warthogs, or all available Marines—double-tap the All Units button () to select all units, and then repeatedly press the Cycle Through Units control (
 ) until you highlight the unit type you want.
If you want to select very specific groupings of mixed units, you can do that in an instant as well. Check out the next section on hotkey grouping to learn about this very important selection skill.
Hotkey Grouping
One of the most effective gameplay skills you can master is how to group your units for speedy micro deployment. Halo Wars 2 lets you designate up to four separate groups, setting each one to a hotkey. A hotkey is a control (controller button or key) that lets you complete an action with a single press. Halo Wars 2’s hotkey system (using the D-Pad on the Xbox One controller) allows you to create an entire group of units you can subsequently select in this way.
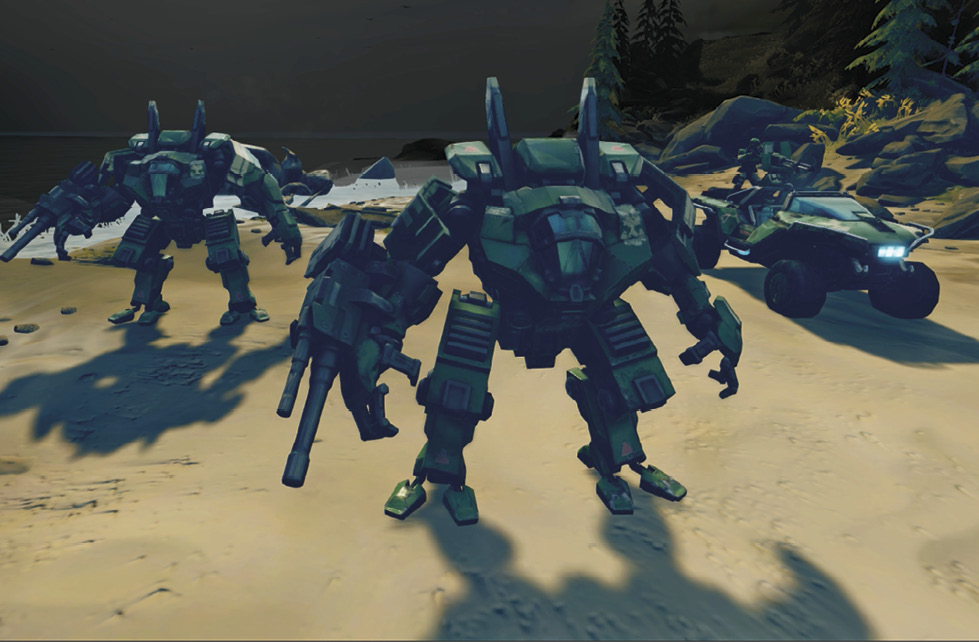
Assign hotkeys to groups according to their role, based on the exigencies of the current game or mission. These can change from mission to mission, of course, but some roles remain consistent throughout the game.
Here are a few examples of groupings you might want to assign to a hotkey:
- Main strike force (usually a balanced mix of units)
- Hero group (your Spartans)
- Base or point defense team
- Air combat squadron (for rapid support operations across the map, or to rescue an endangered base)
- Sniper team
- Counter-units by type (e.g., all anti-air Wolverines)
- “Tank” group (big tough units you can push out front to absorb punishment and draw fire away from more fragile units)
- Units with a special ability (e.g., all Warthogs for their Ram ability versus infantry, or all Kodiaks so you can quickly lock them into artillery mode)
- Scout (so you can instantly jump to its location to see what it has revealed in the fog of war)
Be Consistent with Hotkey Groups!
We recommend that you assign the same hotkey to specific unit groupings every mission, if you can. For example, we hotkey our Spartan(s) as Group 1, our main strike force as Group 2, our primary specialty unit type for a given mission (flyers only, Snipers only, anti-air only, tanks only, etc.) as Group 3, and our emergency rapid-response team (usually Hornets or Warthogs) as Group 4. If you use the same key for the same group type every mission, hitting those hotkeys will become a reflex action.
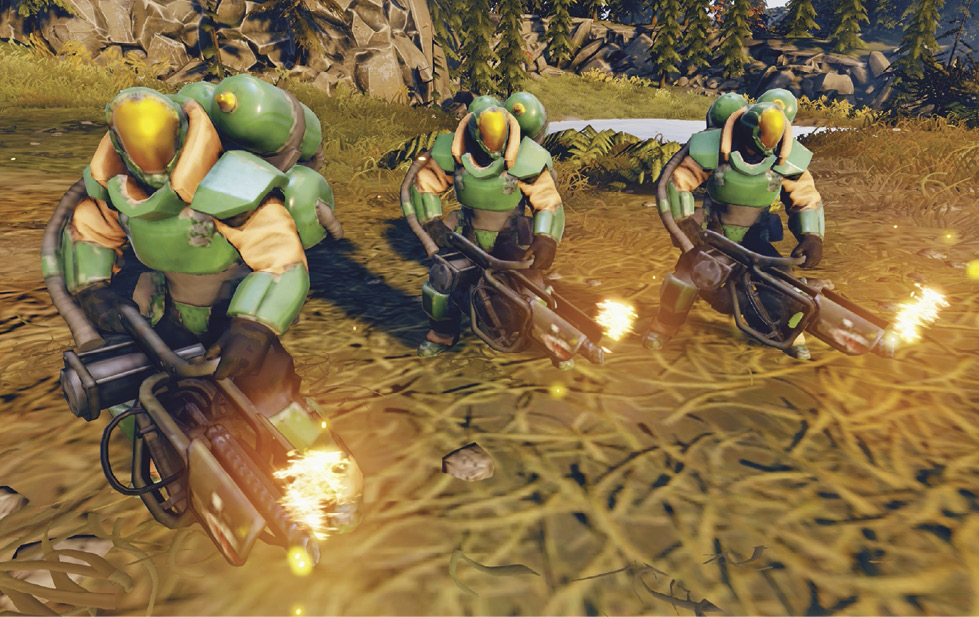
It is particularly important to hotkey any units you send out as scouts. Scouts are typically weak, expendable units who die fast when they stumble into the lethal trouble (enemy forces or bases) they seek. You want to get a glimpse through the fog of what the scout has discovered before the poor guy gets obliterated.
Sometimes it’s wise to assign a hotkey to certain units with special secondary abilities so you can quickly select them and activate the ability in the chaos of battle. For example, the Warthog’s ability to ram and decimate enemy infantry squads, or the Spartan ability to commandeer enemy vehicles.
Scouting
Fog of war covers the battlefield, obscuring all areas outside your current units’ line of sight. Make use of fast-moving vehicle or aerial units to scout foggy areas, especially to get out ahead of your advancing strike force. Aerial units like Hornets, or cheap but speedy ground units like Jackrabbits, are perfect for scouting. Keep a close eye on them; as mentioned previously, you want to see what scouts reveal in the fog of war before they get killed and the glimpse disappears.
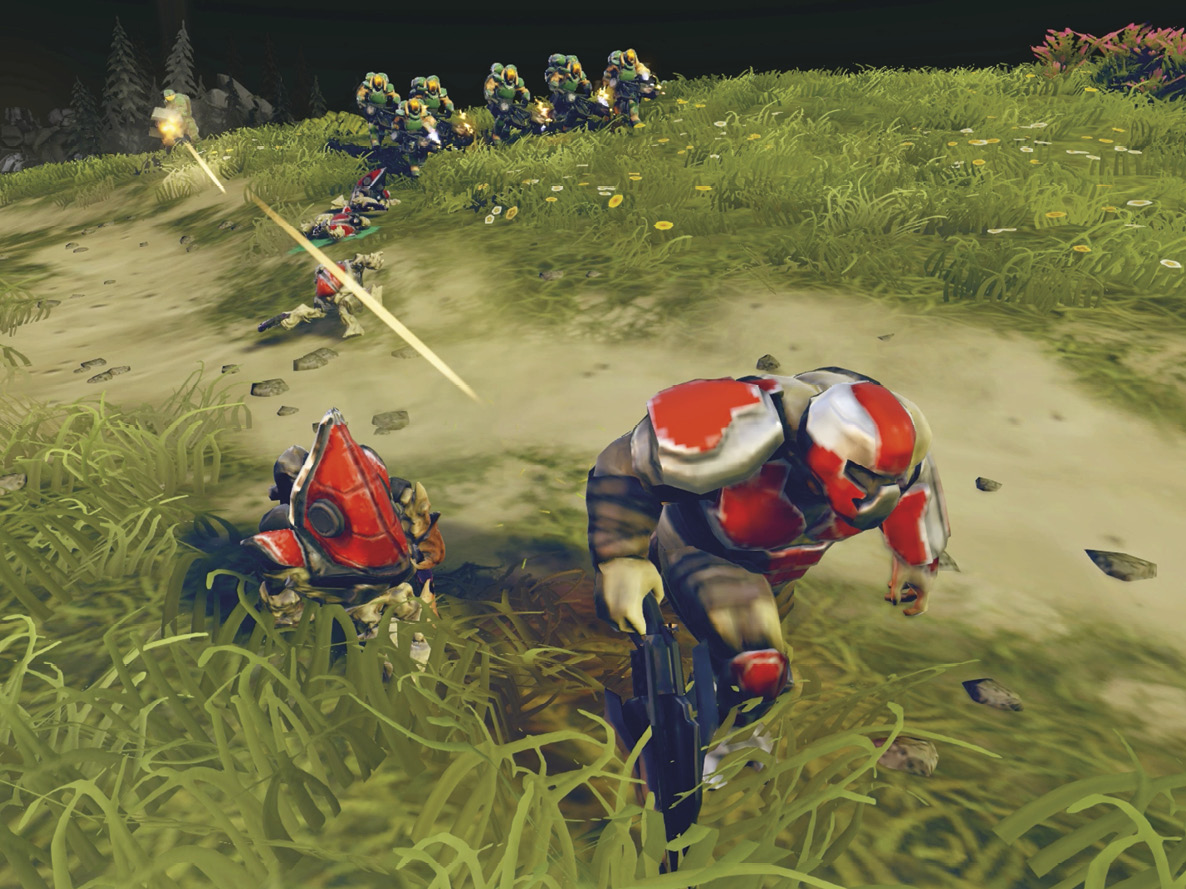
If one of your scouts makes contact with advancing enemy forces, quickly note the enemy unit types and pull your scout back to your army before they suffer critical damage. Then push the best counter-units into your army’s front rank and roll forward to engage the foe.
Raiding
For raiding missions, be sure to strike with a small, highly mobile force, eliminate or cripple your target quickly, and then withdraw before the enemy can retaliate. Aerial units or cliff-jumpers make the most dangerous raiders, as they are unhindered by most terrain; you can hit your target from its least-defended side. UNSC Spartans use their Spartan Slam ability to leap up/down cliffs; Jump Pack Brutes use their jetpacks to do the same for the Banished.
Using Rally Points
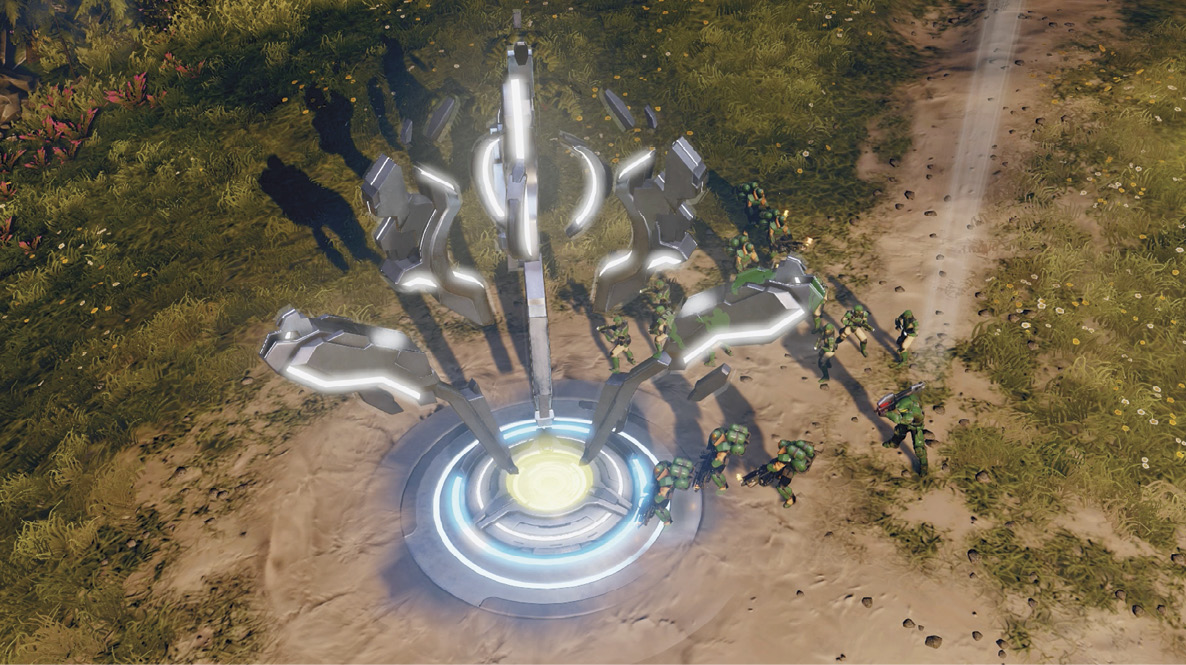
Halo Wars 2 gives you two ways to set the exact spot where newly produced units automatically gather, or “rally,” when they emerge from a base:
- Local Rally Point: Select the base HQ structure to bring up the radial, highlight and select Rally Point, and then move the cursor and click on the spot where you want your newly produced units to gather. (When you click, you see the spot marked with a rally flag.) With this method, only the units produced by that base rally at the designated point.
- Global Rally Point: Move the cursor to a spot and press the Set Global Rally Point control (hold Up on the D-Pad). This automatically deploys all newly produced troops from all bases to the designated spot. Setting a global rally point supersedes any local rally points you’ve set for individual bases.
Set rally points in spots where the enemy is likely to pass through when approaching your base. Examine the terrain and identify obvious choke points or bottlenecks. Then set rally points in them for your infantry, vehicle, and air combat units. Remember to group units into mixed-type forces for flexibility.
However, don’t set your rally points too far away from the base. If the enemy finds an alternate route into your backyard…or air units bypass your ground forces…or a surprisingly powerful enemy assault overwhelms your base defense from one direction… Well, then you may need to pull back extra troops quickly from the base perimeters to engage the raiders. If your rally points are too far away, the distance may cost you.