
Halo Wars 2 Guide Campaign Walkthrough Act I
Mission: The Signal
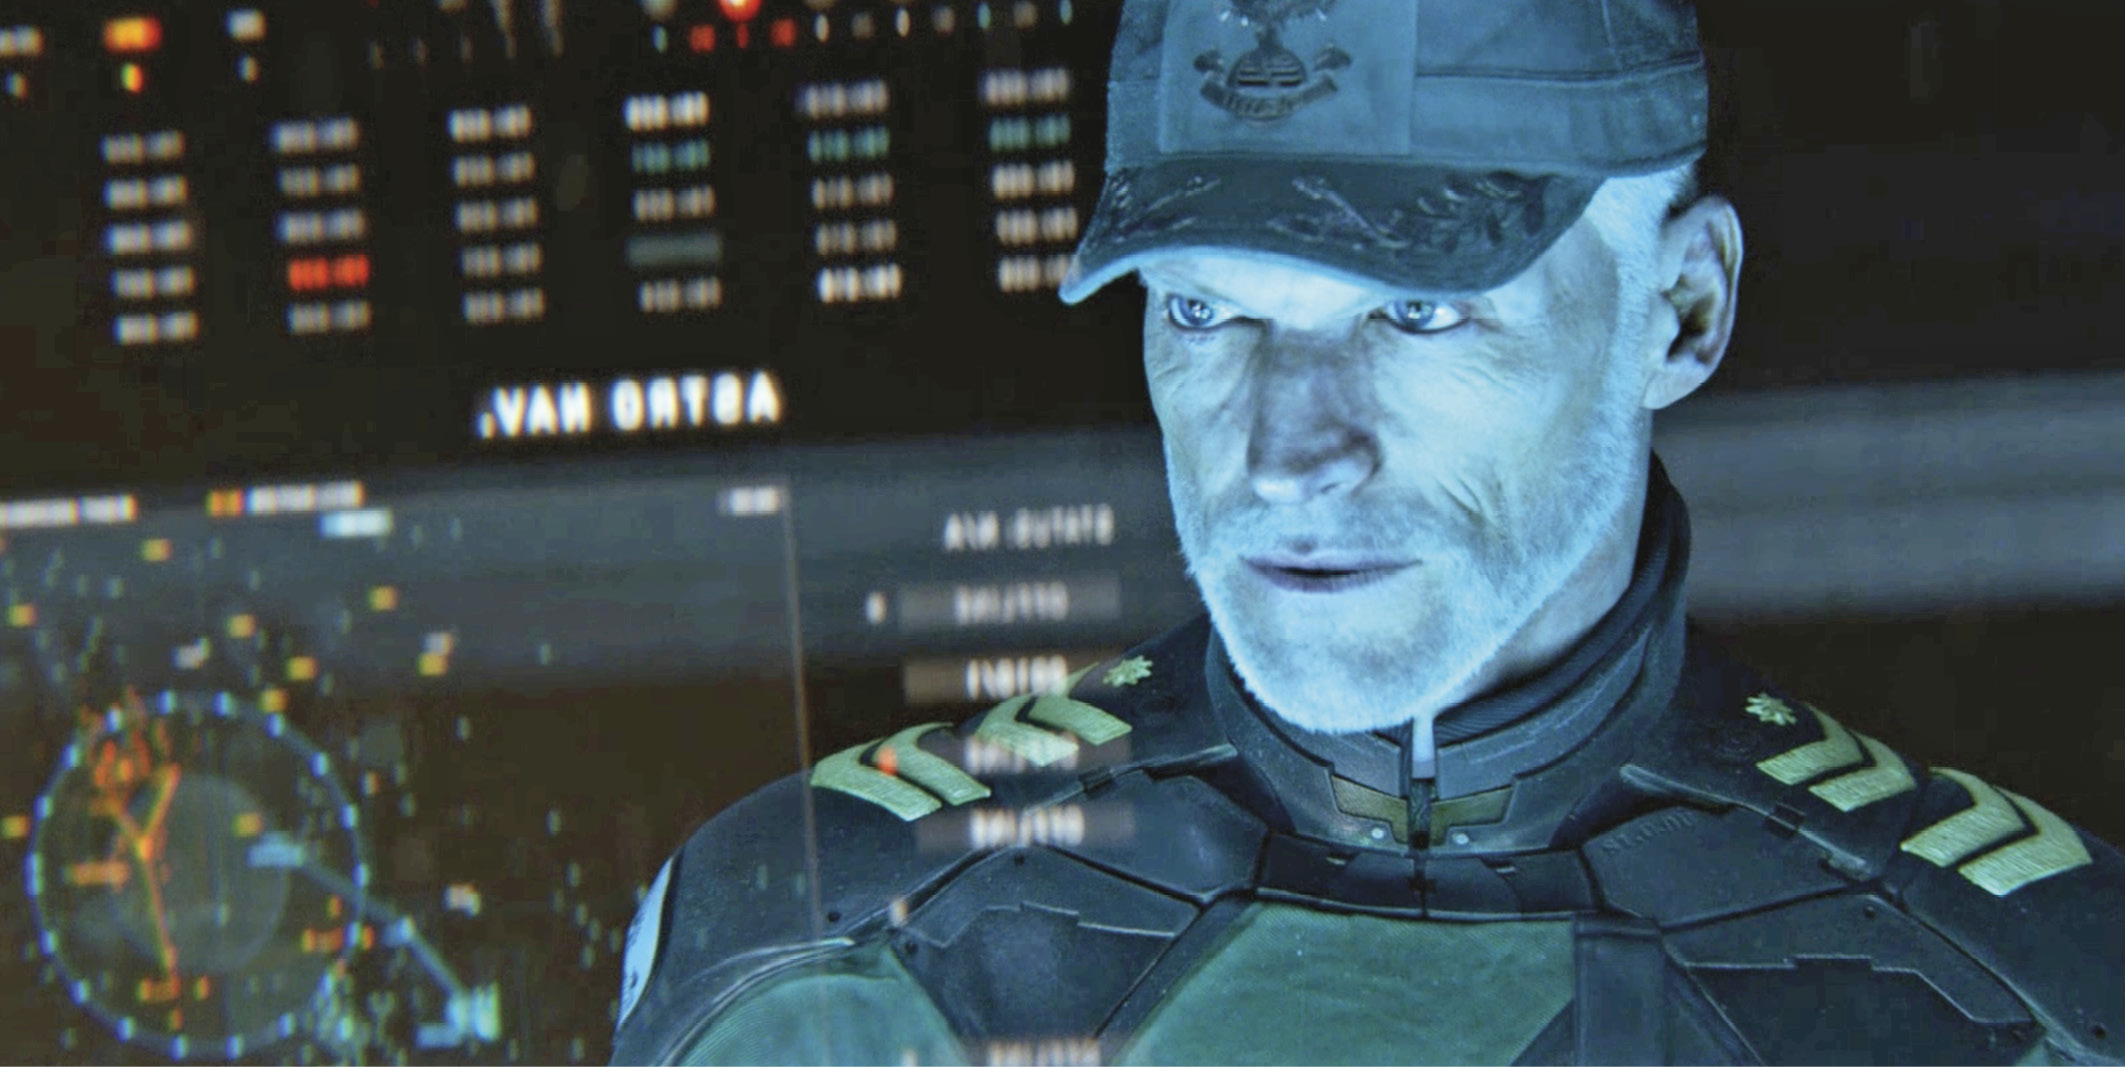
The UNSC Spirit of Fire reawakens in 2559, coming online after 28 years of cryogenic slumber. The vessel’s AI, Serina, has completed her lifespan and self-decommissioned per fleet regulations, leaving Captain James Cutter without his trusted longtime advisor. More disconcerting, the ship has been pulled via slipstream to an artificially engineered, planet-sized habitat, location unknown. As Professor Ellen Anders explains: “We’re not on the map anymore.”
Suddenly, the ship’s comm center reports a signal beaming up from the surface—encrypted, but using a UNSC frequency. Anders extracts a rough set of coordinates, and Cutter orders Spartan Red Team to make “first contact” with the source of the transmission. Anders narrows the signal source to an area that includes a UNSC research station.
Mission Walkthrough
Mission SummaryUse Red Team to investigate the source of the signal. Scouting ReportSpirit of Fire recon teams are on the ground to meet Red Team. ObjectivesPrimary
Optional
Bonus
Par Time
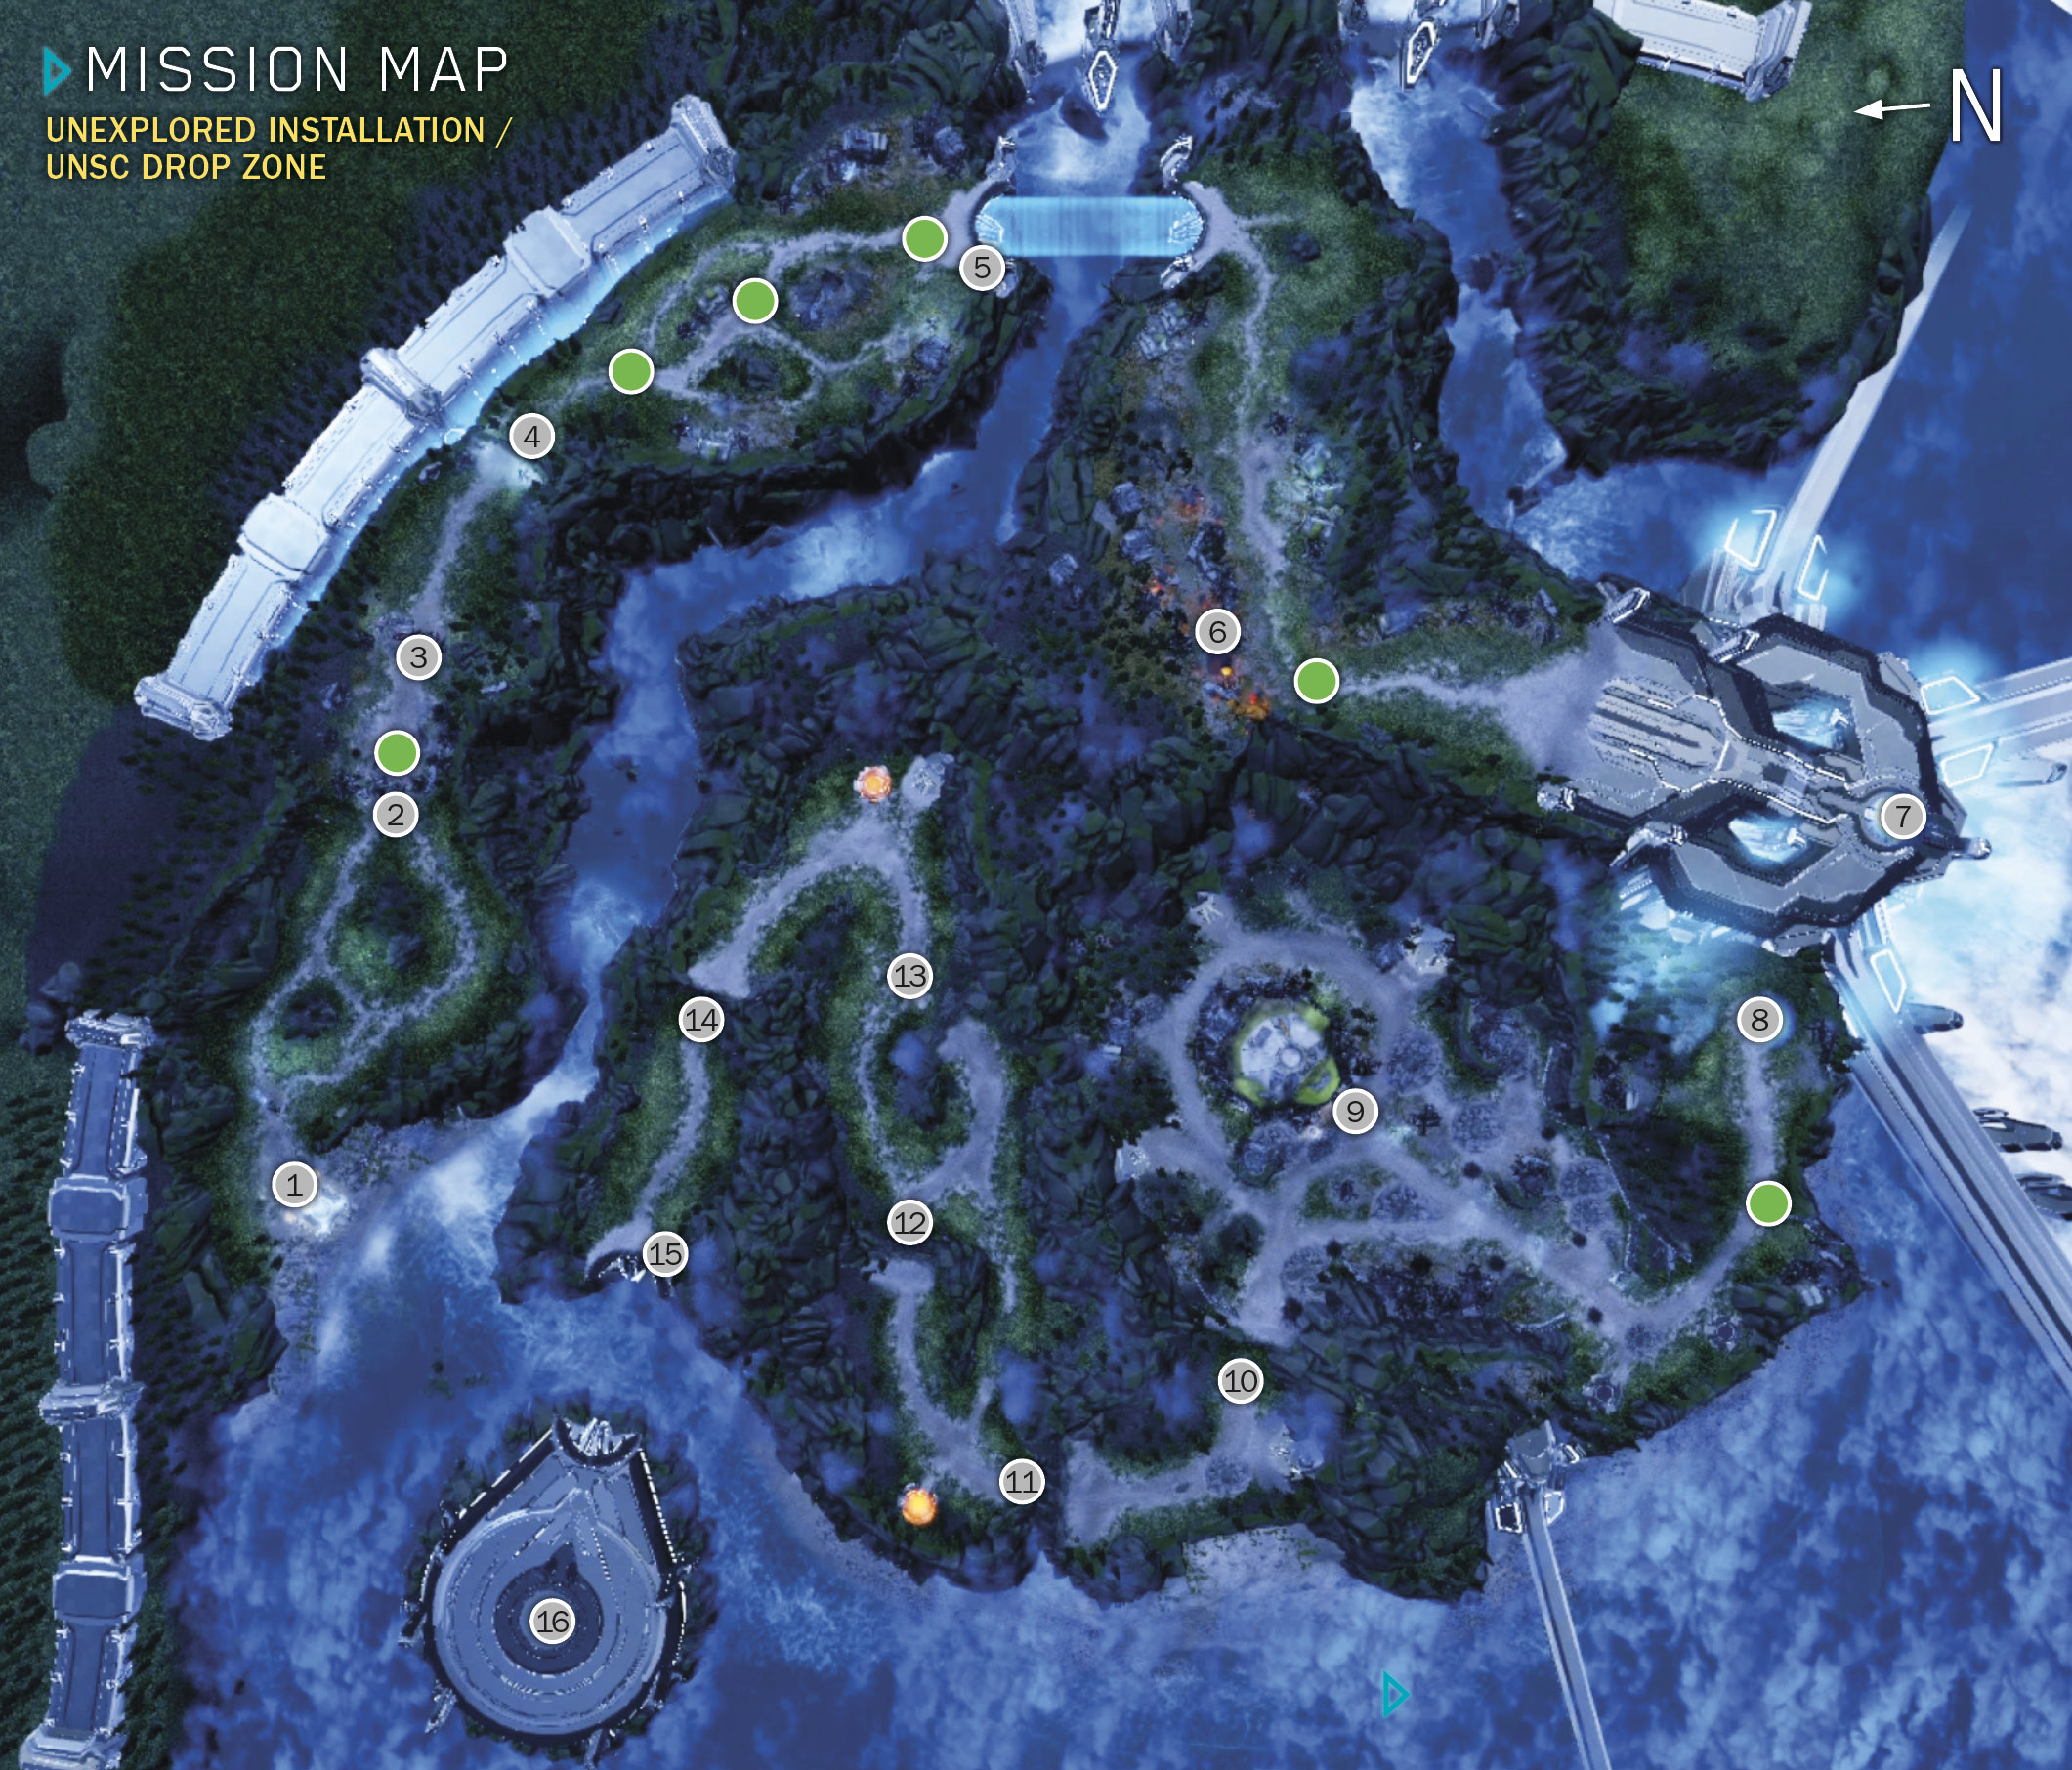
ExtrasSkulls Available: 0 Phoenix Logs: 6 Map Legend
|
 Start
Start -
- Barricades
 Jump
Jump Lightbridge control console
 Crash site
 -
- Connected portals
 Research outpost
 -
- Jumps
Jumps Lightbridge control console
 Pelican evac zone
 Phoenix log
You start  where a UNSC Pelican dropship deploys the powerful Spartan Red Team in a special Spartan Warthog. The team is composed of three soldiers—Jerome-092 and Douglas-042 in the front seats, and Alice-130 manning the mounted machine gun. Spartans are high-level infantry units, but in this starter mission they’re confined to their vehicle. A few Marines and Hornets escort the team at first, but you control only the Spartan Warthog.
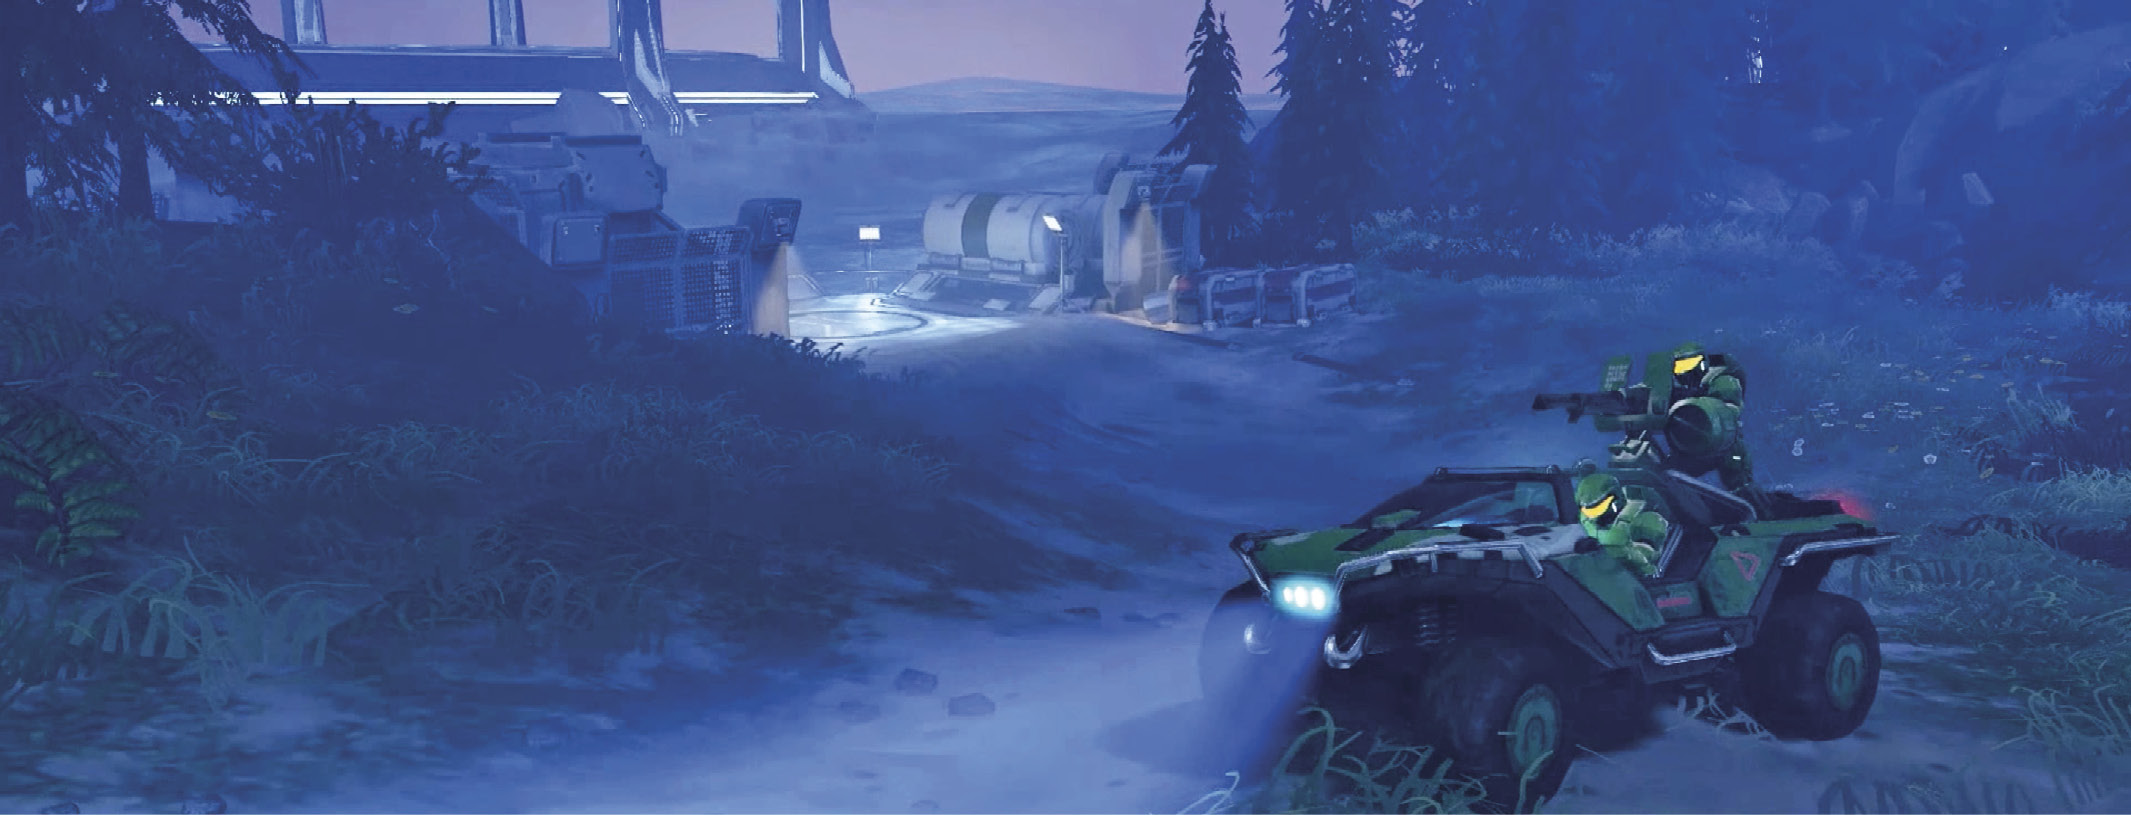
Primary Objective: Reach the Source of the Signal
Destroy the Barricades
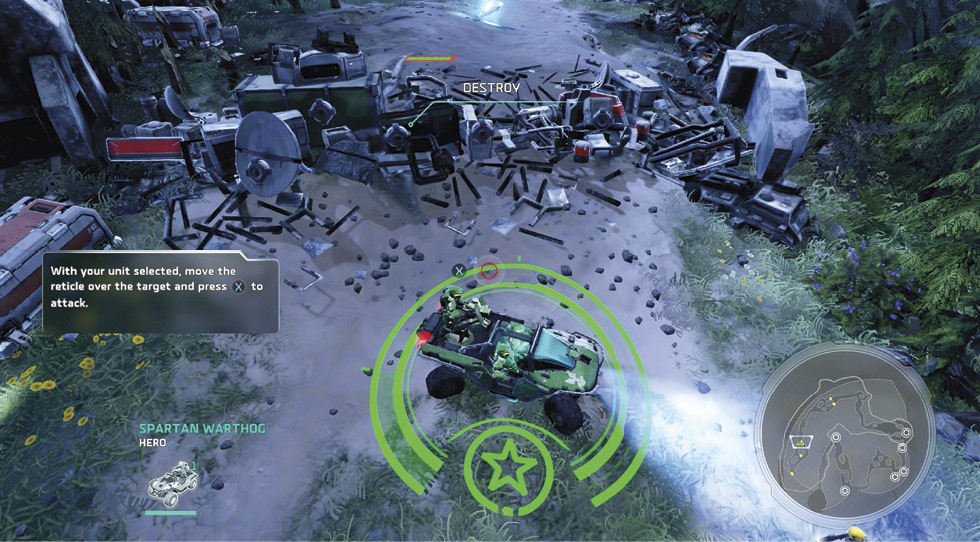
Drive down the path to the first set of barricades  . A UNSC Marine recon squad has planted explosives on the barrier. Wait until the Marines back away, then target the charges and attack to destroy the barricade. Look for your first Phoenix log just down the road; drive right through it to scoop it up. Proceed to the second barricade
  and destroy that too.
Cross the Lightbridge
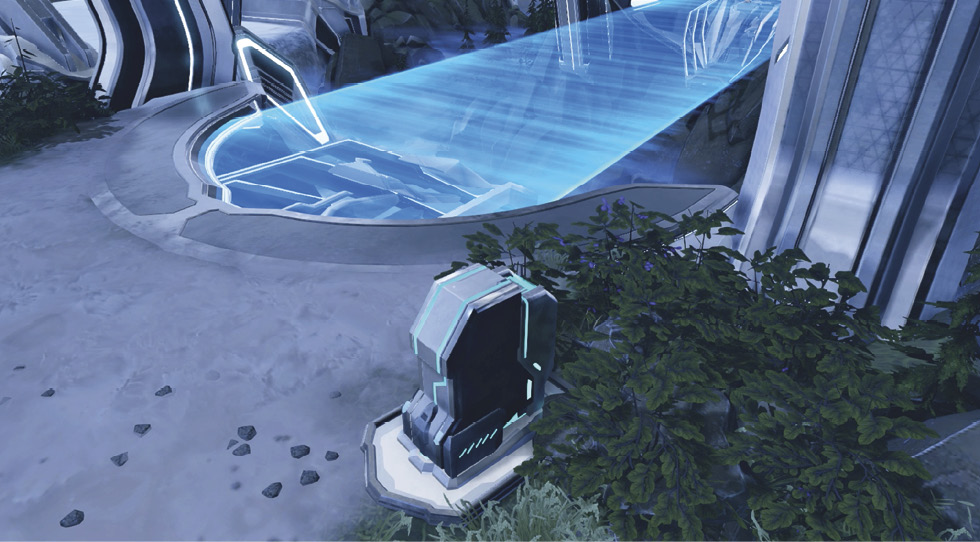
Move down the trail and jump off the low cliff  . (Warthogs can handle jumps with ease.) Continue through three more Phoenix logs en route to the bridgehead at the canyon and approach the control panel
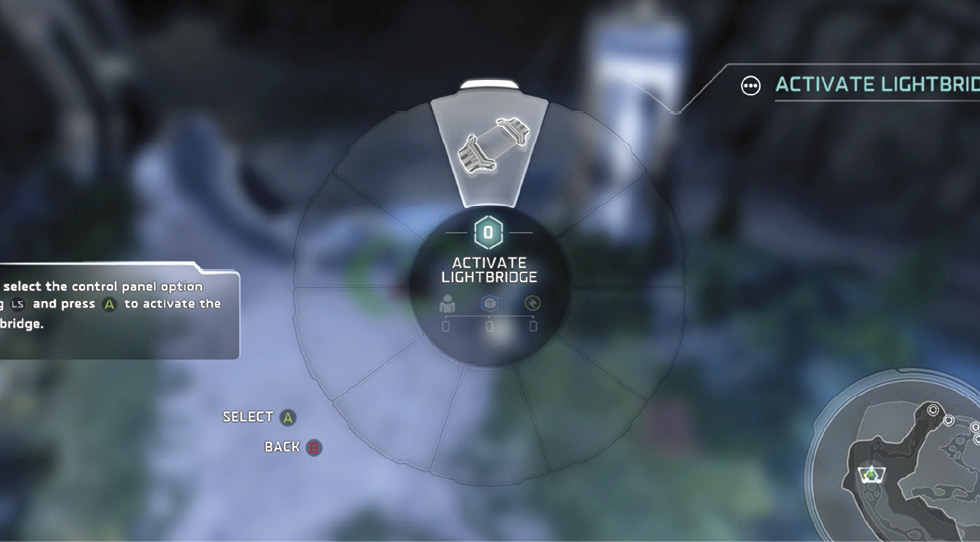
  . Select it to bring up the Control Panel circle. Highlight and select the Activate Lightbridge option to extend the lightbridge. Then send the Warthog across.
Teleport to the Lower Level
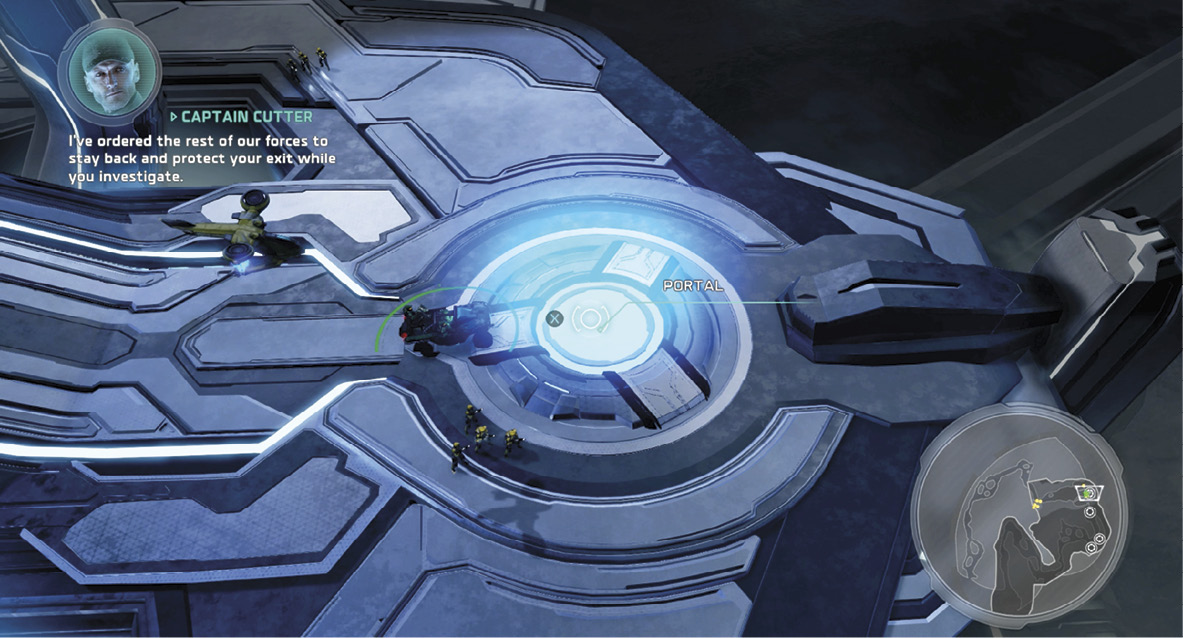
On the other side, continue down the dirt road. A UNSC Nightingale—a flying support craft that deploys medi-drones to heal and repair friendly units—passes overhead. Follow it down the road to a flaming crash site where more Nightingales hover above a fallen Pelican dropship  . (You also find the fifth Phoenix log here.) Then continue past the shattered research buildings and drive onto the glowing portal
  on the large platform. The Warthog gets zapped down to another portal
  on the canyon floor.
Find the Research Outpost
Spartan Red Team proceeds alone now. Drive down the road through the last Phoenix log into a fenced enclosure. Here you spot more portals, these with odd attachments; Anders notes that they’re “not UNSC tech.” Continue across the enclosure until you trigger a cutscene: the Spartans enter the Henry Lamb Research Outpost  . On a holo-table in an abandoned lab, they discover the source of the distress beacon—a UNSC logistics AI named Isabel.
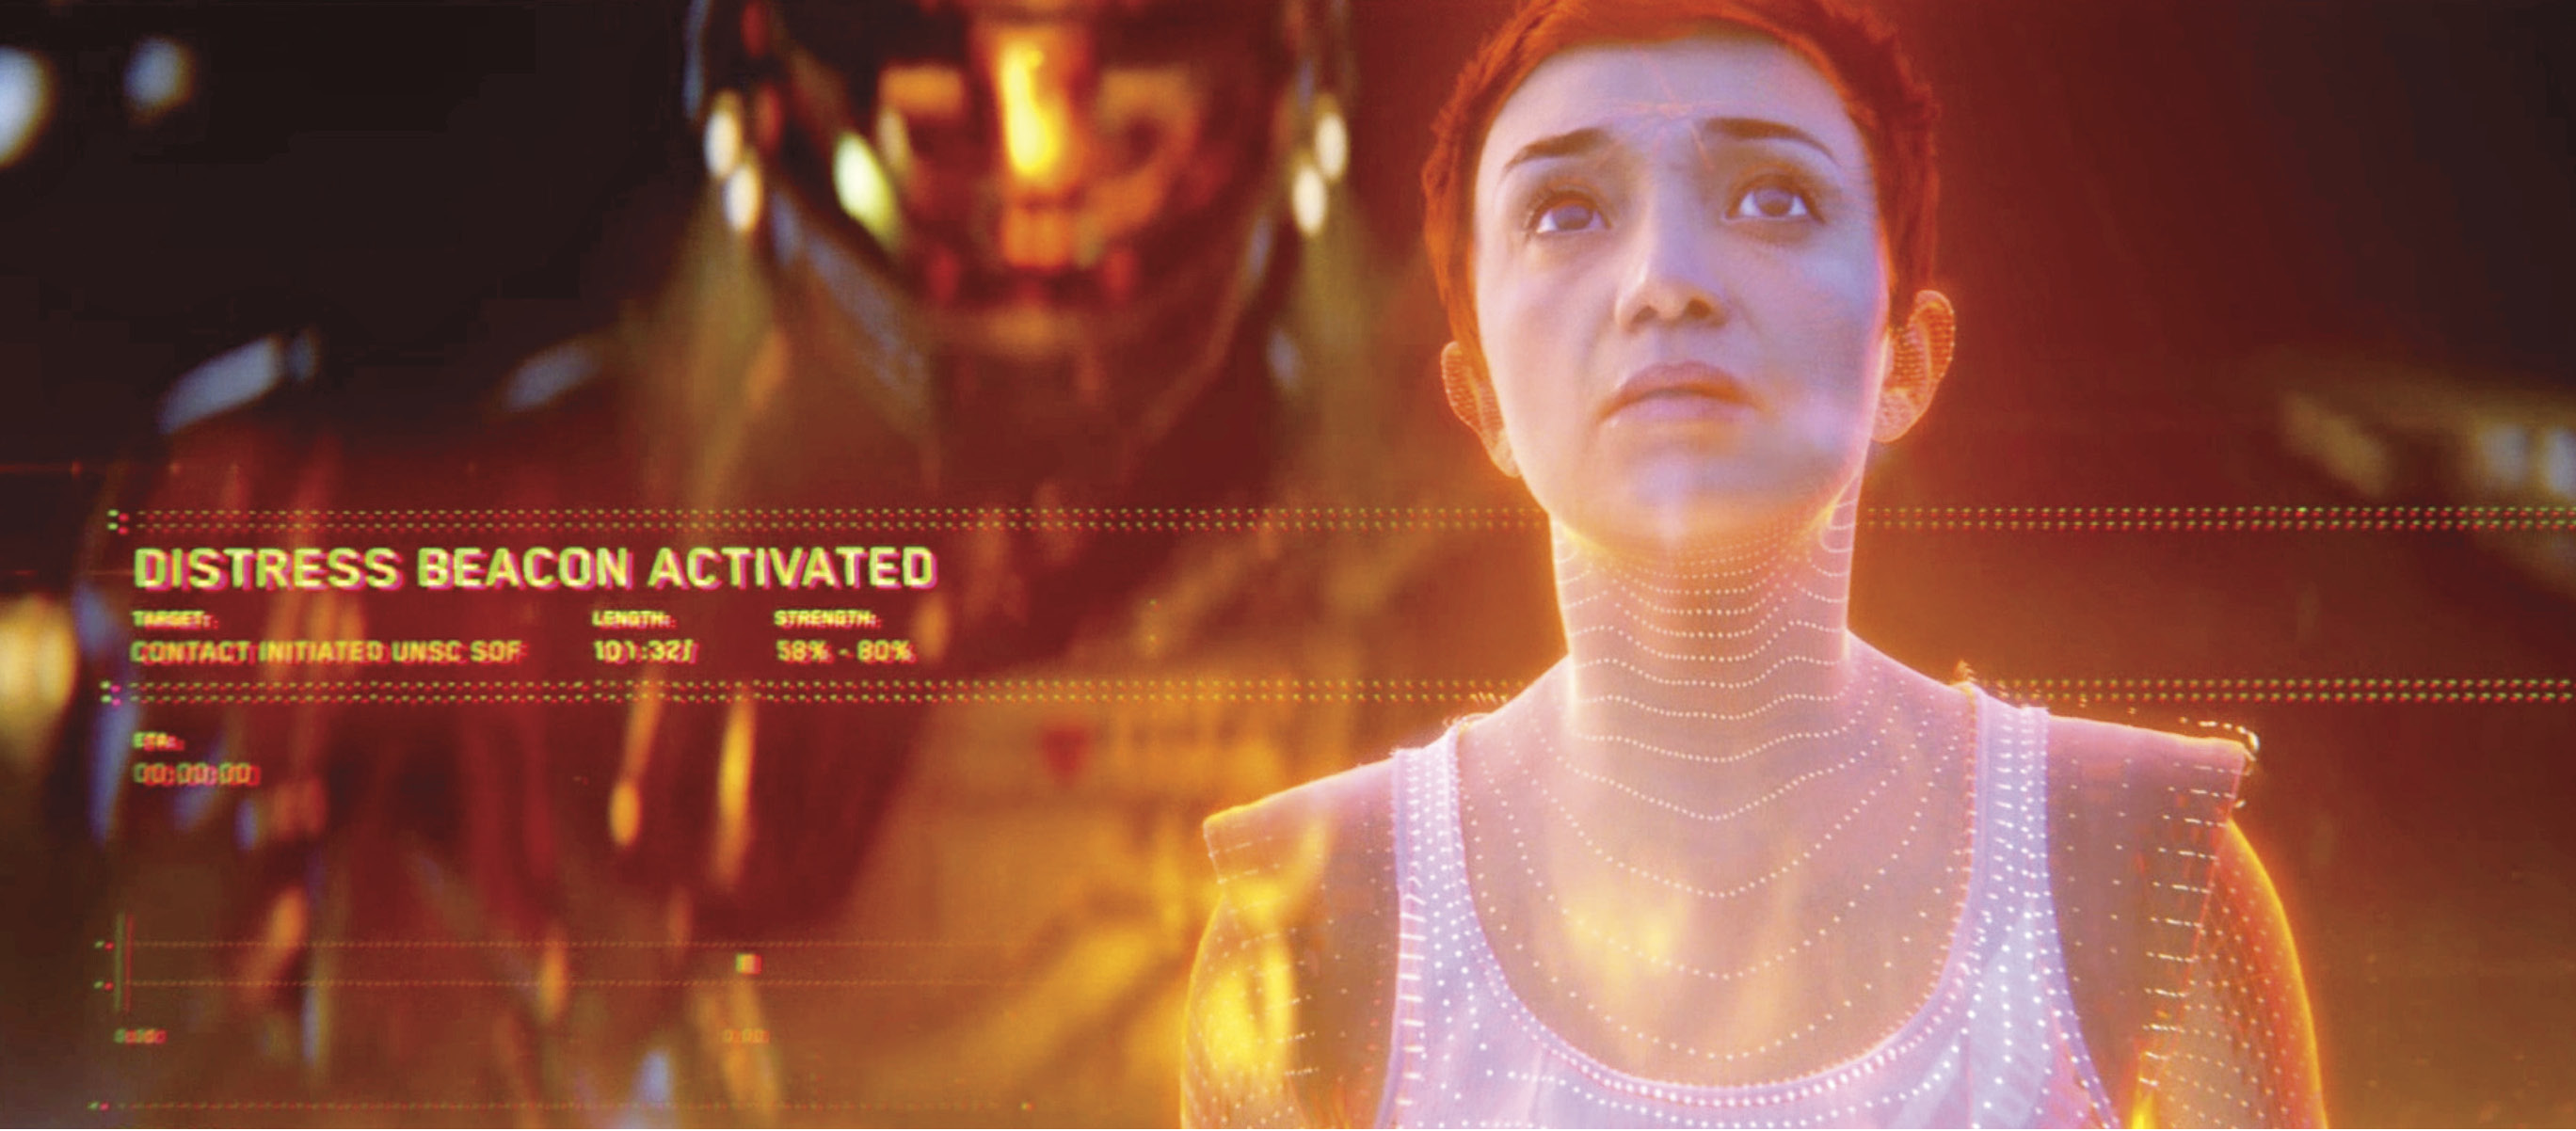
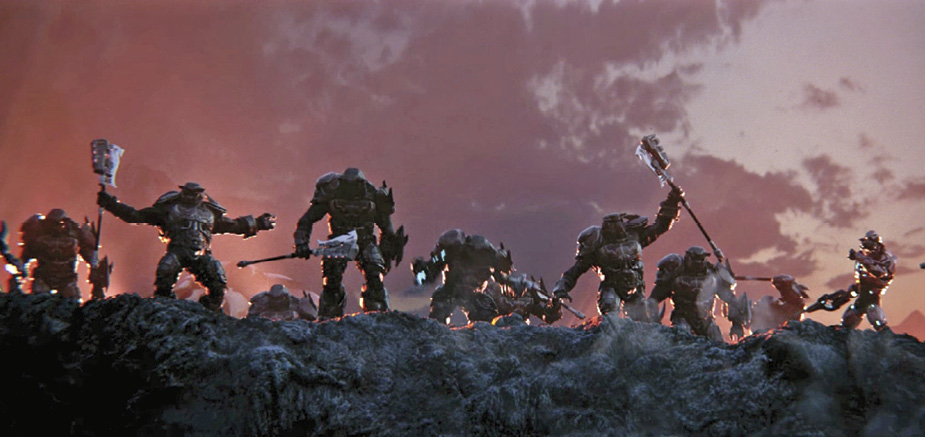
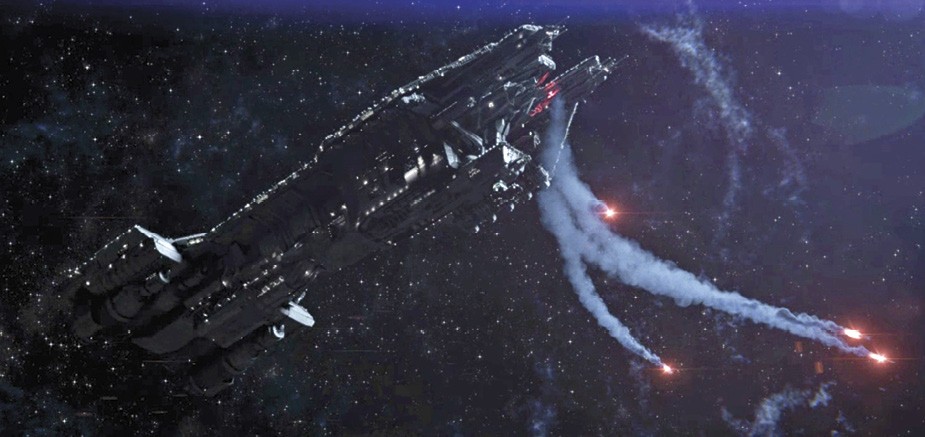
Isabel warns the Spartans that they are in danger, but too late. A powerful Brute incapacitates Douglas and drives the Spartans into retreat. A great horde of warriors appears on the canyon rim and descends in relentless pursuit of the fleeing Spartan Warthog. Jerome calls in an Archer Missile bombardment from the Spirit of Fire to aid in the escape.
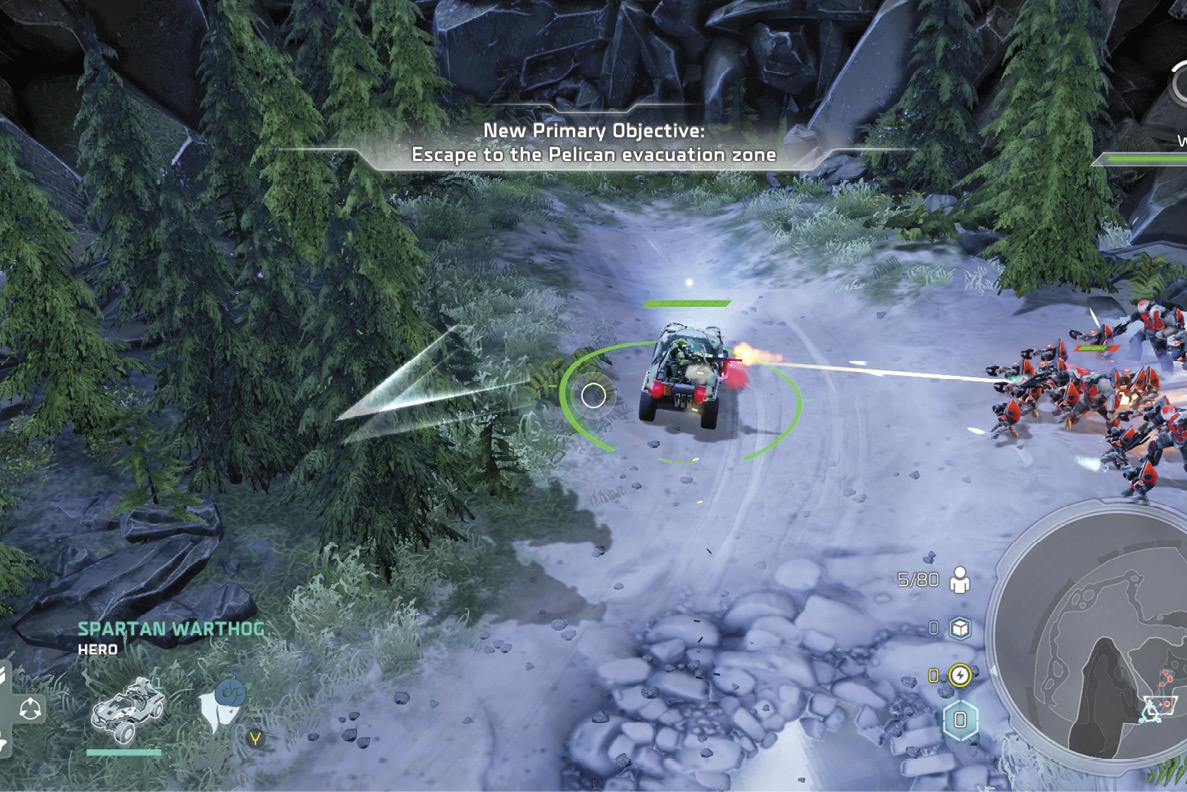
Primary Objective: Escape to the Pelican Evacuation Zone
Optional Objective: Complete the Mission with Under 50% Damage
Once you regain control, start moving the Warthog along the road, following the objective markers down a series of five jumps  -
- . Keep fleeing! You cannot defeat the unending stream of pursuers. If you stop too long to engage them, the Warthog will take more than 50 percent damage and thus you’ll fail the optional objective. Worse, your vehicle may be completely destroyed and you’ll fail the entire mission. Just keep sending your Spartans along the road.
Bonus Objective: Kill Five Grunt Squads with Warthog Ram
As you flee, enemies spawn in your path or on your flanks, delivered by dropships or warped in through two yellow portals on the route. Some are vehicles such as Choppers and Marauders, plus a few deadly Banshee aircraft. But many of these hostiles are infantry units called Grunts. When Grunts appear on your escape route, quickly move the crosshair over them and press your Special Attack button. The Warthog’s special is the Ram, and it decimates infantry units.
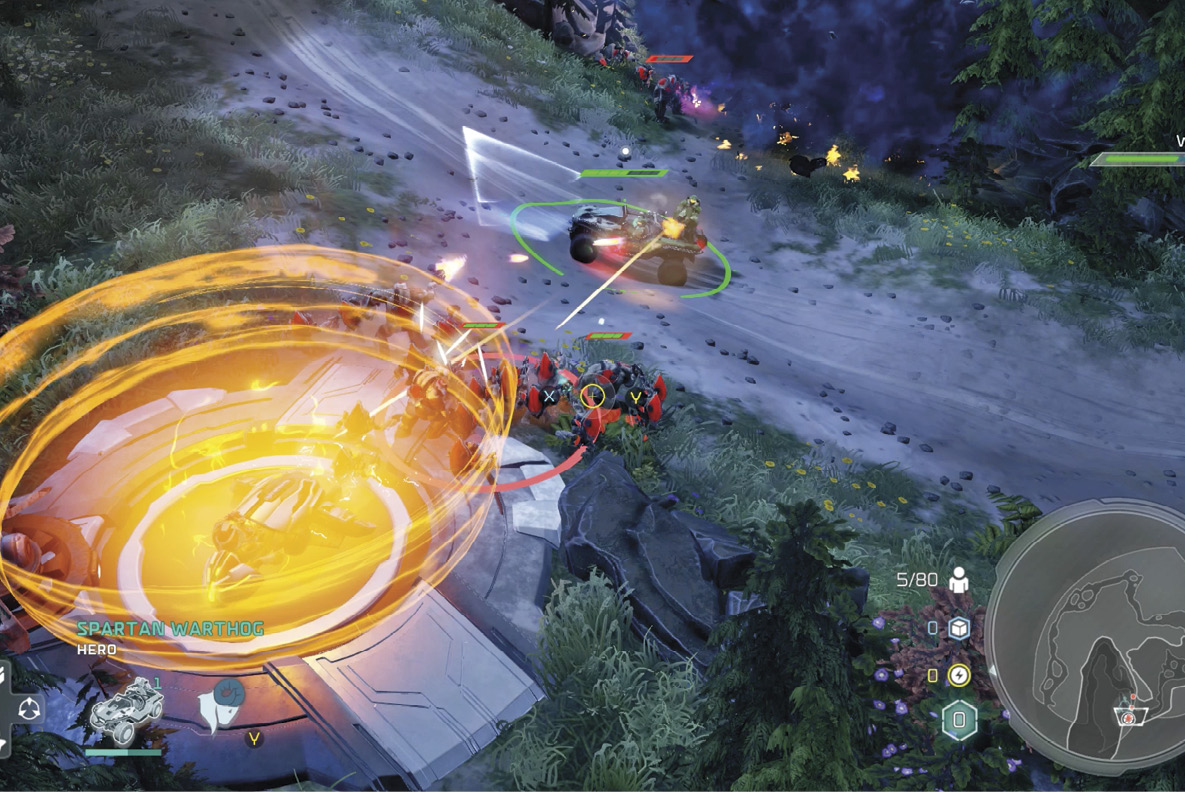
Remember that special attacks must recharge after each use. Fortunately, the Warthog’s Ram ability recharges quite quickly, so it can be used again in just seconds. Try to Ram five Grunt squads as you flee to complete the bonus objective. Each time you successfully ram and kill some Grunts, the bonus-objective stat gets updated onscreen. Once you take out the fifth Grunt squad, forgo any more fighting and simply sprint to the finish!
Hustle to the Lightbridge
After you clear the last jump  , go directly for the lightbridge ahead
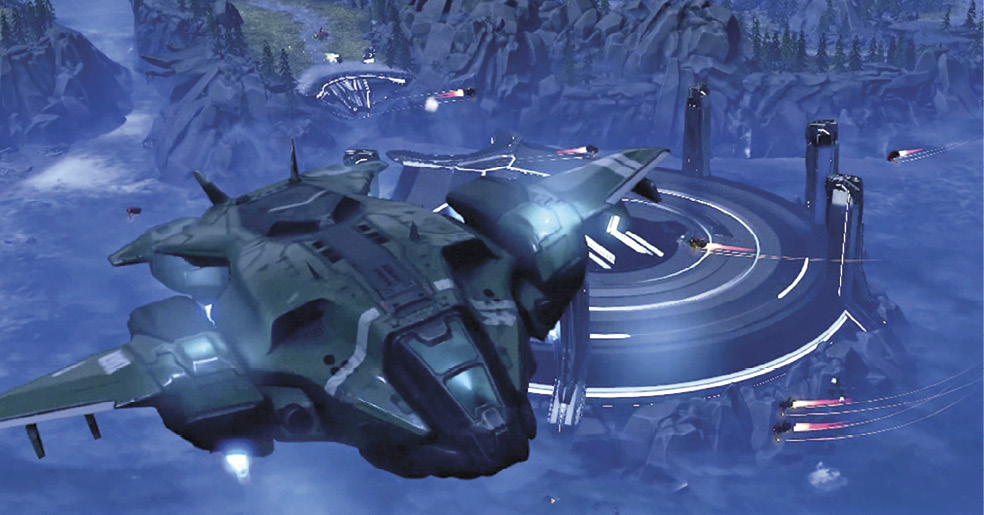
  . Approach the bridge control panel to trigger the mission-ending cutscene: Alice activates the lightbridge, then wields her machine gun and holds off the pursuit while the jeep escapes to the Pelican evac zone
  .
.
 “The Signal”Sculpting the Big Story Beats The goal of the mission was always to introduce the new threat of Atriox and obtain/introduce a new AI in the form of Isabel. Players need to get a lay of the land and discover this new threat. Decisions about When to Introduce New Gameplay Twists We wanted to deliver on a bombastic escape and have players really feel like the world is coming down around them as they rush away from the research center where they encounter Isabel and the Banished. Ideas Behind the Map The map is meant to introduce players to the wonder of the Ark. We referenced the classic LV-426 Aliens start. The Spartans are there trying to find out, “What happened here?” This is evident in the barriers set up by the research base and the battered facility. Players are left wondering what could have inflicted all this damage. We have pockets of alien architecture to keep alerting players that they’re on an alien world. We then bring the player to the base and introduce Atriox. Role the Mission Fulfills in the Story’s Escalation This mission escalates the story significantly, introducing a brand-new threat (Atriox and the Banished) to the Halo Universe. How the Mission Evolved Over the Course of Development We really wanted to bring Alice front and center in the mission and ensure she was a core part of helping your escape. When Douglas is injured during the cutscene, it means the other Spartans really have to step up. This leads to Alice wiring her chain-gun to life to hold off the Banished at the end of the mission, allowing the Warthog to escape. This also gave us a nice way to integrate other story beats as a palate-cleanser along the way—what we call the “Alice Stories” as she’s cut off behind enemy lines during the mission. |