
Halo Wars 2 Guide Campaign Walkthrough Act I
Mission: Ascension
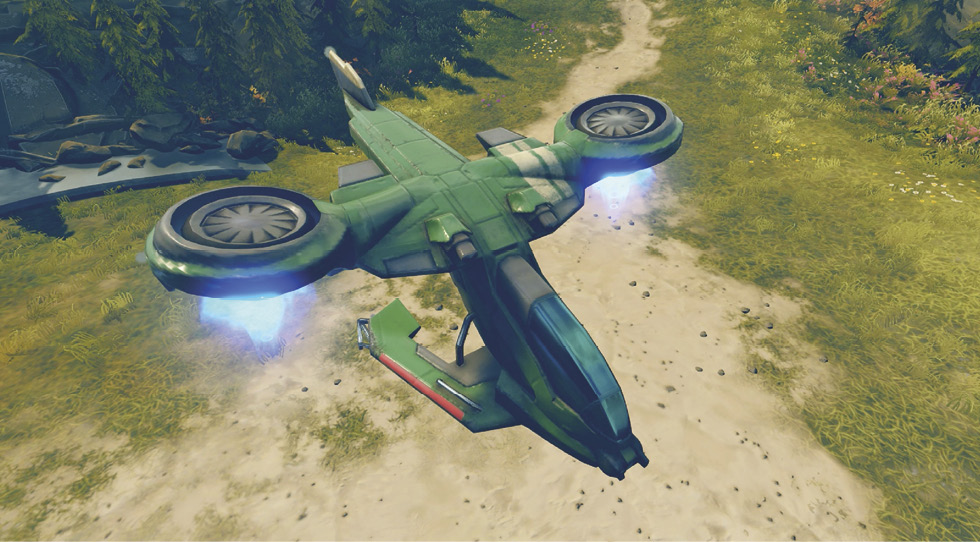
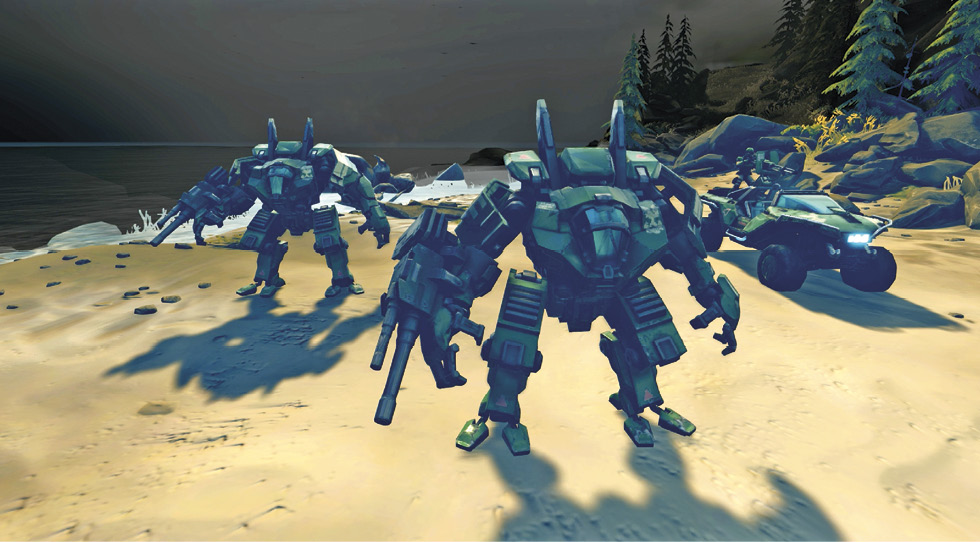
Intelligence acquired from Decimus’ base reveals that Atriox is using a special map of the Ark to access powerful systems and weapons embedded in the vast installation. This map, called the Cartographer, can be reached only via an ancient Forerunner elevator. A set of three Forerunner control towers power the lift. Professor Anders needs your Spartan, Jerome-092, to lead an assault to capture any or all of these towers long enough for her to ascend in the Cartographer’s elevator. This mission introduces you to two new units, the Cyclops and the Hornet.
Mission Walkthrough
Mission SummaryCapture Forerunner control towers to gain access to the Cartographer. Scouting ReportHornets are on standby at the Spirit of Fire, ready to counter any enemy heavy armor. ObjectivesPrimary
Optional
Bonus
Par Time
ExtrasSkulls Available: 2 Phoenix Logs: 2 Map Legend
|
 ,
,  ,
,  Forerunner control towers
 Start
Start Massacre
 Lightbridge
 Spartan cliff jump
 Hijack Wraith
 Spot sentinel swarm
 Firebase site
 Hidden Banished facility
 -
- Banished Foundries / Minibase sites
 Secondary base site
 Main Banished base
 Phoenix log
 Supply silo
 Power Node
 Power silo
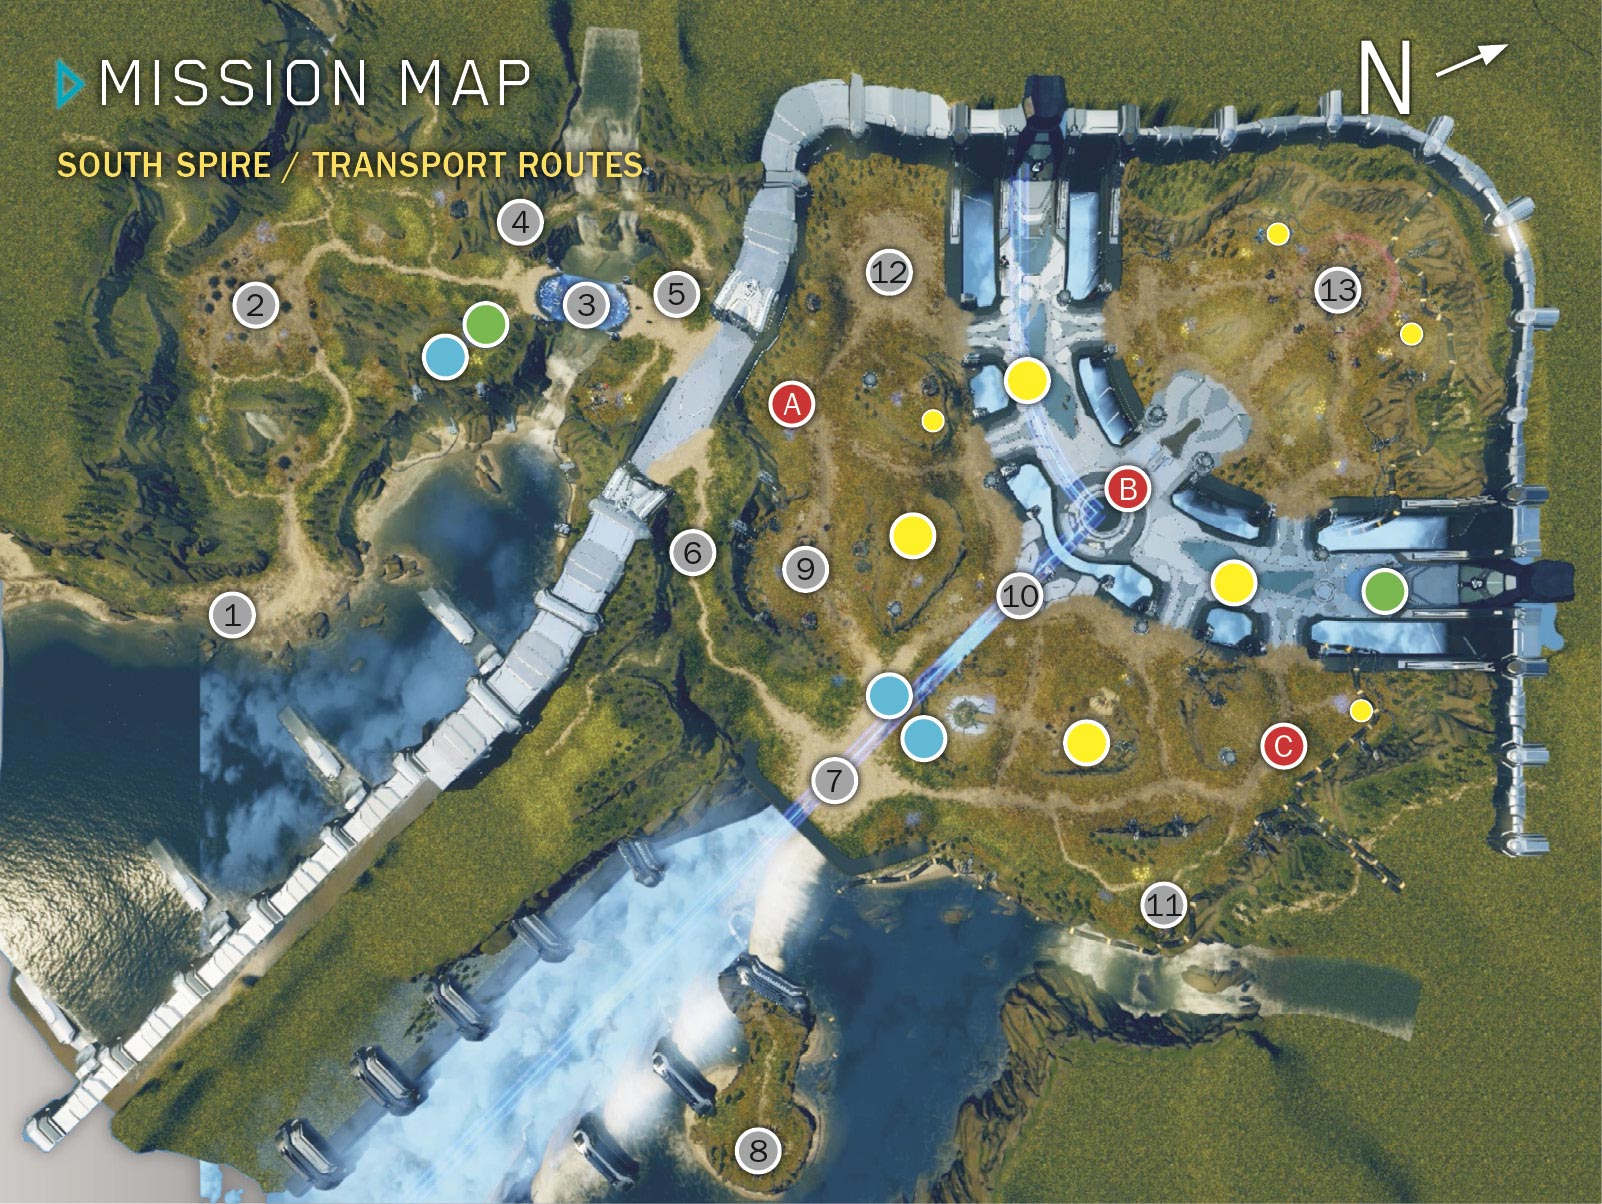
Three ancient Forerunner control towers are located on the Ark’s south spire, marked as  ,
,  , and
, and  on both the in-game Minimap and our guide’s mission map. This mission challenges you to capture and control some or all of these towers long enough to let Professor Anders gain access to an elevator that leads up to the Cartographer.
Here’s how it works:
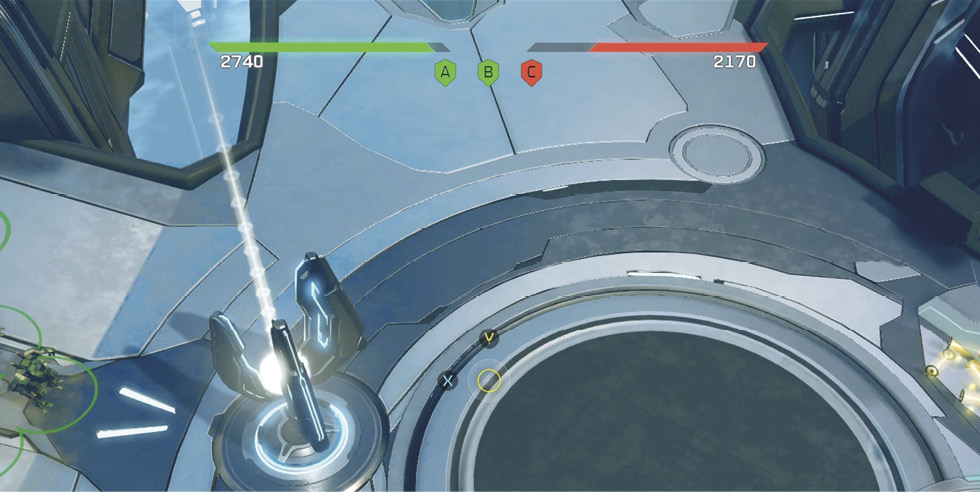
- When you capture a tower, an onscreen counter (the green meter at the top of the screen) called the Domination Bar starts counting upward. The bar keeps filling up as long as you control any tower, until your Point total reaches 3000. At that point, Anders rides the elevator and you win the mission.
- Unfortunately, the Banished are trying to seize the towers too. If they capture any, their control time is also measured by an onscreen counter (a red Domination Bar next to your green one). If the Banished bar hits 3000 before yours does, you lose the mission.
- The more towers you control, the faster your Domination Bar ticks upward. If you lose control of your towers after you’ve built up some Domination Points, you don’t lose the Points; your green bar stays where it is and does not regress.
- You can go capture towers controlled by the Banished, and they can capture towers controlled by you, so defending towers that you’ve captured is important.
Primary Objective: Gain Access to the Cartographer
You start with two Warthogs and a trio of Cyclops, anti-tank combat walkers with durable exoskeletons and powerful autocannons that can punch through vehicle armor. From your starting spot on the beach  , follow the sandy path to the fork where Jerome notes destroyed Banished mining equipment. Head up the left fork to score some Power and Supply pickups, then move through the shattered mining camp
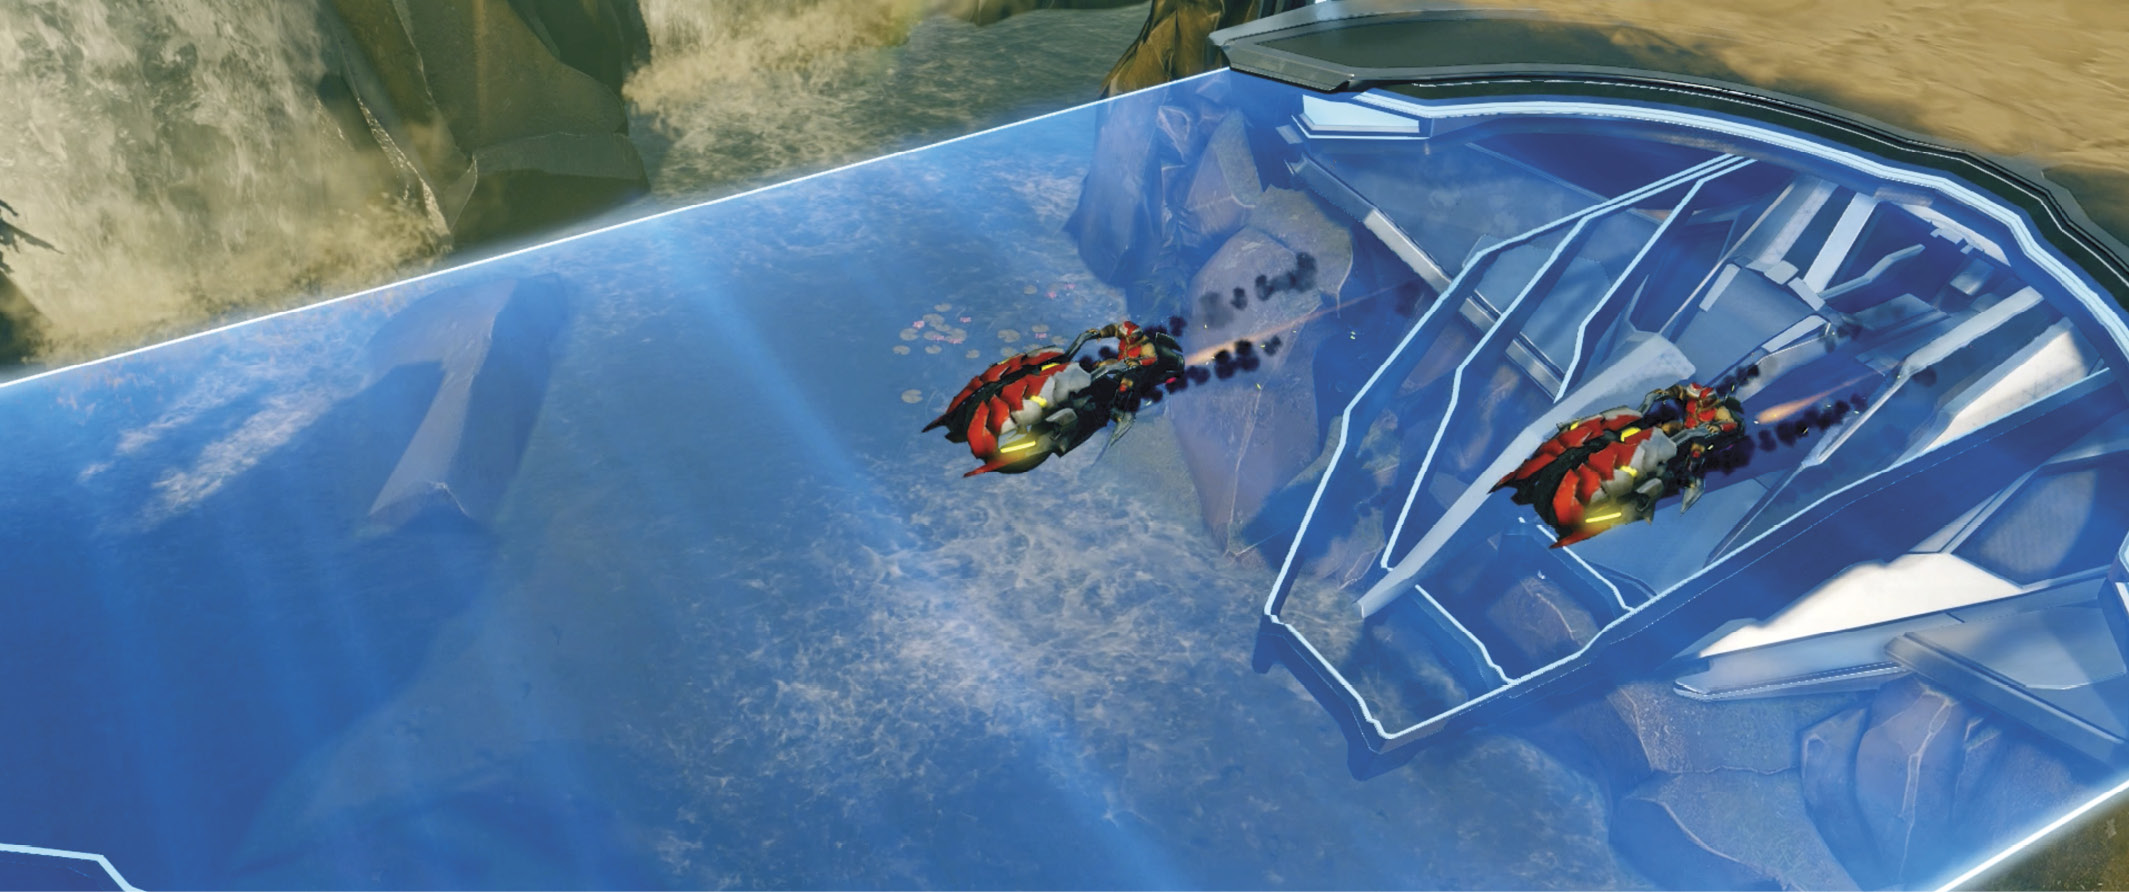
  , grabbing more dropped Supply as you go. When you reach the lightbridge
  , a pair of Banished Choppers roar across the span. Sic your Cyclops units on them for a quick victory and a new bonus objective.
Primary Objective: Reactivate the Lightbridge
The Banished attack shuts down the lightbridge controls. Before you send Jerome-092 to get the bridge back online, turn right to find more pickups, plus a Banished Supply silo that you can crack open. Then use Jerome’s Spartan Slam ability as directed to jump him up the cliff to the marked spot  . The slam KOs the lone Banished infantryman at the top. Send your Spartan down the upper path past the twin waterfalls.
Primary Objective: Hijack the Wraith
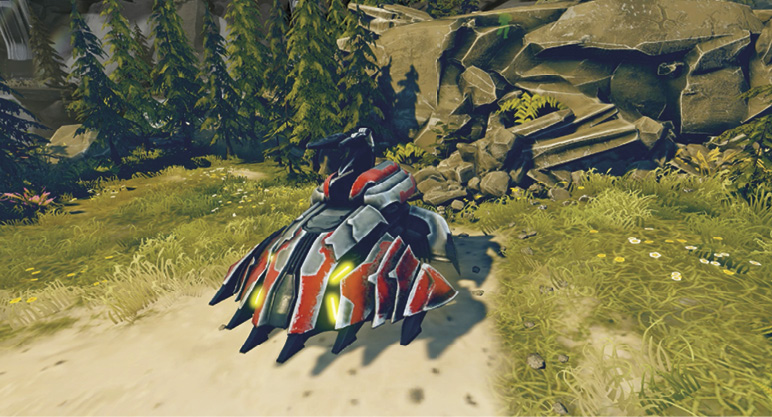
When Jerome reaches the end of the upper path  , a Banished tank called a Wraith opens fire on him from below. Use the Spartan Slam special ability once again on the vehicle. Instead of “slamming” the heavy mortar tank, Jerome-092 hijacks it! (This ability will prove quite handy as the Campaign progresses.) Now you control the Wraith as one of your units.
Primary Objective: Clear the Area of Banished Troops
Tanks are lethal to enemy infantry, so direct the Wraith to dispatch the Banished Grunts who desperately try to swarm the vehicle. Then use the lightbridge control panel to reactivate the lightbridge and complete that objective.
As your Cyclops and Warthog units roll across the bridge, a nearby energy barrier deactivates and more Banished squads rush through to attack. Use your hijacked Wraith to hammer the three Grunt squads (for bonus objective kills), then target the enemy Wraith behind them. It’s not a fair fight, because your Spartan’s shield is applied to your hijacked vehicle. Meanwhile, send your other troops to take on the Hunter pair that attacks from the flank; Hunters are tank-killers, so keep them away from your hijacked Wraith.
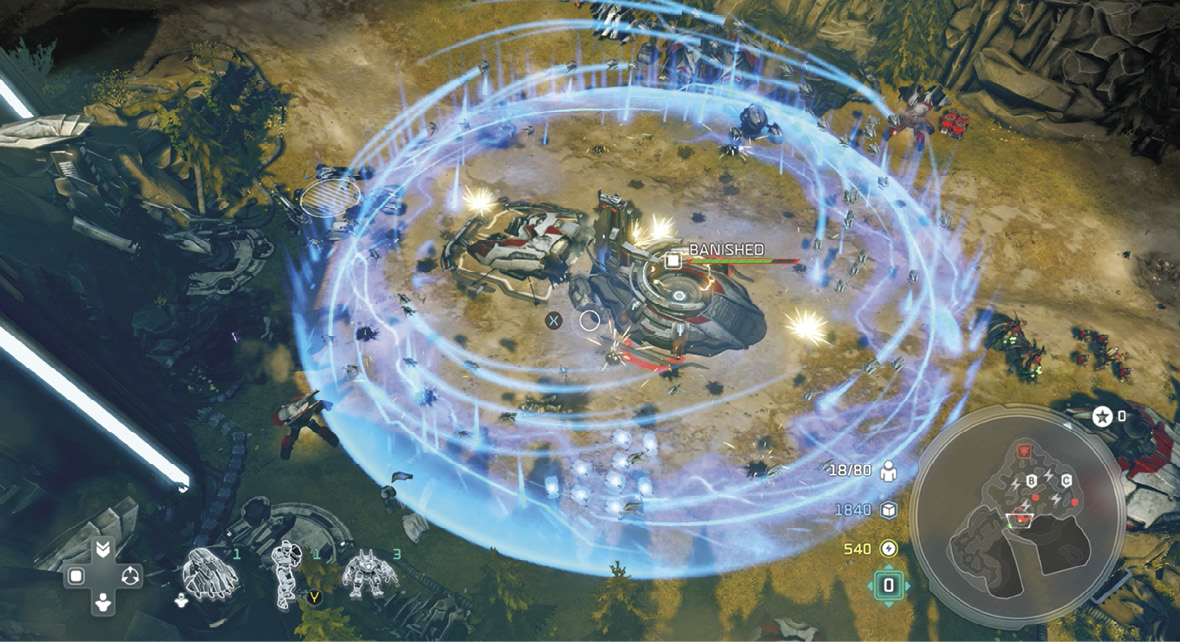
After the fight, you might want to use the Restoration Drones Leader Power to repair any damaged units. Then continue down the path until you reach the marked location and Jerome spots the devastating Forerunner Sentinel swarm  tearing apart the Banished mining operation. Isabel suggests the Ark’s retaliation must be related to the Banished using the Cartographer.
Primary Objective: Establish a Forward Base
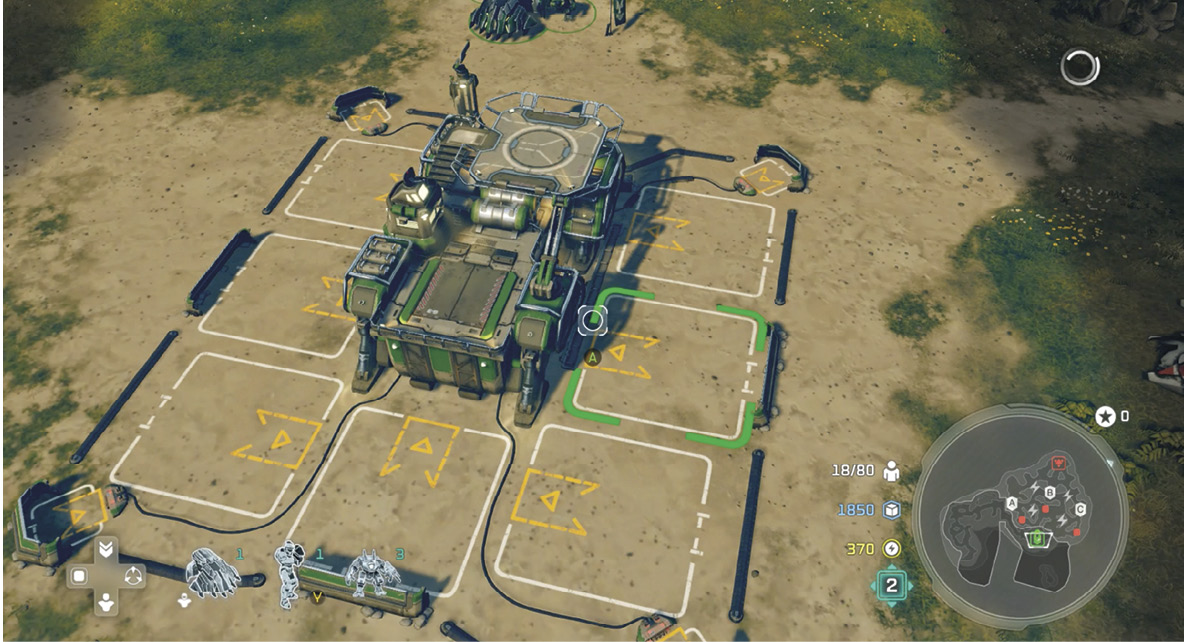
Captain Cutter reports that he’s marked a good base location just ahead. Continue down the sloped path to the spot  and order in a Firebase drop. As the HQ is constructed, Professor Anders fills you in on the rest of the mission, and marks the three Forerunner control tower locations on your Minimap. Explore the immediate area for Supply/Power pickups, and smash the two Banished Supply silos for more.
Primary Objectives: Build a Supply Pad, Generator, and Airpad
Cutter suggests that you drop in some specific structures: Supply Pad, Generator, and Airpad. After you order the Airpad, put in a Turret on the uphill-facing side of your Firebase. (See our Tip.) Soon after the Airpad drops in, Isabel detects enemy units approaching, and Cutter delivers a squadron of four Hornets to help you fend off three waves of Banished vehicles. The Turret should be finished in time to help you fend off these waves.
Fight Off Three Vehicle Waves
The approaching Banished attack waves feature Spirit dropships ferrying in all vehicles, so move your Warthogs behind your base or you’ll lose them. (Warthogs are great against infantry, but not so great against tanks.) Deploy Jerome plus your Hornet and Cyclops units a short distance up the road leading from the front of the base. Here you meet the first wave, a Ghost leading a pair of Choppers. Your Hornets alone can quickly tear these speeders into tiny pieces, and with anti-vehicle ground support, you’re in even better shape. All these attackers love to ram, so be ready for that.
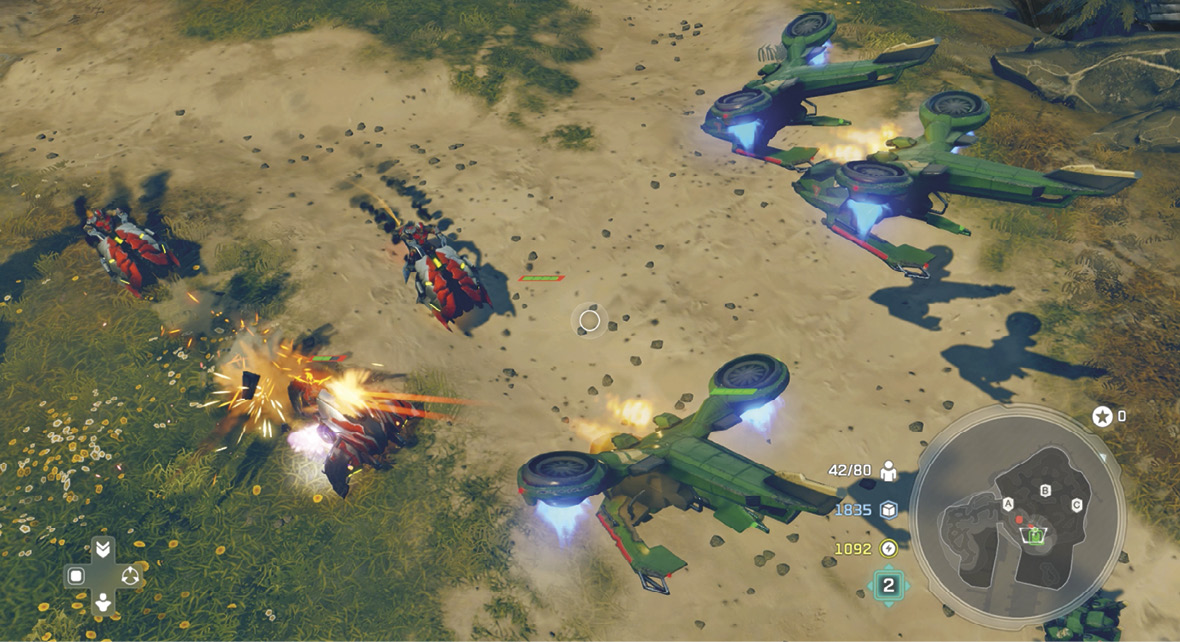
The second wave comes down the road on the right, featuring the same trio, plus a Wraith tank in the rear. (If you added a Turret in that corner as suggested, it should be online to help by now.) Hit them one by one with concentrated fire. Your Cyclops units might be suffering from the enemy’s ram attacks, so once the wave is defeated, consider using Restoration Drones for a quick repair.
The final wave comes down the main road again. This time you face a Ghost, a Chopper, and two Wraith tanks. Take them out to end the threat.
Add Turrets, Hornets, and Cyclops Units
After you break the enemy’s third attack wave, start expanding your seven-socket Firebase. Add another Generator and two more Supply Pads to boost your resource inflow. Put Turrets in the other three corners, then start cranking out Hornets from your Airpad. Once you’ve got a squadron of seven or eight flyers, drop in a Barracks so you can add a few Cyclops to your main force as well. Upgrade your Supply Pads to Heavy Supply Pads for increased Supply inflow.
Optional Objective: Destroy the Hidden Facility’s Four Structures. Completion Earns a Skull!
While you’re building up your Firebase and strike force, send a squadron of four or five Hornets off the platform and across the water to the southeast. Find the island where four Banished buildings  called Augmented Extractors are siphoning Power from the Ark. Once you terminate the squads of Grunt defenders, you have free rein to rain fire down on the Extractors until all four are nothing but cinders.
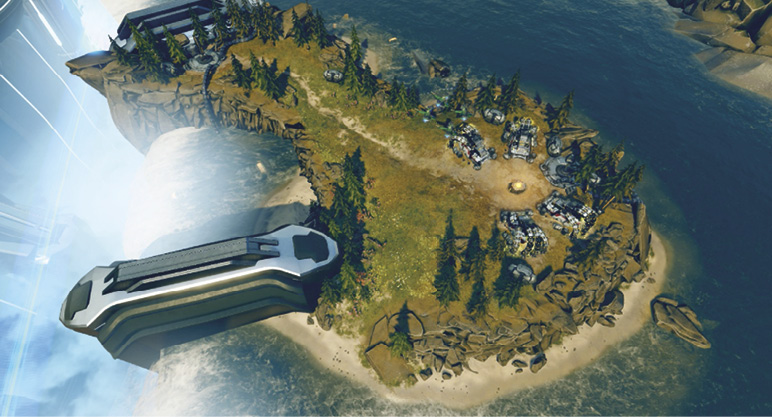
Optional Objective: Destroy the Banished’s Three Vehicle Foundries
A solid next move is to cripple the Banished’s ability to produce Wraiths, reducing their intrusive forays across the map. Take a large, Hornet-filled strike force led by your Spartan and hit the three Foundry sites  -
- surrounding your base. At each site, after you destroy the Banished facility, you can drop in a One-Slot UNSC Minibase. You can also build a three-socket Firebase up on the open plateau to the west
  . Check our map to see where you can capture Power Nodes and smash Banished Power silos for Power pickups too.
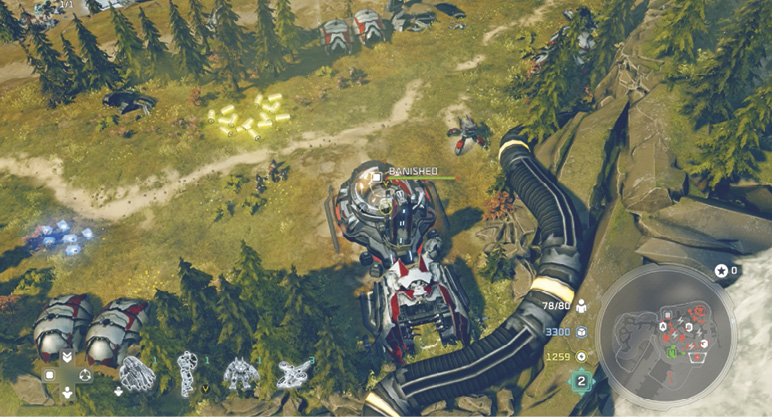
Primary Objective: Capture the Control Towers!
The Banished won’t move on the Forerunner control towers  ,
,  , and
, and  until you capture a tower for the UNSC. When you capture your first control tower, your green Domination Bar appears at the top of the screen and starts filling up. This first capture also triggers Isabel’s deployment of a new Leader Power, the Archer Missiles. Open the Leader Power radial and select Archer Missiles to “buy” the Power. Then check out our Tip section on how best to use the missiles in this mission.
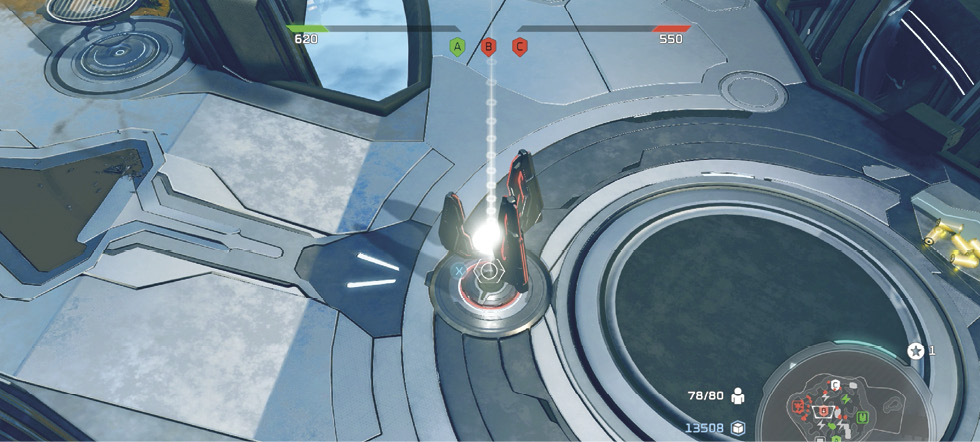
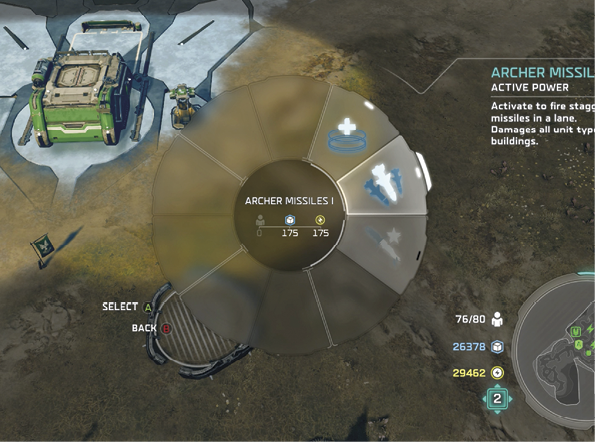
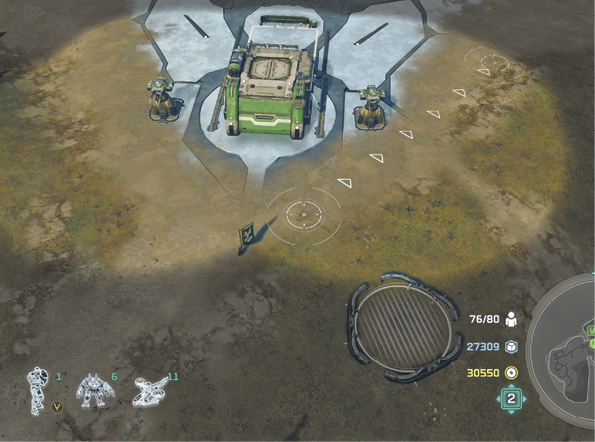
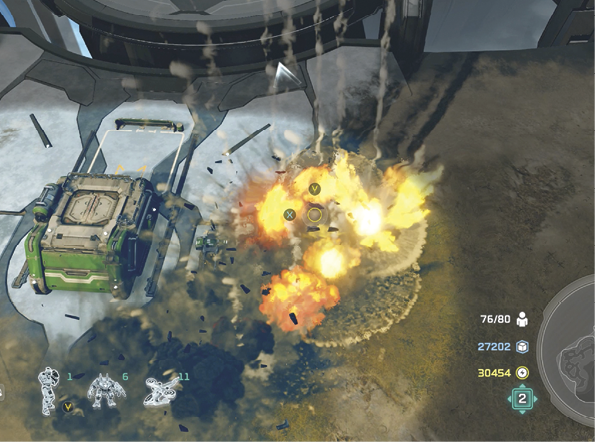
Once you’ve captured a control tower, leave a small contingent (two to three Hornets and a Cyclops) to protect it from Banished recapture attempts, then move on to your next target. Better yet, you can completely eliminate all Banished recapture attempts if you complete the next optional objective.
Optional Objective: Destroy the Banished Base. Completion Earns a Skull!
You can end all Banished activity in this area and possibly complete some of your unfinished bonus objectives if you eliminate the big Banished base  in the northern part of the map. The huge installation is shielded, studded with multiple Turrets, and crawling with defenders, so don’t try this assault unless you’ve got your Population maxed out with Hornets and Cyclops units. (You may need to pull back once or twice to repair with Restoration Drones and train fresh replacement troops if your force gets too depleted in the assault.)
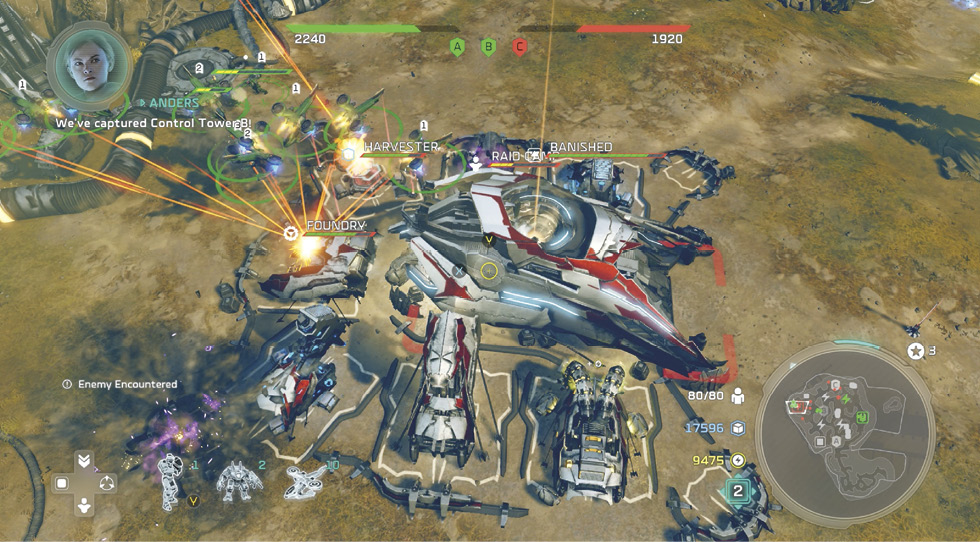
Work your way systematically across the northern plateau, concentrating fire on target after target. When you reach the base cluster, hammer it until the shield goes down, then destroy the Shield Generator and Turrets. Hitting the base gives you a chance to boost your vehicle kills with Hornets and Cyclops units to complete their vehicle-kill bonuses. Keep Jerome-092 fighting from inside hijacked Wraiths to help him complete his bonus objective too.
After the northern installation is destroyed, the Banished forces won’t harass your captured control towers anymore. You can also call in another three-socket UNSC Firebase onto the newly vacated site, if you want. Go capture any other Forerunner control towers that you haven’t already dominated.
Primary Objective: Secure the Elevator Entrance
Once your Domination Bar hits the 3000 mark, send any unit to the elevator hatch indicated by the objective arrow to “secure” it and complete the mission.
 “Ascension”Sculpting the Big Story Beats We needed to convey the vastness of the Ark at this point. We wanted to ensure players knew it wasn’t just a short journey to the Cartographer but they would need to travel quite far. We ended up landing on the outskirts and making our way in. Decisions about When to Introduce New Gameplay Twists The Sentinels became a key twist. Now you’re starting to see them on the Ark. Trying to understand what makes them tick. A third faction to deal with would make things harder! Ideas Behind the Map This map was meant to help onboard players with the Domination mode for Multiplayer whilst linking it to the narrative in a meaningful way. And again, we also wanted to ensure we conveyed the vastness of the Ark with a huge Forerunner barrier running through the middle. We made space to show more of the Banished themes, constructing their mining operation and showing the formidable Sentinel response when people mess around with the Ark. Role the Mission Fulfills in the Story’s Escalation This mission was key to getting the players to the Cartographer so they can learn more about Atriox and his forces. How the Mission Evolved Over the Course of Development The Sentinels originally featured quite prominently in this mission, but we scaled back their presence at the start and allowed them to come in around the mining area as a response to Banished activity. If you read up on the Codexes, you can learn more about what happened to the Banished on the Ark and how they evolved their strategies for dealing with Sentinels. |