
Blitz Basics
Blitz is a competitive game mode that offers a variety of public and private match types supporting everything from 1v1 tests of strategy to chaotic 3v3 battles.
Objective
In Blitz, you have 12 minutes to score more points than your opponent. You only earn points while you’re holding more Control Zones than the opposing team. Claiming more Zones than your opponent yields one point every 1.3 seconds. Holding all three Control Zones triggers a Total Domination bonus, which grants one point every 0.7 seconds.
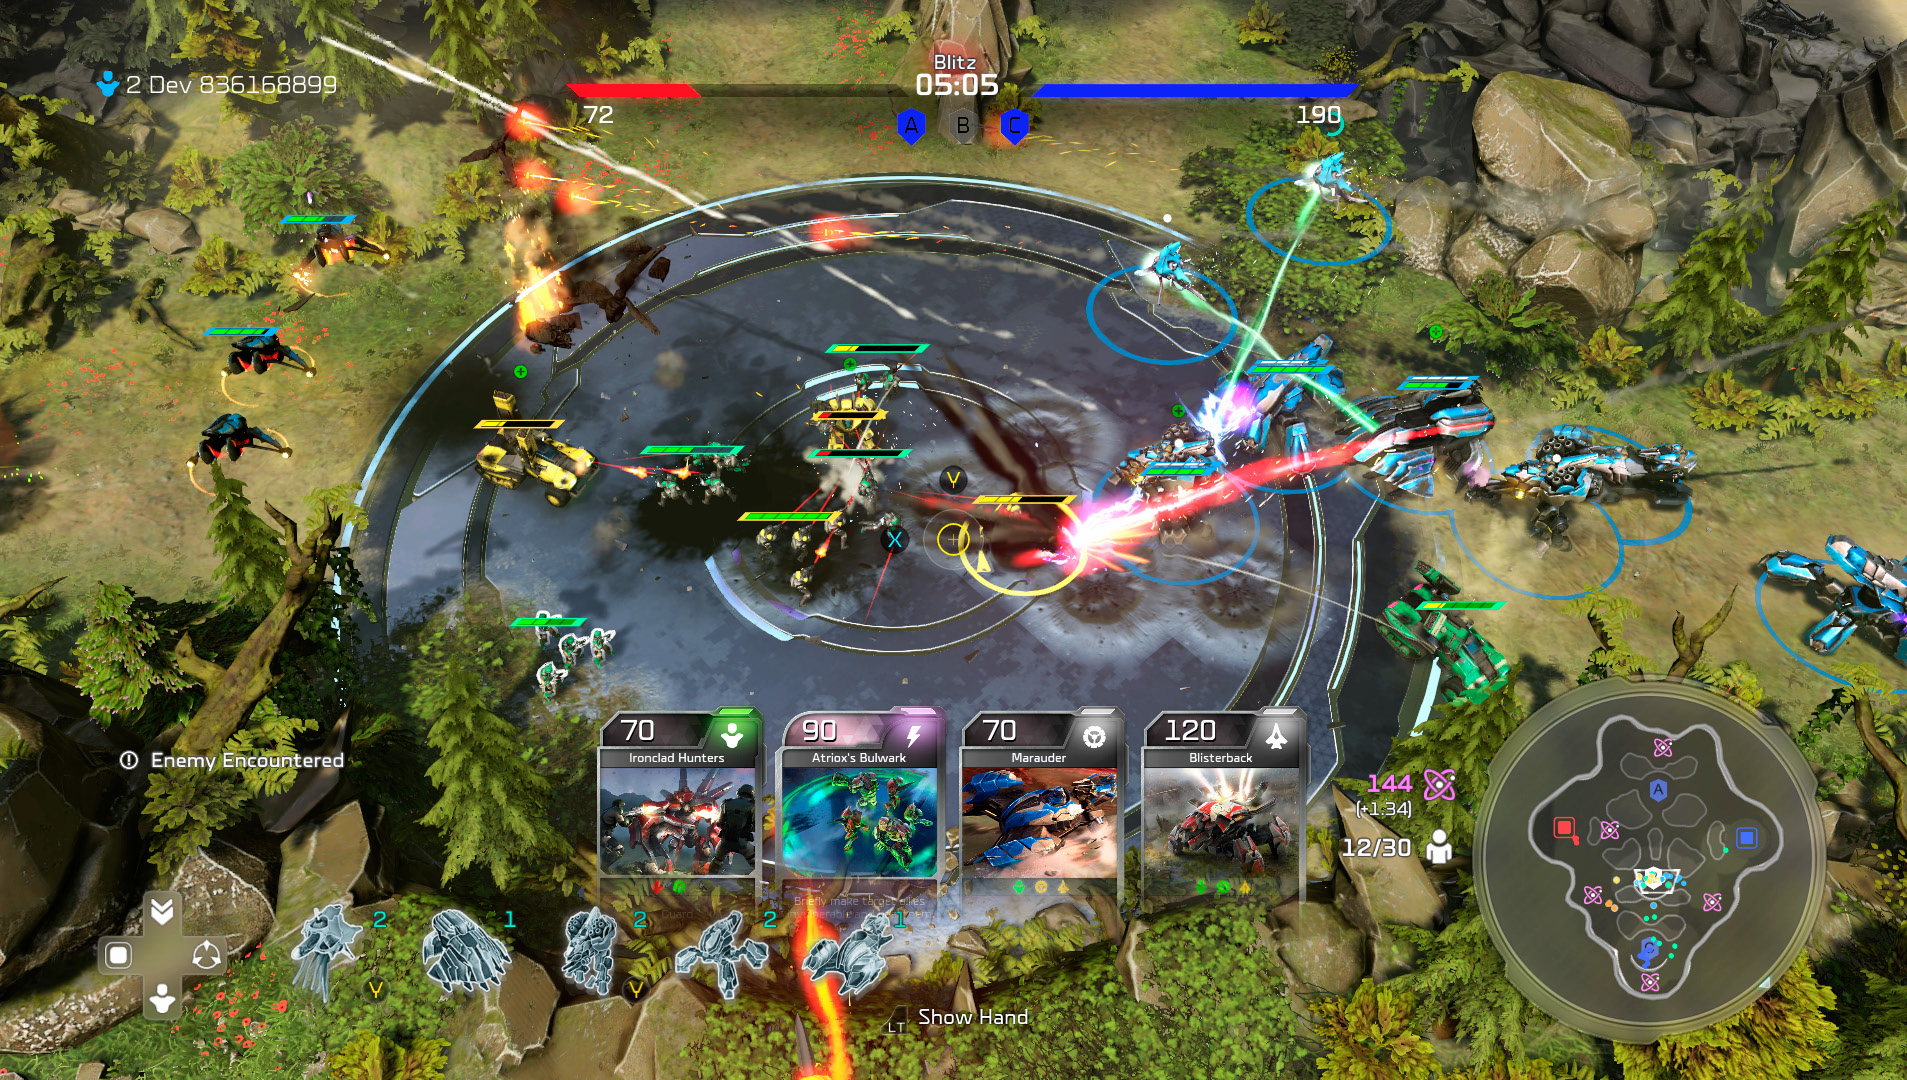
Victory goes to the first team to score 200 points, or to the team with the most points when the 12-minute time limit expires.
Energy Income
You start a Blitz match with a pool of 50 Energy for immediate use. Your Energy replenishes slowly over time—initially, one Energy is added to your pool every 0.7 seconds. Collecting Energy Cells from supply drops increases the amount of Energy every player on your team gains from each tick.
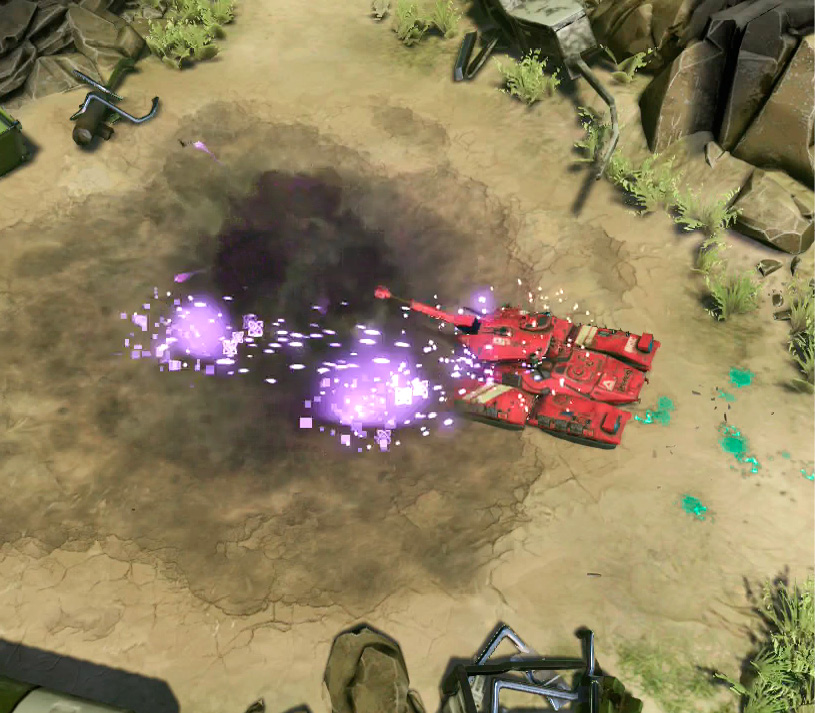
The base value for each Energy Cell varies depending on the selected team size, and the effect of collecting an Energy Cell is reduced each time your team collects nine Cells. This serves to balance late-game Energy tick values, ensuring that even the most dominant team is limited to a somewhat reasonable income advantage.
Energy Income Bonuses
| Team Size | Number of Energy Crates | Energy Crate Limit |
|---|---|---|
| 1v1 | +0.1 Energy per tick | +3.46 Energy per tick |
| 2v2 | +0.1 Energy per tick | +3.80 Energy per tick |
| 3v3 | +0.08 Energy per tick | +3.89 Energy per tick |
In Blitz, supply drops occur at predetermined times. Two Energy Crates appear on the battlefield 10 seconds after a match begins. At 50 seconds, one more Energy Crate drops into play. After that, supply drops occur every two minutes. However, the number of Energy Crates that appear with each drop varies based on the chosen team size, and failing to collect existing Crates prevents additional Crates from dropping.
Supply Drop Schedule
| Team Size | Number of Energy Crates | Energy Crate Limit |
|---|---|---|
| 1v1 | Three Crates per 120 seconds | Three active Crates |
| 2v2 | Four Crates per 120 seconds | Four active Crates |
| 3v3 | Five Crates per 120 seconds | Five active Crates |
Basic Blitz Tactics
Even without conventional bases, most Multiplayer strategies have a place in Blitz. An early rush can weaken an opponent’s forces, making it more difficult for them to hold Control Zones or claim Energy. If you prefer booming, focus on claiming supply drops and boosting your army with low-cost units. In Blitz, turtling is a matter of map control; use a diverse mix of units and Powers to discourage hostile forces from claiming Energy or contesting Control Zones.
The Total Domination bonus is a great way to boost your score, but it can be difficult to achieve and is nearly impossible to maintain. It’s often better to focus on holding two Control Zones, which can serve to strengthen your defending forces as well as make them easier to manage.
Avoid destroying Energy Crates near enemy ground units—loose Energy Cells are automatically collected by the first ground unit to move into range. Allowing your opponent to scoop up your hard-earned Cells is a costly (and frustrating) mistake. Focus fire on enemy units, and switch back to the target Crate only when the area is clear. Of course, always look for opportunities to claim the contents of any Crates your opponent destroys.
Remember that all teammates benefit from the Energy Cells collected by allies. Coordinate with your team to ensure that supply drops are dealt with quickly and efficiently.
Make good use of your control groups—particularly in 1v1 matches. Form a group of fast-moving vehicles to handle supply drops, use a slot to manage designated healers, or assign control groups that allow you to jump between units responsible for holding various Control Zones. Proper unit management is always important, but never more so than in a fast-paced Blitz match.