
Halo Wars 2 Guide Campaign Walkthrough Act II
Mission: From the Deep
Alice-130 and her team have set up a base complex with a defensive perimeter to protect the last portal controller. But Banished forces are massing to strike. It’s up to Alice to keep the hub safe.
Mission Walkthrough
Mission SummaryDefend the last portal controller against a Banished invasion. Scouting ReportSet up defenses on the beachheads to intercept the enemy. ObjectivesPrimary
Optional
Bonus
Par Time
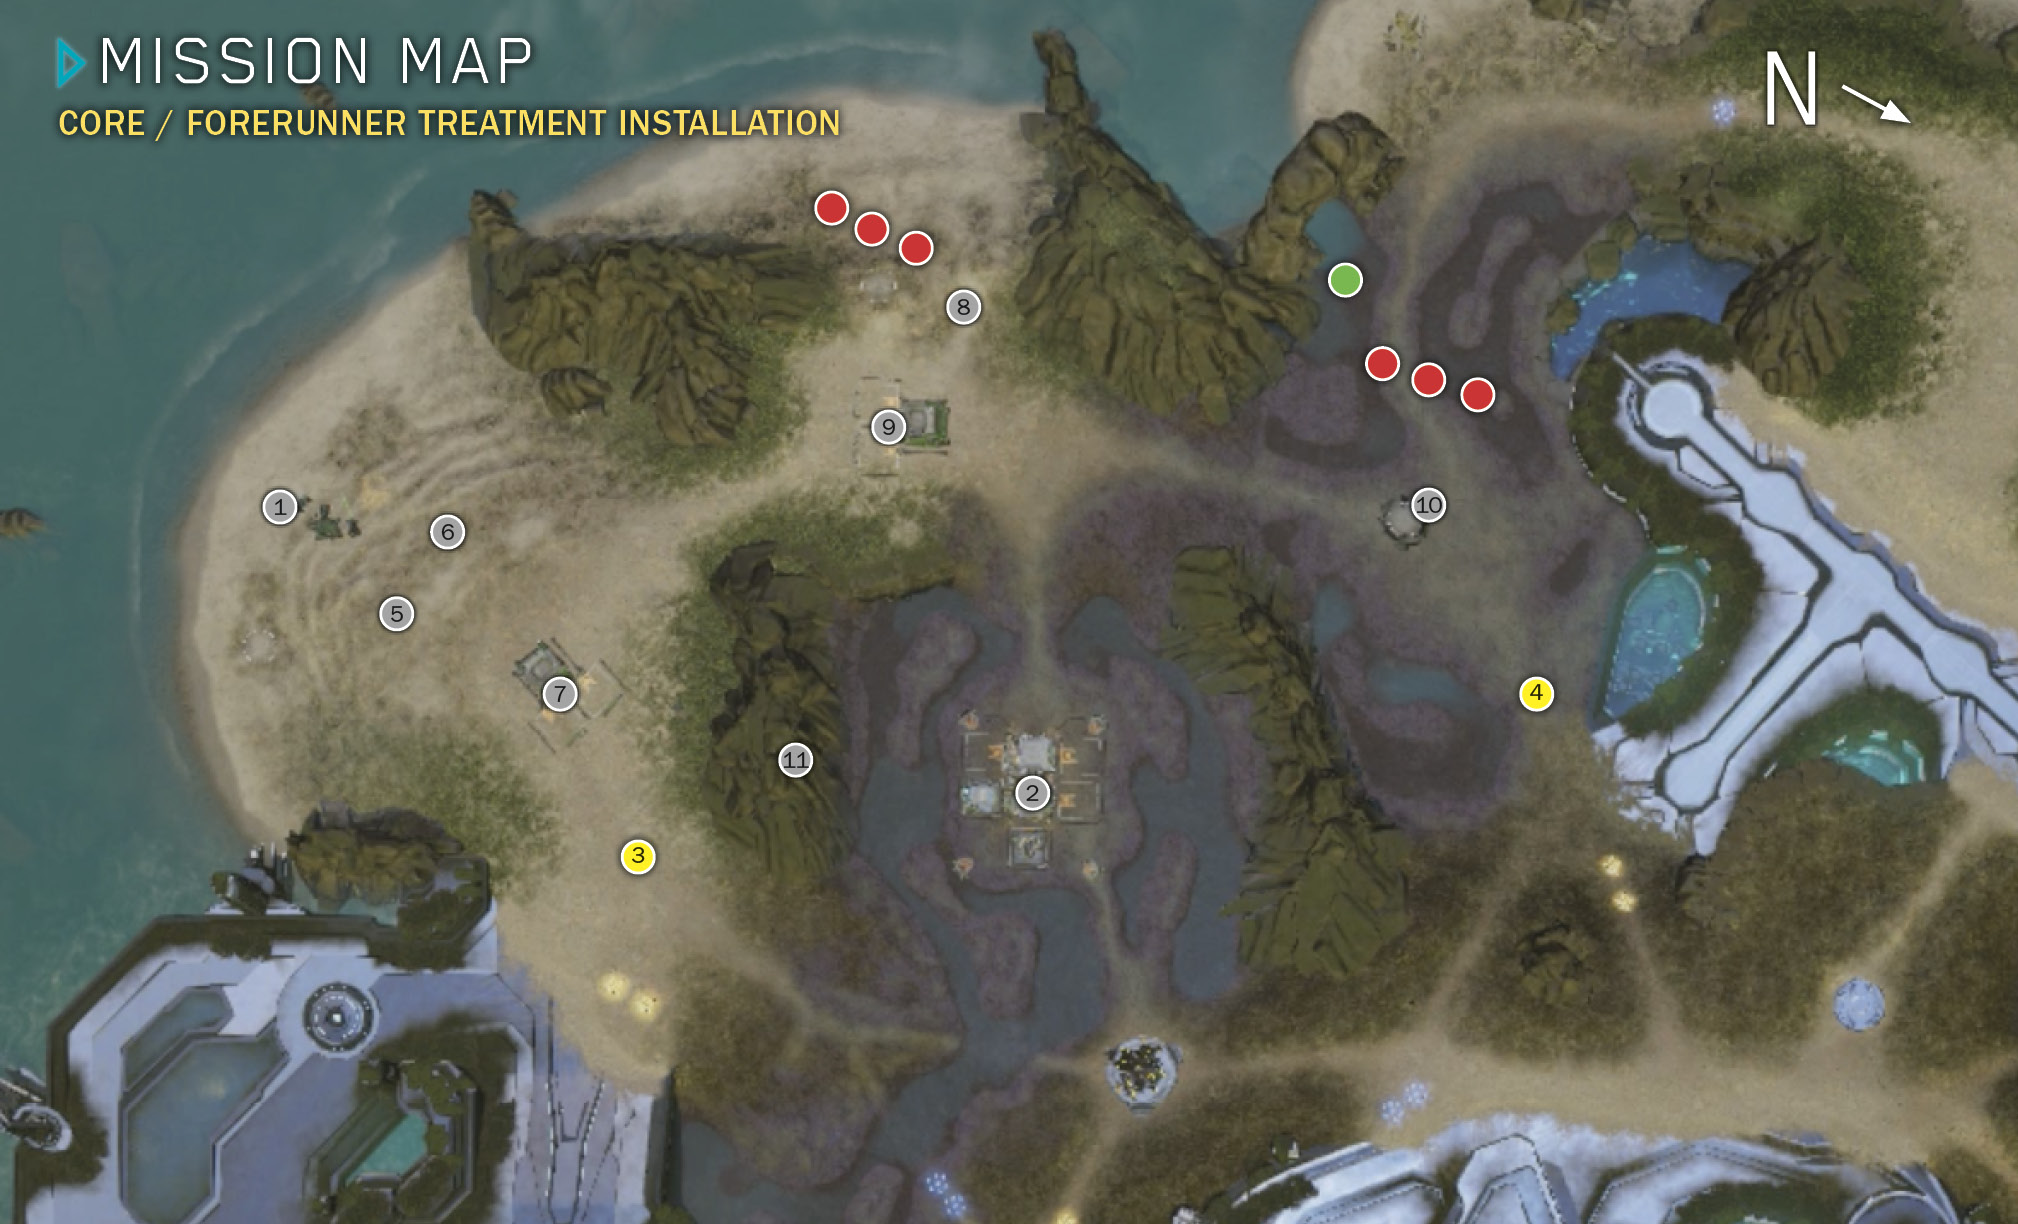
ExtrasSkulls Available: 1 Phoenix Logs: 1 Map Legend
|
 Armor beachhead
 Main base (tech up to Level 3)
 -
-  Power Nodes
 -
-  Install Anti-Vehicle Turrets
 Minibase (Barracks)
 Install Anti-Air Turret
 Minibase (Garage)
 Garrison (rally anti-
 Scarab climbs over hill
 Phoenix log
 Power Node
 Plant Lotus Mines here
This is a fun mission that can seem overwhelming until you figure out its basic progression. The secret is to array your defenses with the right counter-units and the right type of upgraded Turrets in the right locations—and then to “tech up” your main base as soon as you can. At Tech Level 3 you can start producing Scorpion tanks, and at that point the field tilts heavily in your favor. The mission is much easier if you deploy your Leader Powers effectively as well.
Primary Objective: Survive the First Wave
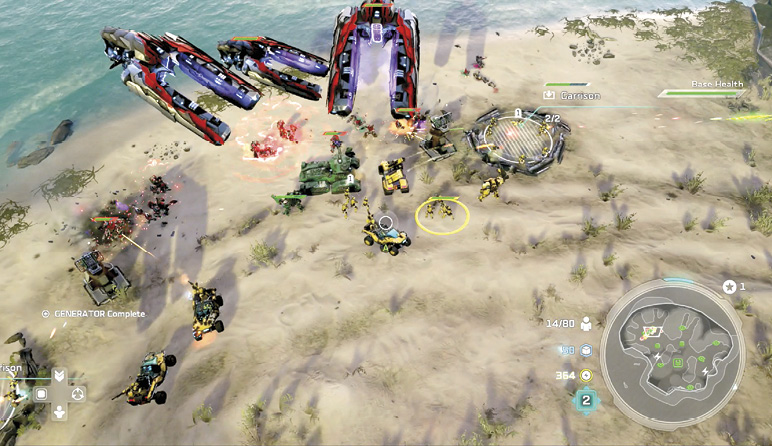
A beachhead assault  is raging as the mission opens. A number of UNSC units defend the beach, but you start with just three under your direct control: the Spartan Alice-130, one Cyclops, and one Scorpion heavy tank. Post your trio halfway between the two garrisons, then use the D-Pad to jump to your main base
  . It may seem odd to hop away from such a hot fight, but your beach defenders can handle themselves just fine for a few seconds.
Start Your Resource Infrastructure
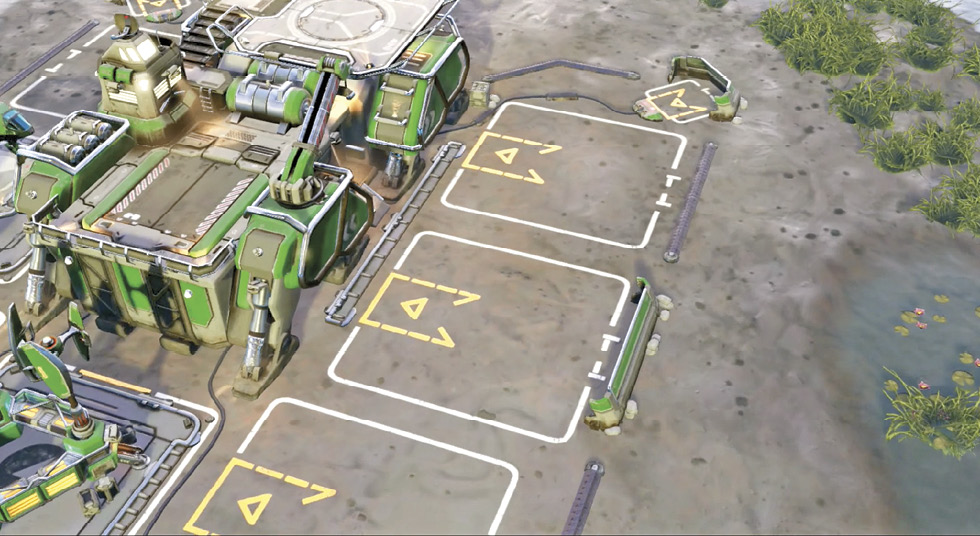
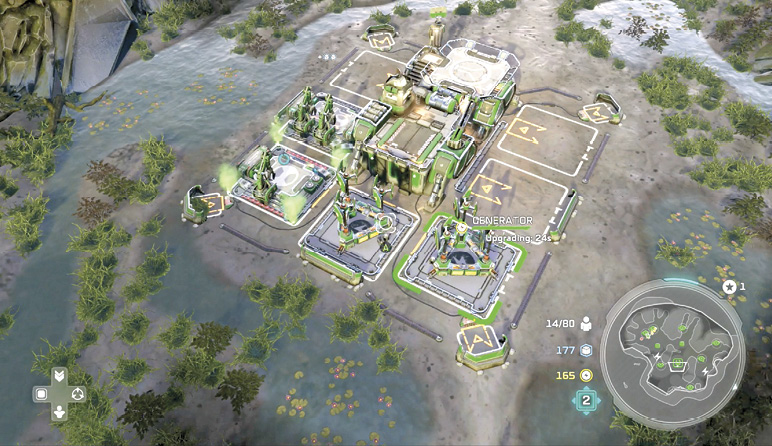
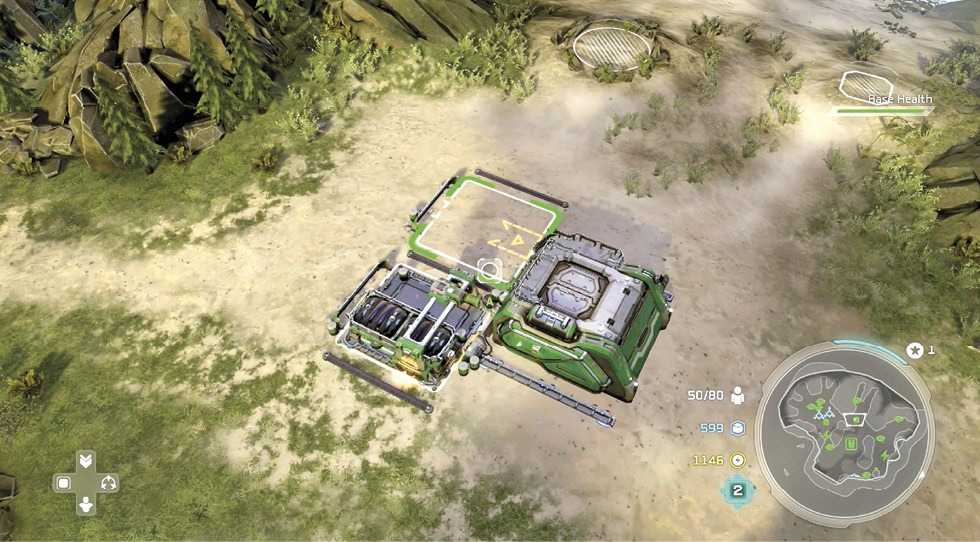
Get resources inflowing at your Command Center  even while the opening battle rages. The base comes with one Supply Pad and one Generator already in place. In the short term, you need to build up a big resource inflow; in the mid-term, you need Power to upgrade your Command Center to a Headquarters, boosting your Tech Level from 2 to 3 so you can start producing Scorpions as soon as possible; and in the long term, you need an Armory to raise your Population cap. But your resources are limited right now. Thus, to start, build quickly in this order: Supply Pad, Generator, Supply Pad.
Finish the Beach Battle
Hop back to the beach  and finish up the fighting, concentrating fire on any remaining Banished units. When the invasion is shattered, a Nightingale support craft flies in and starts repairing damage to nearby friendly units using its multipurpose Restoration Drones.
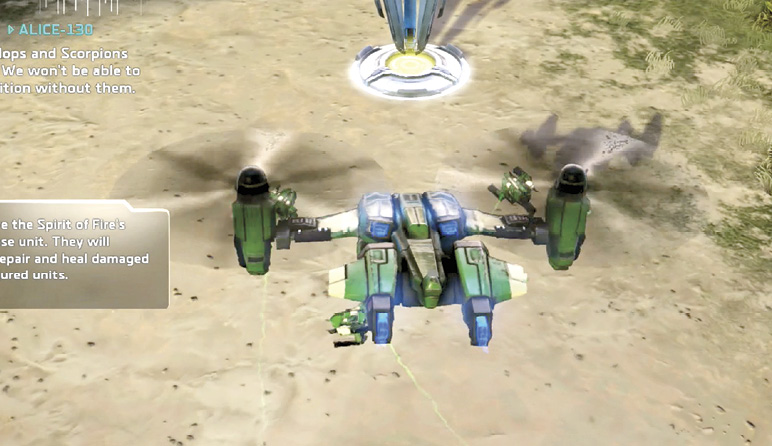
You have a short couple of minutes to set up your defensive perimeter. Be quick! Note that all surviving UNSC units on the beach are now directly under your control. Move infantry (Marines, Hellbringers, or Cyclops) into any empty slots in the two garrisons.
Capture the Power Nodes
You need a lot of Power to build what’s required to comfortably win this mission—in particular, you need the 1500 Power necessary to upgrade your main base to achieve Tech Level 3. Send one Marine squad from your beach team to capture the nearby Power Node  . Then execute a Fast Camera move across the map to the garrison
  on the inland side of the base. Empty the garrison and send a Marine squad to capture the other Power Node
  just down the road. (Be sure to move the Marines back into the garrison when the Node is under control.) Soon the extra Power is flowing into your bases.
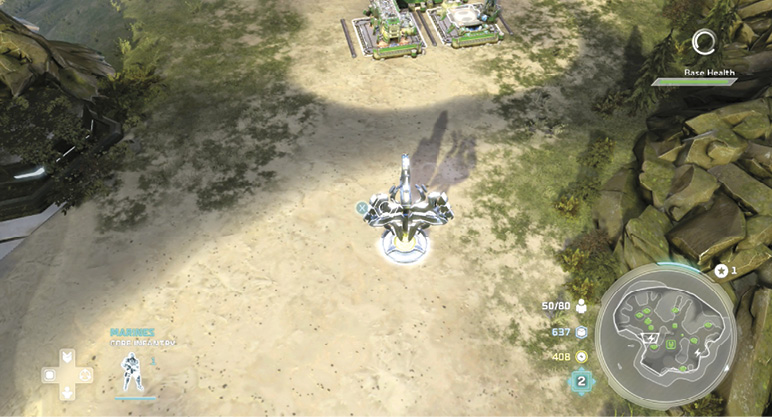
Optional Objective: Build Two Turrets on the Beach
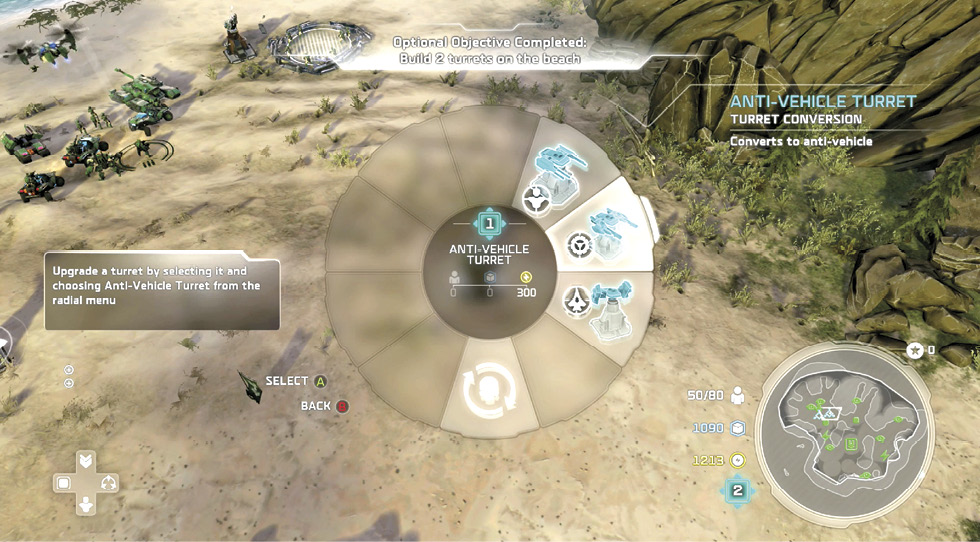
Optional Objective: Upgrade Beach Turrets to Anti-Vehicle Turrets
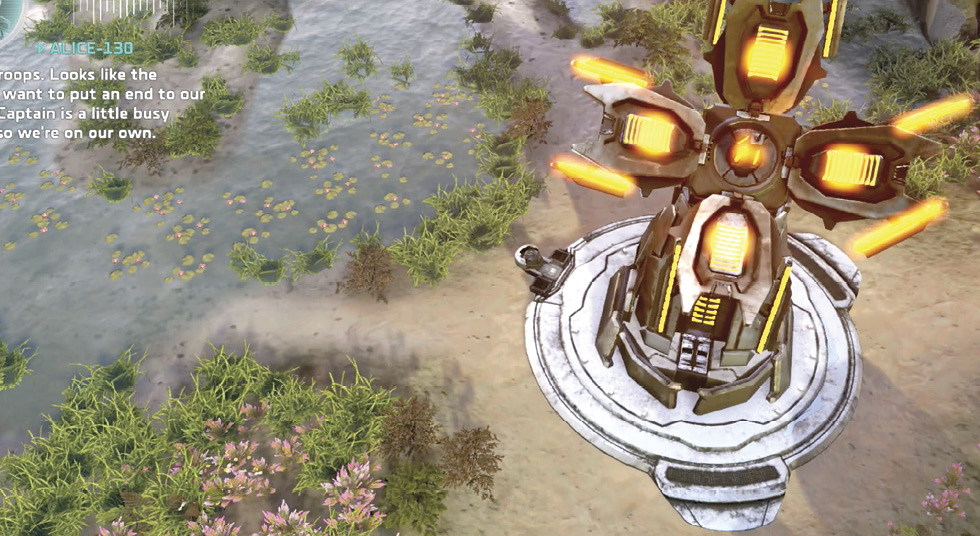
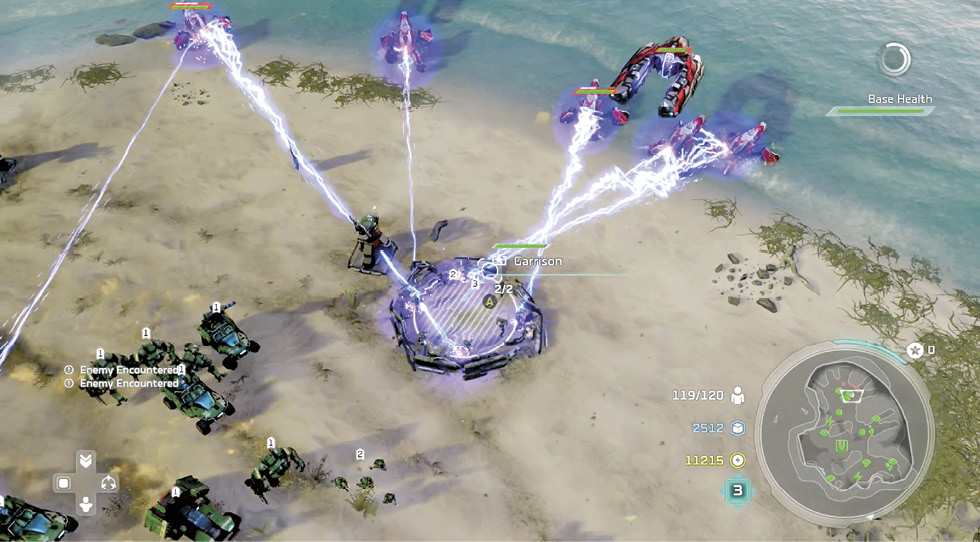
These may be “optional,” but we highly recommend you complete both objectives as soon as possible. As the mission progresses, the most furious Banished assaults consist of heavy armor units rising in wave after wave out of the ocean and slamming into your beachhead defenses at  . Planting a pair of Anti-Vehicle Turrets just up the hillside
  ,
,  gives you the extra punch you need to hold the beach.
Finish an Anti-Armor Minibase
Move to the Two-Slot Minibase  just behind the hill Turrets. It already has a Barracks in one socket; put an Airpad in the other one. Set the minibase’s rally point down the hill on the beach, between the two garrisons. This way you can “train and forget” Hornets and Cyclops units for anti-armor defense of the beachhead. Eventually, you want to produce a couple more Nightingales at the Airpad too, sending one up to support the smaller beach
  and another to your inland garrison
  .
.
Start Upgrading Resource Inflow
Back at your Command Center  , add another Supply Pad and Generator. You should have resources flowing into six sockets now! Then start upgrading all of them to Heavy Supply Pads and Advanced Generators. By the time this is all finished, your inflow will be a roaring torrent of resources. Finish up your base by adding an Armory in the seventh slot. (Turrets aren’t necessary here if you coordinate your other defenses well, but you can add them later to be safe.)
Set Up Anti-Air Defenses on the Smaller Beachhead
Move quickly to the top of the other beachhead, where you find another Two-Slot Minibase  , this one with a Garage already in one socket. Banshees will soon start hitting this sandy gap, as will Spirit dropships delivering enemy infantry. To get ready, train two Marine squads at the minibase. As the Marines train, drop a Turret into the open slot
  just down the slope.
When the new Marines emerge, rush them into the nearby garrison. When the Turret is finished, upgrade it to an Anti-Air Turret. Set the minibase’s rally point to the spot between the Turret and the garrison. Put one Wolverine into the production queue at the Garage and construct a Supply Pad in the empty base socket. (You’ll need a lot of Supply to build Scorpions later.) Then move back to the main beachhead.
Fight Off More Waves
Spirits start swooping in to drop more Banished infantry, Ghosts, Wraiths, and then Locusts in the next assault on the main beachhead  . Your garrisons, along with Alice, your existing Scorpion tank, and the new Turrets up the hill, have plenty of firepower to tear apart these staggered waves. But select your minibase up the hill and put another two or three Cyclops in your Garage production queue, just in case.
Set Up Your Inland Defense
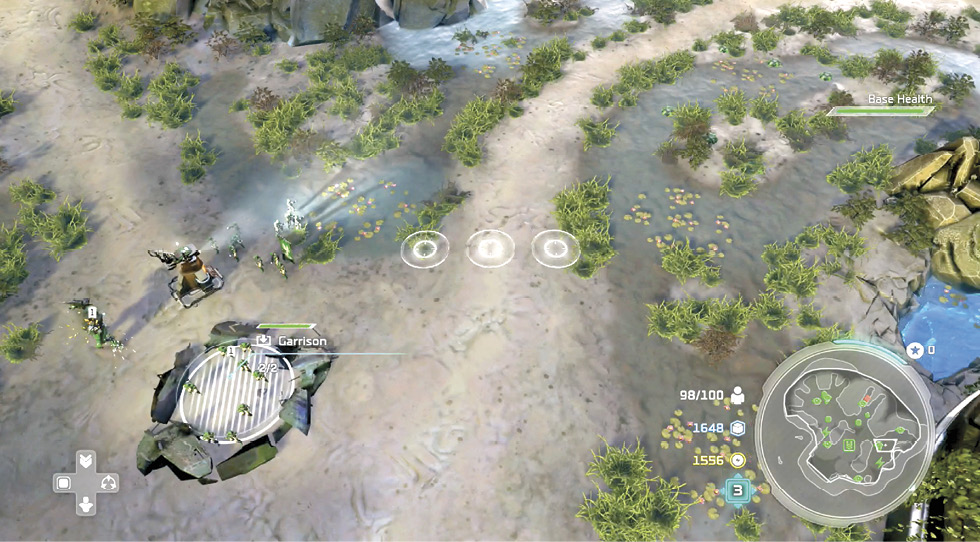
Soon Alice-130 reports that Banished ground troops are heading toward your base from a third direction, marching across “the shallows” (the swampy ground to the north). These are primarily Grunt infantry squads, but some Ghost units will rush in too. To get ready for them, train some Marines and a couple of Warthogs and post them next to the garrison  guarding the inland passage through which the Banished troops must funnel. Then plant Lotus Mines across that gap for added protection.
Later, you’ll take Alice’s advice and add a couple of infantry-killer Scorpion tanks here. But first you need to upgrade your Command Center to a Headquarters, boosting your Tech Level to 3.
Upgrade to Tech Level 3
It costs a lot of Power to tech up a level. But if you captured the area’s Power Nodes and have three Advanced Generators humming, you’ll soon accumulate the 1500 Power you need. Once you hit Tech Level 3, Scorpions become available for production at your Garage.
Primary Objective: Defend Your Base
Now you’re ready. Banished forces start striking at all three of your defensive locations, sometimes simultaneously. Keep training new troops until you hit your Population cap. Send new Cyclops units to the main beach  to counter Locusts and Wraiths, send Marines and another two to three Wolverines up to the narrow second beachhead
  to knock down the Banshees that try to scream through the gap, and send Marines and Hellbringers to your inland garrison area
  to fend off columns of attacking infantry.
Jump to hot spots that flash on your Minimap, and micromanage the battle, making sure you concentrate fire on major targets like Lotus walkers to eliminate them faster. Also be sure your counter-units are firing at the correct targets for maximum efficiency. During lulls, get troops repaired by moving them near Nightingales or zapping big squads with Restoration Drones.
Scorpion Up!
Once you are resource-rich and can upgrade your base to a Headquarters for Tech Level 3, do so, then start cranking out Scorpions. Send at least one Scorpion to each of your three defensive posts  ,
,  ,
,  . Then keep them coming from the Garage, sending at least one more to each post. Eventually, you want two to three Scorpions at each defensive location. But again, Scorpions count as seven apiece toward your Population cap, so it’s important to increase your cap by researching the Reinforcements upgrades at your Armory.
Don’t Skimp on Leader Powers
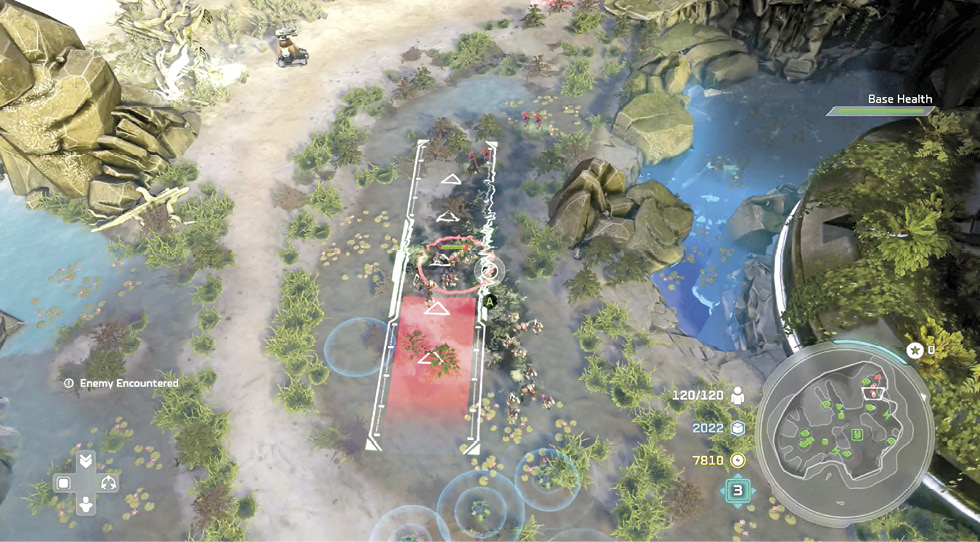
Your Archer Missiles and Lotus Mines are excellent defensive weapons, capable of thinning out Banished ranks just when things look grim. Drop in Lotus Mines anytime during or between attack waves, but deploy your Archer Missile strikes when waves first hit and enemy columns are clustered together. (We marked some good spots to plant mines on our mission map.)
Heal Up!
Don’t be shy about using Restoration Drones either, especially if multiple troops are suffering severe damage. It’s best to use this Power between enemy attack waves so you can gather your damaged units into a cluster next to a damaged Turret, and then drop the green healing radius around them, repairing units and the structure as well. Also, as mentioned earlier, consider building two more Nightingales, so you have one to support each of your three defensive groups.
Keep Producing Troops and Upgrades
As you get deeper into the mission, you should have plenty of resources to spend (assuming you took the steps we outlined earlier). Don’t hoard Power and Supply! Keep monitoring each battle and note what units are lost, then queue up replacements immediately. Keep your garrisons full of infantry defenders.
Buy the Reinforcements II upgrade from the Armory to raise your Population cap another 20, and add Advanced Logistics to speed up unit build times. Buy the vehicle and infantry upgrades at your Garage and Barracks, respectively. If you still have Warthogs in the field, you can buy their Gauss Cannon upgrade. Add Grenade Throw for your Marines, and get the Dispersion Nozzles upgrade for your Hellbringers.
Upgrade your Leader Powers too. You can increase the effectiveness of Restoration Drones, Archer Missiles, and Lotus Mines with upgrades. You can also buy the Battle Hardened Power to increase how fast your troops become veterans.
Construct Turrets at the Main Base
If you’ve got the right counter-units in each location, plus a strong corps of Scorpions evenly distributed across the field, you should be able to shatter every Banished wave without allowing any breaks in your defensive perimeter. However, if hostile units do break through anywhere, they head straight for your main base  . To be safe, build Turrets in all four corners of that base.
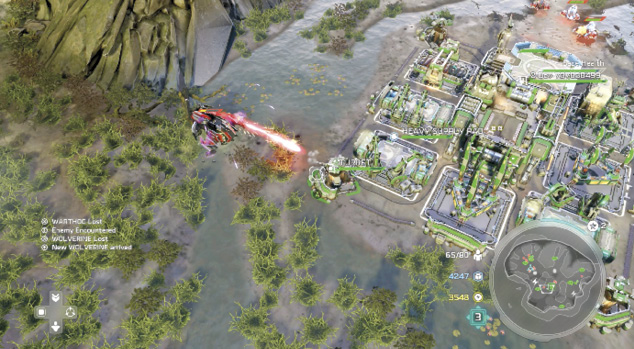
Upgrade the two Turrets in front to Anti-Air Turrets to gun down any Banshees that slip through from that direction. Upgrade the two Turrets in back to Anti-Vehicle Turrets, because any tanks that break through your main beach defenses loop around the rocky cliffs past the Power Node  and attack your big base from the back side.
Fend Off the Last Wave
Roughly 19-20 minutes into the mission, one last big wave of units rolls in from all directions, hitting your three perimeter posts at the same time. Use your Leader Powers and, above all, keep replacing any fallen troops. This is a wild fight, but throw everything into it, because you want to decimate all of these Banished units as fast as possible. The reason: a couple of minutes after this big wave hits, a frightening Banished Super unit rises from the sea.
Primary Objective: Destroy the Scarab
All hands on deck! When the massive Scarab emerges from the water, it’s time to group-select All Units and rush every troop in the field to the main beach. Fire everything at the great monster, including your offensive Leader Powers, because the moment the Scarab health bar (shown in the upper right corner under your base health bar) hits zero, you’ve won the mission.
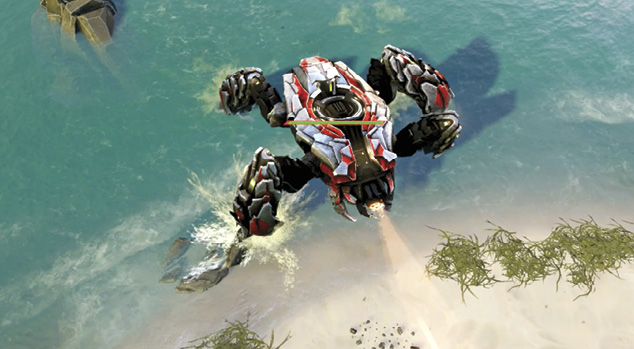
Keep in mind that if the Scarab manages to hammer through your beach perimeter defense and stomp past your Anti-Vehicle Turrets, it makes a beeline for your main base  by climbing directly over the rocky hilltop
  on the route! That shortens its trip to the base, so engage it on the beach to keep it from reaching the flats behind the beach. Note: this is where your Scorpions can really shine. If you’ve managed to produce six to eight of the tanks, they can launch a very damaging barrage onto the Scarab. Once the Scarab falls, the mission is over.
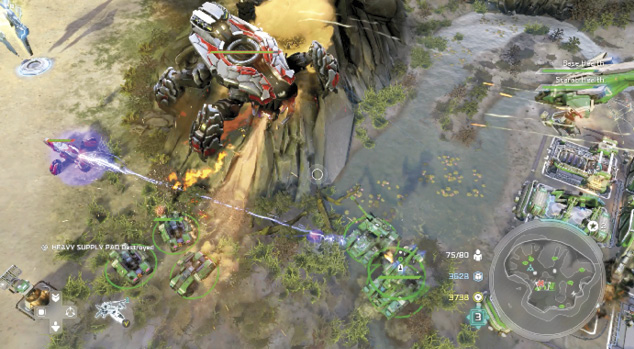
 “From the Deep”Sculpting the Big Story Beats This mission sought to give the Banished a shot at revenge. They launch a counterattack at a key UNSC position. Ideas Behind the Map The map was intentionally kept quite open for armies to move through, and also to support the Scarab attack at the end of the mission. The goal was always to do a classic Normandy-style beach landing. It helped onboard the Locust unit too. Role the Mission Fulfills in the Story’s Escalation Our goal was to show that the Banished were not going to lie down and take a battering from the UNSC, and would go out fighting. How the Mission Evolved Over the Course of Development The mission stayed true to form through the entire process; it was always a beach landing. We wanted to show Locusts swarming out of the water, and have the player engage in a desperate defense of the area. |