
Halo Wars 2 Guide Campaign Walkthrough Act I
Mission: The Cartographer
Your work in escorting Professor Anders to the Cartographer is not yet done. Impassable Forerunner energy shields block the route to the map room where control of the Ark’s mysterious systems seems to reside. The Banished forces continue to pose a threat as well. And it appears that the Ark’s Sentinel defenses, alien and frightening, have also been awakened. To counter them, Anders and Isabel have a “special project” ready for a test run.
Mission Walkthrough
Mission SummaryProtect Anders from Forerunner defenses to reach the Cartographer’s map room. Scouting ReportWolverine anti-air vehicles are on standby to counter enemy air units. ObjectivesPrimary
Optional
Bonus
Par Time
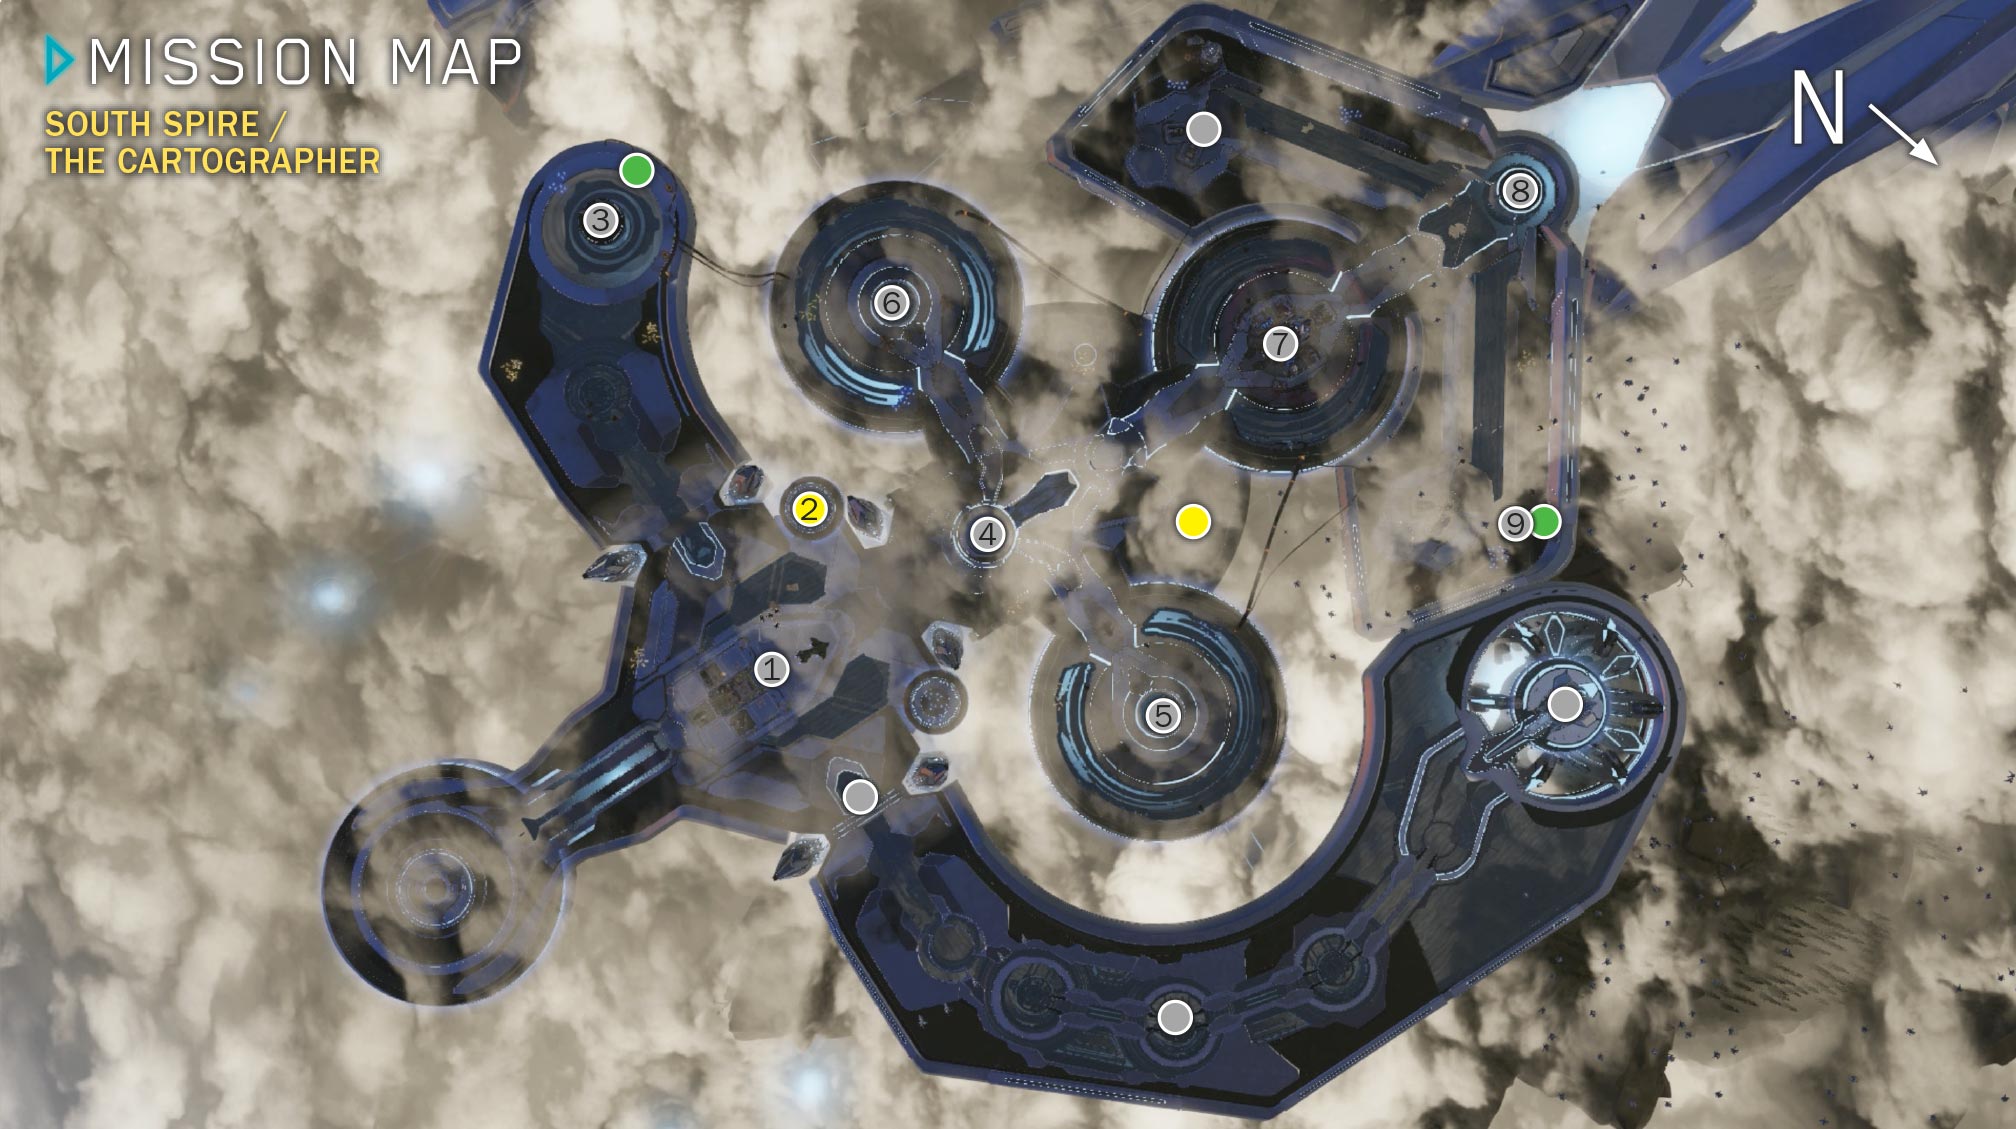
ExtrasSkulls Available: 1 Phoenix Logs: 2 Map Legend
|
 Start (Command Center)
 Power Node
 Conduit (opens access to consoles)
 Central console
 East conduit
 West conduit
 Main Banished base
 North conduit
 -
-
 Energy shields
 Sentinel corridor
 Map room
 Phoenix log
 Power Node
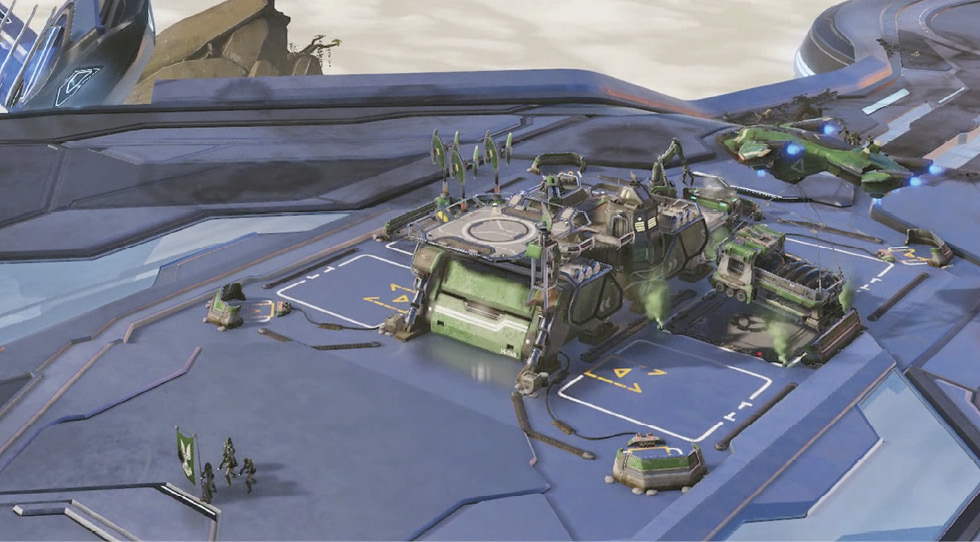
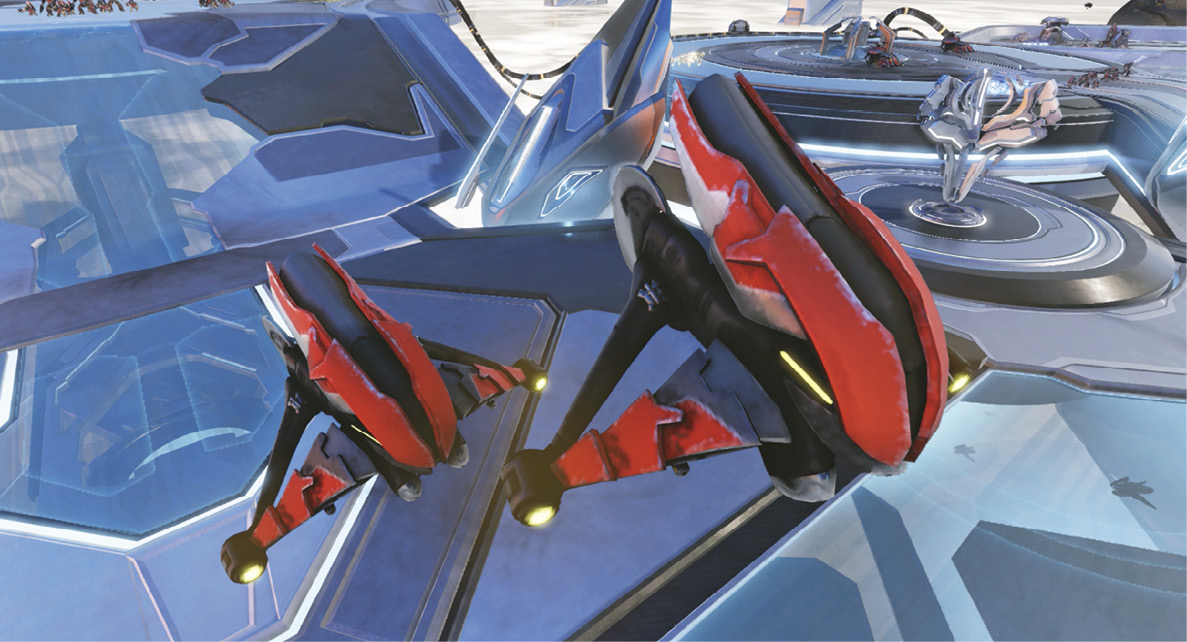
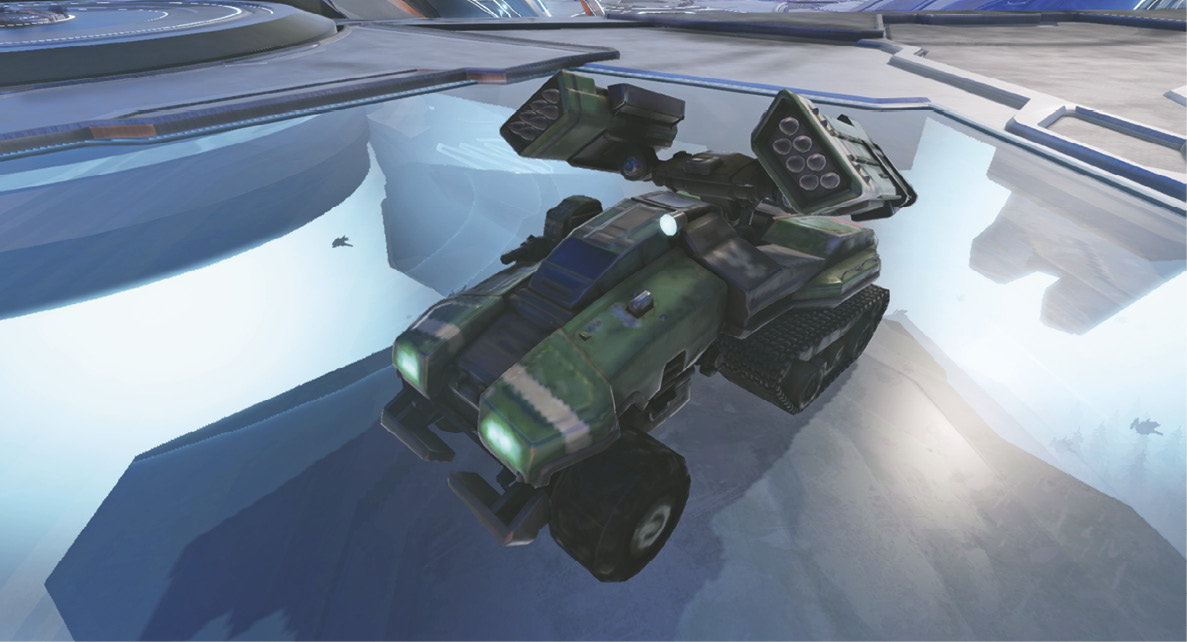
This mission introduces you to a pair of important new units. A squadron of Banshees, the agile workhorses of the Banished air fleet, starts hitting your seven-socket Command Center with its fuel-rod cannons. In response, Captain Cutter delivers a new tactical anti-air vehicle known as the Wolverine. You also gain the ability to produce Wolverines from your Garage.
Primary Objective: Gain Access to the Cartographer Map Room
Build a Base
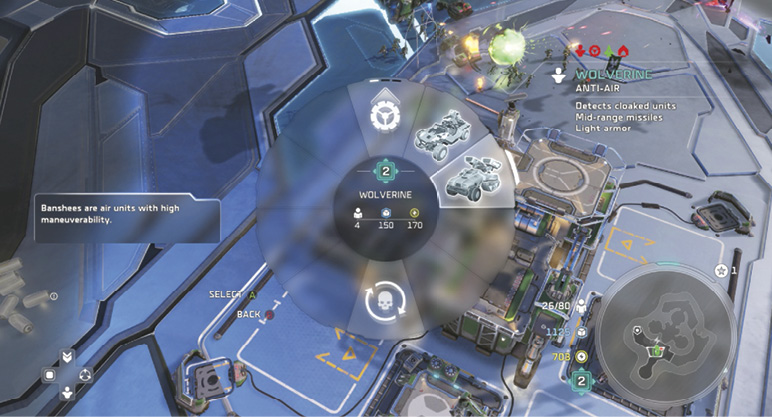
Your main goal is to explore the large power signatures that Anders detected coming from the central chamber nearby. But first, spend a few critical moments base-building. Get your Supply and Power inflows going full bore, and drop in Turrets on the two front slots so you’re ready to fend off raids. (Later, when your income increases a bit, you can upgrade them to Anti-Air Turrets.) Send your strike force across the base platform to capture the nearby Power Node to boost Power inflow, and explore the immediate area for pickups. Then start cranking out more of your new anti-air unit. Banshee raiders swoop in regularly, so you want four or five Wolverines as soon as possible.
Once you’ve filled your Population cap with Marines, Wolverines, and a few Cyclops to counter enemy armor, create a strong strike force with a good mix of units. Then hotkey the group, including Jerome-092 as leader, and send it up the slope to the south, following the objective arrow. You discover a large Forerunner conduit that powers one of the energy shields.
Primary Objective: Attack the Forerunner Conduit
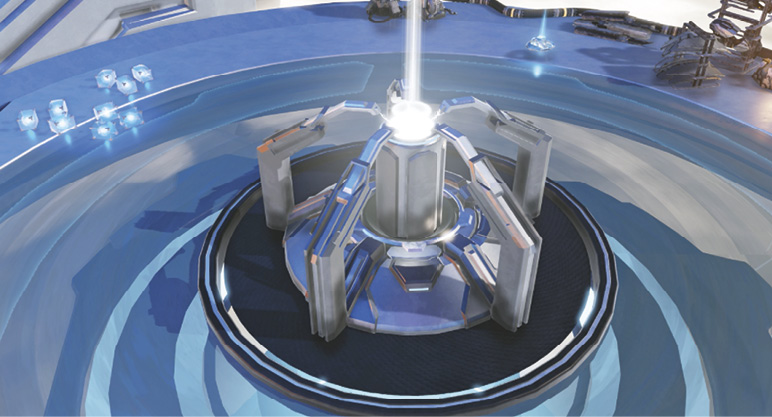
The platform is lightly defended by Banshees and a few Grunts. Quickly clear the area around the conduit, snag the Phoenix log behind the structure, and then array your force on the downhill side—you need a clear path of retreat. Select the full group and open fire on the conduit. You can see the conduit’s health bar dropping in the upper right corner of the screen.
But soon the Ark starts pulsing…and Anders reports Sentinels on the way. Send all units running as a nasty swarm starts buzzing around the conduit and a blue shield dome forms. To counter this action, Anders and Isabel unleash their “special project”—an EMP blast that disrupts the Sentinels’ command network. The swarm and the shield dome dissipate.
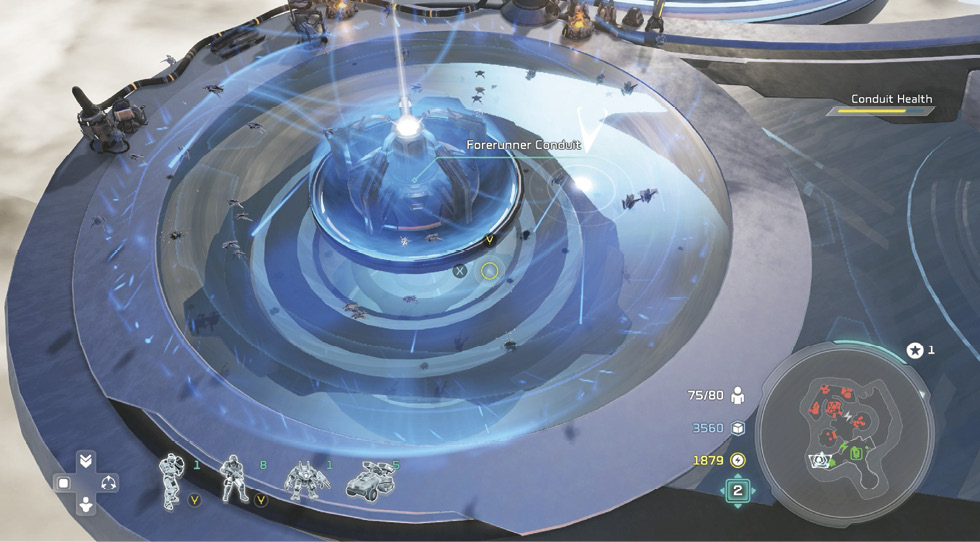
Quickly, back to the attack! Hit it with every gun in your strike force. When the conduit’s health drops to almost zero, Anders reports the Sentinels are returning. Hustle everyone away again. Here you learn that the Spirit of Fire’s big MAC gun is now equipped with EMP blasts. Open the Leader Power radial, select MAC Blast, move the white targeting circle over the conduit, and fire. Now you can finish the job.
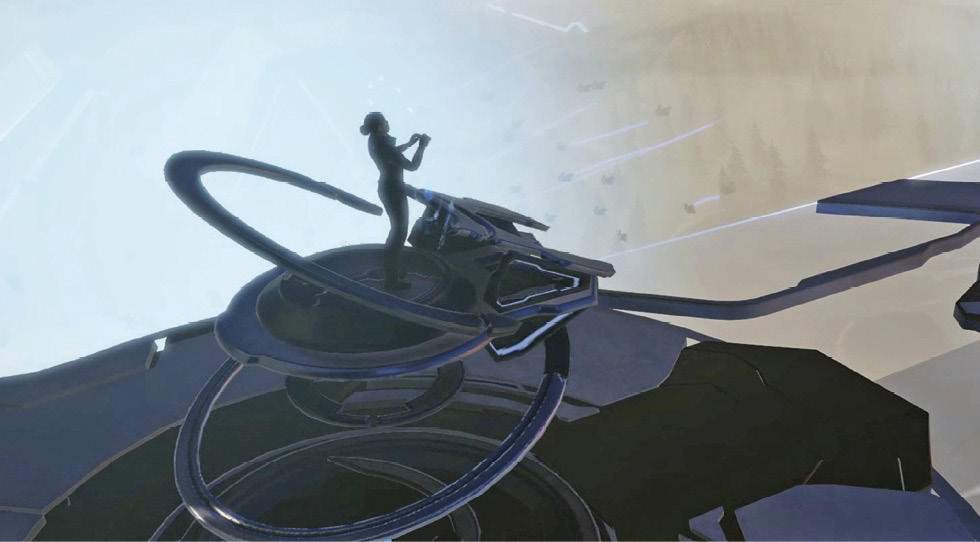
When the conduit retracts, the energy shield to the central chamber opens. Watch as Professor Anders runs to the central console and learns that three more Forerunner conduits on the Cartographer platform are powering the blue triple-shield
 blocking access to the map room.
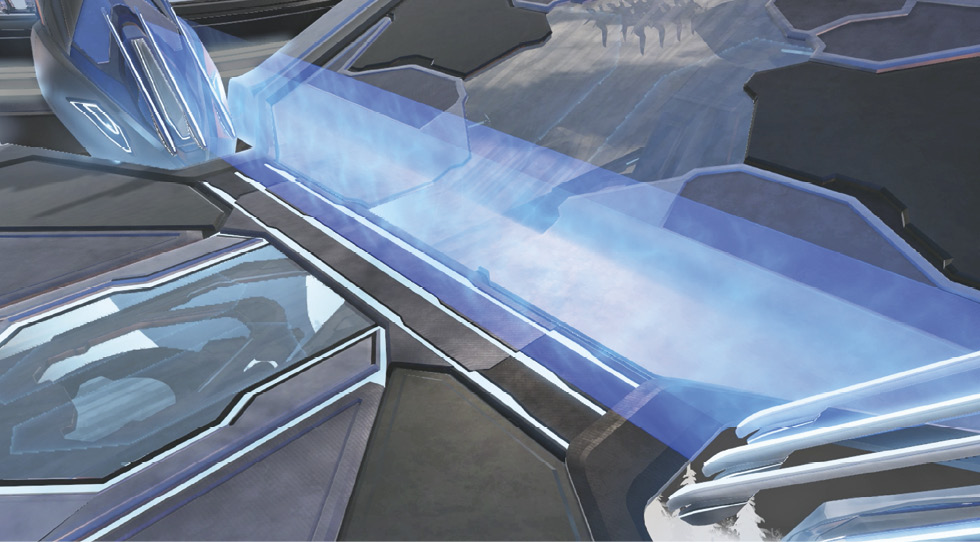
Primary Objective: Shut Down the Three Power Conduits
Again, the shield blocking the route to the map room is actually three shields. The three conduits that power these shields are located on platforms to the west, east, and north. The northern conduit sits behind a massive, well-defended Banished base, so save that one for last, when you may have more veteran troops for the assault.
East Conduit
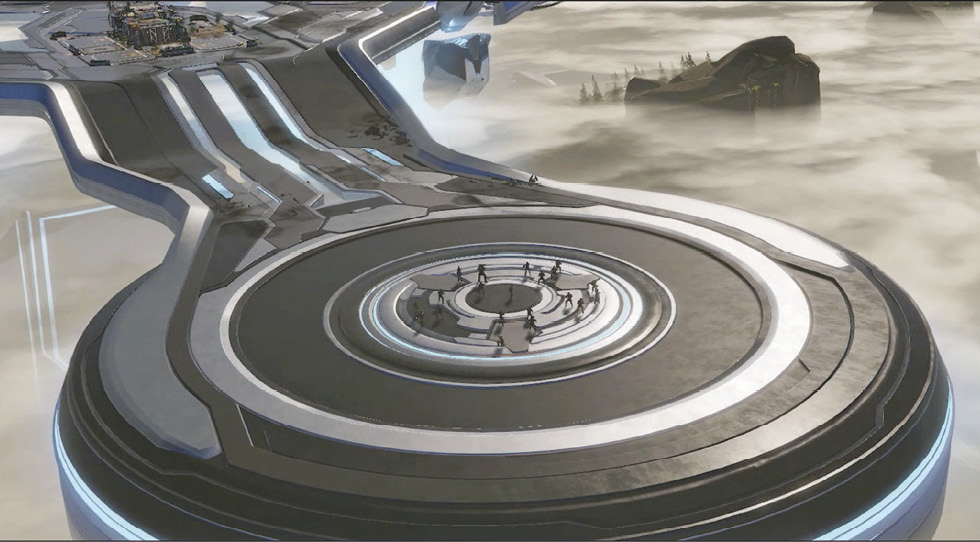
Send your full army (minus two or three Wolverines for base air defense) down the ramp from your base to the center circle , then turn right and climb the ramp toward the conduit
 . Put Jerome-092 in the lead with three to four Cyclops right behind. The first thing you encounter is a Wraith sitting at the top with a Ghost on either side. Hijack the Wraith with your Spartan while you engage the Ghosts with your Cyclops team. Then rush up the rest of your army, letting your Wolverines lay waste to the few Banshees in the sky here.
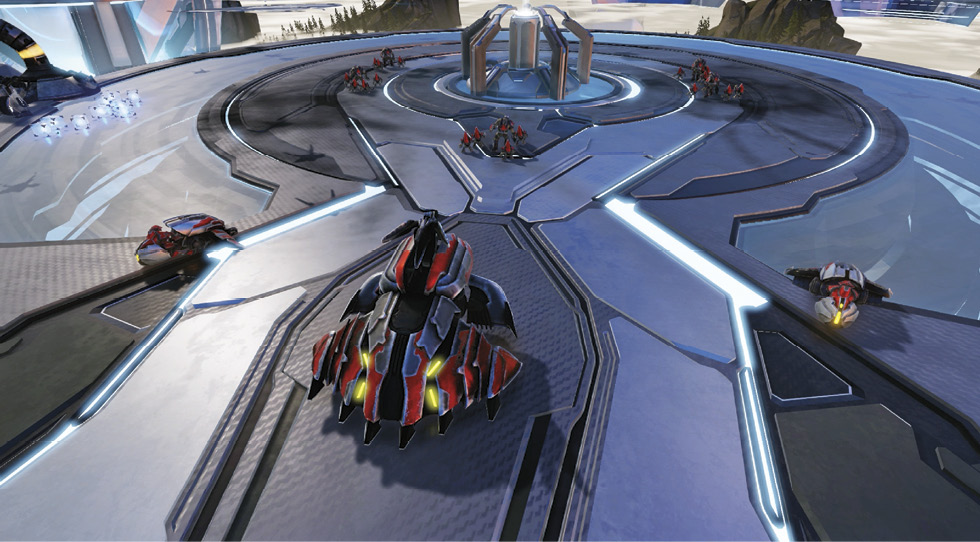
Once the platform is secure, repeat the process you used on the first conduit—attack, run away when the Sentinels gear up to arrive, hit the dome with your MAC Blast to dissipate the swarm, then attack again. Repeat until the conduit shuts down and the first of the three map room shields dissolves.
West Conduit
Send your strike force straight across the center circle and up the west ramp where another small Banished force that includes a pair of Wraiths guards the conduit . Wipe them out and repeat the “attack, run, MAC Blast, attack again” cycle until the conduit shuts down.
North Conduit
The first two were easy, but reaching the last conduit is much tougher. A huge, shielded Banished base , guarded by a Turret and a flight of Banshees, sits at the top of the north ramp. Let your Wolverines take out the flyers while your force hammers on the shield dome. (This is a good place to call in an Archer Missiles strike.) When the shield finally goes down, take out the Turret and Shield Generator first, then turn all guns on the main HQ building. When it’s destroyed, all other base structures collapse.
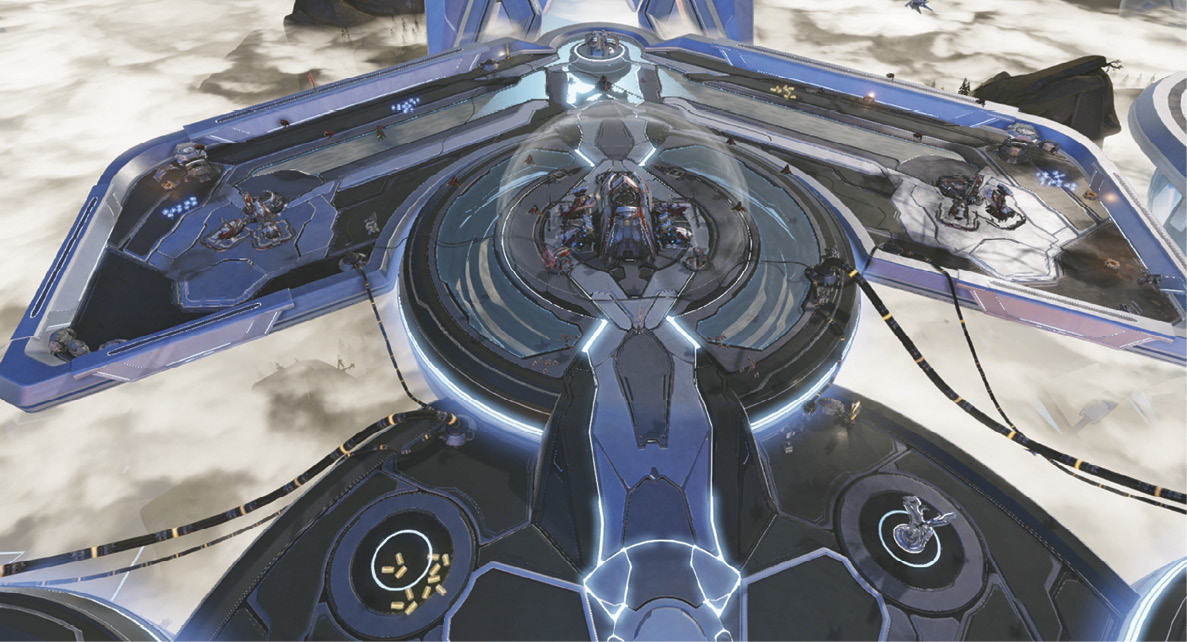
Use Restoration Drones to heal up damaged units, then head north down the back ramp. Eliminate the Wraith (or hijack it), then use your Wolverines to take out the four pesky Engineers floating above the conduit . When the area is clear, repeat your conduit-busting process once again until it shuts down and the last map room shield dissipates.
Optional Objective: Destroy Both Minibases in the Central Chamber. Completion Earns a Skull!
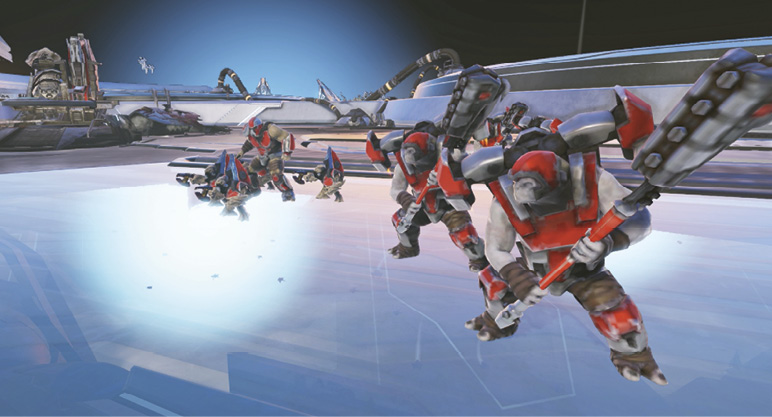
You can pick up optional mission points by heading down both wings of the northern platform to seek and destroy a Banished minibase in each wing. Head east (right) to find an installation with a small defense crew that includes Banshees and some formidable Jump Pack Brutes. Jerome and your strike force can handle them easily. Destroy the base, and put in your own minibase if you want. Then head down the other wing to find a similar Banished minibase
 and take it out.
Primary Objective: Clear the Path to the Map Room
Now comes another stout task. You must fight your way down a long corridor through three buzzing streams of Sentinels flowing across the route. Make sure your force has a sizable contingent of Wolverines before you try this. Flights of Protector Sentinels emerge from each stream to attack your force as you approach. When you destroy all the Protector Sentinels that emerge, the stream of smaller Sentinels disappears, and you can move farther down the corridor to the next stream.
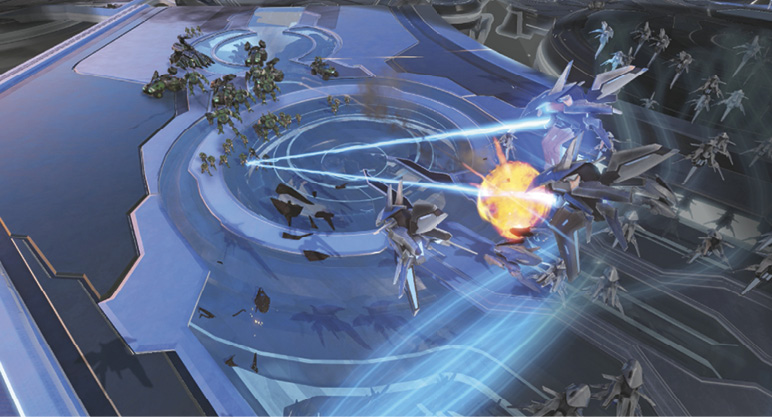
After you take out the third flight of Protector Sentinels, you have a clear path to the map room at the end of the corridor. Two last drones try to stop you, but your Wolverines make short work of them. Hit the Sentinel swarm around the map room with a MAC Blast to successfully complete the mission. Anders gets a panoramic view of the Ark: its weapon systems, environmental controls, bio-resource libraries…and the portal network.
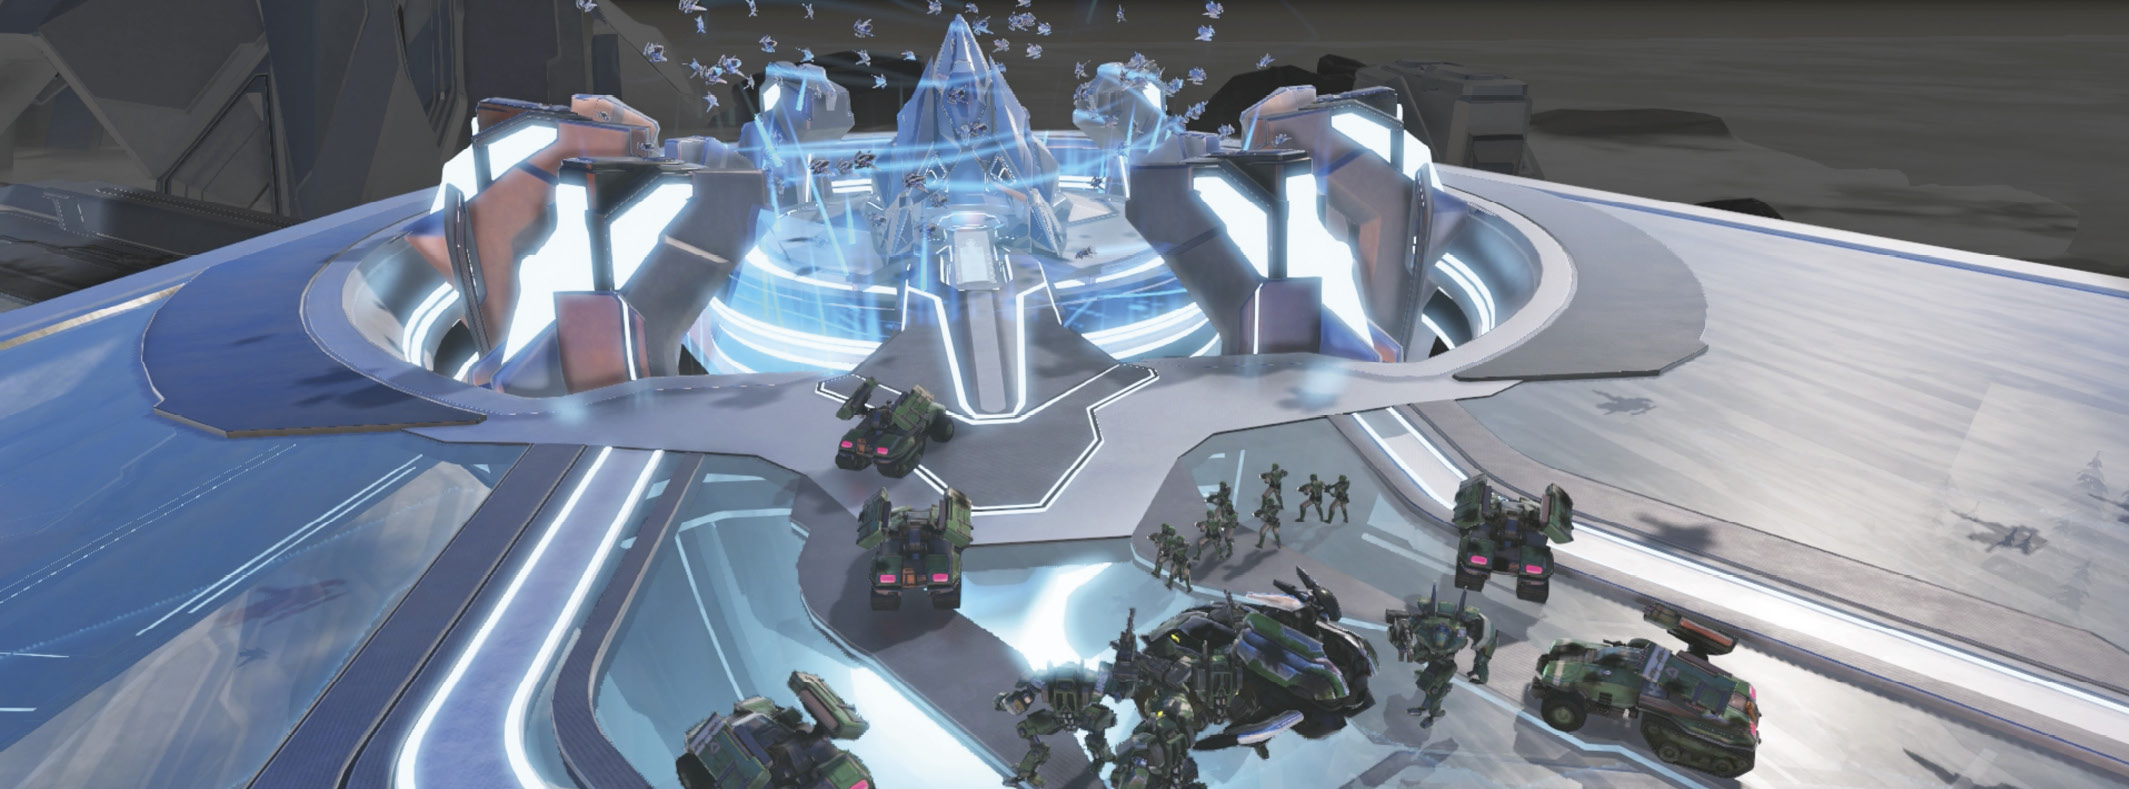
 “The Cartographer”Sculpting the Big Story Beats This mission allowed players to see the Cartographer control room and also discover the key strategic advantage that the Banished have on the Ark. We also begin brewing the idea that the Banished forces here are too strong and won’t be overcome with what the UNSC have. This plants a small seed that the UNSC may need to seek help (which comes later). Ideas Behind the Map This mission was key to introducing the Sentinels in earnest, seeing how they’re more prolific in numbers, and having the player understand the destructive impact of their attacks. We wanted this area (given how key it was to the Ark) to be swarming with Sentinel activity. Role the Mission Fulfills in the Story’s Escalation “The Cartographer” allowed us to finally reach the map control room and learn about the Banished presence on the Ark. We also discover how they use portals, giving the UNSC a new strategic purpose. The information also highlights the presence of the Banished carrier, the Enduring Conviction. How the Mission Evolved Over the Course of Development The mission initially had no base and was focused on a small group of units. We felt it needed more impact since the previous mission had a substantial area with no base. This meant we got a base on the ground quickly and focused more on sandbox play. We started with a mechanic where you hid from the Sentinel swarm, but then moved more toward an empowering course of action—overcoming them and driving them away. |