
Halo Wars 2 Guide Campaign Walkthrough Act II
Mission: Under the Dark
The Forerunner Particle Cannon did its job, taking down the Enduring Conviction’s shield. Now it’s up to Jerome-092 to escort Isabel aboard the fearsome capital ship for the next phase of the plan. On their approach to the carrier’s gravity-lift platform, however, Reaver anti-air units knock a wing off their Pelican dropship. A team of UNSC Snipers deploys to rendezvous with Jerome at the crash site.
Mission Walkthrough
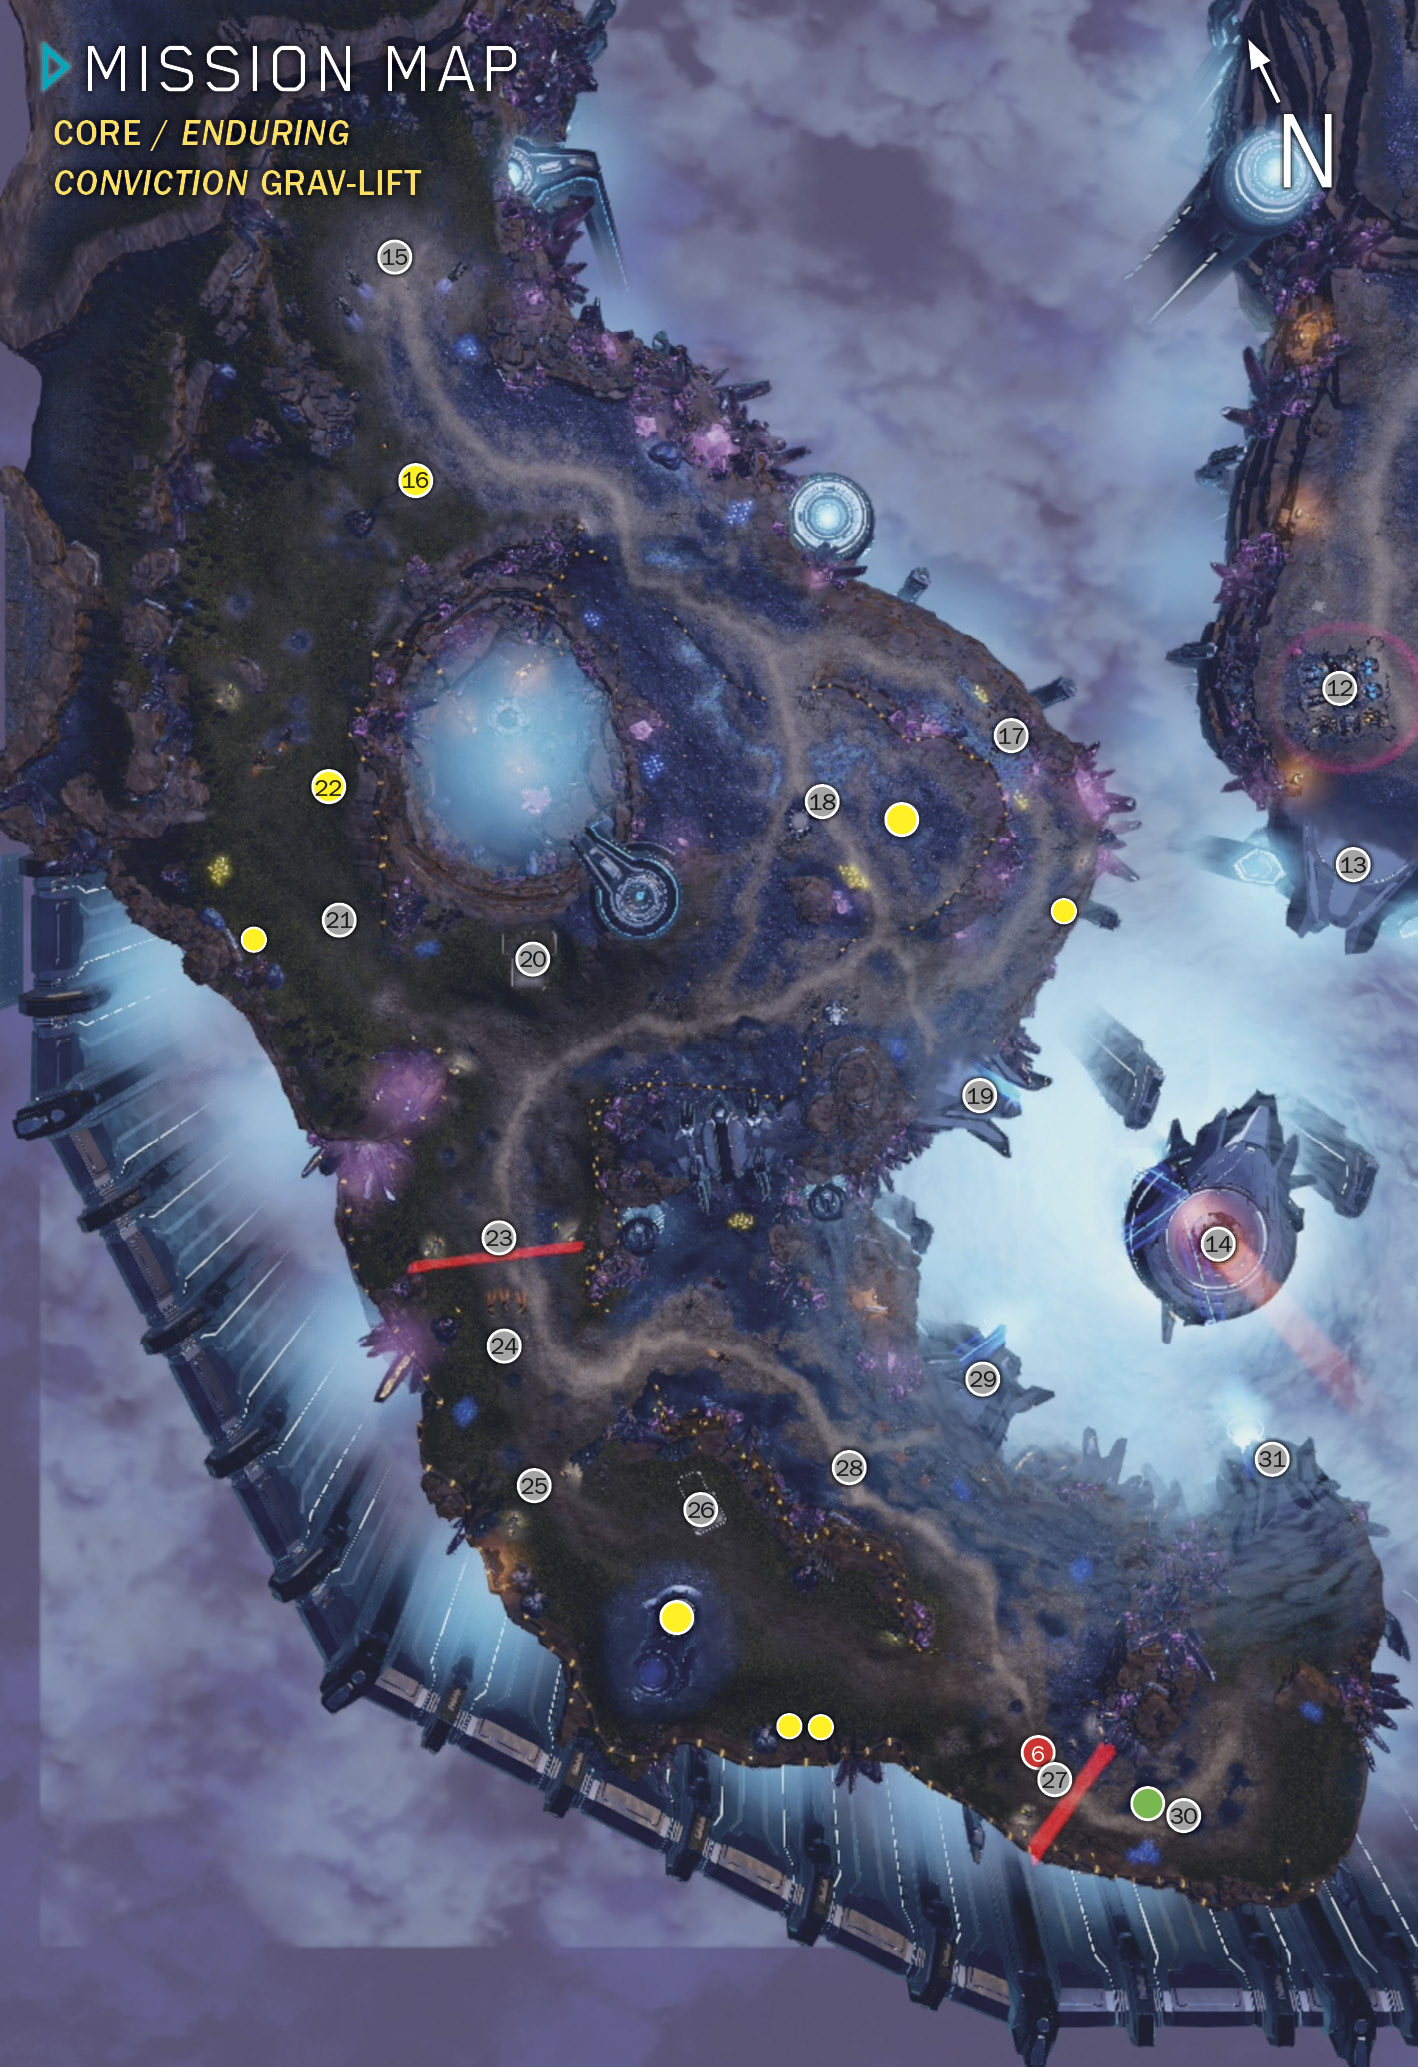
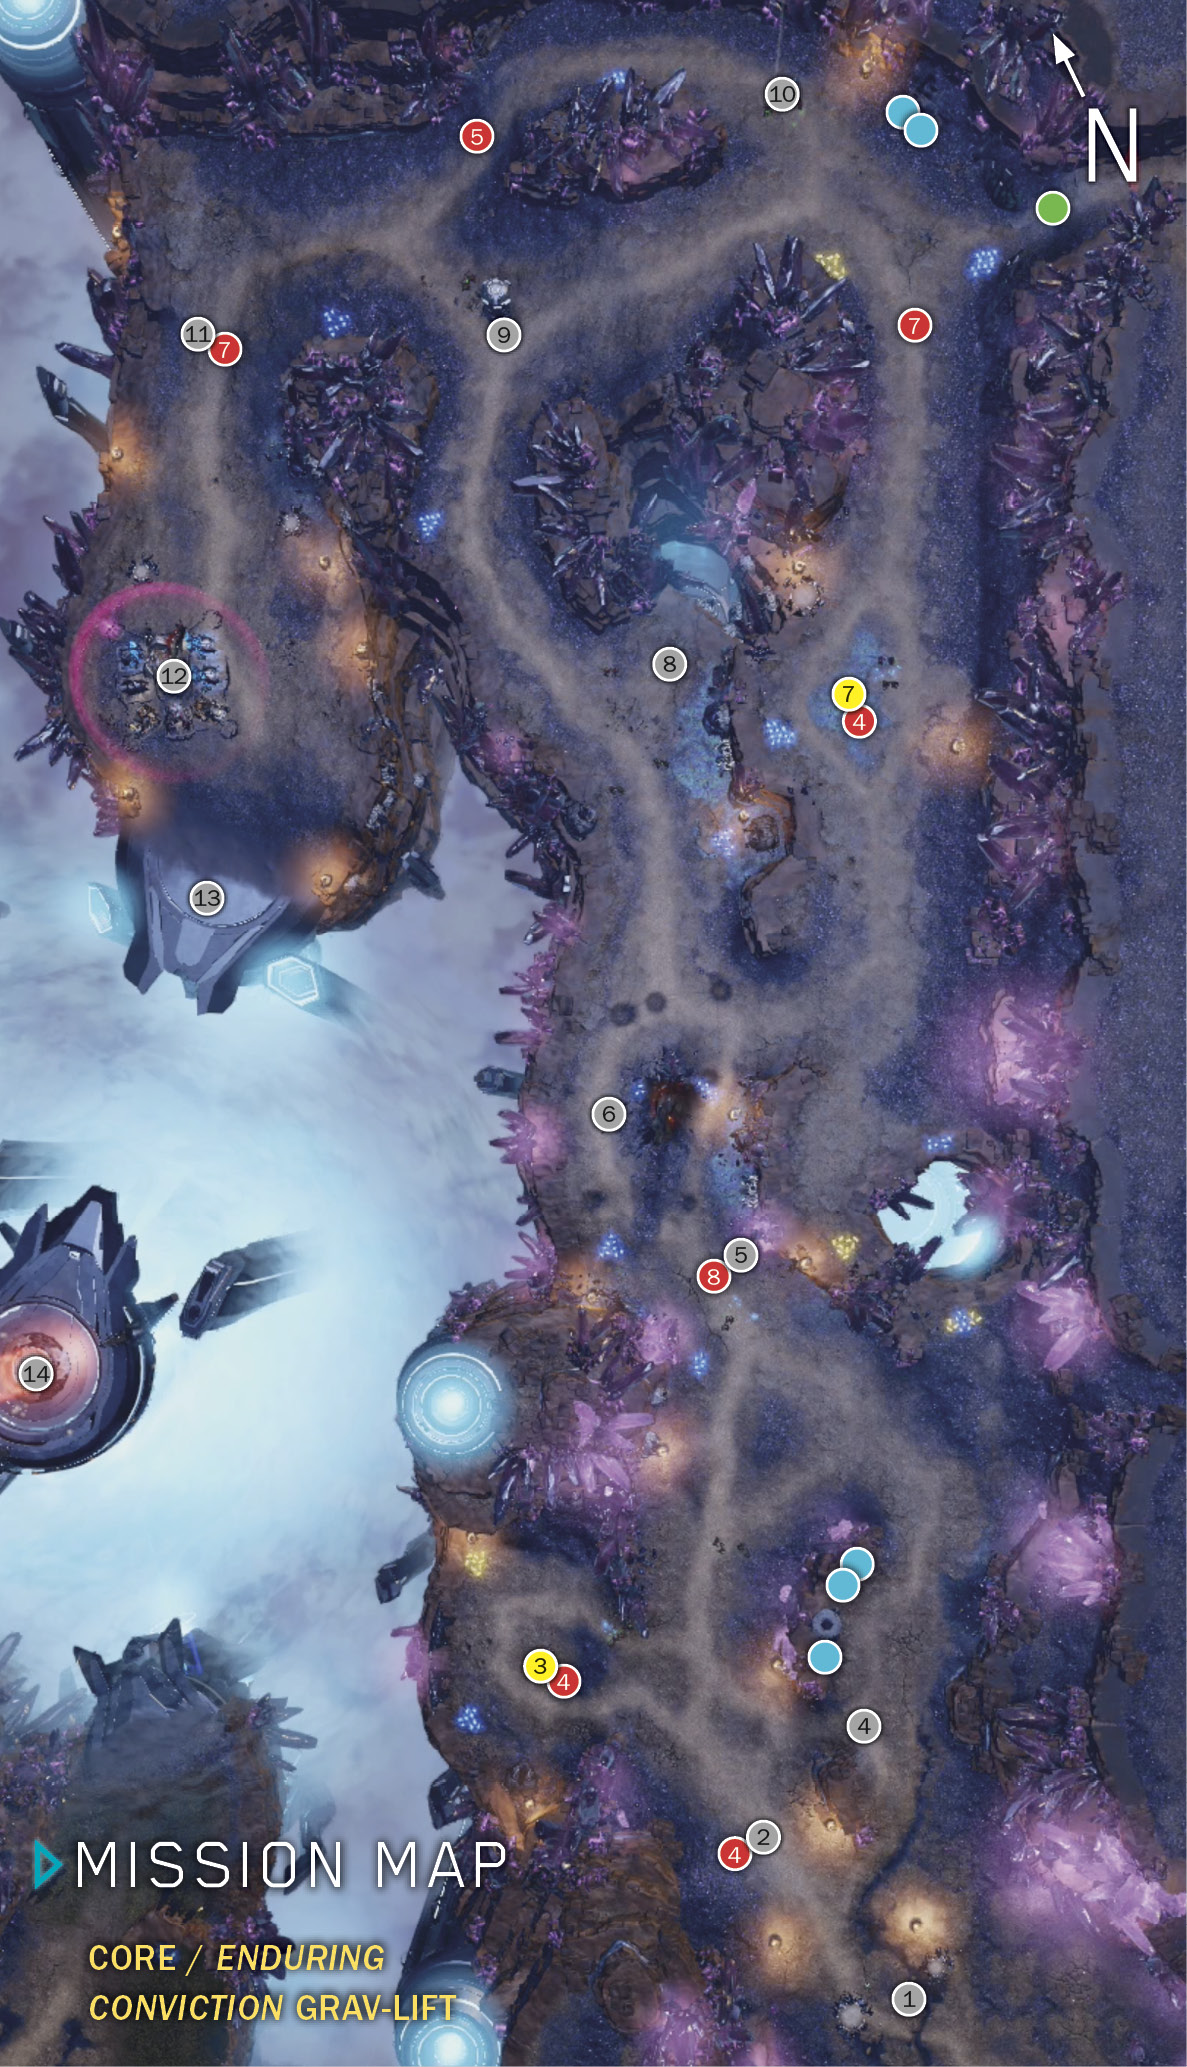
Mission SummaryInfiltrate a Banished compound to board the carrier Enduring Conviction. Scouting ReportUse your Snipers to spot targets for your long-range Kodiak artillery. ObjectivesPrimary
Optional
Bonus
Par Time
ExtrasSkulls Available: 1 Phoenix Logs: 2 Map Legend
|
 Start: Main base
 Plasma mines
 Power Node
 Ramp to Supply silos
 Plasma mines
 Pelican crash site (Jerome start)
 Power Node
 Minibase site
 Garrison
 Brute Warlord
 Minefield
 Main Banished base
 Jerome finish
 Gravity-lift platform
 UNSC base (Alice start)
 Power Node
 Left fork
 Right fork (garrison)
 Kodiak deployment area
 Minibase site
 Brute Warlord
 Power Node
 Shield gate (Turrets)
 Deploy Kodiaks here
 Banished Turrets
 Minibase site
 Shield gate
 Wraiths
 Kodiak deployment area
 Brute Warlord / Banished secondary base
 Kodiak deployment area
 Plasma mine cluster(number of mines listed in circle)
 Phoenix log
 Supply silo
 Power Node
 Power silo
The mission opens  with a blazing firefight. You control four Snipers—two inside the nearby garrisons, and two outside. Snipers are specialized marksmen, particularly lethal against infantry targets; each Sniper has a spotter drone with a red targeting laser to help the rifleman pinpoint targets. But to use Snipers best, you need to “micro” (as in “micromanage”) their actions a bit more than other types of units. Check out our “Tips from the Testers” for more on this.
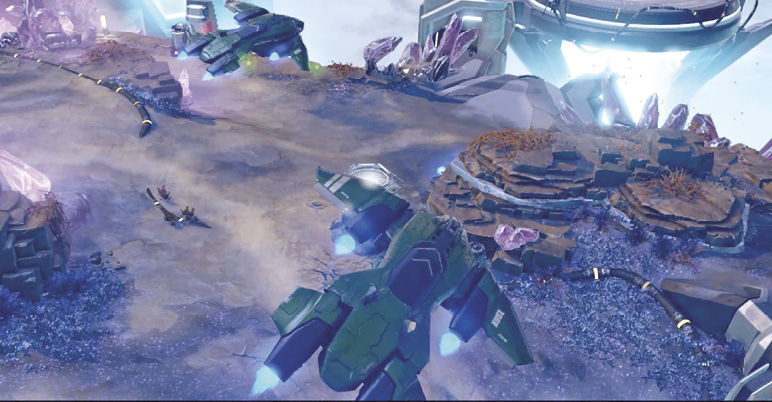
Bonus Objective: Kill 50 Banished Units with a UNSC Sniper
Your first foes are Grunts and Hunters. One of the garrisons contains an open slot, so you can either put another Sniper inside its cover or leave him out and practice your micro skills. Let your garrisoned shooters fire at will; select the two outside Snipers and concentrate their fire on individual targets. In most cases, two or three solid Sniper shots take down an infantry squad. Practice moving Snipers after every shot they take.
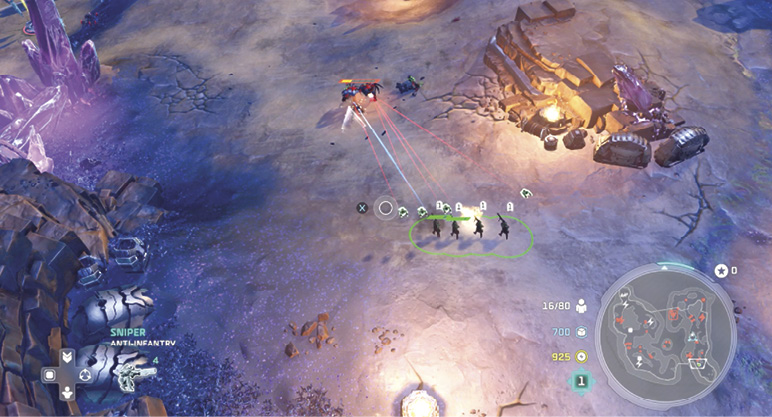
When the Banished Suicide Grunts appear, be ready for their aggressiveness. Their entire purpose is to fling themselves at enemies and self-detonate, so keep your distance. Fire and pull back, then fire again. Of course, all units should stay at range against Suicide Grunts, but this effort is good practice for managing Sniper teams.
Bonus Objective: Use Snipers to Sweep for 50 Plasma Mines
The moment you clear the passage, the Banished deploy a row of four cloaked plasma mines just up ahead  . These munitions can be targeted and destroyed from a safe distance, but only if spotted by a detection unit. Snipers can detect cloaked objects and units, but if you give them long-distance movement orders, they can walk right over the mines anyway. (See our Tip.)
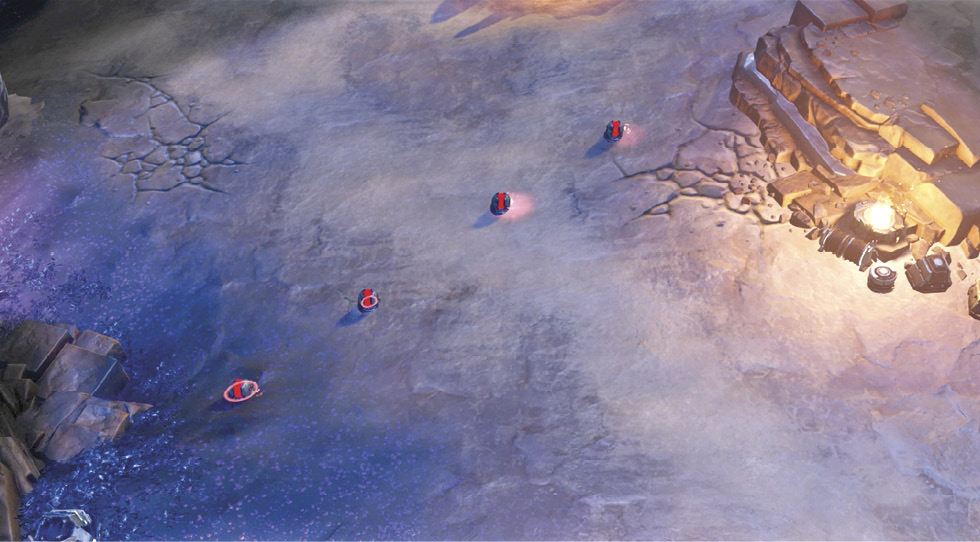
Because you viewed the actual deployment of this first cluster of mines, you can move your four Snipers in small increments toward the exact spot until the row is visible. Then target each mine to destroy it. Going forward, however, you don’t get such a handy preview of plasma mine placements. You need to step carefully. This can be tricky if enemy units are also engaging you in a firefight. (Check our mission map to see where plasma mine clusters are located.)
Capture the Power Node
After you destroy all four mines, proceed carefully down the canyon. Squads of Hunters, regular Grunts, and explosive Suicide Grunts are patrolling the area, so push forward in small steps to let your Snipers spot targets from a distance and take shots from long range. This way you can terminate individual targets quickly, before they can approach and engage you. If a larger group advances on your Snipers, keep pulling backward to stay out of the enemy’s range while your marksmen nail them from afar.
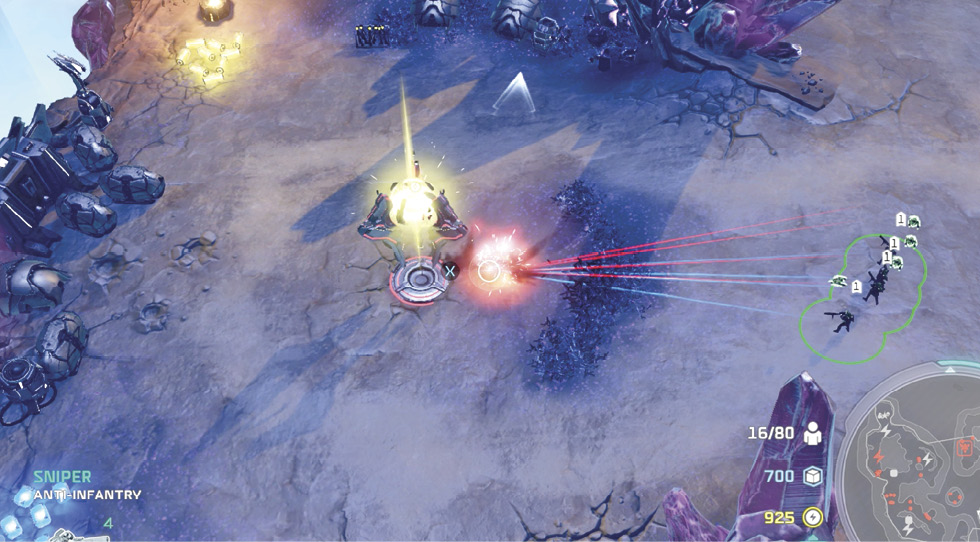
Fight your way up the left side of the canyon to spot a Banished-controlled Power Node  in a clearing on the left. Approach in small steps to spot the plasma mines—four of them—circling the Node. Destroy all four, then send one Sniper to capture the Node to start your Power inflow for the mission. Send your other Snipers to snag the Power/Supply pickups scattered in the clearing.
Get to the Crash Site
After the Node is captured, exit the clearing and head up the opposite ramp  to find some Banished Supply silos to whack; collect all the pickups. Work your way up the canyon in small steps, collecting more scattered pickups and keeping a sharp eye out for another cluster of eight plasma mines
  . Soon you spot Jerome at the Pelican crash site
  , bashing a Brute. Add Jerome to your Sniper team.
Optional Objective: Eliminate All Three Brute Warlords
Atriox has deployed three tough Brute Warlords  ,
,  ,
,  to patrol the area. You can pick up extra mission points and earn a Skull for eliminating all three of them. Warlords are tough Hero-level units, so don’t tangle with them unless you’ve got a strong squad, preferably with a Spartan leader taking point.
Primary Objective: Get Jerome and Isabel to the Gravity Lift
Spot the Banished Base
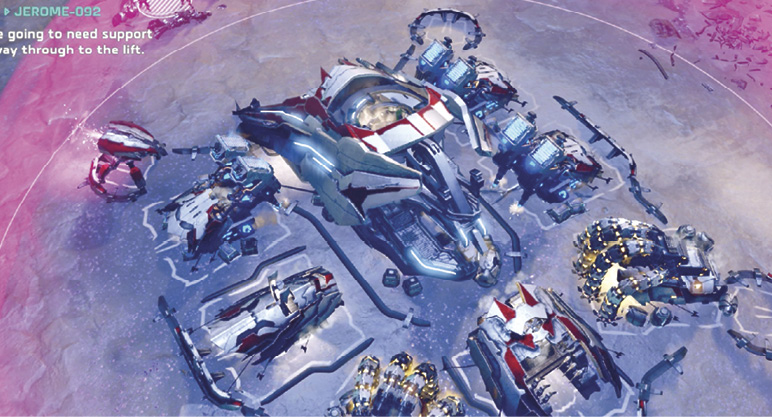
Just past the Pelican crash site, the canyon splits into two forks. An efficient route: first, take the right fork and carefully approach another Power Node  . Have your Snipers spot and shoot the four mines around the Node, then capture it. Now double back and head up the left fork. This triggers a quick scene: Isabel points out a Banished base blocking your route to the grav-lift. Then the Spirit of Fire automatically drops in a Two-Slot Minibase
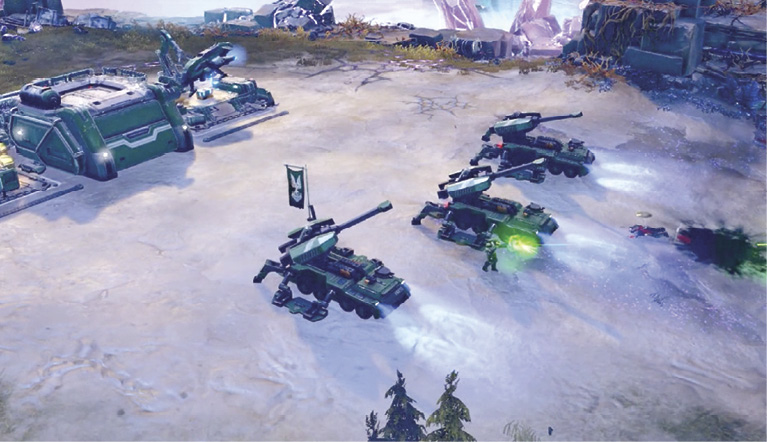
  with a Barracks and Supply Pad already slotted in. Cutter also delivers a trio of Kodiak M400 self-propelled artillery units.
Primary Objective: Protect the Kodiaks
Your next goal is to work your Snipers down to the Banished base so they can spot targets for the Kodiaks, which can hammer the base into cinders. While you do this, you must also protect the Kodiaks from aggressive enemy forays. (The three Kodiak health bars appear onscreen at the upper right.) With two captured Power Nodes already generating Power flow and lots of other resource pickups in your bank, you can immediately upgrade your Supply Pad and train a sizable force of Marines and Snipers. Then divide your force into a Spartan-led, Sniper-filled strike team and a mixed-unit defense team. We also suggest you buy the Infantry Upgrade I to give your small army a 10 percent boost in health and damage output.
Kill the First Warlord (1 of 3)
Send your strike team up the canyon to meet Banished infantry dropped in via Spirit craft. Continue working north to the garrison tower  and man it with a Sniper and a Marine squad to keep that approach route under control. Proceed carefully eastward, with your team (check our mission map for mine placements) prepared to lock horns with a Brute Warlord
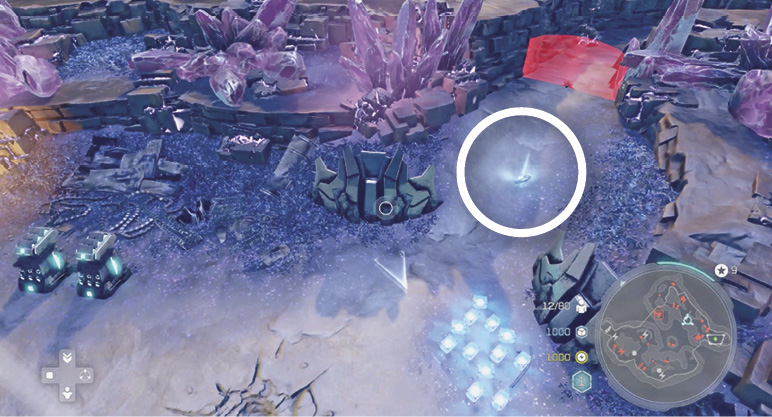
  . Send Jerome and the Marines in close, and keep your Snipers behind to nail the Warlord from afar. After he falls, continue east to find Supply silos and a Phoenix log (circled in our shot) in a side passage.
Spot the Base for the Kodiaks
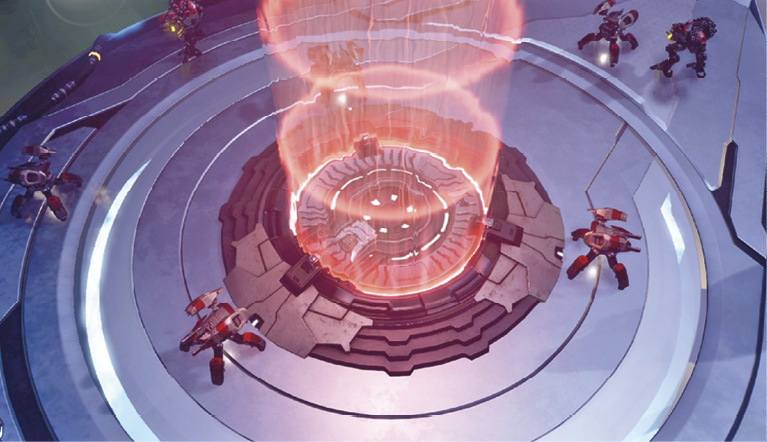
Follow the path west as it curves down to the Banished base  . After you clear out the minefield
  and Isabel reports that you’re approaching the base, select your Snipers and activate their special ability to cloak. Push cloaked Snipers toward the base to reveal the base in the fog of war. Now your Kodiaks can pound the base into rubble!
When the area is clear, maneuver Jerome down to the marked location  to trigger an interlude: Isabel notes that the Turrets are still active around the grav-lift
  and you need some heavy armor to destroy them. Then the scene shifts to Alice-130, deployed at a UNSC Stronghold
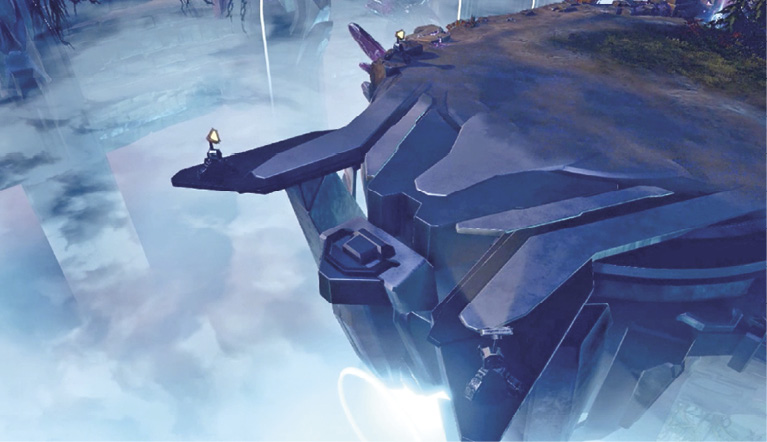
  on the opposite island. She lays out the plan: ferry Kodiaks to three spots overlooking the grav-lift platform and unleash a barrage on the Banished anti-air units guarding the lift.
Primary Objective: Disable the Banished Shield
You start this next mission phase at the three-slot Stronghold (Supply Pad, Barracks, and Garage) with Alice, two Snipers, and three Kodiak mobile artillery units that you control. A shield barrier blocks your way forward, but you can see its Generator a short distance beyond the red barrier. Select the Kodiaks and press the Special Ability button to deploy them into lockdown mode, unleashing their siege cannons. Just six shells destroy the Generator and dissipate the shield.
Primary Objective: Deploy Kodiaks in the Three Designated Areas
Send an infantry unit to capture the Power Node  just down the road. Add a pair of Turrets in the slots by the base, and then start training a mixed strike force from your facilities: add two to three more Snipers, five to six Cyclops, then a few Hellbringers and Marine squads. Assign all your Snipers to one hotkey, and all Kodiaks to another. Now move out.
Reach the First Kodiak Site
Follow the road to the first fork. Split off a single infantry unit and send it up the narrow left fork  along the island’s edge to collect scattered pickups and destroy the Power silo. Meanwhile, send your main force up the right fork and let your Hellbringers toast the Hunters bunkered in the garrison
  . Capture the nearby Power Node, then bring all units up to the first platform designated onscreen as a “deployment area”
  . Simply drive one of your Kodiaks to the marked spot—it automatically deploys.
Destroy the First Banished Minibase
Continue along the road. Take out another garrison full of enemy infantry, then lay waste to a small Banished minibase  . Here you can drop in your own Two-Slot Minibase to replace it. Add an Armory to research Reinforcements I and raise your Population cap. (And if you haven’t already done so, go back to your Barracks and research the infantry upgrade as well to buff up your Cyclops, Marines, and Hellbringers.)
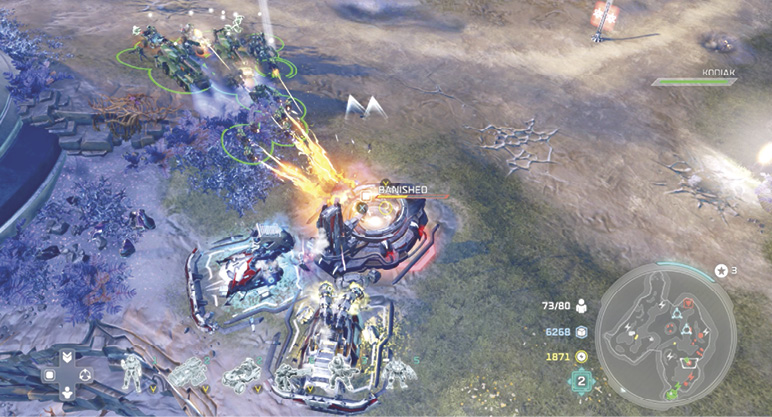
Kill the Second Warlord (2 of 3)
Before you head up to the next red shield gate, continue past the base, following the path around the curve of the inner circle. Soon you run into another Brute Warlord  and his crew. Let Alice lead your Hellbringers and Cyclops units in taking him out (or call down an orbital strike). Then send infantry to capture the nearby Power Node
  and scour the area for pickups; watch out for an enemy Turret near the Node. Now you’re in good shape for the final push.
Breach the Shield Gate
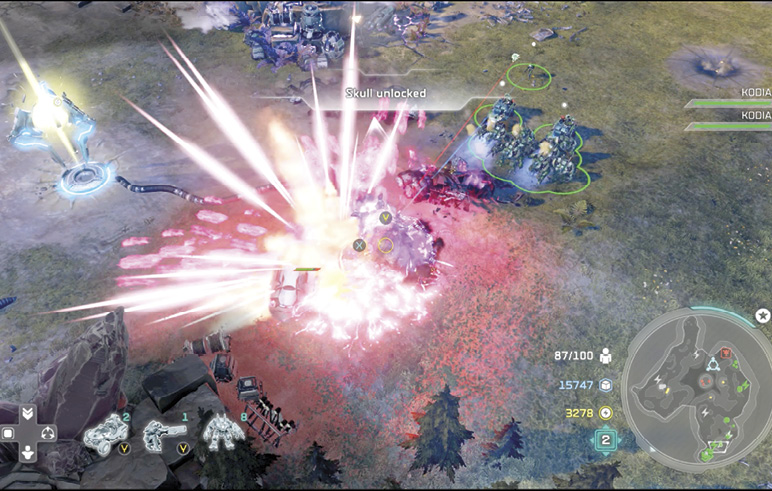
Two nasty Turrets guard the approach to the red shield gate  , plus a nasty Chopper squad is parked right behind the gate. Keep your units back out of range, and switch your two remaining Kodiaks into artillery mode. Then cloak a Sniper and send him up near the gate to spot for the Kodiaks. Their long-range siege cannons pound the Turrets and Choppers into dust.
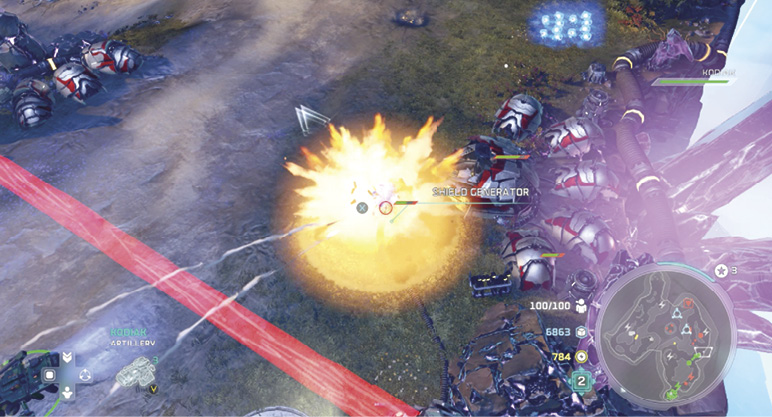
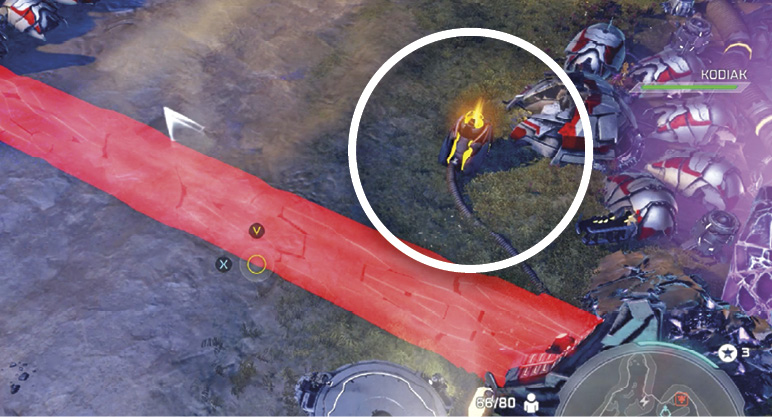
If the Choppers make a rush, get your Cyclops units out front to meet them. Protect those emplaced Kodiaks! When the Turrets are destroyed, unlock the Kodiaks, move them closer to the red shield, and then lock them down again into artillery mode. Target the Shield Generator (circled above) on the other side of the red shield to dissipate the shield.
Destroy the Second Banished Minibase
Move your Kodiaks a short distance through the gate to a spot  directly between the Banished hut clusters, out of range of the next pair of enemy Turrets
  up ahead. Again, send forward a cloaked Sniper to spot for the artillery, then let your big guns blast the Turrets. Move through the entrance to destroy the Banished minibase
  , put in your own One-Slot Minibase, and capture the nearby Power Node.
Reach the Second Kodiak Site
Repeat your Kodiak/Sniper tactic once more to eliminate the Turrets at the next shield gate  . Use the Snipers to detect and destroy the line of plasma mines planted in front of the gate.
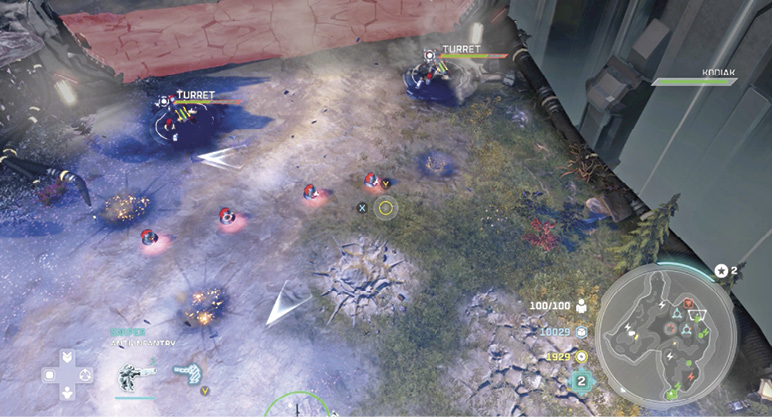
Before you go through that gate, veer left and send Alice and your Cyclops team down the winding road to take out a trio of Wraith tanks  . This clears a path for a Kodiak to rumble to the second deployment area
  on the platform overlooking the gravity lift.
Kill the Third Warlord (3 of 3). Completion Earns a Skull!
Now take your full army back to the last gate  , bombard the Shield Generator on the other side, and then push through to find another Brute Warlord and his squad patrolling the path beyond
  . Consider calling in an orbital strike on this crew. Remember to keep your last Kodiak safe behind the screen of your other troops.
Primary Objective: Destroy the Secondary Banished Base
Reach the Third Kodiak Site
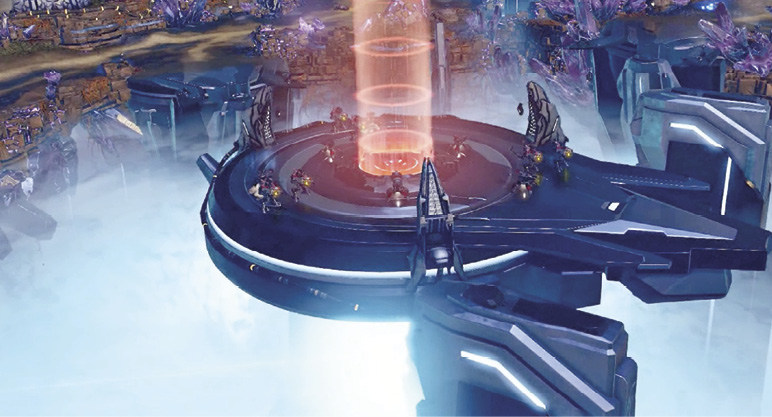
After the Warlord falls, demolish the big Banished base just beyond. This clears the way to the final deployment area for your Kodiak. Send the big gun up to the platform  . Its arrival triggers the bombardment that clears the grav-lift platform for Jerome.
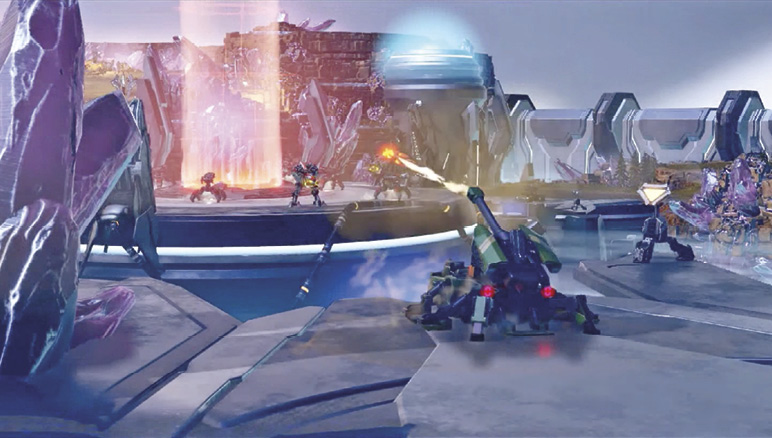
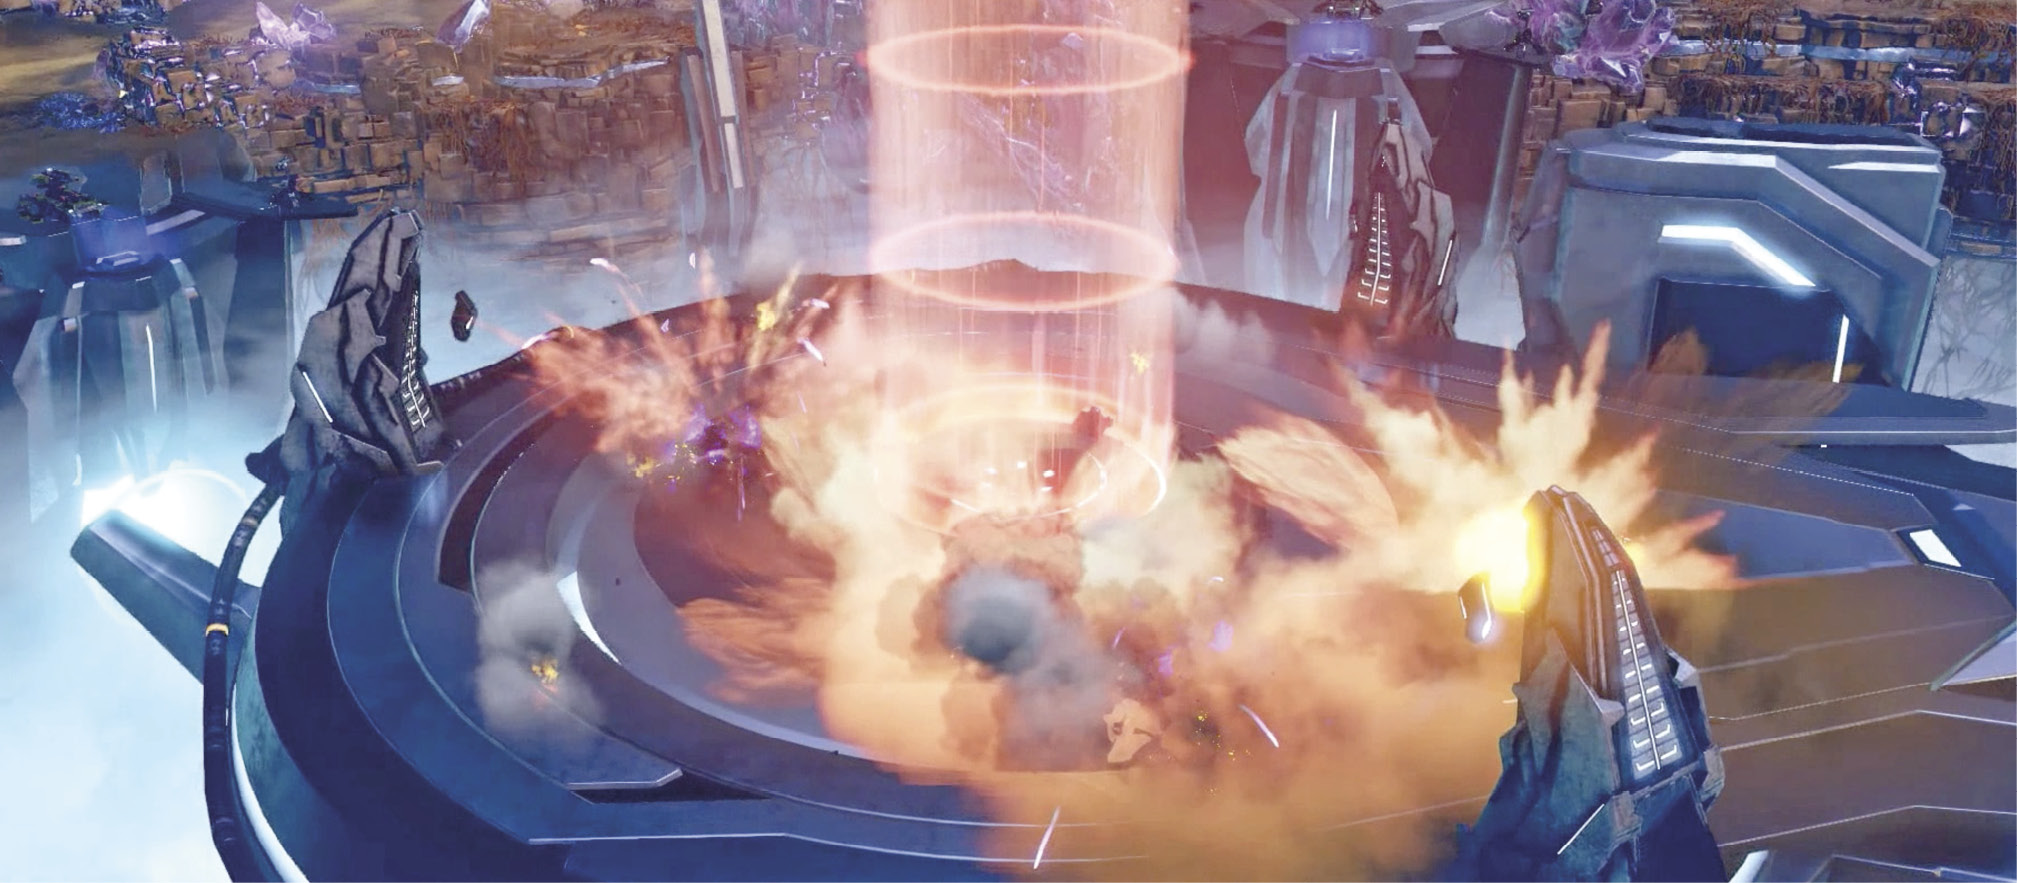
This in turn leads to one of the more spectacular cutscenes you see in any video game: Jerome and Isabel board the Enduring Conviction and use its considerable power to conjure an even greater power…
 “Under the Dark”Sculpting the Big Story Beats The mission served as a great way to bring Jerome and Isabel onto the carrier to destroy it. We wanted a big challenge for the player, so it played out over two key parts. First, get Jerome to the gravity lift; second, remove the defenses to allow him to access the ship’s grav-lift. This mission also played a key role in allowing Isabel to get involved and seek revenge on Atriox for what he did to her friends at the research facility. Decisions about When to Introduce New Gameplay Twists We wanted to ensure that Jerome had an explosive entrance into the mission. When Snipers are up against the odds, he arrives to save the day. We also see the Halo launched by the UNSC when the dust settles after the Enduring Conviction goes down. The UNSC launch it in an effort to get help from Earth. Ideas Behind the Map The mission map has a large negative space in the center, which served as a means of breaking the mission up into its two key parts. You onboard with the Kodiaks and Snipers in the first area, and then master them in the second. Role the Mission Fulfills in the Story’s Escalation The mission sets up the explosive blur cutscene where the mercenary carrier is torn from the sky by Sentinels. This further establishes the Ark as having a “personality” all its own. We also see Isabel transition into a more competent AI and get her vengeance on the carrier. How the Mission Evolved Over the Course of Development The mission moved through quite a few cycles and even had you starting as a Spartan Sniper at one point! We previously had a big Forerunner puzzle linking the two sides but eventually separated them and had the halves play as their own individual parts. |