
Halo Wars 2 Guide Campaign Walkthrough Act III
Mission: The Foundry
A new Halo ring hovers in the sky above the Ark’s Foundry, the birthplace of Halos. A race to the Halo’s control room becomes the crux of the battle, and a large Banished invasion has cut off contact between Spirit of Fire and its landing parties on the ring. Atriox maintains an advantage in sheer numbers, so Cutter decides to target the Ark’s access points to the Halo and cut off the Banished reinforcements. Unfortunately, the enemy has erected nearly impregnable barricades to protect their access routes.
Mission Walkthrough
Mission SummaryPush back the Banished invasion to reach the Halo’s control room. Scouting ReportBlisterback artillery units have been spotted in the area. Use Cyclops units to take them out. ObjectivesPrimary
Optional
Bonus
Par Time
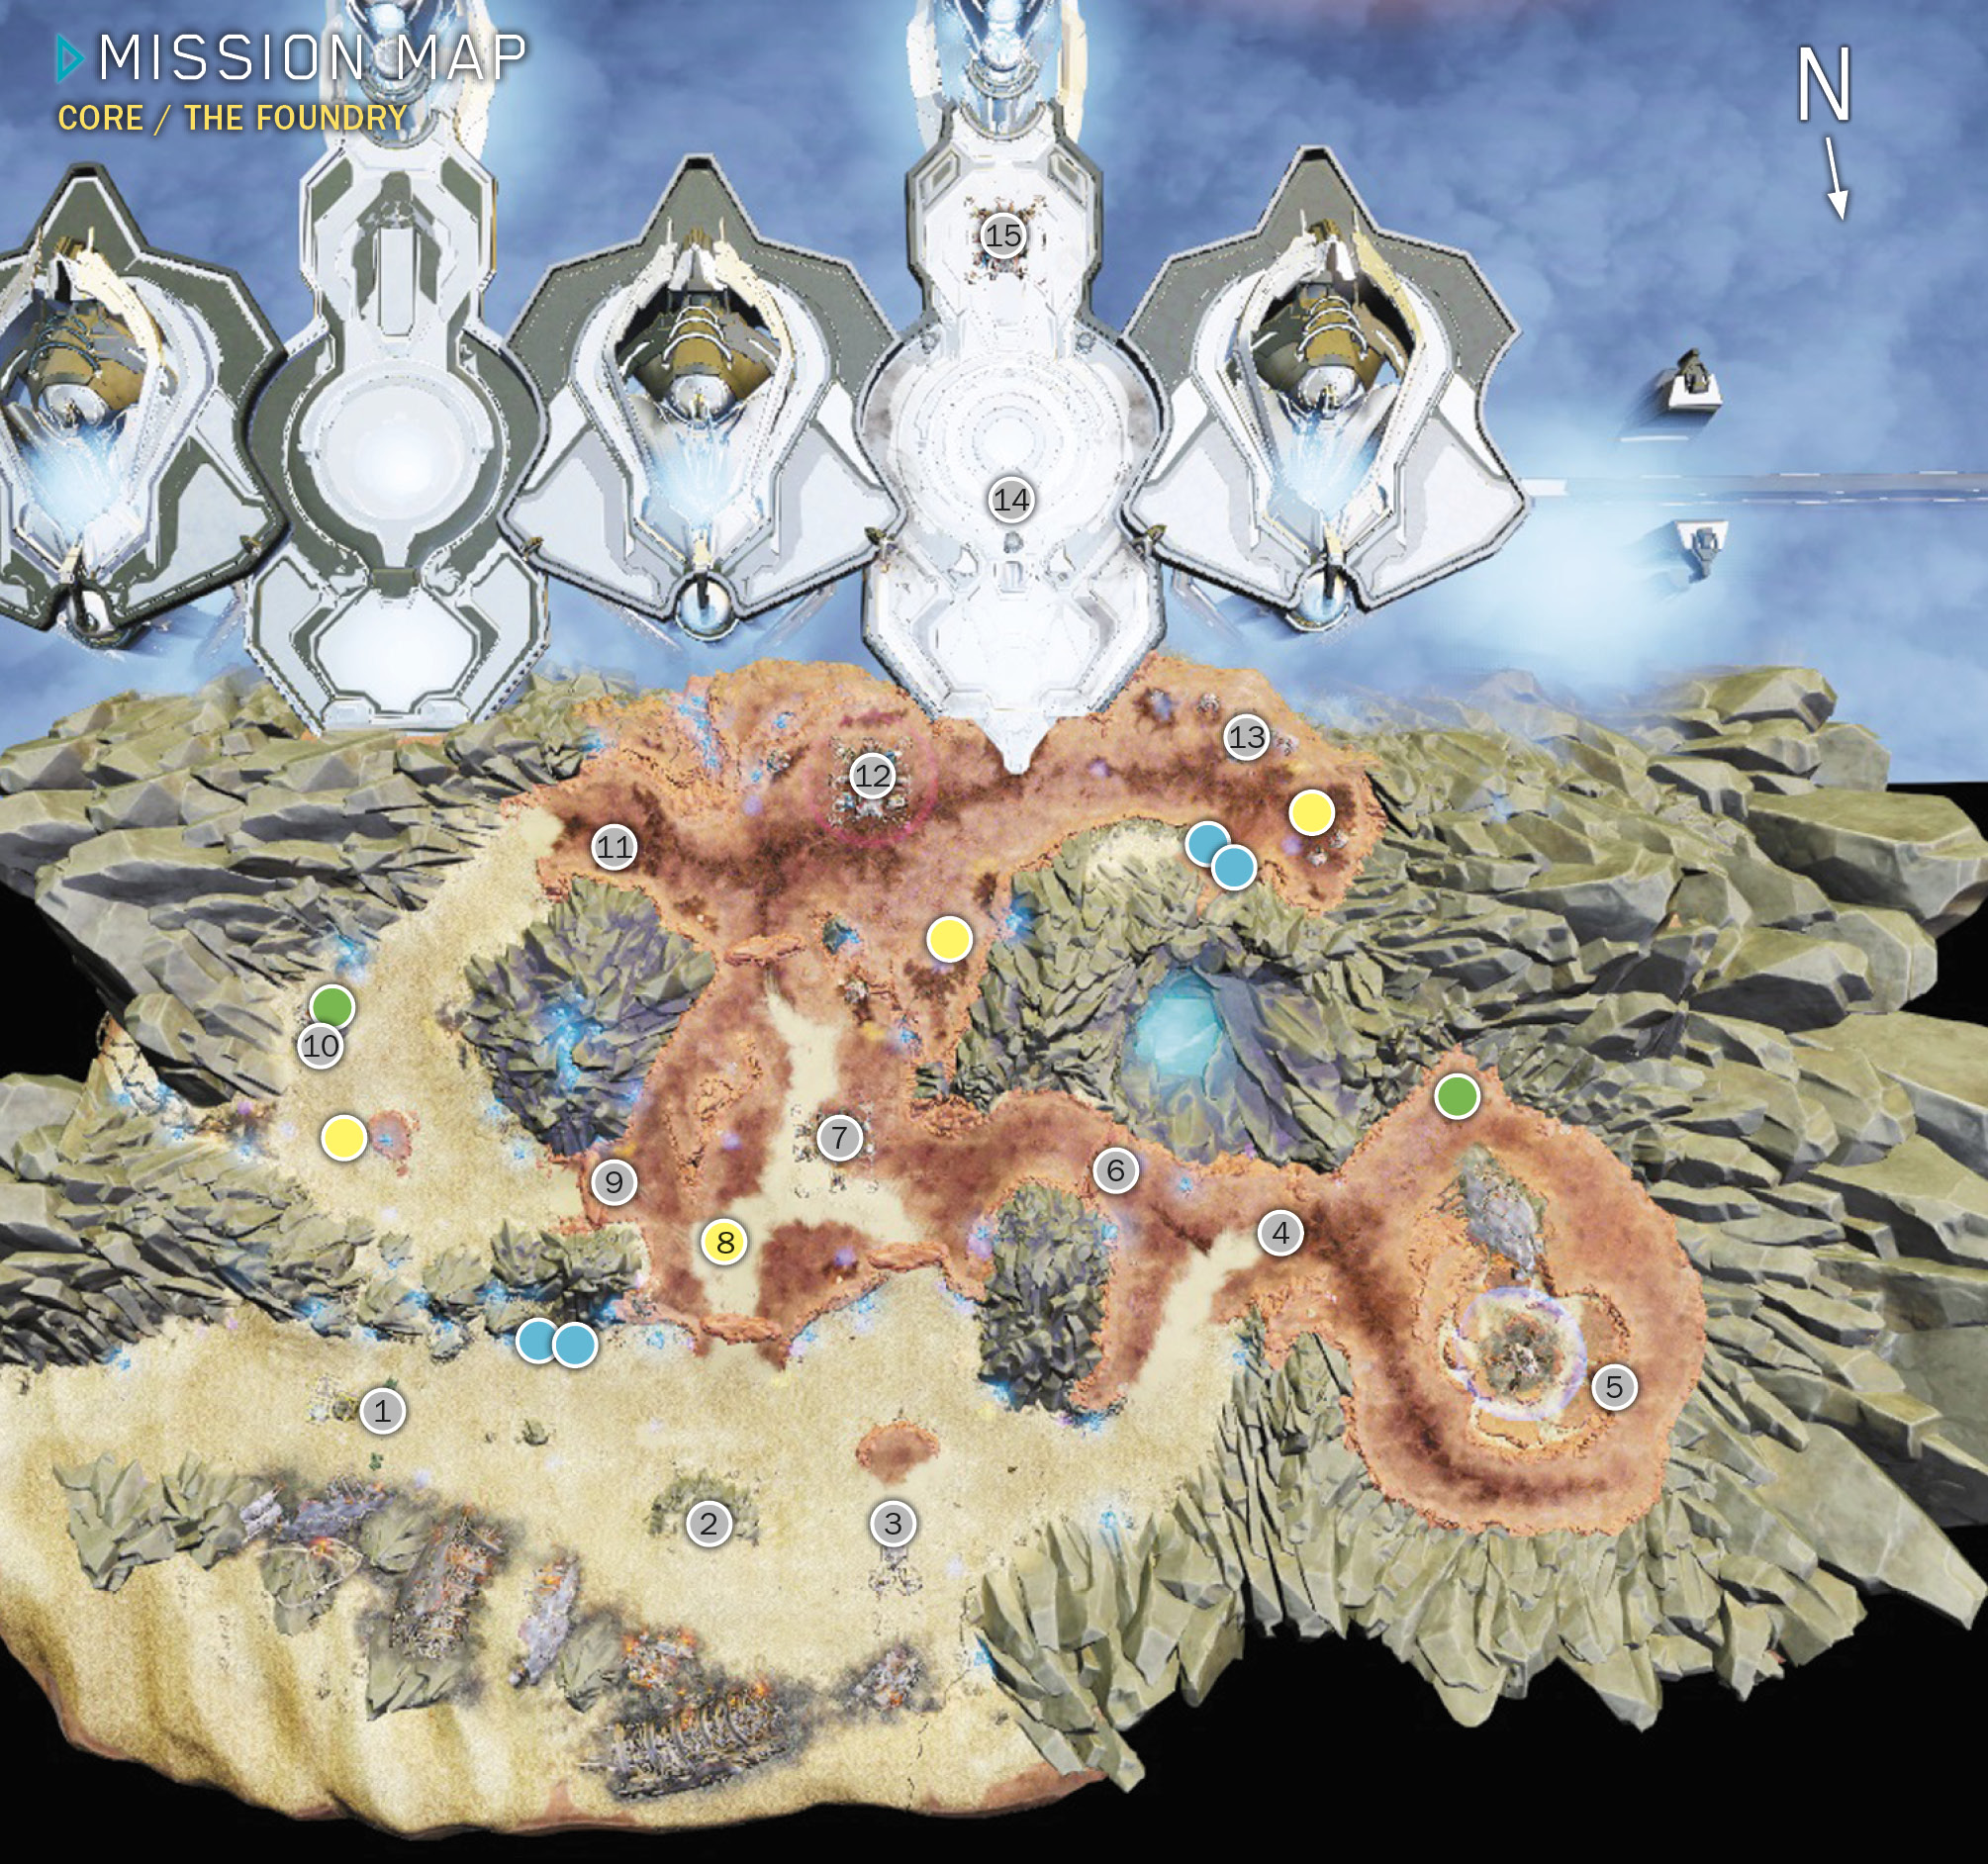
ExtrasSkulls Available: 2 Phoenix Logs: 2 Map Legend
|
 Start
Start Blisterback
 Banished production facility
 Triggers appearance of Scarab Commander
 Scarab repair platform
 Amber barricade
 Base site
 Power Node
 Amber barricade
 Banished production facility
 Fuel trucks
 Base site
 Banished production facility
 Halo Forge platform
 Base site
 Phoenix log
 Supply silo
 Power Node
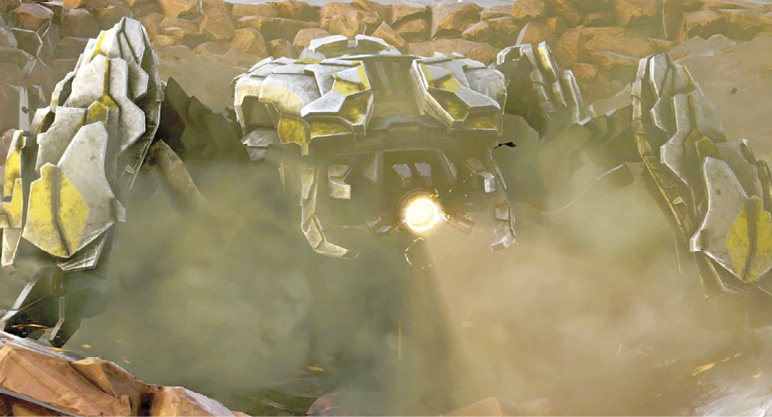
Professor Anders has located a Scarab under repair and ripe for hijacking. A Scarab’s blistering plasma beam could easily destroy solid rock barricades like the ones the Banished have piled up to block your route to the new Halo’s access points. All you have to do is fight to the Scarab, seize control, bash down the barriers, and batter through a large contingent of the army that crushed the Covenant. No problem!
Primary Objective: Capture the Damaged Scarab
As the mission opens, a UNSC base  is getting hammered by Banished Blisterbacks, heavy air units that launch barrages of plasma missiles and look like monstrous ticks. These massive vehicles must land and lock down in order to fire their long-range Annihilator siege missiles at ground targets, so it’s best to blast them while they’re still airborne. In air mode, they rely on less deadly, medium-range plasma cannons to hit all targets.
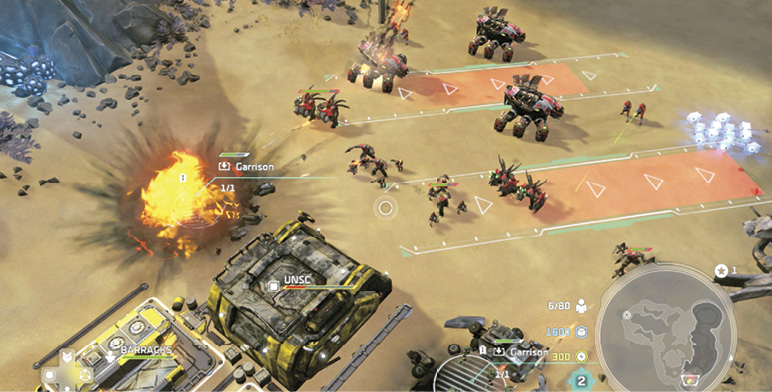
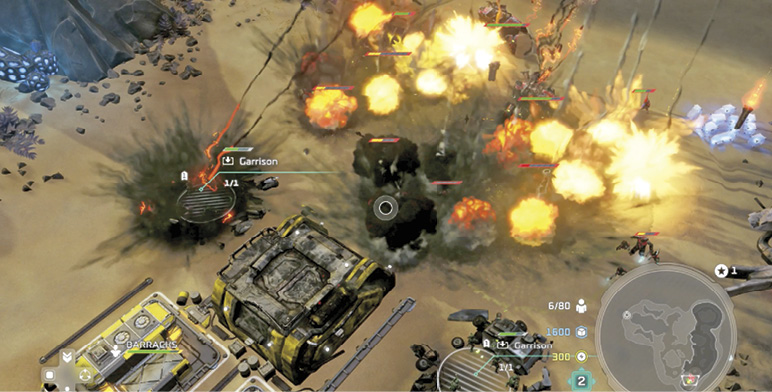
Captain Cutter orders in a devastating Archer Missile strike on the Blisterbacks that eases the pressure and buys you time to get started. Pelican dropships deliver Douglas-042 and Alice-130, along with a relief squad including two Scorpion tanks, two Cyclops, two ODST units, and some upgraded Marines (with rocket-firing combat mechanics). This crew makes quick work of attacking Banished infantry. Your orders: capture that Scarab.
Move Up the Valley
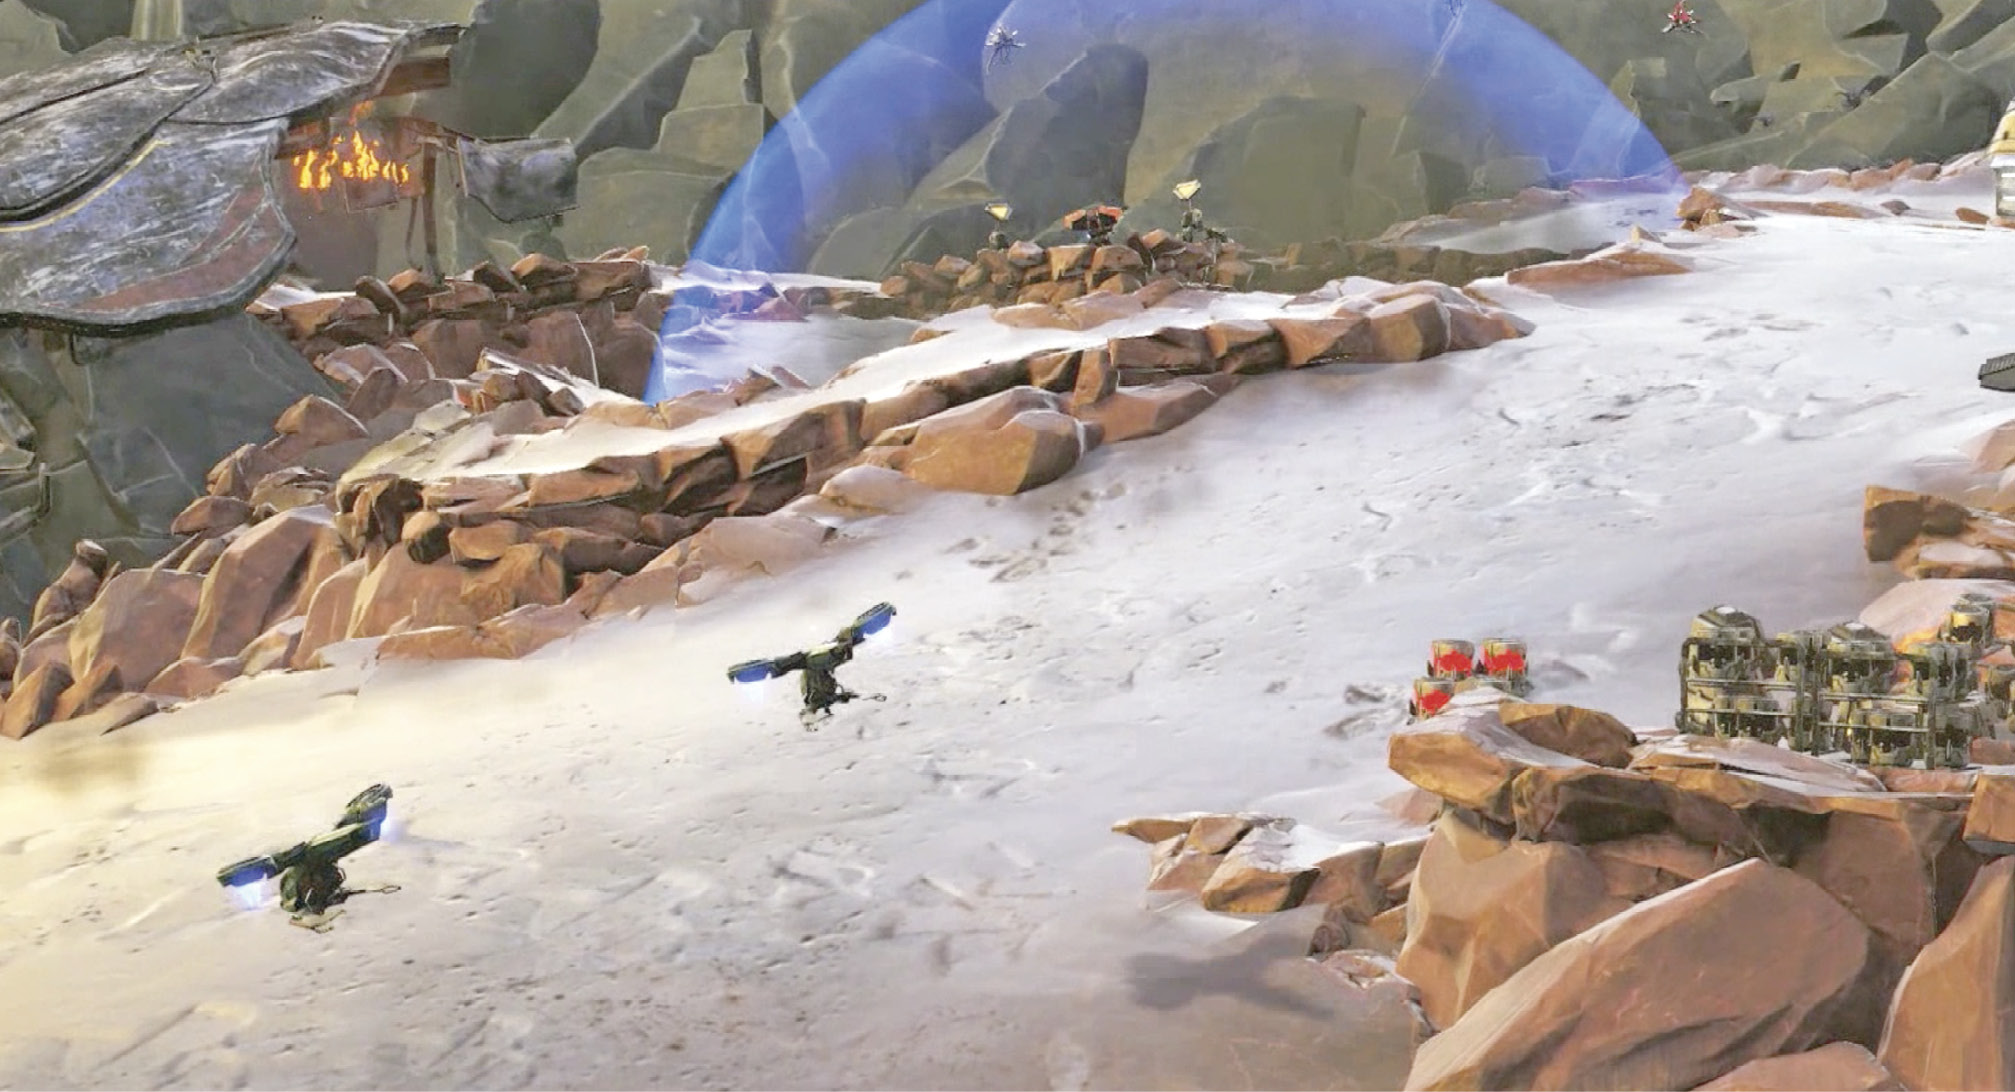
Start pushing up the sandy slope, collecting numerous pickups and hitting the two Supply silos along the left canyon wall. Soon you spot another Blisterback  perched on a raised outcropping with some Banished infantry. Immediately send Alice to hijack the ugly vehicle, and bring up your other troops to wipe out the Grunts while the hijacking occurs. Continue up the valley, searching the edges for pickups.
Optional Objective: Cripple the Three Banished Production Facilities
Destroy the First Production Facility (1 of 3)
Just up the hill, another Blisterback with infantry support sits on a rocky rise next to a Banished production facility  . Destroy the tank, then shatter the base. Note that this small Power-extraction operation is one of three such production facilities
  ,
,  ,
,  on the map. Destroying each one slows the flow of Banished units onto the field. If you destroy all three, you also pick up extra mission points.
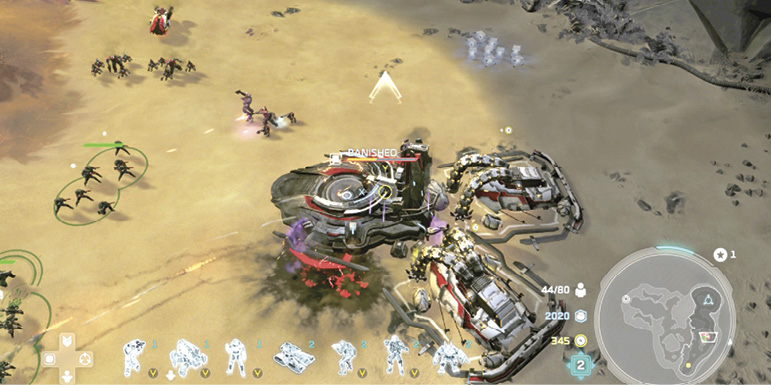
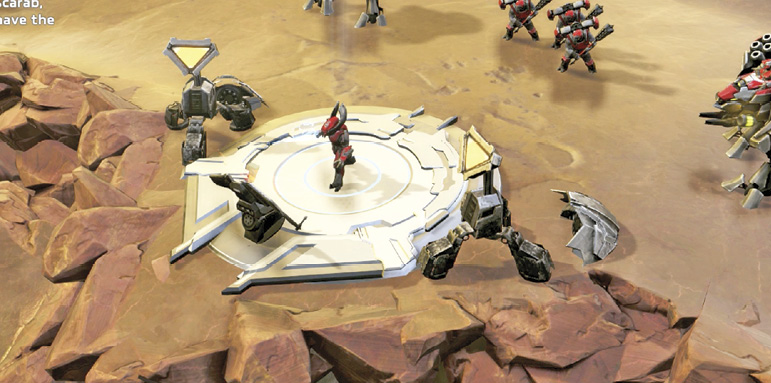
Heal your troops with Restoration Drones, then continue up the valley. Knock out Blisterbacks and garrisoned infantry until you reach a spot  that triggers a scene with the Scarab Commander, who waits up on the repair console platform
  . Observe that he’s a powerful Honor Guard unit and has some Jump Pack Brutes and Reavers with him overseeing the repair; another Blisterback flies past too.
Primary Objective: Eliminate the Scarab Commander and His Support
After the scene, some Banshees and Hunters attack. Target the flyers with your infantry and hit the Hunters with your Scorpions. As you work up the ramp to the right, be ready for the Jump Pack Brutes to drop in. Farther up the slope, the grounded Blisterback slings missiles at you. Take it out!
At last, the Scarab Commander rushes downhill with his Reavers. (A Scarab Commander health bar appears onscreen at the upper right.) The Honor Guard are melee units who must fight in close, swinging brutal energy swords. Pull your units back and hit the Commander from afar as much as possible, but unleash Jerome’s Spartan Slam on him when you can. When the Scarab Commander finally falls, his defeat triggers a scene: Douglas leaps aboard the Scarab and hijacks the super-heavy assault walker. Here you pick up three new objectives—two primary and one optional.
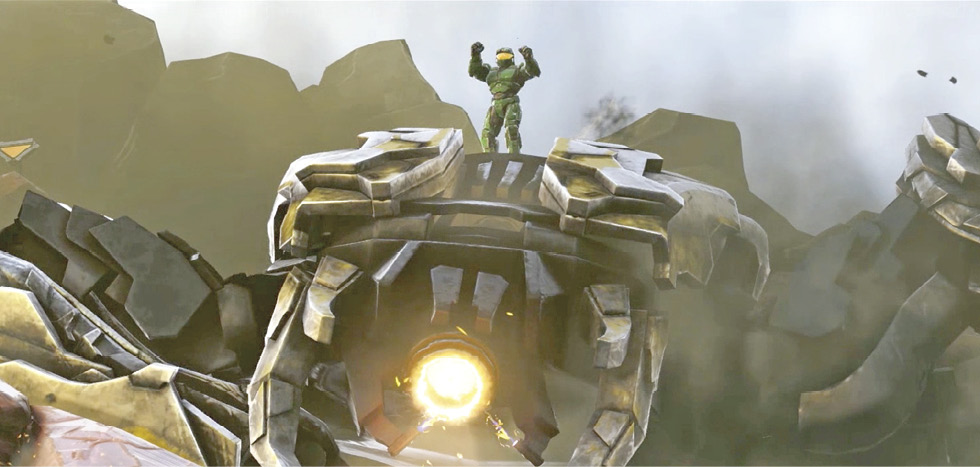
Primary Objective: Breach the Defenses with the Scarab
Primary Objective: Protect the Scarab
Optional Objective: Prevent Damage to the Scarab (Keep Health Bar Above 25 Percent)
The rest of the mission becomes a balancing act. The Scarab is the most powerful unit on the field by far, and you must use it to blast through amber barricades and crush Banished structures and troops. (Note that the Scarab adds 20 to your Population!) It can absorb a lot of punishment, which keeps your other units alive longer. But if the Scarab’s health drops below 25 percent, you lose bonus mission points…and if the big guy falls, you fail the mission.
As Cutter points out, the Scarab is still a “vehicle,” and as such, it’s more vulnerable to air and anti-vehicle units. You want a solid support force to escort the Scarab and respond quickly to counter any Banshee flyers or anti-vehicle specialists like Hunters or Locusts.
Breach the Amber Barricade
Stomp downhill over the poor Banished infantry units that rush in. Let the Scarab handle the hapless Grunts and Elite Rangers, but get your other units to help with the anti-vehicle Hunters so they fall fast. Then walk the Scarab to the first amber barricade and destroy it. Be ready for Hunter squads waiting on the other side.
Destroy the Banished Base
Follow the canyon to find a full-sized Banished base with defenders rushing out to meet you. Let your Scarab and support units run amok on the defense Turrets and units, then stomp right into the base HQ building. Bathe the Scarab with Restoration Drones when they’re available.
Primary Objective: Establish a Base
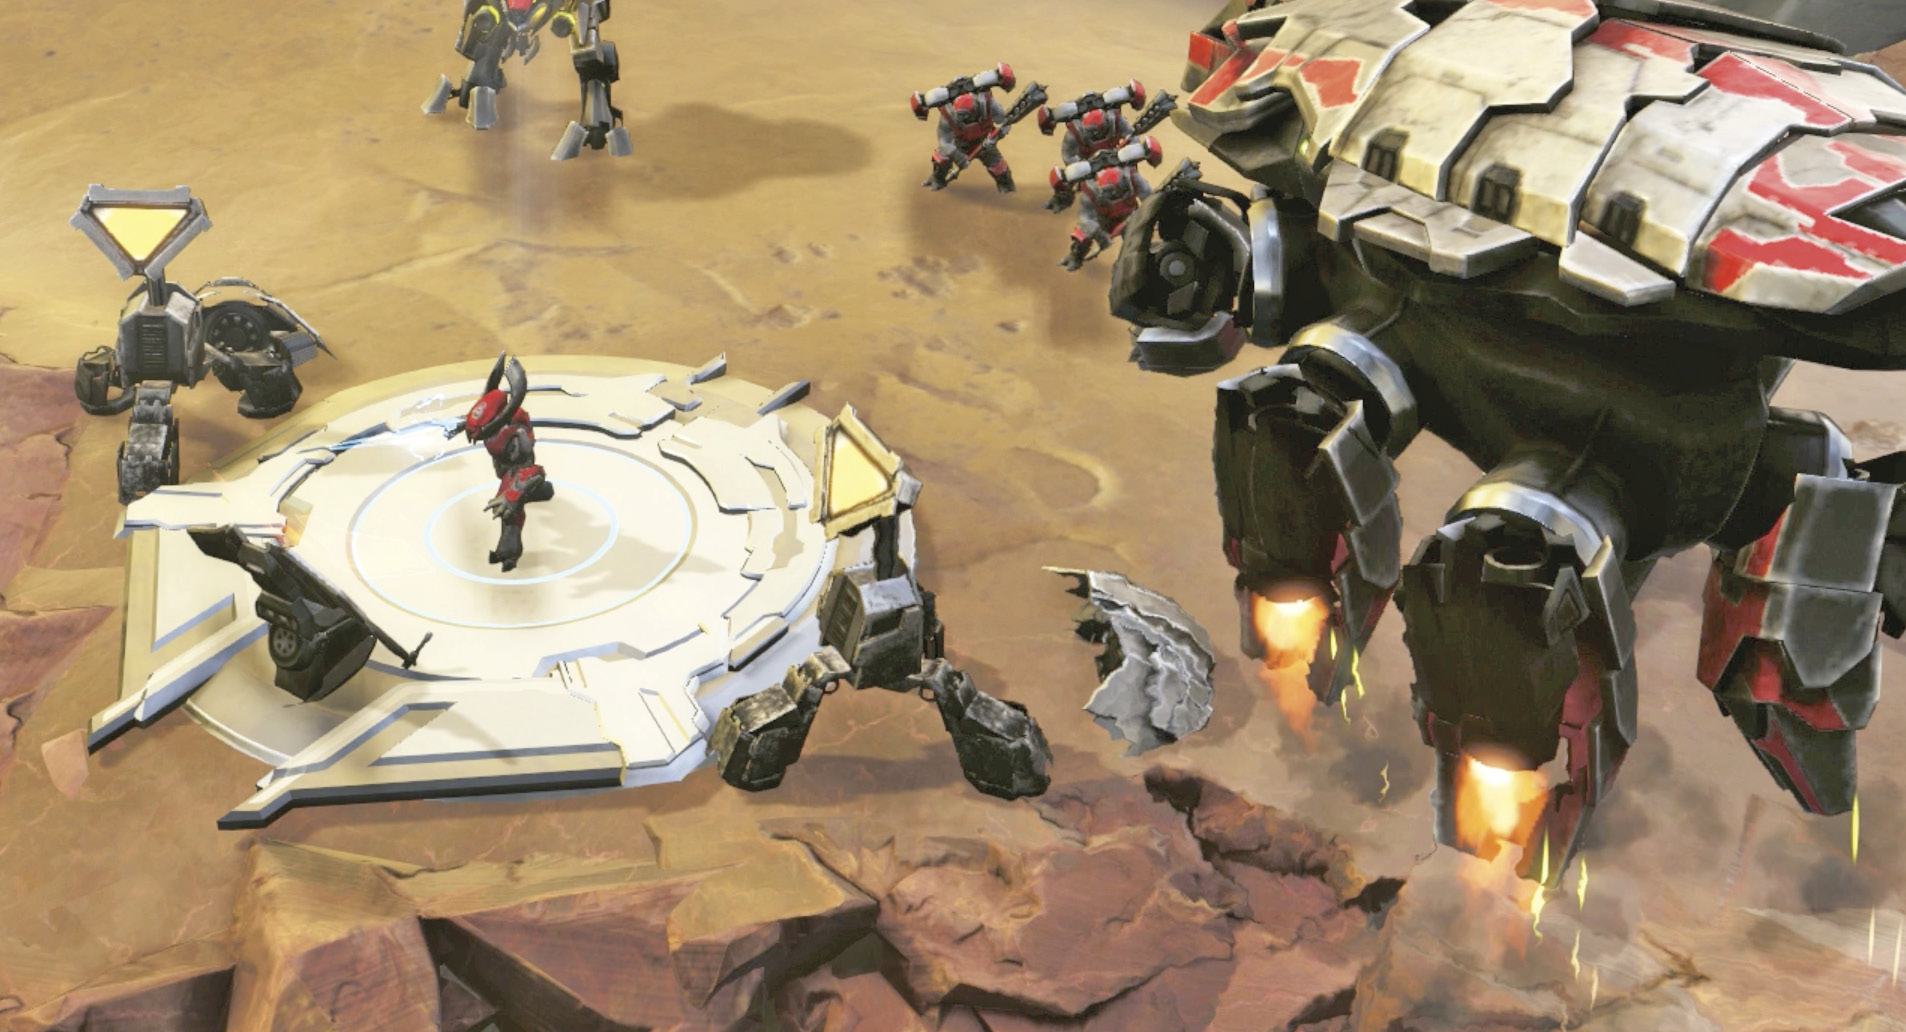
Once the enemy base is reduced to rubble, summon a Firebase down onto the now-empty site. The dropship delivers a Command Center, so you start out at Tech Level 2. Send an infantry unit to capture the nearby Power Node  to begin Power inflow. Send Marines up to the garrison on the rocks overlooking the base site; flying Banshee raiders start hitting the base as it’s being constructed, so you need air defense. Get anything else that can hit air targets (including the Scarab) to the far (southern) side of the site to defend as well.
As this is happening, Isabel and Cutter report that Banished bases at the edge of the Foundry are producing troops and shuttling them up to the Halo via the nearby access point. If you don’t destroy those bases to stop the flow of reinforcements, Atriox will overrun the UNSC forces on the Halo, and all is lost.
Primary Objective: Destroy the Banished Base to Stop Them from Reinforcing the Halo
Optional Objective: Destroy the Banished Fortress in Under 20 Minutes
Once the base HQ is built, the clock is ticking—a timer labeled “Stop the Banished Reinforcements” starts at 30:00 and counts down onscreen in the upper right corner. Focus on quickly building an efficient base and a balanced strike force. First, immediately drop Turrets into the two slots on the far side to fight off Banshees. Pull your Scarab to the back of the base and use Restoration Drones to bring it to 100 percent health. (Remember, Banshees are bad for Scarabs.)
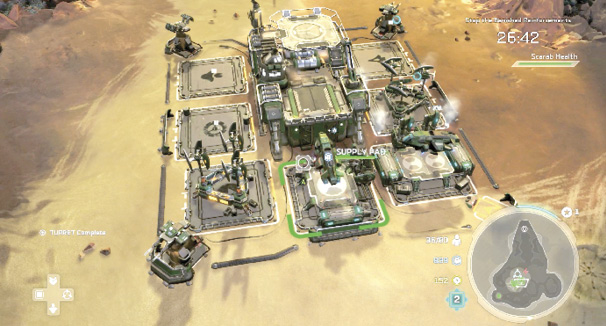
Here’s a good build order to get those all-important resources inflowing: Supply Pad, Generator, Supply Pad, Generator. Next, add a Garage, then crank out two Wolverines from it to help defend against Banshees. Follow up with an Airpad so you can start building a swarm of Hornets, plus Nightingales to keep your Scarab and other troops healthy. Finally, add an Armory so you can research Reinforcements I and raise that POP cap to 100 as soon as possible.
Upgrade your Supply/Power facilities as soon as possible. Add the back two Turrets and upgrade all Turrets to Anti-Air Turrets so you can send off your Wolverines later without worry. Then, finally, start training troops. Whew! Produce another Wolverine, three to four Hornets, and a Nightingale to start. If you have cap room, add in some Marines for capturing Nodes, manning garrisons, and all-purpose support.
Breach the East Barricade
Destroy the Second Production Facility (2 of 3)
Before you launch your offensive, create some hotkey groups. Put your Scarab alone on one, your anti-air units on another. Then send the Scarab with your entire strike force (minus one Wolverine to be safe) to blast through the east amber barricade  (not the south barricade indicated by the objective arrow). Push your entire strike force into the basin beyond and eliminate any defenders, then go smash the Banished minibase
 . Eliminating the Apex facility there reduces Banshee production.
Send infantry to capture the nearby Power Node as you drop in a Two-Slot Minibase at the site. When the base is constructed, give yourself another Supply Pad and Generator. Add a Turret in the free slot next to the base site and upgrade it to an Anti-Air Turret when you can.
IMPORTANT: If you haven’t researched Reinforcements I at your Armory yet, do so now! With the Scarab taking up 20 of your Population, you really need to raise that cap. You have some very big upcoming battles, and your Scarab needs stout support. Once the cap is raised, produce more Hornets and another Nightingale to hover over your army. Then research Reinforcements II to raise the cap to 120.
Research the Vehicle Upgrade at your Garage, and the Air Upgrade at your Airpad.
Jump to your main base and set its global rally point up the valley past your new minibase. You want any replacement troops to march automatically up to the perimeter of the next big battles
 .
.
Wipe Out the Big Banished Base
Send your full Scarab-led strike force out of the sandy basin via the top (southwest) passage. From range, shoot the row of fuel trucks to trigger a massive chain-reaction explosion that takes out Banished units beyond them. However, numerous heavy armored units, including Locusts and Wraiths, survive to defend that huge Banished base
 up ahead.
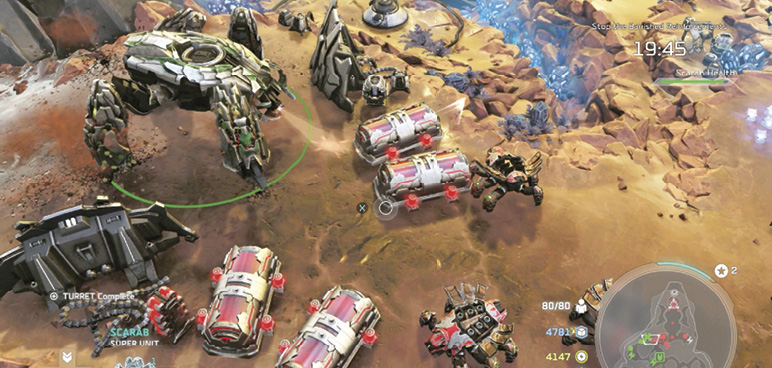
Hit the survivors with an Archer Missile strike. Then push your Scarab forward but rush your Hornet swarm ahead to hit any tanks and walkers. Once the defenders are cleared out, focus on picking off the base Turrets. Then let your Scarab do the honors on the base structures, blasting and stomping them to smithereens.
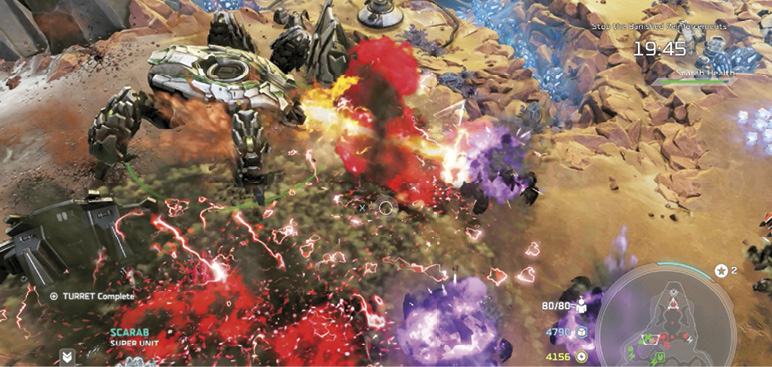
When the Banished base collapses, immediately use Restoration Drones to repair your Scarab and any other damaged units. Send an infantry unit to capture the nearby Power Node. Meanwhile, drop a three-slot Firebase into the newly empty base site and put your unit-production facilities in the slots: Garage, Barracks, Airpad. Set the rally point for this base up on the big white Halo Forge platform to the south . Your emerging reinforcements can stream right onto that last battlefield.
Destroy the Third Production Facility (3 of 3)
You can skip this step if the timer is running low. But if you’ve got more than 15:00 left, send your replenished strike force to destroy the last Banished production facility  . Capture the nearby Power Node and blast the two Supply silos for more resource income. If you want, drop in another minibase on the vacated site, then add more resource facilities. (Your resource bank should be overflowing with Supply/Power by now; buying reinforcements should be affordable.) Above all, see to it that your Scarab is at or near full health before you make your final move.
Primary Objective: Destroy the Banished Base to Stop Them from Reinforcing the Halo (Continued)
Make sure you’ve got at least four or five Wolverines and a good swarm of six or seven Hornets before you launch your assault onto the Halo Forge platform . Many Banshees are buzzing that area, so you need good anti-air support as you fight to the main Banished base
  , where you’ll finally cut off Atriox’s reinforcement flow to the Halo ring. Keep all Wolverines grouped on one hotkey to quickly select them and concentrate their fire on individual Banshee flyers for fast kills. Do the same with the Hornets to target armored units. Let your Scarab stomp infantry and base buildings.
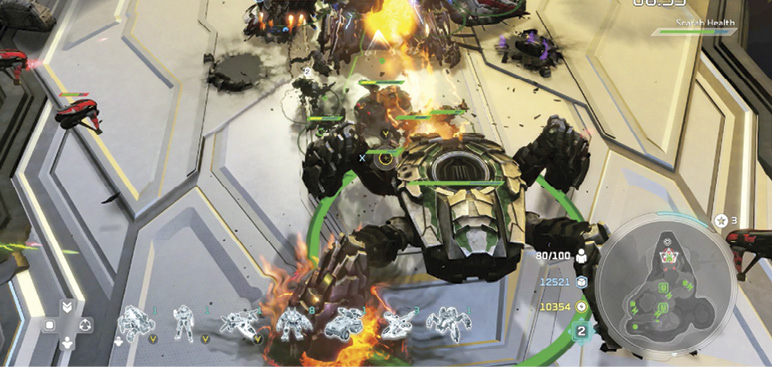
Here’s where your Leader Powers give you a big boost, too. Use Lotus Mines, Archer Missiles, Turret Drop, and ODST Drop to batter and weaken the Banished base and defenders before your Scarab-led strike force even reaches them! Use Restoration Drones on your Scarab midway through the battle to keep its health bar well above the halfway mark. Maintain the pressure, and keep queuing up replacements for fallen troops until the Banished base finally falls.
Primary Objective: Drive Off the Remaining Banished
Unfortunately, once the base falls, the surviving Banished troops redouble their angry efforts to kill your Scarab and drive you off the Halo Forge. Circle the area, stamping them out. When the last Banished unit falls, Cutter sends Alice-130 and Douglas-092 up to the Halo ring to join Jerome-042 in facing the sizable force Atriox managed to transport there.
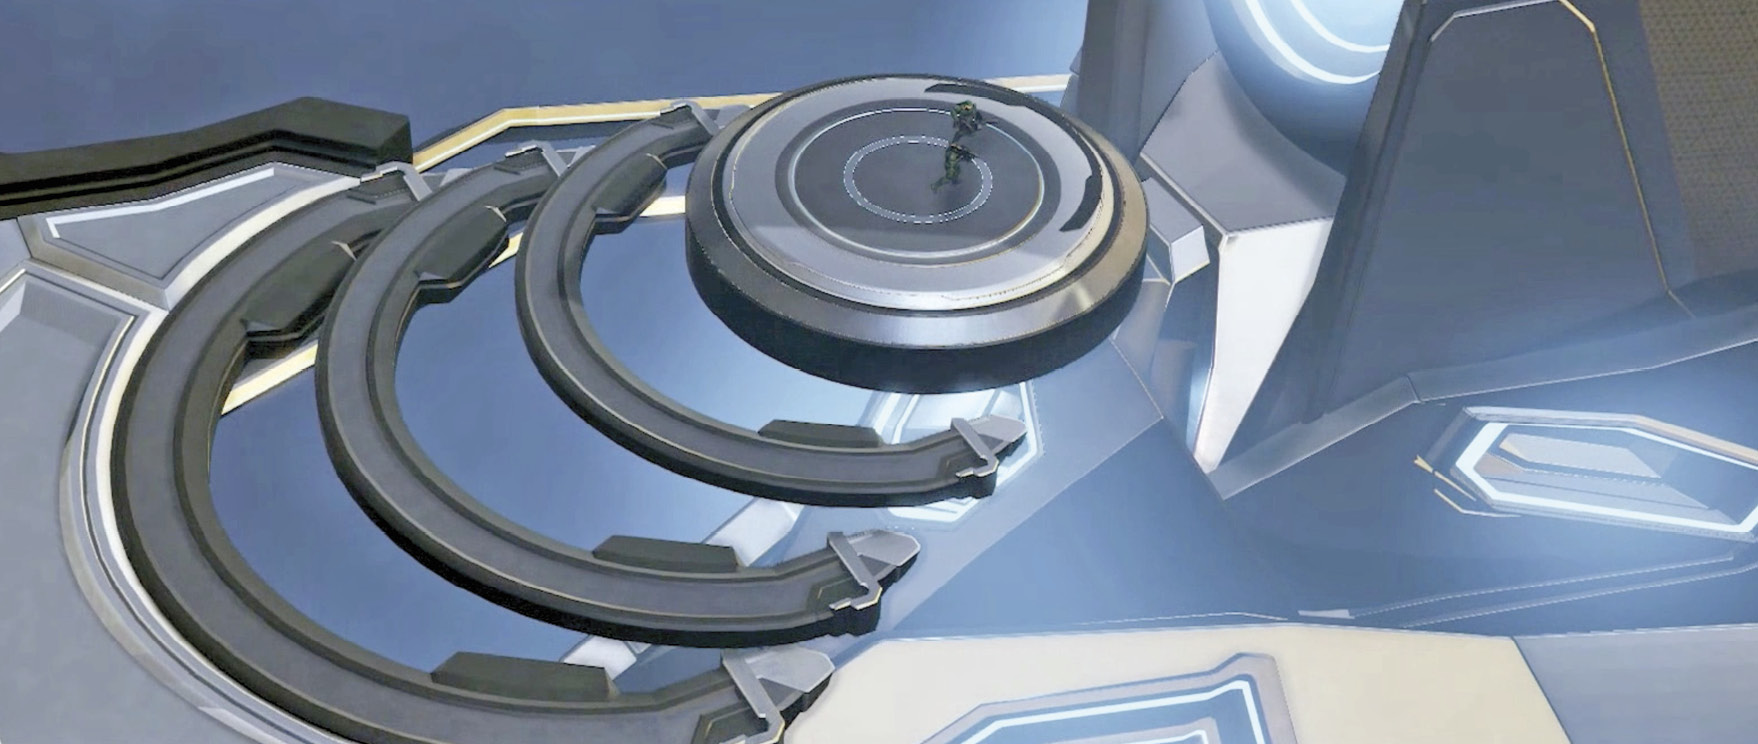
 “The Foundry”Sculpting the Big Story Beats This mission served to highlight that the Halo has launched, and players are desperately trying to stop the Banished getting aboard. The UNSC also uses the same Forerunner portals they’ve hijacked at the Foundry to get on the Halo. Ideas Behind the Map The map was crafted to draw you up to the damaged Scarab whilst showing the barriers you’ll need to obliterate once you’ve reached it. We made sure we had ample space for a big Scarab to stomp and smash around in, and made sure we had space for a large host of Banished attackers/defenders. Role the Mission Fulfills in the Story’s Escalation The mission allowed the UNSC onto the Halo to fight the Banished for control. How the Mission Evolved Over the Course of Development We previously had the Scarab as an optional objective, and the fight had more sandbox freedom. But we decided to integrate the Scarab into the primary objective, and ensure players got to romp around killing units. Like a monster in Tokyo. |