
Halo Wars 2 Guide Campaign Walkthrough Act II
Mission: Hold the Line
The massive Banished carrier, Enduring Conviction, has engaged Spirit of Fire in a deadly battle that the aging UNSC capital ship is not equipped to win. With no portal to contact Earth, time is running out. Professor Anders discovers that the Ark itself may offer a solution for their escape. To buy the time they need, Isabel decides to put the enemy carrier in violation of the Ark’s “rules”…and thus summon its ancient and terrifying defensive power. Doing so will require getting Isabel and Jerome-092 aboard the Enduring Conviction through the ship’s shields.



Mission Walkthrough
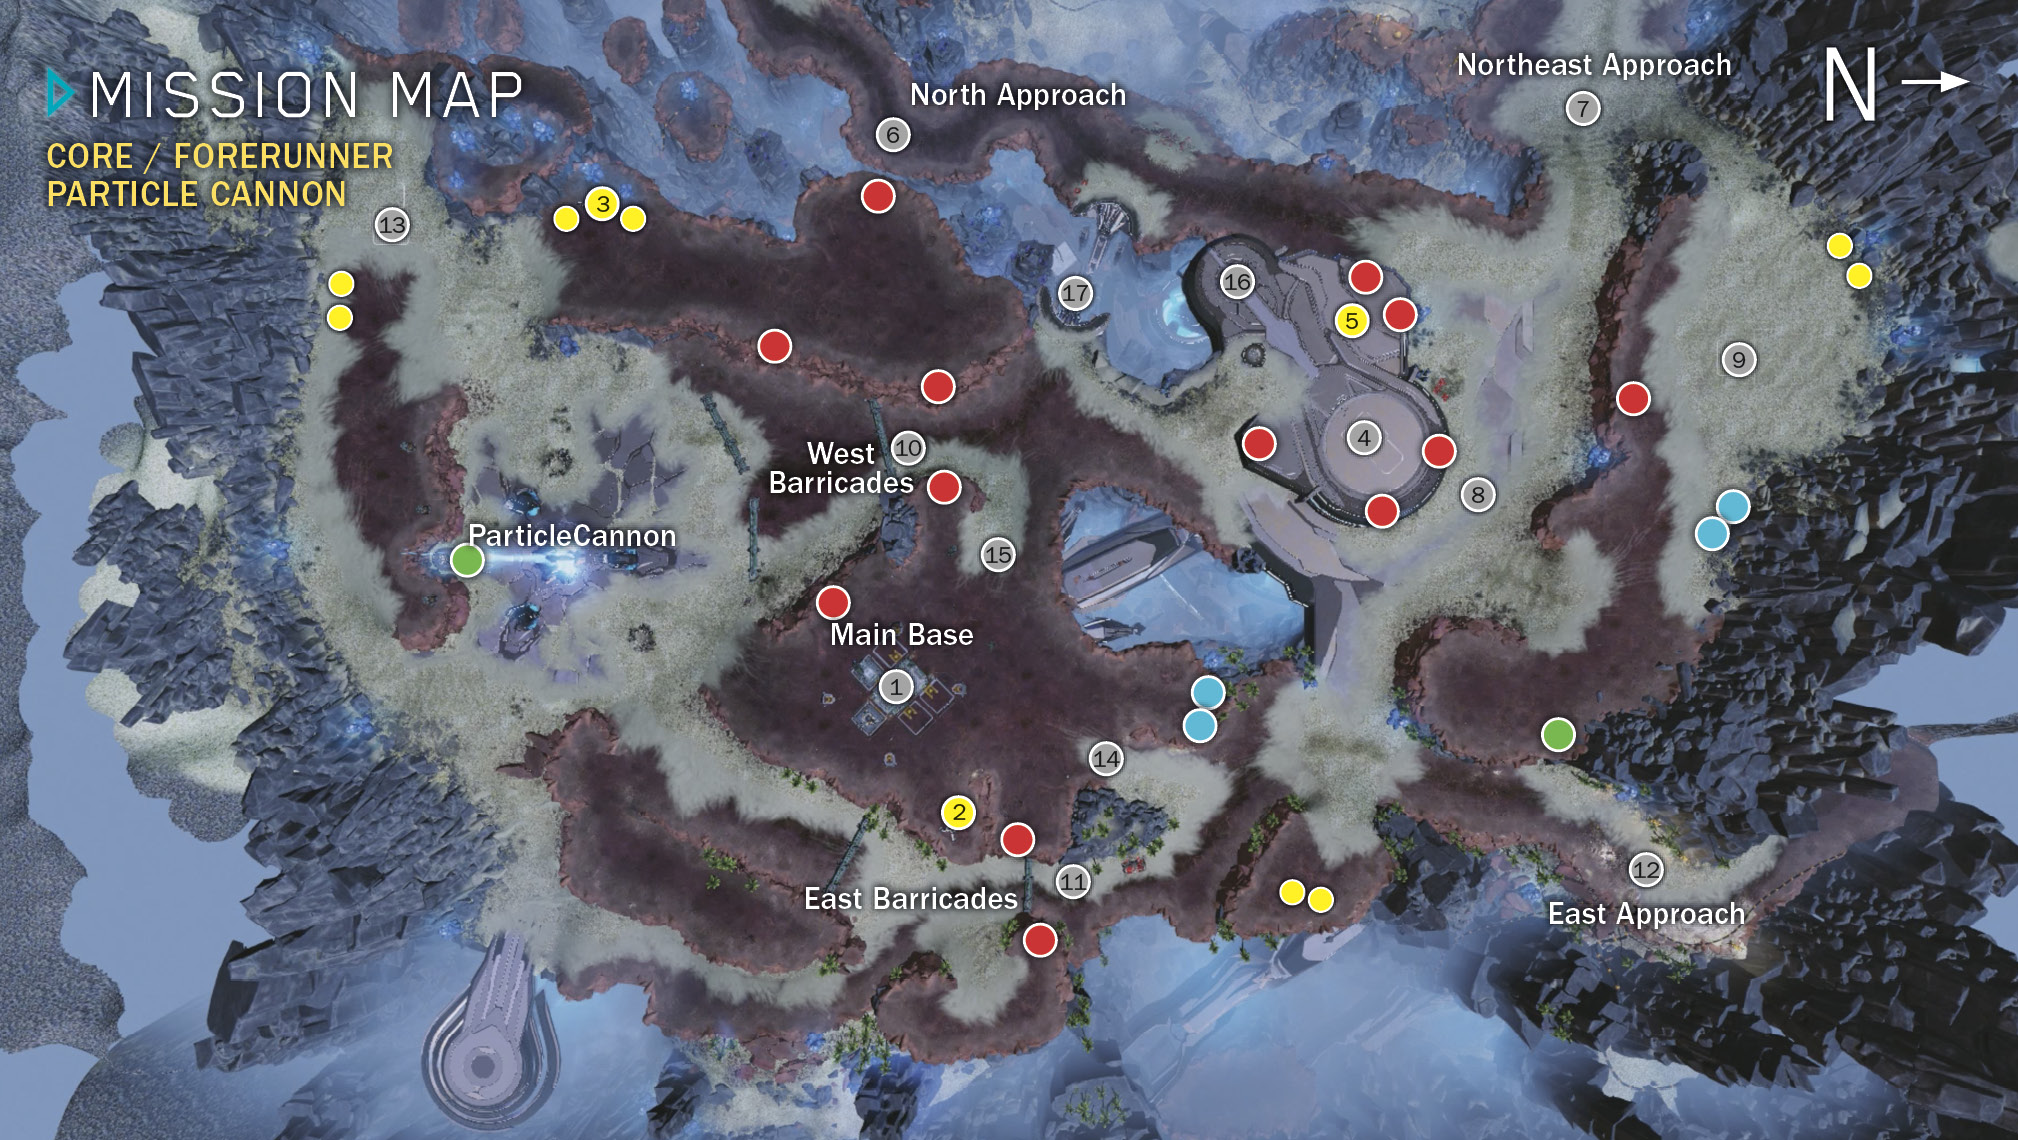
Mission SummaryProtect the Forerunner Particle Cannon from the Banished until it breaks through the carrier’s shields. Scouting ReportBuild Turrets and deploy your army across Banished routes leading to the cannon. ObjectivesPrimary
Optional
Bonus
Par Time
ExtrasSkulls Available: 2 Phoenix Logs: 2 Map Legend
|
 Start: Main base
 -
-  Power Nodes
 Minibase site
 Power Node
 North approach
 Northeast approach
 Choke point (northern approaches)
 Minibase site
 West barricades choke point
 East barricades choke point
 East approach
 Minibase site (add Armory)
 Base entrance (east)
 Base entrance (west)
 Lightbridge control console
  Lightbridge
 Open Turret slot
 Phoenix log
 Supply silo
 Power Node
 Power silo
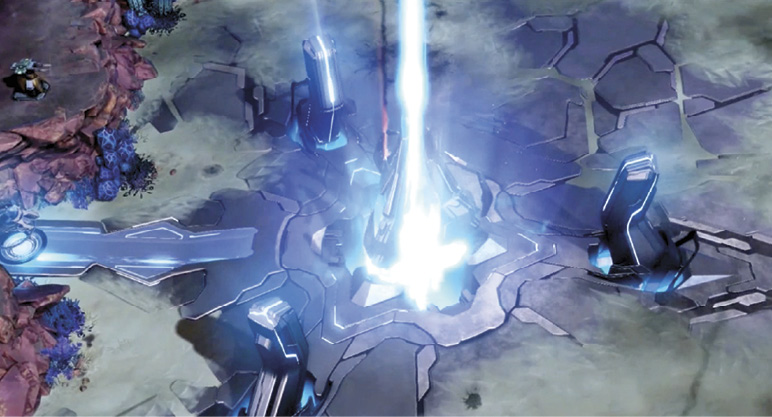
Professor Anders mans the control console of a towering Forerunner Particle Cannon discovered via the Cartographer. Its thundering blasts cannot destroy the Enduring Conviction, but they can disable the ship’s shields long enough for Jerome and Isabel to slip aboard. In response, Atriox is making an all-out attempt to destroy the cannon. As the mission opens, your Spartan, Douglas-042, leads a UNSC team tasked with defending the site as Anders fires the big gun.
Overall Strategy
Atriox’s assault on the Particle Cannon site starts slow but gradually builds to a feverish intensity. The key to success is to use the early lulls to (in this order) rapidly accumulate resources, develop your defensive infrastructure, and then raise your Tech Level and Population cap. Once your income is flowing fast, your Turret network is built, your Tech Level is 3, and your POP cap is at 120, you can crank out a powerful, upgraded defensive army that can shatter any Banished incursion.
Primary Objective: Defend the Particle Cannon
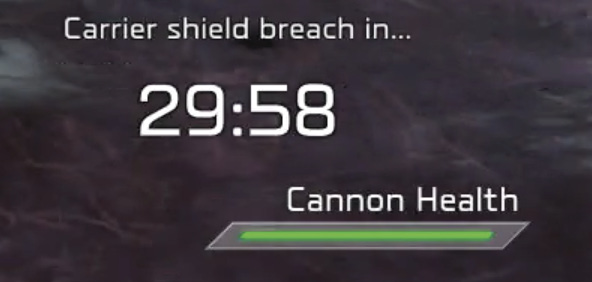
At the mission’s start, a green cannon health bar appears in the upper right corner. After the Particle Cannon fires and makes a confirmed hit on the Enduring Conviction, a 30:00 timer appears onscreen and starts counting down, marking the time until your cannon fire breaches the enemy carrier’s shield. As the mission progresses, Atriox sends columns of Banished troops to attack the Particle Cannon; any enemy hit on the cannon drains its health bar. Your job is to keep the cannon health bar from draining to zero before the Carrier Shield Breach countdown timer hits zero.
Capture the Three Power Nodes
The initial Banished assault launches in two minutes, so move fast. The first thing you need, as always, is resources. To “hold the line” against Atriox’s hordes, you need a lot of Turrets and units and upgrades, and therefore a robust Supply/Power inflow to get that job done.
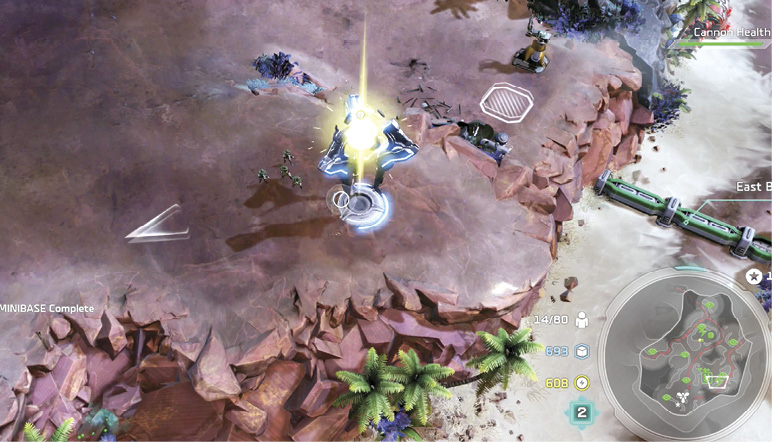
You start out lean at your main base, a five-socket Combat Station  (Tech Level 1) guarded by Douglas, some Marines, a Warthog, and a Hornet. Immediately add two Supply Pads and a Generator, then send Douglas to capture the nearby Power Node
  . Send the Marine squad down the ramp to the southeast, heading past the Particle Cannon to capture another Power Node
  . Check back on these Marines after the capture is complete; use them to destroy the four Power silos in the immediate area and collect the pickups.
Fortify the North/Northeast Routes
Make a Fast Camera move to the raised metallic platform, where you find Marines standing next to an empty base slot  . Send the squad directly to capture the nearby Power Node
  . Note that this raised platform features five empty Turret slots overlooking the road below. The first few Banished advances are infantry columns that approach via the northern
  and northeastern
  routes, and they march right down the road past the platform.
Drop Turrets into all five slots if you have enough Supply to afford it. If not, come back a bit later and finish the job—controlling this passage  with Turrets in the early going gives you time to develop a stronger economy and army for the later stages of the mission.
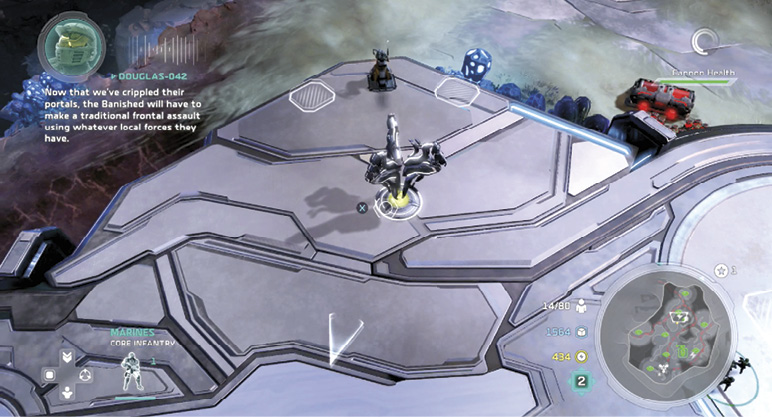
One more note: when you’ve accrued more income, return to upgrade all these platform Turrets. Over the course of the mission, the Banished forces that funnel past include both infantry and armored units, so create a nice mix of Anti-Infantry and Anti-Vehicle Turrets to rain hellfire down on them.
Intercept Atriox’s Infantry: North
When the Carrier Shield Breach timer hits the 28:00 mark, Atriox sends his first assault column; Anders reports infantry coming from the north  . This first attack consists of numerous Grunt squads, followed by pairs of Hunters, and then some Jump Pack Brutes who leap up onto the platform near the Power Node
  and attack your garrison there. Your Turrets (if you built enough of them) will grind up most of this wave. You can also wipe out enemies using Leader Powers, including the handy Turret Drop.
But to make perfectly sure these fools never get near your base or barricades, send your starter units from the main base  (Douglas, a Warthog, and a Hornet), plus any free Marines (some may be scouting or capturing Nodes for you) to the narrow northern passage
  . This team can easily intercept any Banished infantry that manages to survive the deadly Turret gauntlet you’ve created on the approach route.
Intercept Atriox’s Infantry: Northeast
At the 24:00 mark, Anders calls out a new wave of infantry, this time approaching from the northeast  . These include Elite Ranger marksmen in addition to the usual Grunts and Hunters. Position your Warthog down in the passage
  so you can use its brutal Ram ability to cut a swath through enemy squads.
Remember, fighting from high ground gives ranged units some distinct advantages, so post Douglas on the platform and send the Marines up onto the cliffs to the road’s right side (across from the platform). Doing this reveals another expansion minibase site  , plus another Turret slot sitting atop the cliffs overlooking the passage. Drop a Turret into that new slot and then mop up any Banished stragglers who arrive.
Upgrade Your Infrastructure
After you lay waste to these first few infantry waves, bring your choke-point team back to the main base. Douglas reports that you’ve bought some time to shore up your defenses. He’s absolutely right. First, upgrade all your resource facilities (Supply Pad to Heavy Supply Pad, Generator to Advanced Generator) in order to accelerate inflow. With those Power Nodes captured as well, you’ll soon accumulate the 1000 Power you need to upgrade your main base to a Command Center (Tech Level 2). Do that right away to gain two more facility sockets. Use those to add a Garage and an Airpad.
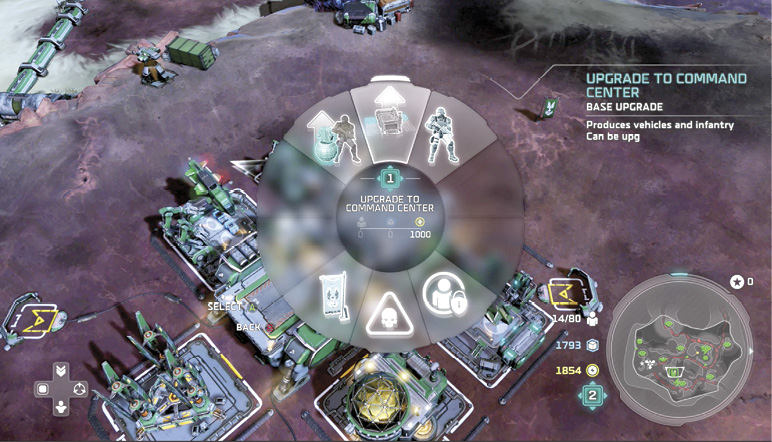
Keep in mind that your ultimate expansion goal is to accumulate another 1500 Power to upgrade the base to a Headquarters, unlocking Tech Level 3 so you can build Scorpions long before the Banished raids get too intense.
Fortify the Two Key Choke Points
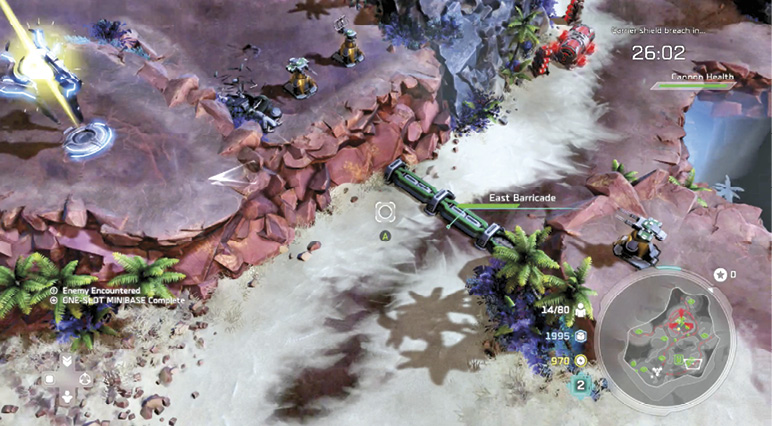
The sprawling map in “Hold the Line” gives the Banished only two lanes into the big basin where the Particle Cannon is installed. Each lane leads through a choke point, one to the front  and one to the rear
  of your main base. Each choke point features multiple Turret slots up on the high ground overlooking the lane, and each lane is barricaded by two sets of strong barriers. Start dropping Turrets into these slots. When you can, upgrade all Turrets to a staggered mix of Anti-Vehicle and Anti-Infantry Turrets.
Assemble a Hornet Swarm
This tip comes straight from the QA team at 343 Industries. Keep a rapid-response force (preferably nimble Hornets) ready in case the Banished manage to overwhelm a choke point and breach the barricade. A buzzing ball of about six or seven Hornets can move quickly to hot spots, soaring over cliffs and barriers, and lay waste to intruders. Their rotary autocannons inflict fearsome damage to enemy armored units like Ghosts, Wraiths, Marauders, and Locusts.
Put Hornets into the queue at your Airpad and rally them next to Douglas at the Command Center. Then queue up a Nightingale so you can float it right behind this main defense force when you deploy to a choke point.
Drop a Turret into Every Remaining Slot
Once your choke points are secure, start scanning the map along the incoming routes. Cutter has Turret emplacements set up across the entire operations area. We highly recommend you install a Turret in every single available slot. (We’ve marked them all on our mission map.) As before, upgrade them into a 50/50 mix of Anti-Infantry and Anti-Vehicle Turrets.
Intercept Atriox’s Vehicle Waves: Northeast
At the 22:00 mark, Anders points out enemy armor incoming from the northeast  . This column sends speedy Ghosts out in front of Wraith tanks supported by aggressive Chopper units. Your upgraded Turrets can winnow out a few enemy squads or degrade their unit health, but you need anti-armor troops to finish the job.
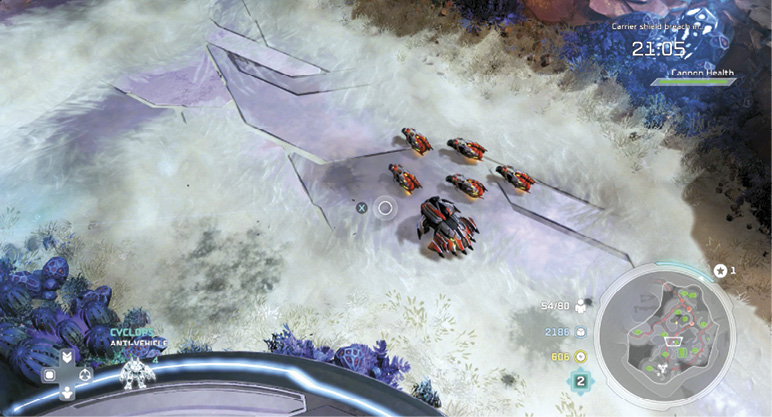
Here’s where your Hornet swarm really comes in handy. Turn it loose on the Banished vehicles. Send Douglas to hijack one of the Wraiths as well. Finally, hit the Wraith-led phalanx of Choppers with a line of Archer Missiles. When the threat is eliminated, fly your Hornets over the hill in front of the east-barricade area  . As prep for the next waves, drop Lotus Mines into the east-approach canyon
  .
.
IMPORTANT: Increase Your Population Cap!
This one is a must. You’ll produce Scorpions soon, and these tanks eat up Population cap space. The Marines you sent to capture the Power Node at  also revealed an empty base plot
  from the fog of war. Drop in a One-Slot Minibase there, then add an Armory in the slot.
As soon as that facility is built, research Reinforcements I to raise your Population cap to 100. Later you can use the Armory again to research Reinforcements II, raising the cap to 120. Note that this minibase location is entirely safe as long as the Banished don’t breach the barricades, so you can leave it unguarded.
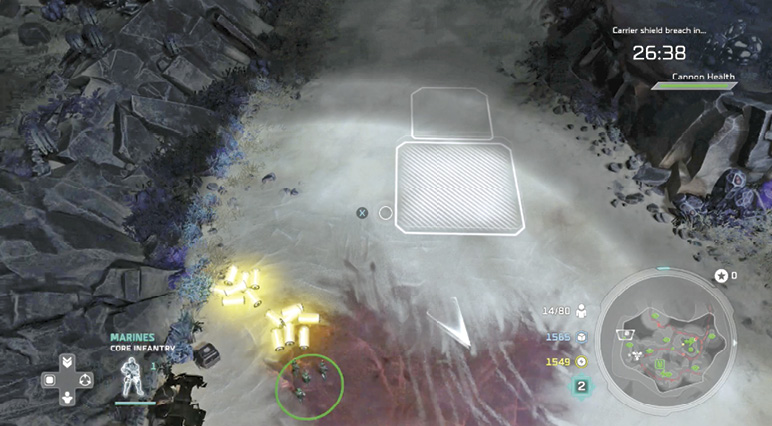
Develop Superior Firepower
Tech Up to Level 3 and Build Scorpions
As in the previous mission (“From the Deep”), upgrading your base from a Command Center to a Headquarters with Tech Level 3 can be the turning point in your favor. The key is to get it done before the Banished onslaught overwhelms your outer defenses and hits your main base…or threatens the Particle Cannon itself.
The moment you attain Tech Level 3, put as many Scorpions as you can into your Garage production queue. With three or four Scorpions parked at each of your choke points, the canyons become killing fields for Banished invaders.
Get Siege Turrets in Place
Instead of attacking the east/west barricades, some Banished units veer up the entry slopes  ,
, and try to hit your main base instead. It’s easy enough to rush your rapid-response Hornet squadron to counter this move. But you can gain added security by installing powerful Siege Turrets in all four base Turret slots. These long-range, slow-firing artillery systems hit with devastating power, often destroying targets before the enemy gets close enough to fire a shot!
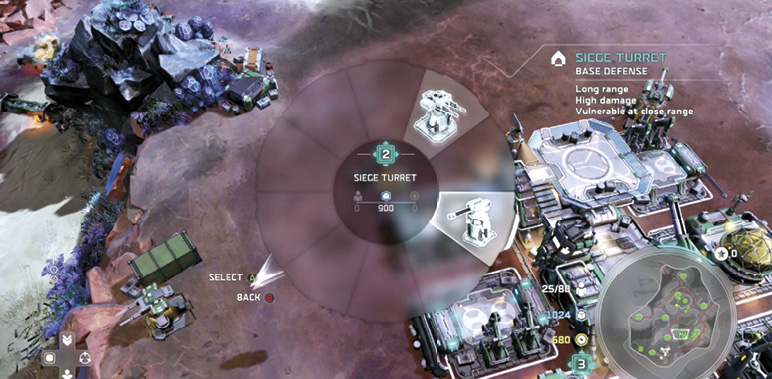
Intercept Atriox’s Vehicle Waves: East
Deploy any Scorpions you’ve got to the rightmost entrance ramp  into the base, and place Douglas, your Hornets, and any other units you have on the cliffs overlooking the choke point
  . At the 19:30 mark, a Banished maelstrom begins. Anders’ monitors light up with enemy vehicles inbound from the east
  . Swift Ghost raiders form the spearhead for a platoon of Marauders, fast medium tanks armed with heavy plasma Turrets.
The east-approach route is much shorter, so this assault can reach the outer east barricade in just seconds. Set your Hornets loose, concentrating their fire on individual speeders and tanks. Take them out before they inflict any damage on the barricade.
Protect Your Headquarters
Soon, a Wraith appears but veers away from the barricade trench to attack your main base! Your base Turrets (especially the Siege Turrets) can terminate the threat, but peel off a couple of Hornets from the barricade fight to help, just in case. Around 17:30, Atriox sends two pairs of Locust building-killers to the base ramp  to target your Headquarters as well. Drop Lotus Mines in their path or hit them with Archer Missiles, whichever Power you have available. Send Douglas and the Hornets to eviscerate the Locust plague, but be ready to return to the choke point for another mix of armored vehicles.
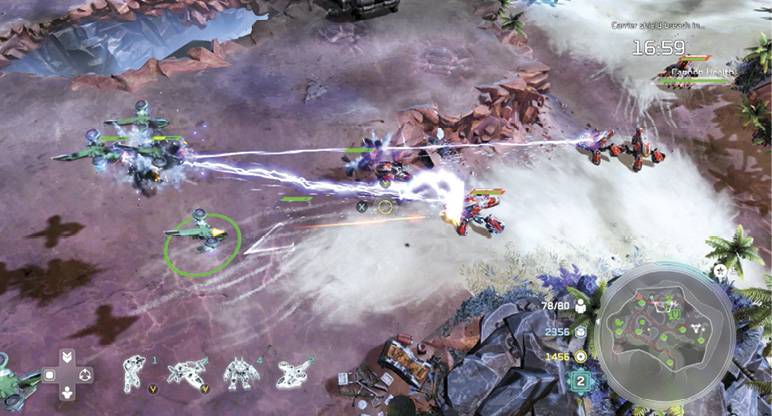
Meanwhile, keep producing vehicles from your Garage and Airpad. Hornets are excellent, but if you have Scorpions ready to go, keep them in your Garage queue and rally them to the choke points. Around 16:30, Atriox sends more armored vehicles from the east—Ghosts leading a trio of Locusts, with some Grunt infantry tossed in for good measure. This nonstop armor onslaught can break you if you’re not ready to meet it with a robust Hornet squadron and a sizable Scorpion contingent. Don’t forget that Douglas can hijack a Locust to help tilt the numbers to your side.
Focus to the North/Northeast
At 15:30, waves of Suicide Grunts and other ground troops start lumbering down from the north and northeast, just as Jump Pack Brutes head for your base from the east. Your base’s Siege Turrets can handle the Brutes, so send Douglas, your Scorpions, and Hornets with any support troops you have (and preferably a Nightingale overhead) to the northern choke point  and start laying waste to a seemingly unending stream of infantry. More Jump Pack Brutes hit your base occasionally from the east, but trust your gun emplacements to keep the Headquarters safe. If the base gets in trouble, bring back a few Hornets to fix the situation.
Optional Objective: Build on All Available Base Plots
Three One-Slot Minibase plots are available for development on the map. In this walkthrough, we’ve already built one minibase  to house our Armory. Later, after you’ve got your Headquarters and the two “barricade alley” choke points well-defended, drop in a minibase over on the raised metallic platform
  and add another Garage in the slot; you can now produce two Scorpions at a time from your two Garages. Build the third minibase on the plot up on the northern mesa
  and add a Supply Pad. (You need a lot of incoming Supply to build Scorpions.)
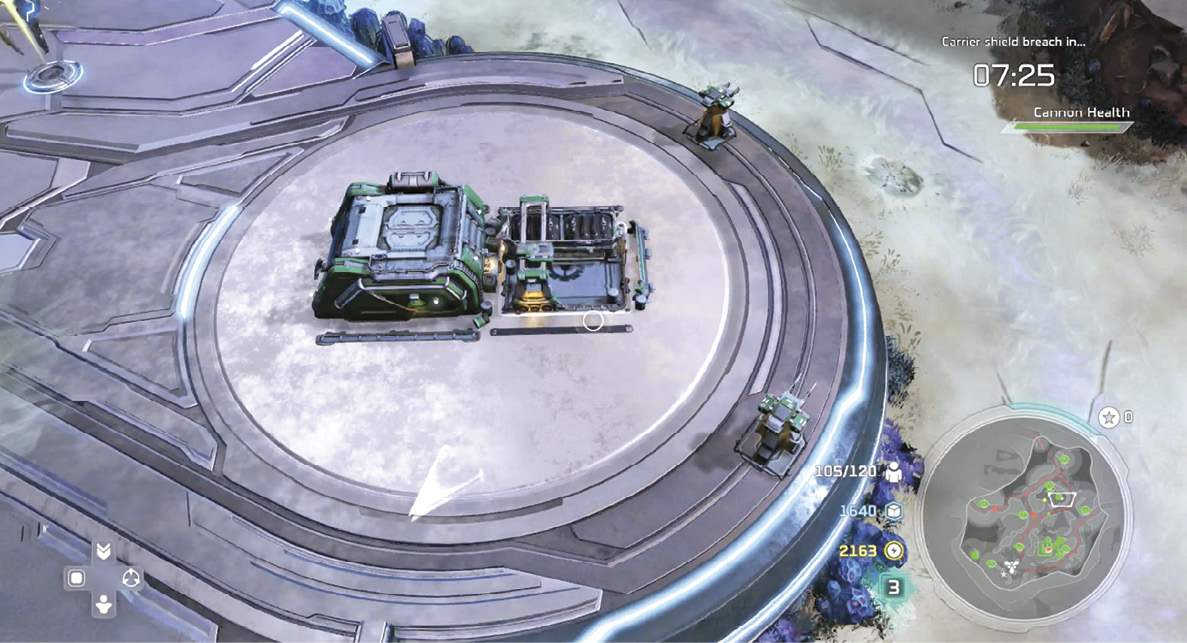
Optional Objective: Keep the Barricades Intact.Completion Earns a Skull!
Prep for Air Raids
In a few minutes, the Shipmaster will start diverting wings of his Banshee fighters to attack your Headquarters  . Produce three or four Wolverines at the Garage in your main base and park them next to the base. You can also switch your base’s front two Turrets to Anti-Air Turrets for added protection. After the Wolverines are ready, return to cranking out Hornets and Scorpions up to your Population cap of 120. (If your cap isn’t 120 yet, start researching Reinforcements II at your Armory!)
Plug Both Choke Points for the Endgame
Take some time to split your army into two balanced groups: one at the platform choke point  and one at your eastern base entrance
  . (Again, park all Wolverines at your base.) Each battle group should have a Nightingale overhead for repair, if possible. At the 12:00 mark, Anders reports that the carrier’s shields are nearly breached: “I just need a little bit longer.” Then she patches through a trash-talk voice-comm from Atriox himself.
At this point, you have about 60 seconds until all hell breaks loose. Use the time to buy every upgrade you can afford: Leader Power, vehicle, infantry, air. Make sure your troops are as fully healed as possible. Set rally points at each choke point so you can simply “train and forget” when you queue up replacement units in your Garage or Airpad—your new troops automatically march right into the battle zone.
The last 11:00 of the mission is a woolly nightmare. If you’re prepared, however, it can go remarkably smoothly, with no enemies threatening the Particle Cannon or even the barricades in the lanes leading to it. Switch back and forth as the heat rises or falls at each choke point.
Fight Off the Banshees
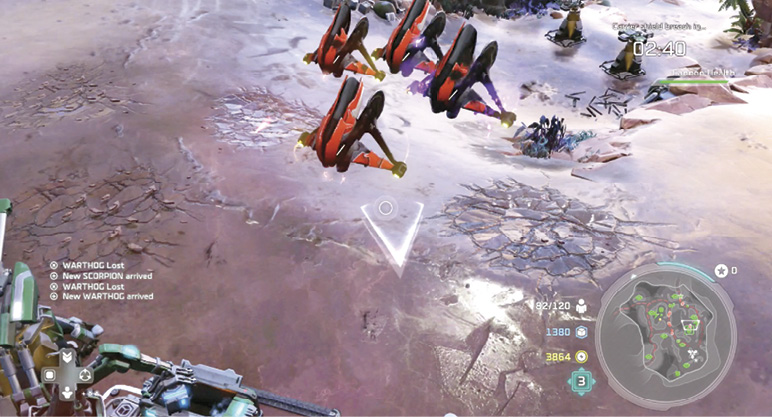
Captain Cutter warns you about the Shipmaster’s Banshees at the 9:15 mark, and they start arriving with 8:45 left, giving you about 30 seconds to prepare…but if you’re following this walkthrough, you’re already prepared. Wing after wing of Banshees swoops in, and your Wolverines will shred each one. (If you’re underprepared, you can always rush some Hornets and/or Marines back to help out.) If you lose a Wolverine, immediately put another one in your Garage production queue.
Fight Off Everything Else
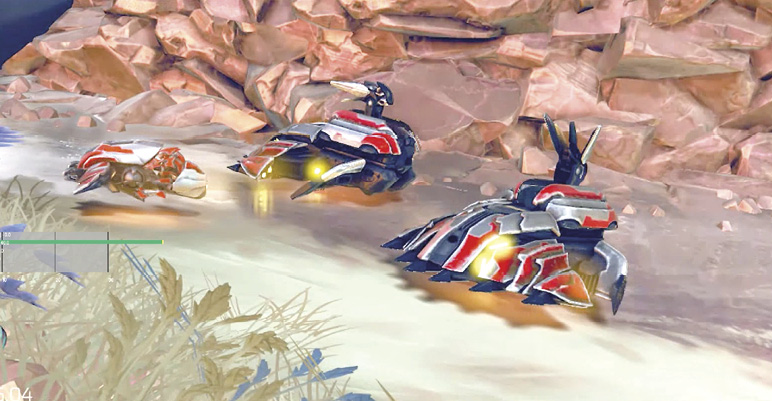
Now Atriox throws everything at you from all directions: Banshees, tanks, infantry, Jump Pack Brutes, you name it. In response, use every offensive tool at your disposal: Turret Drop, Archer Missiles, Lotus Mines, ODST Drop, unit special abilities. Hold nothing back as the timer counts down to zero.
 “Hold the Line”Sculpting the Big Story Beats This mission begins a two-part epic. Players must disable the Enduring Conviction’s shields and then, in the next mission, take down the mercenary carrier from within. “Hold the Line” forms the first part of that, where we take out the ship’s shield. It’s crucial for the UNSC to destroy the Banished carrier in order to gain mobility on the Ark, as shown in the “Lights Out” mission where they are peppered by Atriox’s cleansing beam. Decisions about When to Introduce New Gameplay Twists The mission occurs at the same time that Jerome (with Isabel) moves toward a gravity lift to beam aboard the mercenary ship. Ideas Behind the Map The map promoted the tower defense beats with directed travel for the Banished. The enemy columns filter through lanes toward the defensive barrier, giving you time to harass the attackers if you place as many Turrets as possible. Key expansion opportunities can be discovered to bolster resources for players with a careful eye. Role the Mission Fulfills in the Story’s Escalation The mission culminates with the carrier shield’s destruction and transitions into the next mission, “Under the Dark,” where Jerome must steal aboard the ship with Isabel. How the Mission Evolved Over the Course of Development We simplified the mission over the course of development. After starting out with three or four key defensive points, we reduced that to just two. We found players struggled too much to defend the cannon with more than two defensive zones. |