
Halo Wars 2 Guide Getting Started
Game Phases
Most Single-player Campaign missions unfold in recognizable phases. Typically, the early phase entails base-building and reconnaissance, the middle phase involves expanding to add new base sites and upgrading your forces, and the endgame culminates in amassing superior numbers to overwhelm your foe in a final showdown.
However, not all missions conclude with the destruction of your enemy’s base or force. Some feature other primary goals: capturing a set of Nodes, or simply holding out against multiple waves of enemy forces until you can safely evacuate. Often you have to adapt to changing objectives on the fly.
Note also that aspects of each game phase sometimes apply to other phases, and that phases overlap. All that said, let’s take a look at how a typical Campaign mission unfolds.
Early Game: Establish and Explore
Command decisions made in a mission’s first five minutes can mark the difference between a clean, efficient victory and a long, painful slog laden with setbacks, or even failure. Good early choices certainly make things much easier in later phases.
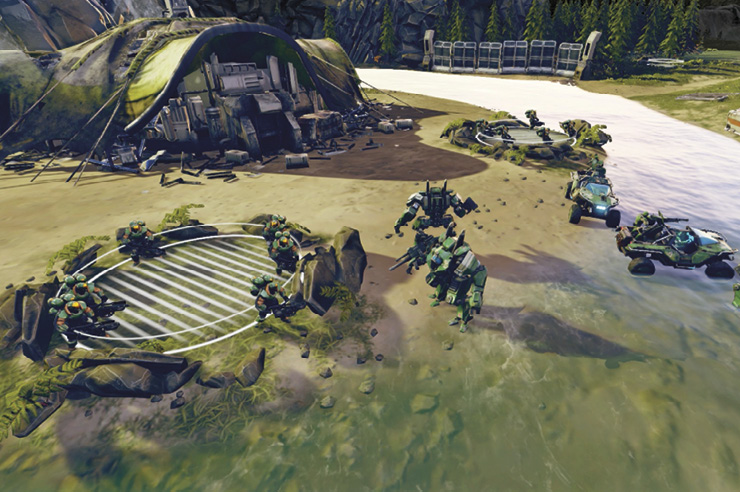
Our tips for the early going:
- Many Campaign missions open with a base already in place, plus a handful of units. If no base exists, work your way to a base-ready site and immediately call one down.
- If you start with a few Marines, deploy them promptly into any garrisons in the base area. This usually gives you a strong enough defense to fend off an early rush.
- While the base is being delivered, quickly explore the surrounding area for Supply or Power pickups to jumpstart your economy.
- Once the initial base HQ is in place, immediately drop in one Supply Pad and one Generator.
- If you have a five-slot Firebase, add a second Supply Pad; most missions feature Nodes you can tap for Power, but the majority of Supply comes via your base. Use the remaining two slots for the types of troops you want to train: Barracks for infantry, Garage for vehicles, Airpad for flying units.
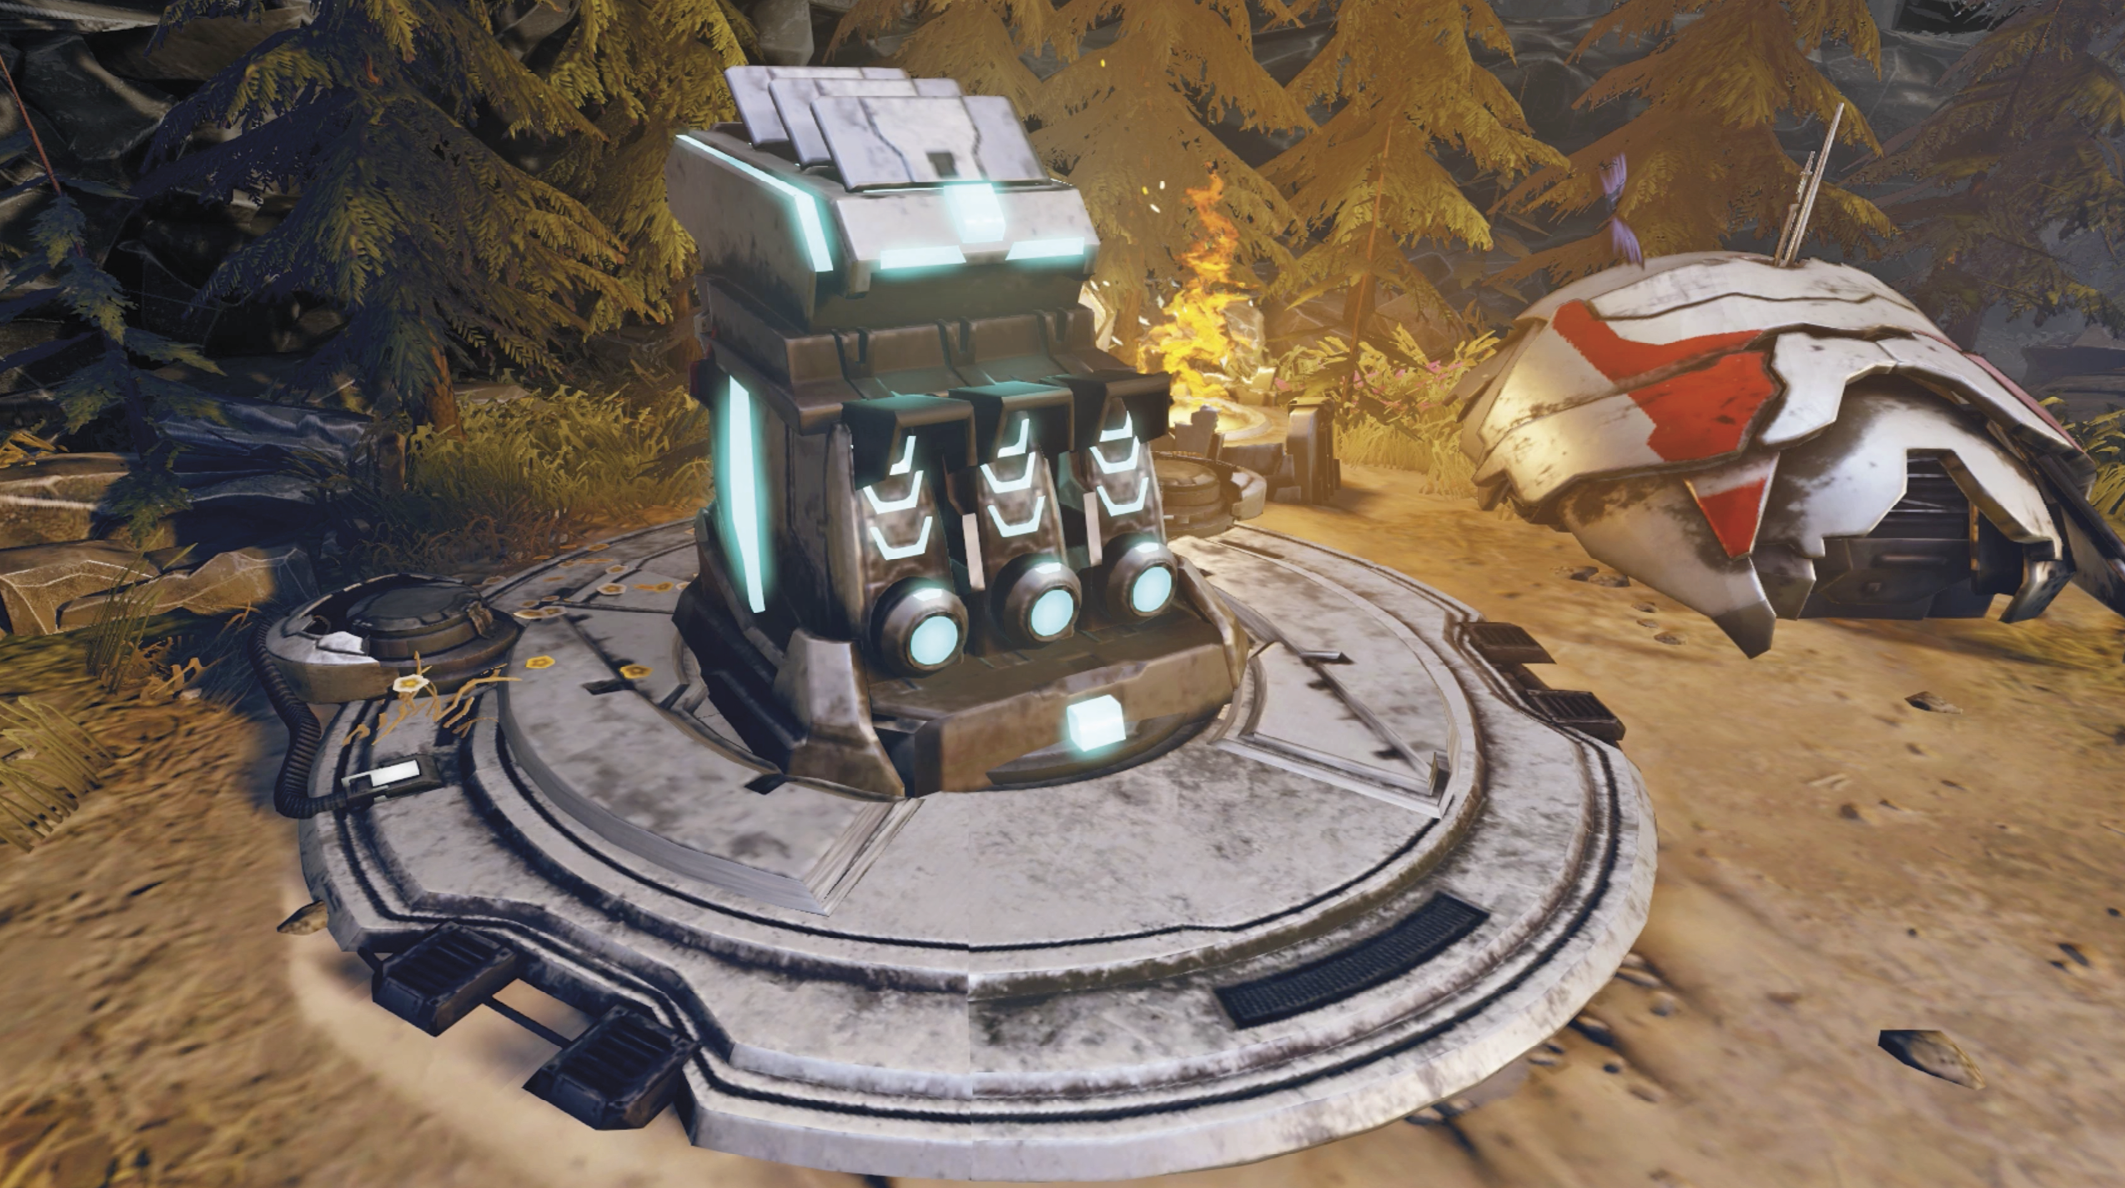
- Drop Turrets into all available slots. Don’t worry about upgrading them yet. Just get them in place as soon as possible. Turrets are powerful defensive assets.
At this point you’ve got a solid defense established for fending off enemy raiders in the early stages of a standard mission. But your base isn’t fully secure or developed yet, and you need infrastructure in place for the expansion that lies ahead in the mid-game phase. Also, you want to start getting a sense of what’s lurking out there in the swirling fog of war.
- Send out a couple of swift cheap scouts (Jackrabbits if available, or Warthogs) to get a peek up the road. Try to locate new resources (Power/Supply silos or Power Nodes) as well as enemy bases and deployments.
- Assign a hotkey to your scout so you can switch your view to him quickly, especially if he’s getting attacked. A lone scout dies fast if he wanders into a bustling enemy base or assault team. Tap the scout’s hotkey to get a good glimpse of the area before he goes down!
- Be sure to explore in every direction, not just the one indicated by the onscreen objective arrow. Bonus resources and Phoenix log collectibles may be stashed off the beaten trail.
- Start building a primary strike force. Produce troops that best counter the enemy forces revealed by your scouts on the map. But keep in mind that surprises may lurk as you push outward, so make sure your army includes a good mix of units.
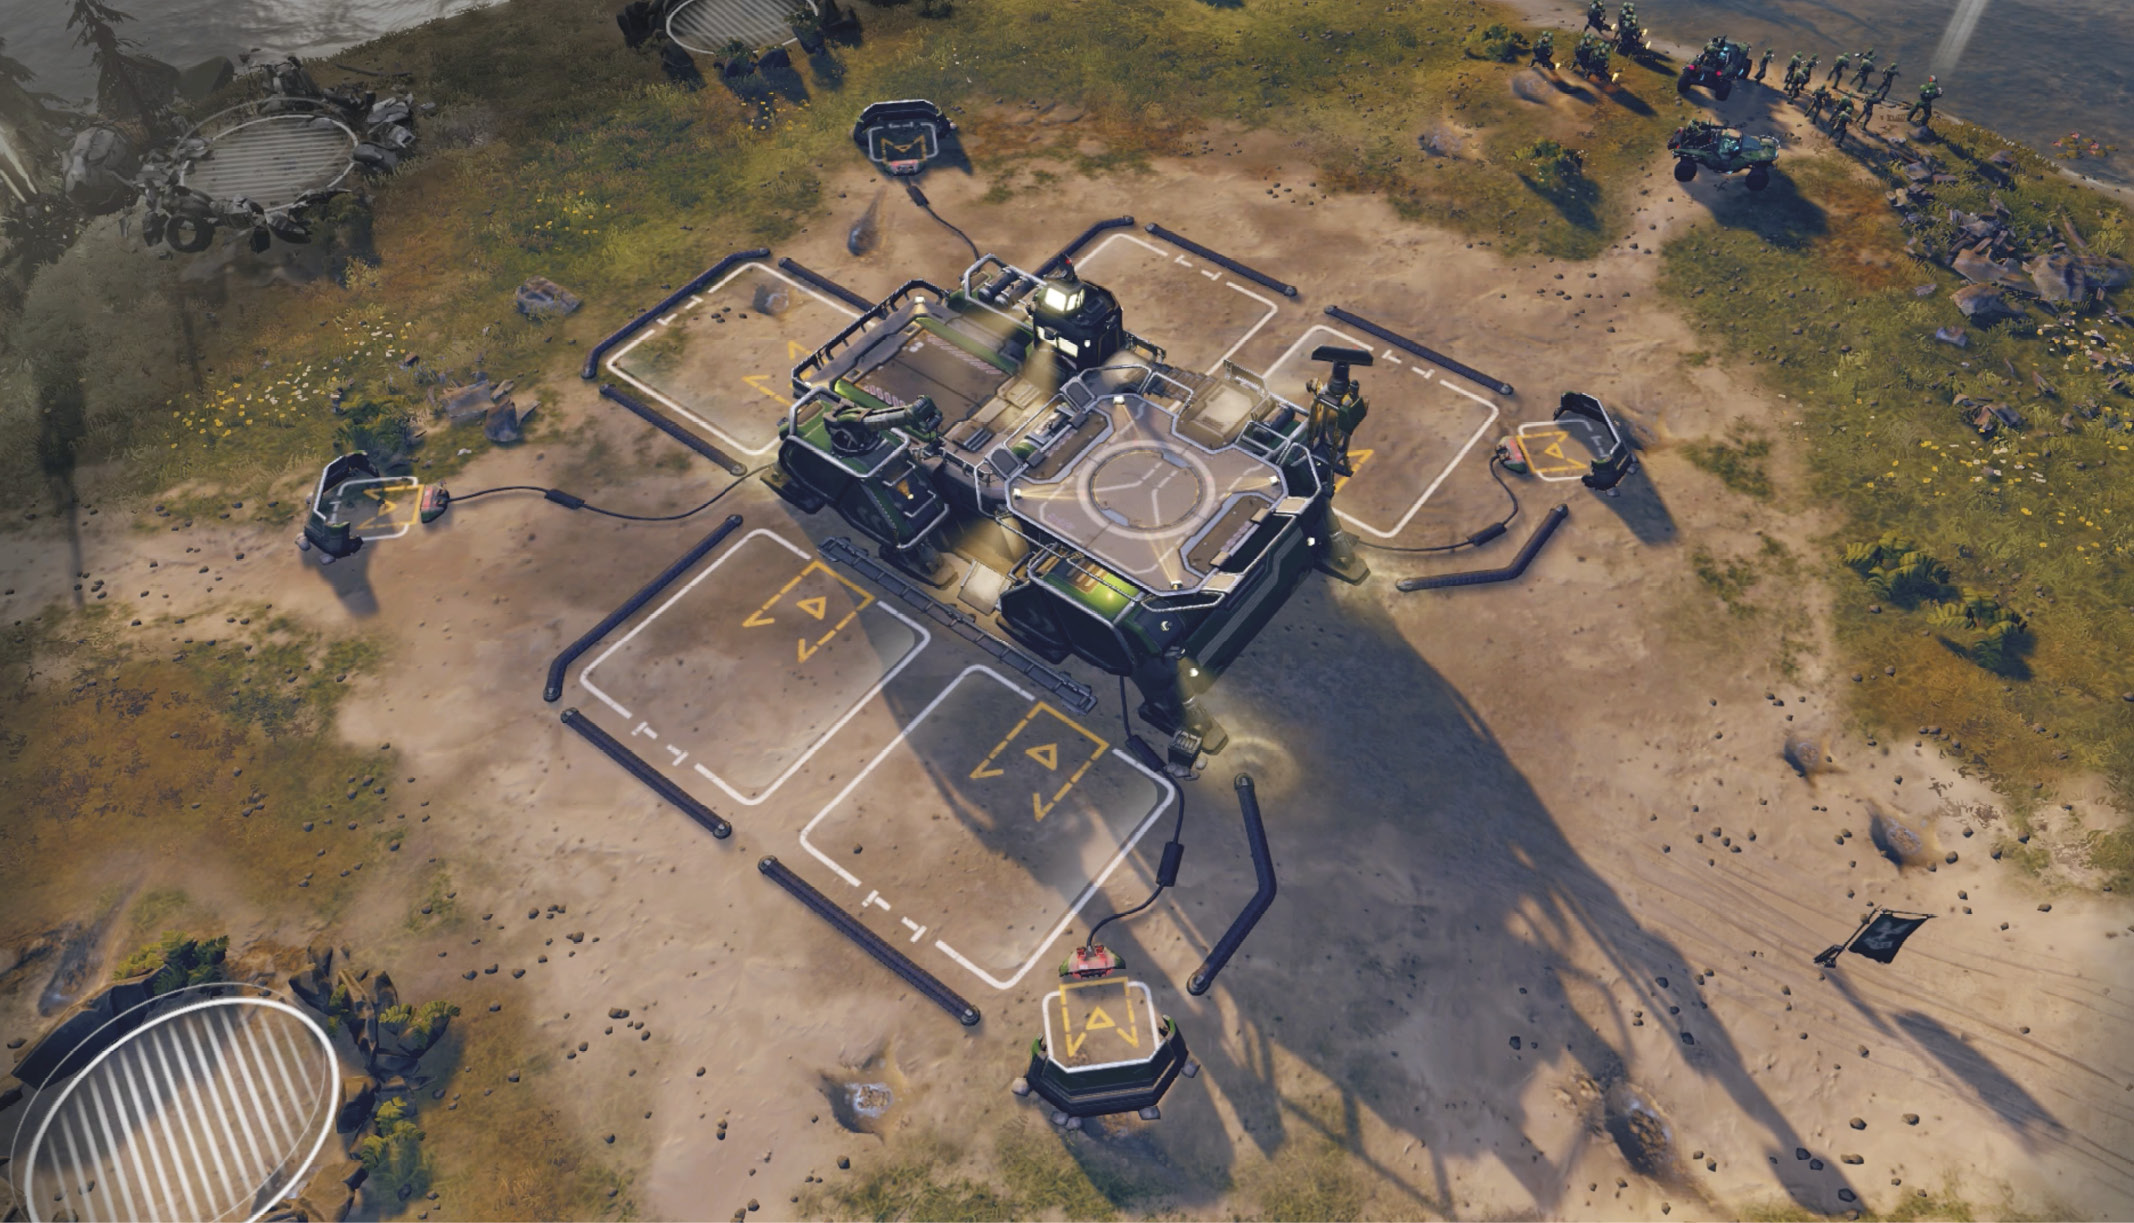
Mid Game: Expansion
Once you’ve got a well-established base and a good idea of what’s happening out on the map, it’s time to start expanding your operations and territory. The mid game is all about map control.
- Upgrade your Supply Pads to Heavy Supply Pads; upgrade and your Generators to Advanced Generators.
- Send a small squad to any expansion site your scouts have revealed, and protect it while you call down a base. Once the main structure is in place, drop Turrets into any available slots right away so you can free up your troops to move on while your base grows.
- Track down any bonus resources or hidden goodies on the map. Remember, air units cannot collect pickups, so use your fastest ground vehicles for this purpose. That being said, Hornets make excellent scouts, since they can fly over terrain obstacles that may be impassable for ground troops.
- Scout out enemy positions and figure out an avenue of attack—or, if you can’t attack, set up a solid line of defense using choke points and high ground if available.
- Start working to complete optional and bonus objectives.
- Research any available upgrades at your Garage, Barracks, and Airpad. Add an Armory at one of your secondary bases and start researching its upgrades as well.
- Evaluate any special military needs necessary for victory during the mission, be they a unit with a critical special ability, or perhaps a large number of a particular type of unit.

Endgame: The Showdown
Once you’ve fully established a robust production operation (including a secondary base or two), secured a few optional and bonus objectives, and built a sizable main army, it’s time to finish off your opponent and/or complete the primary objectives.
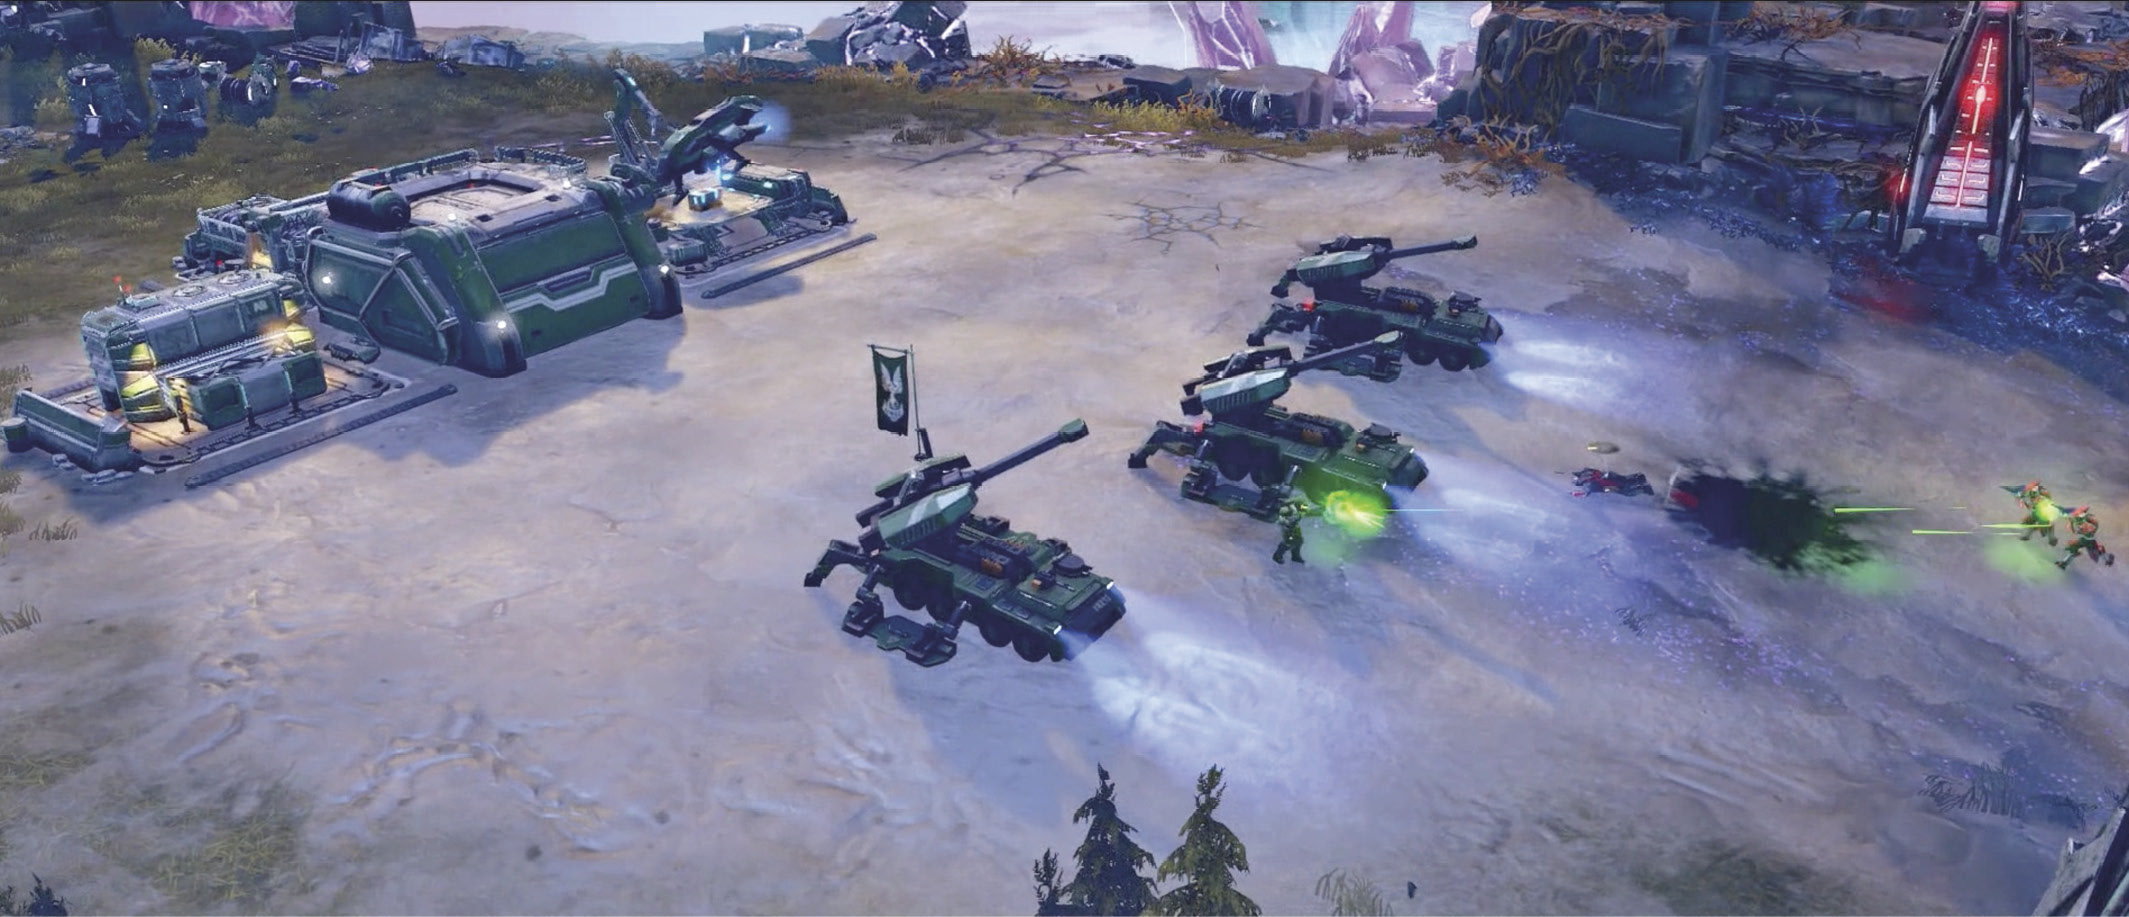
Note that some missions do not follow a standard “build up base, expand map control, then bring the hammer” model at all. Be sure to consult the individual mission walkthroughs for more information on special missions.
- Move a massed army of units to tackle each objective area. Strike with maximum force and concentrated fire so that you take minimal losses.
- Deploy Nightingales (if available) into the heart of your column for maximum ongoing healing out in the field.
- Call down Restoration Drones from the Spirit of Fire onto your damaged army whenever that Leader Power is available, especially in the heat of battle.
- Upgraded Turrets are usually adequate to protect your bases, which means you can dump your full Population cap of units into your main assault group(s). However, sometimes you lose a Turret to Banished raiders. Keep one squadron of three to five Hornets assigned to a hotkey for speedy deployment to an endangered base, if necessary.
- Replace lost forces and set your rally points to positions where the new troops can quickly join your offensive army.
- Focus your full force on each objective in order, unless you have a critically pressing need to split up your force. Examples include sending infantry units to capture Power Nodes uncovered as you march across the map, and trying to maximize your time bonus.
- Tackle any remaining optional or bonus objectives that require specific action before you finish a mission.