
Halo Wars 2 Guide Campaign Walkthrough Act III
Mission: Last Stand
Inside the control room, Professor Anders works feverishly to disarm the Halo’s weapon systems and install a message beacon for Earth. The console has a dome shield, but it won’t last long. Spartan Red Team and your UNSC troops deploy in a defensive perimeter outside. Get ready: Atriox is about to unleash every Banished unit he has on the Halo ring.


Mission Walkthrough
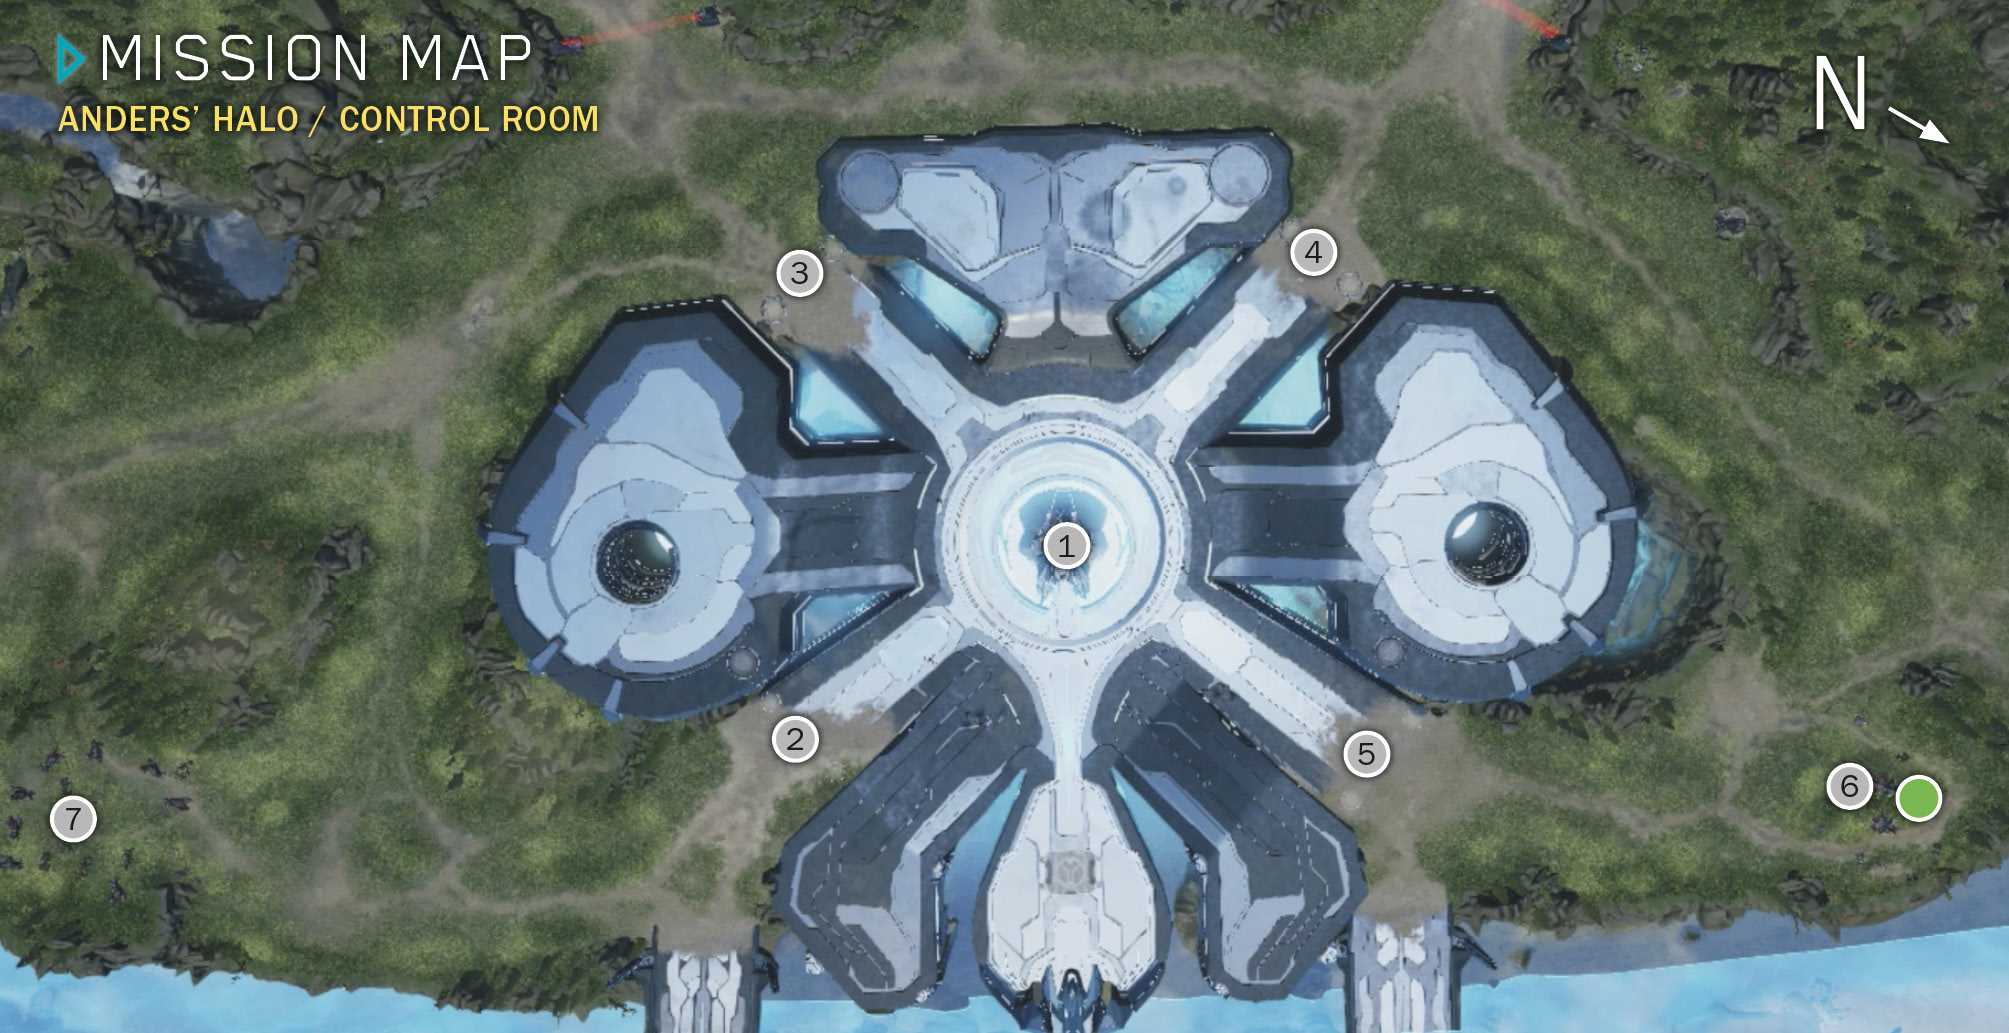
Mission SummaryHold out against the Banished long enough for Anders to complete her mission. Scouting ReportMake sure you use the Spirit of Fire’s full arsenal to support your troops; you won’t have access to a Firebase! ObjectivesPrimary
Optional
Bonus
Par Time
ExtrasSkulls Available: 2 Phoenix Logs: 1 Map Legend
|
 Halo control room
 East passage
 South passage
 West passage
 North passage
 -
- Brute Warlord groups
 Phoenix log
This is your final mission, and as you might expect, it demands that you employ many of the skills you’ve learned over the course of the game with speed and efficiency. You can win handily if you complete only the primary objectives, but adding in the optional and bonus objectives that target the Brute Warlords (also called “the commanders”) is a challenge. Here we provide some basic guidelines for success.
Primary Objective: Defend the Professor and the Control Room from the Banished
Your job is to stop Banished attackers from advancing down the four passages  -
- that converge like spokes at the central hub where Professor Anders works in the control room
  surrounded by a blue energy dome. Although the dome is strong, sustained Banished attacks can degrade and eventually destroy it. The Control Room Shield health bar appears onscreen at the upper right.
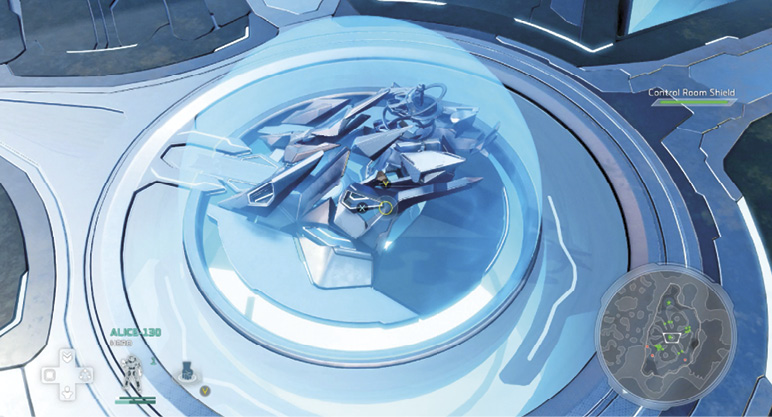
Optional Objective: Keep the Control Room Shield Over 50 Percent. Completion Earns a Skull!
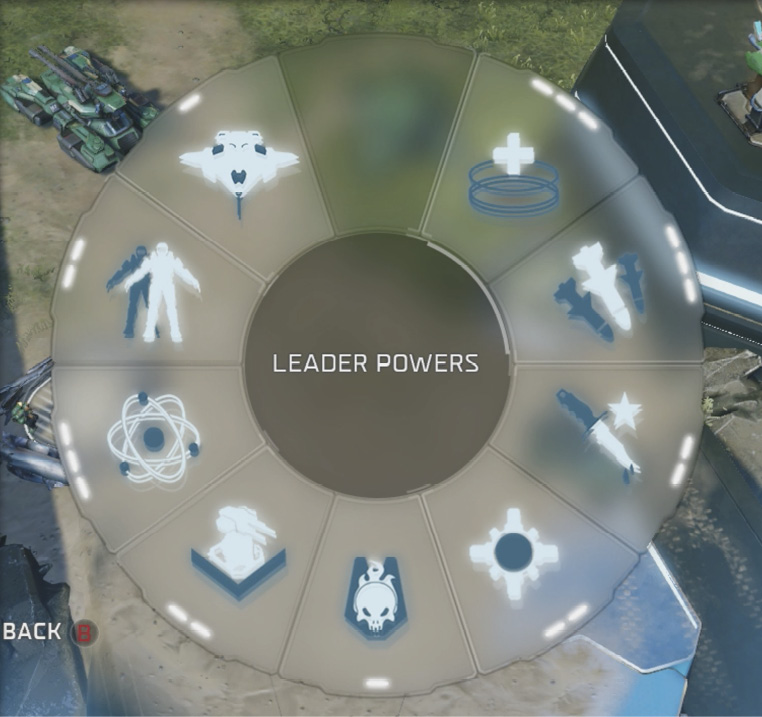
The key here is to meet Banished force with the appropriate UNSC counterforce, and do it quickly. You have no base, so resource/production issues don’t exist. The only construction work necessary is to build and upgrade Turrets. You start out with several squads of Hellbringers and Marines, plus two Nightingales and your three Spartans. You also learn that the Spirit of Fire’s awesome Leader Powers are now all unlocked with reduced recharge times.
First Assault: Fill Those Garrisons and Turret Slots!
Getting a good, fast start is important, so take the following four steps as quickly as you can manage. You have only about one minute until the first attack wave hits, starting at the east passage, then spreading to the other passages. Thus, ideally, each step should take no more than 15 seconds:
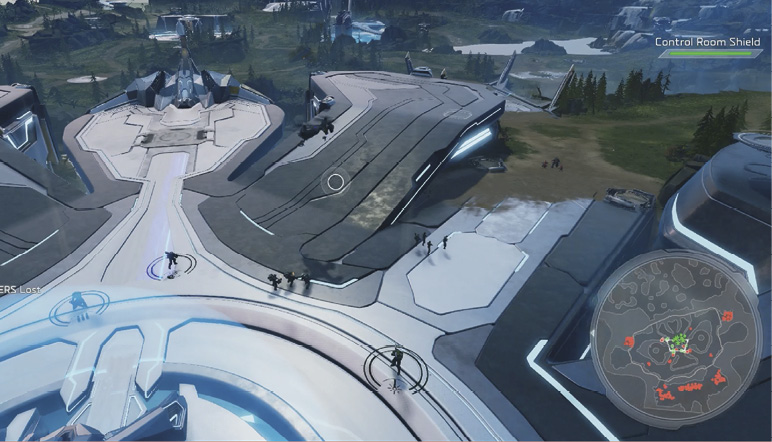
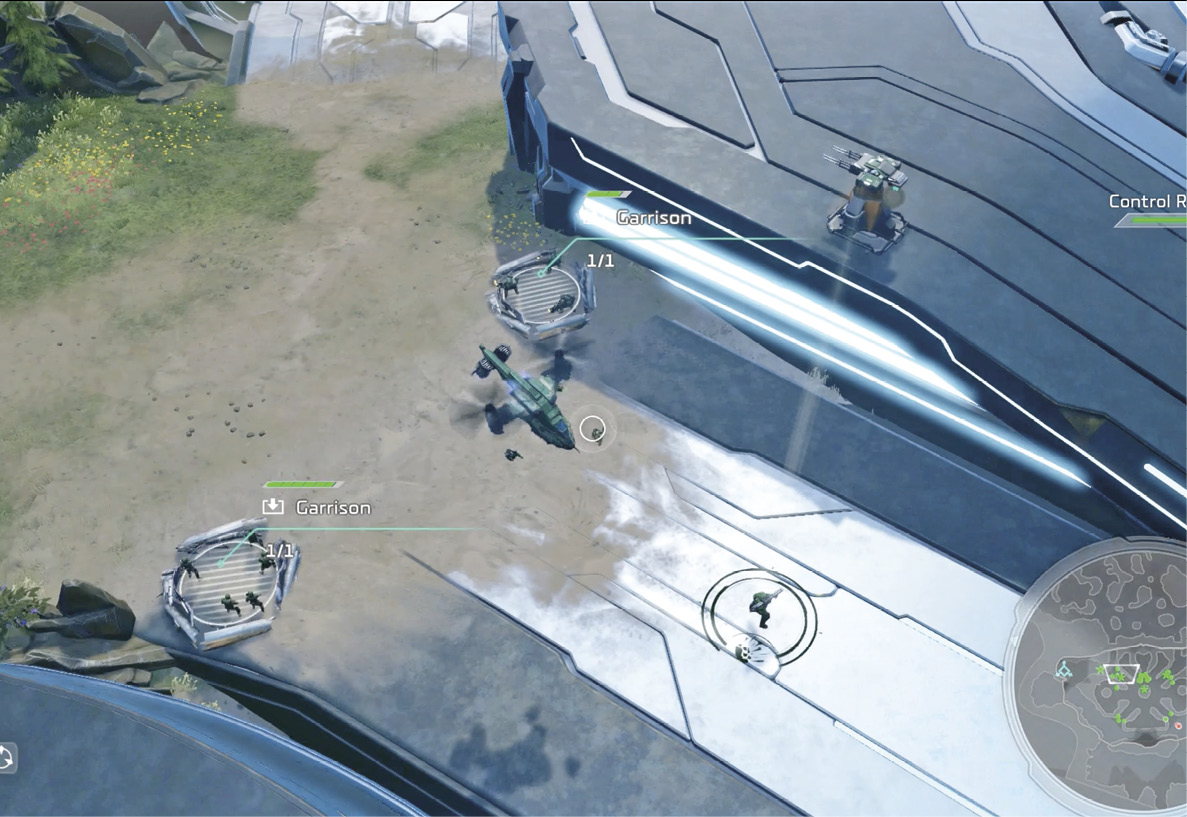
- STEP 1: Hustle infantry into the two garrisons at the east passage entrance
 . Hellbringers in one and Marines in the other—and plant a Spartan in the middle with a Nightingale just behind. Drop a Turret into the slot on the ledge above, overlooking the entrance. Again, try to do all this in 15 seconds.
 - STEP 2: Hurry! Move the camera back to the hub, select the following units, and rush them out to the next entrance clockwise
 . Hellbringers in one garrison, Marines in the other, Spartan in the middle. This time you have two Turret slots up on the ledges overlooking the entrance, one on each side. Fill them both!
 - STEP 3: Zoom back to the hub, select the last Spartan, plus one squad each of Marines and Hellbringers, and then hustle them out to the garrisons in the next entrance clockwise
 . This one has two Turret slots on the ledges above as well; again, drop Turrets into both slots.
 - STEP 4: Finally, move your remaining troops down the north passage
 and fill the garrisons and Turret slot. Then place the uncovered troops in between the garrisons, with the other Nightingale hovering above.
Turrets take 40 seconds to build, so the first ones you placed  ,
,  come online ready to fire as the Banished attackers arrive. With Spartans anchoring your line in three passages, you should repel these assaults fairly easily. Use their Spartan Slam to cripple multiple enemy units with one hit.
Second Wave: Suicide Grunts
After you break the first Banished wave, Cutter delivers more troops. The first round of reinforcements comprises Cyclops and Marine units, eight of each. Distribute them evenly, putting two of each unit in every passage. Be quick, because more Banished raiders are on the way—several squads of explosive Suicide Grunts. Your Turrets and your garrisoned Marines and Hellbringers can detonate these threats before they get close enough to inflict splash damage.
Optional Objective: Kill the Two Brute Warlords and Stop Their Reinforcements. Completion Earns a Skull!
Around this time, Captain Cutter reports that Brute Warlords have moved onto the field to oversee Banished troops. As he explains, eliminating them will disrupt the enemy’s chain of command. Locations for the two Warlords appear on your Minimap  ,
,  but you can’t see their scary cadre of support troops through the fog. These are both very tough targets, especially in the early minutes of the mission, before you gain higher-tier troops. Each Warlord possesses a powerful contingent of mixed units surrounding him, plus a few Engineers for healing and repair.
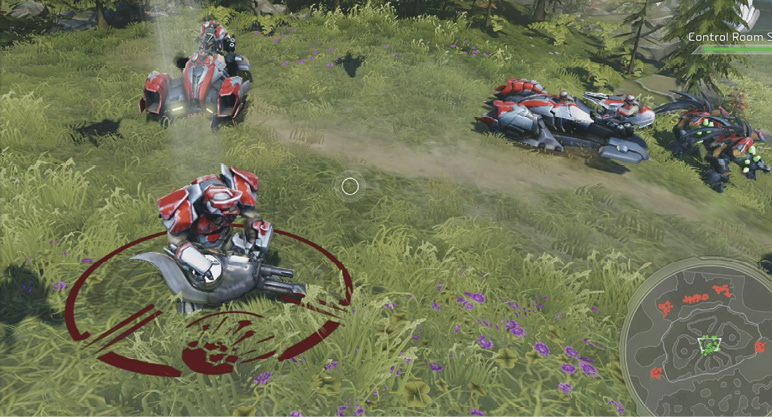
Wait until the Spirit of Fire delivers some heavy armor before you try a counterattack against the Warlords. It’s risky, but in the lull after a Banished assault on your four passages, quickly assemble a strike force led by all three Spartans. (Be sure to leave a few defenders at each passage; the Turrets alone can’t hold off an assault.) When you reach the Warlord’s clearing, immediately send Alice, Douglas, and Jerome leaping to hijack three of his tanks. Then drop the Leader Powers on the Warlord and his minions. Take them all out, no survivors.
IMPORTANT: After you eliminate a Warlord group, rush your strike team back to the four control room entrance passages! You need your Spartans in the passages for the big Banished assaults about to come.
Third Wave: Grunts and Choppers
After you repel the Suicide Grunts of the second Banished wave, take a few seconds to upgrade all six of your Turrets, if you haven’t already done so. (Check out our Tip earlier on that.) Soon Atriox starts flinging mixed squads of Grunts and Choppers in staggered attacks on all four passages. Your new Cyclops and Marines can hold the line, but Anti-Infantry and Anti-Vehicle Turrets really help lock down those entrances.
When you rebuff this attack, Cutter makes a drop of Warthogs and Scorpions, plus more Nightingales. Get them out to join your defense, one vehicle to each entrance. You should have a Nightingale providing support above each of the four passages now.
Fourth Wave: Grunts and Marauders
Soon the next wave hits as Atriox sends Grunts with Marauder tanks to charge the passages. Your upgraded Turrets and armored reinforcements should shatter this assault. Afterward, Cutter checks in with Professor Anders, who says she’s about halfway done but needs more time.
Fifth Wave: Elite Hunters
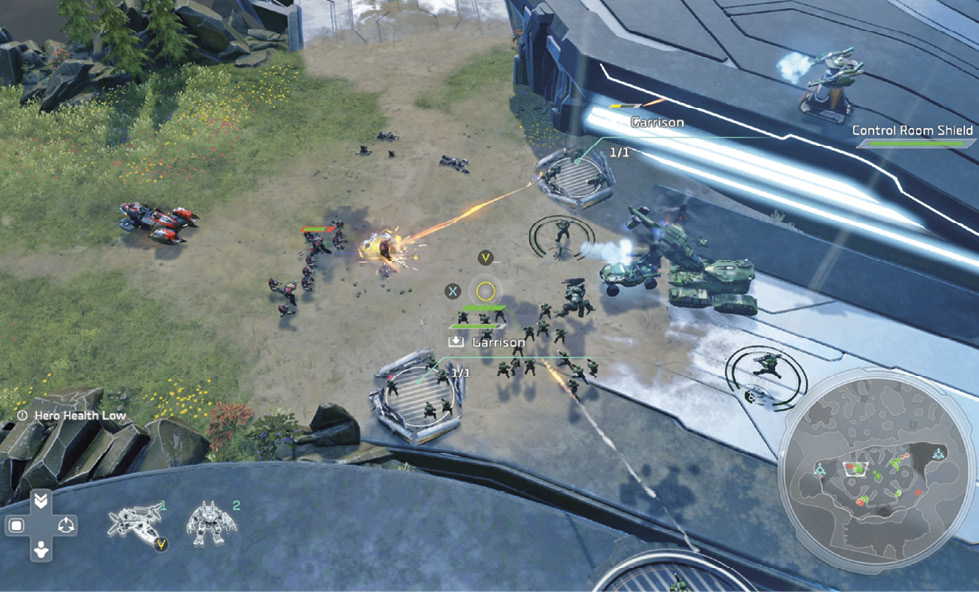
The next wave features Elite Rangers, marksmen with long-range carbines who set up to snipe from outside your team’s range. Push units out from the passage entrance to engage them. Send Warthogs out to ram the Rangers, or use Leader Powers to drop a temporary Turret or ODST squad right next to the enemy snipers.
Distribute Your Reinforcements Evenly
Each successive drop of reinforcements from the Spirit of Fire brings you a higher tier of units. Atriox sends a nefarious mix of infantry, vehicles, and eventually air units to attack the four passages to the Halo control room, using coordinated attacks that are sometimes staggered and sometimes simultaneous on multiple positions. Therefore, you want a full complement of mixed counter-units at the head of each passage:
- Keep your garrisons full of infantry, including the two garrisons up on the ledges. Eventually, the Banished make several attempts to jump onto or fly over the ledges to flank your troops and get to the control room.
- Be sure to station anti-vehicle Cyclops units at every entrance. These are critical for holding Banished vehicles at bay until the Spirit of Fire delivers Hornets.
- Keep a Nightingale hovering above each passage entrance.
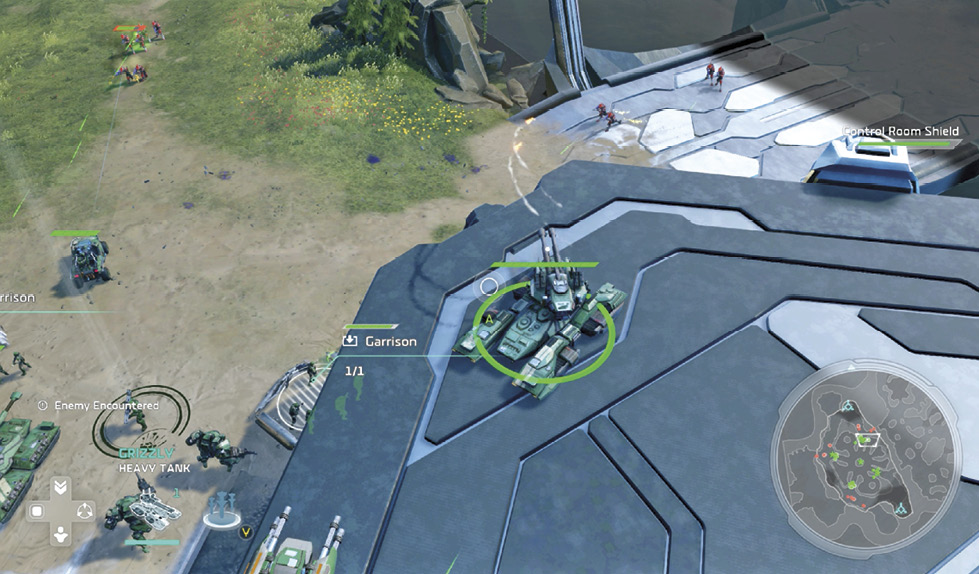
- When it finally arrives, deploy heavy armor (Scorpions, Grizzlies, Kodiaks) to each entrance, putting one tank up on the ledge overlooking the passage so it gains the elevation advantage.
- Check your Turrets after every wave, replacing any that get destroyed.
- Again, use your Leader Powers regularly! Remember that their cooldown times are much reduced, so they recharge quickly.
Deploying Hornets and Wolverines
While it’s true that the best overall deployment is to put at least one of each unit type in each passage, let us suggest a pair of exceptions:
- First, keep two to three Wolverines parked in a ring around the Halo control room. The reason: Banshees are the most likely Banished unit to slip past your outer ring of defense and hit Anders’ protective blue bubble. If you hold back some Wolverines near the control room, they’ll decimate any enemy flyers that sneak in to attack the shield.
- Second, keep a squadron of three or four Hornets, plus one Nightingale, in a hotkey group as your rapid-response force. When multiple Wraiths or massed Locusts attack an entrance in the later waves, rush your angry Hornet ball from the hub to pop the enemy vehicles one by one with concentrated autocannon fire.
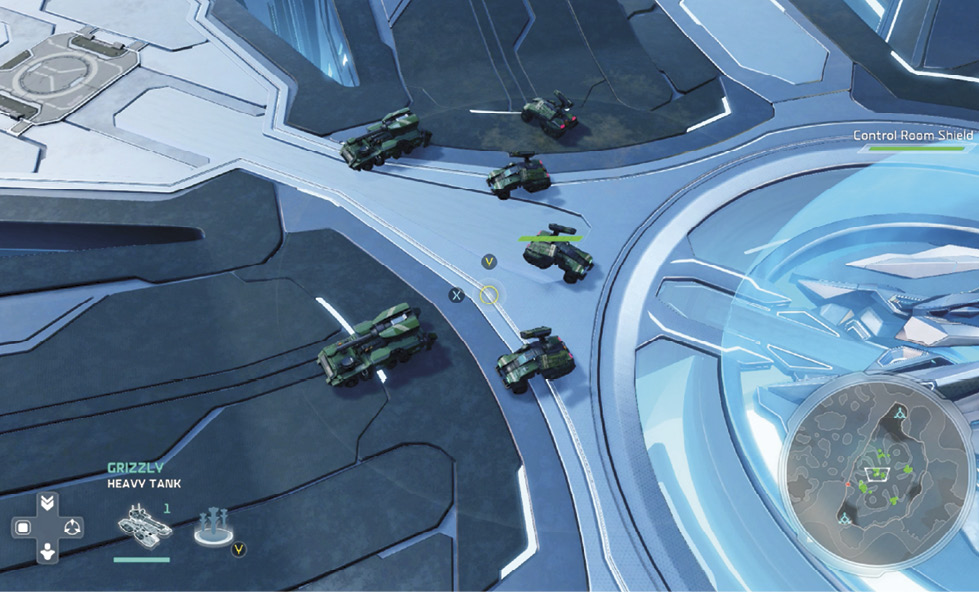
Sixth Wave: Grunts, Hunters, and Locusts
Here’s where it’s good to have upgraded Turrets, a Hornet squadron, and balanced counter-units at every entrance. This wave of Banished includes multiple Locusts and Hunters. Target the Hunters with your tanks for quick removal. The Locust focus cannon has a long range, so push Hornet and Cyclops units out from the entrance to hit them.
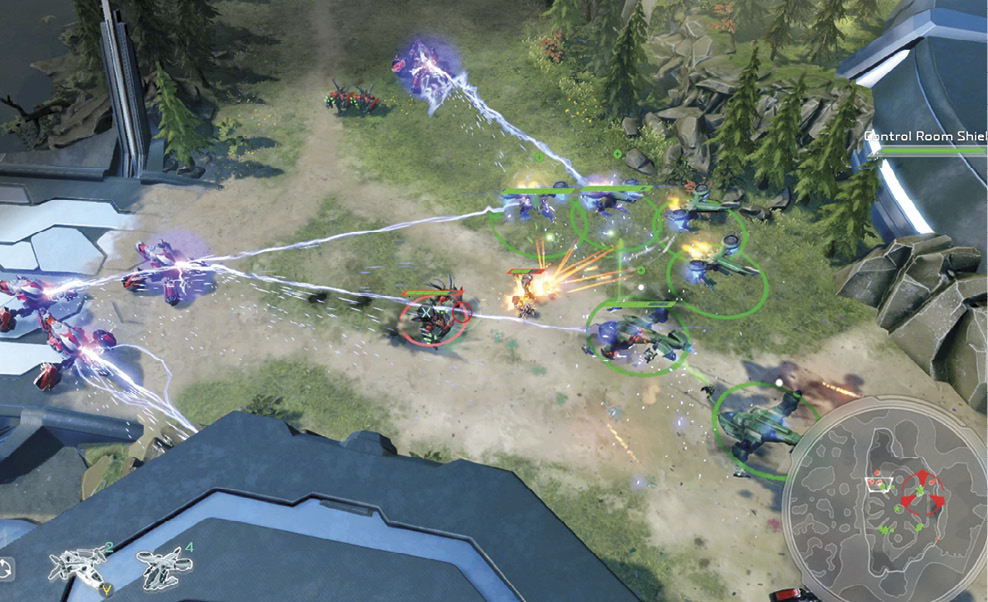
Condor vs. Scarab
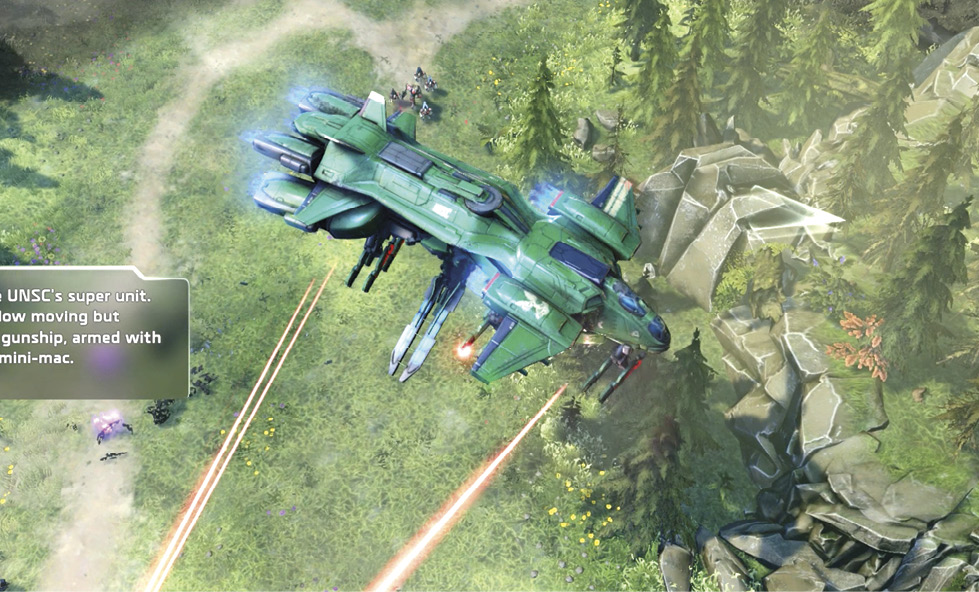
After you finally crush the last of the Locust wave, Jerome reports a big Scarab lumbering toward the north passage  . Don’t panic! In response, Isabel introduces a new UNSC Super unit, the Condor G81 Heavy Gunship armed with laser Turrets and a ballista Mini-MAC (magnetic accelerator cannon). Send it directly to attack the Scarab. The Condor has immense power, and if you drop in some Archer Missiles too, the Scarab falls fast.
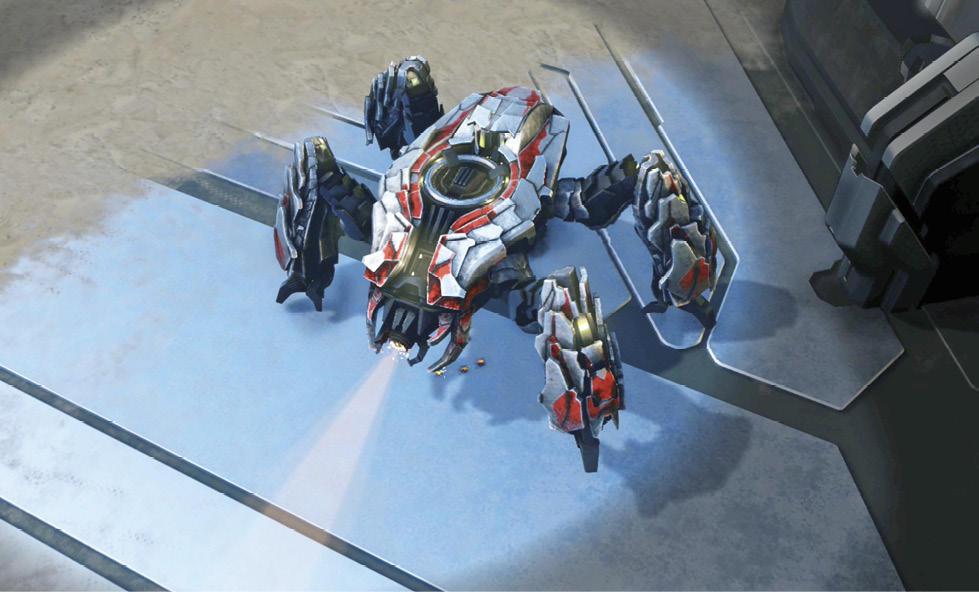
Banshees, Blisterbacks, and Wraiths
As the Scarab shudders in its death throes, Anders reports that the Halo ring is disarmed, but she needs a bit more time to set up the comm-beacon for Earth. For the next three minutes or so, Atriox sends flight after flight of Banshee fighters at the Halo control room from all directions. The Marines and Turrets in your outer ring of defense will degrade the flyers, and your inner ring of Wolverines will finish them off quickly in satisfying puffs of flaming debris.
Soon you get your last round of reinforcements, as the Spirit of Fire sends in two Vulture gunships. Combined with the Condor, these give you formidable heavy air support. The timing is great, because Atriox brings in his own heavy air unit, the Blisterback. Send a Vulture with a Wolverine to target each Blisterback for efficient kills, whether the enemy craft is airborne or on the ground in lockdown artillery mode. But keep at least one Wolverine posted next to the control room in case a stray Banshee manages to slip in close.
Finally, as Professor Anders makes her last adjustments in the control room, Wraith tanks start rolling in with infantry escorts. Your Condor, Vultures, and Hornets can make short work of any tank, so distribute them across your defensive perimeter: the Condor at the east passage entrance  , a Vulture apiece at two more entrances
  ,
, , then your Hornet swarm in the fourth entrance
  .
.
At this point, stop using Leader Powers so that they’re fully charged when the Banished dial up their final furious assault (unless, of course, you have an emergency). After another couple of minutes, Atriox contacts Cutter, but the Captain cuts off the transmission.
Primary Objective: Hold Out for Two Minutes
Now get ready for a three-Scarab attack. After 30 seconds, Anders reports that she’s gained control of the Halo’s gravity anchors. A 2:00 timer starts counting down in the upper right corner. Send half your heavy armor and both Vultures to the north entrance  , where a single Scarab rumbles out of the fog. Leave your Condor at the east entrance
  and bring your Hornets and the rest of your heavy armor here too, as two more Scarabs launch a frightening assault.
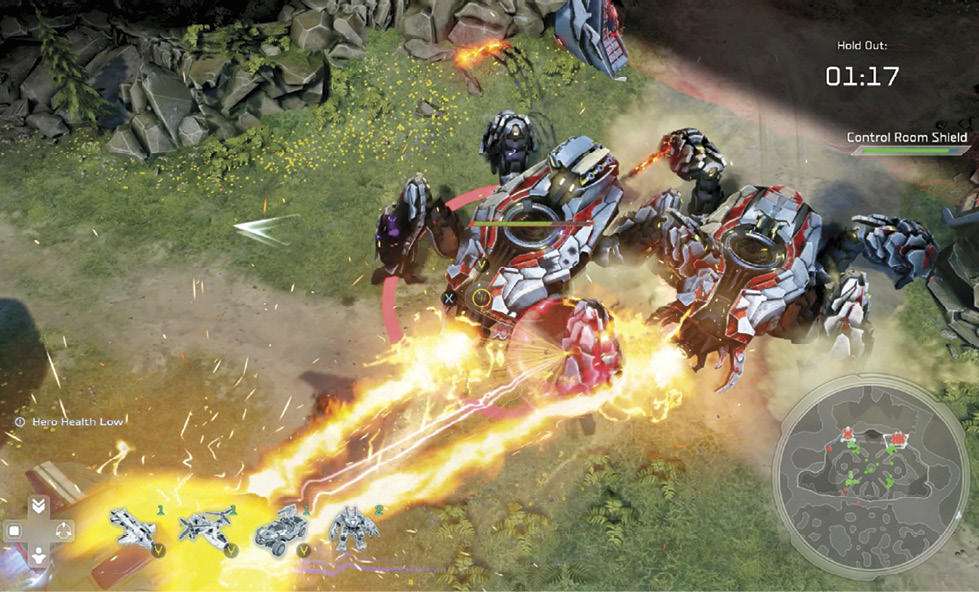
Throw everything into this final defense. Hit the north Scarab with Archer Missiles, and it will likely fall quickly. When it does, immediately bring your Vultures (and other north-entrance units) over to help with the two east-entrance Scarabs.
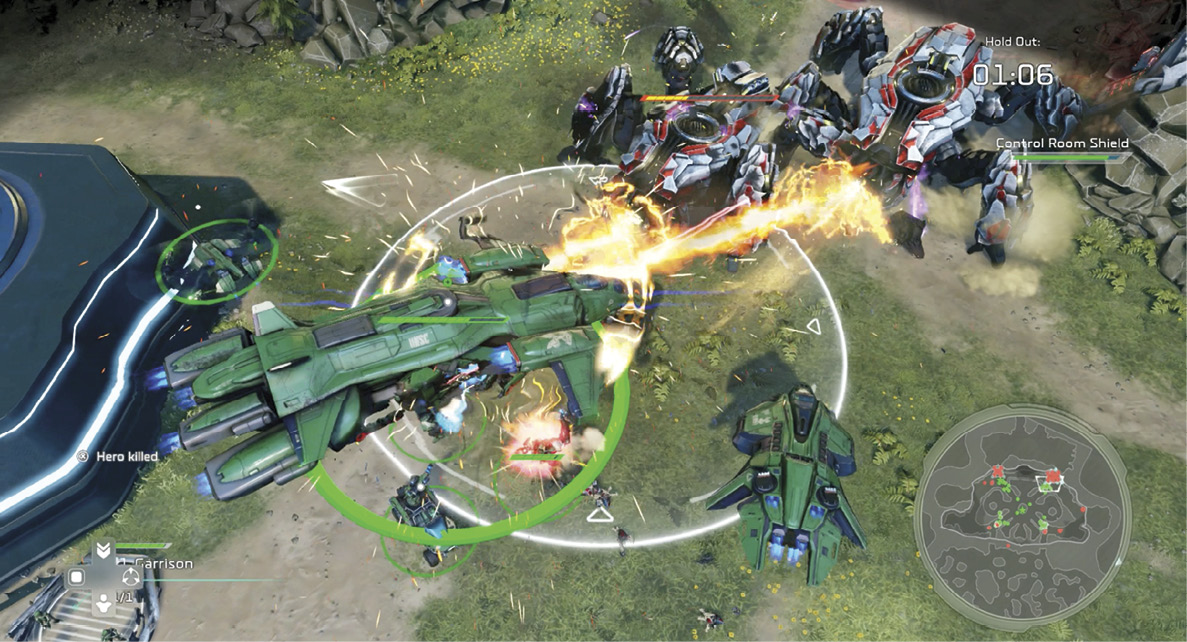
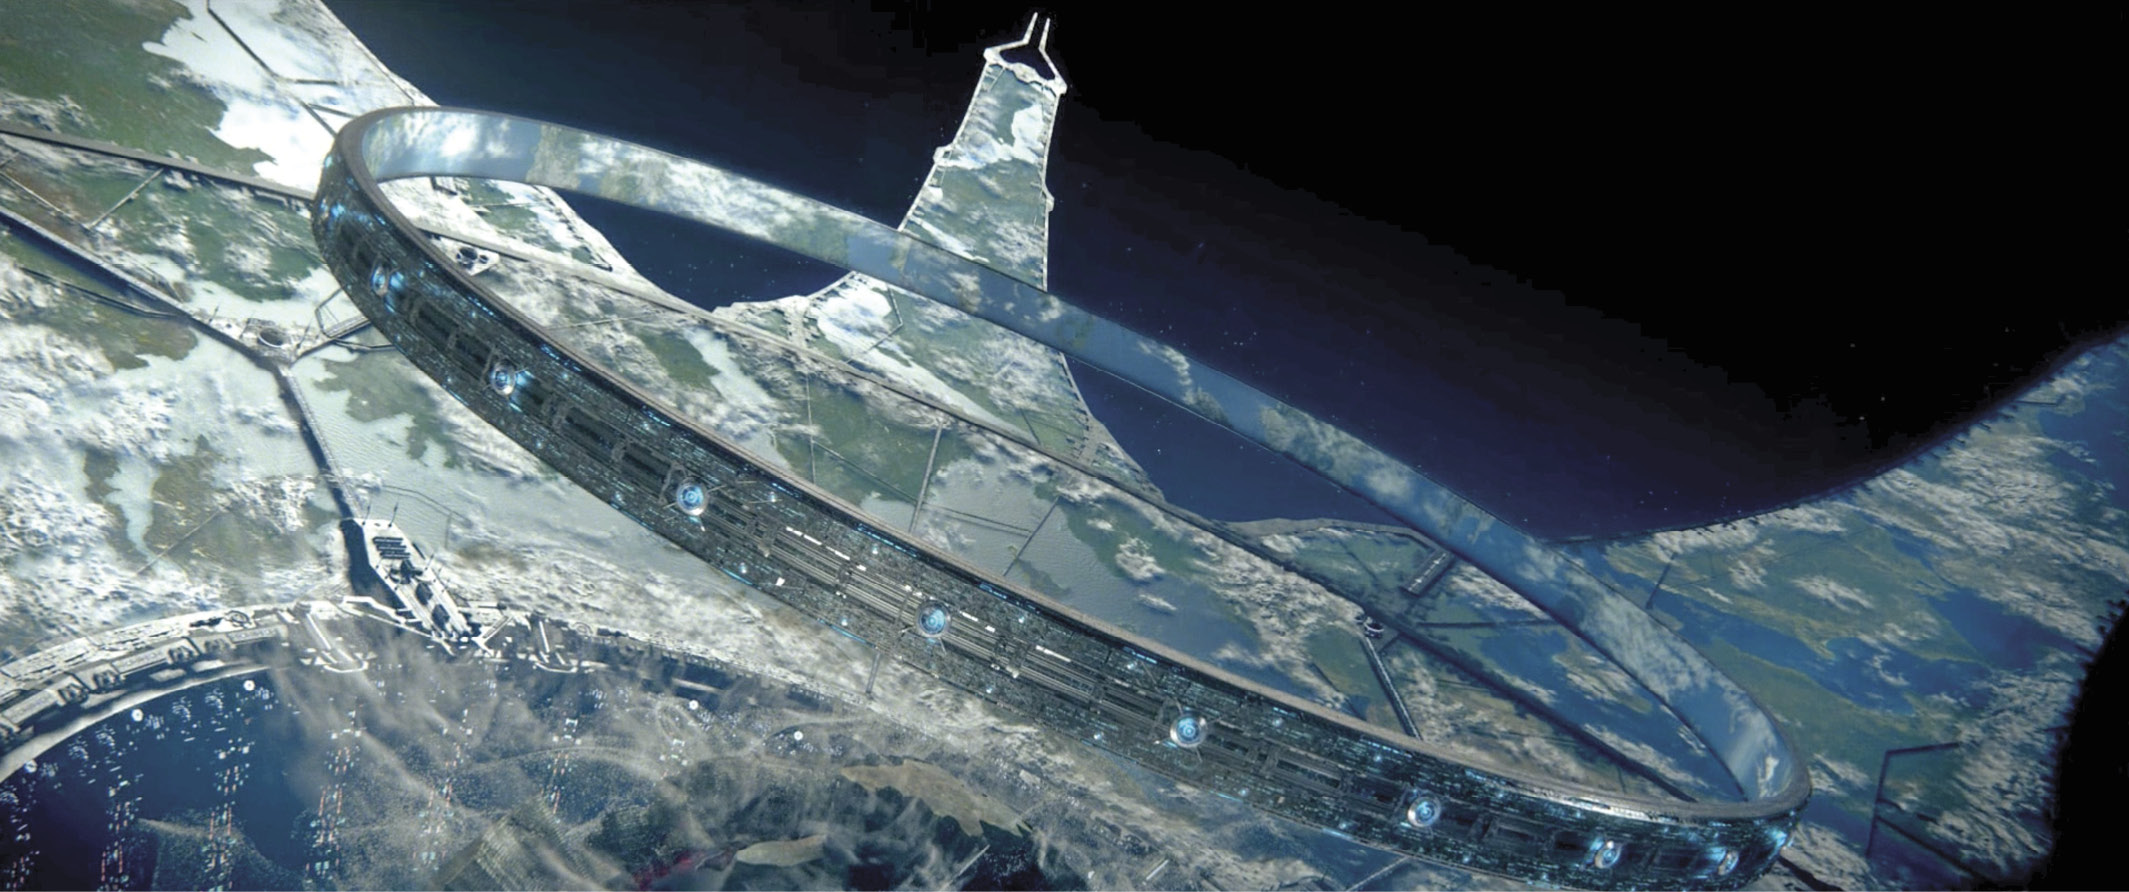
Drop Lotus Mines, ODSTs, and a Turret into these Scarabs’ path. Your awesome Condor fares surprisingly well alone against the pair, but dose your gunship with Restoration Drones if its health drops into the yellow range. When the Vultures join in from the north, the battle is over in seconds. Watch the spectacular finale.
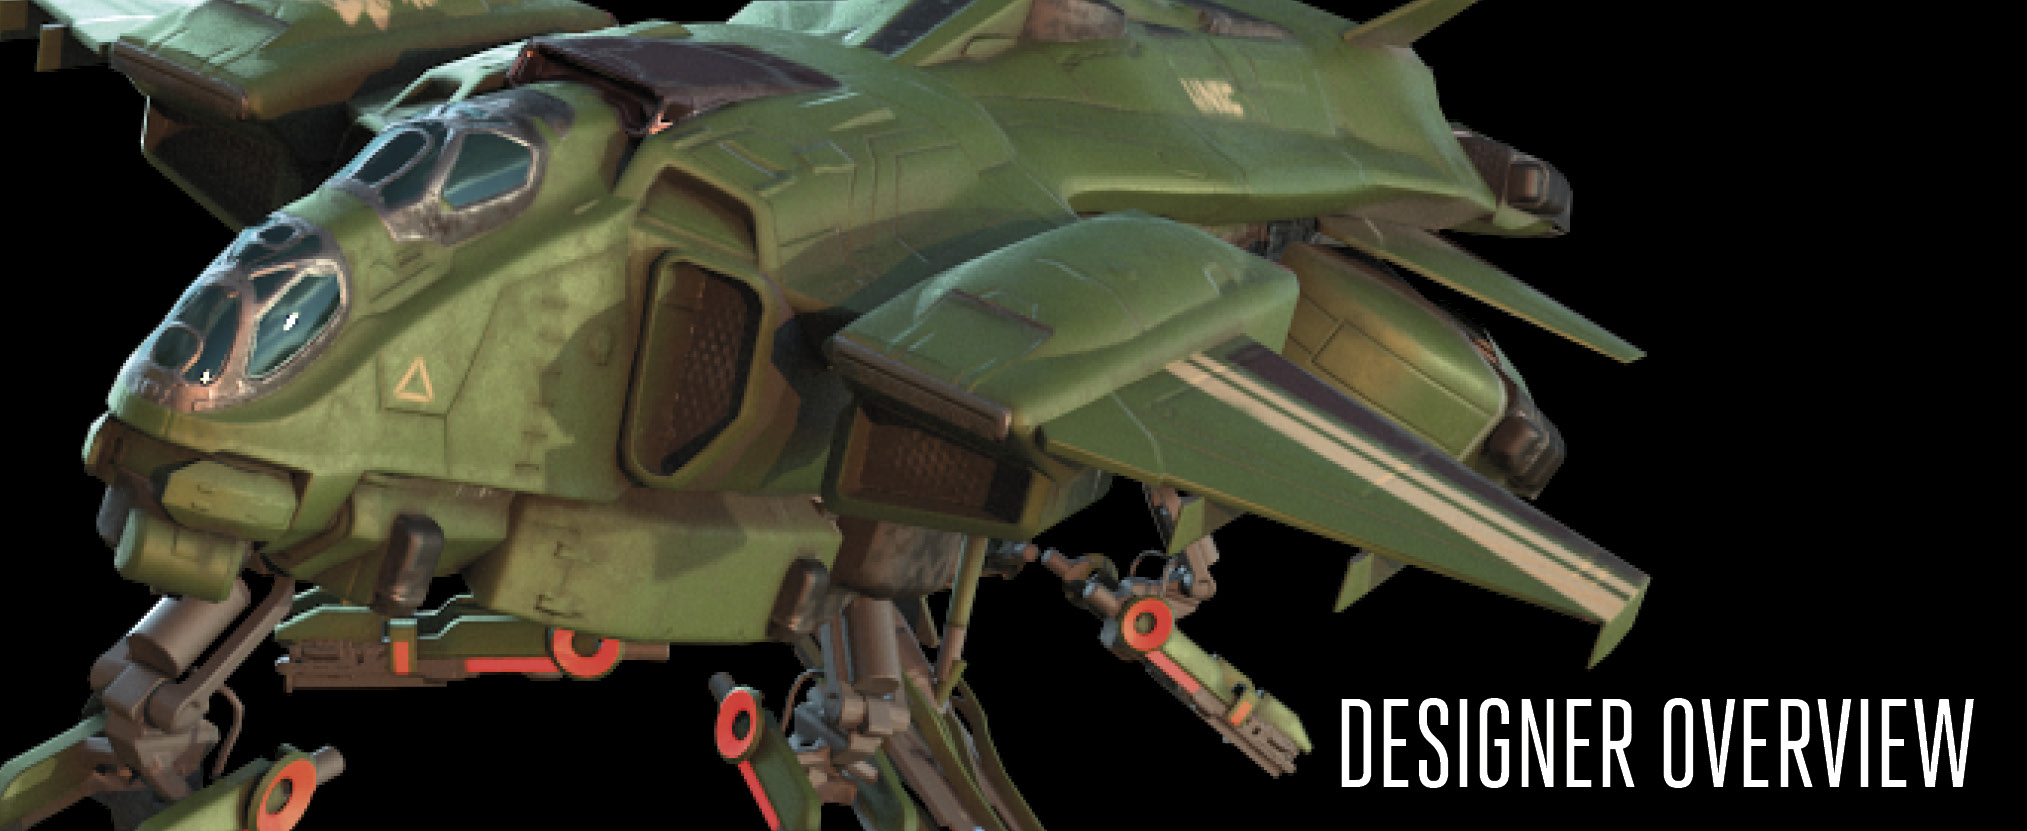 “Last Stand”Sculpting the Big Story Beats Players must protect Anders during this mission while she disables the Halo firing mechanism. This was the key beat all along, but the method of protection evolved. Decisions about When to Introduce New Gameplay Twists We wanted to ensure that players were given a surprise when Anders was forced to teleport away with the Halo. Ideas Behind the Map This mission wasn’t meant to be as challenging as the previous mission, but rather to help bookend the narrative and give players a chance to have fun casting all their Leader Powers against a huge hostile army. Role the Mission Fulfills in the Story’s Escalation This mission leaves some big questions open. The Banished are ejected from the Halo by Anders, and the player is left with one fewer crew member. We also see a key cutscene after the credits, revealing what became of Anders, and a new, even bigger threat is revealed. How the Mission Evolved Over the Course of Development The mission originally included base-building, with players attempting to turn off all the taps (of enemies) flooding their base. We made a direction change to focus the mission more on using Leader Powers to defend the base, rather than traditional base-building, so that the gameplay beat felt unique amongst the other defensive missions. |