
Banished Leaders
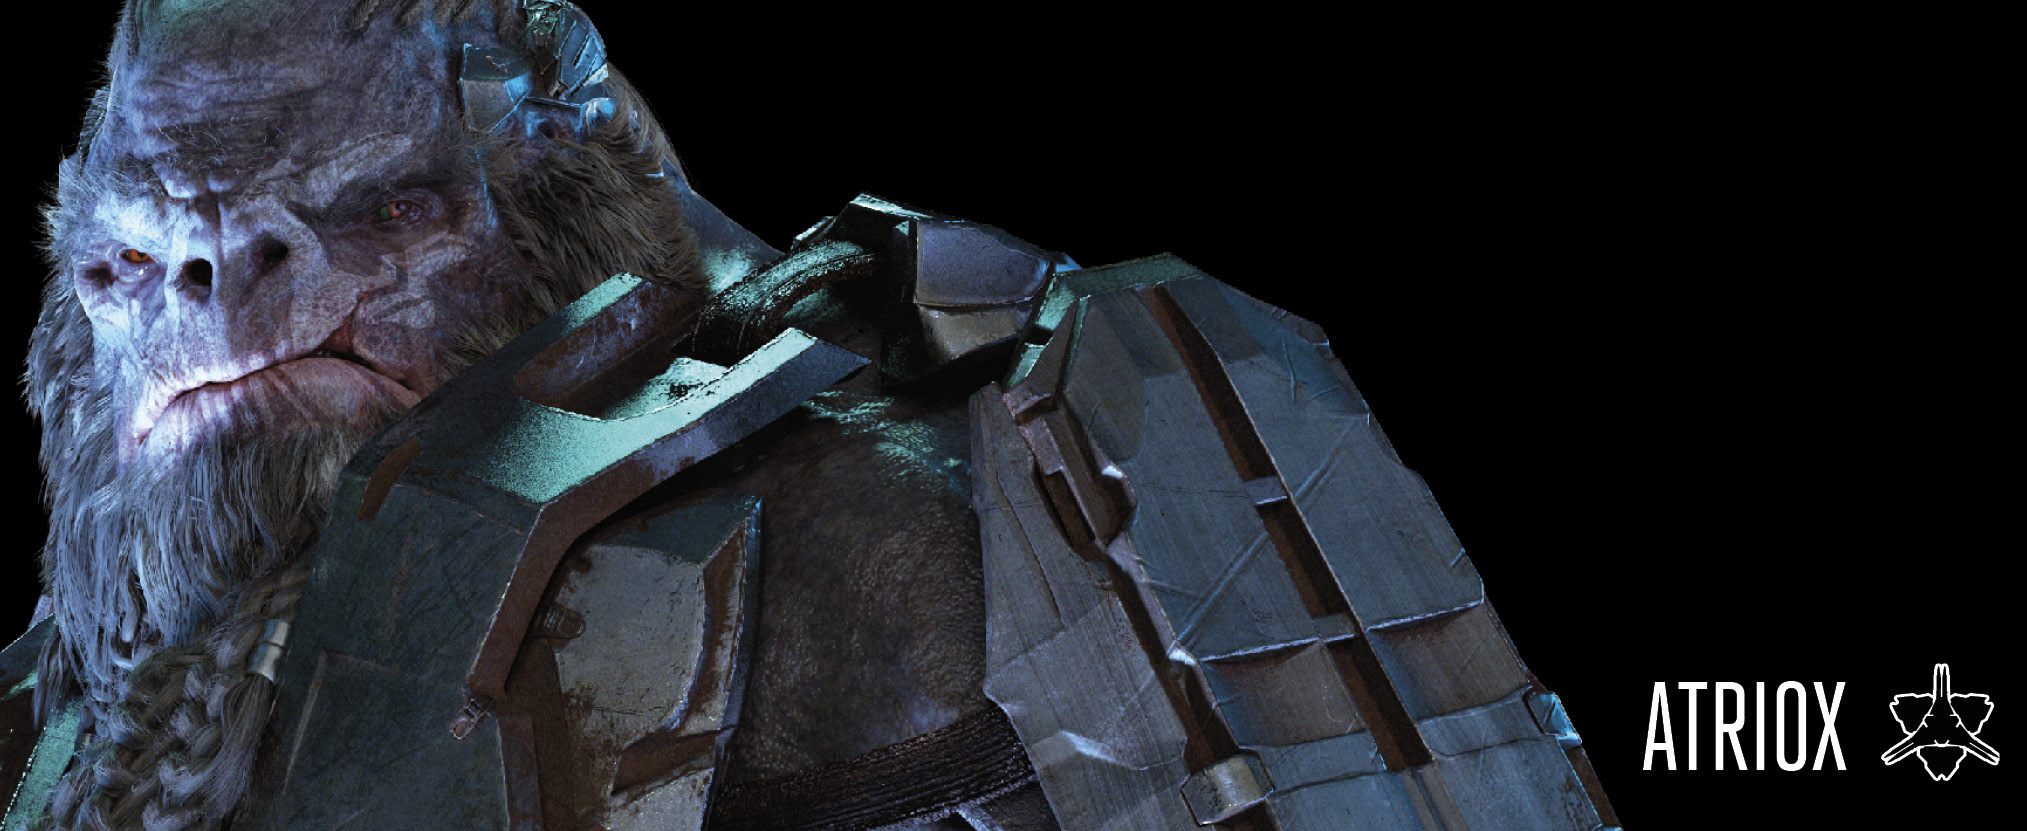
Theme: Impenetrable Role: Map Control and Growth Unique Units: Atriox’s Chosen (Hero) Unique Leader PowersCountermeasures: Drops mines around newly captured points and slows enemy de-capture rate for any points you hold. Also allows Jump Pack Brutes to drop trip mines whenever they leap. Fortifications (I/II): Reduces the costs and build times of Turrets, Turret upgrades, and various base-related upgrades. Dying Breath: Inspires units to keep attacking for a short time after they’ve been killed. Atriox’s Bulwark (I/II/III): Creates a healing area that grants affected units a brief period of invulnerability. Unbreakable: Grants all active units temporary invulnerability. Eradication: Fires multiple beams that converge to trigger a powerful explosion. |
Atriox is a Brute Warlord adept at tactics and strategy—qualities honed during his service in the Human-Covenant War. And in the aftermath of the Covenant’s breakdown, Atriox has managed to draw a great many battle-hardened soldiers into the Banished. Of course, this charismatic leader is also a feared warrior—as any Brute leader must be. His reputation for ruthless aggression allows him to deploy savage Brutes and Elite mercenaries side by side. Where others might struggle to keep such bitter rivals from turning on each other, Atriox has little trouble keeping his troops in line.
Atriox’s tactical mind is reflected in his available Leader Powers. Although he has a few very effective offensive abilities, a surprising amount of his Powers are dedicated to defense. With Powers like Fortifications, Atriox’s Bulwark, and Unbreakable, he offers tactical options you might not expect from a Brute Warlord.
Tier 1 Leader Powers
| Icon | Name | Description |  Cost Per Use Cost Per Use |
 Cost Per Use Cost Per Use |
 Cost Per Use Cost Per Use |
Cooldown |
|---|---|---|---|---|---|---|

|
Countermeasures | Drops mines around newly captured points.Slows enemy de-capture rate.Jump Pack Brutes drop trip mines when in flight. | PASSIVE POWER | |||

|
Fortifications I | Reduces costs and build times for the Stronghold upgrade, the Fortify upgrade, and Turret upgrades.Reduces costs for base-level Turrets, shield towers, and Outposts. | PASSIVE POWER | |||
|
|
Fortifications II | Improves all benefits provided by Fortifications. | PASSIVE POWER | |||
Tier 2 Leader Powers
| Icon | Name | Description | Cost Per Use |
Cost Per Use |
Cost Per Use |
Cooldown |
|---|---|---|---|---|---|---|

|
Plasma Mines I | Drops a line of cloaked mines.Once armed, mines explode on contact.Does not damage air units. | — | 25 | 100 | 105s |
|
|
Plasma Mines II | Increases number of mines dropped. | — | 50 | 200 | 105s |

|
Dying Breath | Targets own units.Affected units continue fighting after death for a set time. | — | 250 | 20 | 120s |
Tier 3 Leader Powers
| Icon | Name | Description | Cost Per Use |
Cost Per Use |
Cost Per Use |
Cooldown |
|---|---|---|---|---|---|---|

|
Atriox’s Bulwark I | Creates a healing area.Grants brief invulnerability.Heals units and buildings. | — | 175 | 40 | 180s |
|
|
Atriox’s Bulwark II | Increases area, healing amount, and duration of Atriox’s Bulwark. | — | 250 | 70 | 180s |
|
|
Atriox’s Bulwark III | Further increases area, healing amount, and duration of Atriox’s Bulwark. | — | 325 | 90 | 180s |

|
Spirit Assault I | Drops off two Suicide Grunts. | 4 | 240 | 60 | 165s |
|
|
Spirit Assault II | Drops off two upgraded veteran Suicide Grunts and one veteran Jump Pack Brute. | 7 | 375 | 140 | 165s |
|
|
Spirit Assault III | Drops off two upgraded veteran Suicide Grunts and two veteran Jump Pack Brutes. | 10 | 520 | 220 | 165s |
Tier 4 Leader Powers
| Icon | Name | Description | Cost Per Use |
Cost Per Use |
Cost Per Use |
Cooldown |
|---|---|---|---|---|---|---|

|
Glassing Beam I | Fires a controllable plasma beam.Damages all unit types and buildings. | — | 150 | 150 | 195s |
|
|
Glassing Beam II | Increases Glassing Beam size and damage. | — | 250 | 250 | 195s |

|
Teleport I | Teleports own units to any location within range.Does not require line of sight. | — | — | 250 | 165s |
Tier 5 Leader Powers
| Icon | Name | Description | Cost Per Use |
Cost Per Use |
Cost Per Use |
Cooldown |
|---|---|---|---|---|---|---|

|
Unbreakable | Grants temporary invulnerability to all your deployed units. | — | 1600 | 500 | 333s |

|
Eradication | Unleashes eight converging plasma beams.Once converged, a massive blast is triggered.Damages all unit types and buildings. | — | 800 | 800 | 300s |
Atriox Basics
Atriox is a versatile leader, but his available Powers support early defensive strategies in particular. In most cases, your best option is to hunker down and weather any rush tactics your enemies utilize. Produce enough units to ensure you can defend yourself or hold vital points—and remember to scout your enemies—but focus on establishing resource production and fortifying your base as quickly as possible.
Countermeasures can be a big help in Domination matches, but when it comes to Deathmatch games, the Fortifications Leader Power is almost certainly the best option for your first Leader Point. Invest in this Power as early as possible (preferably before you build or research any of the items it affects), then fortify your base with Turrets and the base-related upgrades found in the War Council. The Fortifications Power also reduces the cost and build time for constructing an Outpost and upgrading to a Stronghold, making it a valuable tool in expansion strategies.
With a strong defensive strategy and the right Leader Powers, the resources you save should allow you to field a formidable army as the match progresses. Still, if you find it necessary to change tactics, any investments you’ve made in your base are bound to prove useful.
Atriox excels at defense, but he has access to some excellent offensive Leader Powers as well. Spirit Assault deploys powerful units, Glassing Beam deals reliable damage, and Eradication is one of the best base-killers available to any leader. These offensive Powers are particularly important during team play—even if the bulk of your resources goes toward your own growth and expansion, you can use these Powers to support your more aggressive allies.
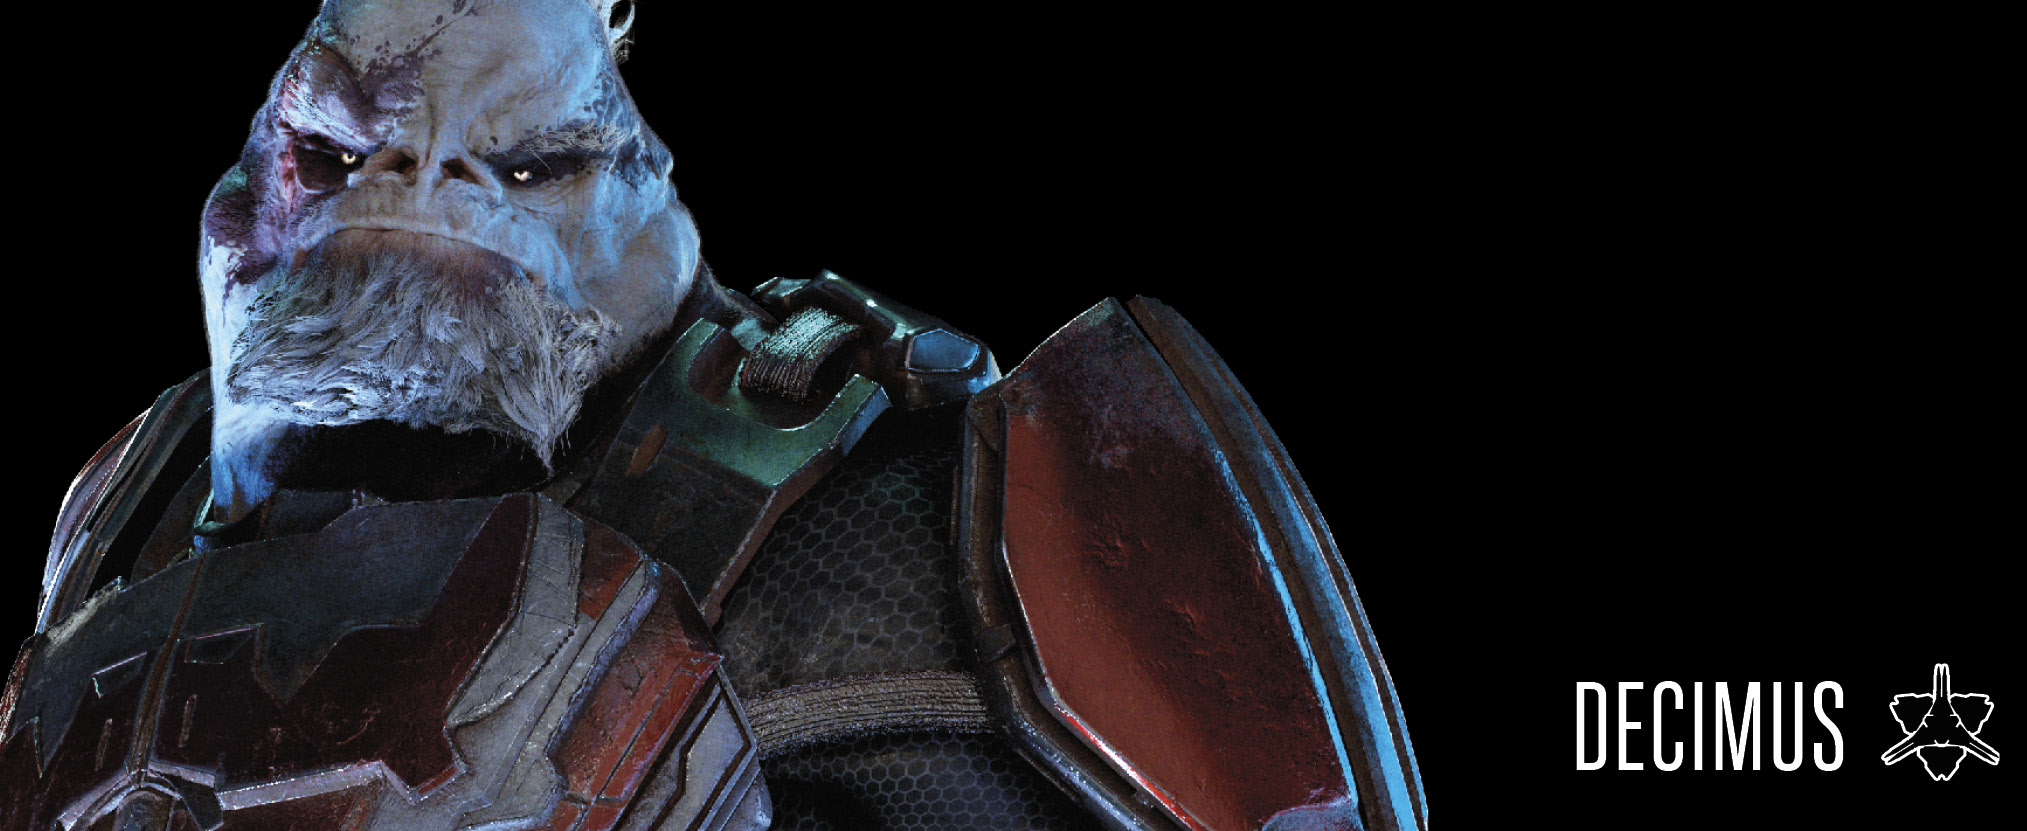
Theme: Reckless Role: Battle Control and Disruption Unique Units: Atriox’s Chosen (Hero) Unique Leader PowersKilling Frenzy: Gives units a damage boost each time they defeat an enemy. Vortex Lightning (I/II/III): Summons a controllable vortex that stuns units and reduces defense. Siphon (I/II/III): Grants selected units health as they deal damage. Fury (I/II/III): Increases affected units’ movement speed and damage while slowly draining health. Boundless Siphon: Grants all units a small but permanent siphon effect. Decimus Drop: Summons Decimus to the battlefield. Boundless Fury: Grants all units a permanent increase to speed and damage. |
Decimus is Atriox’s right-hand Brute and is a massive physical specimen (larger even than Tartarus), whom Atriox tasks with his most challenging assignments. While Decimus harbors a lingering belief in the divinity of the Forerunners, he remains loyal to his commander—Atriox has proven himself to be the fiercest of all Brutes, and according to the old ways, Decimus is obligated to serve.
In stark contrast to Atriox’s measured tactics, Decimus is a quintessential Brute. He favors recklessness and aggression—and Powers like Killing Frenzy, Fury, and Decimus Drop all support this basic strategy.
Tier 1 Leader Powers
| Icon | Name | Description | Cost Per Use |
Cost Per Use |
Cost Per Use |
Cooldown |
|---|---|---|---|---|---|---|

|
Killing Frenzy | All units gain damage boosts when they kill enemies. | PASSIVE POWER | |||

|
Vortex Lightning I | Fires a controllable vortex that stuns enemies and lowers their defense.Stuns units for 0.5 seconds.Can hold on targets for prolonged stun and damage. | — | 50 | 150 | 165s |
|
|
Vortex Lightning II | Increases Vortex Lightning size, debuff duration, and strength. | — | 75 | 200 | 165s |
Tier 2 Leader Powers
| Icon | Name | Description | Cost Per Use |
Cost Per Use |
Cost Per Use |
Cooldown |
|---|---|---|---|---|---|---|

|
Siphon I | Targets own units. Affected units gain health while in combat. | — | 150 | 30 | 195s |
|
|
Siphon II | Increases Siphon target size, duration, and healing amount. | — | 200 | 60 | 195s |
|
|
Siphon III | Further increases Siphon target size, duration, and healing amount. | — | 250 | 90 | 195s |

|
Fury I | Targets own units.Boosts damage and speed of affected units.Drains health while active; units cannot die from this effect. | Drains unit health for duration of effect.Requires no resources. | 120s | ||
|
|
Fury II | Increases selection area of effect, unit damage, and movement speed. | Drains unit health for duration of effect.Requires no resources. | 120s | ||
|
|
Fury III | Further increases area of effect, unit damage, and movement speed. | Drains unit health for duration of effect.Requires no resources. | 120s | ||
Tier 3 Leader Powers
| Icon | Name | Description | Cost Per Use |
Cost Per Use |
Cost Per Use |
Cooldown |
|---|---|---|---|---|---|---|
|
|
Glassing Beam I | Fires a controllable plasma beam.Damages all unit types and buildings. | — | 150 | 150 | 195s |
|
|
Glassing Beam II | Increases Glassing Beam size and damage. | — | 250 | 250 | 195s |
|
|
Glassing Beam III | Further increases Glassing Beam size and damage. | — | 350 | 350 | 195s |
|
|
Spirit Assault I | Drops off two upgraded veteran Suicide Grunts. | 4 | 240 | 60 | 165s |
|
|
Spirit Assault II | Drops off two upgraded veteran Suicide Grunts and one veteran Jump Pack Brute. | 7 | 375 | 140 | 165s |
Tier 4 Leader Powers
| Icon | Name | Description | Cost Per Use |
Cost Per Use |
Cost Per Use |
Cooldown |
|---|---|---|---|---|---|---|
|
|
Teleport I | Teleports own units to any location within range.Does not require line of sight. | — | — | 250 | 165s |

|
Boundless Siphon | All units gain a permanent minor health siphon when they damage enemy units.Effect stacks with Life Leech. | PASSIVE POWER | |||
Tier 5 Leader Powers
| Icon | Name | Description | Cost Per Use |
Cost Per Use |
Cost Per Use |
Cooldown |
|---|---|---|---|---|---|---|

|
Decimus Drop | Drops Decimus into battle.Only one Decimus (per player) can be in use. | 10 | 1000 | 1000 | 330s |

|
Boundless Fury | All units gain a permanent increase to speed and damage. | PASSIVE POWER | |||
Decimus Basics
Decimus’ Leader Powers support an aggressive strategy, making him a top choice for rushing tactics. The Killing Frenzy Leader Power makes early assaults much more effective, and combining Siphon and Fury allows small raiding parties to overcome significant resistance. With proper planning, it’s often possible to execute an early push with a handful of scouts and core infantry units—this might not defeat your opponent outright, but it can disrupt whatever plans might be in motion.
Decimus’ three passive Powers—Killing Frenzy, Boundless Siphon, and Boundless Fury—work well together. This combination isn’t possible until late in a match, but it can allow you to roll right over enemy forces, particularly if you worked to weaken your opponent during the match’s early stages. The Tier 5 Decimus Drop Power summons Decimus himself as the only Ultimate unit available to the Banished.
If rushing isn’t your first choice—or if a defense-focused opponent forces you to alter strategies—Decimus does have Leader Powers that allow for more measured tactics. Use active Powers like Vortex Lightning, Glassing Beam, and Spirit Assault to support your army as you grow your economy, fortify your base, or focus on researching upgrades. Plus, Decimus’ unit-buffing Leader Powers aren’t exclusive to offense—they can just as easily be used to help ensure that even a moderately sized army is effective enough to protect your base.
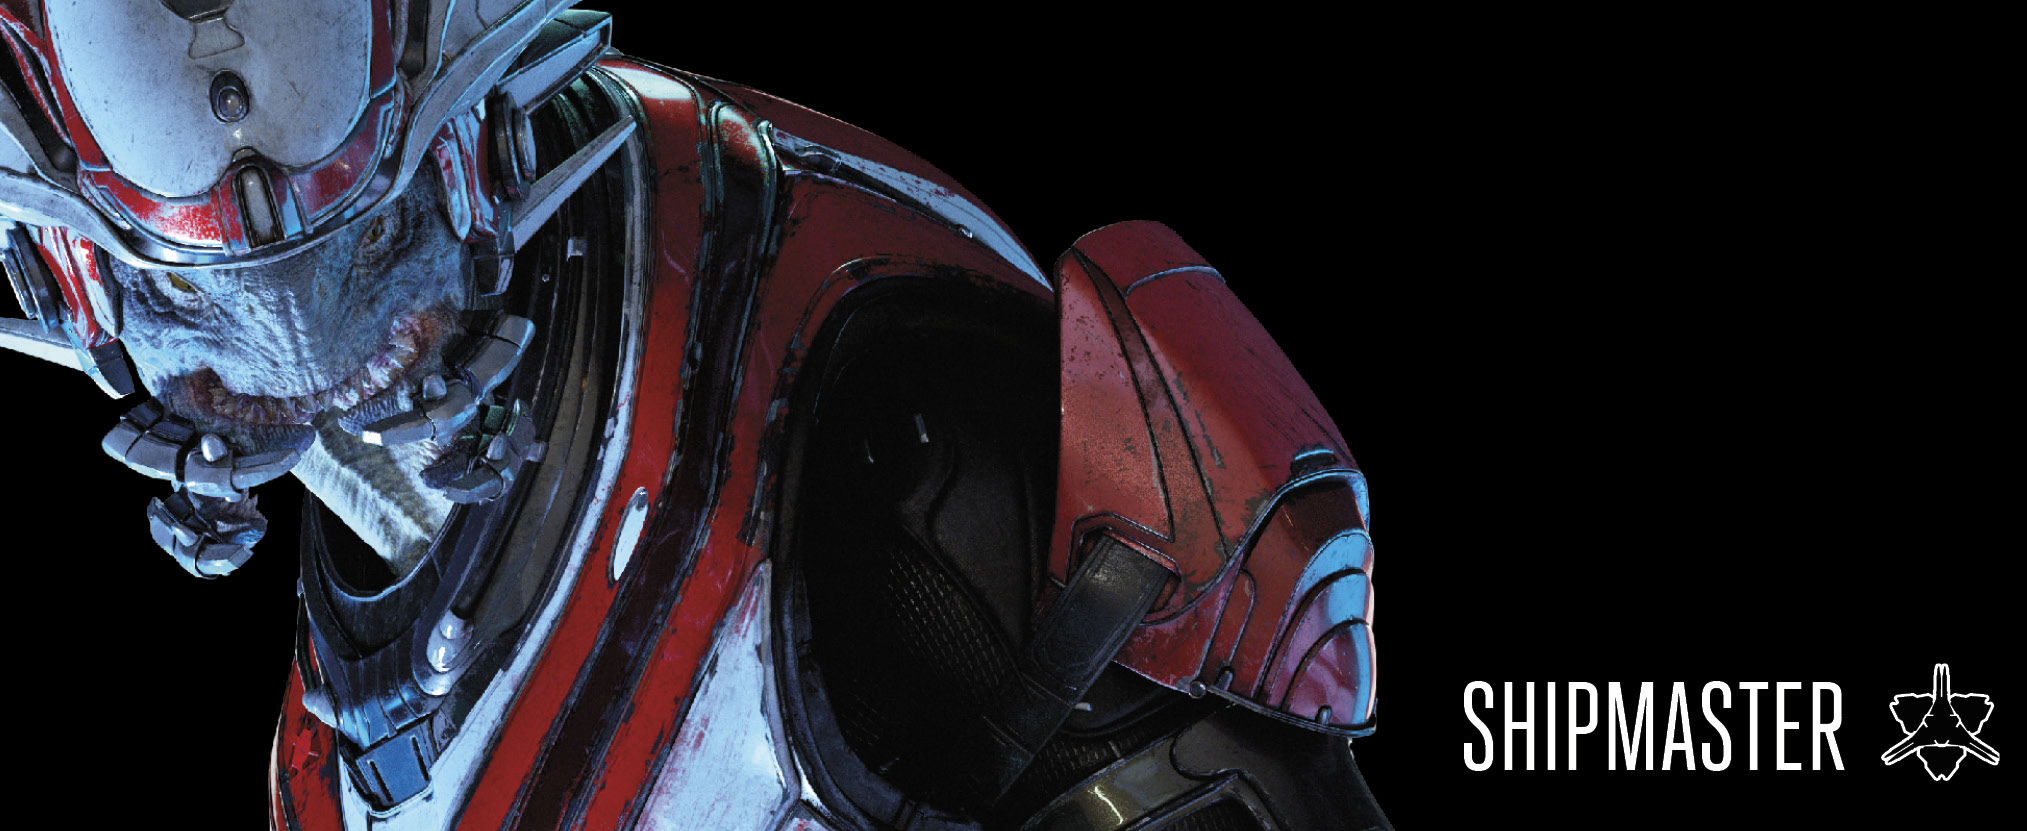
Theme: Mobility and Stealth Role: Economy and Attack Unique Units: Honor Guard (Hero), Ghost Unique Leader PowersBanished Raid (I/II/III): Increases capture speed for all units and extends line of sight for infantry. Further investments grant speed boosts to various units, and also allow Ghosts to capture points. Scout Mine (I/II): Deploys a cloaked mine that provides vision near the targeted area. Extraction (I/II): Teleports targeted units back to your main base and administers emergency healing. Advanced Cloaking (I/II): Grants Marauders an active cloaking ability and decreases the costs of producing Cloaking Generators and Shrouds. Further investment extends the duration of all cloak abilities and increases the size of the Shroud’s cloaking field. Spirit Support: Delivers a group of specialized units while the transport ship lays down cover fire. Displacement: Teleports targeted enemies to a designated location. Mass Cloaking: Gives all your active units a speed boost, a siphon effect, and a cloak for a short amount of time. Tactical Gateway: Places two connected teleportation nodes that can be used by all players. |
The Shipmaster was once a commander in the Covenant but joined the Arbiter in fighting against the Prophets and Brutes when the Covenant broke apart. Left with only his ship and its crew, the Shipmaster resigned himself to life as a mercenary. Eventually, Atriox engaged the Shipmaster’s forces to bolster the Banished army—an alliance that has forever tarnished the Shipmaster’s name in “proper” Elite culture. The Shipmaster isn’t proud of the compromises he’s made, but they’ve allowed him to keep his crew together.
Unlike the Brutes he now serves, the Shipmaster favors speed and subterfuge on the battlefield. Many of his available Powers focus on cloaking abilities and speed boosts, making him particularly good at launching sneak attacks. He’s also able to produce Ghost scout units—fast-moving vehicles that replace the Choppers Brute leaders are able to build.
Tier 1 Leader Powers
| Icon | Name | Description | Cost Per Use |
Cost Per Use |
Cost Per Use |
Cooldown |
|---|---|---|---|---|---|---|

|
Banished Raid I | Increases capture speed for all units. Increases infantry line of sight. | PASSIVE POWER | |||
|
|
Banished Raid II | Allows Ghosts to capture points.Increases vehicle line of sight. | PASSIVE POWER | |||
|
|
Banished Raid III | Increases movement speed for Ghosts, Wraiths, Choppers, and Marauders. | PASSIVE POWER | |||
|
|
Teleport I | Teleports own units within a set range. Does not require line of sight. | — | — | 250 | 165s |
|
|
Teleport II | Increases range of Teleport.Increases number of units that can be teleported. | — | — | 450 | 165s |
Tier 2 Leader Powers
| Icon | Name | Description | Cost Per Use |
Cost Per Use |
Cost Per Use |
Cooldown |
|---|---|---|---|---|---|---|

|
Scout Mine I | Drops a cloaked Scout Mine.Mine provides vision within a small area and explodes on contact. | — | 25 | 100 | 105s |
|
|
Scout Mine II | Increases mine damage and vision range. | — | 50 | 200 | 105s |

|
Extraction I | Teleports own units to main base.Units heal upon arrival. | — | 200 | 50 | 210s |
|
|
Extraction II | Increases number of units that can be teleported (via enabled toggling between larger/smaller selection radius).Increases healing amount. | — | 300 | 75 | 210s |
Tier 3 Leader Powers
| Icon | Name | Description | Cost Per Use |
Cost Per Use |
Cost Per Use |
Cooldown |
|---|---|---|---|---|---|---|
|
|
Glassing Beam I | Fires a controllable plasma beam.Damages all unit types and buildings. | — | 150 | 150 | 195s |
|
|
Glassing Beam II | Increases Glassing Beam size and damage. | — | 250 | 250 | 195s |

|
Advanced Cloaking I | Reduces costs for Cloaking Generator and Shroud production.Marauder gains cloaking. | PASSIVE POWER | |||
|
|
Advanced Cloaking II | Increases duration of all cloaking abilities. Increases size of Shroud’s cloaking field. | PASSIVE POWER | |||
Tier 4 Leader Powers
| Icon | Name | Description | Cost Per Use |
Cost Per Use |
Cost Per Use |
Cooldown |
|---|---|---|---|---|---|---|
|
|
Spirit Support | Deploys one Elite Ranger, one Hunter, and two Engineers.Spirit provides prolonged cover fire. | 14 | 850 | 375 | 180s |

|
Displacement | Teleports enemy units.Does not require line of sight. | — | — | 500 | 240s |
Tier 5 Leader Powers
| Icon | Name | Description | Cost Per Use |
Cost Per Use |
Cost Per Use |
Cooldown |
|---|---|---|---|---|---|---|

|
Mass Cloaking | Cloaks all own deployed units.While cloaked, units gain a speed boost and a small siphon effect. | — | 1000 | 250 | 240s |

|
Tactical Gateway | Places two connected teleportation nodes.Can be used by all players. | — | — | 800 | 270s |
Shipmaster Basics
The bulk of the Shipmaster’s Leader Powers support stealth and mobility. Although he’s capable of utilizing any basic strategy, he’s particularly good at staging ambushes and performing strategic retreats. Whether you want to cripple your opponent’s production capabilities or thin out a standing army, the Shipmaster is best suited to hit-and-run tactics.
Ghosts are faster and less expensive than other scout units. This gives the Shipmaster an early edge in reconnaissance and resource collection. Of course, Ghosts are also less durable than other scouts. Remember, there’s no shame in retreating from stronger units. The longer you keep your scouts in the field, the fewer resources you need to spend on reconnaissance.
Like Cutter’s UNSC Raid Leader Power, the Shipmaster’s Banished Raid Power is an excellent investment in any Multiplayer mode. Aside from increasing capture speed, the first rank of Banished Raid improves line of sight for all infantry units. Investing a second Leader Point allows Ghosts to capture points and boosts line of sight for all vehicle units. A fully upgraded Banished Raid increases movement speed for Ghosts, Wraiths, and Marauders. Combine this Power with global vehicle upgrades to produce an exceptionally mobile ground force.
If you plan to make use of the Shipmaster’s cloak-related Leader Powers, keep an eye out for detection units. Destroy Watchtowers, Sensor Towers, and any units that can detect cloaked enemies before you attempt to launch a sneak attack. If you deem cloaked attacks to be impractical, focus on other tactics that keep your enemies guessing. The Teleport and Displacement Powers don’t require a line of sight—use them to move your own units directly to, or enemy units to or away from (respectively) strategically advantageous positions. Raid an opponent’s base, and then use Extraction to recall your assault team when enemy forces respond. The Shipmaster is an expert at surprise attacks; don’t let this go to waste.