
Halo Wars 2 Guide Campaign Walkthrough Act I
Mission: One Three Zero
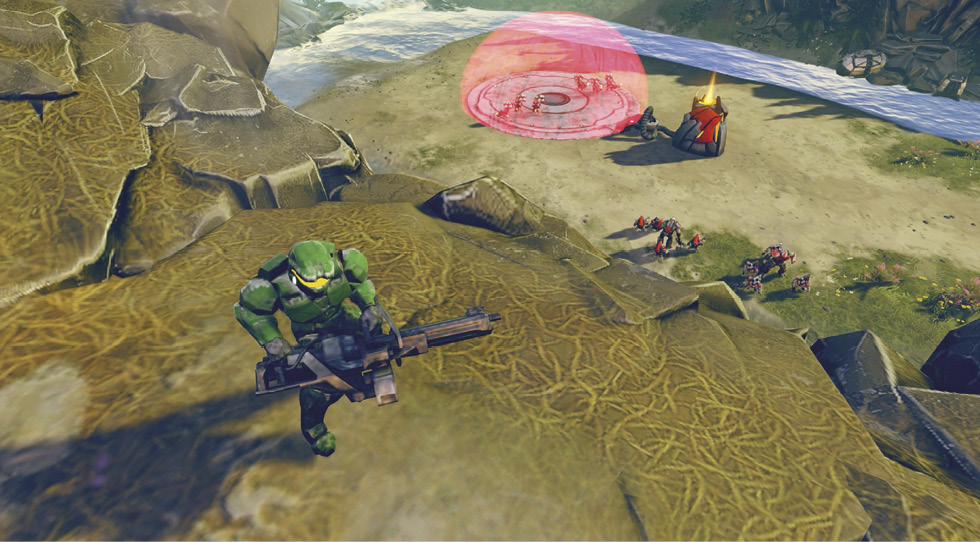
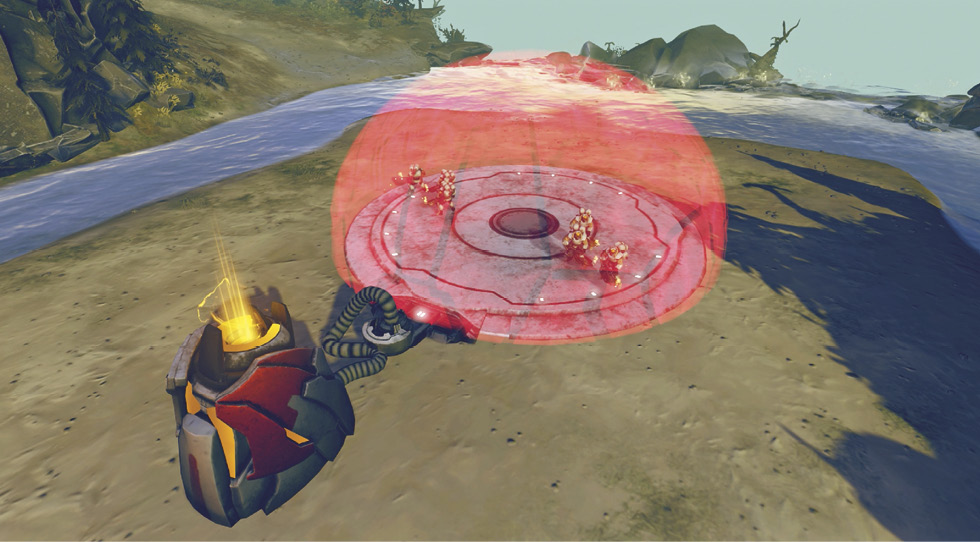
Senior Chief Petty Officer Alice-130, the Spartan who so bravely fought a rearguard action back in “The Signal,” managed to escape and then track a Banished convoy to a hilltop overlooking a big enemy encampment. The compound features a number of red light-shield domes where captured UNSC troops have been incarcerated. Alice’s mission: infiltrate an abandoned research post nearby, where she can contact the Spirit of Fire. En route, she hopes to liberate those UNSC prisoners.
Mission Walkthrough
Mission SummaryRescue UNSC prisoners with Alice-130 from deep behind enemy lines. Scouting ReportEven a lone Spartan can be a formidable force. ObjectivesPrimary
Optional
Bonus
Par Time
ExtrasSkulls Available: 1 Phoenix Logs: 1 Map Legend
* Scared Grunt runs at
|
 Start
Start -
- Prison domes
 Abandoned research post
 Phoenix log
 Supply silo
 Power silo
Primary Objective: Free the Four Groups of Prisoners
First Prison Dome
Start with a brutal Spartan Slam, leaping from Alice’s hilltop  onto Banished Grunt squads below. Wait to jump until the marching Grunt squad stops next to the stationary squad, so they’re close together. If you land between them, you can kill both units with the slam, putting you two-thirds of the way to completing a bonus objective in your opening move. Then open fire on the Shield Generator to liberate the two imprisoned Hellbringer squads. Group them with Alice and move out, heading due north across the river to the path
  .
.
Optional Objective: Don’t Let Any of the Four Prison Squads Die. Completion Earns a Skull!
Optional Objective: Keep Alice Alive for the Entire Mission
Here you pick up two new optional objectives, and you understand why the health bar for Alice has been in the upper right corner since the mission began. Bear in mind that Alice-130 is tough as nails and her shield automatically regenerates, so keeping her alive the entire mission is somewhat easier than keeping all four of the liberated squads alive.
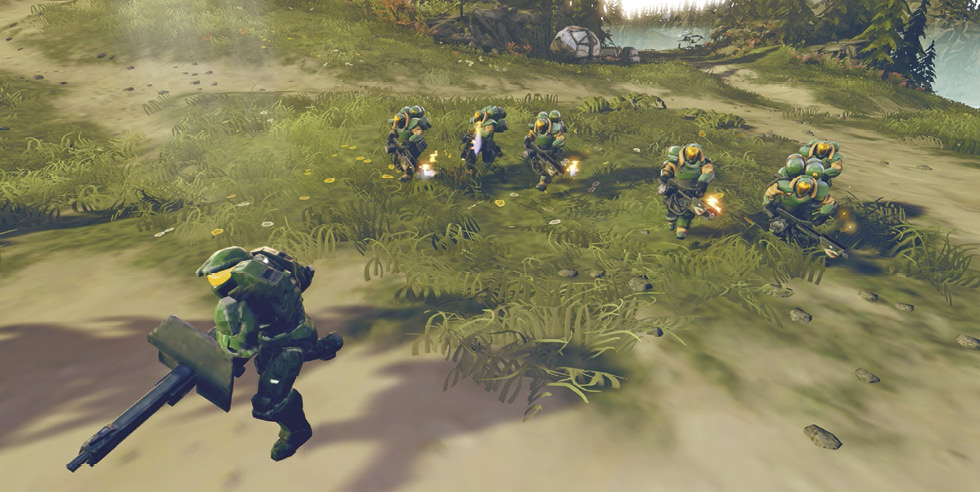
As you move from point to point along the mission route, keep Alice in the lead, sending her ahead alone and then bringing up the rest of your troops to support her when her shield is low. We suggest you combine all the ex-prisoners into one hotkey control group so you can select them all instantly and pull everyone but Alice back from a fight at a moment’s notice.
Optional Objective: Gather All Resources from 16 Silos
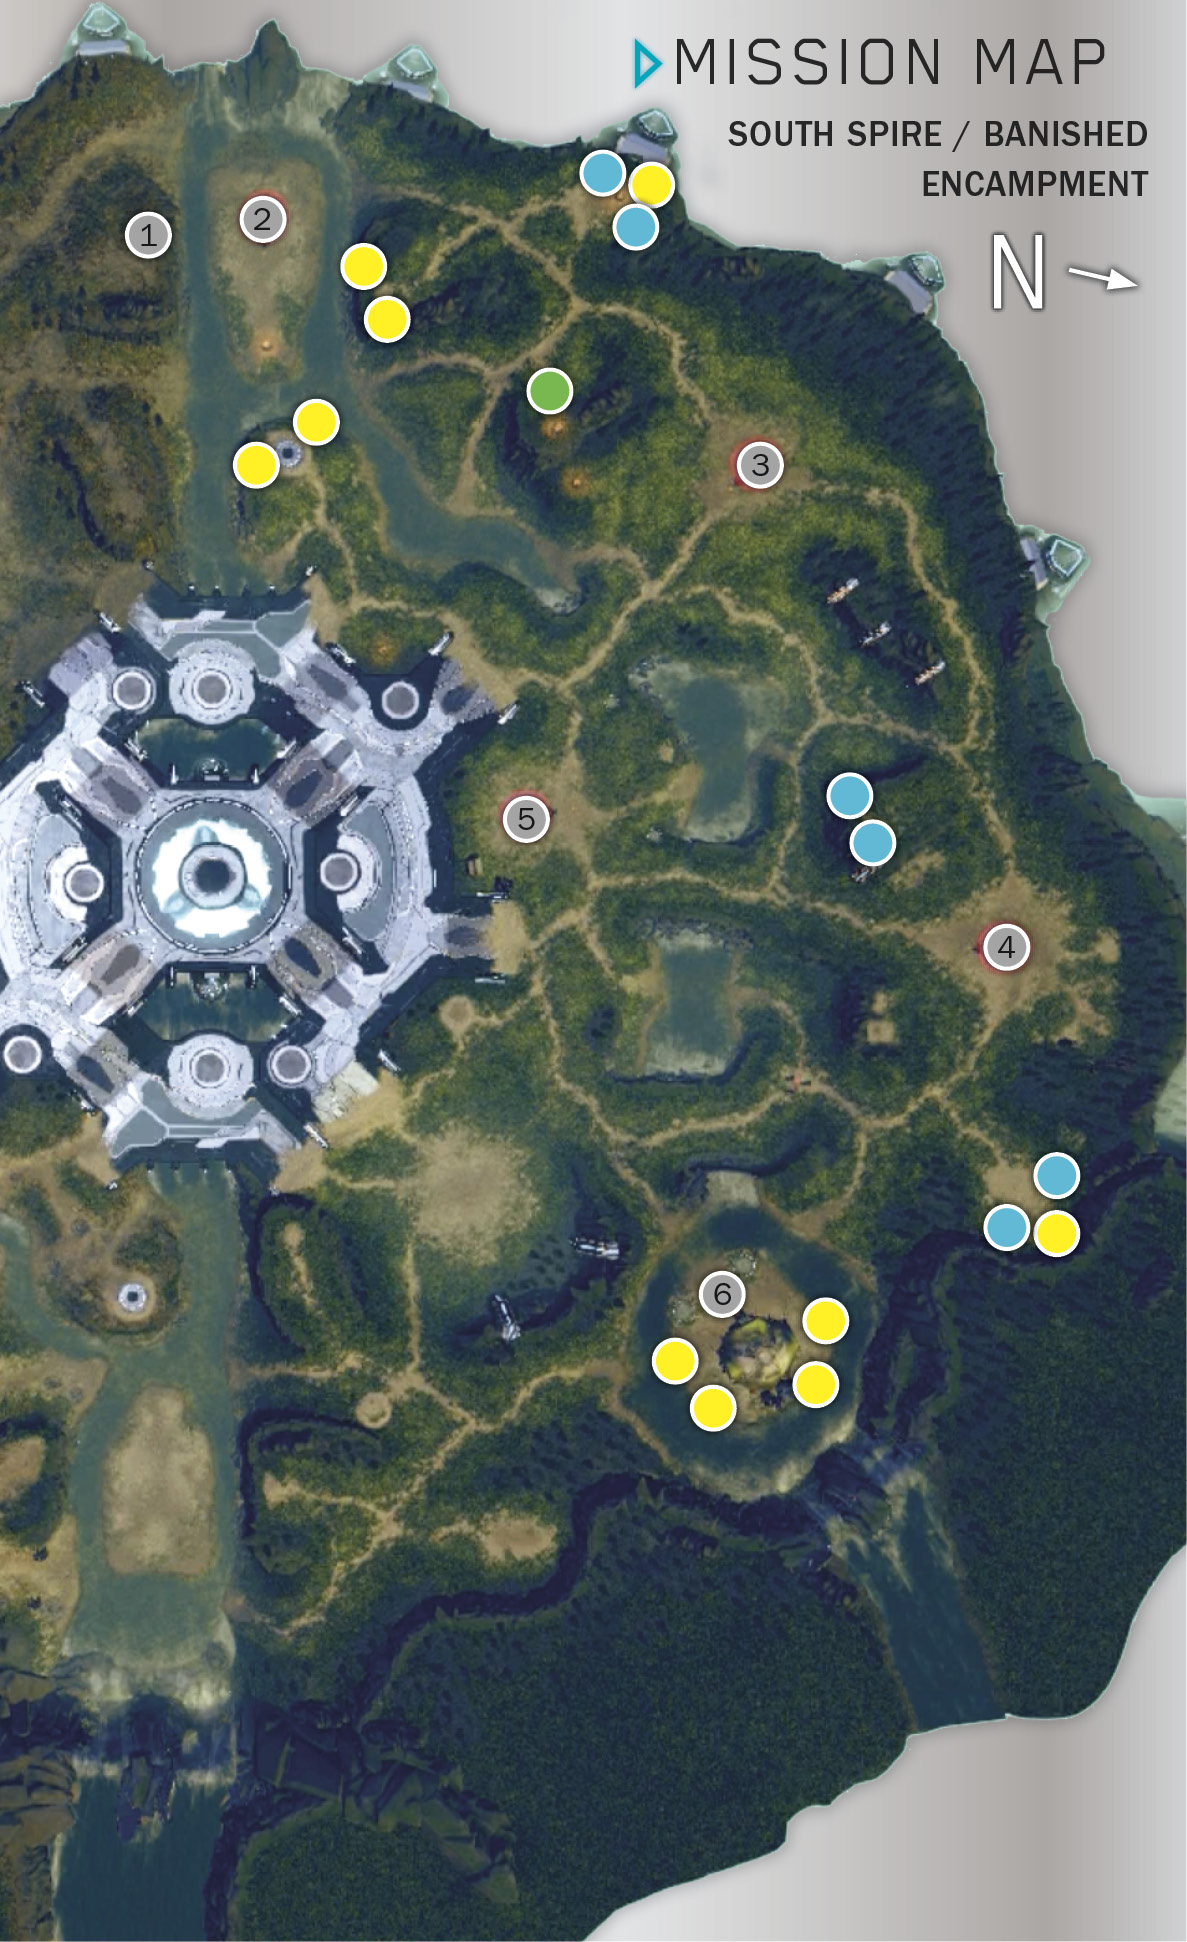
A total of 16 silos (10 Power and six Supply) are scattered across the mission map. Destroy all 16 to complete this optional objective. (Check our mission map for their locations.) After you cross the river and move up the main trail, veer up the first branch to the right to find two Banished Power silos. Destroy both and scoop up the yellow Power pickups that burst out.
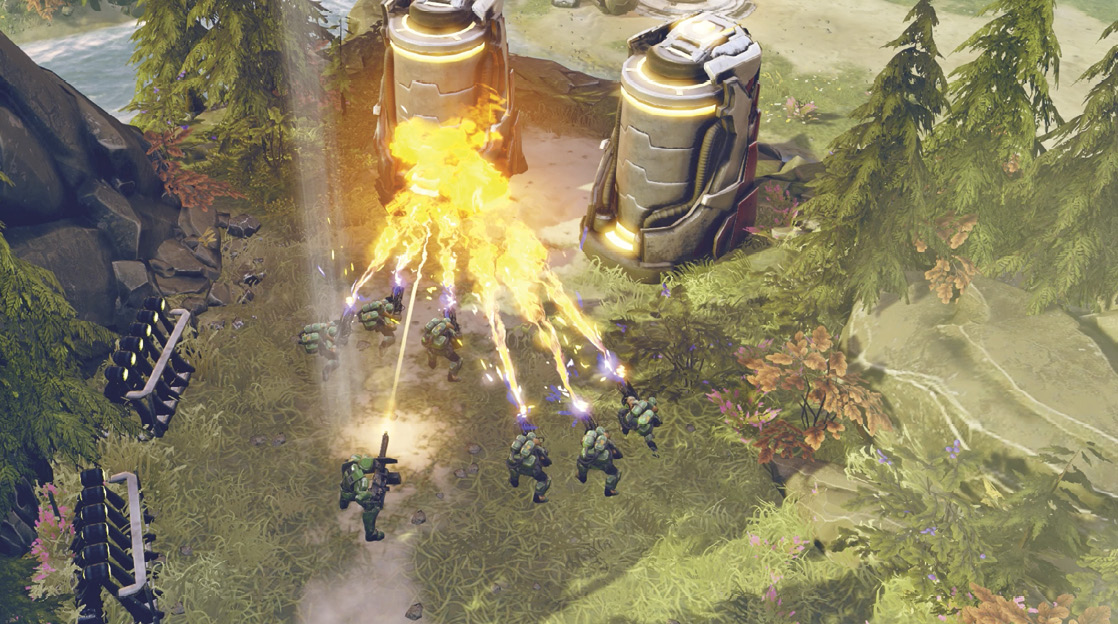
Return to the main trail and veer up the next branch to the left to find one more Power silo, plus two Banished Supply silos. Smash all three and gather the pickups. Two more Power silos, guarded by a pair of Grunt squads, sit up on a small plateau across the river to the east. Then return to the main trail again. The next rightward branch leads uphill to a Phoenix log.
Primary Objective: Free the Prisoners (Continued)
Second Prison Dome (Scared Grunt)
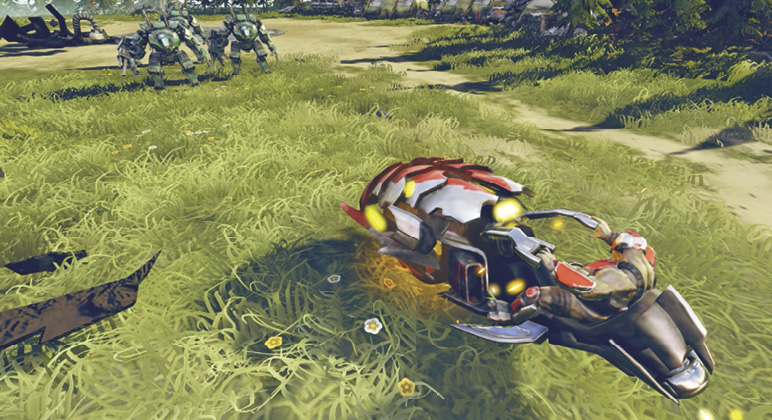
Continue along the main trail, keeping Alice out in front. Soon you reach the second light-shield prison dome  , two more Hellbringer units guarded by three Grunt squads. Use Alice’s Spartan Slam for a one-hit kill when the first two Grunt squads set up side by side. After you clear the area, select All Units and prepare to blast the Shield Generator. But get ready for a sudden bonus objective when the Generator explodes. (See our Bonus box.)
Third Prison Dome (Engineers and Choppers)
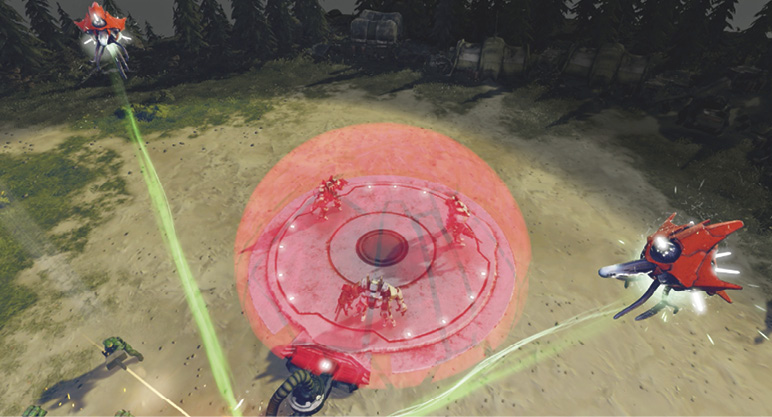
Continue down the trail to the third prison dome  , stopping to destroy two more Banished Supply silos up a short slope on the way. (See our map.) Again, let Alice lead the way into the camp and clear out the prison guards. This time, when you attack the Shield Generator, a pair of Engineers drift in above and start repairing the Generator with their reconstitution beams. These mysterious “living machines” are actually Forerunner creations conscripted into serving the Banished.
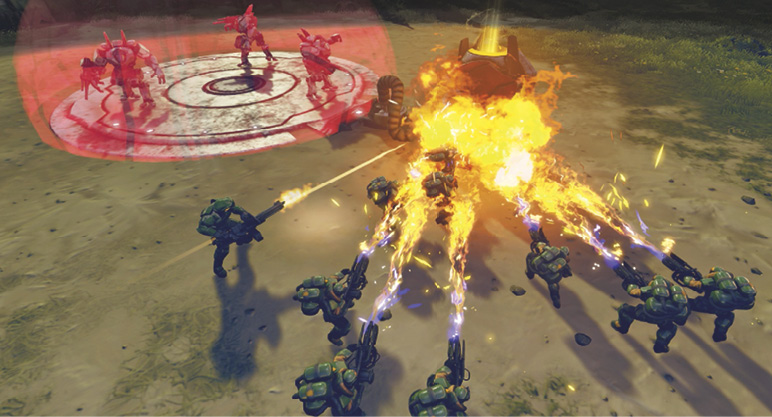
Alice is your only ranged unit who can hit air targets, so direct her to shoot the annoying Engineers out of the sky. Then finish off the Shield Generator to spring the three burly Cyclops units from the prison dome. Immediately upon the release, a trio of nasty Banished Choppers rushes you from the east. These vehicles can ram and inflict heavy damage to your Hellbringers, so rapidly deploy your new vehicle-busting Cyclops corps to intercept and destroy them. After the fight, use Restoration Drones to heal any damage, and then explore the immediate area to find two more clearings where Banished silos wait to be looted. (Again, check our map for locations.)
Fourth Prison Dome (Jump Pack Brutes)
Head southward to find the last prison dome. This one is guarded by Grunts in a pair of garrisons. As before, let Alice do the dirty work, leading the way into the camp. However, this time bring your Hellbringers right behind her. The reason: when Alice attacks the second garrison, two pairs of Jump Pack Brutes suddenly drop in, slamming their mighty hammers on the ground to inflict painful area-of-effect damage. Hellbringers are effective counters against these heavy infantry troops.

Unleash Alice’s Spartan Slam against the Brutes too, giving them a taste of their own medicine. When the area is secured, bring in your full force and blast the Shield Generator to release the incarcerated crews of Warthog drivers, who rush to their vehicles. This completes your primary objective to free the prisoners and adds four Warthogs to your ever-growing brigade.
Primary Objective: Take Control of the Research Post
When you approach the enclosure for the abandoned UNSC research post  , you start the clock ticking on a Banished assault, so take care of some business before you do this. Make sure all your units have full health; use Restoration Drones if they don’t. Check to see if you’ve destroyed 12 of the 16 silos available in the area. (The last four are at the research post.)
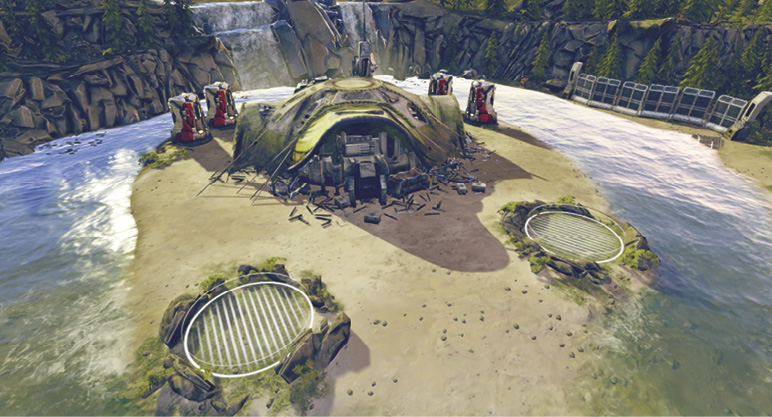
If you used Restoration Drones, be sure the Power is fully recharged before you approach the post. Then send your full force to the enclosure. When any one of your units approaches the post, you “take control” and this objective is marked as complete. Alice contacts Captain Cutter, who reports that Pelicans from Spirit of Fire are inbound for extraction.
Primary Objective: Hold the Line Until Extraction
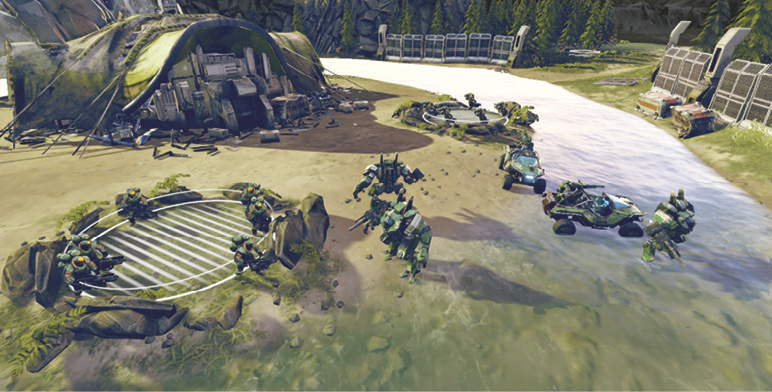
Unfortunately, the Banished are now inbound too, in a big way. You need to hold the base until the Pelicans arrive. Note that three entrance roads lead into the enclosure, one in front and one on either side. These entrances form choke points where enemy troops must cluster together to funnel through the openings. Work quickly to set up your defenses:
- Immediately drop Turrets into the two available slots, one on each side of the enclosure.
- Put your Hellbringers into the two post garrisons, two units in each structure.
- Position Alice in the center between the two garrisons. Put your Warthogs right behind her.
- Send your Cyclops units to destroy the four Power silos behind the post and collect the pickups. You want as much Power as possible so you can deploy the Leader Powers that are now available, including Archer Missiles and a new Power, Lotus Mines.
- After the silos are looted, deploy the Cyclops units behind either one of the garrisons.
First Attack
The first Banished assault features two waves of infantry coming through the main entrance in front. The first wave is all Grunts, so your garrisoned Hellbringers, Warthogs, and Alice should decimate them quickly. The second wave adds two pairs of anti-vehicle Hunters, super-heavy infantry who fire their deadly assault cannons from a distance. Keep your Warthogs away from them! Send Alice out to Spartan Slam them into submission.
Second Attack
After a short pause, a column of 10 Grunt squads comes marching to one of the entrances. Call in an Archer Missile strike straight down the middle of them, then rush your Warthogs out to mop up any survivors of the barrage by using their Ram attacks. Bring the Warthogs back immediately after the road is clear, however, because the next attack will bring tanks that can decimate Warthogs!
Third Attack
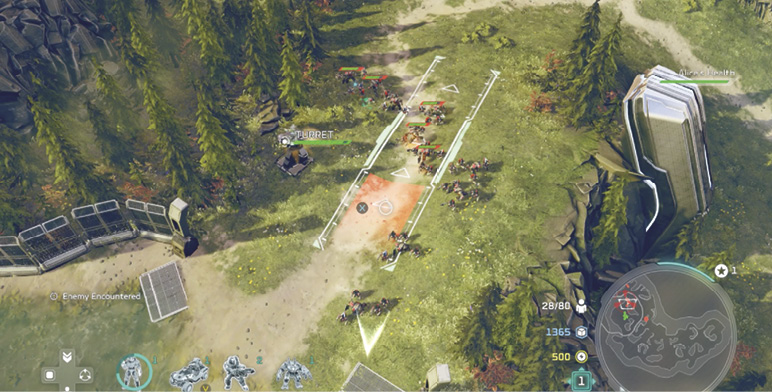
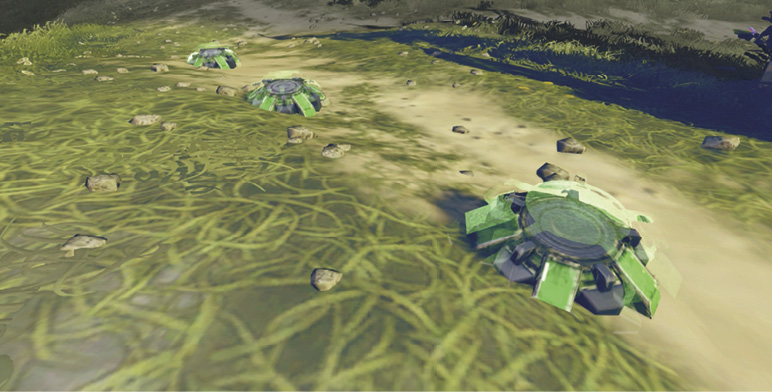
The next assault is a two-pronged attack that features a platoon of five Ghosts rushing up one road while two Wraith tanks creep down another. First, summon your new Lotus Mines from the Spirit of Fire; plant the row of three charges in front of the thinly armored Ghosts to decimate them. Meanwhile, send Alice to hijack one of the Wraiths. Then push your Cyclops team out to punch through any surviving Ghosts. Keep your Warthogs away from both attacks if you can.
Fourth Attack
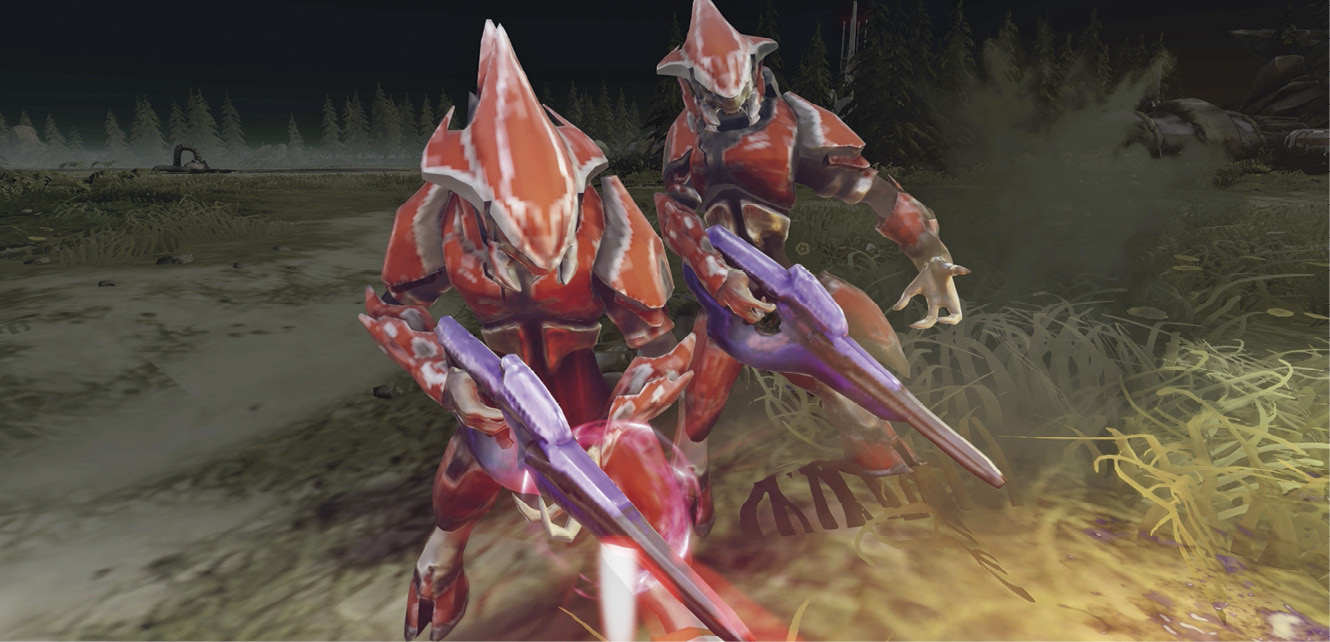
Now comes another two-pronged assault. Two more Wraiths hit the outpost; if Alice isn’t inside a hijacked Wraith yet, direct her to seize one of these two. Meanwhile, Hunters and Elite Ranger marksmen attack your Turret down at the outpost’s west entrance. Deploy your Cyclops tank-killers to face the Wraiths, and send Alice (preferably inside a captured Wraith) to help your western Turret pound the enemy sharpshooters. Use Restoration Drones, Archer Missiles, and Lotus Mines again whenever available!
Fifth Attack
The last assault features the sudden appearance of numerous Jump Pack Brutes who come slamming into the heart of your outpost from multiple directions. Spread out your units to negate the Brutes’ area-of-effect jump damage, but stay out in front of the main building so that your garrisoned Hellbringers can open their flame nozzles on the brutish interlopers. You’re almost home free now, so hit them with everything you’ve got! When the last pair of Jump Pack Brutes falls, you’ve held the line and the Pelicans finally arrive to extract your team.
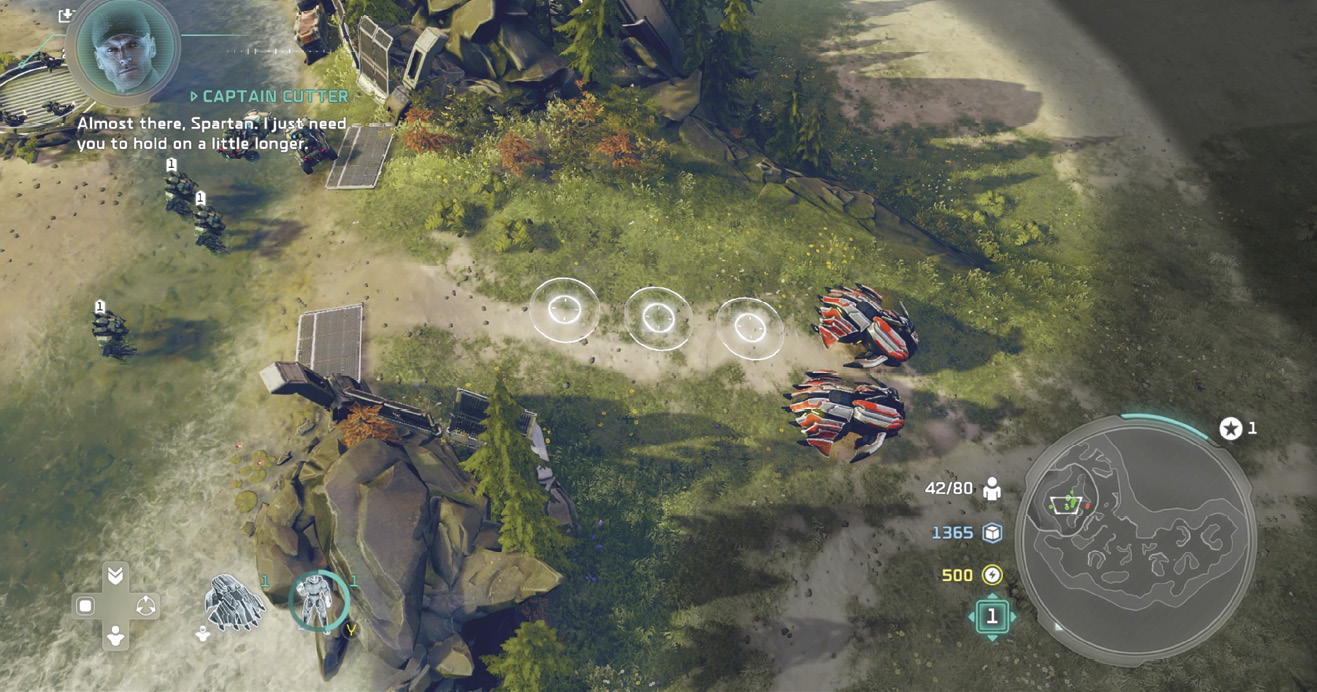
 “One Three Zero”Sculpting the Big Story Beats This mission sought to really drive home that Alice was on her own but still an effective Spartan and one to be reckoned with. Ideas Behind the Map This map allowed us to tell a story geographically quite close to the research center. We wanted a map that allowed players to start with a small focus, then branch out into a more sandbox affair with multiple routes and choke points. Role the Mission Fulfills in the Story’s Escalation By the end of the mission, Alice has reunited with UNSC forces and established herself as a formidable adversary for the Banished. How the Mission Evolved Over the Course of Development The mission stayed quite true to form throughout development. It was mostly the end sequence that escalated. We started with a smaller skirmish but eventually scaled it up to be a bombastic battle, with the Banished holding out to the last man. |