
Halo Wars 2 Guide Campaign Walkthrough Act III
Mission: The Halo
Your victory at the Foundry stopped the flow of Banished troops onto the Halo ring, but Atriox has a large force in place. Two primary UNSC bases on the ring, Alpha and Bravo, are on the verge of being overrun. Your Spartan Red Team must lead efforts to roll back the Banished tide, and then usher Professor Anders to the ring’s control room. There, she can deactivate the Halo’s firing systems and plant a UNSC signal beacon before it heads toward human space. Unfortunately, a massive shield has cut off access.
Mission Walkthrough
Mission SummaryGet Professor Anders to the control room and clear the Halo of all Banished forces. Scouting ReportThe Halo will have deployed Forerunner defenses to protect itself. ObjectivesPrimary
Optional
Bonus
Par Time
ExtrasSkulls Available: 1 Phoenix Logs: 1 Map Legend
|
 ,
,  ,
,  Control Nodes
 Alpha Base: Start
 Retriever storage bay
 Retriever attack!
 Lost squad
 Power Node
 Bravo Base (front entrance)
 Lost squad
 Banished minibase
 Power Node
 Lost squad
 Banished minibase
 Power Node
 Entrance ravine
 Main Banished base
 Phoenix log
 Supply silo
 Power Node
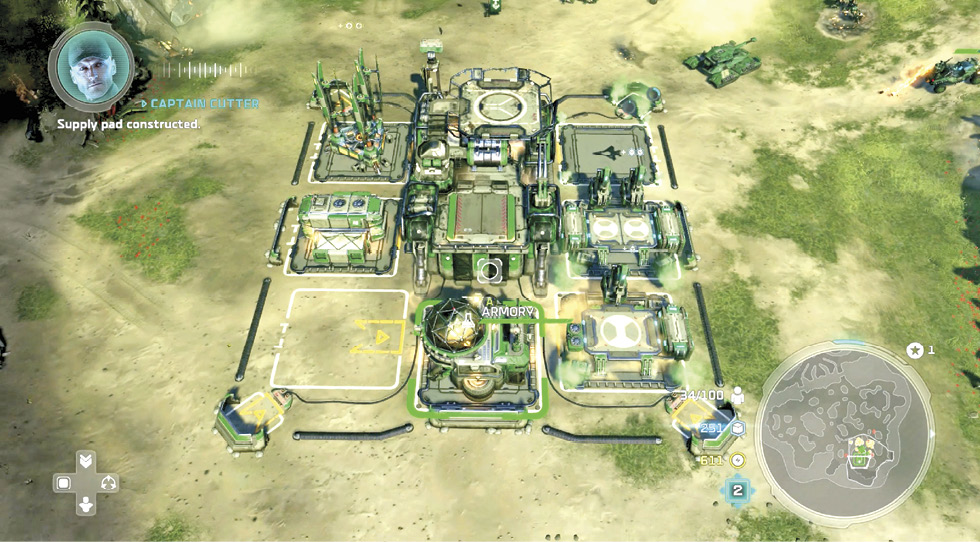
Spartan Red Team starts at the back corner of Alpha Base just as a furious Banished counterattack arrives up the road. Your seven-slot Command Center is at Tech Level 2 and already has a Heavy Supply Pad, Advanced Generator, Armory, and Barracks in place. The Armory also has Reinforcements I researched, so your Population cap starts out at 100. One early goal is to upgrade the base to a Headquarters to gain access to Tech Level 3 units like the Scorpion tank and the awesome AC-220 Vulture, a new aerial gunship.
Primary Objective: Defend the UNSC Base
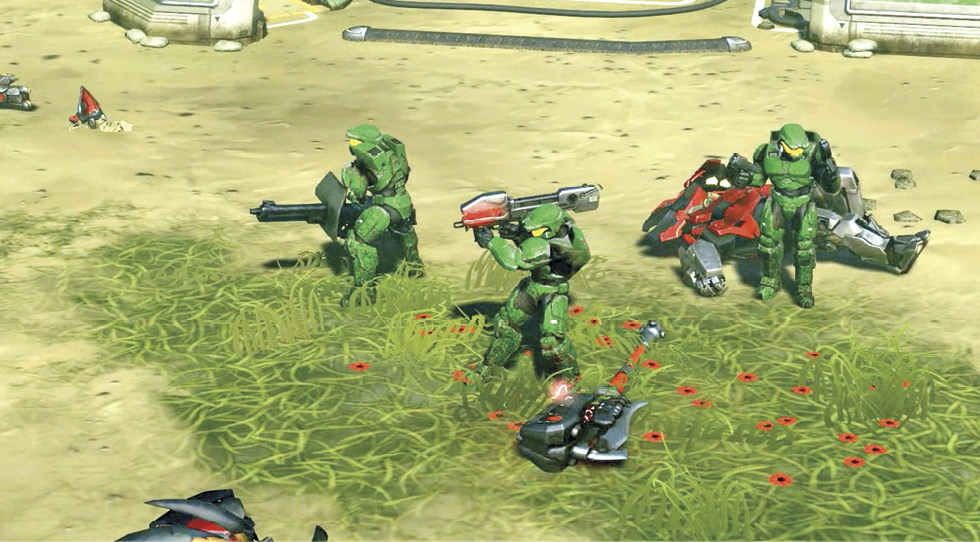
Send your Spartans, Marines, and Scorpion up to join the battle. Place them in front of the base at the spot where the three roads converge  so they can eliminate hostiles that slip past your advance units. Send your Warthog down behind the base to hit the two Power silos and grab a Phoenix log. This speedy vehicle can also collect pickups around the area during the fight to boost your resource inflow.
Let your fighters fight while you focus on base operations. Quickly drop in another Supply Pad, and put two Turrets on the base’s front end. Then add a Garage and an Airpad. While your facilities are being constructed and your resource inflow starts building, return your attention to the battle.
Repel the Retriever
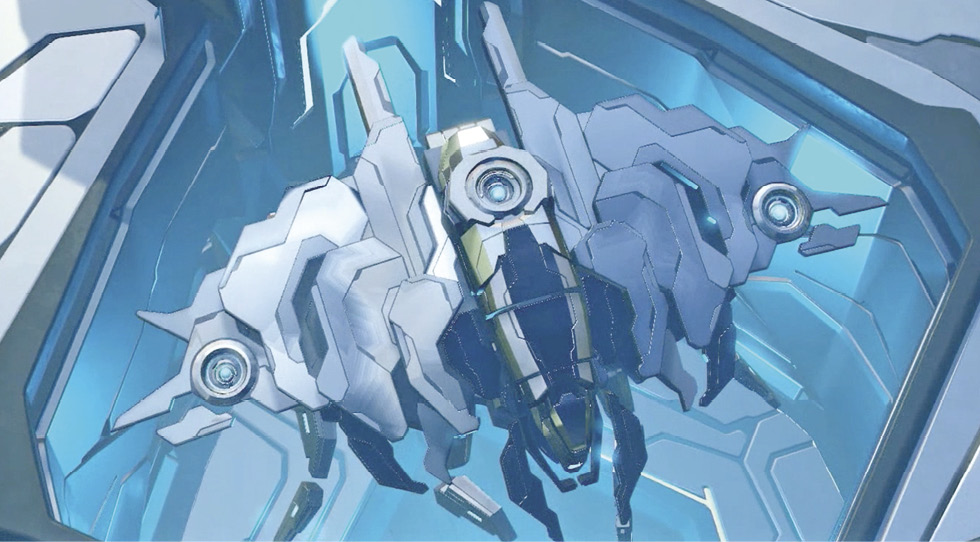
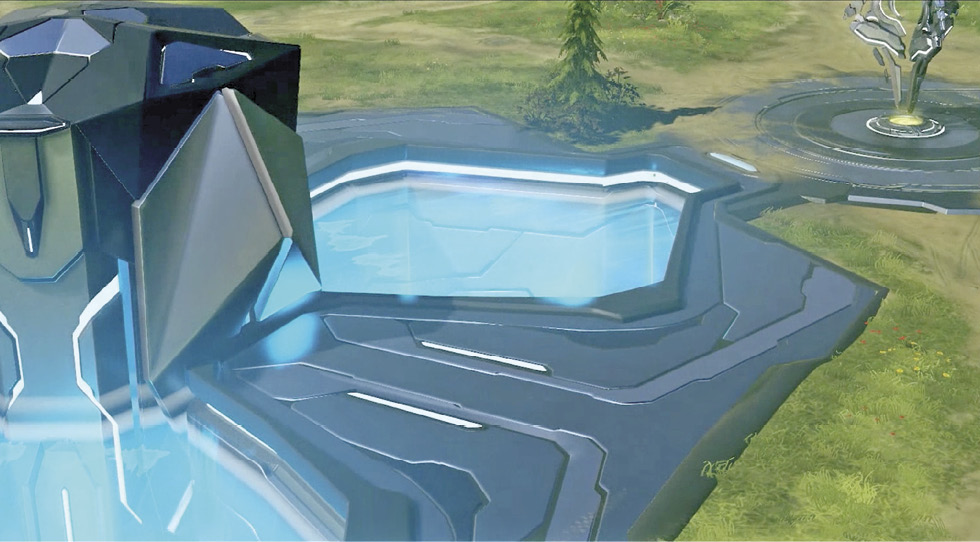
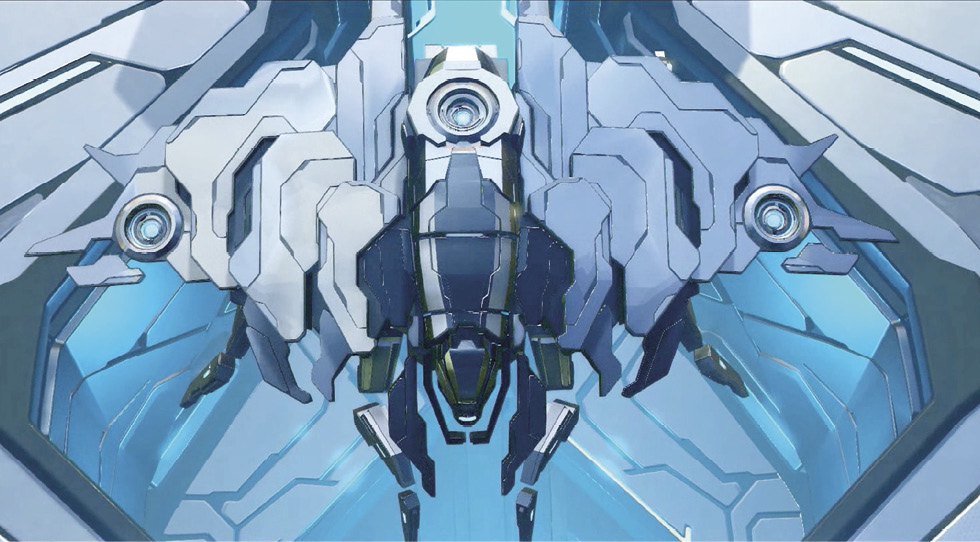
Roughly 90 seconds into the fight, the Ark suddenly deploys a massive Forerunner Sentinel called a Retriever. The terrifying Super unit rises from its storage bay  and floats toward the source of Ark desecration—namely, your battle
  . This hovering monster cannot be destroyed, but you can force it to withdraw and seek repairs. Hit it with everything you’ve got until it does just that.
Primary Objective: Capture and Hold the Control Towers
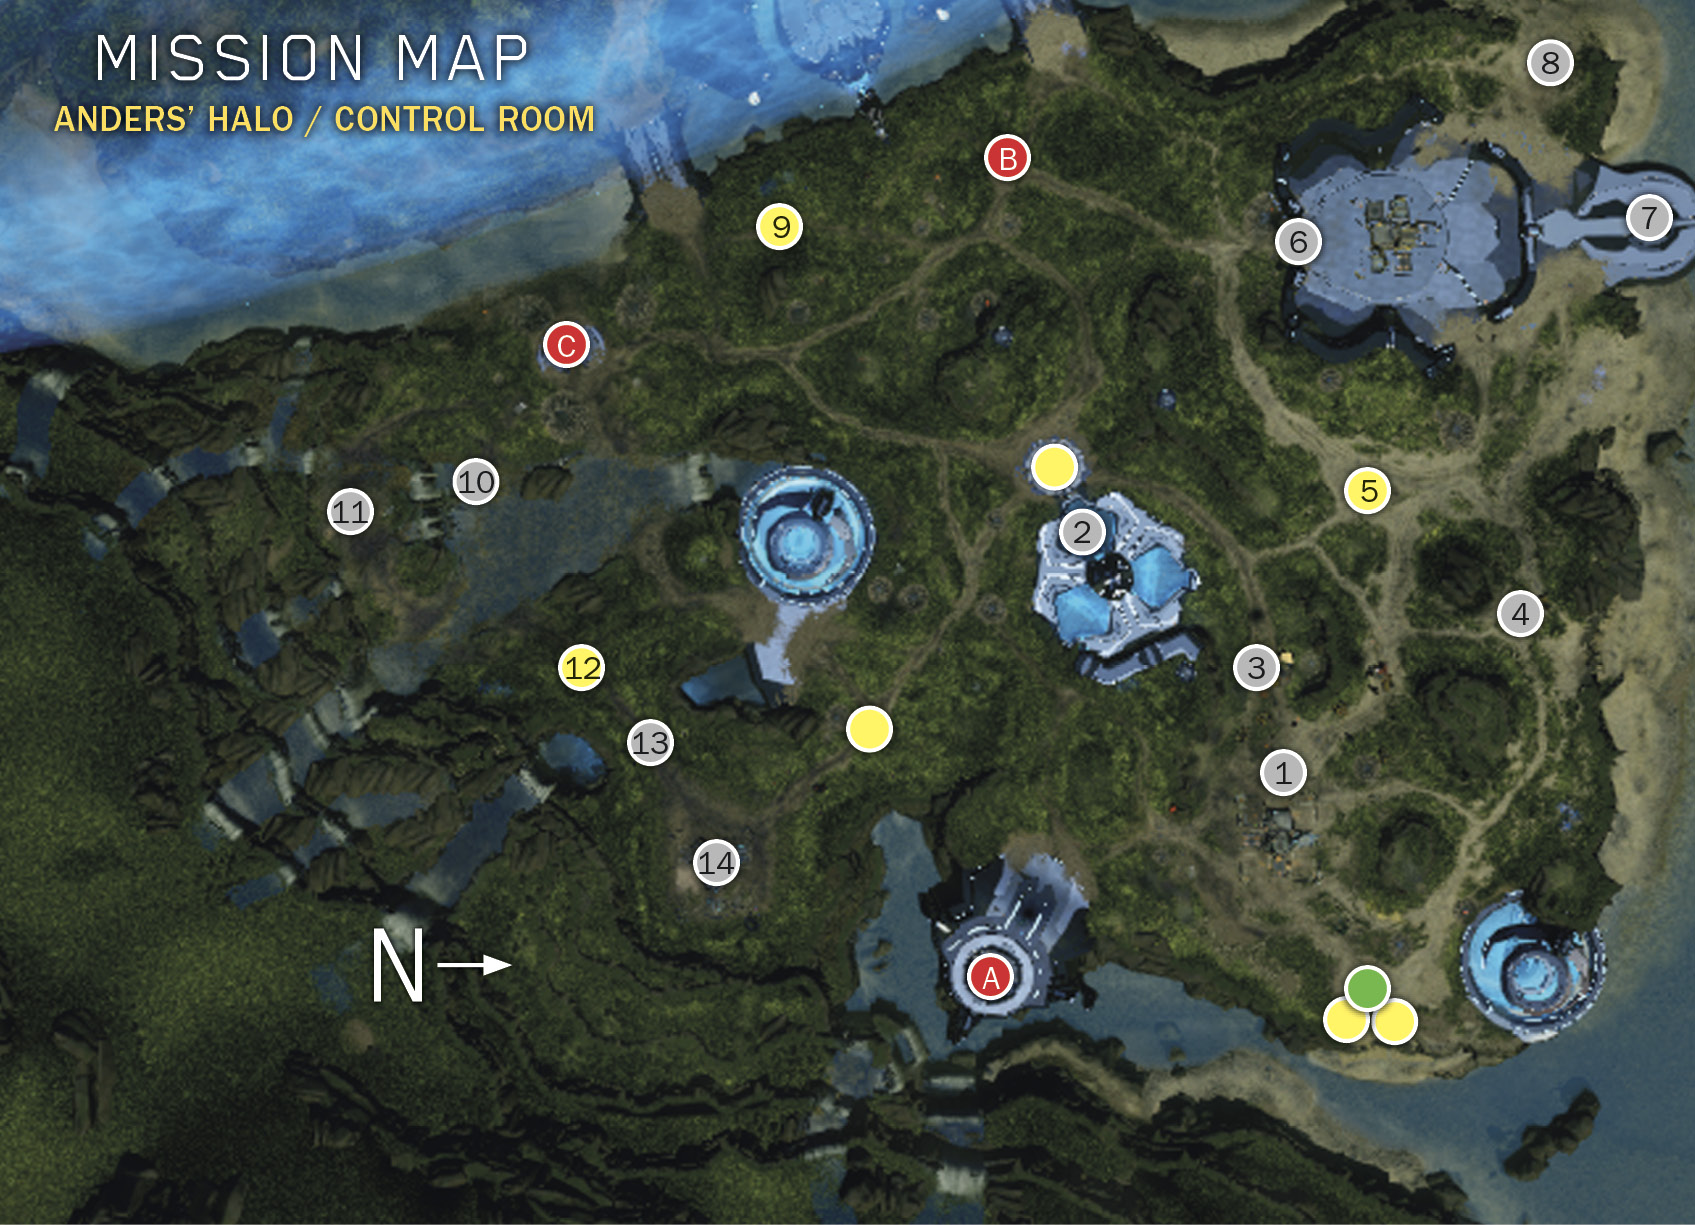
Anders marks three control tower locations as  ,
,  , and
, and  on your in-game Minimap. (We’ve marked them on our mission map too.) She reports that if you secure these towers, she can gain control of the Retriever. Heed her next words: “Until then, keep out of its way!”
A Quick Review of Domination Mechanics
As in the earlier “Ascension,” this mission challenges you to capture and control some or all of the three control towers long enough to let Professor Anders gain control of the Retriever Sentinel. Remember, when you capture a tower, your Domination Bar (the green meter at the top of the screen) starts counting upward. The bar keeps filling up as long as you control any tower, until your Point total reaches 3000. When that happens, Anders acquires control of the alien vehicle and you win the mission.
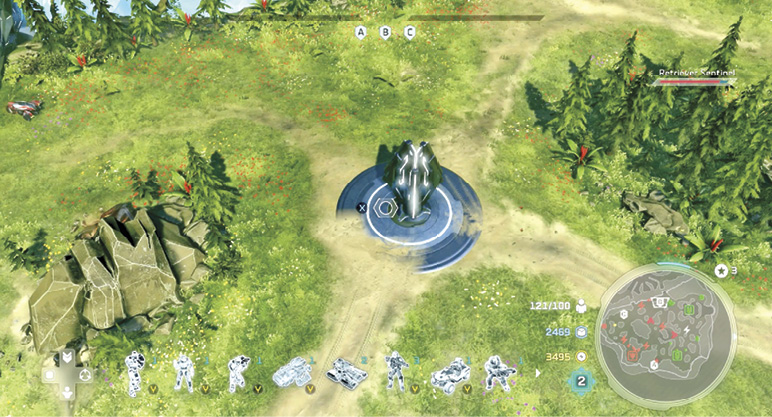
Meanwhile, the Banished are trying to seize the towers too. If they capture any, their control time is measured by their red Domination Bar. If the Banished bar hits 3000 before yours does, you lose the mission.
You can go capture towers controlled by the Banished, and they can capture towers controlled by you, so defending towers you’ve captured is important. The more towers a side controls, the faster its Domination Bar ticks upward. If you lose control of your towers after you’ve built up some Domination Points, you don’t lose the Points—your green bar stays where it is and does not regress.
Muster Your Force
Finish securing Alpha Base with Turrets in all corners, then take stock of your troops; you’ve gained control of all UNSC units that survived the initial base assault. You should have two to three Wolverines left, plus your Scorpion, a Kodiak or two, some mixed infantry, and of course your Spartan Red Team.
Train at least one Sniper from your Barracks to serve as a cloaked spotter for your Kodiak(s). Open your Airpad and add a Nightingale for support and a good-sized squadron of Hornets. If you’ve already upgraded your base to Tech Level 3, add a Scorpion or two from the Garage as well; if not, add more Hornets. Whatever the case, keep training units until you max out your Population. (See our Tip for more details.)
Optional Objective: Reunite the Three Scattered Groups of UNSC Forces
Find the First Lost Squad (1 of 3)
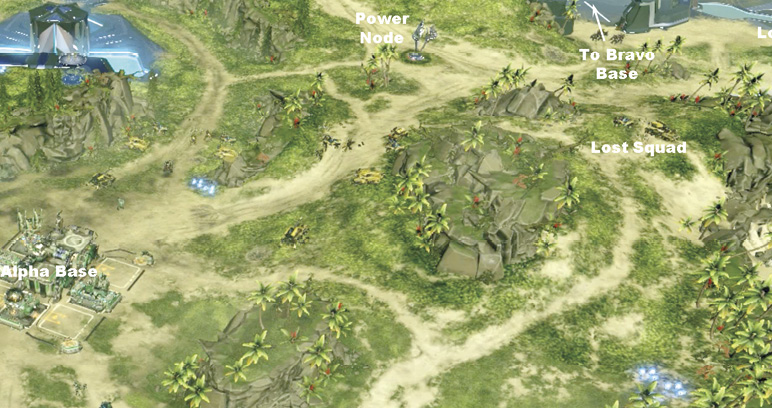
When your full strike team is ready, exit the Alpha Base area, heading up the northwest road to find an isolated UNSC squad  : a Kodiak, a Warthog, and some Marines. This is one of three such squads scattered across the map. When you approach, you automatically gain control of them. Add these free units to your strike force. Then capture the nearby Power Node
  .
.
Optional Objective: Rescue Bravo Base. Completion Earns a Skull!
Capturing the Power Node triggers a message from Captain Cutter: UNSC Bravo Base  is under attack and needs relief. A Bravo Base health bar appears onscreen at the upper right. If you rescue the installation before the Banished can destroy it, you gain control of Bravo Base’s resources and production facilities. This payoff is well worth the effort, but you need to hurry—the health bar drops fast.
Bravo Base sits nearby in an enclosure with three entrances, and Banished forces are amassed at each one. Send your Hornets in the lead up the road to the front entrance , where a pair of Wraiths lob shells at the installation. Kill them, hustle to eliminate the Hunters at the back-right entrance, and then nail the Banished at the other rear entrance. When all attacking foes are eliminated, the base is secured and comes under your control.
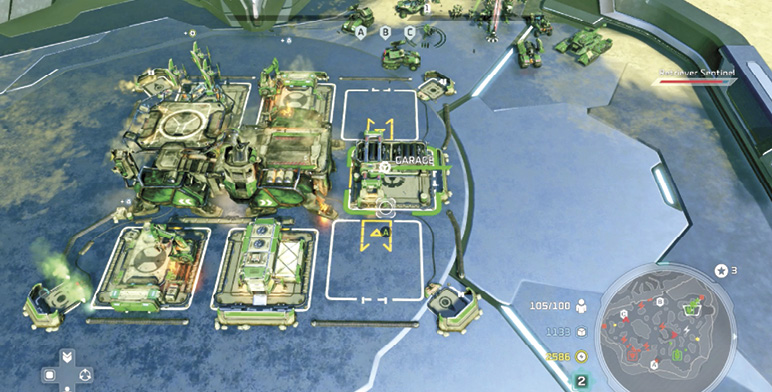
Bravo Base is a seven-socket Command Center with a Garage, Barracks, Generator, and two Supply Pads already in place. This new resource income starts pouring into your coffers right away. Later, bands of Banished raiders harass this base, so erect regular Turrets in three corners and a Siege Turret in the fourth. Upgrade two of the regular Turrets to Anti-Air Turrets, and one to an Anti-Infantry Turret. When the base is secure, add a Garage and an Airpad.
Find the Second Lost Squad (2 of 3)
While you’re developing Bravo Base, send a fast Warthog through one of the enclosure’s rear gates to the circular platform behind the base. There you find another lost squad: a Scorpion and a Wolverine, two valuable extra units. Add them to your army and send them with a few other troops to blast apart the nearby Banished extraction base
 . Drop in your own One-Slot Minibase to replace it, and add another resource facility or a Barracks.
Capture Control Tower B (1 of 3)
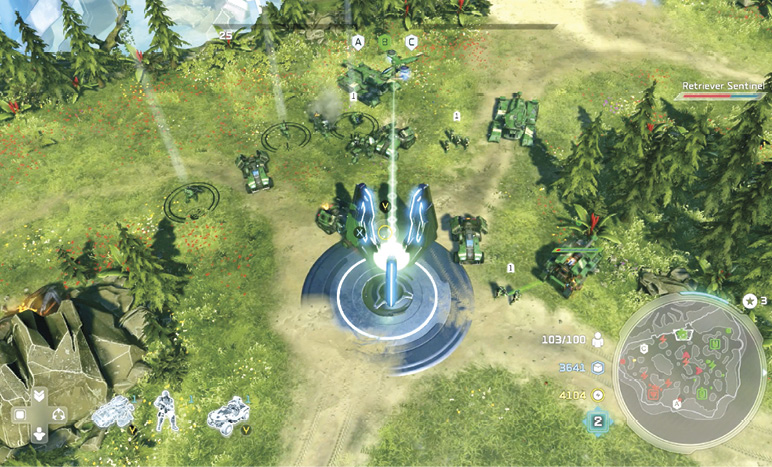
March your Spartan-led strike force south from Bravo Base to Control Tower B. Once you capture it, your green Domination Bar starts to fill up at the top of the screen. As always in Domination games, you should assign a strong team to defend the tower from enemy raiders who try to steal it away. In this mission, Spirit dropships ferry in formidable Banished capture teams led by a powerful shielded Warlord and a Blisterback, along with Banshee escorts.
A good mix of defenders for each tower you capture: a Spartan leader for the team, two to three Hornets (anti-vehicle), a Wolverine (anti-air), a Scorpion (anti-infantry), a Nightingale for repairs, and a few Marines.
Capture Control Tower C (2 of 3)
March your main force down the trail along the back of the map, next to the great blue shield. Capture the Power Node  , then continue on toward Control Tower C. Be sure the Retriever isn’t floating toward the tower, then move in and capture it. That’s two down, one to go. Again, leave a strong crew of defenders to keep the tower under UNSC control. Place Marines in each of the two garrisons by the tower platform, and leave a Spartan with two or three Hornets, a Scorpion, a Wolverine, and a Nightingale near the tower.
Find the Third Lost Squad (3 of 3)
Proceed along the trail from Control Tower C to reunite with the last squad of lost soldiers camping down by the river: a Hornet and a Warthog. These help replace units you’ve assigned to tower guard duty, and the reunion completes the optional objective. Push across the river to the Banished minibase
 , raze it, and drop in your own One-Slot Minibase to replace it.
Upgrade Everything When You Can!
As we mentioned in our Getting Started section, Supply and Power do little good sitting in storage. Don’t hoard them! Buy air, vehicle, and infantry upgrades; speed up production time and strengthen base structures; get your Tech Level up to 3; and above all, increase your Population cap. Upgrade individual units too, especially the units you rely on most. Marines should have a Combat Tech, Hornets should have Wingmen, Warthogs should have Gauss Cannons, and so on.
Optional Objective: Destroy the Banished Base
Continue along the trail to capture another Power Node  . Just ahead is the entry passage and rally point
  for the main Banished base
  . Deploy Kodiaks to bombard the enemy Turrets guarding the passage, and send in a cloaked Sniper to spot for your artillery. Then hammer your way to the big shielded base. Drop in a salvo of Archer Missiles to help knock out the base shield, then move around the outside, picking off the Turrets in the corners. Finally, unleash your army’s concentrated fury on the HQ building to bring down the house.
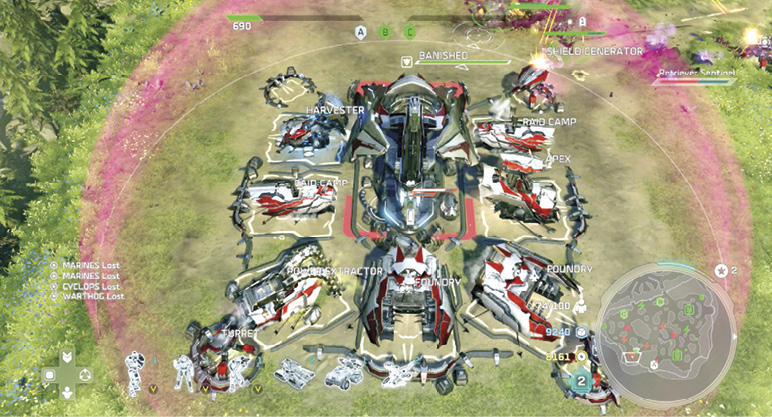
When the Banished base is destroyed, Cutter reports that this action will reduce the number of Banished reinforcements on the battlefield. Now you can drop in your own Firebase to replace it. If your troop total has fallen below the Population cap, jump to your UNSC main base and crank out replacements.
Capture Control Tower A (3 of 3)
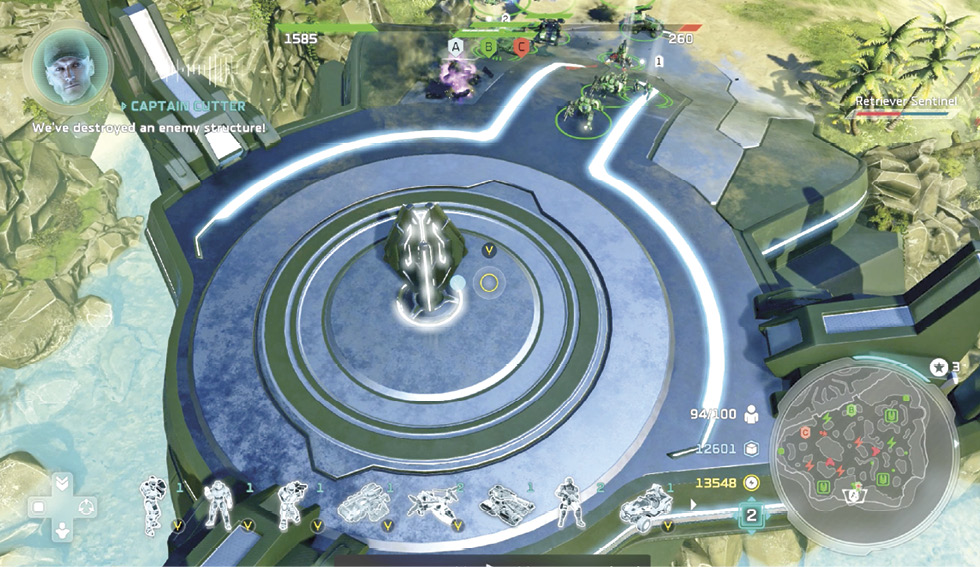
Once you’ve got a strong Spartan-led defense at both Towers B and C, send your last Spartan with all remaining forces down to Control Tower A on the platform not far from your main base . Take care not to cross paths with the Retriever on the way. A Warlord and a Turret guard access to the last control tower, so it’s not a cakewalk capture. But you should have enough troops to get the job done.
Primary Objective: Capture and Hold the Control Towers (Continued)
At this point, you just have to run out the clock as your Domination Bar fills up with green. Spend your time distributing your forces evenly between the three control towers, keeping them ready to fend off Banished raids. Carefully watch the Retriever’s movements, and push your defense teams out of its way. When Anders finally gains full control of the great Sentinel, she takes down the shield. Now you have access to the Halo control room.
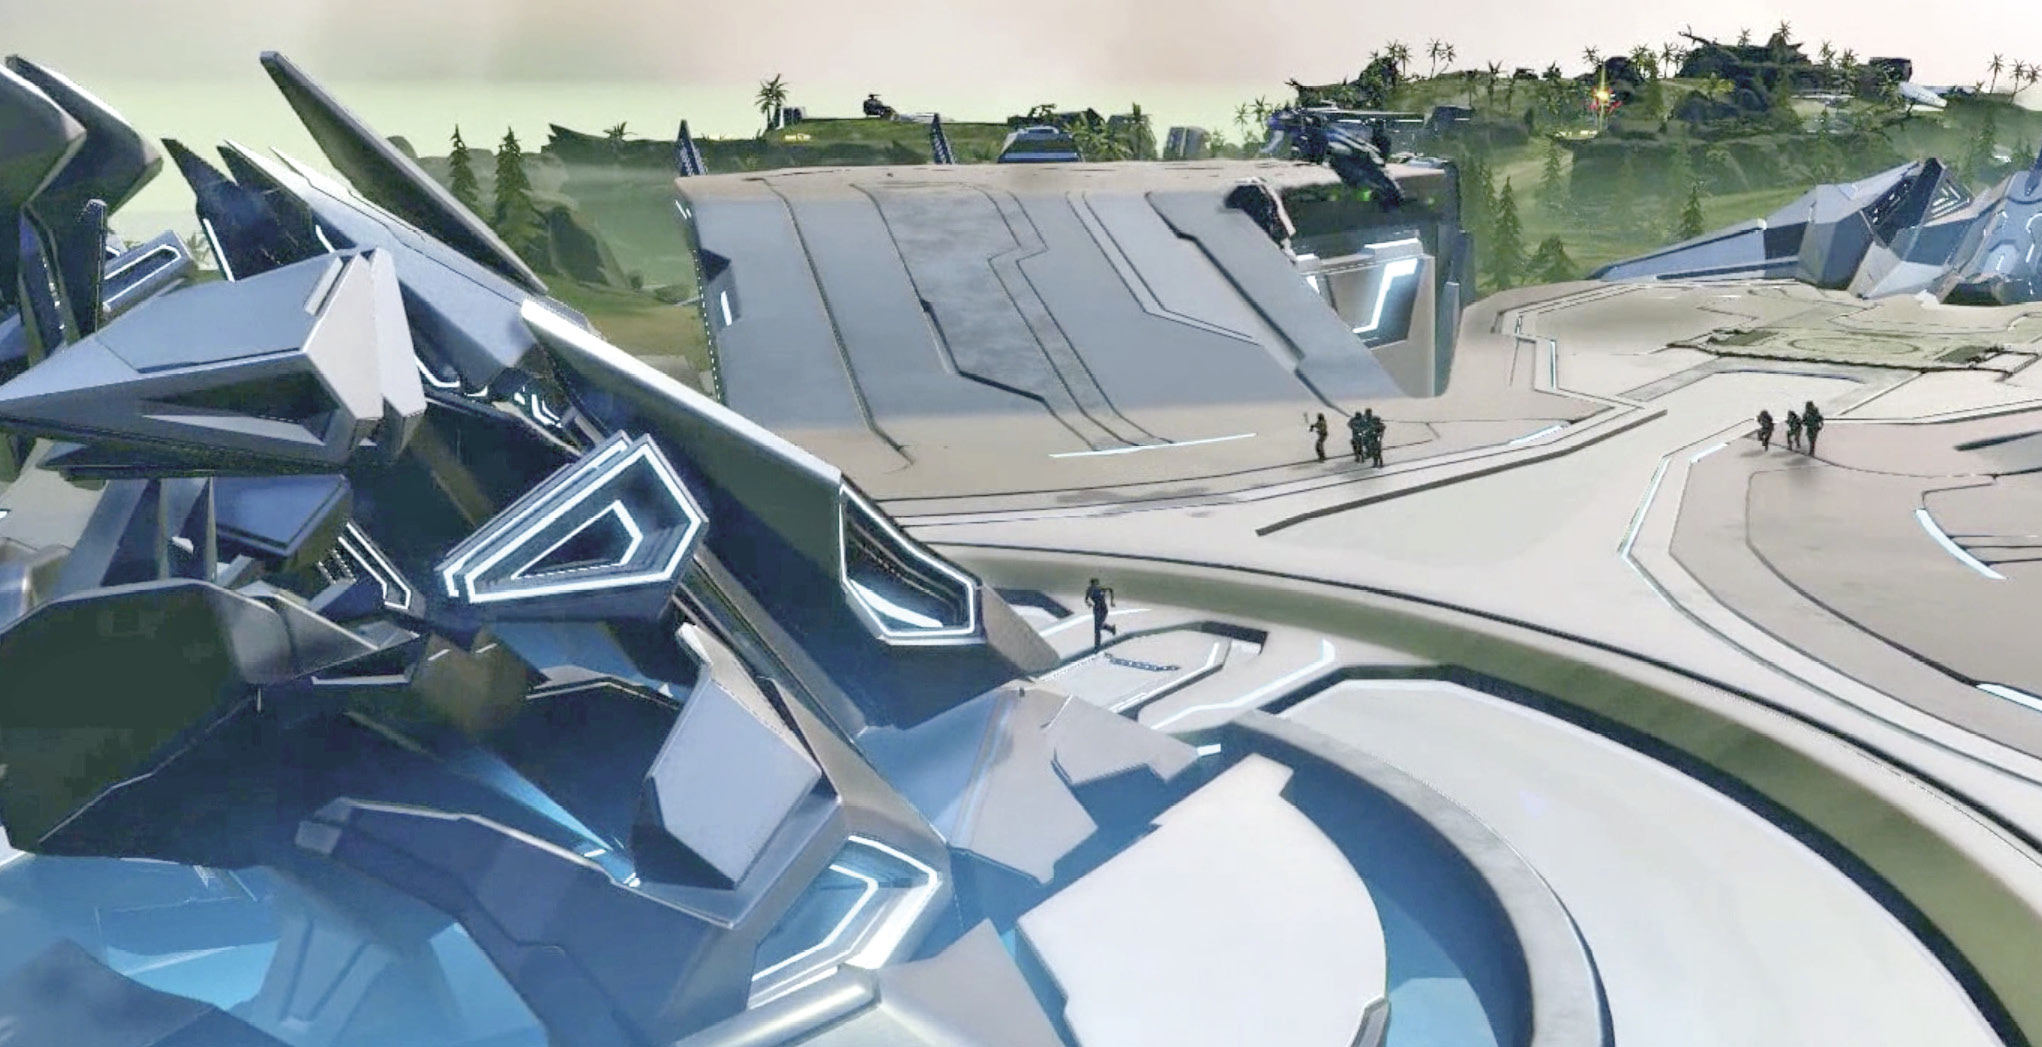
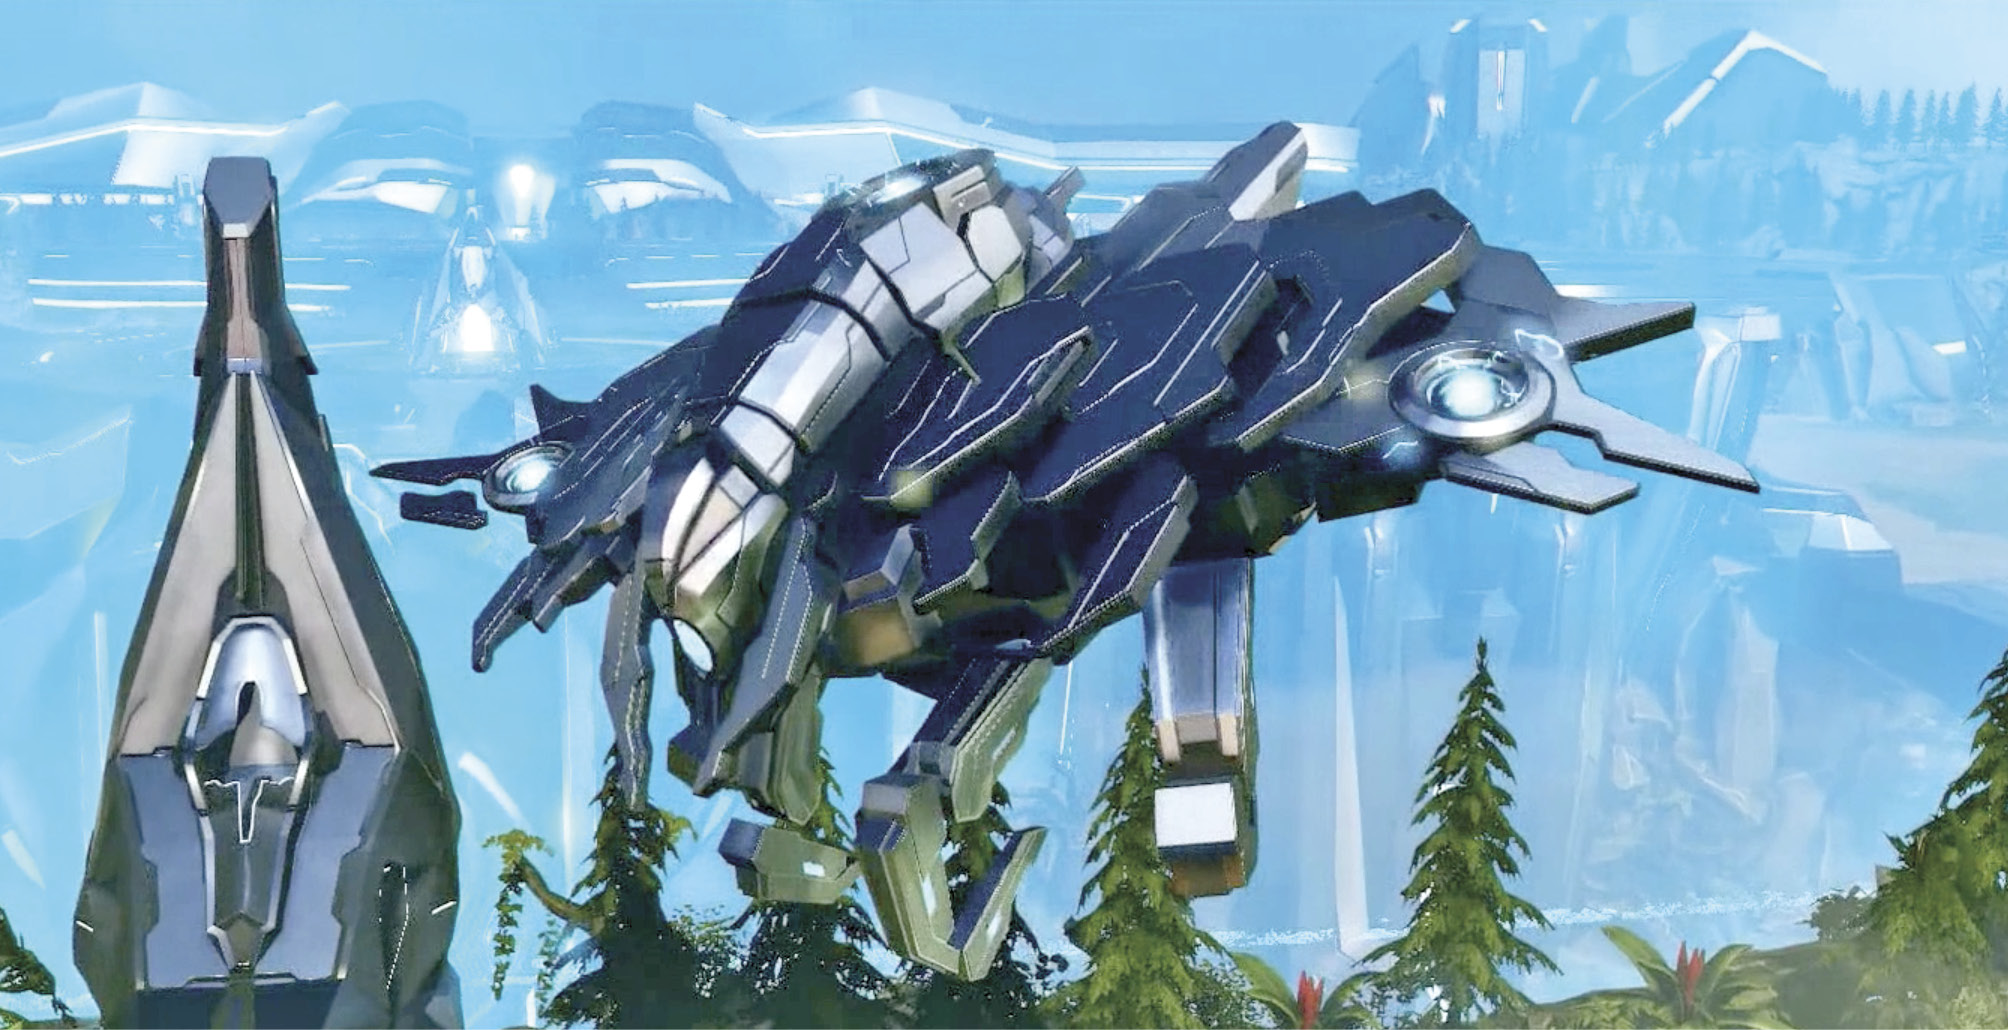
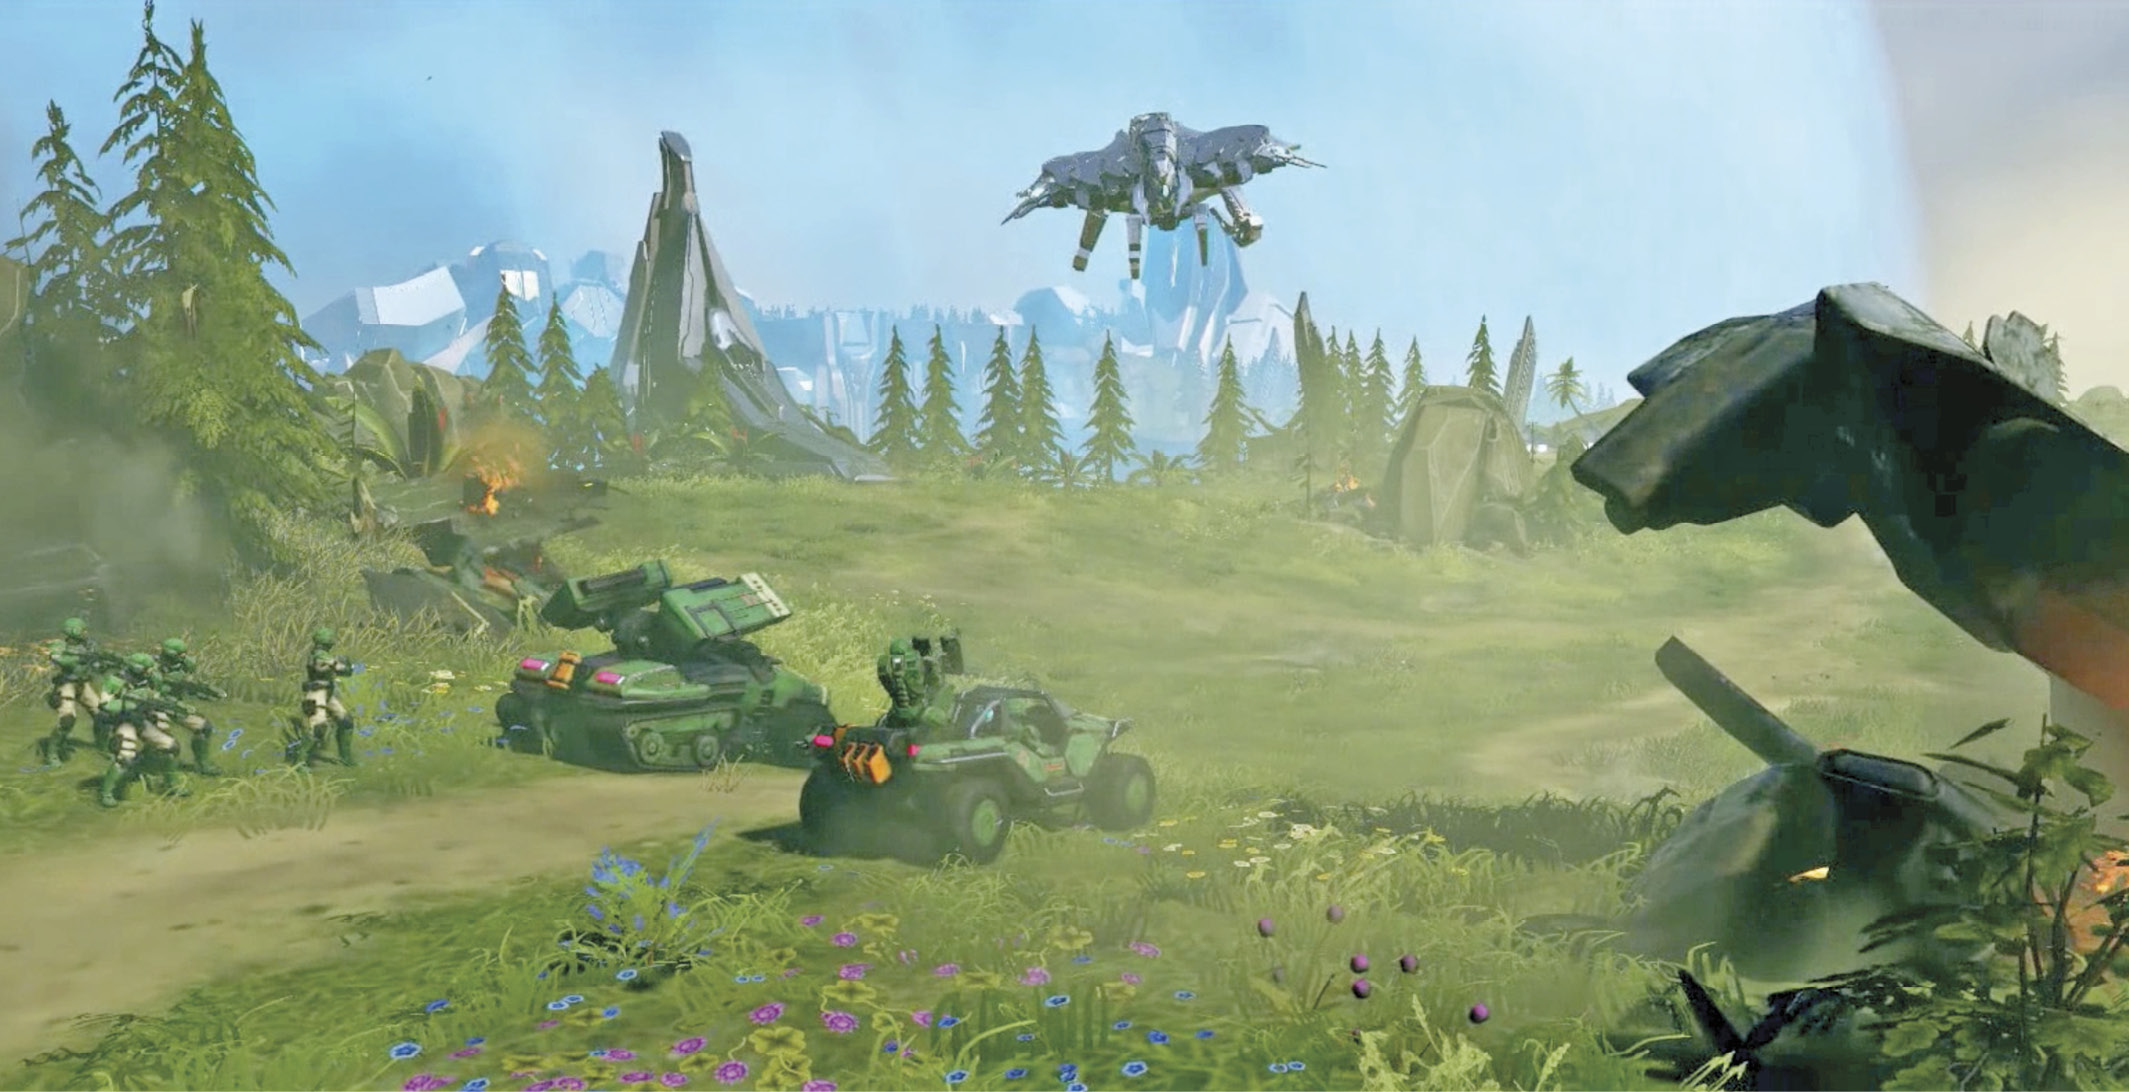
 “The Halo”Sculpting the Big Story Beats Players must disable the Halo firing mechanism so they can get a message to Earth without risk. This won’t prove that easy, given the roaming threats on the Halo ring. Here we introduce one of our biggest threats—the Retriever, a robotic Sentinel Super unit stationed near the index and the Halo control room protecting it. Decisions about When to Introduce New Gameplay Twists If you look carefully under the map, you can see multiple Retrievers. These can be seen in quite a few maps under amber or in the Cartographer if you keep your eyes peeled. Ideas Behind the Map This map was meant to promote open sandbox play. The roaming threat of the Retriever escalated the challenge and meant players could not capture the Control Points as easily. These Control Points served to power the huge Forerunner shield gating access to the Halo control room. Role the Mission Fulfills in the Story’s Escalation We wanted to make sure that Anders got to the control room so that she could deactivate the Halo before it moved into Earth space. How the Mission Evolved Over the Course of Development The mission stayed fairly true to its initial design. We originally made the Retriever a bit more of a surprise when it arrived, and then it slinked off into the shadows. Eventually we settled on having it attack the player early on so players knew they could force it to retreat when it was damaged heavily. |