
The Proving Grounds
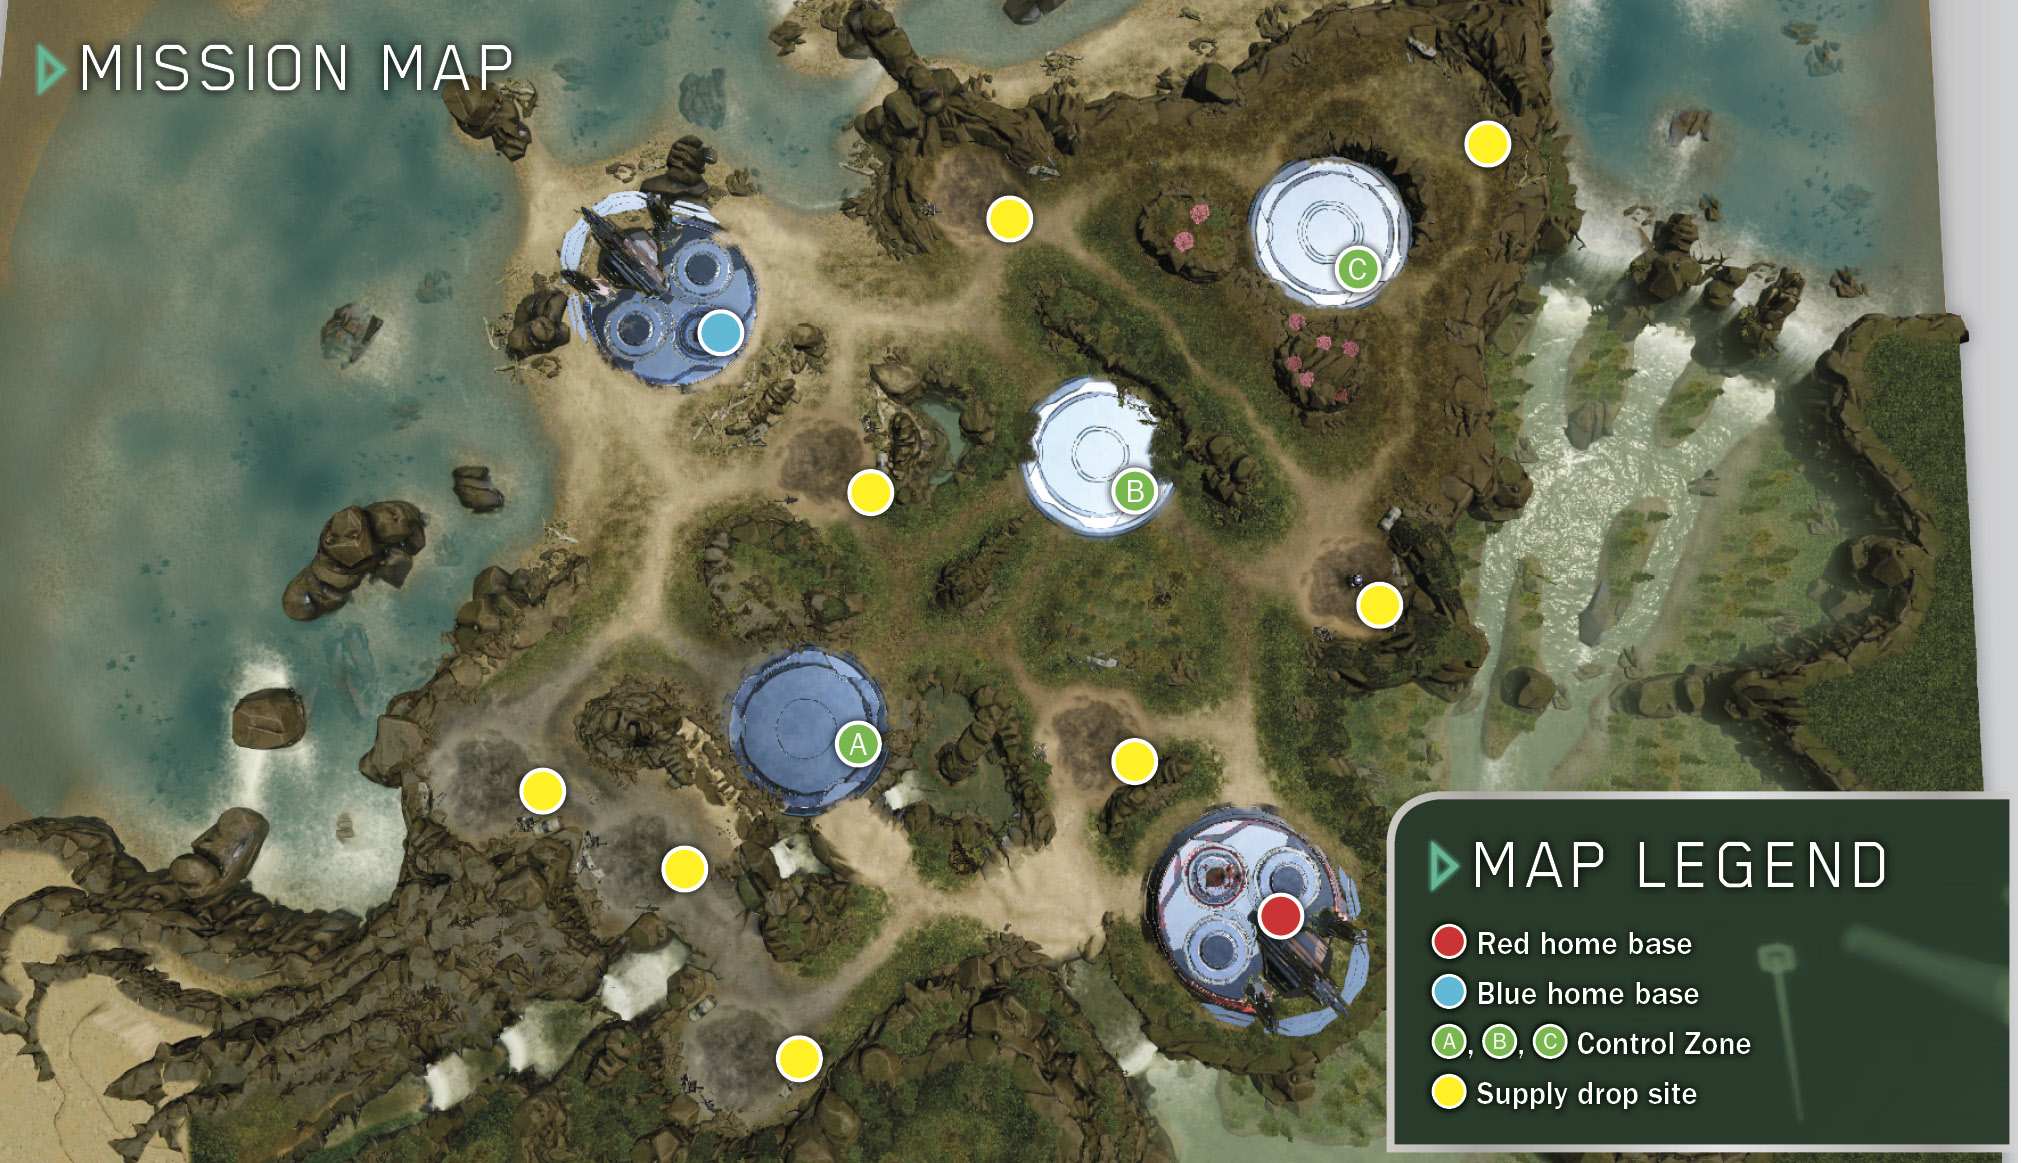
Every game of Blitz and Firefight takes place on the Proving Grounds. Understanding the nature of this map is an important step toward understanding both of these game modes.
Map Features
Home Bases
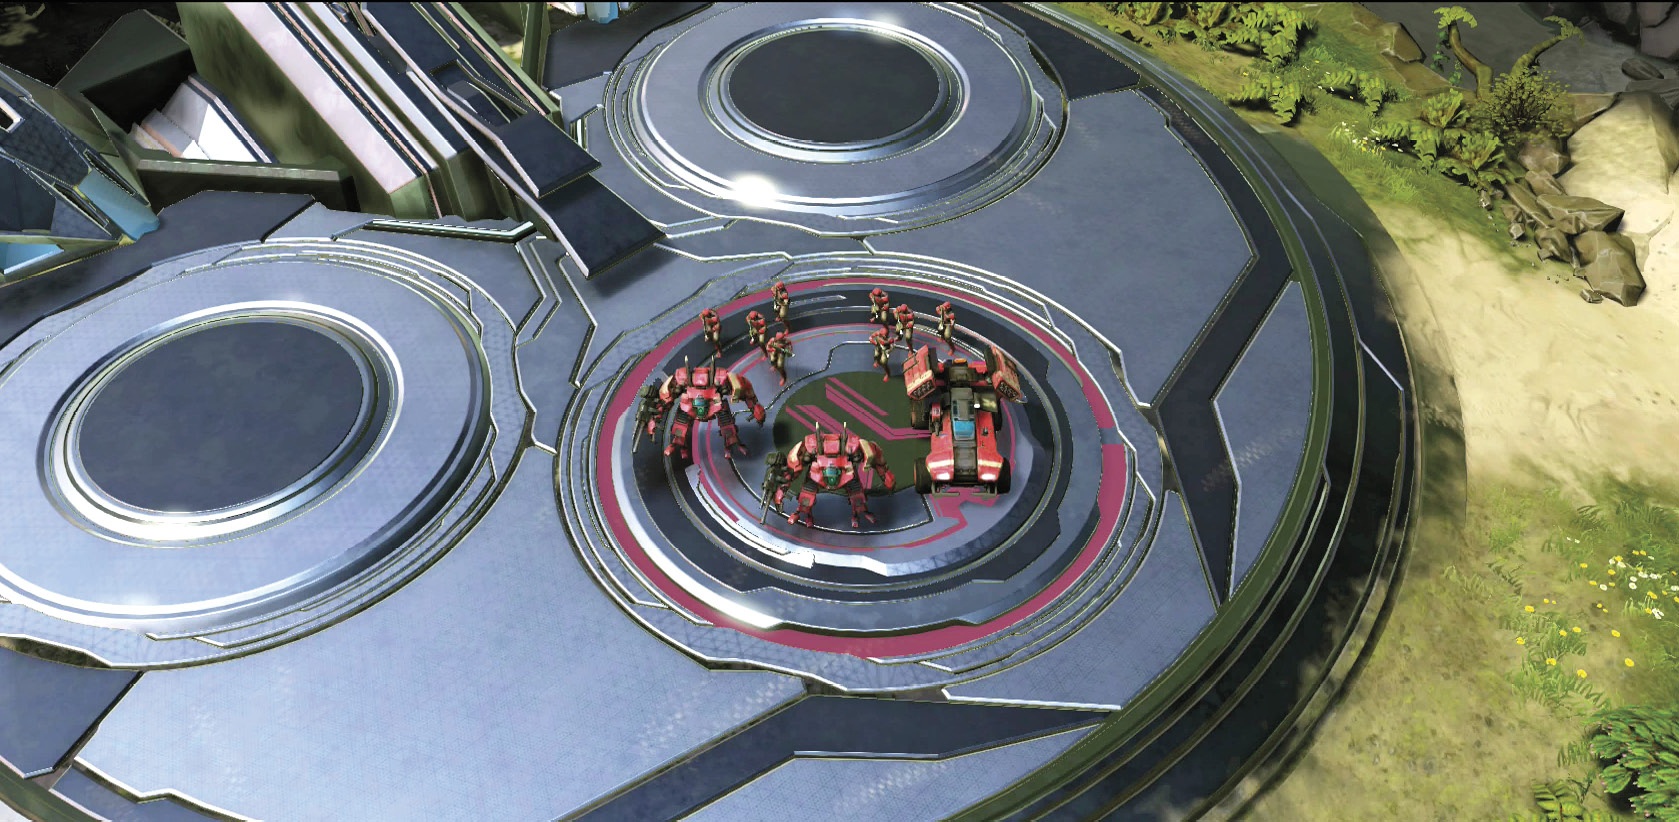
The map includes two color-coded bases—one for each team. Your home base doesn’t just serve as the point of origin for your team’s starting armies, it also performs two vital functions for the duration of the match:
- It provides rapid and constant healing for any friendly units within its borders.
- It prevents Deployment Fatigue from affecting any units summoned within its borders.
Control Zones
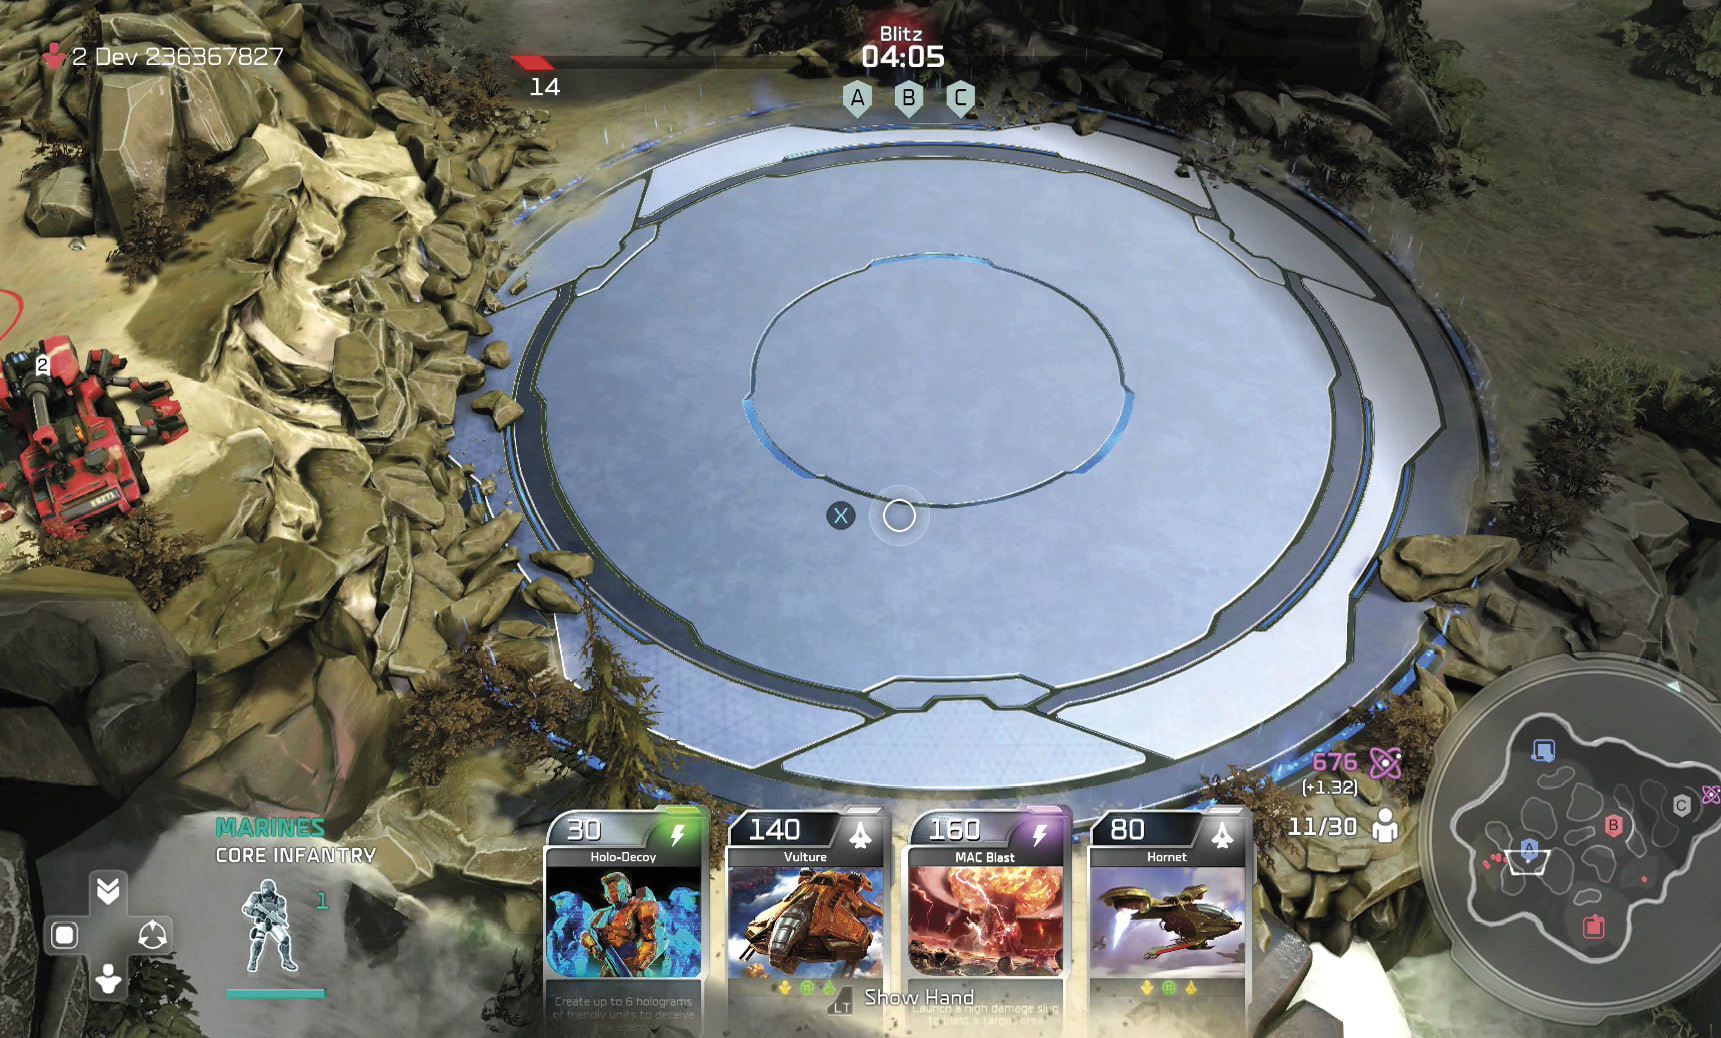
The map contains three Control Zones. Unlike the Points featured in Domination matches, Control Zones can be captured and lost instantly. Moving a single unit onto an empty Control Zone automatically claims it for your team; moving a single unit onto a Control Zone occupied by the opposing team automatically flags it as contested. To seize a Control Zone from the opposing team, you must eliminate (or chase off) any and all hostile units located within its borders.
Supply Drop Sites
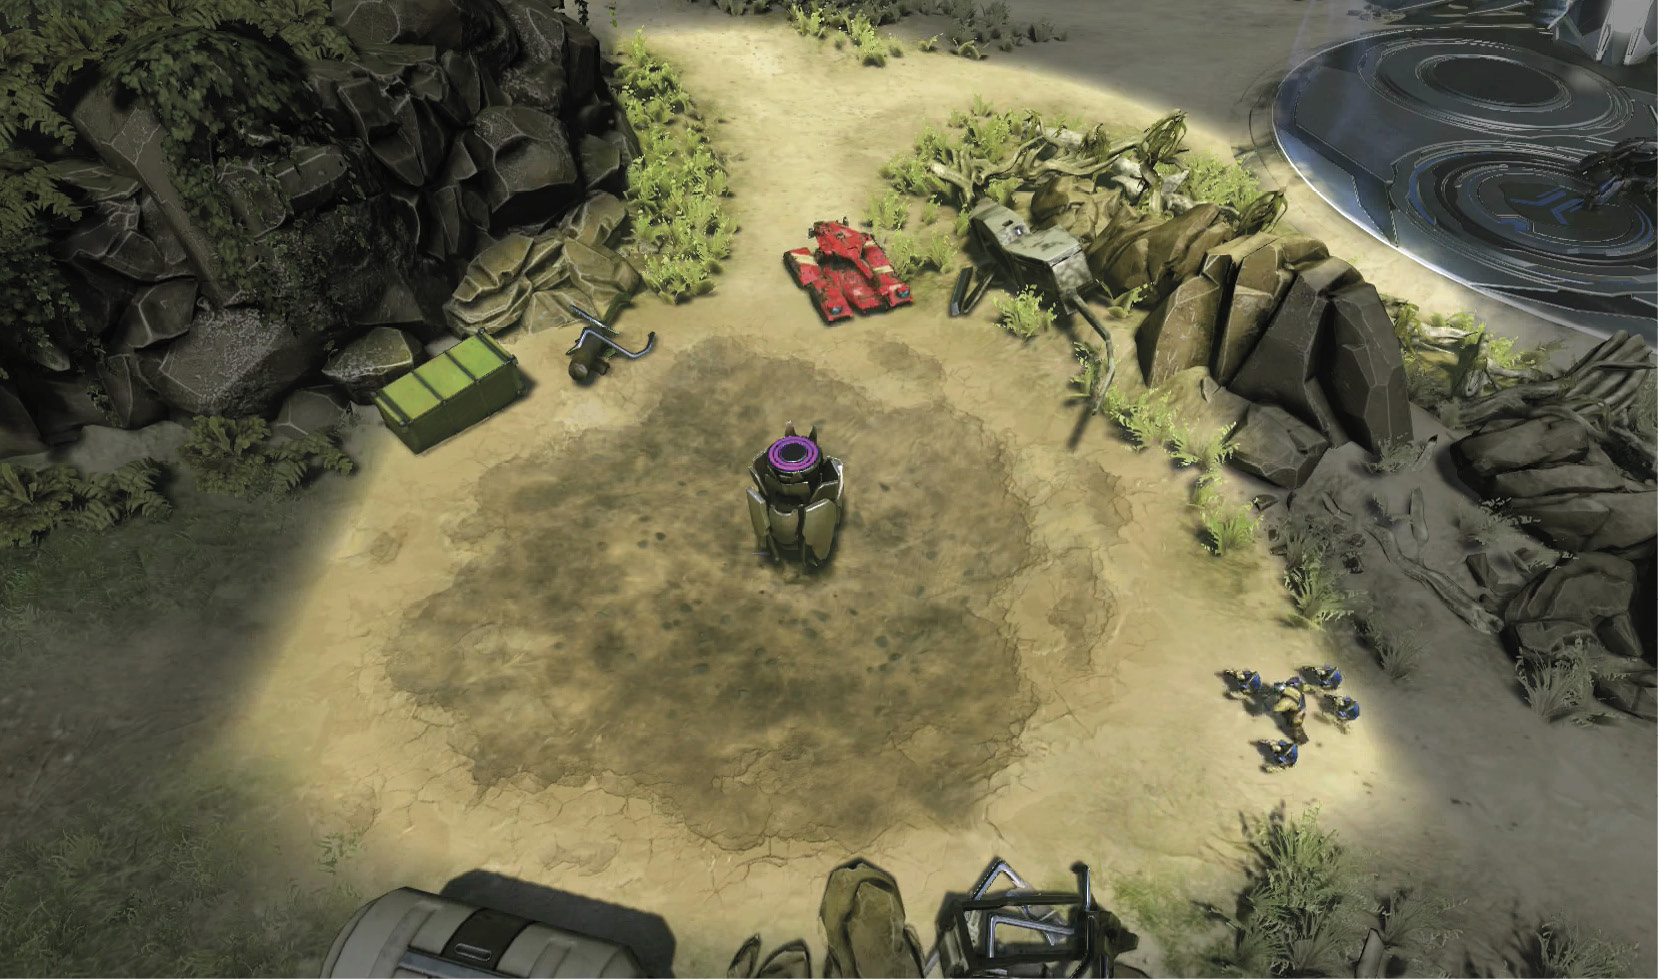
The map features eight shallow craters that indicate potential landing sites for Energy Crate supply drops. The timing (and number) of these drops varies between Blitz and Firefight, but Energy Crates never appear outside these designated areas.