
Halo Wars 2 Guide Campaign Walkthrough Act I
Mission: A New Enemy
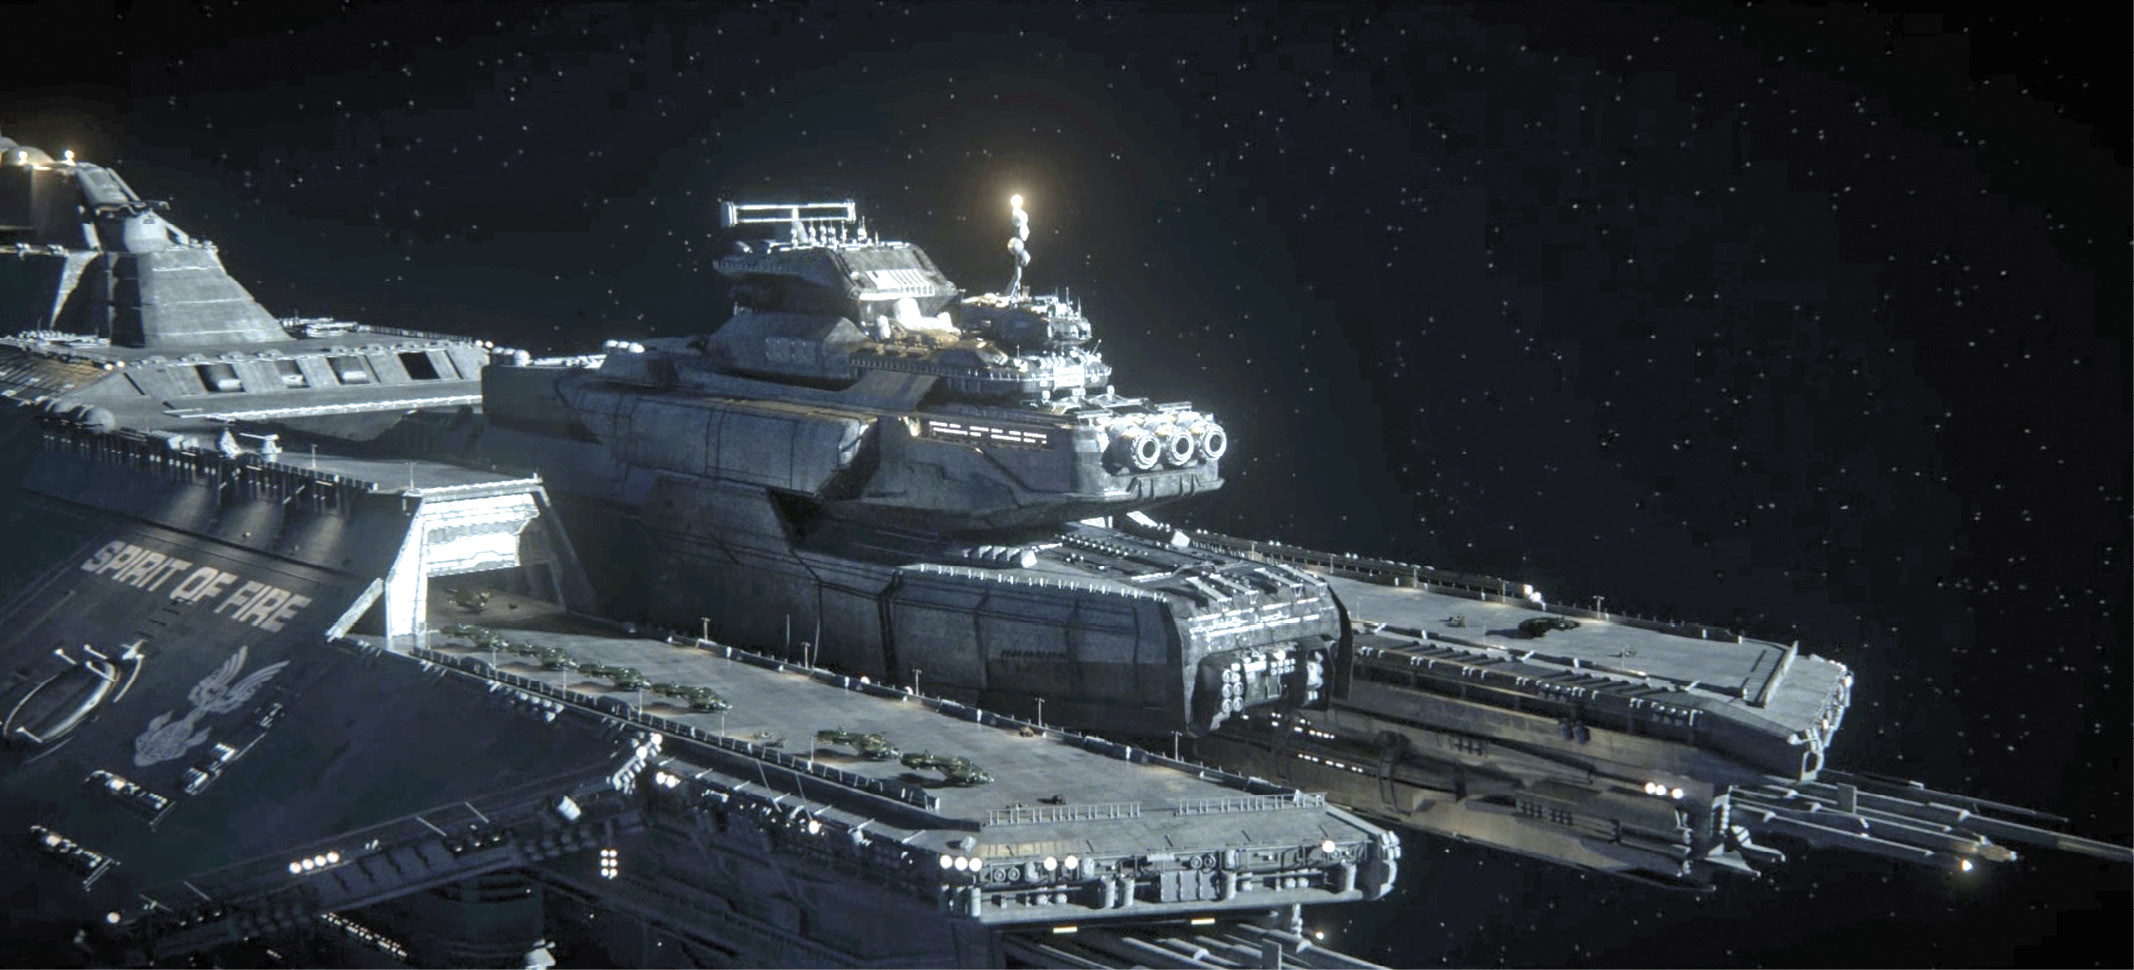
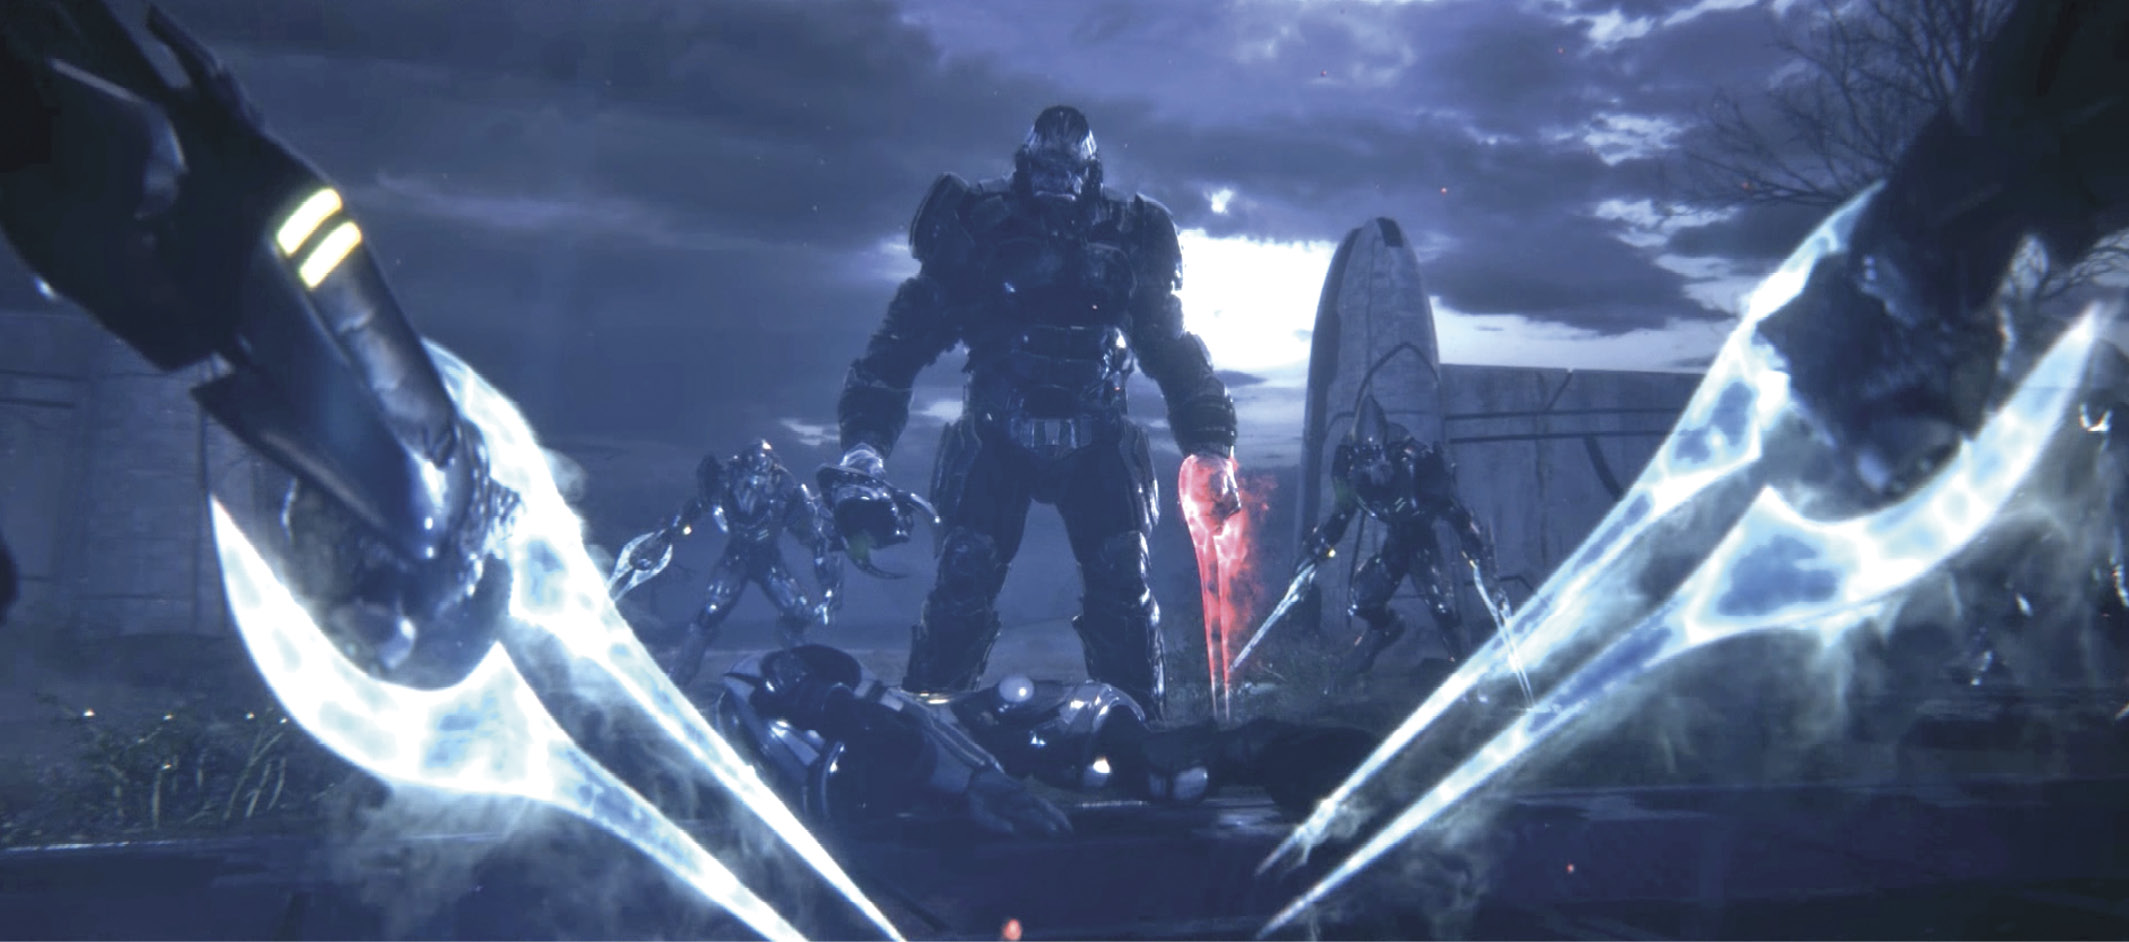
Isabel reveals that the alien habitat is called the Ark, and that the portal to Earth shut down five months ago. Then she tells the origin story of the Banished and their Brute leader, Atriox. Captain Cutter decides to fight smart by working up Atriox’s chain of command instead of launching a frontal assault on a well-established foe.
Isabel suggests targeting Decimus, a chief lieutenant who oversees Atriox’s salvage operation not far from the research outpost. Cutter calls for a surprise attack on the operation’s perimeter, followed by a southward thrust to establish a forward base. Once that work is done, you can launch an attack on the Banished main installation.
Mission Walkthrough
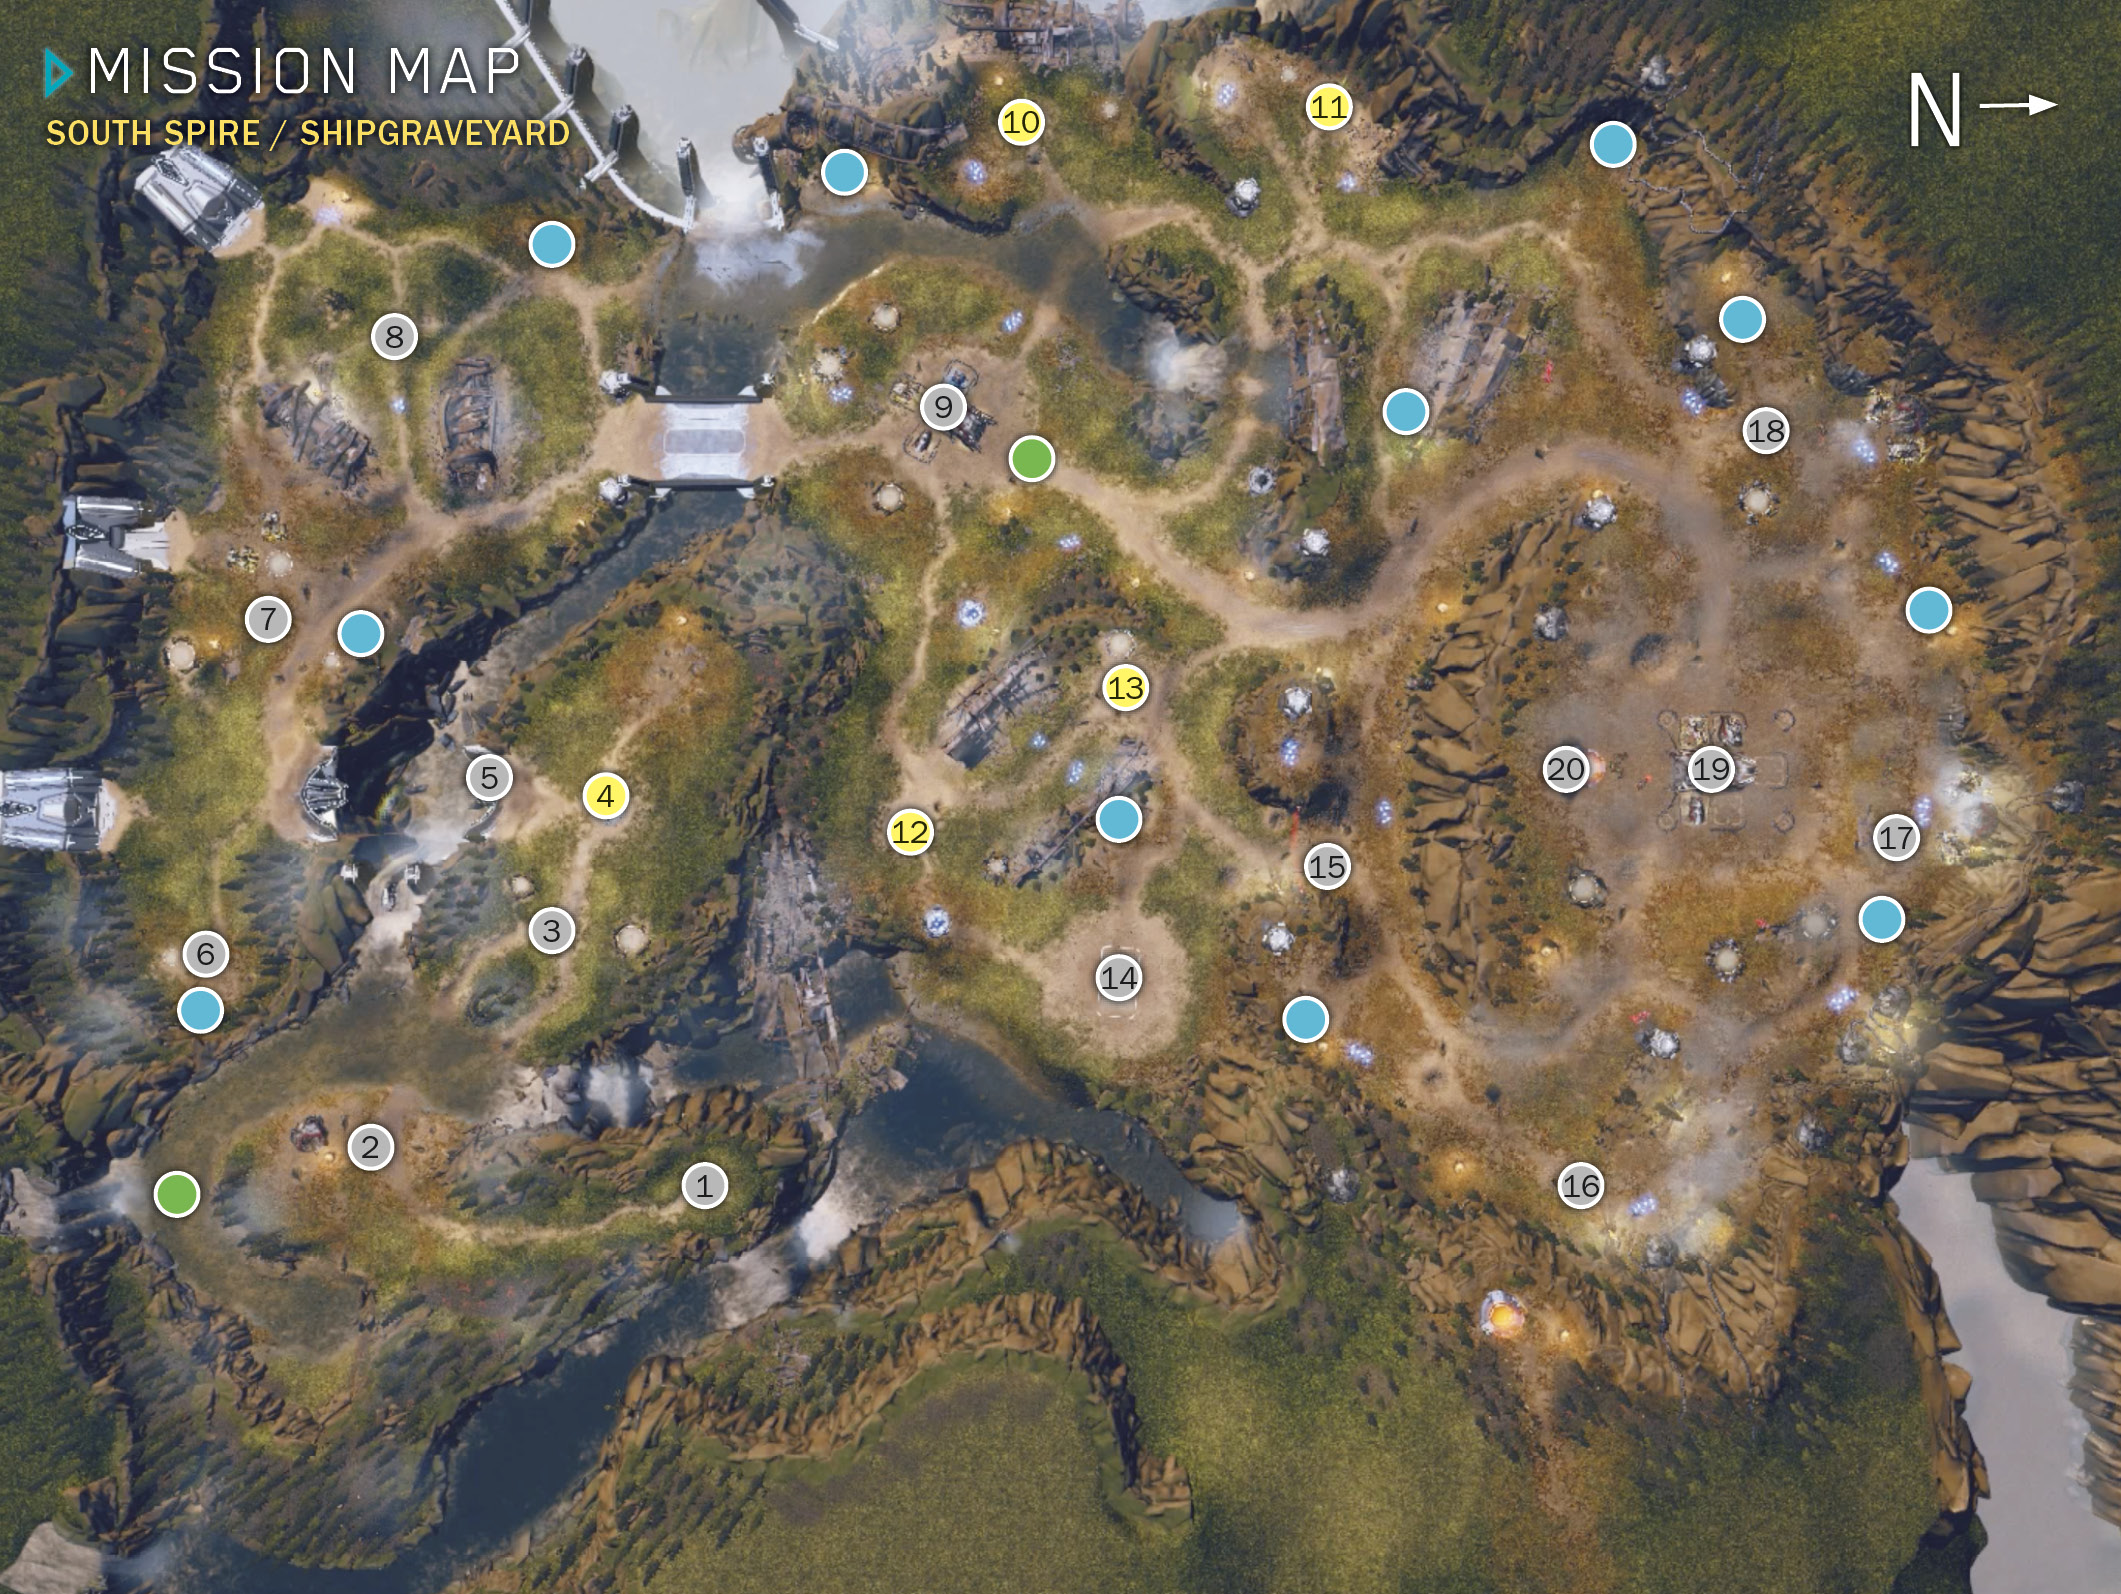
Mission SummaryLead the UNSC in an assault against Decimus’ salvage operation. Scouting ReportHellbringer infantry are standing by to clear Banished defenses. ObjectivesPrimary
Optional
Bonus
Par Time
ExtrasSkulls Available: 1 Phoenix Logs: 2 Map Legend
|
 Start
Start First Banished camp
 Banished garrisons
 Power Node
 Lightbridge control panel
 Clearing (Supply silo)
 Second Banished camp
 Covenant ruins
 Main base site
 -
- Banished-controlled Power Nodes
 Secondary base site
 Shield Generator
 -
- Enemy base perimeter
 Decimus’ base
 Decimus’ portal
 Phoenix log
 Supply silo
Primary Objective: Clear the Two Banished Camps
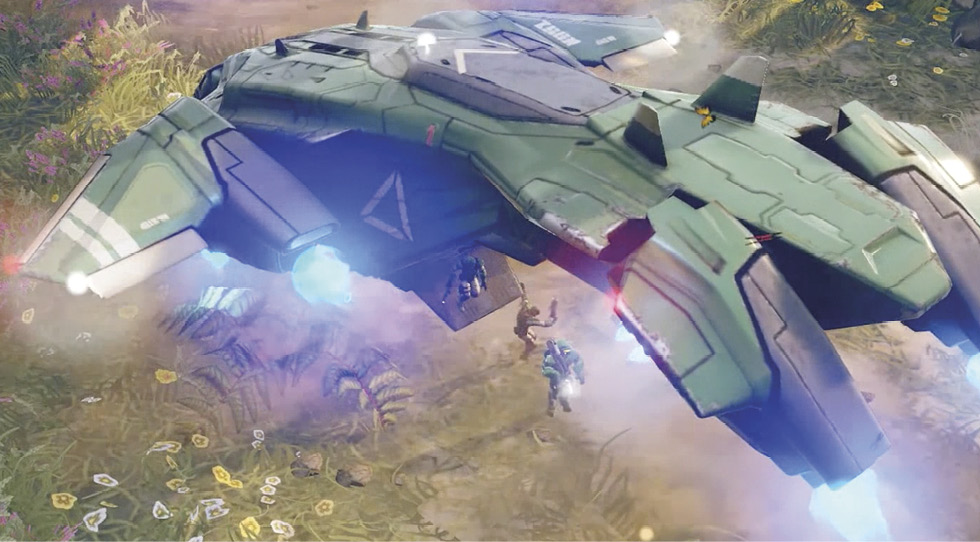
A Condor dropship delivers Spartan Jerome-092 plus two squads of Marines at the end of a peninsula  , giving you six against your Population cap of 80. You also start with some resources: 700 Supply and 100 Power. Follow the path to the first Banished camp
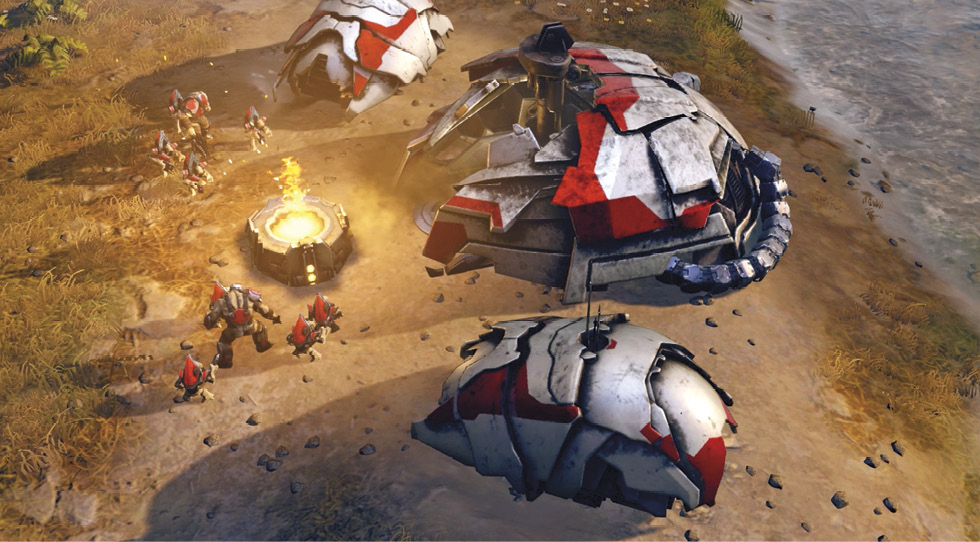
  and attack the Grunt squads who rush to defend it. A squadron of nimble Hornets joins your team; wipe out all Banished troops and structures. Then pick up the Phoenix log in the river near the waterfall behind the camp.
Bonus Objective: Kill Infantry with Hellbringers
Cutter deploys two squads of Hellbringers to join you. These Marines wield heavy flamethrowers effective at short range against infantry and structures. They’re particularly useful for clearing out garrisoned troops. Send your entire force down the road and roast the Banished units near the two garrisons  flanking the path.
Primary Objective: Capture the Power Node
Next, Anders reports that a Forerunner tower just ahead is producing a massive energy signature, drawing Power from the Ark. You can tap that Power if you capture the Node. Move any infantry unit next to the Power Node  , press the button indicated onscreen, and wait until the onscreen meter reaches 100 percent. Anders reconfigures the Node to supply a steady stream of Power to UNSC base operations. (Note that your Power readout at the lower right starts ticking upward.) Cutter drops in a battery of three Kodiak mobile artillery units that anchor themselves and start bombarding distant Banished targets.
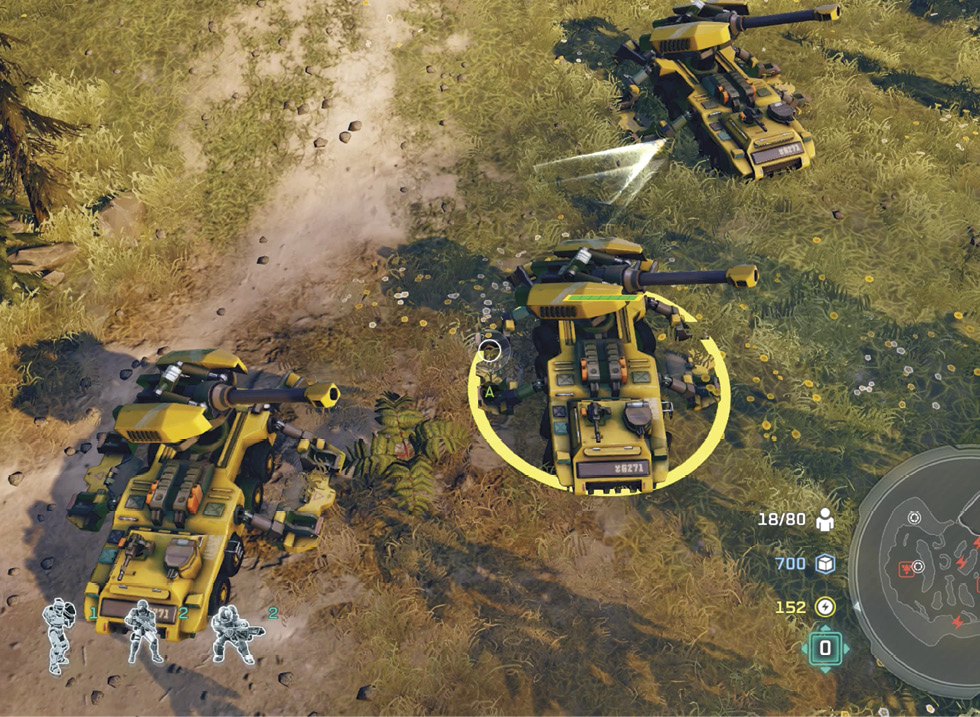
Primary Objective: Activate the Lightbridge
Use the nearby control panel to activate the lightbridge, and then cross it. On the far side, turn left and flash-fry the Banished infantry in the clearing  . Then destroy the Banished Supply silo there too. Pick up the lovely blue silo droppings and continue down the road.
Next you encounter several more squads of Banished infantry guarding another camp  . Send the Hellbringers in first, but bring up Jerome and the Marines for support, or else your fire team may get overwhelmed. Clearing out the fog of war here with your units’ view radius serves as a spotter for your Kodiak battery and lets them hammer the camp, so the enemy falls quickly.
Primary Objective: Secure the Base Site
When the last camp is cleared, scoop up the Supply pickups from another shattered silo while Cutter drops in a pair of Warthogs to join Strike One. Work your team through the pair of old Covenant wrecks and clear out more hostiles on the other side  . Remember to use your Warthog Ram attack on infantry squads. Destroy another Supply silo and two Banished structures with your remaining Hellbringers (if you still have any). Then proceed across the bridge to open up a view of a Banished salvage base
  that includes a Harvester, a Power Extractor, and a Raid Camp.
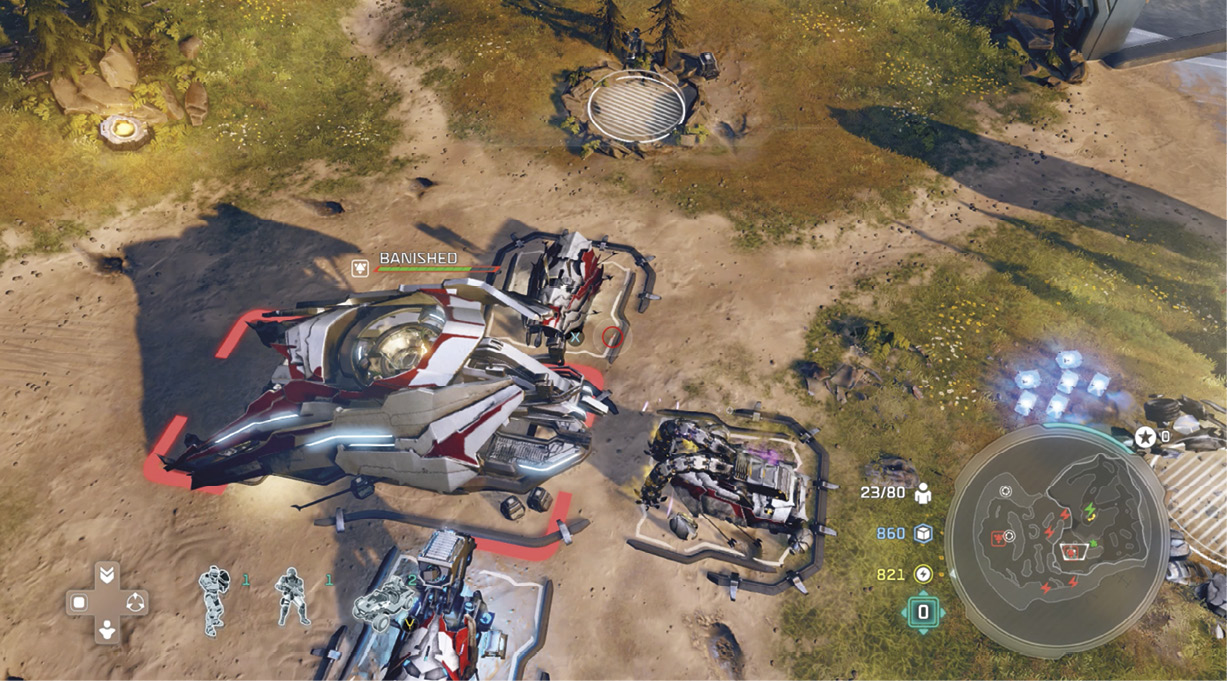
Launch your attack on the base HQ building as Spirit of Fire ferries in more Hellbringers if you need them. Move your infantry into the three empty garrisons on the bridge side of the enemy base for added protection during the fight. Banished transports called Spirits drop in more enemy troops. But soon your Hornets return to help obliterate the remaining base defenders and structures. (This is a good place to gather your troops together and use Restoration Drones again.)
Primary Objective: Establish a HQ
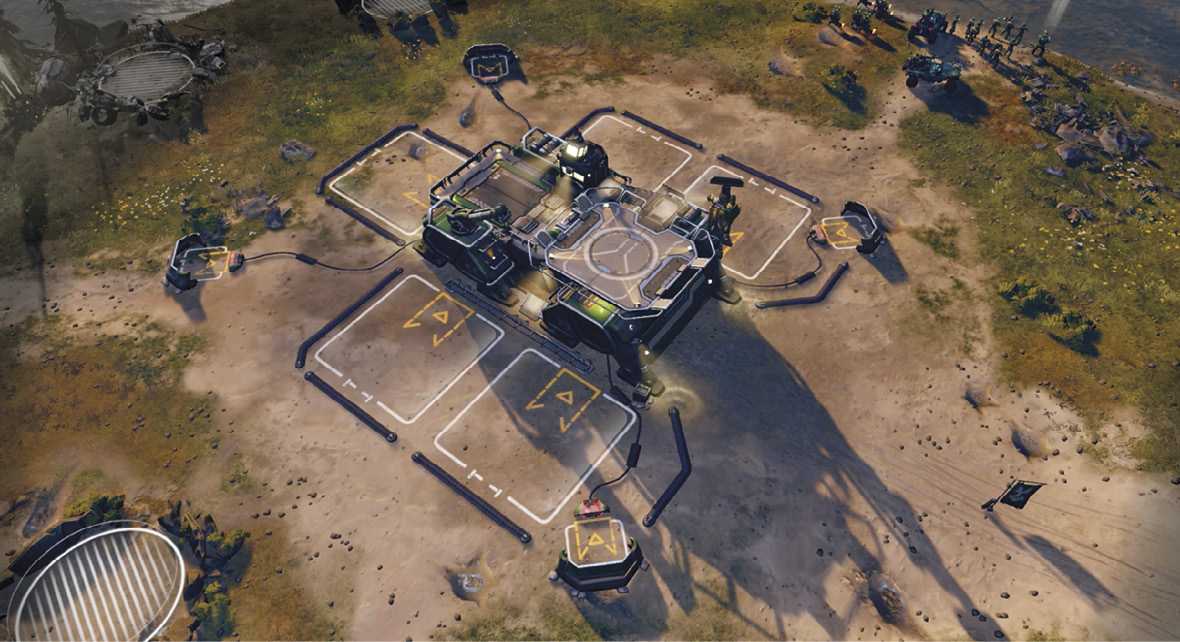
Select the base plot as directed to open the radial, and then select Firebase to call in a five-socket, four-Turret base template. Isabel picks up an angry transmission from Decimus to his salvage teams. While waiting for your main HQ building to drop in and set up operations, send your troops around the immediate area to collect Supply pickups and a nearby Phoenix log. Deploy your Hellbringers across the river to destroy another Banished Supply silo, and leave them there. Send the rest of your troops across the river as well. You’ll see why shortly.
Primary Objectives: Build a Supply Pad, Generator, and Barracks
When the HQ is ready, select any one of the five empty base sockets to open the radial, then select Supply Pad to start bringing down Supply. Do the same to add a Generator for Power and a Barracks for advanced infantry squads like Hellbringers. Soon Isabel reports that Marines are ready for training in your main HQ building.
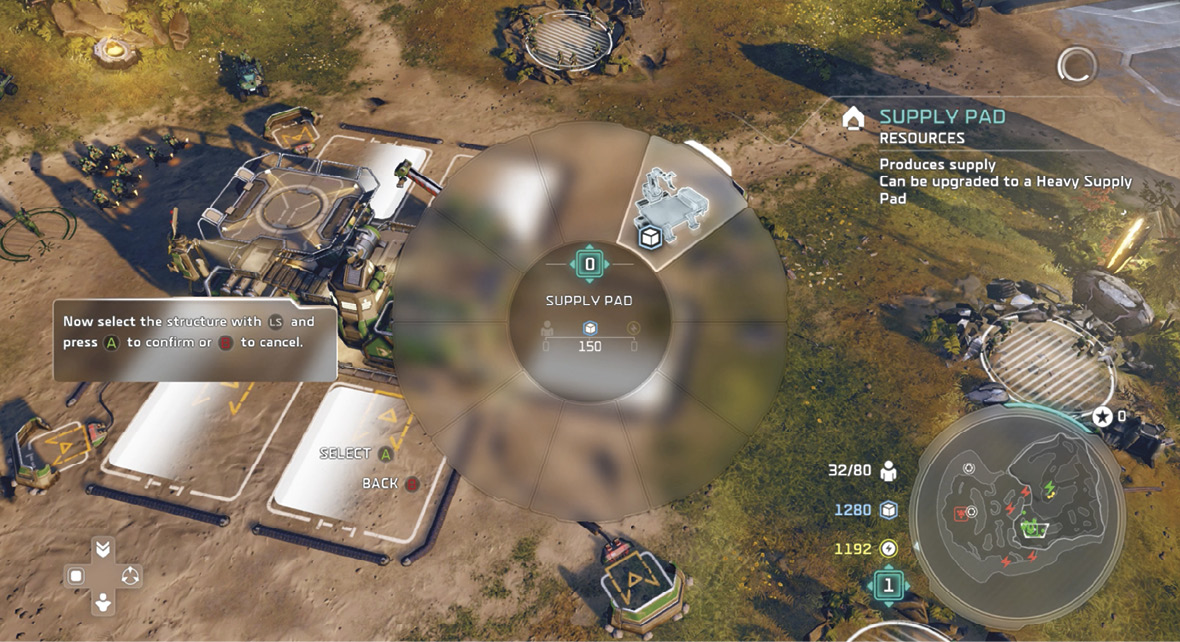
We recommend that you add Turrets in the two small slots on the side of the base opposite the bridge, facing up the hill; several Banished counterattacks will come from that direction soon enough. Then add another Supply Pad and Generator in the remaining two base sockets.
Dodge the Plasma Bombardment
Isabel detects a massive energy surge, and suddenly, an orbital plasma attack is unleashed on the site. If your troops are still near the base, try to run them away from the reticles that appear on the ground marking where each plasma strike will soon hit. Your HQ takes significant damage but survives. Call down Restoration Drones to repair damage.
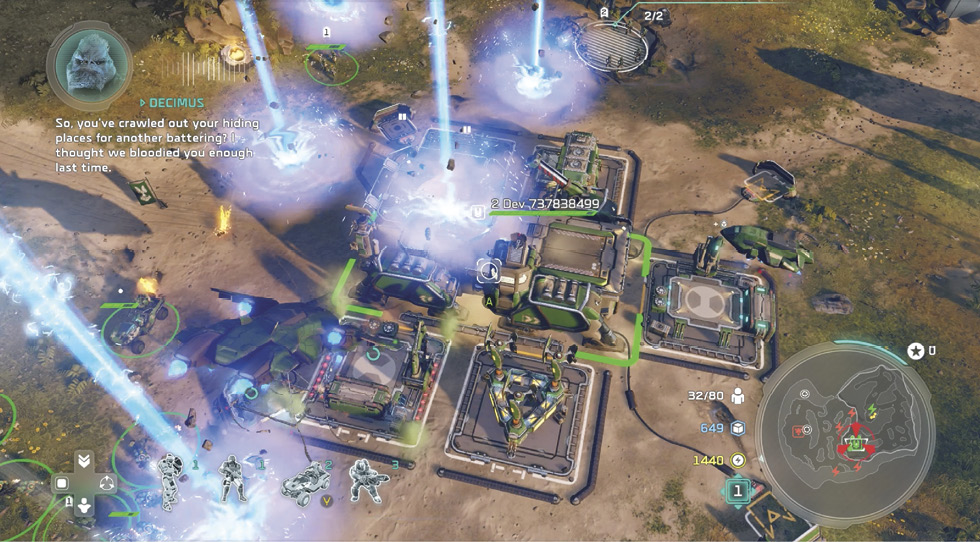
Now the rest of the map becomes accessible. Start producing Hellbringers from your Barracks, as many as you can train until you hit the POP cap of 80. Meanwhile, send your full force across the river and up the hill to find another Power Node  .
.
Optional Objective: Capture Four of Decimus’ Power Nodes. Completion Earns a Skull!
This Node is under Decimus’ control. Send your Hellbringer battalion up to clear out any Banished infantry, then capture the Node. Decimus is displeased and gets all blustery in response. Continue down the river and up the next hill to find another Power Node  controlled by Decimus. Seize that one too. Leave infantry in the garrisons near each Node, then return your full force to your base.
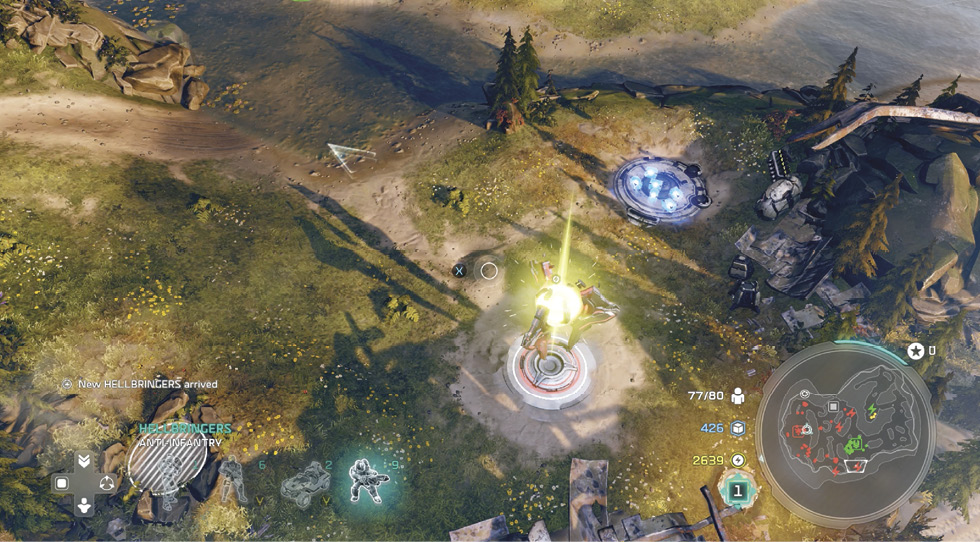
Now follow the narrow path leading up the ravine from the base’s front corner to find another Power Node  . Capture it, then swivel your force to the left between the two rows of wreckage to find the final Node
  . Take it away from Decimus to complete the optional objective.
Optional Objective: Establish a Second Base
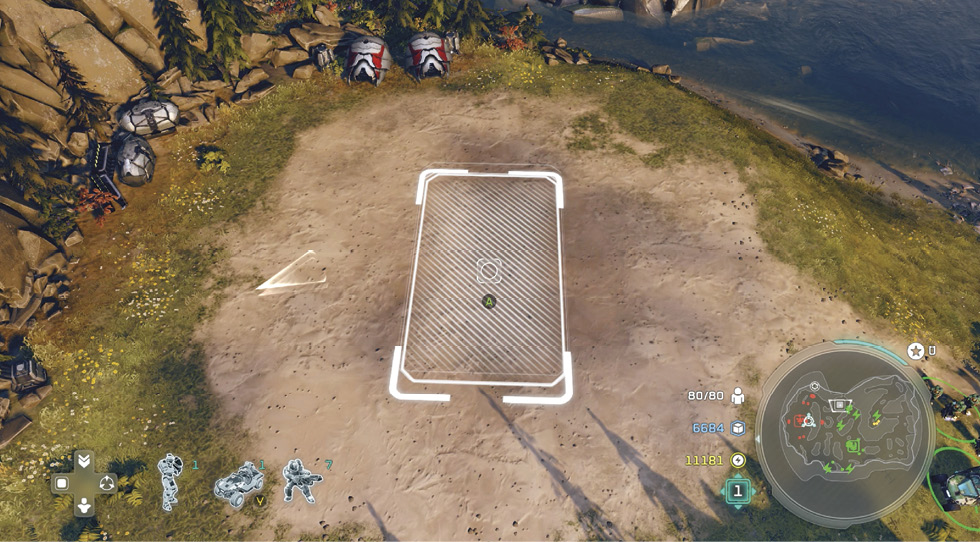
Climb the hill above the wreckage to find a cleared site where you can call down a three-socket Firebase  . (While waiting, send your Hellbringers to toast the nearby Supply silo, plus four bug-shaped buildings on the edges of the clearing, increasing their total.) Fill the base sockets with any structures you want—we suggest a Supply Pad, Generator, and another Barracks so you can train Hellbringers closer to Decimus’ base.
Primary Objective: Strike at Decimus’ Main Base
Exit the new base clearing to the right to discover a glowing red anti-vehicle barrier  . Send infantry through the barrier to destroy the Shield Generator and bring down the energy field. Then head rightward up the pass, burning down the Supply silo in the clearing to the right. Continue up to the outer perimeter of Decimus’ base
  .
.
From here, the “completionist” approach is to work counterclockwise around the outside  ,
,  of Decimus’ main base, moving along the canyon wall and destroying structures and infantry with your Hellbringers in the lead. This way you can complete the bonus objectives for your flamethrower troops. Find and destroy the last few Supply silos on the back edge of the basin. (Check our map for all of the silo locations.) As you proceed, watch out for pairs of Hunters, powerful Banished warriors who can shatter vehicles quickly. Hit Hunters with massed Hellbringer fire before they can reach your Warthogs.
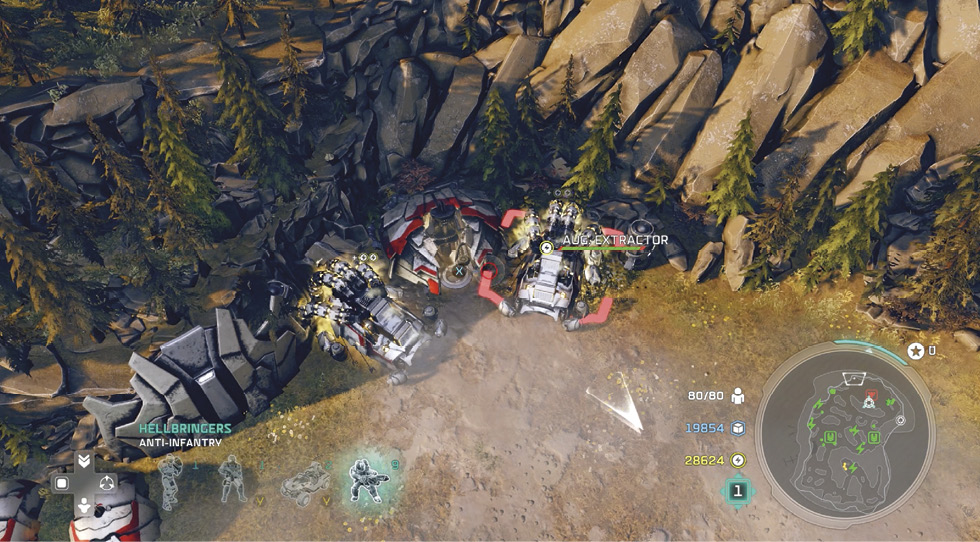
Once you complete all the side objectives, bring every unit you’ve got on the map to Decimus’ base  and focus all unit fire on the main HQ building. When it finally collapses, the boss appears in his portal
  , ready to fight. (He utters one of our favorite lines ever: “I will hollow out your skulls and let the short ones use them as toys!”)
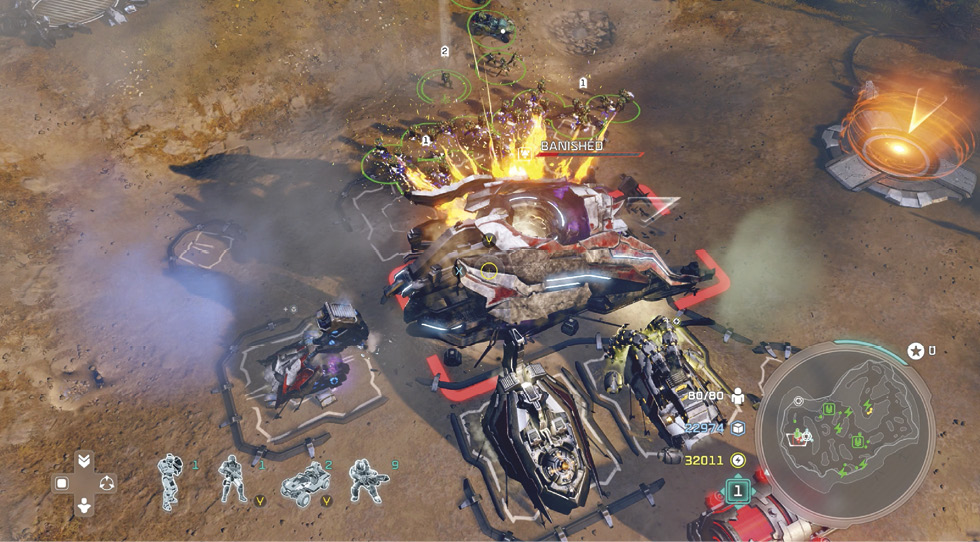
Primary Objective: Defeat Decimus!
To start, group-select your entire army. This is important for several reasons. First, you want to concentrate all your firepower on Decimus when he’s alone on the field. Then, when he brings in reinforcements, you want to shift every gun onto each subsidiary target, one by one, so you can clear them out quickly. (Concentrated fire from a large force can kill a basic unit almost instantly.) Then return your focus to Decimus.
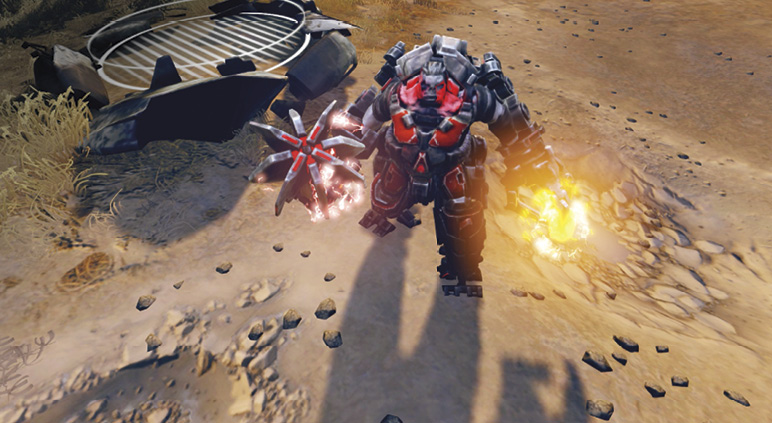
But most importantly, you want to be ready to move everyone at a moment’s notice. The reason: Decimus summons orbital strikes from the Shipmaster’s cruiser several times during the battle. When he does, a large circular targeting reticle appears around Decimus—he calls in the strike directly onto his own position!
The moment you hear Decimus contact the Shipmaster, immediately move your entire group-selected army away from him. When the red reticle circle appears around Decimus, position your troops just outside of it; you don’t want to move too far away from Decimus because you need to quickly renew your attack when the strike ends. Careful—wait until the full strike is complete. Plasma beams move from the circle’s outer edge into the center. Don’t rush back in yet! After the beams converge on Decimus, a massive explosion engulfs the entire circle. The moment that happens, immediately rush back to attack Decimus again with your full army.
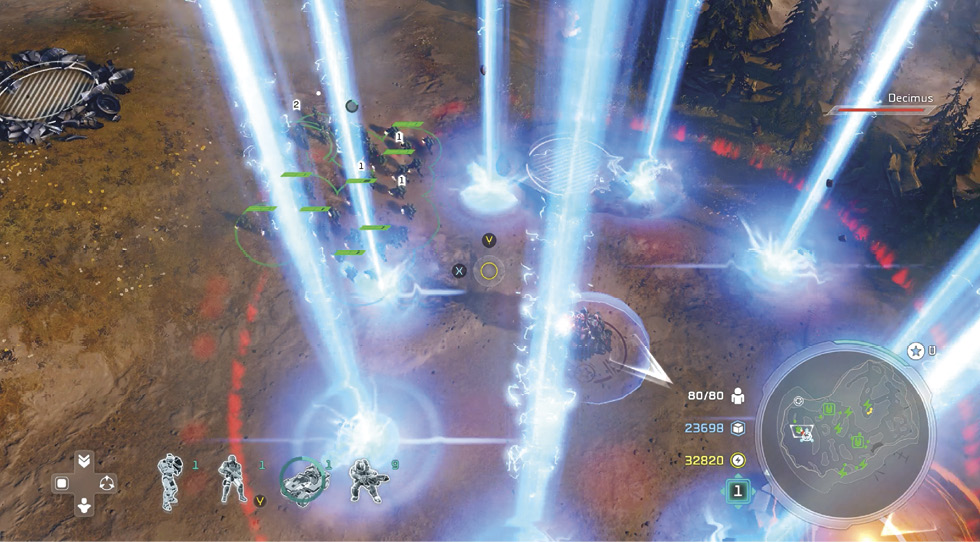
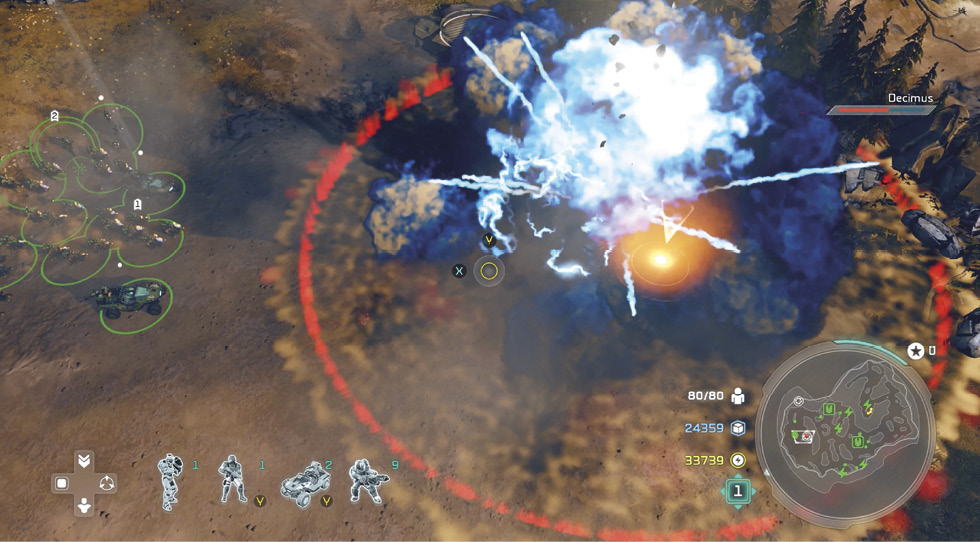
Eventually your attacks dissipate the boss’s shield and knock his health bar down to zero. An impressed Decimus hops back into his portal and zaps away, vowing to meet again.
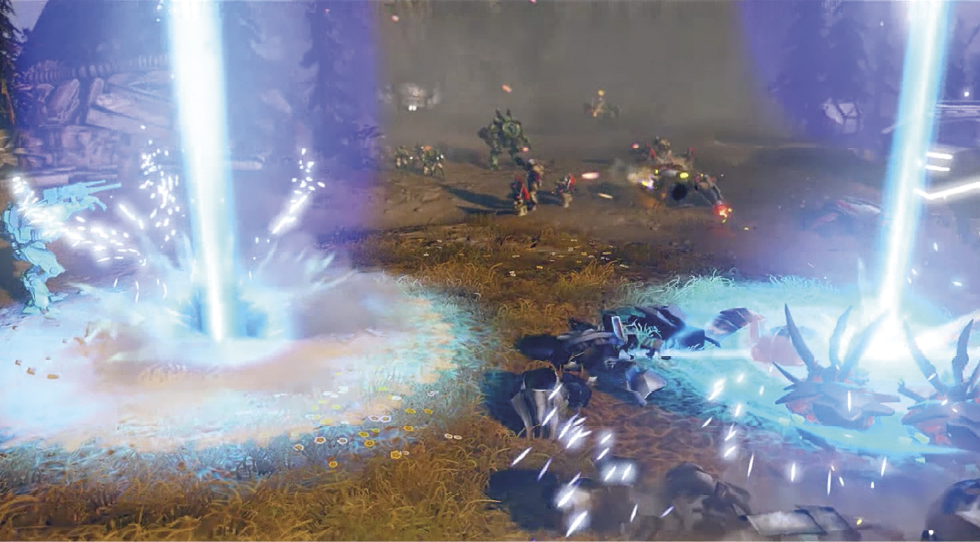
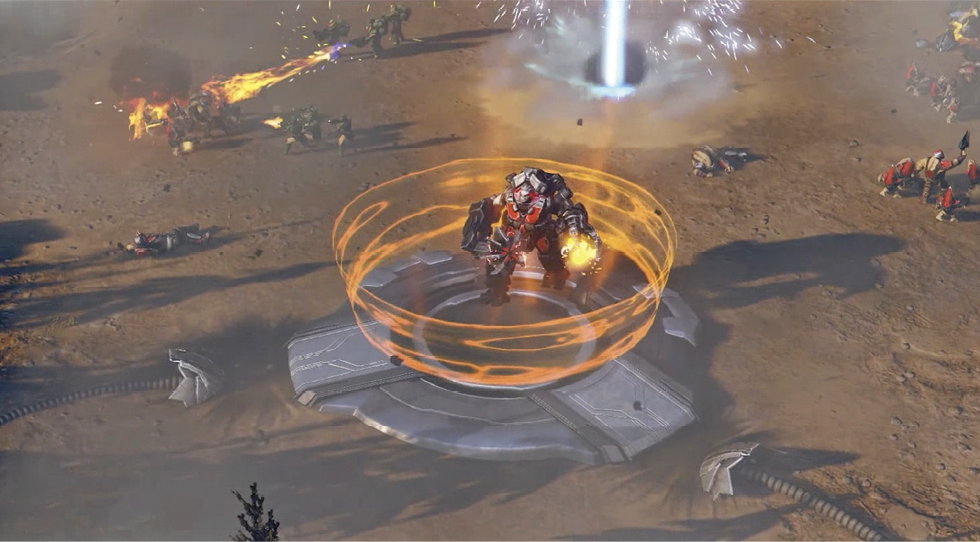
 “A New Enemy”Sculpting the Big Story Beats The key thing we wanted to solidify as we moved into the next missions was the idea that Spirit of Fire was preparing for war. Cutter and crew need to understand their enemy and also see what local targets of significance are present. This meant we moved the UNSC to counterattack Decimus, a major lieutenant, and see what intel was held at this base of operations. Decisions about When to Introduce New Gameplay Twists Before Decimus is defeated, we made sure the brutality of his nature was conveyed. By “glassing” his own base, Decimus shows us that Atriox and the Banished will stop at nothing to succeed. Decimus indeed has key intel in the ruins of his base, and the Cartographer was called out amongst the ruins—a location of great significance on the Ark. Thus Isabel determines that the UNSC should certainly explore the Cartographer and seek a map of the Ark as they try to understand where Atriox’s main forces are and what he knows. Ideas Behind the Map The mission was purposed to onboard new units and basic strategies. It was core for us to ensure that players really understood the game. This meant that larger, more complex units (like the Kodiak mobile artillery) are still there assisting but play a support role—we didn’t want to force players to interact with these units so early on. The map really delivers on sandbox play but had to start a little more confined so players could onboard with basics in a more focused setting. The map also has large pieces of ship debris dotted about. This was meant to display the opportunistic nature of the Banished. They often salvage parts and scrap from the environment and retrofit these parts to their own vehicles. Role the Mission Fulfills in the Story’s Escalation The mission gave us the chance to introduce a key location on the Ark and also highlight the brutality of the Banished. It also begins the UNSC efforts to fight back, and plants a seed for the UNSC to discover how Atriox came to be on the Ark and what he’s doing there. How the Mission Evolved Over the Course of Development We went through a few iterations of this map…even, at one point, starting with two massive Grizzly tanks! However, it was important to really showcase the starting units, so the Marines and Hellbringers took center stage in this epic battle to overthrow Decimus. |