Destiny Signature Series Strategy Guide VENUS
STRIKE: Winter's Run
 STRIKE: Winter’s Run
Level 14 Strike / Ishtar Sink, Venus
Enemy Race(s): Vex, Fallen
Suggested Damage Types: Arc, Void, Solar (Epic)
Rewards: XP Bonus, Armor Upgrade
Missions Unlocked: -
| Combatant Changes with Heroic or Epic Mission Modifier | ||
|---|---|---|
|
Objective |
Combatant Changes |
Tip |
| Fight through the Lair | -1 Hydra+1 Major Hydra | The Major Hydra is ruthless with its explosive projectiles. Be careful and take it down quickly for the best result. |
| Kill Them All – Wave 1 | +3 Major Hobgoblins | — |
| Kill Them All – Wave 2 | +3 Major Hobgoblins | — |
| Kill Them All – Wave 3 | +1 Major Hydra | — |
| Track the Archon Priest – Ash Coves on Pikes | -3 Hobgoblins+3 Major Hobgoblins-3 Hobgoblins+3 Major Hobgoblins-3 Minotaur+3 Major Minotaur | — |
| Slay the Archon Priest | -2 Vandal snipers+2 Major Vandal snipers-6 Stealth Vandals+6 Major Stealth Vandals | This boss fight is already chaotic before adding these Major Fallen. Furthermore, on Epic, Shanks are equipped with Solar shields. Watch for Fireteam members who may need help. If you’re the last Guardian standing, stay alive until someone respawns. |
| Slay the Archon Priest – Below 30% health and Shank count less than 10 | +4 Shock Blade Captains+2 Major Shrapnel Launcher Captains+1 Major ServitorCaptains enter via two drop ships | |
Objective:Infiltrate Winter’s Lair
Location:Winter’s Lair
Just as you did in Scourge of Winter, head over to Ember Caves and fight your way into Winter’s Lair, which is a Darkness Zone in this Strike.
Objective:Fight through the Lair
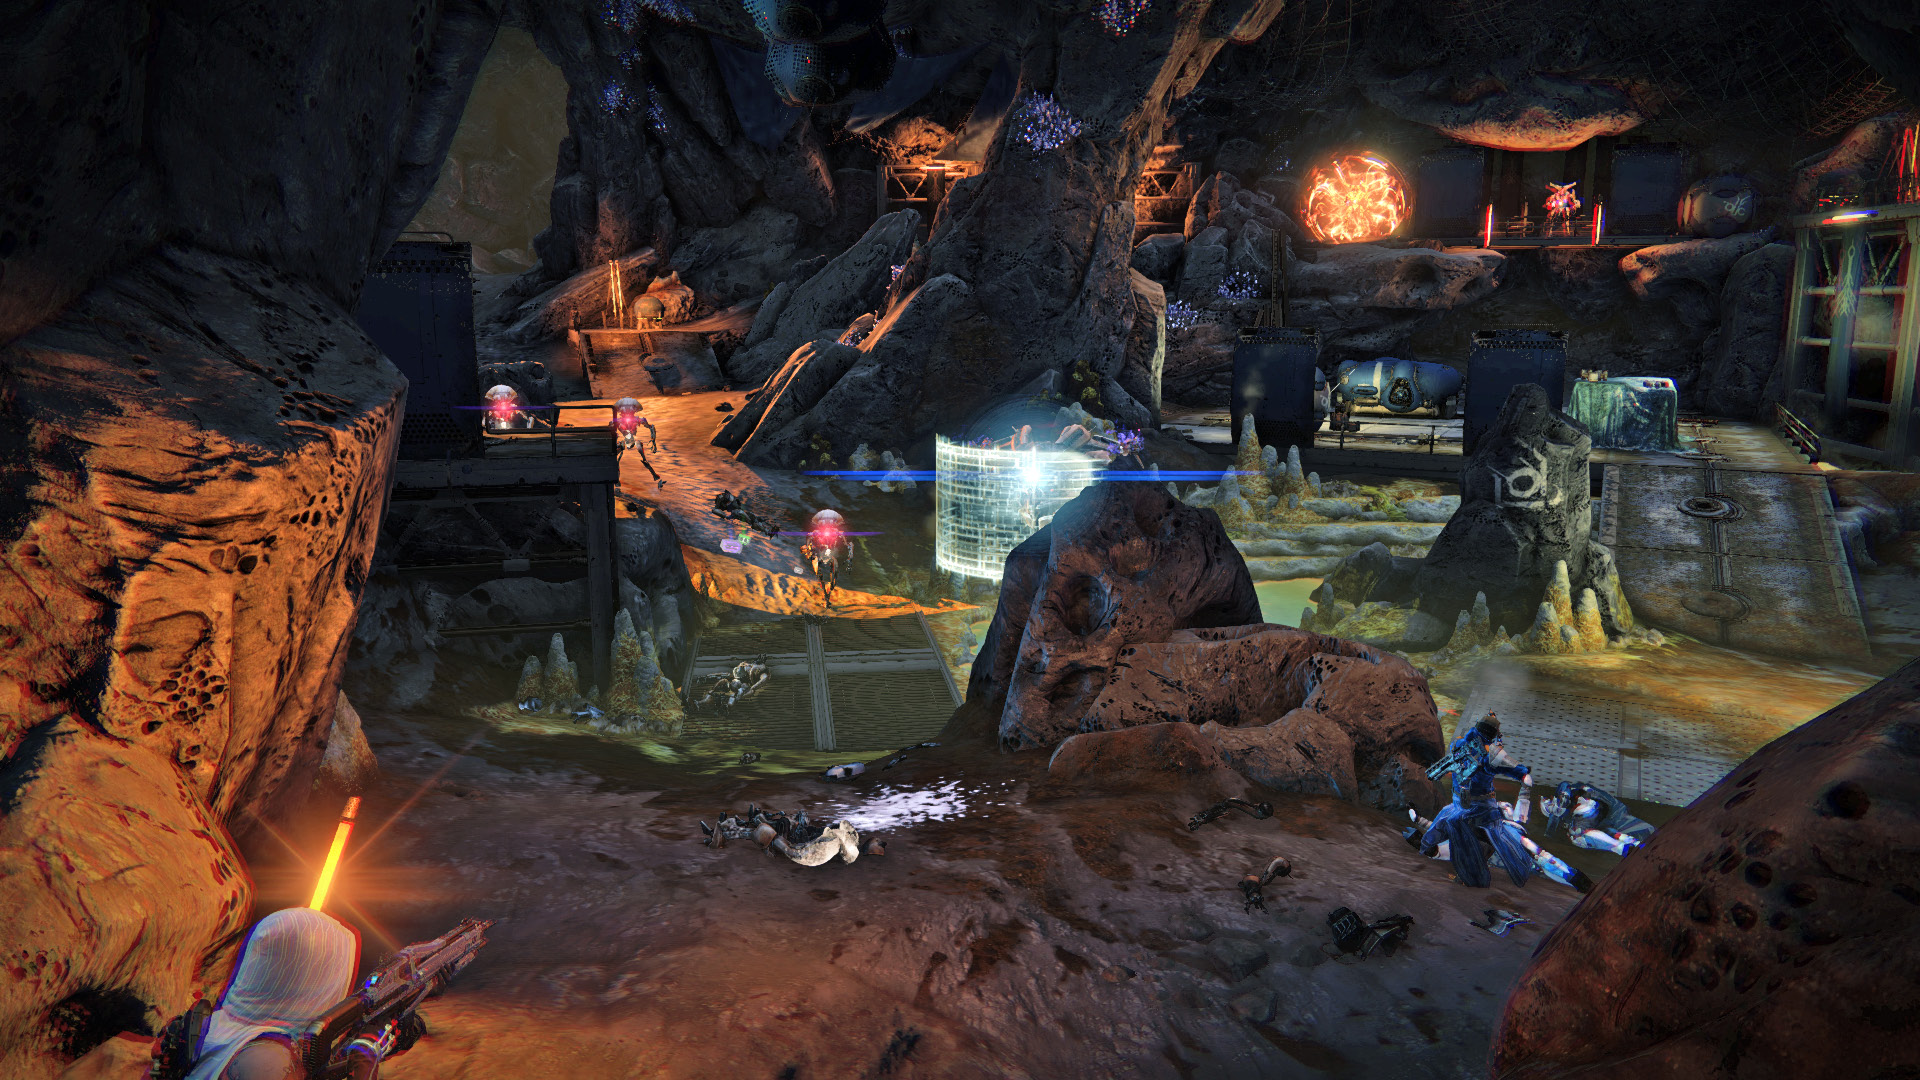
The Vex appear to be invading the Fallen lair. Fight your way into the cavern, where a Hydra surrounds itself with Goblins and Hobgoblins. Focus attacks on Hydra, because it can wreak havoc on the team if it’s left unchecked. Move up the dirt path to find Fallen defending against the Vex attack. Wipe out all of them as you move on to the Cinders.
Objective:Expel Enemy Forces
Location:The Cinders
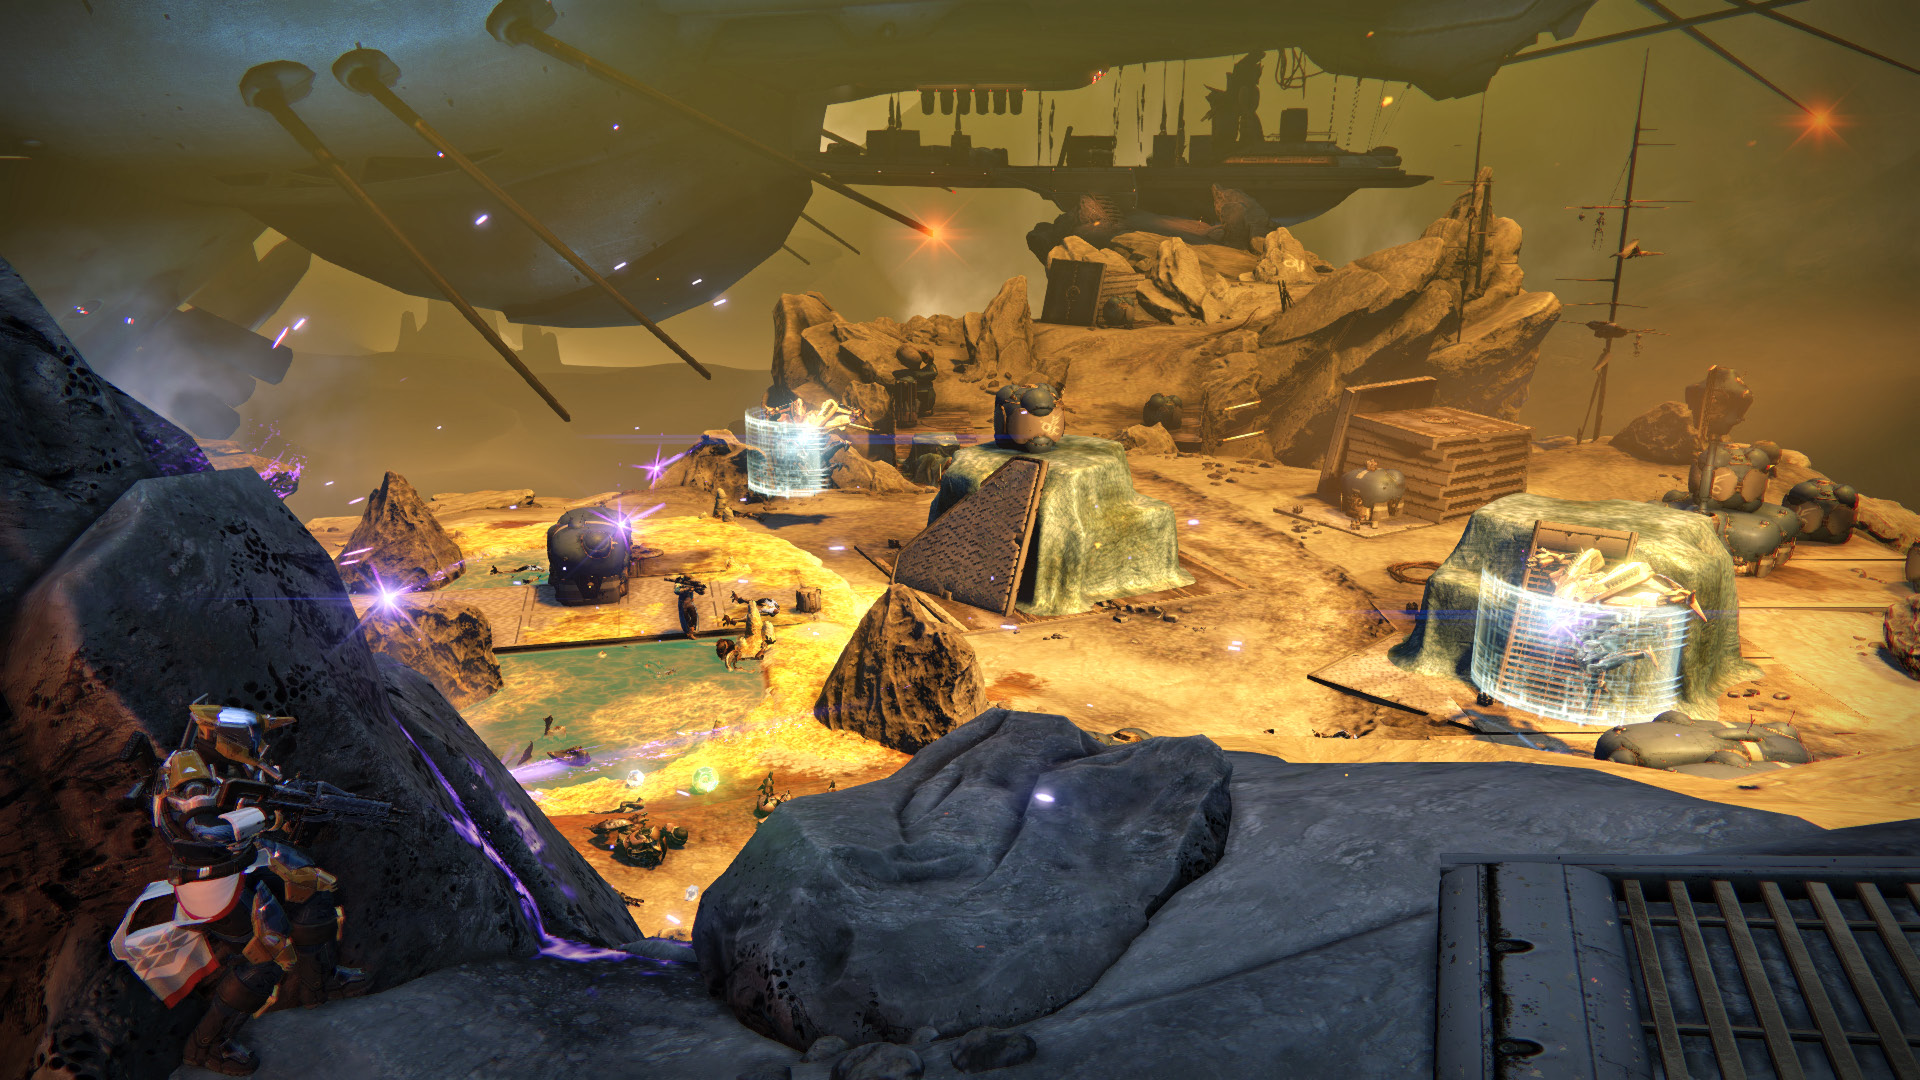
A skirmish between the Vex and Fallen forms a dangerous battlefield below. Equip a long-range weapon and thin out the numbers from the cliff above. Then move down the left path as you continue fighting both enemy races.
Objective:Breach the Hatch
With the enemy wiped out, move to the door and deploy your Ghost so he can get the hatch open.
Objective:Kill Them All
Turn around and brace yourself for a Vex onslaught. The first wave consists of Goblins and Major Minotaur. Equipping a Void weapon makes this fight much easier. Goblins and Major Hobgoblins pop in next. The final wave consists of two Major Hydras with a group of Harpies. Clear out the little ones before you focus all fire at a Hydra.
Objective:Track the Archon Priest
Location:Ash Coves
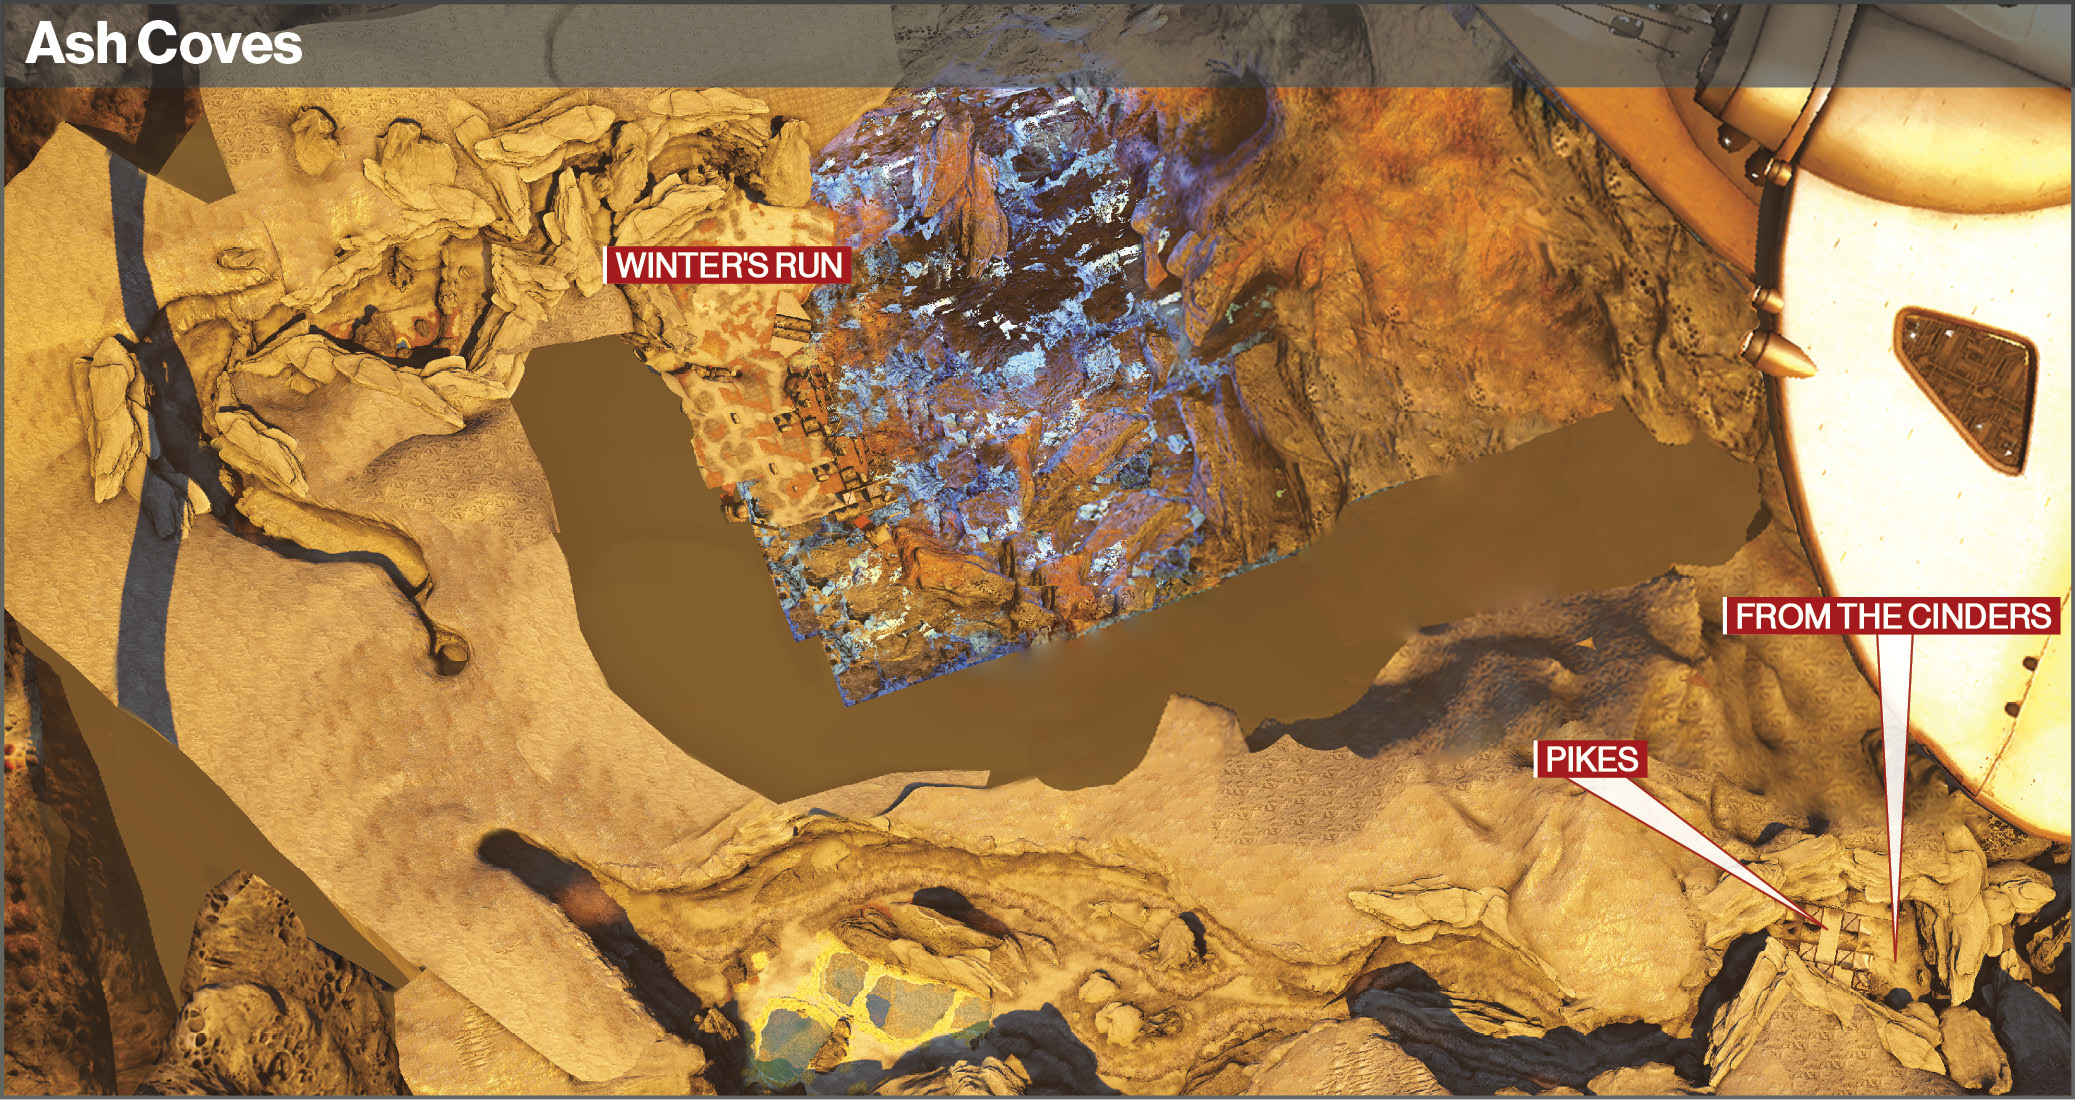
With the hatch open, follow the path until you reach four Pikes. Hop on and continue through Ash Coves. Use the cannons to mow down the Vex that get in your way. Protect your Pike as well as you can by dodging behind rock cover to avoid incoming fire. Two Major Hydras stand guard further down the path. Take them out before you dismount the vehicles and proceed ahead.
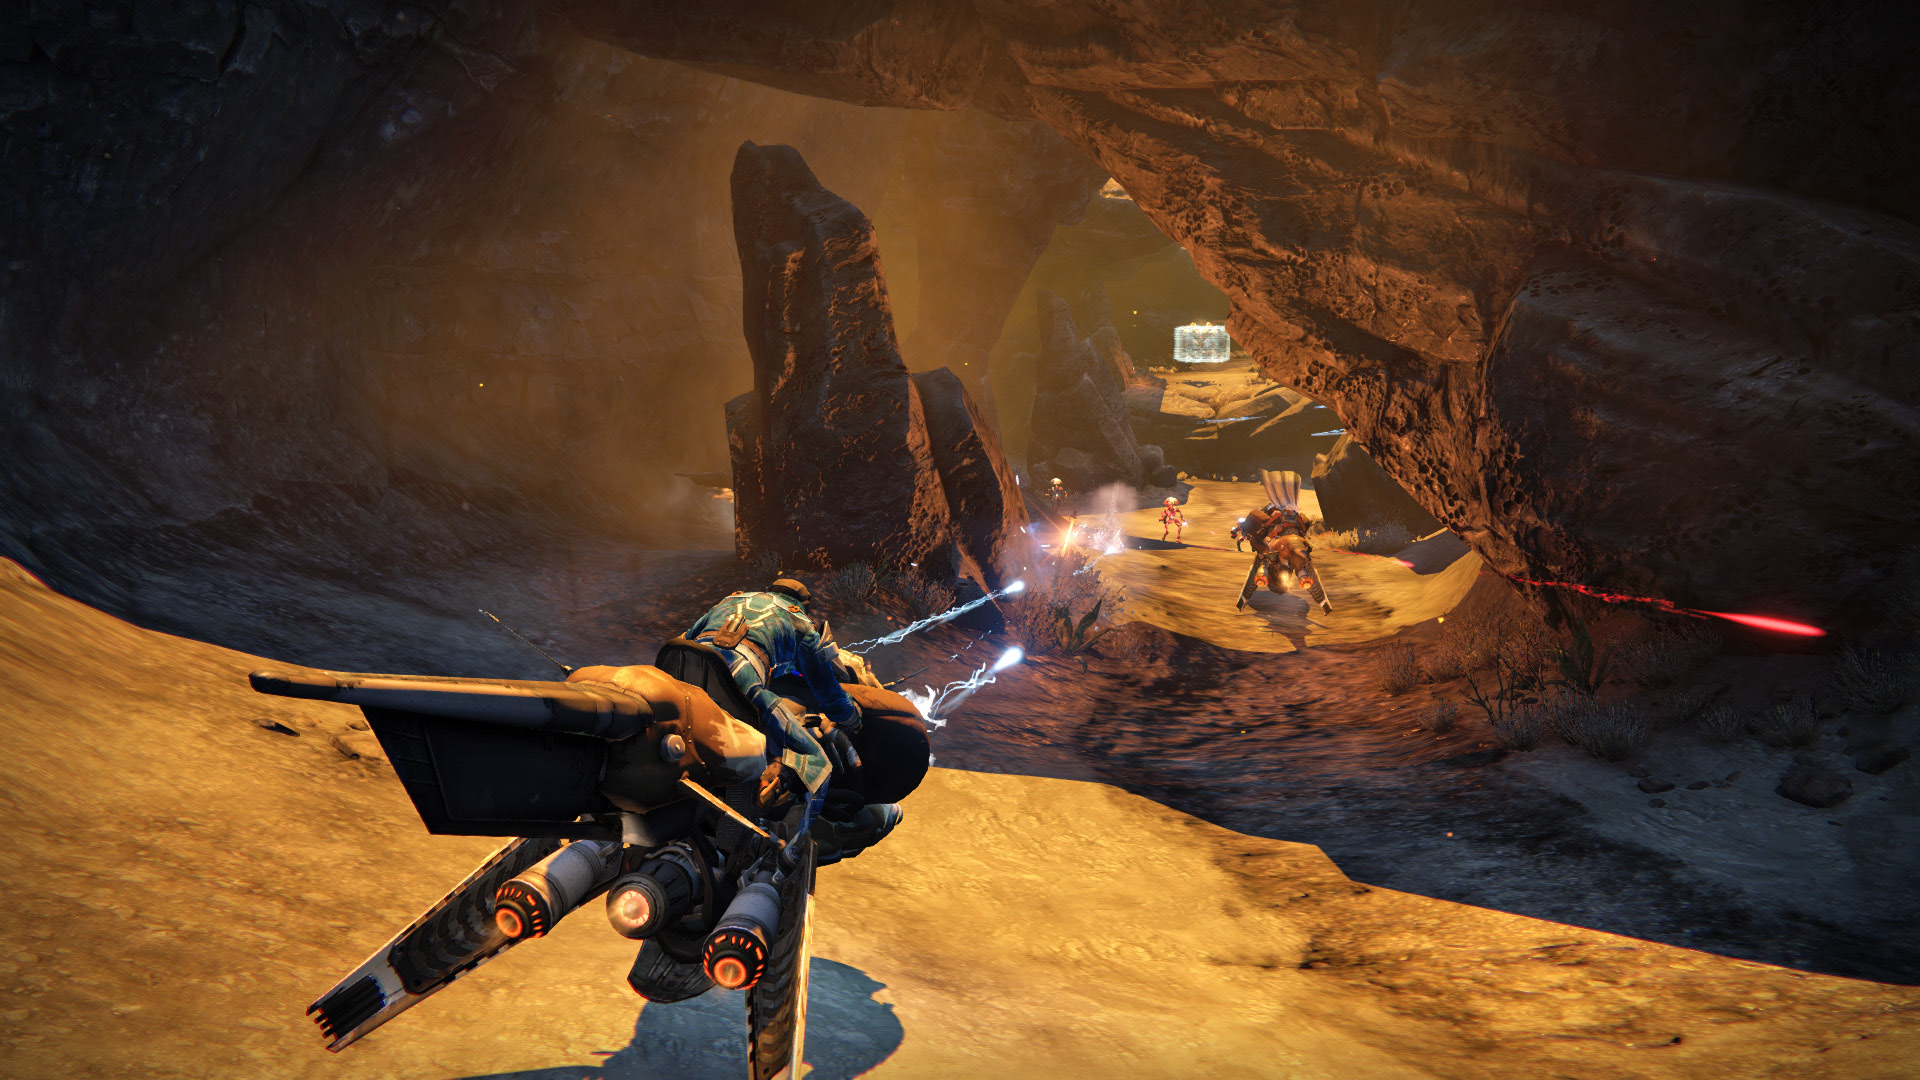
Objective:Kill the Fallen
Location:Winter’s Run
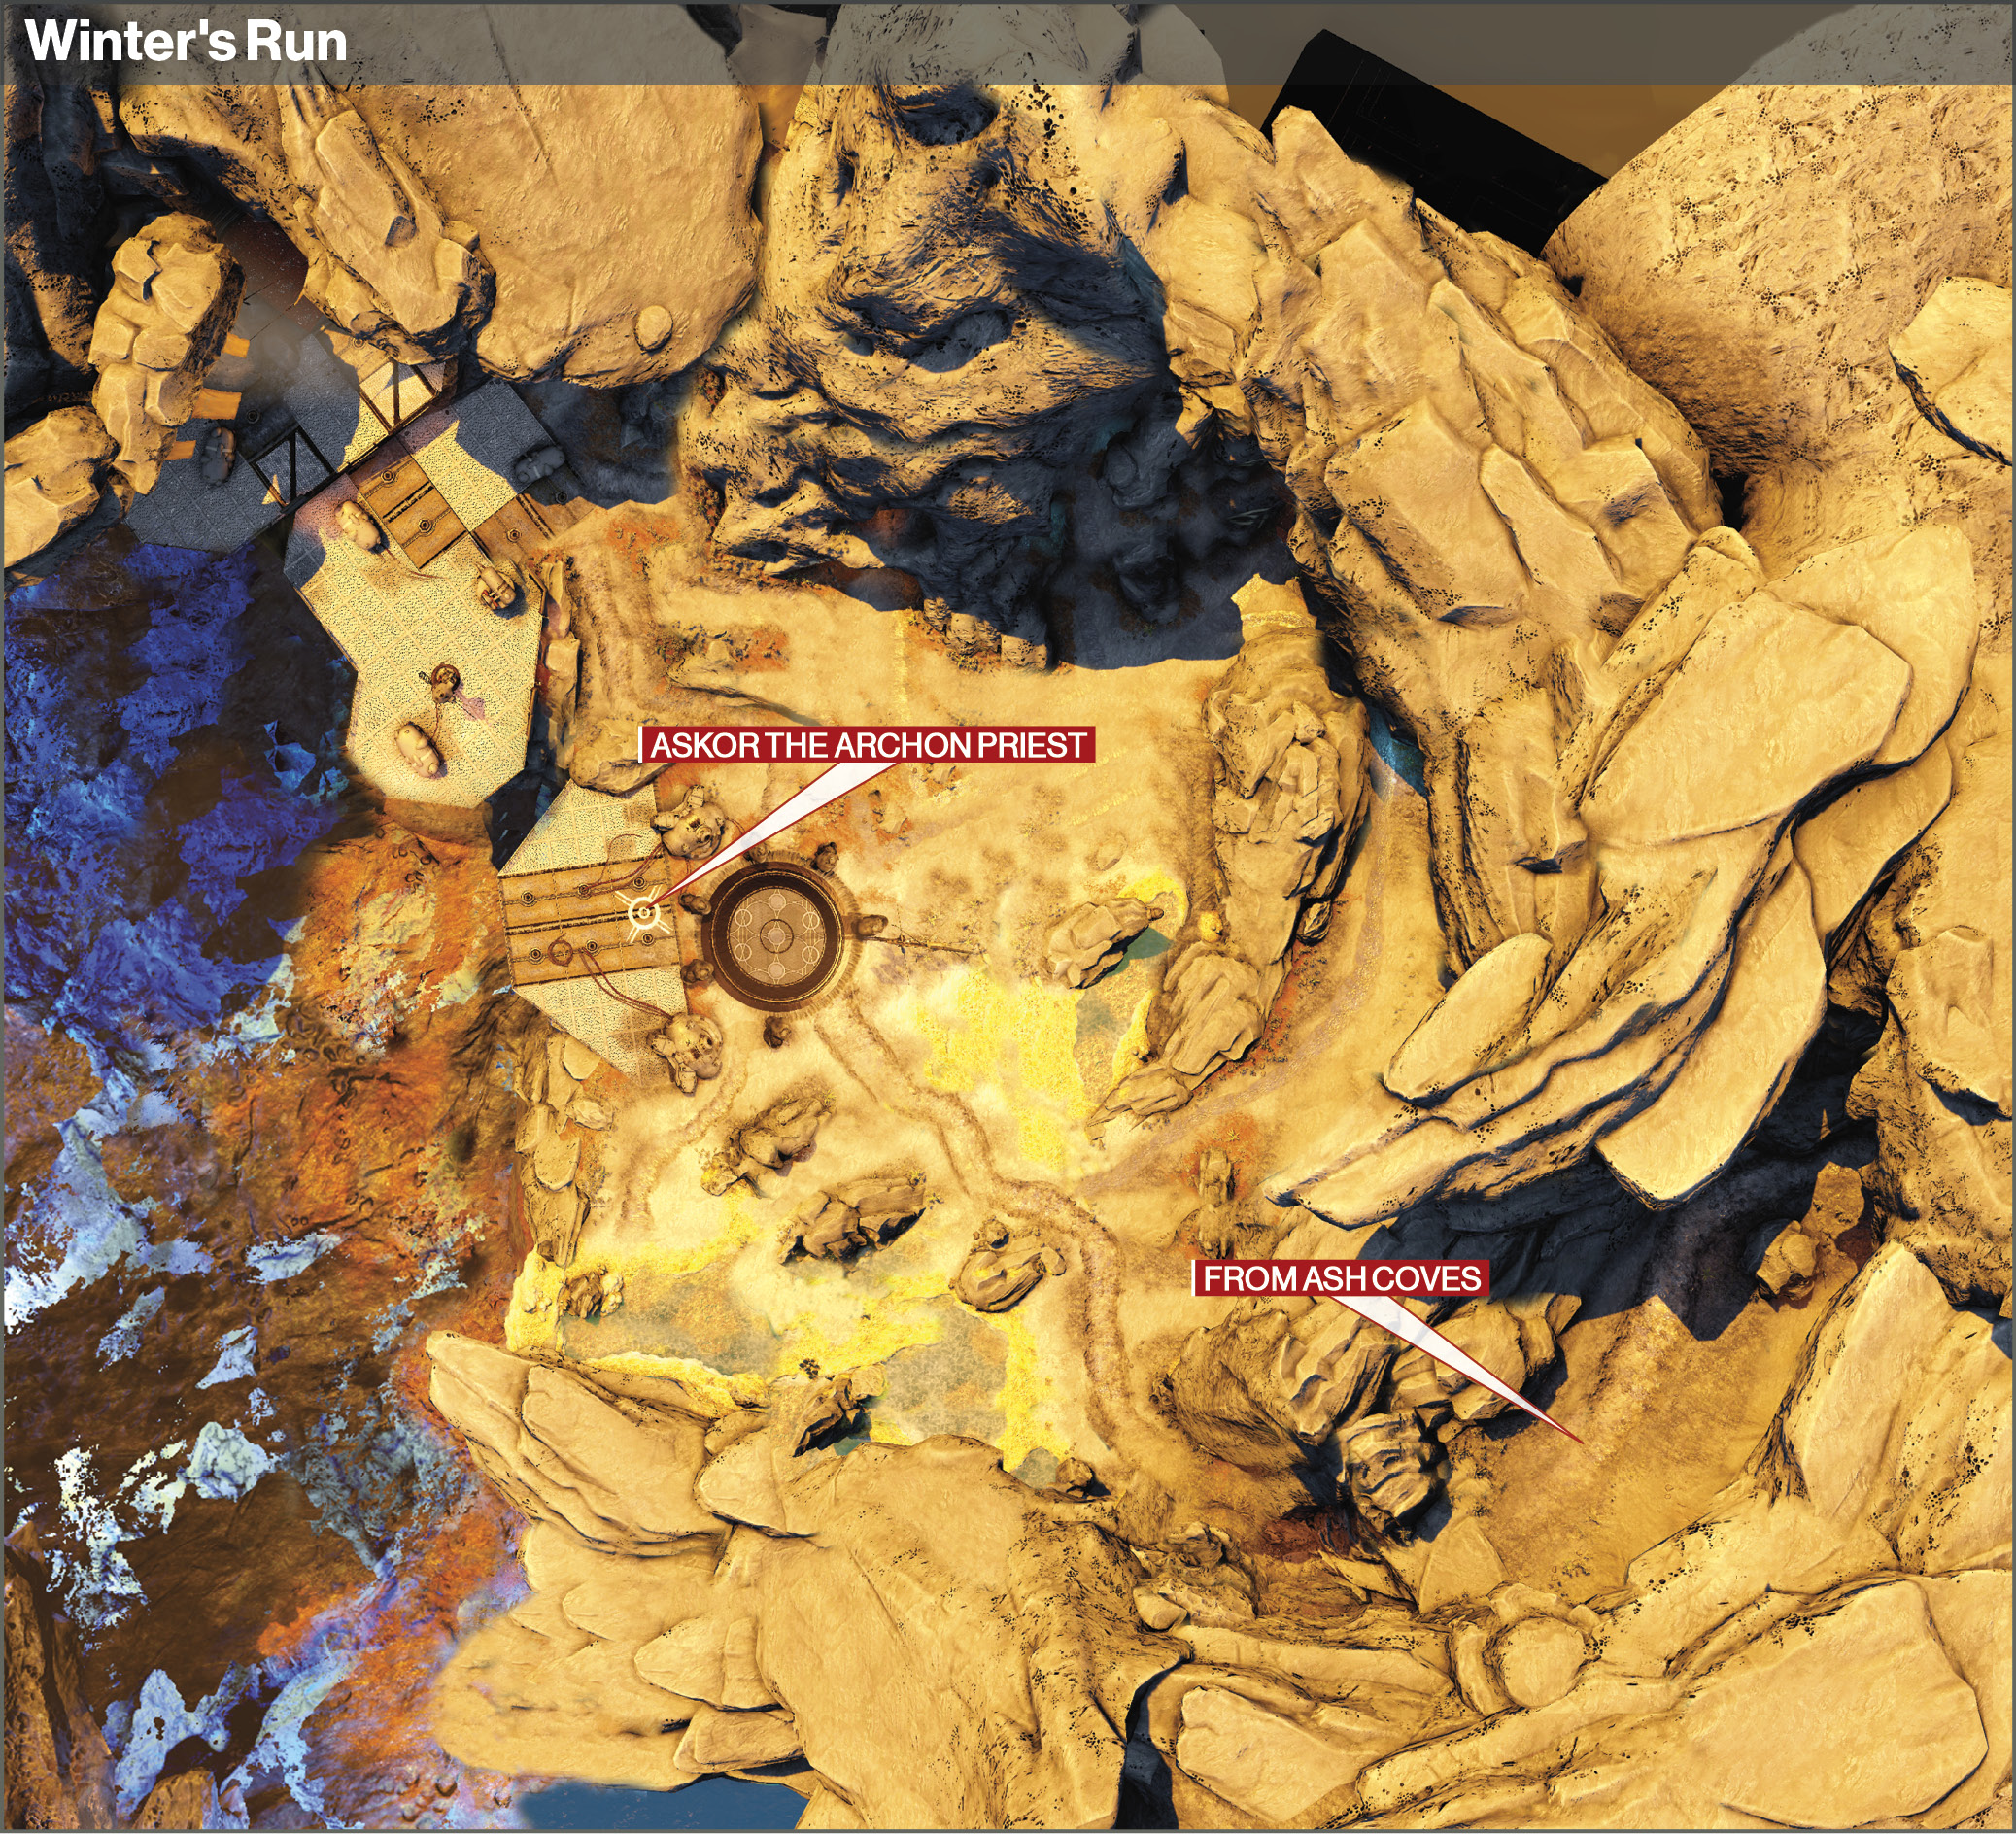
At a clearing, Fallen battle a small group of Vex. Eliminate the two sides, including a Major Captain. More Fallen show up. Continue taking them out until the area is void of the scavengers.
Objective:Release the Archon Priest
Eventually, the prison cell opens and releases Aksor, the Archon Priest.
Objective:Slay the Archon Priest
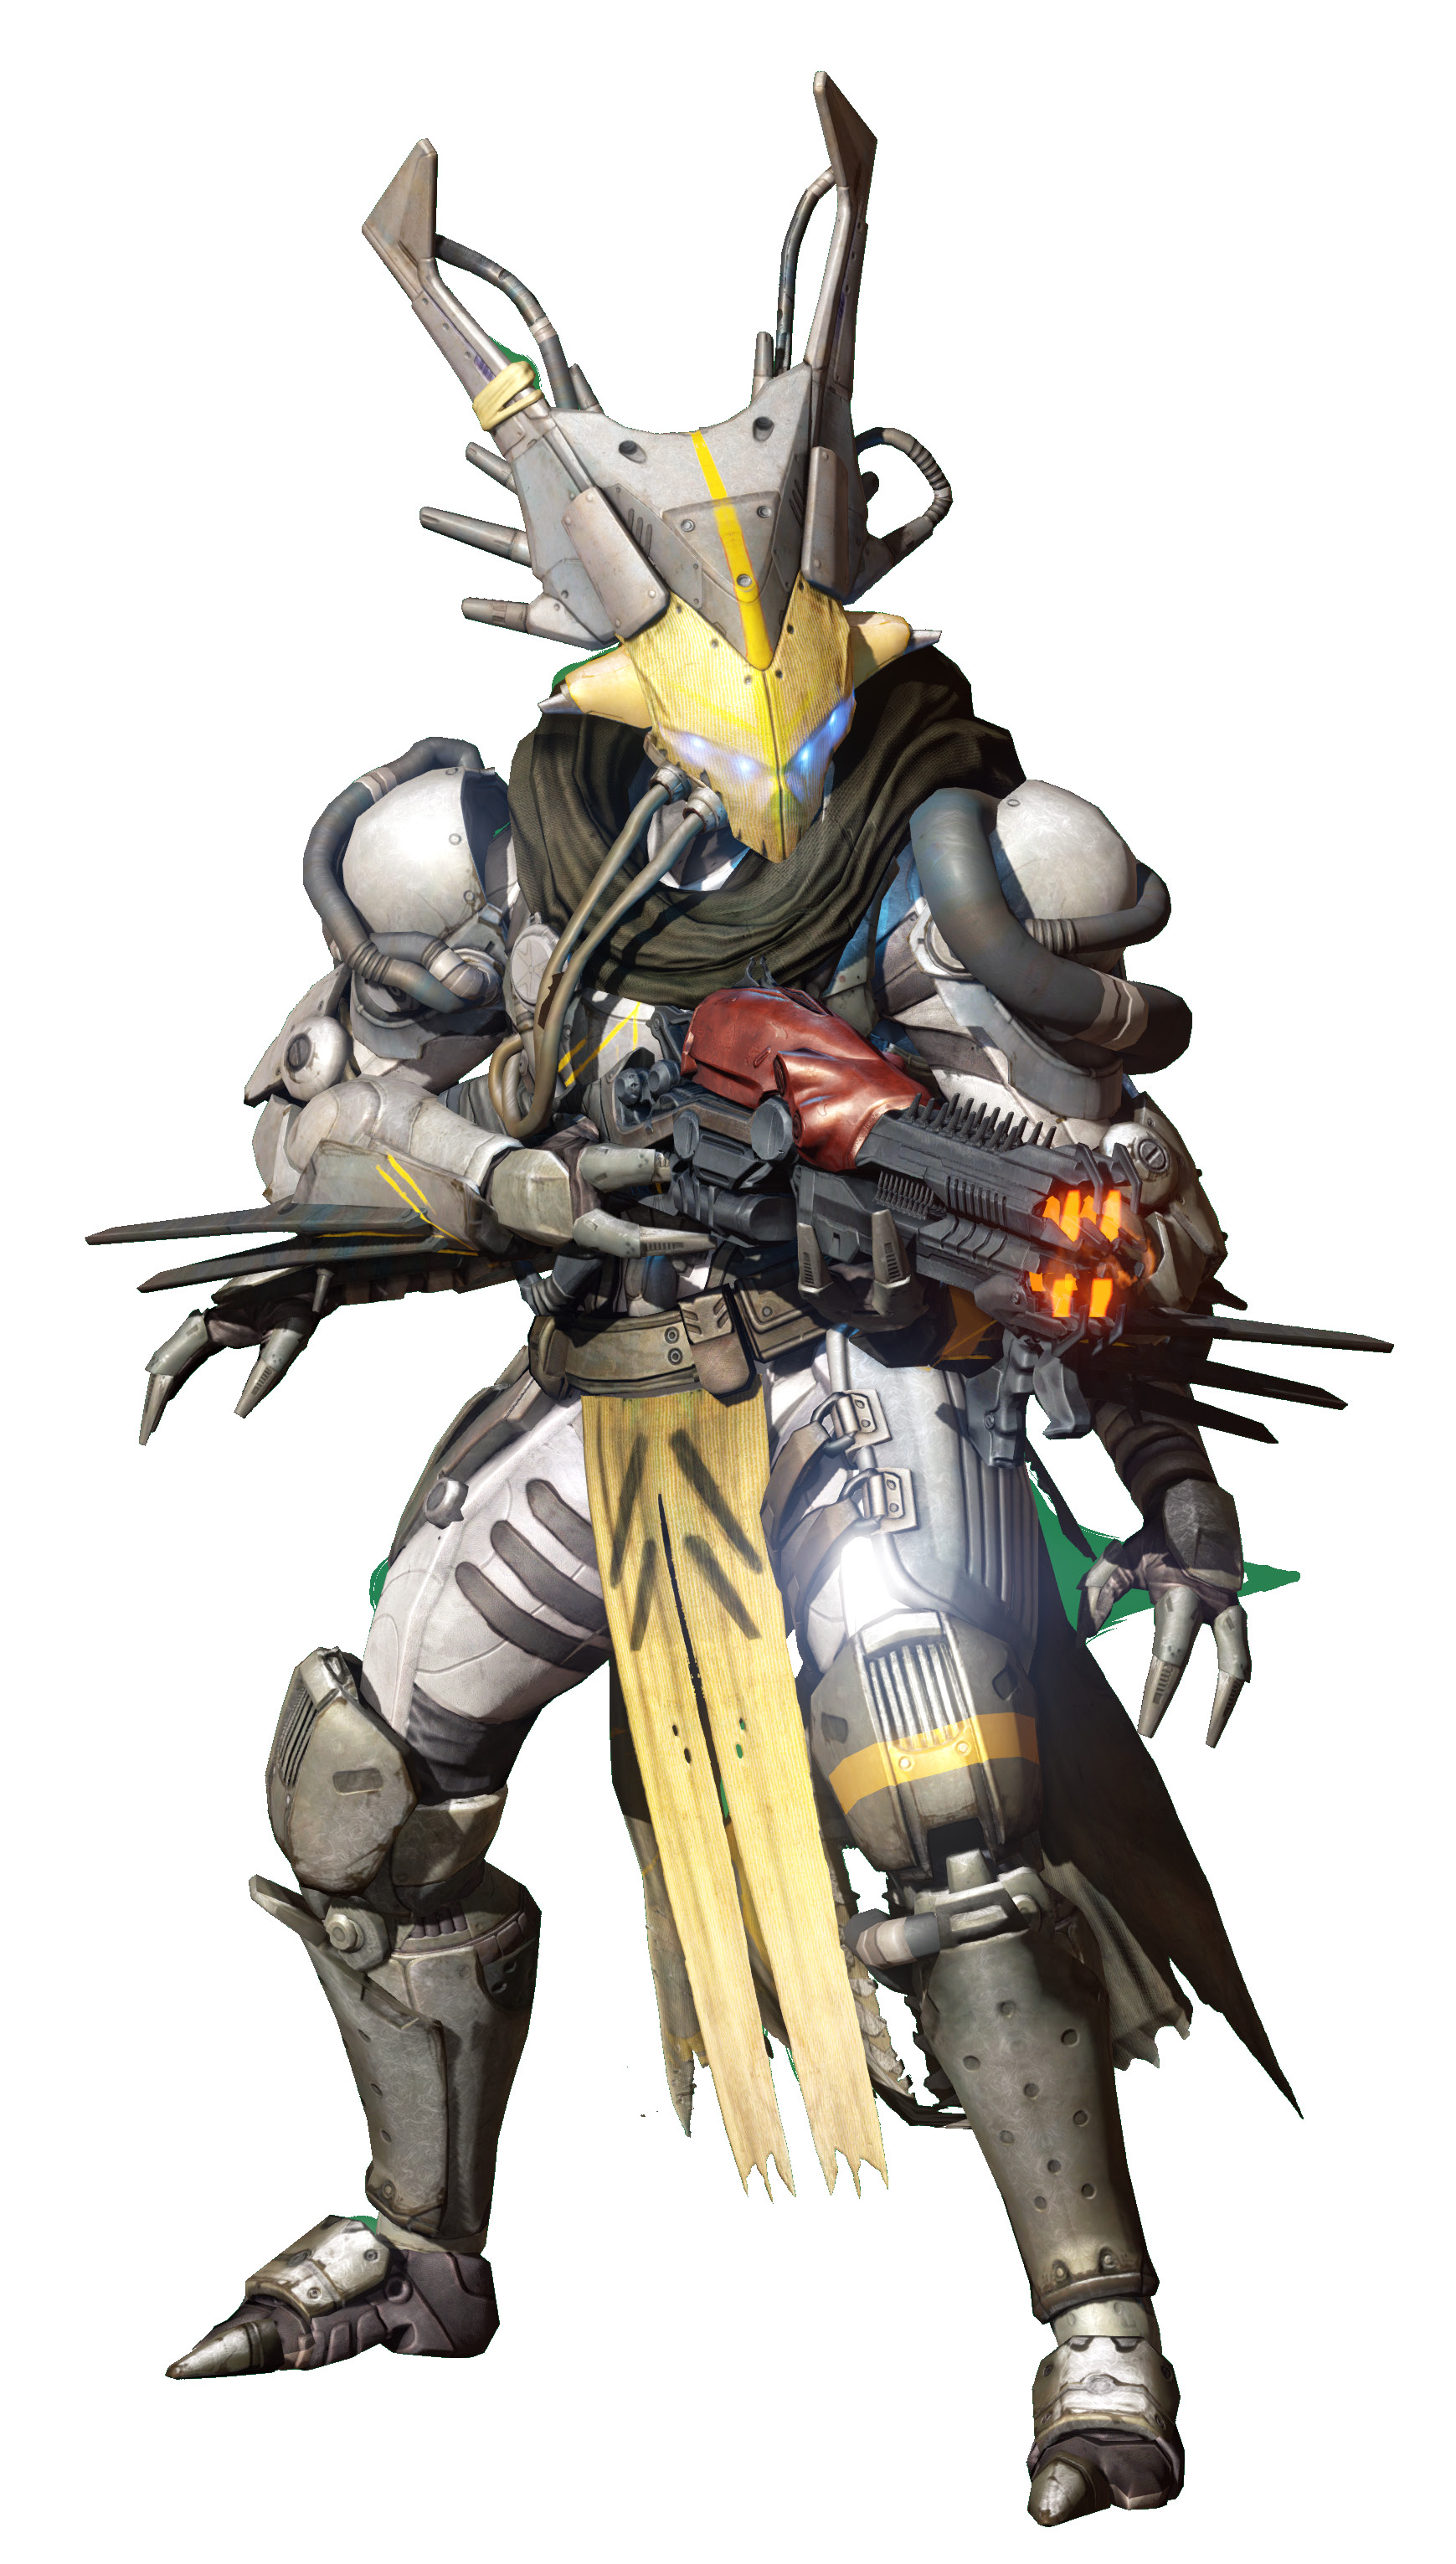
He is an Ultra Captain with no shield, but a whole lot of Vitality.
Aksor, Archon Priest
Weak Spot:Head
Attacks:Shrapnel Launcher, Foot Stomp
Attacks
Shrapnel Launcher:
This is the standard weapon for Captains. His gun shreds through players, so be careful taking him on out in the open.
Foot Stomp:
As with all Ultras, he also has a pushback attack. Get too close, and he stomps his foot, sending you flying.
Strategy
The fight takes place in a mostly open, outdoor area. Caves on the side offer some protection, while a high overlook platform gives you a nice sniping position—however, you never have much time before an enemy finds you. Aksor pursues his target everywhere on the map. A long-range weapon can come in handy occasionally, but your best bet is a good auto rifle or shotgun.
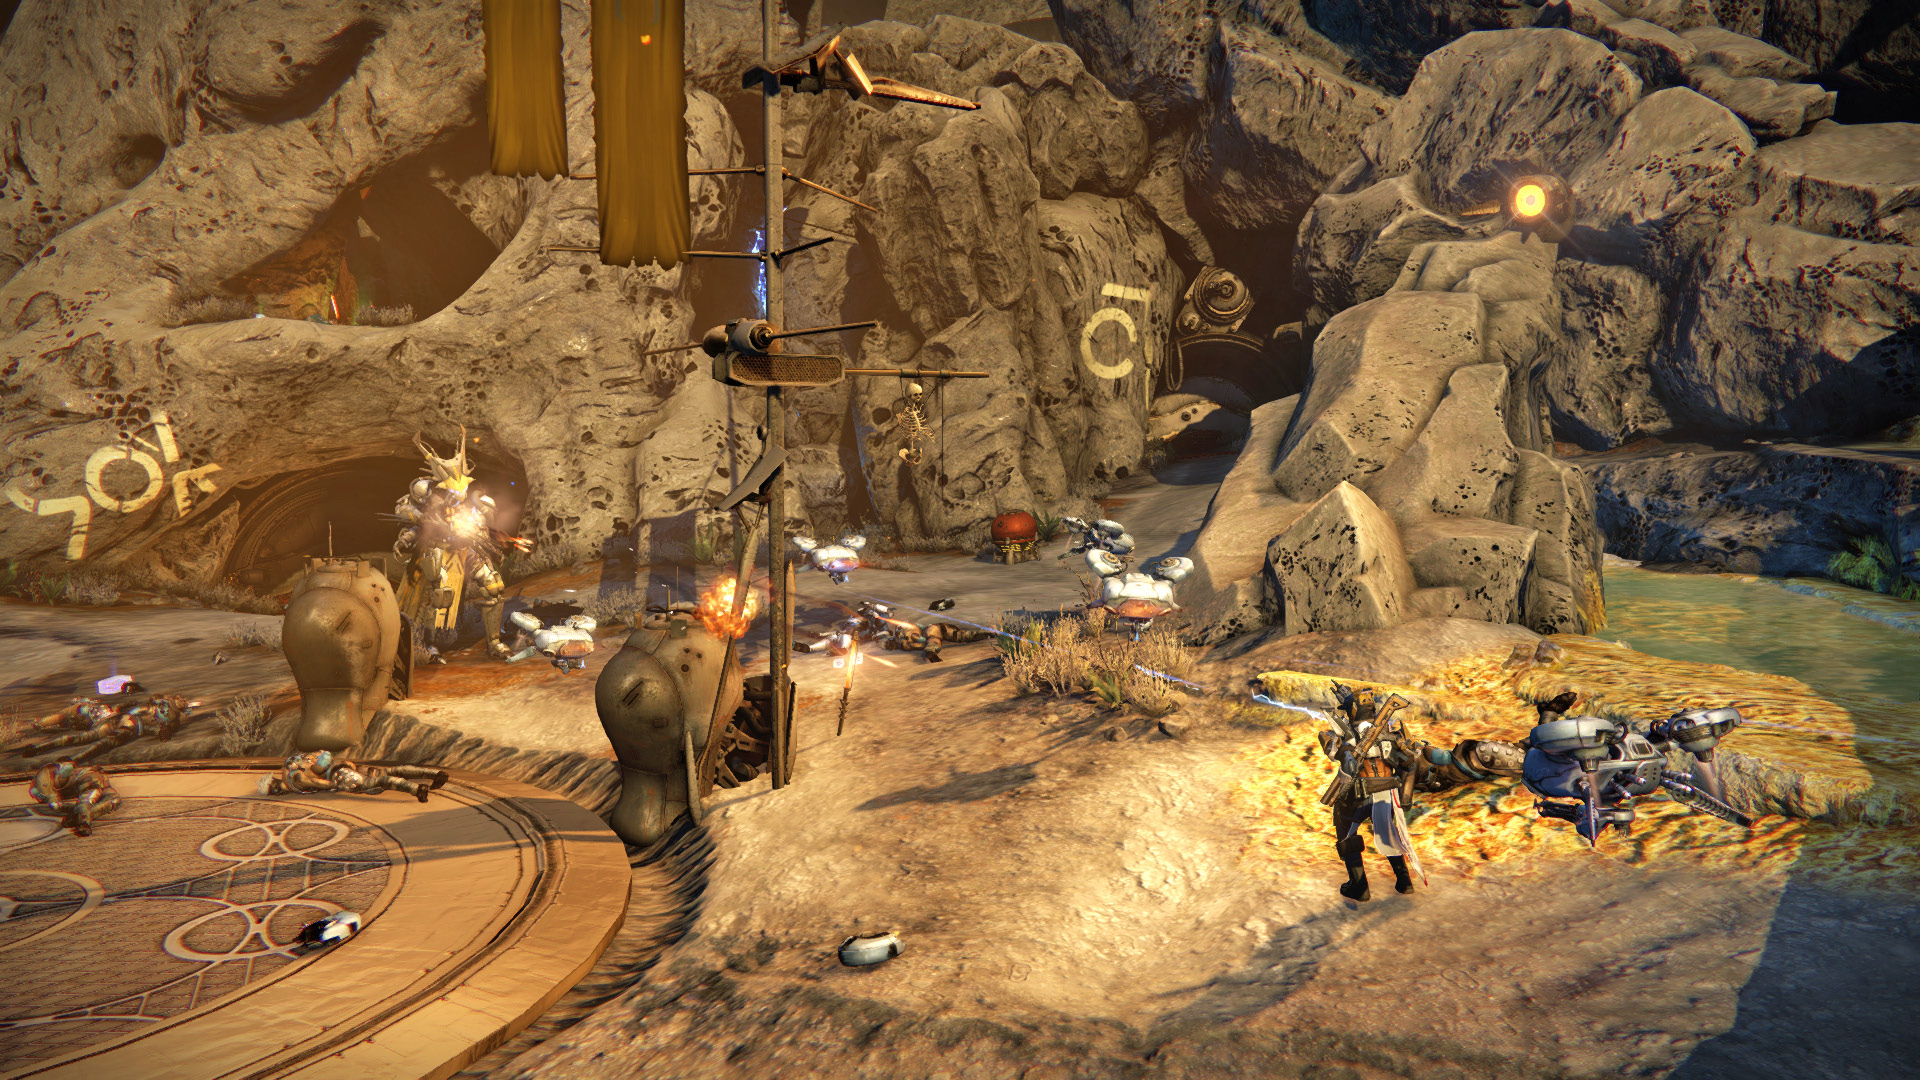
Be ready with your big guns when Aksor emerges, but note that he’s immune to attacks until he starts to walk. The Captain can teleport, which he does to not only escape danger, but also to close long distances.
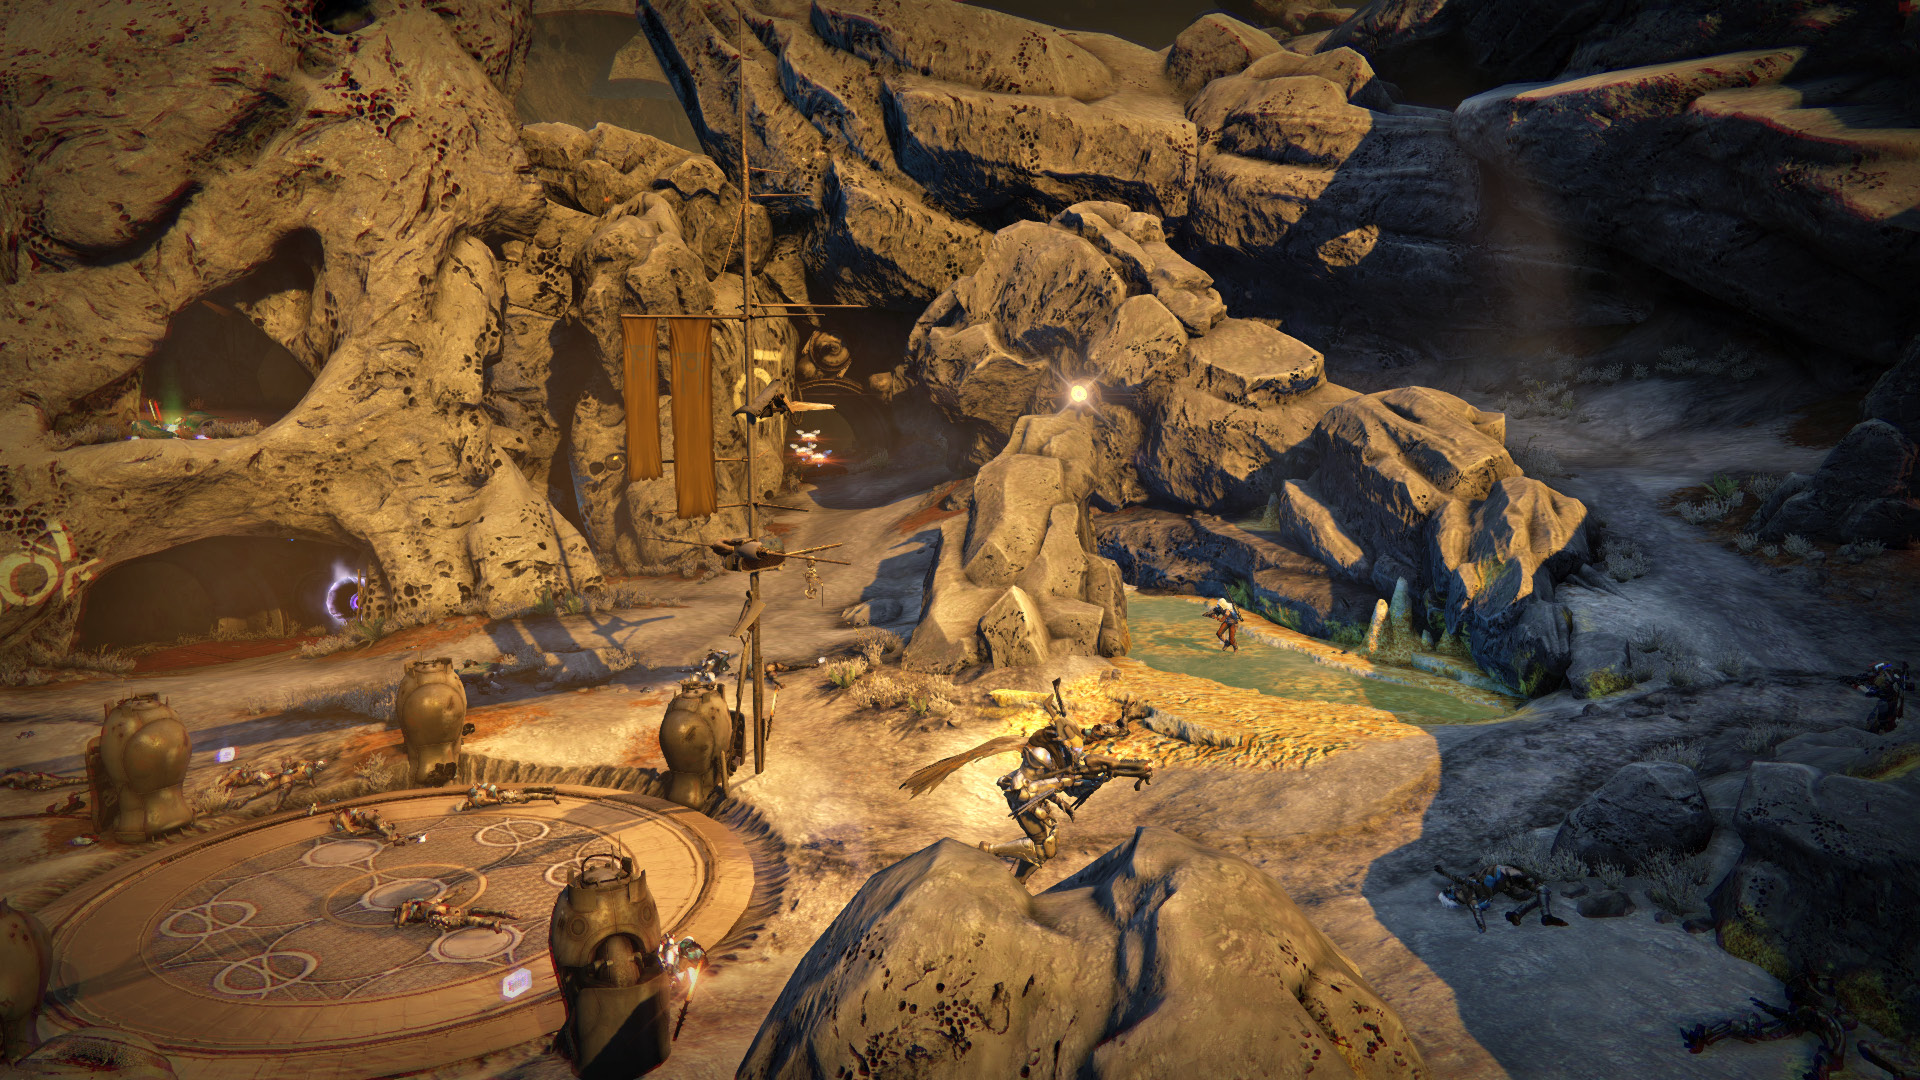
Target Aksor’s head to use your ammo efficiently. Whenever they’re available, use your super and Heavy Weapon on the boss. A variety of Fallen join in throughout the scuffle. At first, it’s just Shanks. Quickly reduce their numbers, because they can become overwhelming. A Servitor comes in next. Eventually, sniper Vandals make things difficult in the outdoor area, while Stealth Vandals sneak up on you wherever you are. Keep moving to avoid being surrounded, and always keep tabs on the boss. It’s easy to get distracted fighting a group of minions as you back into the big foe’s path.
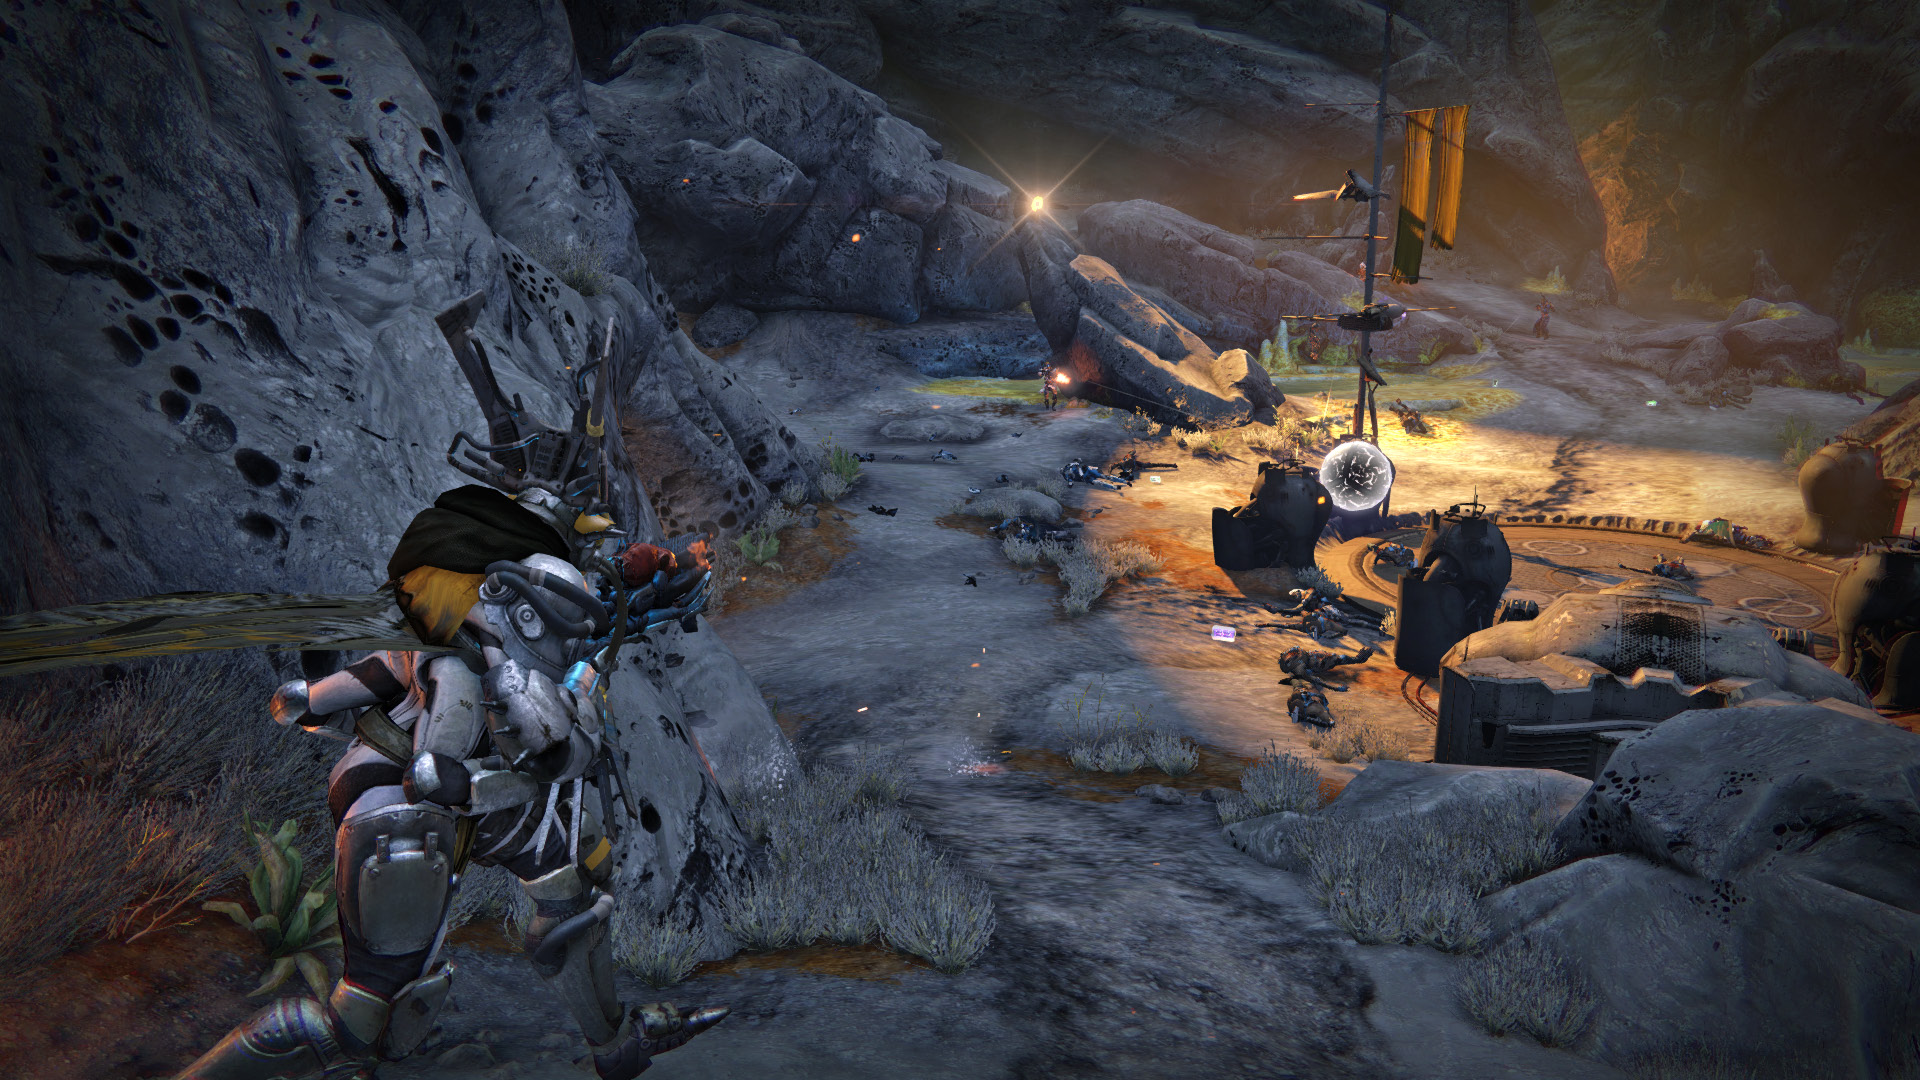
Be alert for friends in need. If you become the last Guardian standing, stay alive until a teammate respawns, unless you can safely revive a player. Continue to whittle down the boss’s health until you finally defeat him.