
Destiny Signature Series Strategy Guide Crucible
MAP: Anomaly
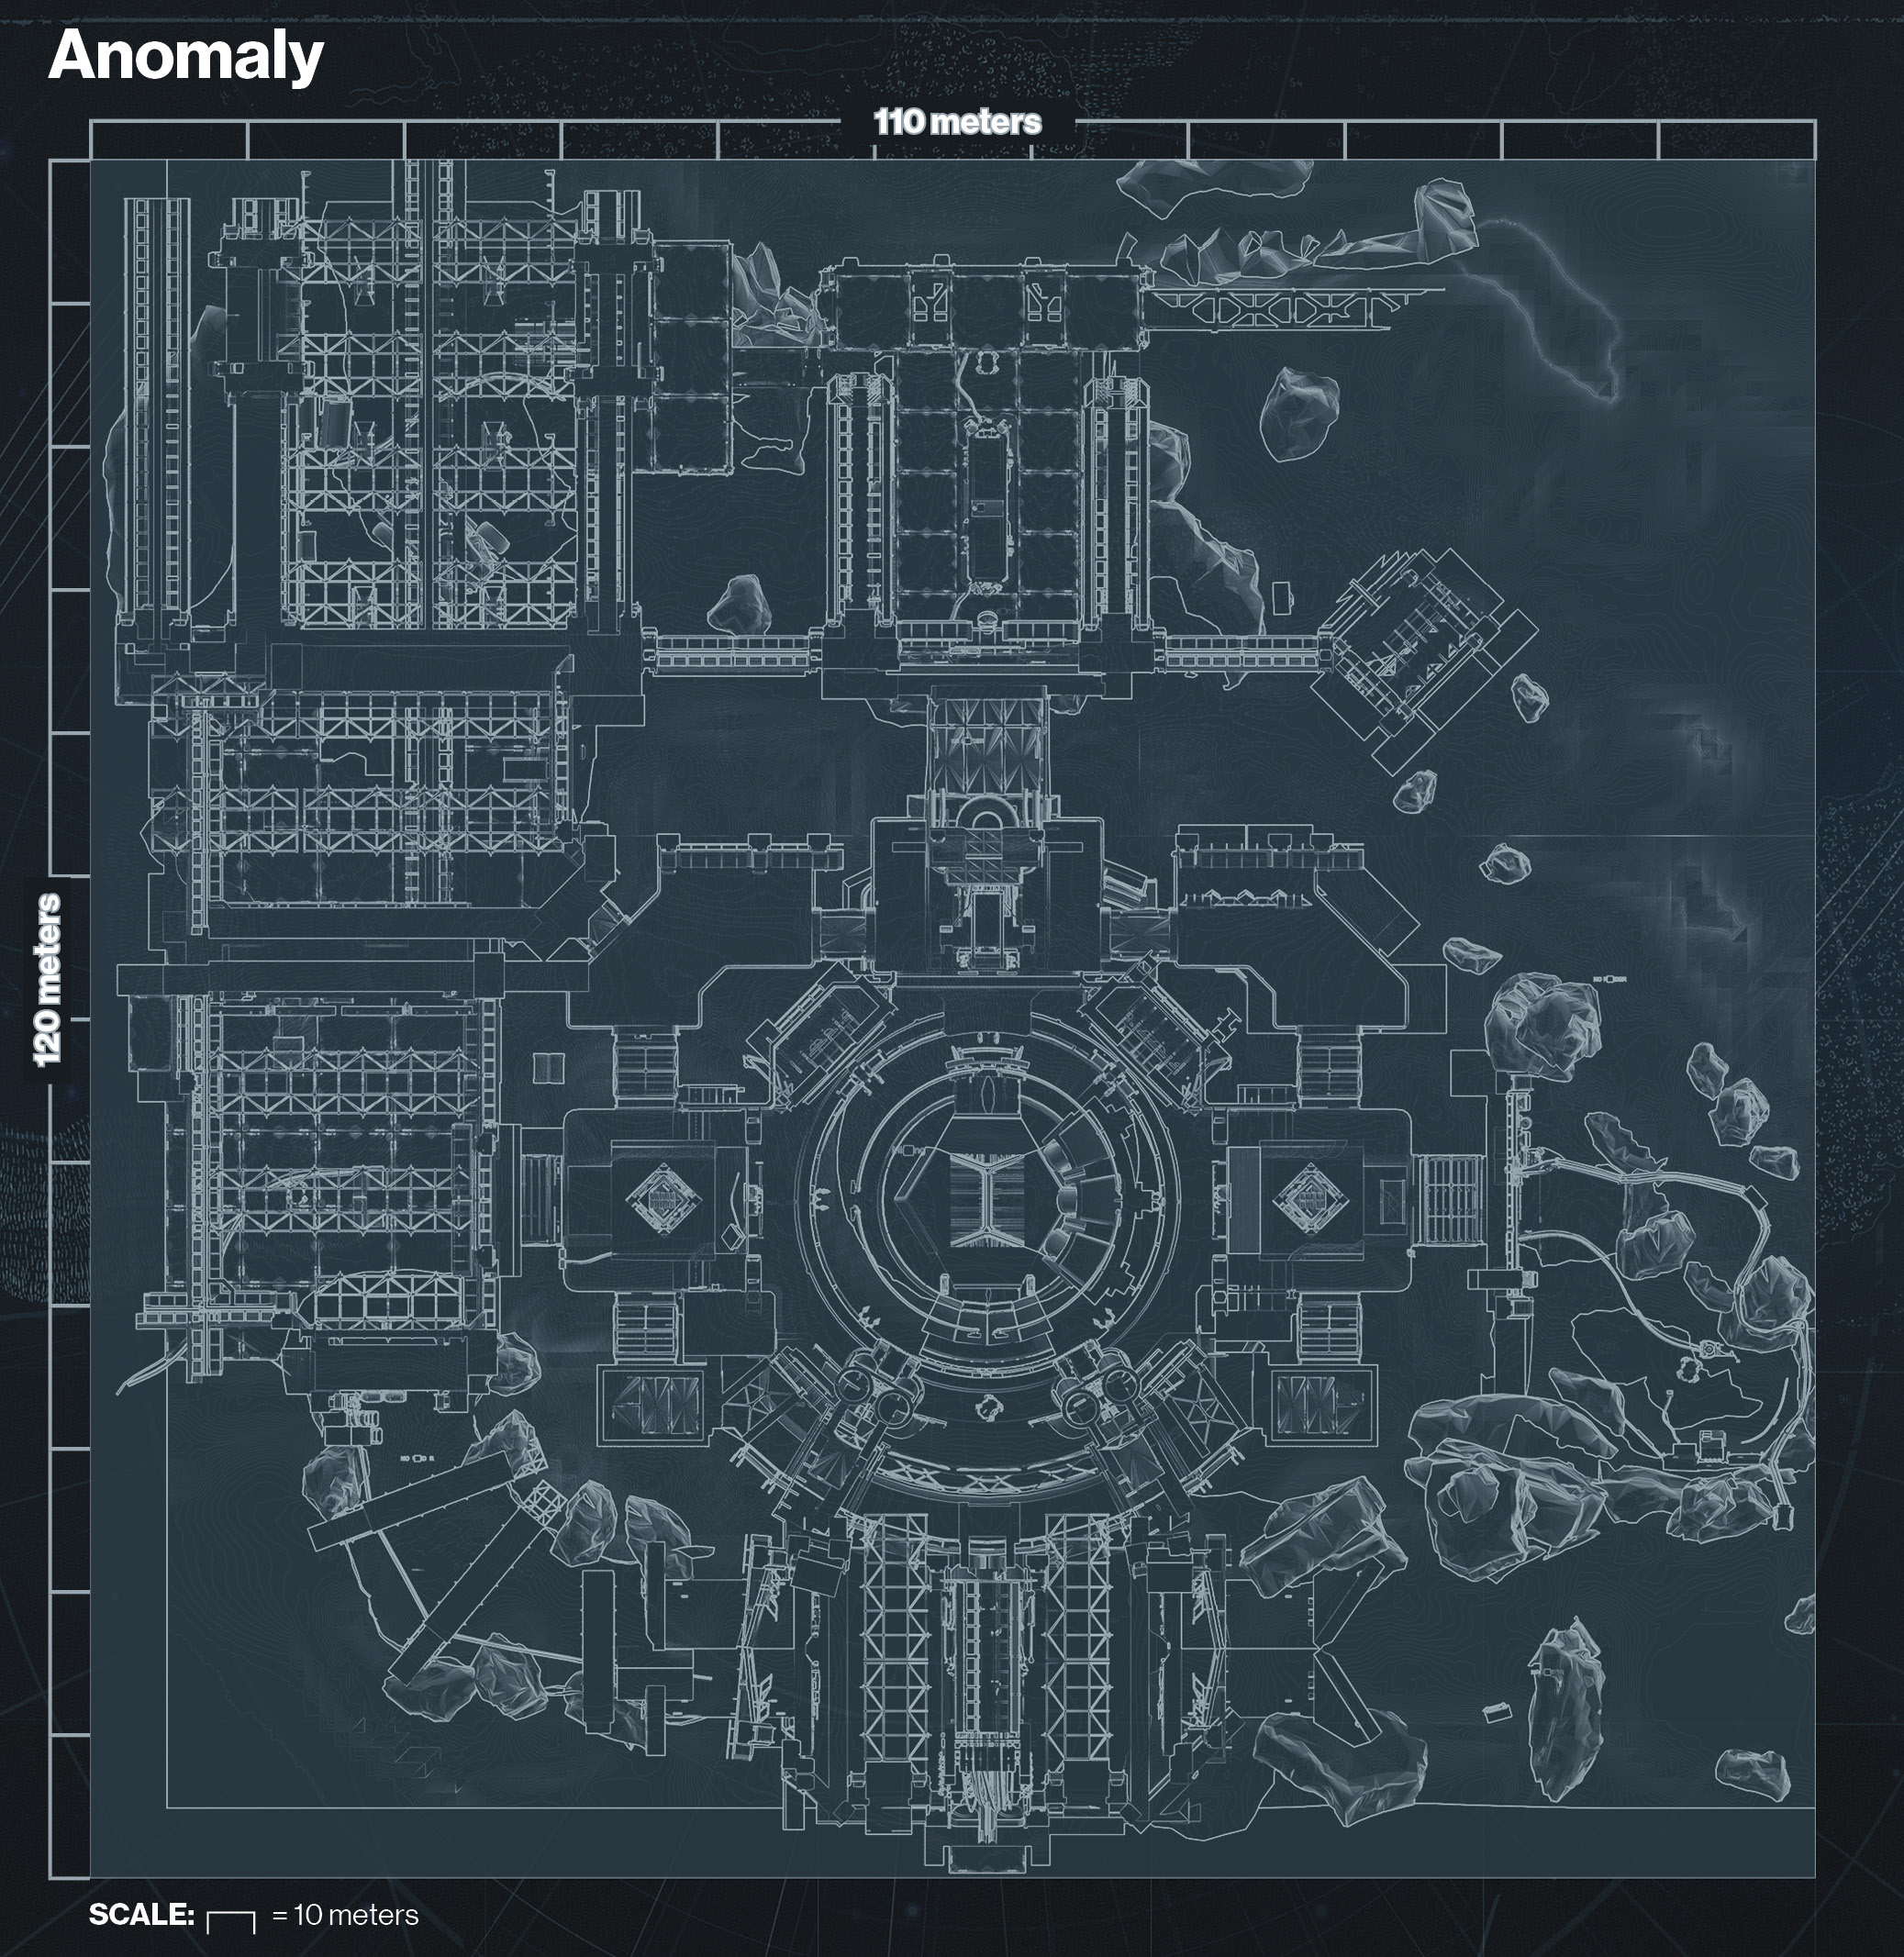
Layout

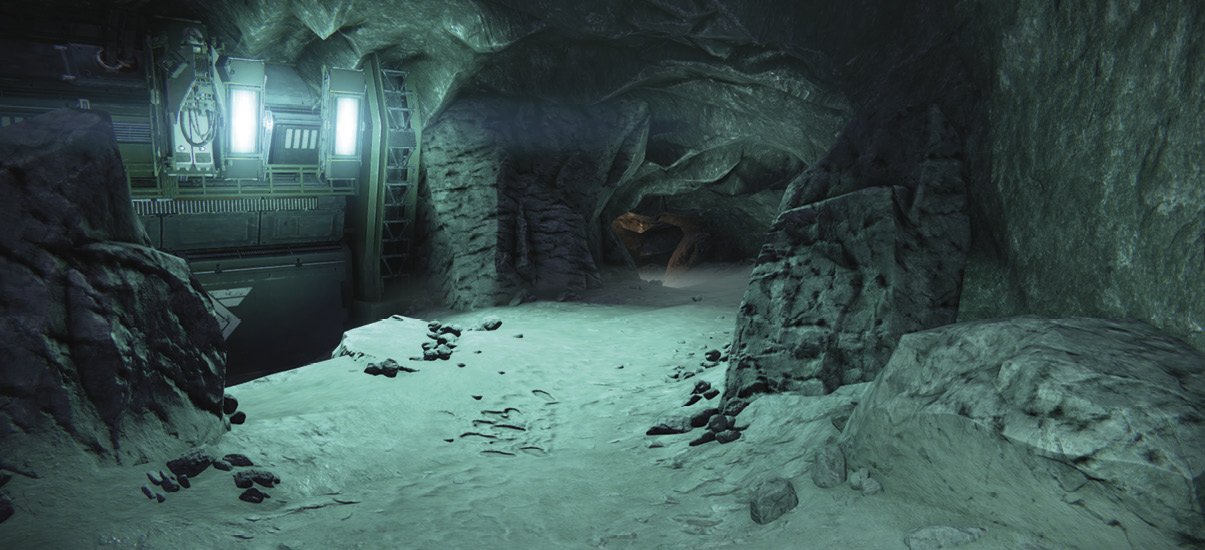
A small, roughly symmetrical map, Anomaly takes place on Earth’s Moon, set at a research base. Within the facility, old but still functional machinery analyzes… something in the center of the base. But you should be more concerned with the other Guardians out for your blood in the tight hallways. Anomaly consists of two “rings,” one set within the other.
The innermost ring is the area immediately surrounding the artifact in the center of the base. The outer ring stretches through hollowed out but unused caves at the rear of the facility and a loading dock area at the front.
Several passages connect the two rings, and you can also move through the center below the artifact itself (though being situated in the center of the map is generally a bad place to be).
Shooting across the center is possible, but it is difficult to score killing shots, and focusing across the middle leaves you open to being flanked while you are distracted. Picking off a wounded target or helping a teammate during a fight is worthwhile, but you generally want to avoid going after a full-health target with anything other than a sniper rifle.
Tactics
Anomaly is a mix of short- and mid-range combat, and it is rare not to have at least one target on your Motion Tracker at all times. It is possible to play a slightly longer-range game if you stick to the outer ring, but this isn’t always easy depending on the game mode you are playing.
The inner ring can provide you with a quick route from one side of the outer ring to the other, but be wary of conflict in the narrow halls and tight spaces around the artifact. Bring your close-range weapons, and always be ready for face-to-face melee encounters.
If you choose to haunt the outer ring, it is possible to guard the approaches to your position with long-range weapons, often giving you the jump on any opponents who are moving swiftly and are not aware of your presence.
When fighting in either the inner or outer ring, position yourself near one of the “bolt holes” that travel between the two rings. You can sometimes use these to escape an unfavorable situation, but just be careful that an enemy using them doesn’t ambush you.
The inner ring is a high-conflict zone in general, so be wary of traveling through it unless you’re intentionally seeking out risky combat. Getting jumped shortly after you end a fight there is common, as is interference during a fight.
Another point: be watchful for multi-kill opportunities, as the narrow halls and transition points can cause traffic jams. Make sure it’s you hammering the enemy team with supers or heavy, and not the other way around.
Motion Tracker
In the outer ring, it is fairly easy to determine where an enemy is located via the Motion Tracker, but on the inner ring, don’t get overwhelmed if your Motion Tracker lights up and makes you feel surrounded. You probably are surrounded, but foes outside the inner ring can’t necessarily harm you.
Keep your eyes on the screen while you move through the middle, and only use the Motion Tracker to confirm if there is an enemy presence somewhere ahead of you as you transition from one area to another. You need every millisecond in the close-quarters encounters here.
Also, be careful about trying to be sneaky with crouching or cloaking in the interior ring. If timed well, you may ambush someone entering the center, but due to the high traffic, you also have a pretty good chance of getting shot while you’re squatting in a corner.