
Destiny Signature Series Strategy Guide Crucible
MAP: Firebase Delphi
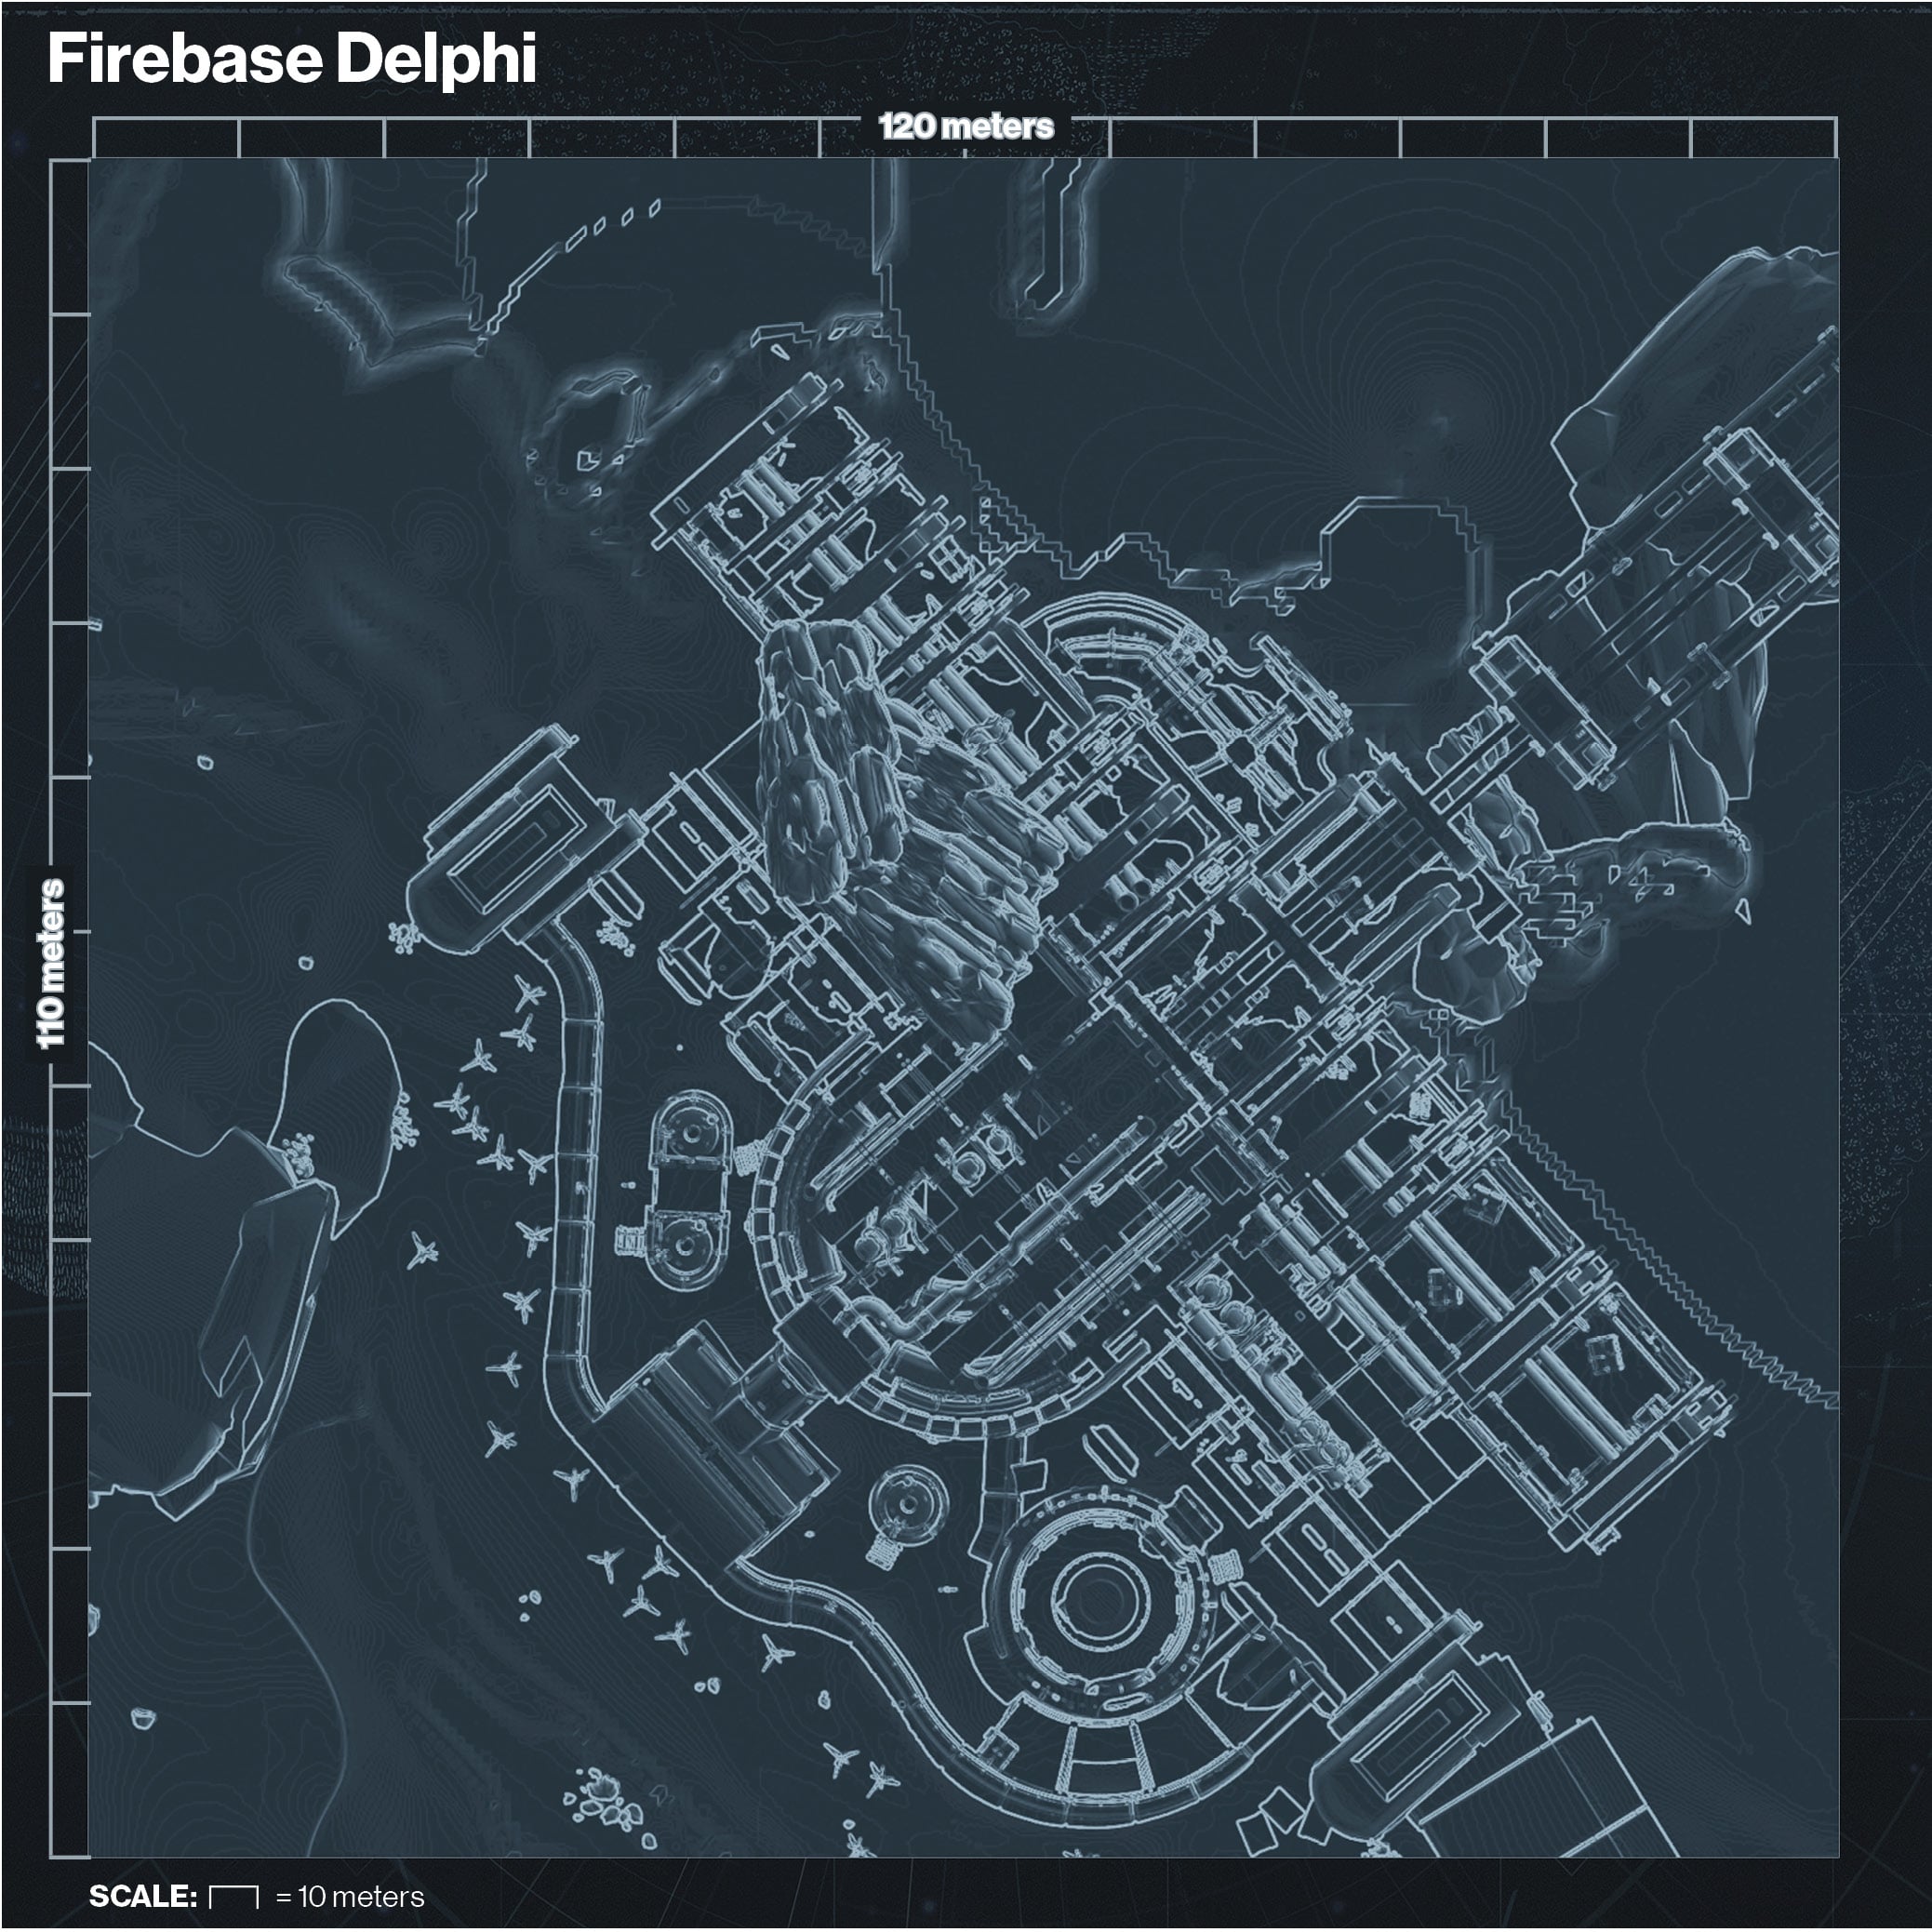
Layout
Set in a Cabal outpost, Firebase Delphi hosts a mix of combat within the facility and outside on the Martian surface.
Fitting for the Cabal’s size, the interior of the firebase is large, with huge hallways and doors forming a simple interconnected network.
Outside, there is a small bunker that players can enter, as well as a U-shaped arc of terrain that stretches around the front of the base.
Inside the hallways, you can travel to the back of the firebase or into a command center area at the front of the base, closer to the outer defensive wall.
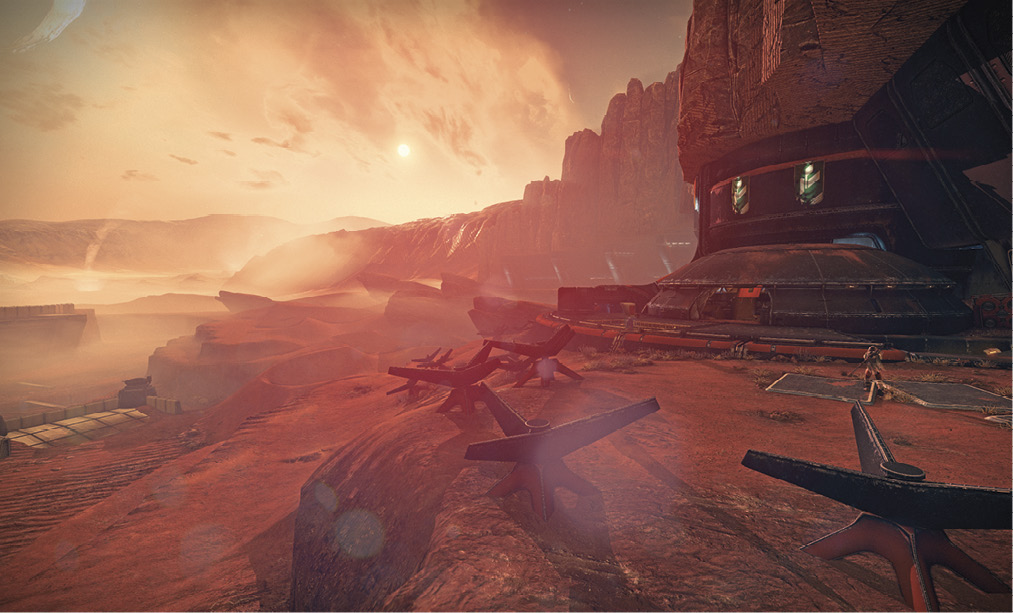
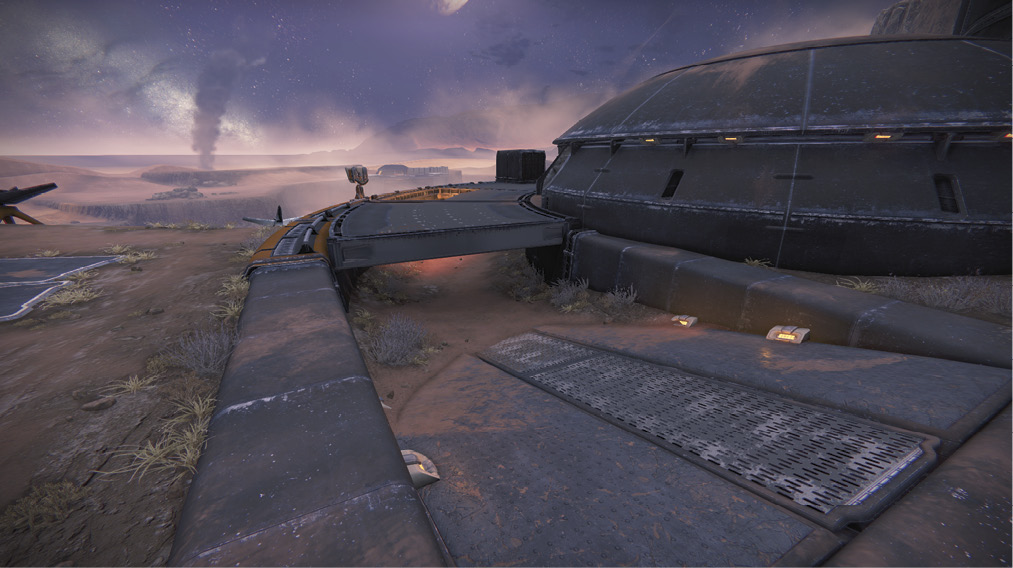
The command center room is a two-level affair, with an upper portion that overlooks the front yard area and a lower level that opens to the outside and the central connecting hall inside the base.
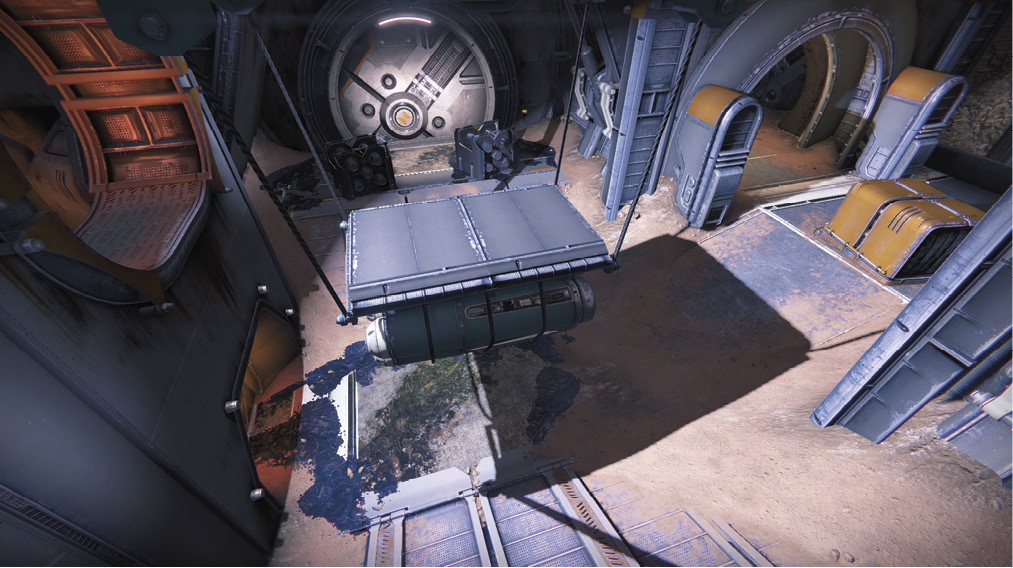
The central hallway on the map is a very high-traffic area, with four different parts of the base converging in one spot. The only thing that keeps it from being complete suicide to enter is the hanging rack of missiles that acts as a giant platform and blocks the line of sight across the hallway.
Tactics
Flow on this map depends heavily on the mode, with objectives forcing conflict outside and then back in again. Otherwise, conflict tends to be focused in the interior hallways, particularly at all of the points connected to the central hall.
There isn’t an easy way to stick to a safe “edge” of the level. No matter where you are, there are at least two ways to reach you, and one of them is going to be at your back.
With teamwork, it is quite possible to lock down the inner hallways by covering multiple directions, but solo, you may be better off sticking close (though not too close) to teammates and focusing on jointly fighting any approaching opponents.
Motion Tracker
Motion Tracker usage is simple on the edges of the level where there are only a few obvious approaches, but it becomes more difficult near the center, particularly near the main intersection and the two-floor command center section.
If you’re skirting the edges, you can often pick up easy kills by engaging enemies who have already joined a scrum in the center of the map, but if an objective forces you into a location with quite a few entrances and exits, only practice can teach you where adversaries are likely to attack you from.
Use the Motion Tracker to alert you of incoming foes. Even if you aren’t totally certain of their position, you can use the information to back off and then re-engage when you know where they are, or push at them aggressively. As long as you stay focused on your screen and not the Motion Tracker, you shouldn’t fall prey to sneaky ambushes, as most of the hallways and exterior areas are wide open.