
Destiny Signature Series Strategy Guide MOON
Shrine of Oryx
 Shrine of Oryx
Level 8 Story / Hellmouth, Ocean of Storms, Moon
Enemy Races: Hive, Fallen
Suggested Damage Types: Fire, Arc
Rewards: XP Bonus, Primary Weapon Upgrade
Mission Unlocked: -
| Combatant Changes with Heroic or Epic Mission Modifier | ||
|---|---|---|
|
Objective |
Combatant Changes |
Tip |
| Find the Shrine – Start of Hall of Wisdom | -1 Knight+1 Major Knight | The Major versions of these Hive are stronger and tougher to take down, so fight carefully. |
| Find the Shrine – Hall of Wisdom Exit | Acolytes are replaced with Major Acolytes | — |
| Find the Shrine – Start of Shrine of Oryx | Acolytes are replaced with Major Acolytes | — |
| Find the Shrine – Ogre | -1 Ogre+1 Major Ogre+3 Thrall | If you can, fight the Ogre from a distance, ducking behind cover to heal when necessary. |
| Find the Shrine – Corridor | +2 Thrall | — |
| Take Out the Hive – Entrance to Shrine | Acolytes are replaced with Major Acolytes | — |
| Kill the Knight | +2 Thrall | — |
| Kill the Knight - Under 40% health | +1 Cleaver Knight | The Ultra Knight is a handful without the added Knight. Run around the reactor and handle the smaller enemies away from the giant. |
Objective: Enter the Hellmouth
Location: Hellmouth
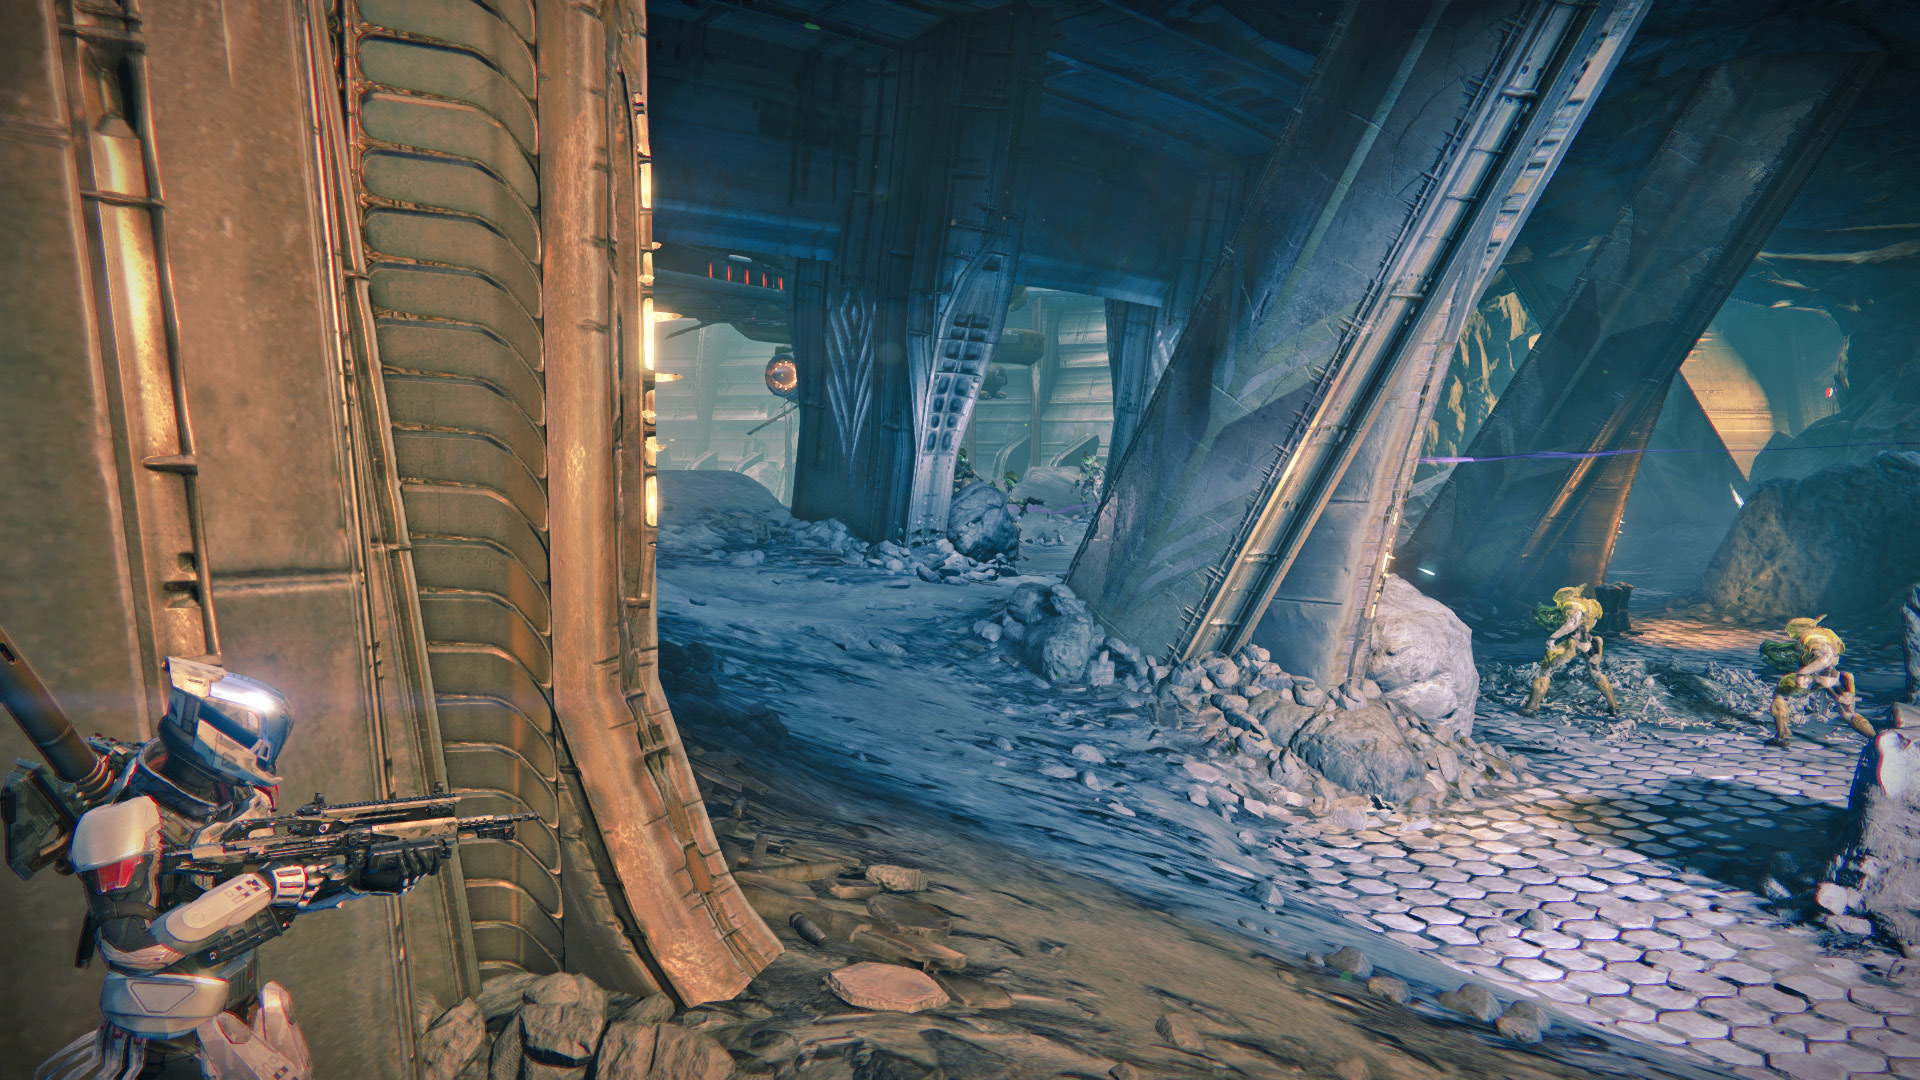
Descend toward the Gatehouse as a group of Acolytes attempt to resist. Once inside, you must take out the three familiar Knights at the entrance. Upon entering the Gatehouse, you run into a skirmish between the Fallen and Hive. Let it play out a little, while they hurt each other. A Hive Wizard and Fallen Servitor can make things difficult, if you rush in. Continue into the sword room, where Fallen and Hive continue to fight it out. Proceed into the cave through the right doorway.
Objective: Assassinate the Baron
Up ahead, the Fallen Captain, Exiled Baron Frigoris, hides out with Stealth Vandals and Dregs. Take him down before delving deeper into the Hive compound.
Objective: Find the Shrine
Location: Shrine of Oryx
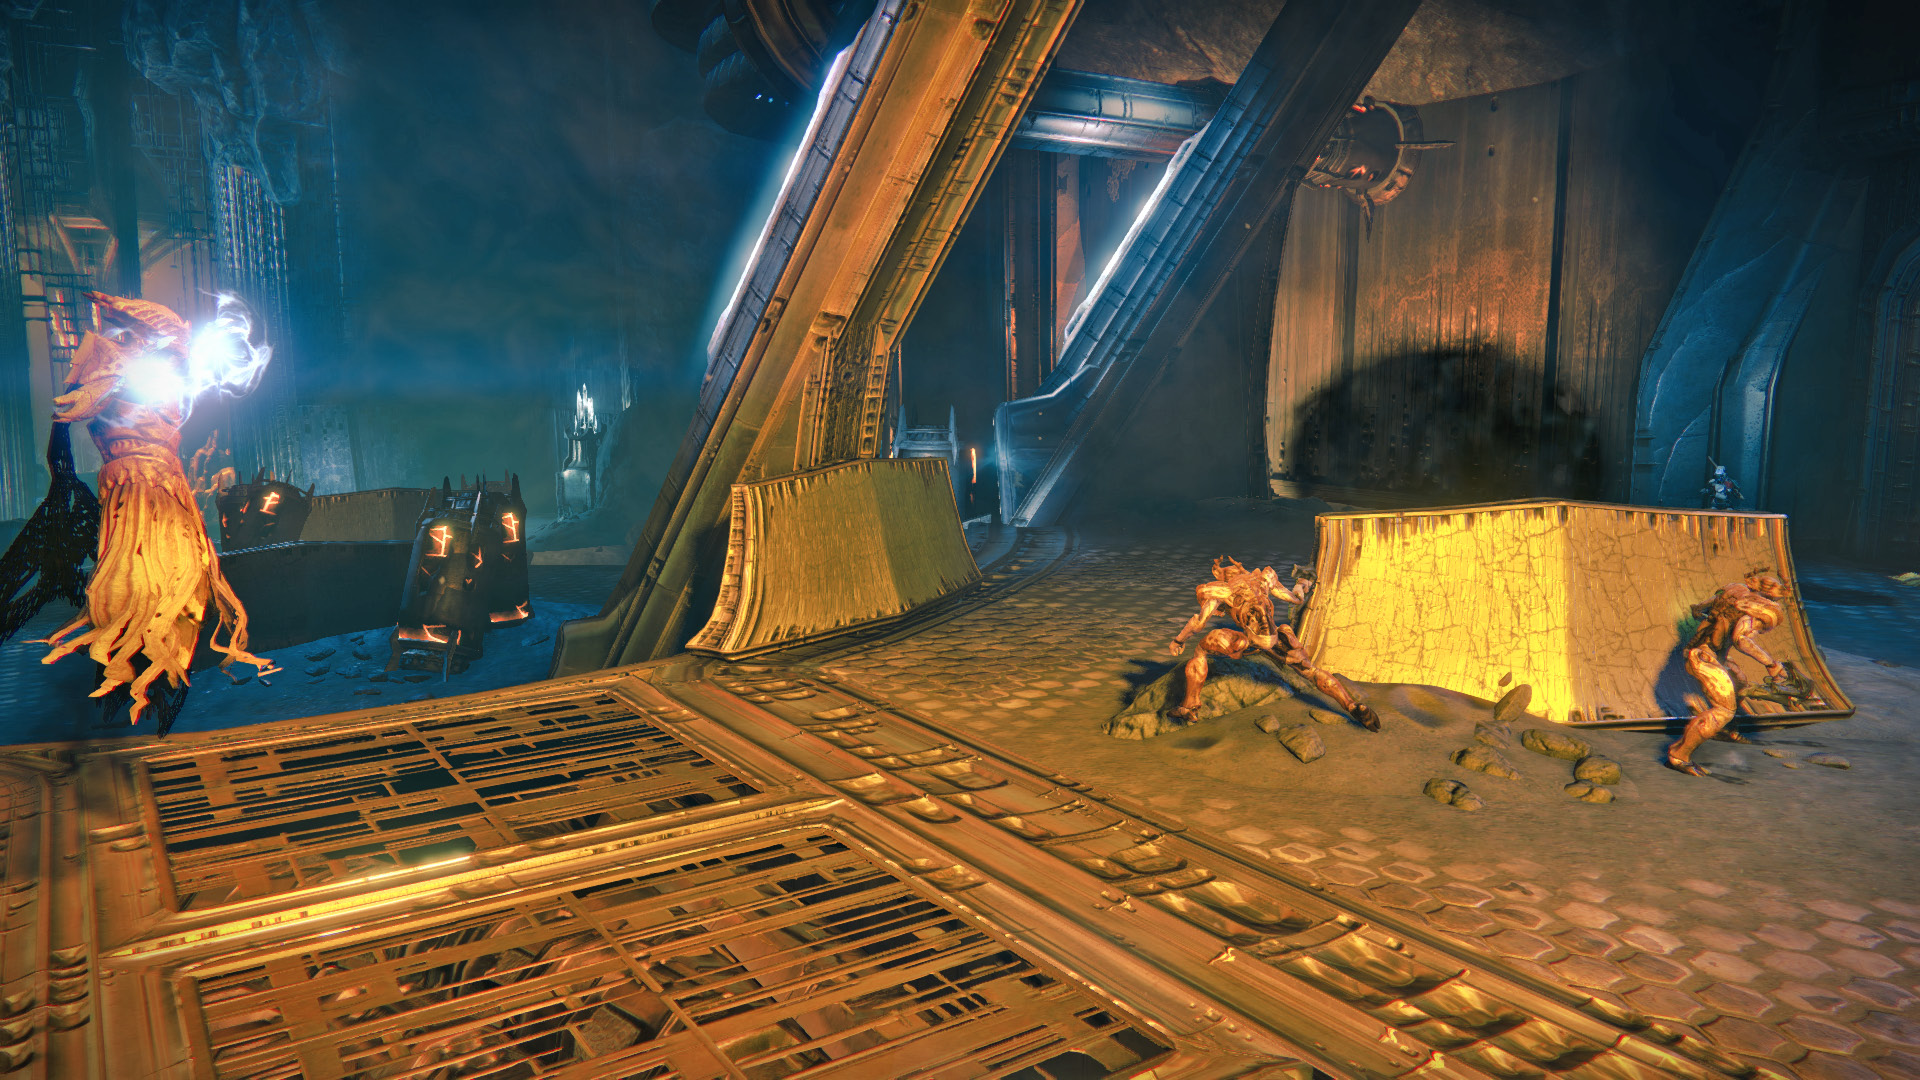
An exit on the other side of the Baron’s hideout leads to another tunnel. This winds down to the Circle of Bones. Hug the left wall, taking out any Hive that get in your way, until you reach another opening. Follow this cave until you reach the Hall of Wisdom, which starts a Darkness Zone.
The Fallen have also found their way down to these depths and fight the Hive who inhabit the hall. Beware that this includes a Knight with a Boomer. Fight your way through their skirmish. Half way across the hall, turn right to spot the entrance to the shrine. Several Acolytes, a Knight, and a Wizard block your way through, so force the issue and take the fight to them.
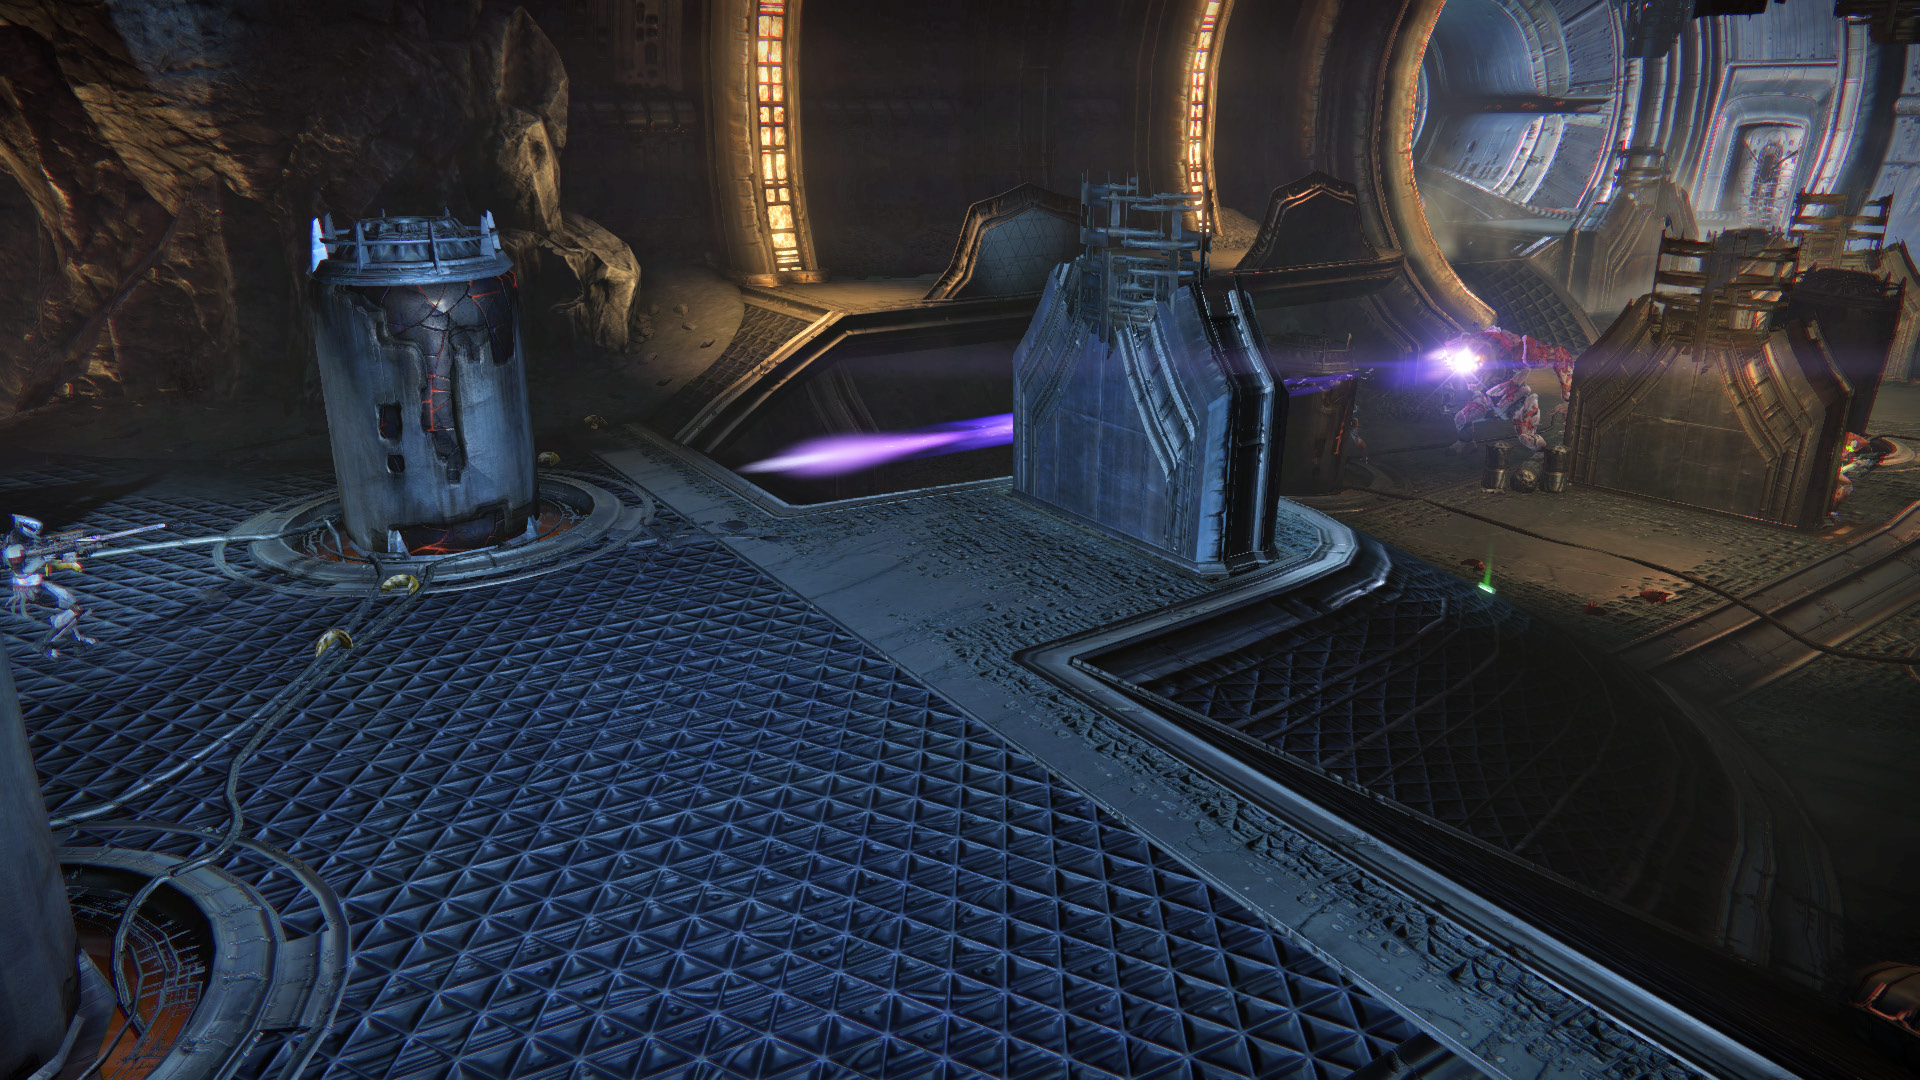
Follow the path until you spot the shrine ahead, although it is not accessible yet. Just around the corner, a crew of Dregs fight more Acolytes. Be sure to finish each one off or they become a nuisance while you battle the next group. In the next tunnel, an Ogre surrounds himself with Acolytes. Pull out your Heavy Weapon and take care of him before proceeding on. Thrall are accompanied by a Knight in the narrow corridor just before the shrine.
Objective: Take Out the Hive
Acolytes guard the shrine ahead, so take the opportunity to reduce their numbers right away. Once the Acolytes have been taken care of, enter the core in the center of the room.
Objective: Weaken the Shrine
Deploy your Ghost at the Shrine of Oryx to find a way to destroy it. After a period of peace and quiet, Sardok, the Eye of Oryx Knight, shows up with his minions.
Objective: Kill the Knight
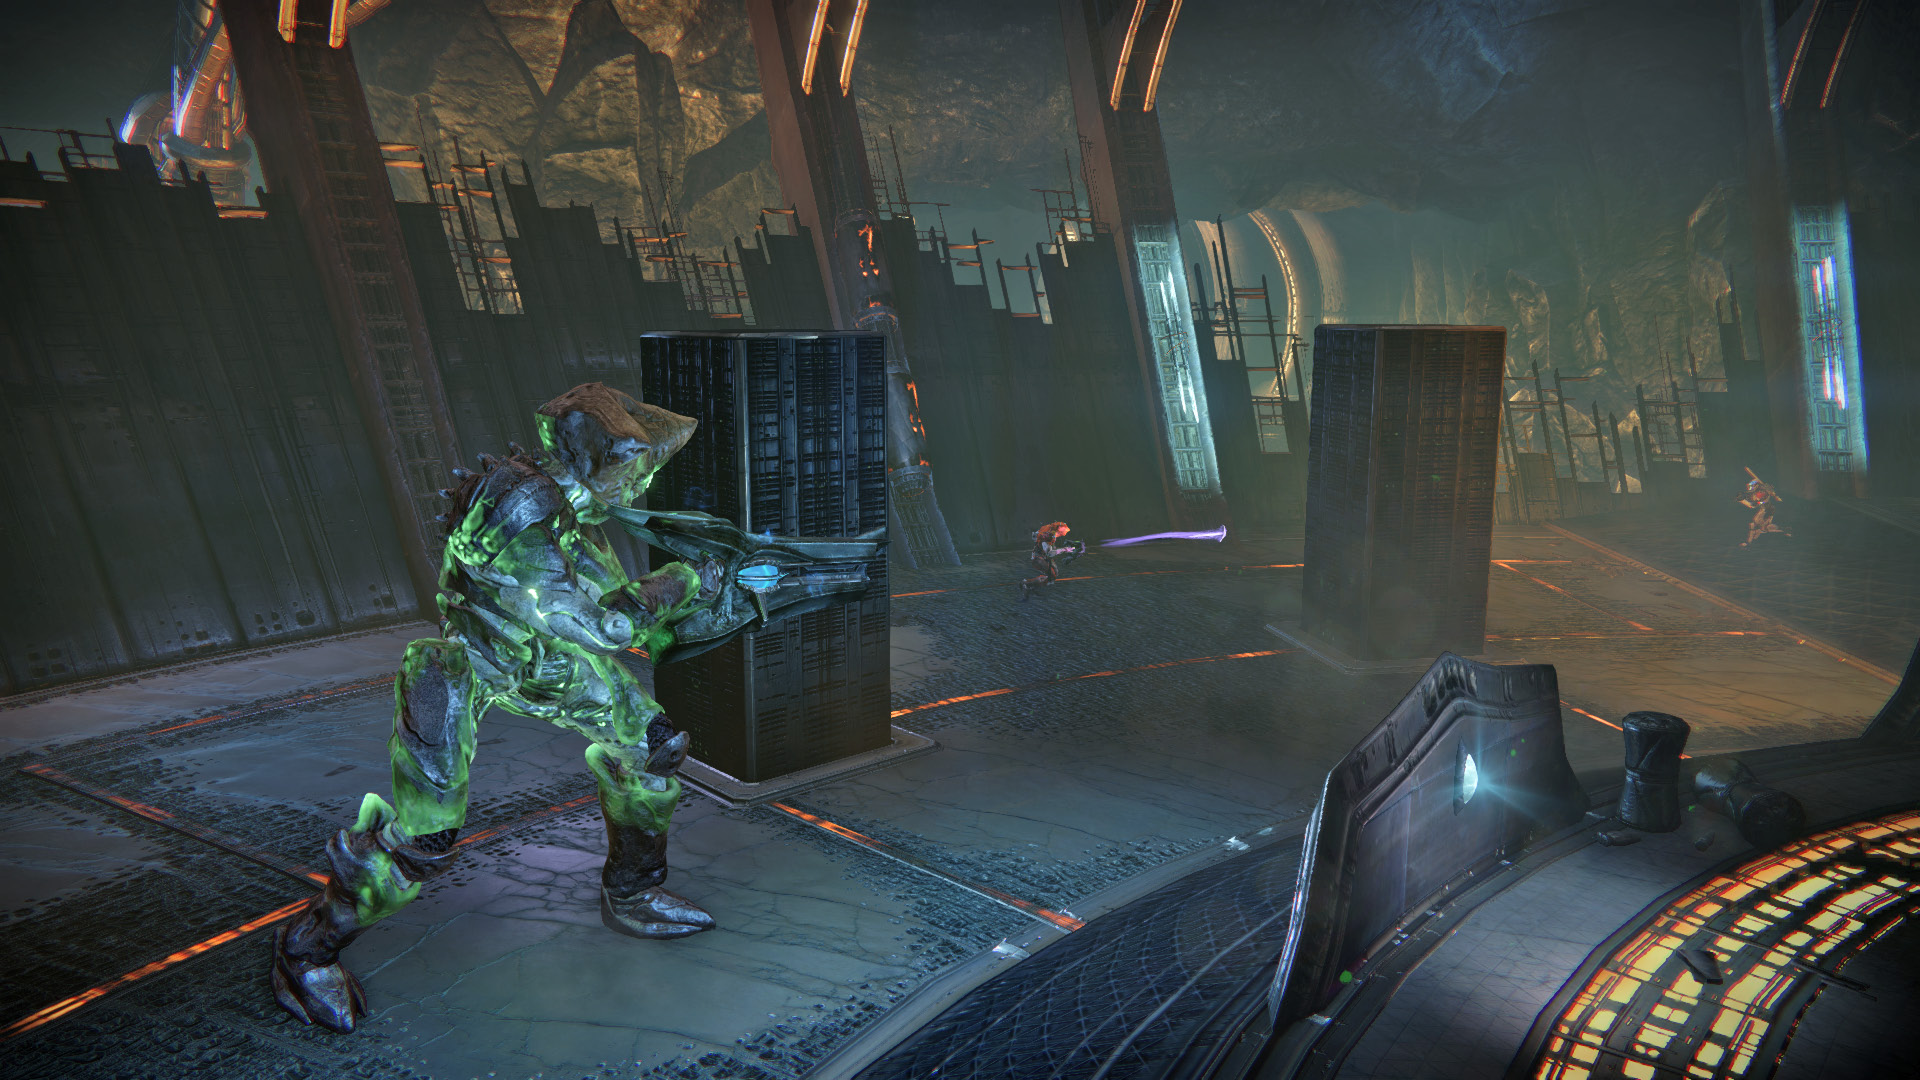
Sardok is an Ultra Knight, making him an elite member of the Hive. Run behind a pillar, or the shrine itself, and eliminate the Acolytes and Thrall before attempting to take on the giant Knight. Use up your super ability and Heavy Weapons on the Knight. When his health reaches 70% and then 40%, reinforcements are sent in, so stay on the lookout for additional enemy waves. Finishing off Sardok completes the mission.
Back at the Tower, turn in the Shard of the Shrine to the class Vanguard to receive Arms Requisition. Give this item to the Gunsmith for a choice of Primary Weapon.