Prima Games eGuides
primagames.com Browse Redeem a code Help
Destiny Signature Series Strategy Guide
Sign in My Guides

Sign in or create an account

We'll email you a link. No password needed, and if you don't have an account yet, the link makes one.

By creating an account or signing in, you agree to our Terms of Service and Privacy Policy.

Have a password?

Had an account on the old eGuides site, or a code from a printed guide? Help and troubleshooting

Sign in with a password

By signing in, you agree to our Terms of Service and Privacy Policy.

Check your email

A sign-in link is on its way. It works once and expires in 15 minutes. Open it and you're in, with an account if you didn't already have one.

Contents

  • Introduction
    • About Destiny
  • Field Manual
    • Welcome to Destiny
    • Your Character
    • Character Classes
      • TITAN
      • HUNTER
      • WARLOCK
    • Combat
    • Vehicles
    • Builds
    • Equipment
    • Customization
    • Inventory
    • Progression
    • Difficulty
    • Navigation
  • TOWER
    • About The Tower
    • A Guardian Rises
    • Overview
    • Tower Plaza – Tower Watch
    • Tower Plaza – Hall of Guardians
    • North Tower
    • Tower Hangar
    • Tower Plaza – Traveler's Walk
    • Bounties
  • EARTH
    • Overview
    • Restoration
    • The Dark Within
    • The Warmind
    • The Last Array
    • STRIKE: The Devils' Lair
    • PATROL: Patrol The Cosmodrome
  • MOON
    • Overview
    • The Dark Beyond
    • The World's Grave
    • The Sword of Crota
    • Shrine of Oryx
    • Chamber of Night
    • STRIKE: The Summoning Pits
    • PATROL: Patrol The Moon
  • VENUS
    • Overview
    • A Stranger's Call
    • Ishtar Collective
    • The Archive
    • Scourge of Winter
    • Eye of a Gate Lord
    • STRIKE: Winter's Run
    • STRIKE: The Nexus
    • RAID: Vault of Glass
    • PATROL: Patrol Venus
  • MARS
    • Overview
    • Exclusion Zone
    • The Garden's Spire
    • The Buried City
    • A Rising Tide
    • The Black Garden
    • STRIKE: Cerberus Vae II
    • STRIKE: Dust Palace
    • PATROL: Patrol the Buried City
  • Codex
    • About the Codex
    • The Fallen
    • The Hive
    • The Vex
    • The Cabal
  • Armory
    • Overview
    • Weapons
    • Weapon Stats
    • Weapon Mods
    • Mod Descriptions
    • Mod Lists
    • Weapon Tables
    • Weapon Drop Locations
    • Weapon Charts
    • Mod Stat Charts
    • Handling Charts
    • Inventory Charts
    • Magazine Charts
    • Range Charts
    • Velocity Charts
    • Reload Charts
    • Stability Charts
    • Recoil Patterns
    • Armor
    • Armor Mods
    • Exotics
  • Crucible
    • Overview
    • PvP Combat
    • Game Modes
    • General Game Mode Advice
    • MAP: Anomaly
    • MAP: Asylum
    • MAP: Bastion
    • MAP: Blind Watch
    • MAP: Burning Shrine
    • MAP: Exodus Blue (timed PlayStation exclusive)
    • MAP: Firebase Delphi
    • MAP: First Light
    • MAP: Rusted Lands
    • MAP: Shores of Time
    • MAP: Twilight Gap
  • Expansion I: The Dark Below
    • Introduction
    • Missions
      • Overview
      • Fist of Crota
      • Siege of the Warmind
      • The Wakening
      • Ritual of Sacrifice
    • Eris Morn Quests
      • Disciples of Crota
      • The Urn of Sacrifice
    • Strikes
      • STRIKE: The Undying Mind (Timed PlayStation Exclusive)
      • STRIKE: The Will of Crota
    • Eris Morn Bounties
    • Crucible Maps
      • Skyshock
      • The Cauldron
      • Pantheon
  • Trophies & Achievements
    • Overview
    • Specialization
    • Gear and Vehicles
    • Kill Enemies
    • Strikes and Raid
    • The Crucible
    • Patrol and More

Destiny Signature Series Strategy Guide › Crucible

MAP: First Light

Layout

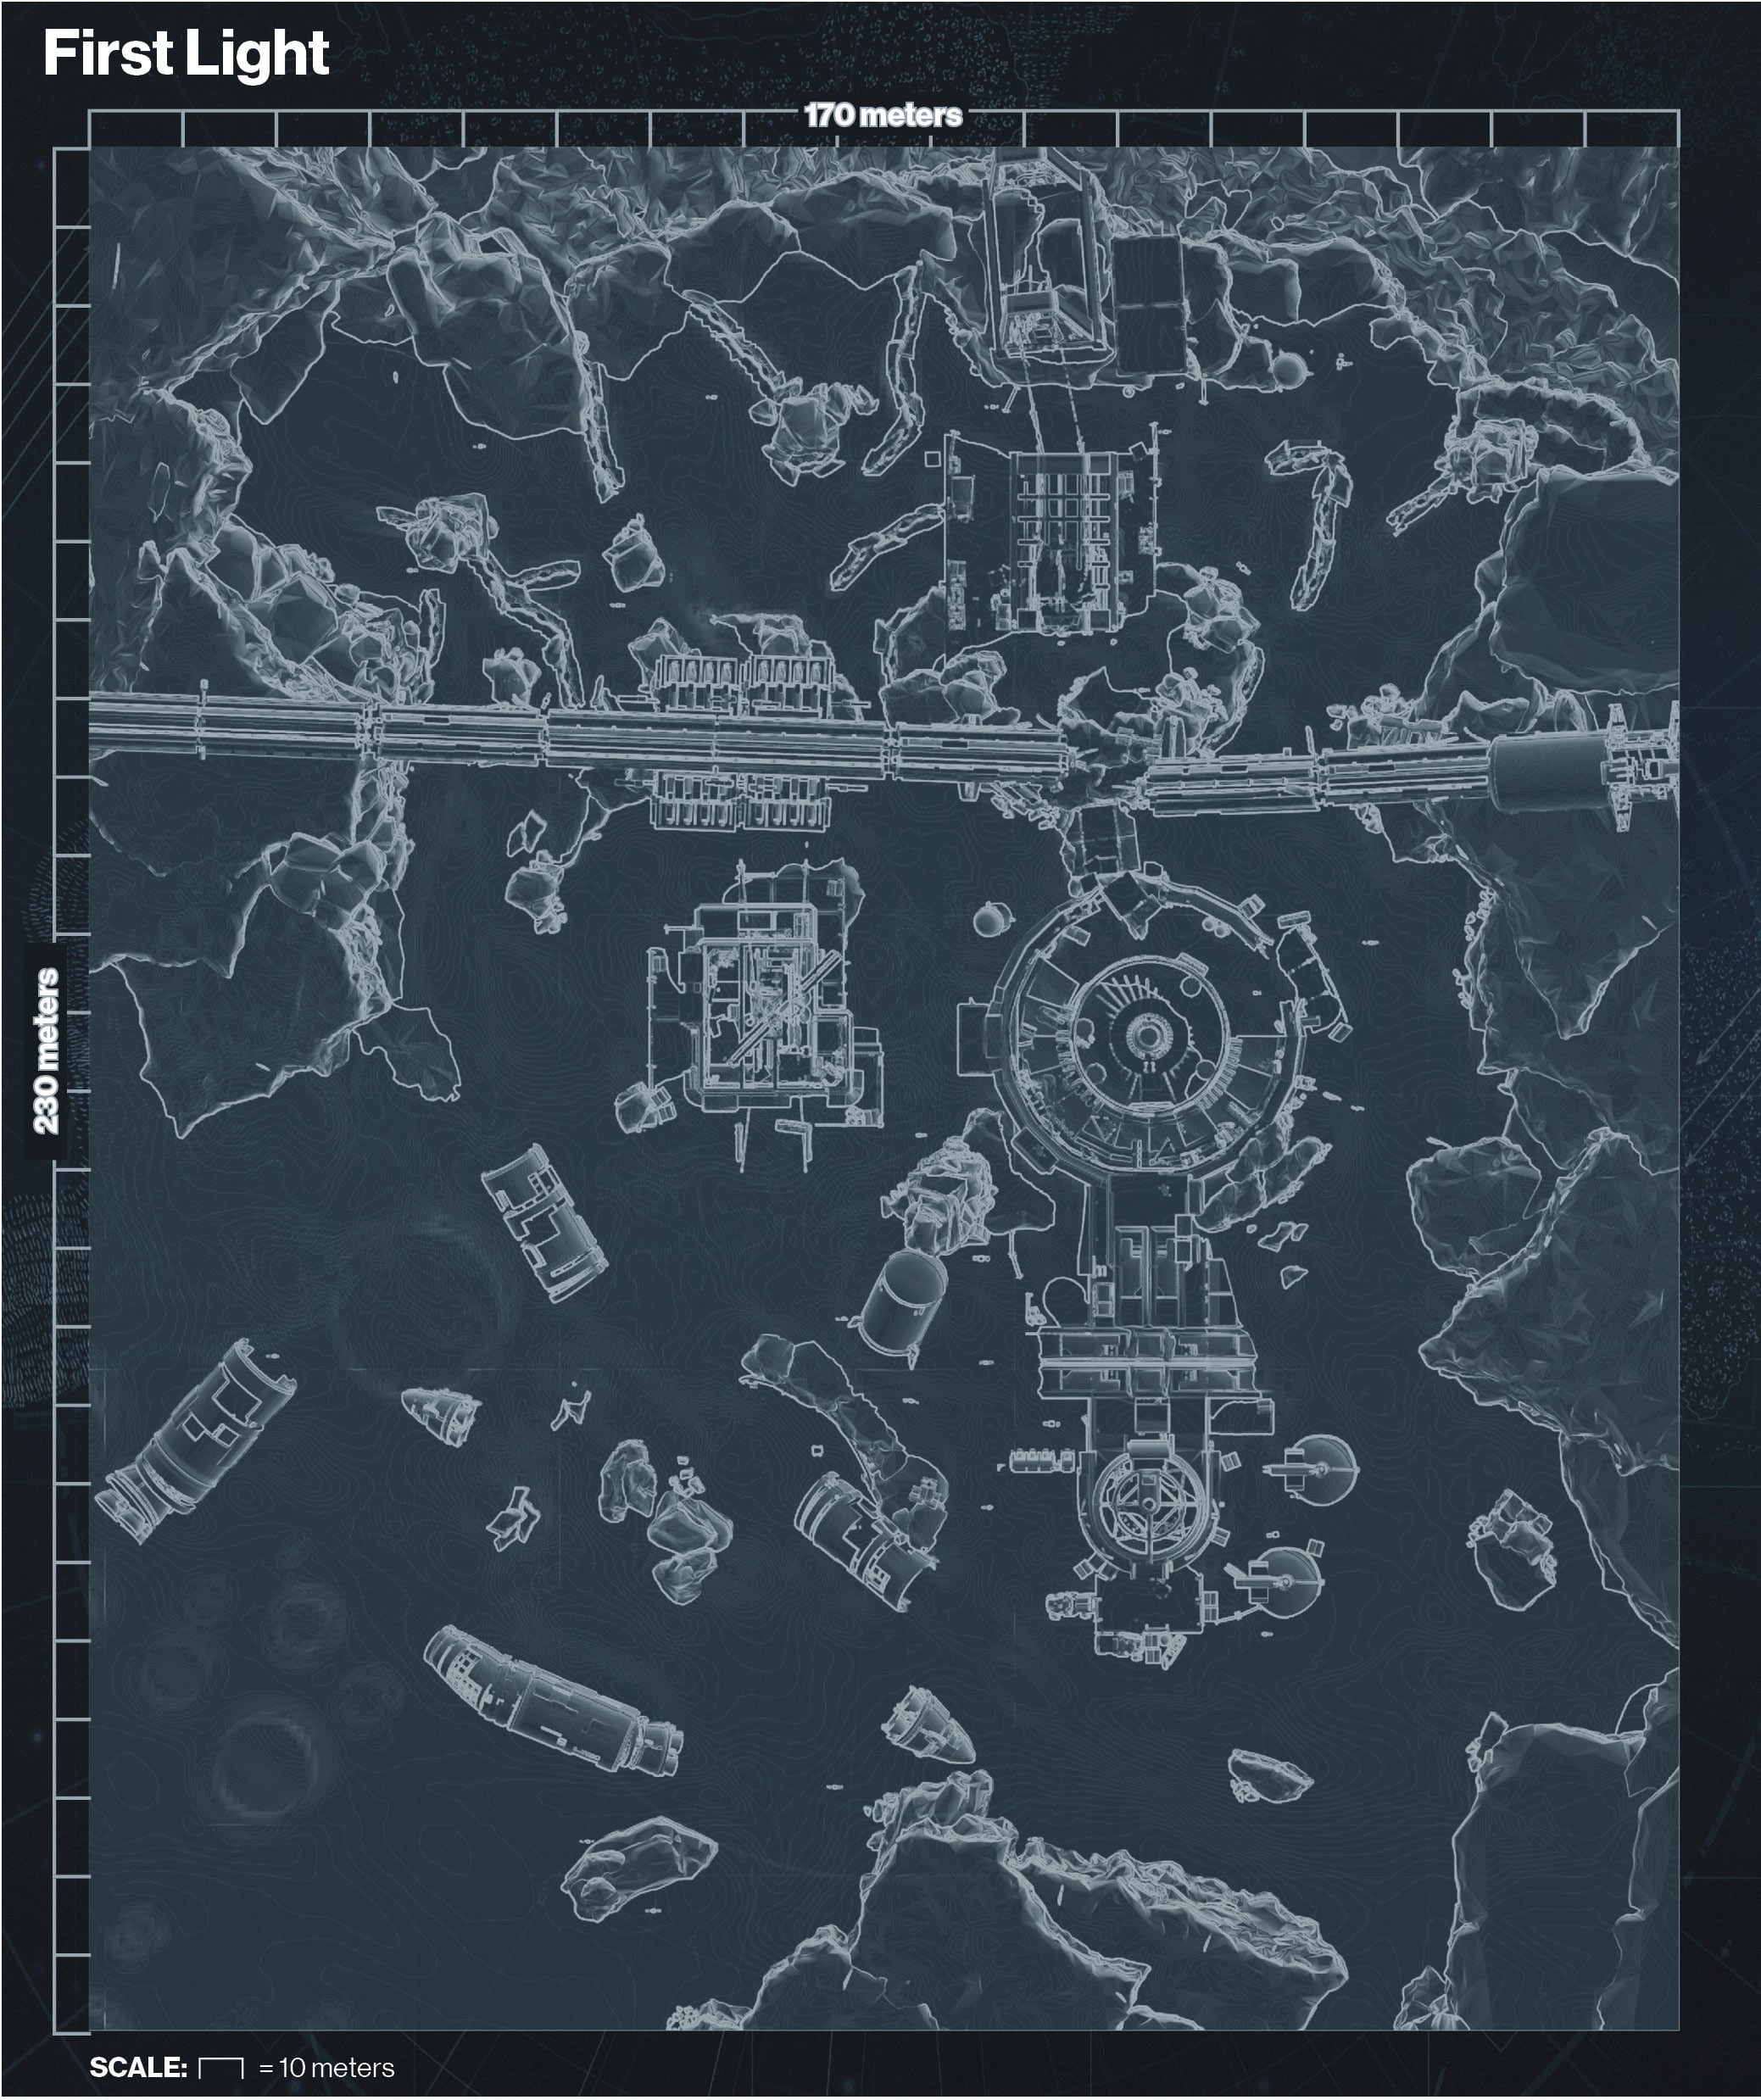
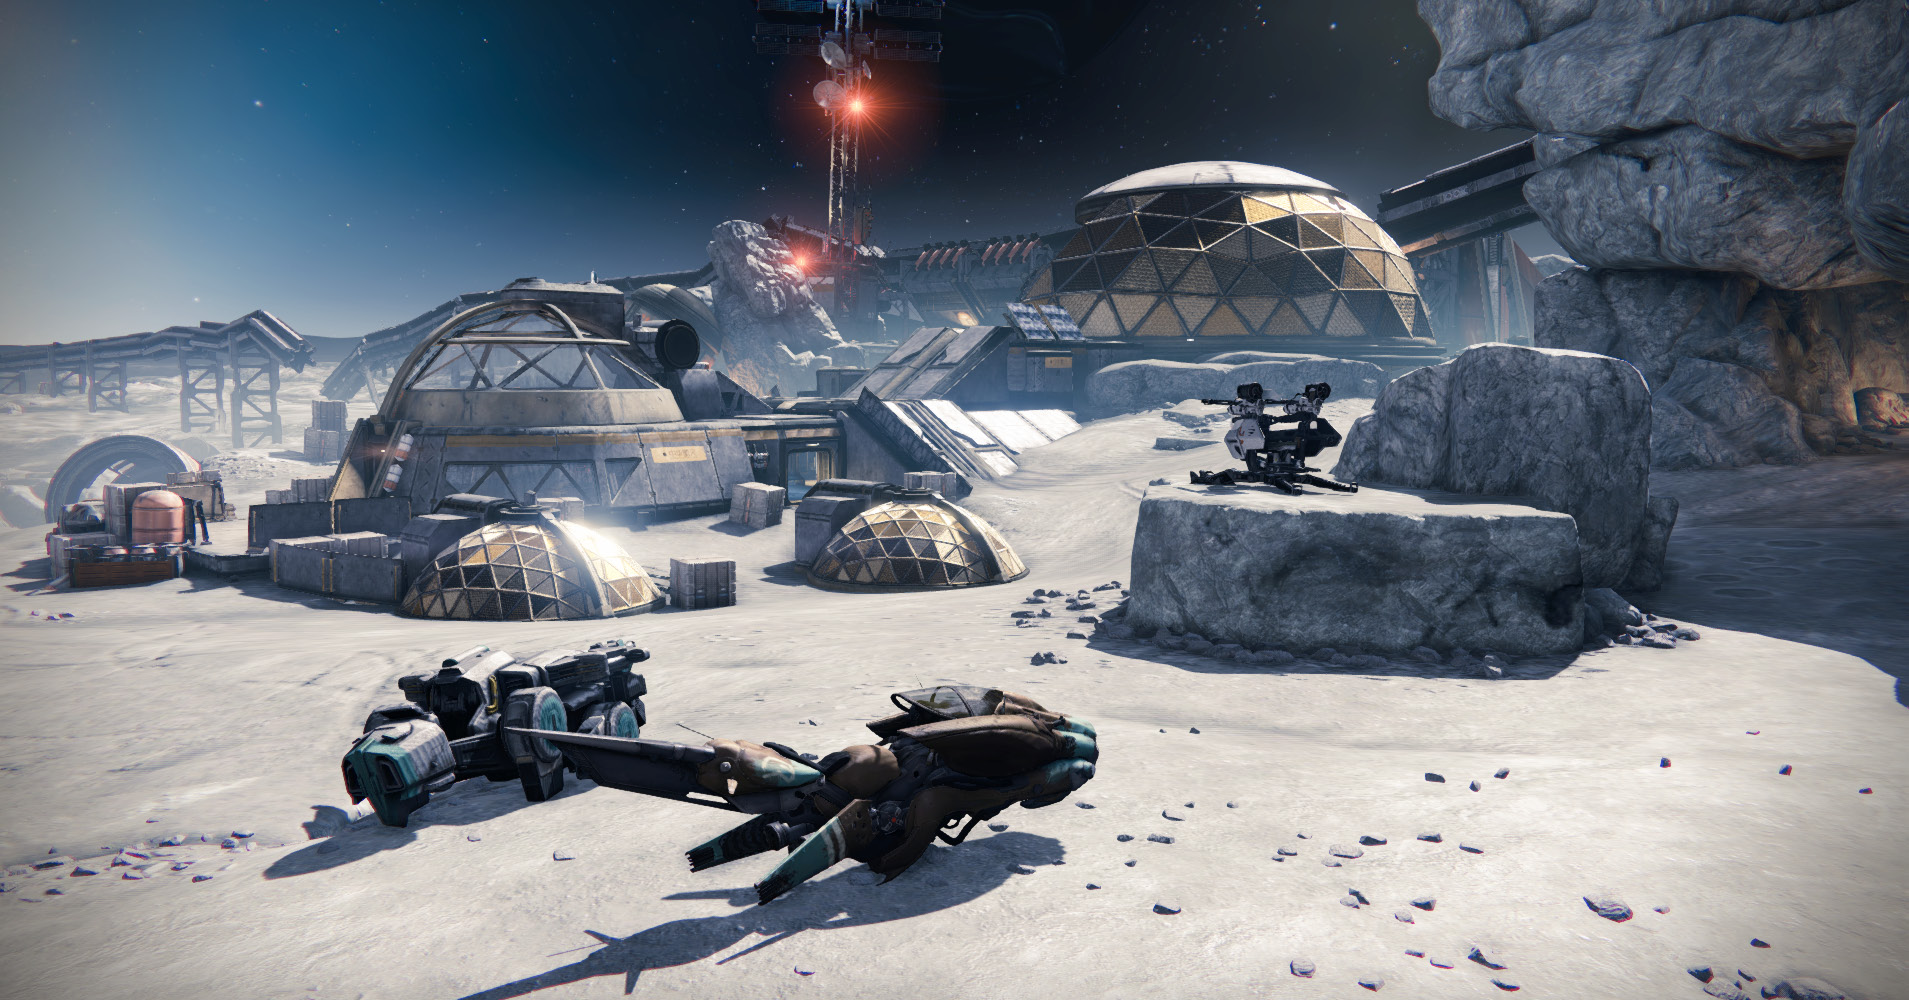
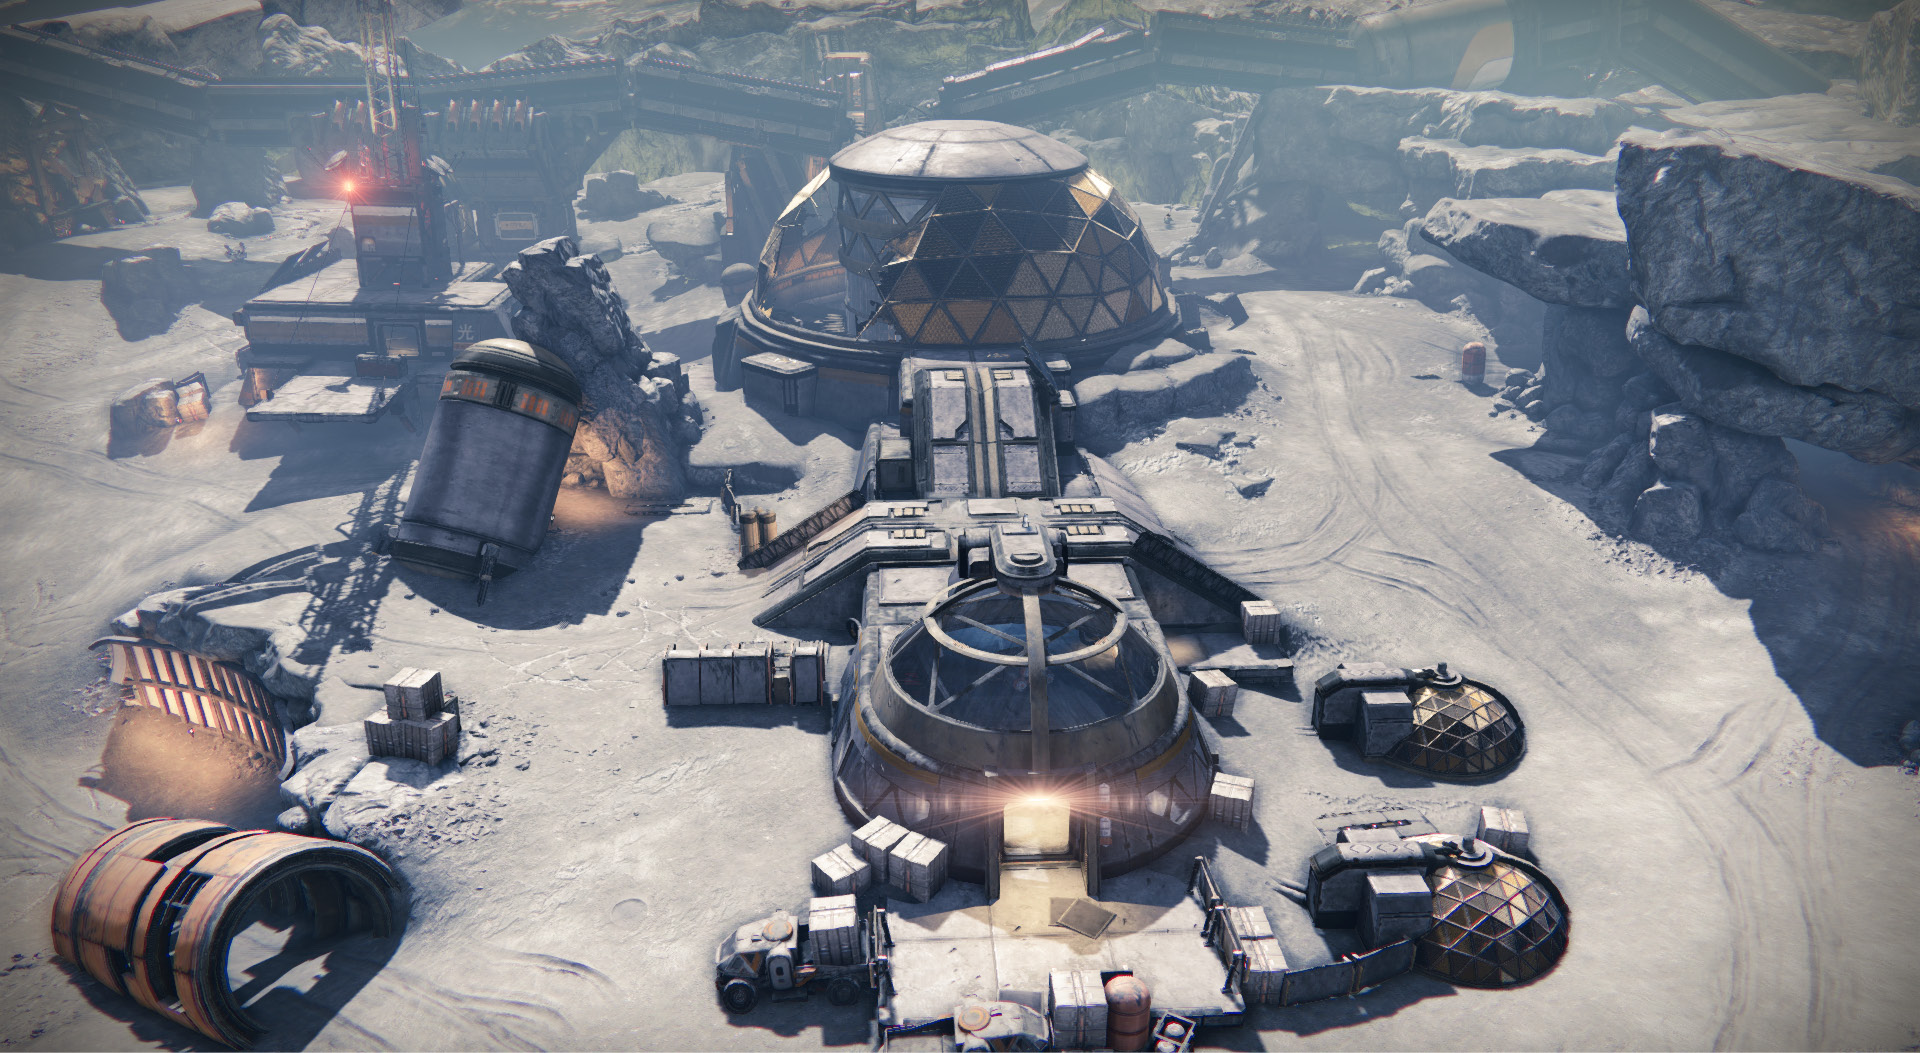
First Light takes place in the ruins of old human research facilities on the Moon.

A wide-open map most comparable to Bastion, First Light is the second vehicle-focused map in Crucible. With a vast lunar surface around the buildings and a huge field containing the ruins of old rockets, there is a lot of open space to cover.
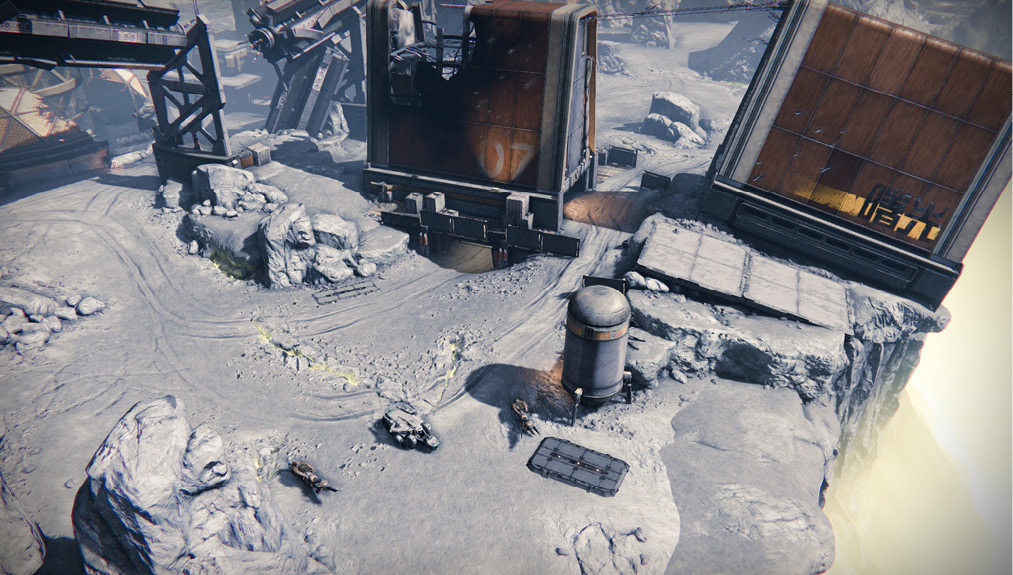
The map extends from the slightly higher elevation facility at the “top” of the map near the foul green glow of the Hive emanating from a crack in the Moon’s crust down to the rocket field.

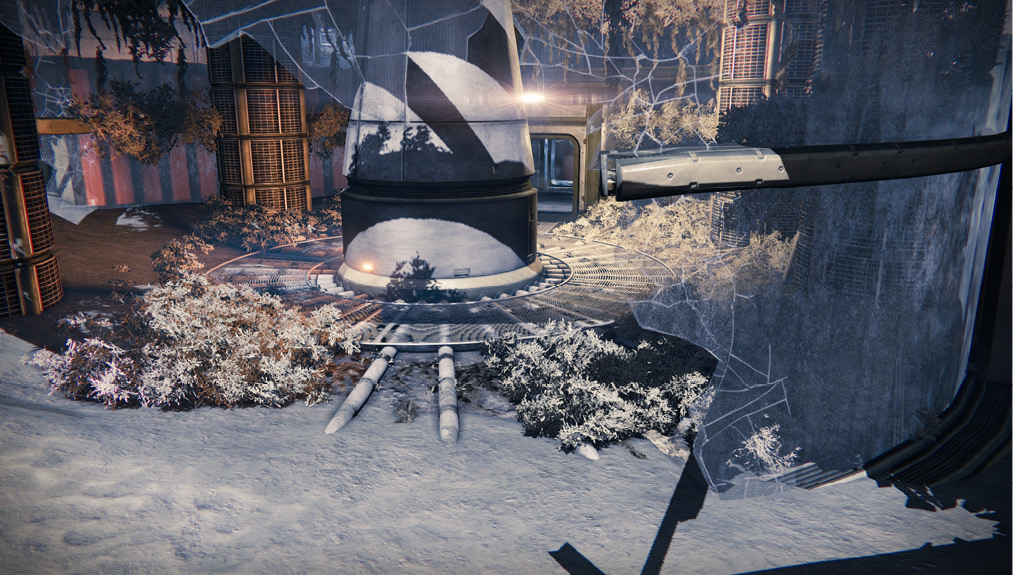
In the center, one long structure stretches almost the full length of the level, and it is possible to travel inside of it for most of the way. The long structure is divided up into a centrally located two-story geodesic dome and a smaller single-floor building connected to the dome.

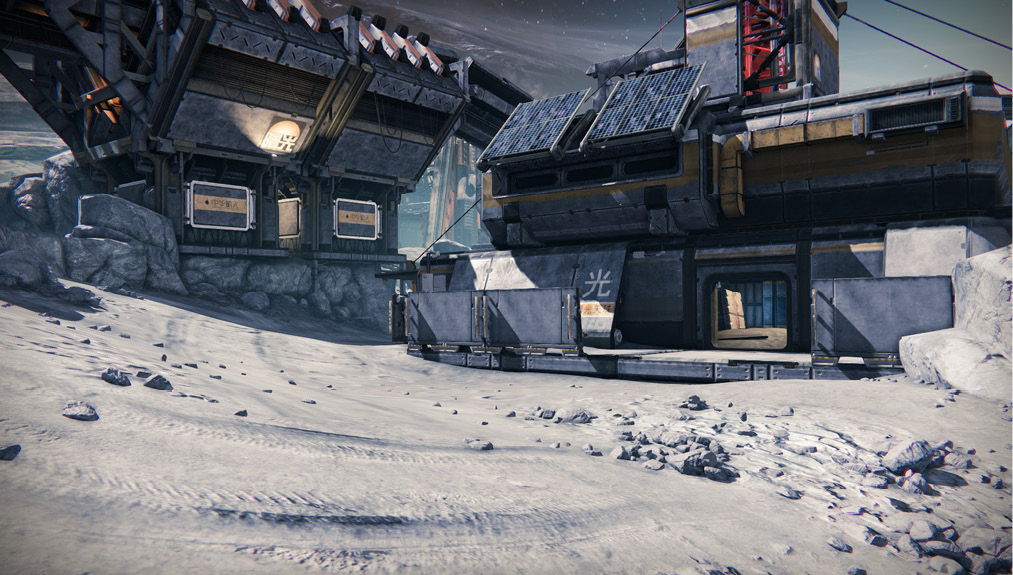
The last structure is located up near the Hive rift. As a small structure with a blasted-out second floor, it has fairly poor lines of sight, but it can be an important location in objective modes.

There is also a secondary two-story building located off to the side of the main dome. It is possible to get onto the roof of most of the buildings on the map, as well.
Tactics

Be wary of snipers and long-range combat in the open. If your loadout is at all close- or medium-range focused, you should stick to the building interiors, only poking your head out to shoot at nearby targets.

The vehicles on First Light can run rampant or have almost no impact, depending on how you play. If you spend a lot of time in the open, you make a juicy target for a fast-moving Pike or Interceptor bombardment, but if you stick to the buildings, they can’t do much to you.

There are also two turrets: one beside the two-story side building, and another near the caves opposite the rocket field. Both turrets can be useful for shutting down nearby vehicles if their drivers are incautious.

If you are using the vehicles, avoid (or destroy) the turrets and patrol the open roads, looking for any targets that expose themselves or foolishly leave the safety of their buildings. Inside the buildings, close-range weapons and grenades shine. You can deal a lot of damage to enemies who try to push into your space if you are aggressive with your grenades and melee. Shotguns and fast-charging fusion rifles are deadly in the interiors.
Motion Tracker

Your Motion Tracker can be tricky to read in the buildings because enemies can walk on top of them, as well as anywhere nearby outside. It’s not uncommon to be inside a building with multiple wedges lighting up from enemy presence—and no certain lock on their positions.

The easiest reads tend to be attackers coming into the dome. Although it has two levels, there is only one hallway stretching from it to the connected building, and you can usually move in such a way that your target must get in front of you to engage.
If you’re over in the two-story building beside the dome, you can pick up on incoming enemies easily and duck out to take shots at them. Just be careful, as snipers like to watch the doors and rooftops.

Outdoors, your Motion Tracker won’t pick up distant foes. Just like Bastion, look for scope gleams in the distance. Snipers love to hang out on the outskirts of the level and pick off players leaving the buildings.

Keep reading with a free account

The first 3 sections of Destiny Signature Series Strategy Guide are open to everyone. An account opens the rest of it, and every other guide in the archive. It's free, and there's nothing to buy.

Bought guides on the old Prima Games site? Your account and every guide you own moved here, so there's nothing to buy again. Sign in.

Create a free account Or browse our free guides

PreviousMAP: Firebase Delphi NextMAP: Rusted Lands