Prima Games eGuides
primagames.com Browse Redeem a code Help
Destiny Signature Series Strategy Guide
Sign in My Guides

Sign in or create an account

We'll email you a link. No password needed, and if you don't have an account yet, the link makes one.

By creating an account or signing in, you agree to our Terms of Service and Privacy Policy.

Have a password?

Had an account on the old eGuides site, or a code from a printed guide? Help and troubleshooting

Sign in with a password

By signing in, you agree to our Terms of Service and Privacy Policy.

Check your email

A sign-in link is on its way. It works once and expires in 15 minutes. Open it and you're in, with an account if you didn't already have one.

Contents

  • Introduction
    • About Destiny
  • Field Manual
    • Welcome to Destiny
    • Your Character
    • Character Classes
      • TITAN
      • HUNTER
      • WARLOCK
    • Combat
    • Vehicles
    • Builds
    • Equipment
    • Customization
    • Inventory
    • Progression
    • Difficulty
    • Navigation
  • TOWER
    • About The Tower
    • A Guardian Rises
    • Overview
    • Tower Plaza – Tower Watch
    • Tower Plaza – Hall of Guardians
    • North Tower
    • Tower Hangar
    • Tower Plaza – Traveler's Walk
    • Bounties
  • EARTH
    • Overview
    • Restoration
    • The Dark Within
    • The Warmind
    • The Last Array
    • STRIKE: The Devils' Lair
    • PATROL: Patrol The Cosmodrome
  • MOON
    • Overview
    • The Dark Beyond
    • The World's Grave
    • The Sword of Crota
    • Shrine of Oryx
    • Chamber of Night
    • STRIKE: The Summoning Pits
    • PATROL: Patrol The Moon
  • VENUS
    • Overview
    • A Stranger's Call
    • Ishtar Collective
    • The Archive
    • Scourge of Winter
    • Eye of a Gate Lord
    • STRIKE: Winter's Run
    • STRIKE: The Nexus
    • RAID: Vault of Glass
    • PATROL: Patrol Venus
  • MARS
    • Overview
    • Exclusion Zone
    • The Garden's Spire
    • The Buried City
    • A Rising Tide
    • The Black Garden
    • STRIKE: Cerberus Vae II
    • STRIKE: Dust Palace
    • PATROL: Patrol the Buried City
  • Codex
    • About the Codex
    • The Fallen
    • The Hive
    • The Vex
    • The Cabal
  • Armory
    • Overview
    • Weapons
    • Weapon Stats
    • Weapon Mods
    • Mod Descriptions
    • Mod Lists
    • Weapon Tables
    • Weapon Drop Locations
    • Weapon Charts
    • Mod Stat Charts
    • Handling Charts
    • Inventory Charts
    • Magazine Charts
    • Range Charts
    • Velocity Charts
    • Reload Charts
    • Stability Charts
    • Recoil Patterns
    • Armor
    • Armor Mods
    • Exotics
  • Crucible
    • Overview
    • PvP Combat
    • Game Modes
    • General Game Mode Advice
    • MAP: Anomaly
    • MAP: Asylum
    • MAP: Bastion
    • MAP: Blind Watch
    • MAP: Burning Shrine
    • MAP: Exodus Blue (timed PlayStation exclusive)
    • MAP: Firebase Delphi
    • MAP: First Light
    • MAP: Rusted Lands
    • MAP: Shores of Time
    • MAP: Twilight Gap
  • Expansion I: The Dark Below
    • Introduction
    • Missions
      • Overview
      • Fist of Crota
      • Siege of the Warmind
      • The Wakening
      • Ritual of Sacrifice
    • Eris Morn Quests
      • Disciples of Crota
      • The Urn of Sacrifice
    • Strikes
      • STRIKE: The Undying Mind (Timed PlayStation Exclusive)
      • STRIKE: The Will of Crota
    • Eris Morn Bounties
    • Crucible Maps
      • Skyshock
      • The Cauldron
      • Pantheon
  • Trophies & Achievements
    • Overview
    • Specialization
    • Gear and Vehicles
    • Kill Enemies
    • Strikes and Raid
    • The Crucible
    • Patrol and More

Destiny Signature Series Strategy Guide › Expansion I: The Dark Below › Crucible Maps

Pantheon

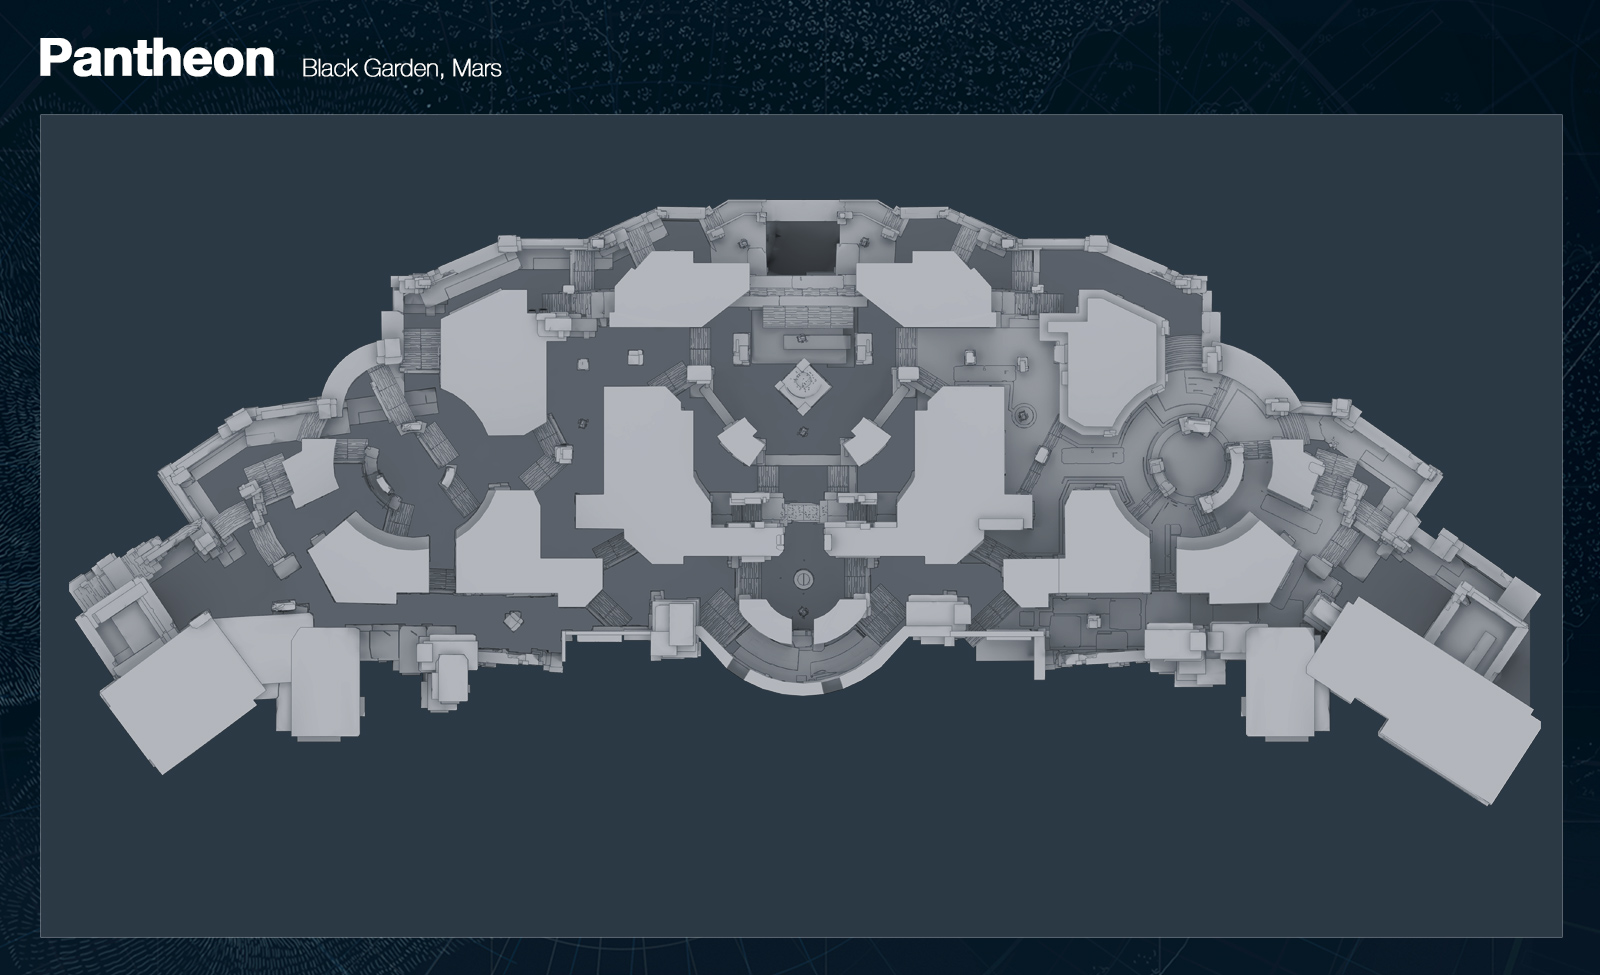
Pantheon is a small map with lots of tight corners and an outdoor flanking route. Moving as a team is a must as it is easy for the enemy to flank in the maze of hallways.
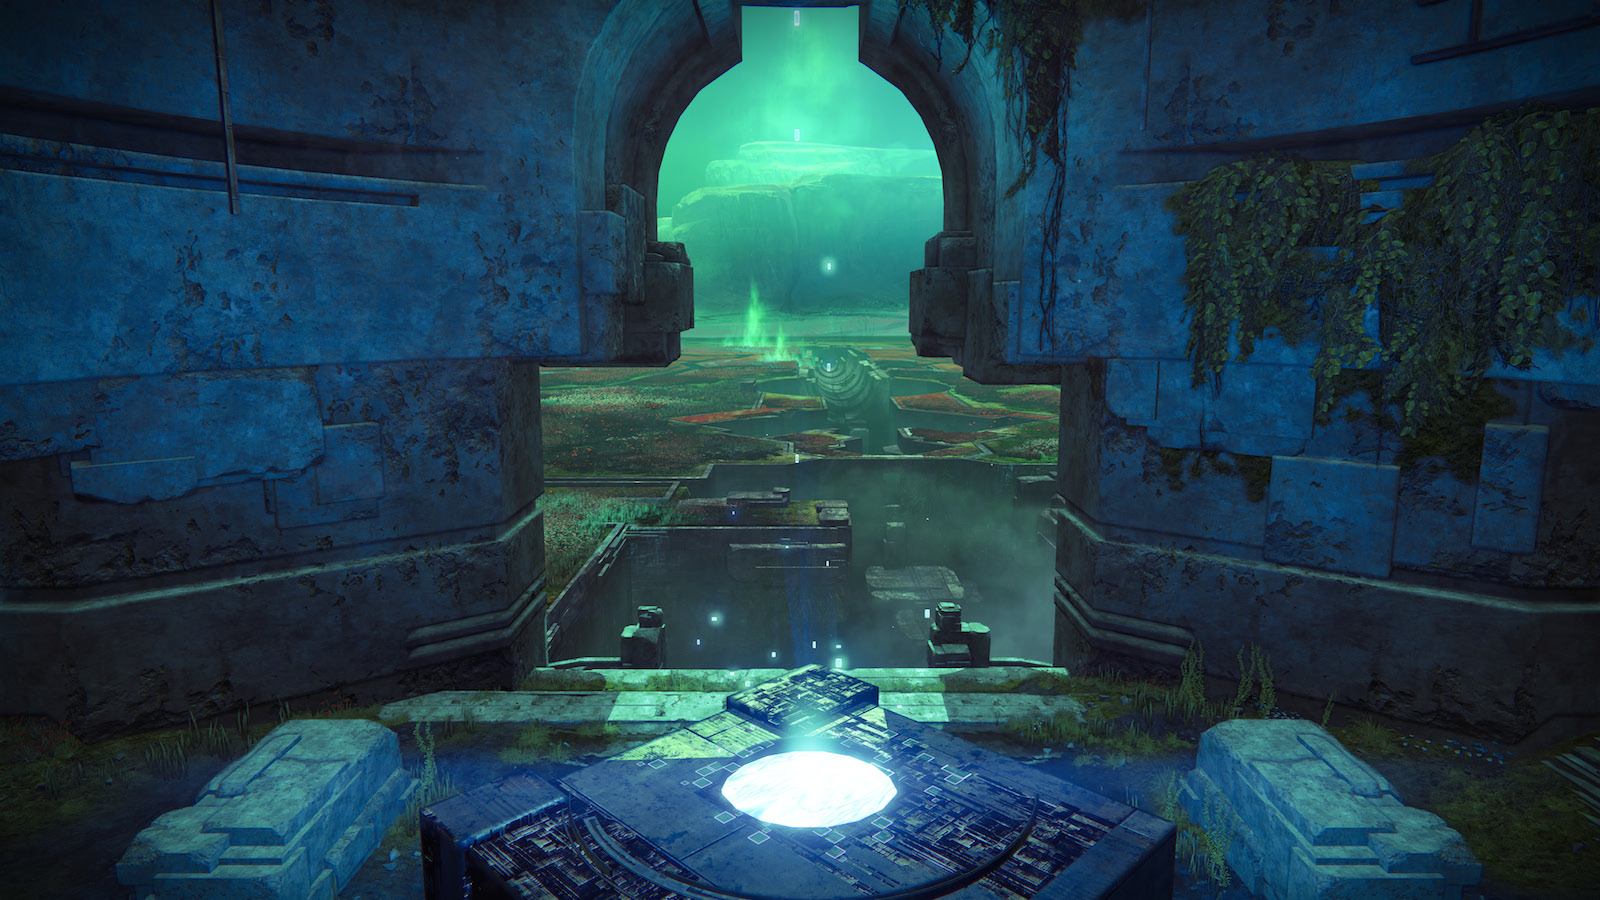
Most of the action takes place in the middle of the map, be prepared for an exchange of grenades at the beginning of the map. Try to push around the inside of the map early game. Using the hallways may take a bit of extra time to cross the map compared to the outside path. The outer path is much more exposed from multiple angles, making it a high risk area when running solo.
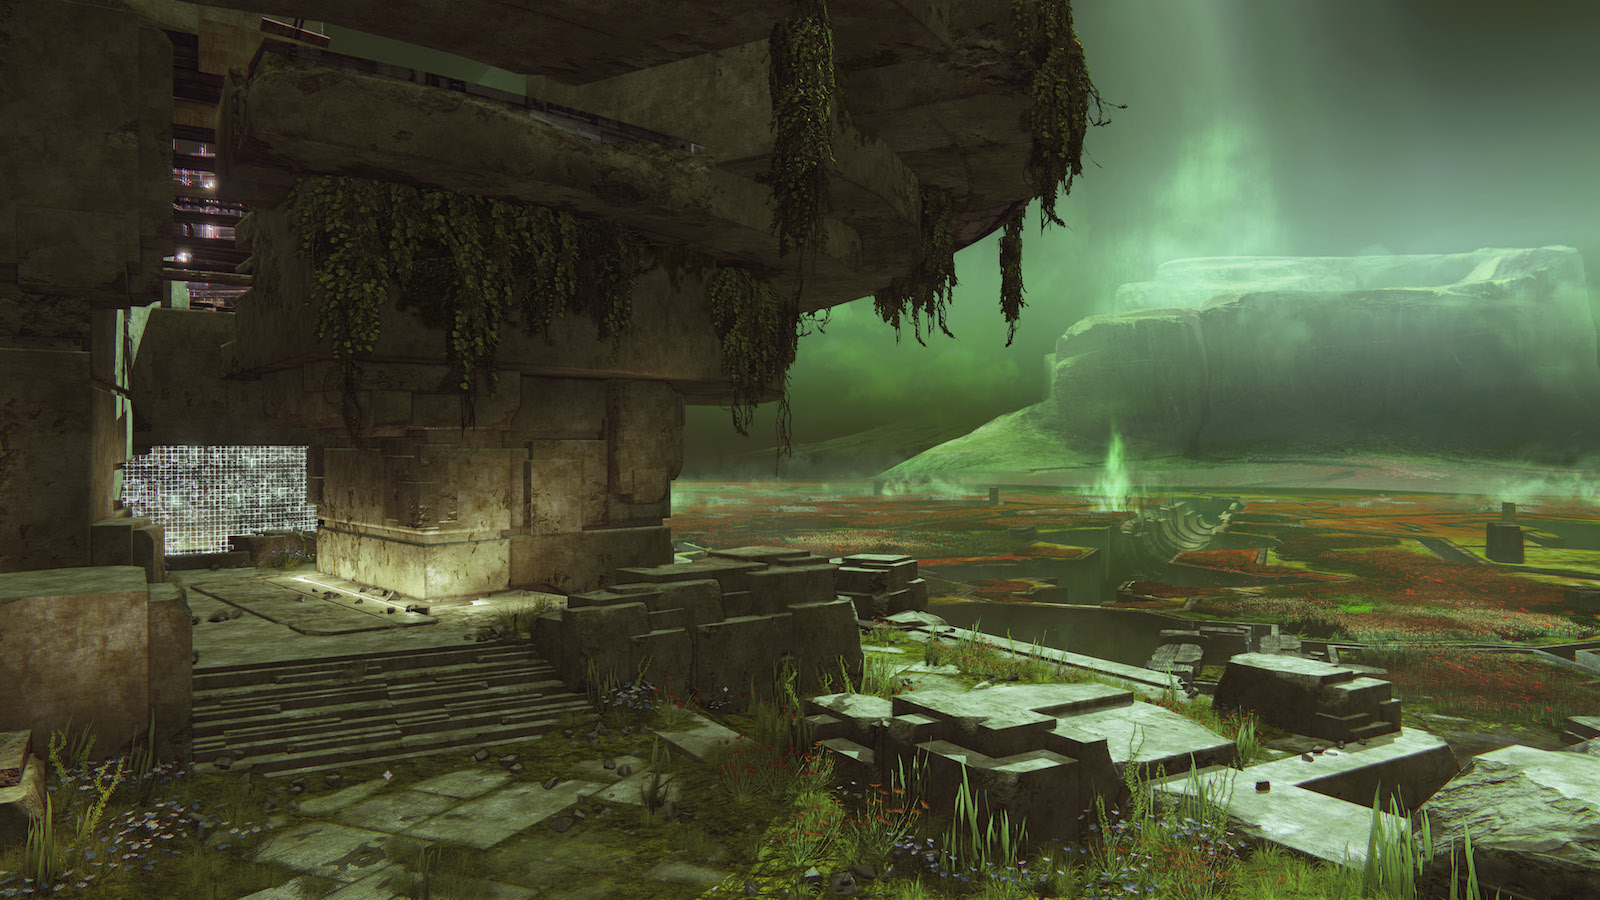
Although the outdoor area is exposed, it is good to maintain control of it as there is a heavy ammo spawn, and easy access to the center of the map. This is the only area that a sniper rifle is effective, however most players tend to stay out of this area so carrying a sniper rifle will put you at a disadvantage in the other map areas.

Before entering on of the larger map areas, or nearing the end of a hallway, consider crouching to help catch the enemy off guard and prevent “corner campers”.
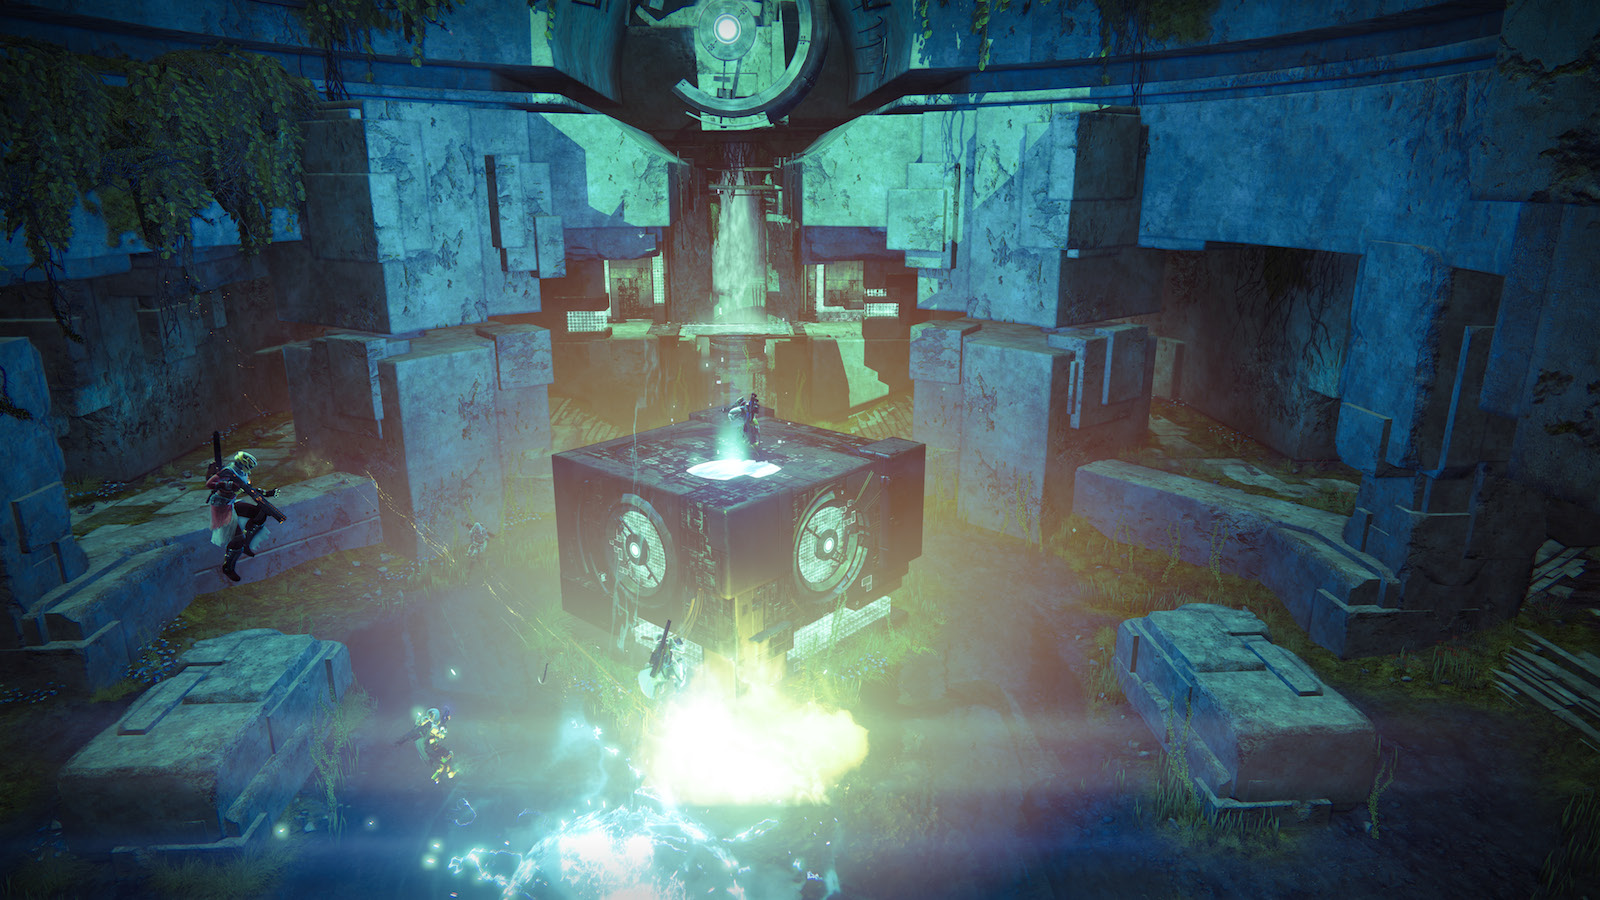
To help call out the enemy position there are a few landmarks that can be spotted on the map. Half of the map has orange lighting effects, while the other side has a light blue lighting effect. The waterfall and large glowing cube signify the middle of the map, so once you determine which side you are on communicate that to your team and work towards the enemy spawns.

Keep reading with a free account

The first 3 sections of Destiny Signature Series Strategy Guide are open to everyone. An account opens the rest of it, and every other guide in the archive. It's free, and there's nothing to buy.

Bought guides on the old Prima Games site? Your account and every guide you own moved here, so there's nothing to buy again. Sign in.

Create a free account Or browse our free guides

PreviousThe Cauldron NextOverview