
Destiny Signature Series Strategy Guide EARTH
The Warmind
 The Warmind
Level 4 Story / The Steppes, Old Russia, Earth
Enemy Race: Fallen
Suggested Damage Types: Arc, Solar (Epic)
Rewards: XP Bonus
Missions Unlocked: The Last Array, The Devils’ Lair Strike, Moon (The Dark Beyond)
Combatant Changes with Heroic or Epic Mission Modifier
|
Objective |
Combatant Changes |
Tip |
|---|---|---|
| Infiltrate the Skywatch | -2 Sword Vandals+3 Stealth Vandals-3 Dreg+3 Rifle Vandals | Keep track of the Stealth Vandals, as they can easily sneak up on you. At the same time, you must take cover from the rifle Vandals. If possible, use melee attacks against the invisible foes to reveal their location, but keep cover between you and the ranged enemies. |
| Infiltrate the Skywatch (Stairwell) | +1 Sword Vandal | Do not let up after the initial encounter. |
| Resist the Fallen | -2 Dregs+2 Rifle Vandals | The rifle Vandals are tougher to take down than the Dregs are. |
| Resist the Fallen – Wave 2 | -4 Dregs+4 Rifle Vandals | Take cover from the rifle Vandals, as they are skilled marksmen. On Epic, Shanks get a Solar shield—just in case the fight isn’t tough enough already. |
| Resist the Fallen – Wave 3 | +1 Servitor+3 Dregs | With another Servitor healing the nearby Dregs, it’s best to take down these enemies quickly. |
Objective:Find the Vehicle Grid
Location:Mothyards
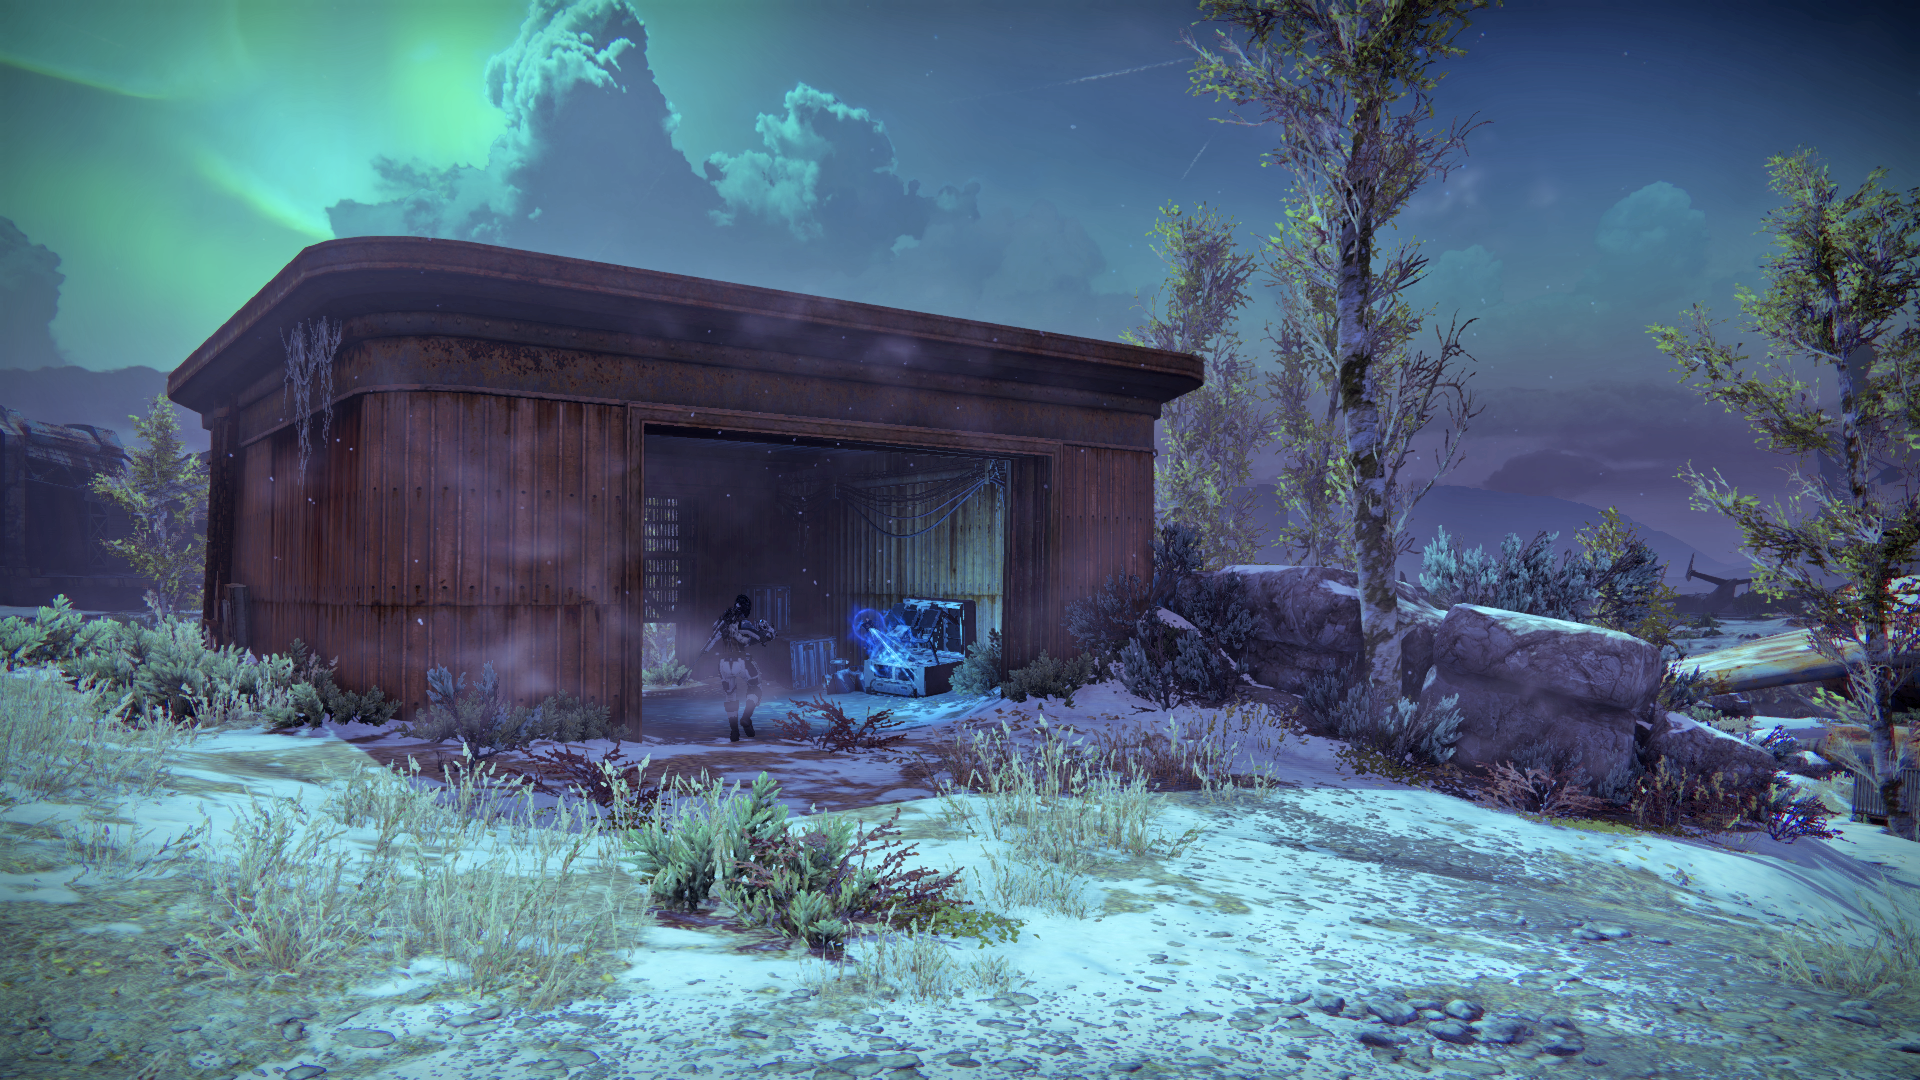
Once again, you are dropped into the Steppes at the start of the mission. Make your way over to Mothyards and find the small shack on the left. Deploy your Ghost at the computer inside to get the vehicle grid back online. This gives you access to your Sparrow.
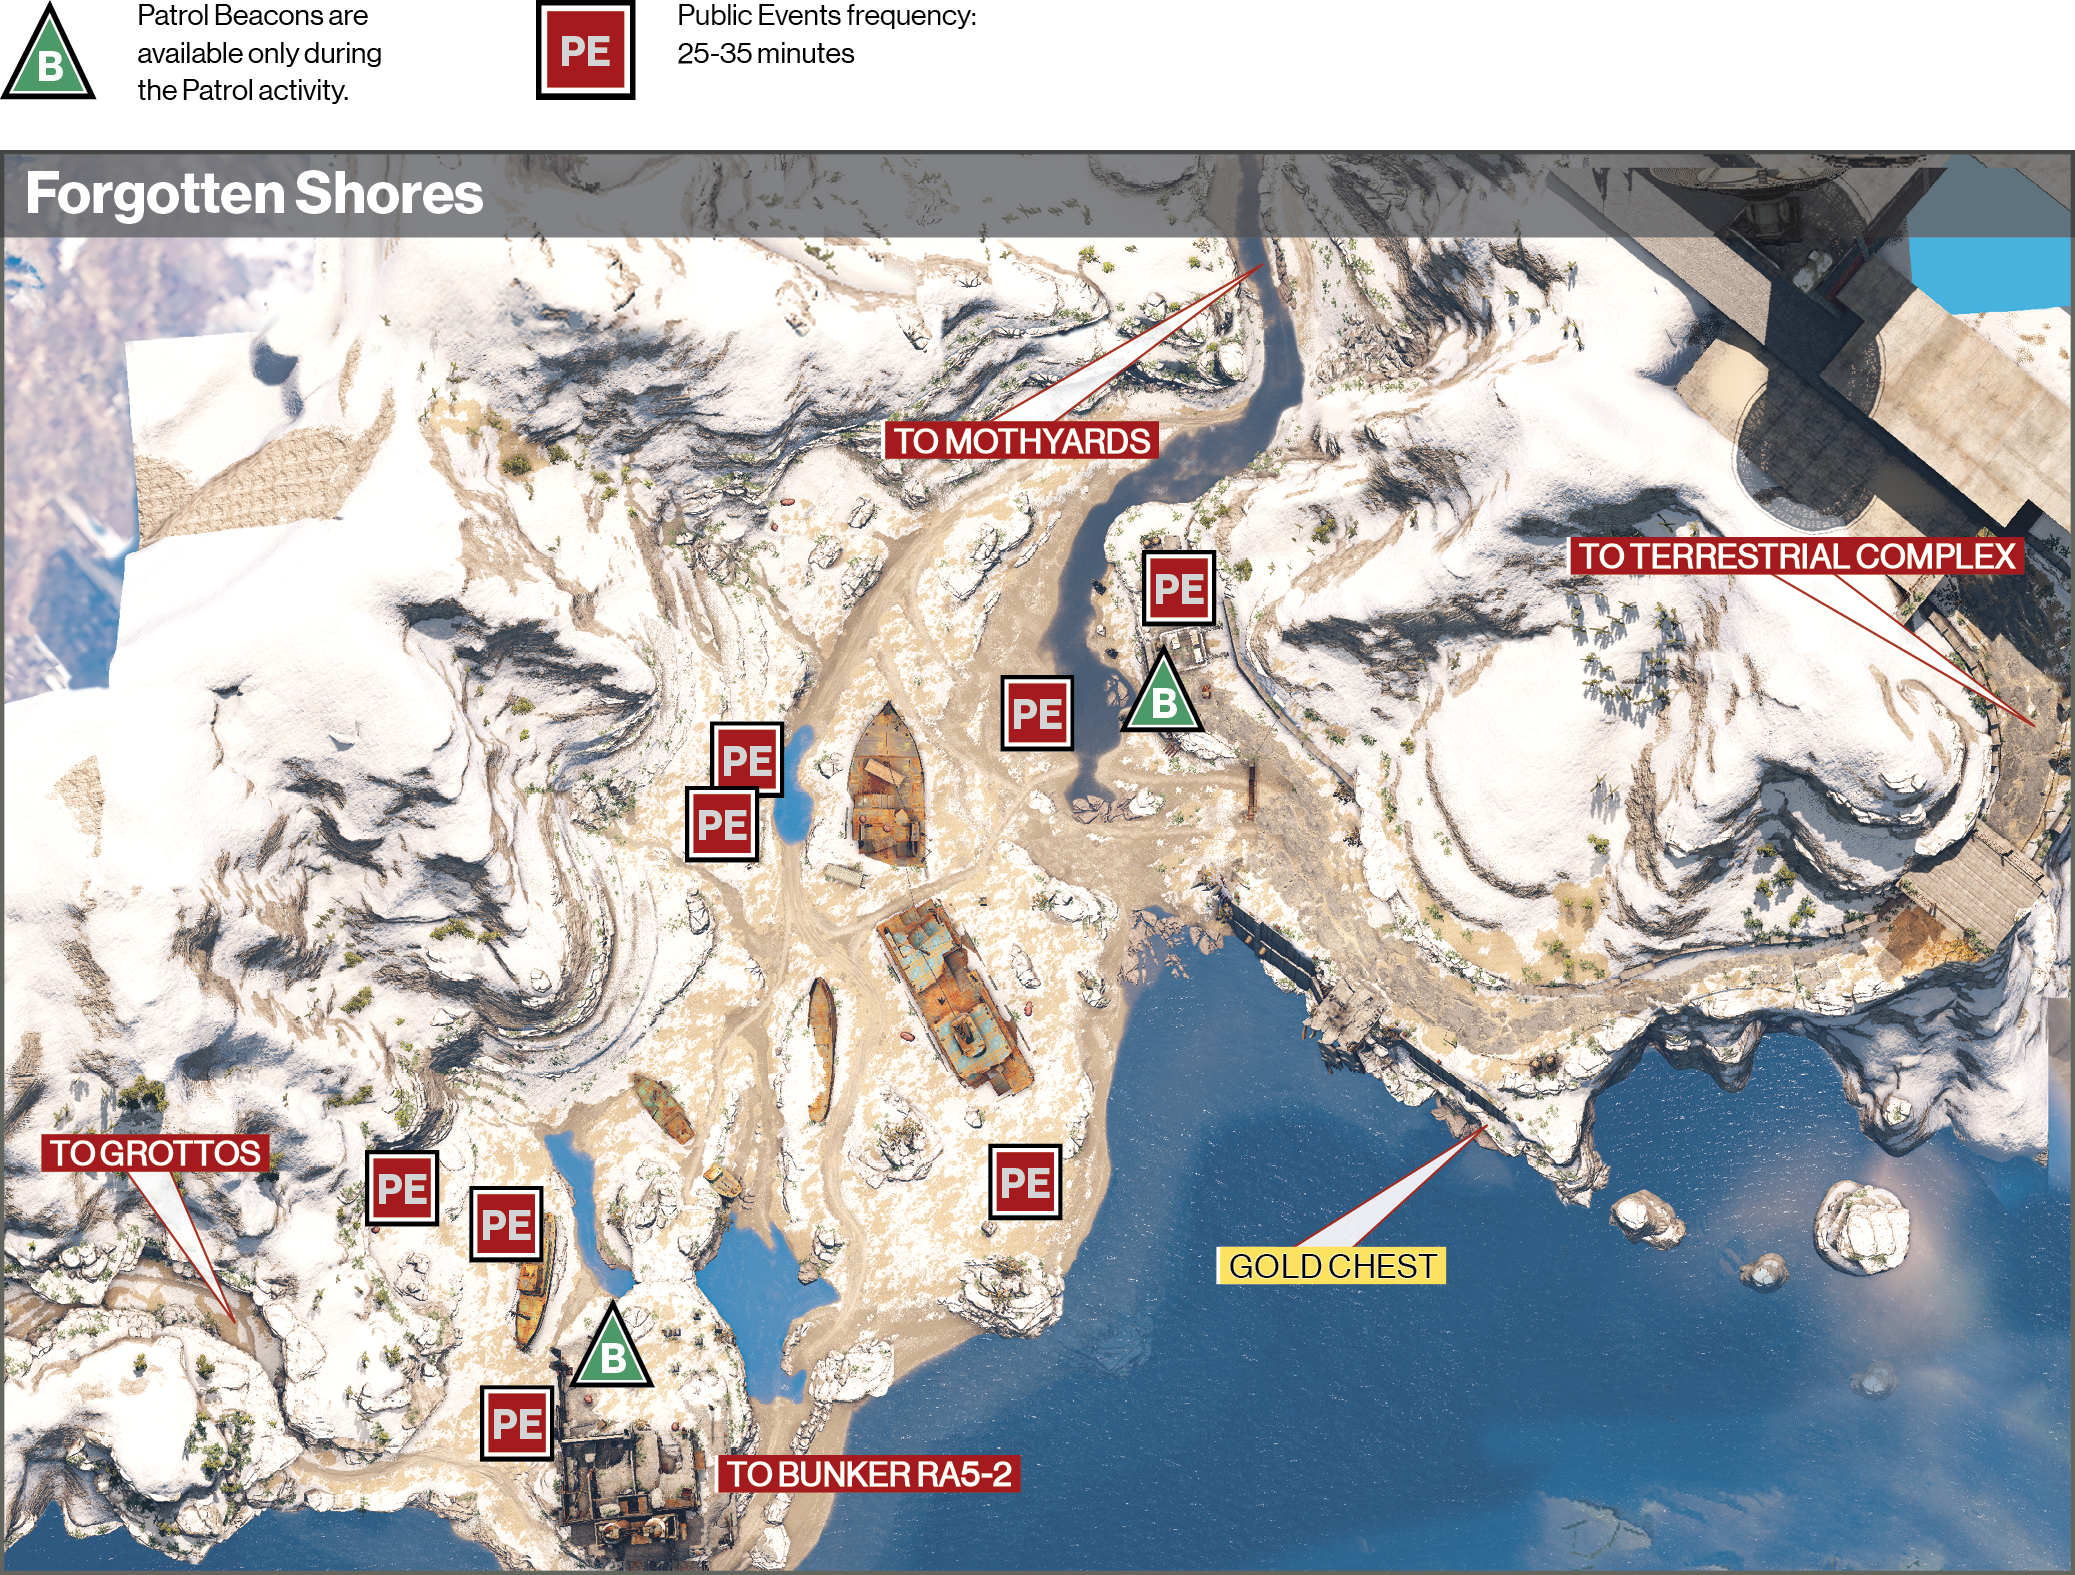
Objective:Reach the Forgotten Shore
Location:Forgotten Shore
Summon your vehicle and ride it through the wrecked airplanes of the Mothyards to a narrow opening near the zone’s opposite corner. Follow this winding path back to Forgotten Shore.
Objective:Scan Fallen Amplifiers

The two amplifiers are marked on your head-up display. One is located atop the nearby ship, and another resides inside the dilapidated building farther down the coast. Both are well-guarded by Fallen, including Captains. Don’t go straight at the first objective without thinning some of the opposition. Instead, jump onto the deck at the doorway on the left, and use it as cover as you clear the area. At the second location, use the cover as you move toward the building to take down the Fallen. Have your Ghost scan both amplifiers to continue your mission.
Objective:Infiltrate the Skywatch
Location:Terrestrial Complex
Your next objective takes you into the Terrestrial Complex at the top of the hill. Follow the road up to the right and wind your way to the entrance, which starts a Darkness Zone. Fallen litter the entire complex, so stay vigilant. Remember, death means getting reset at the start of this zone. A Captain provides the toughest challenge at the start. Take out his minions before focusing your firepower his way.
Objective:Resist the Fallen – Wave 1
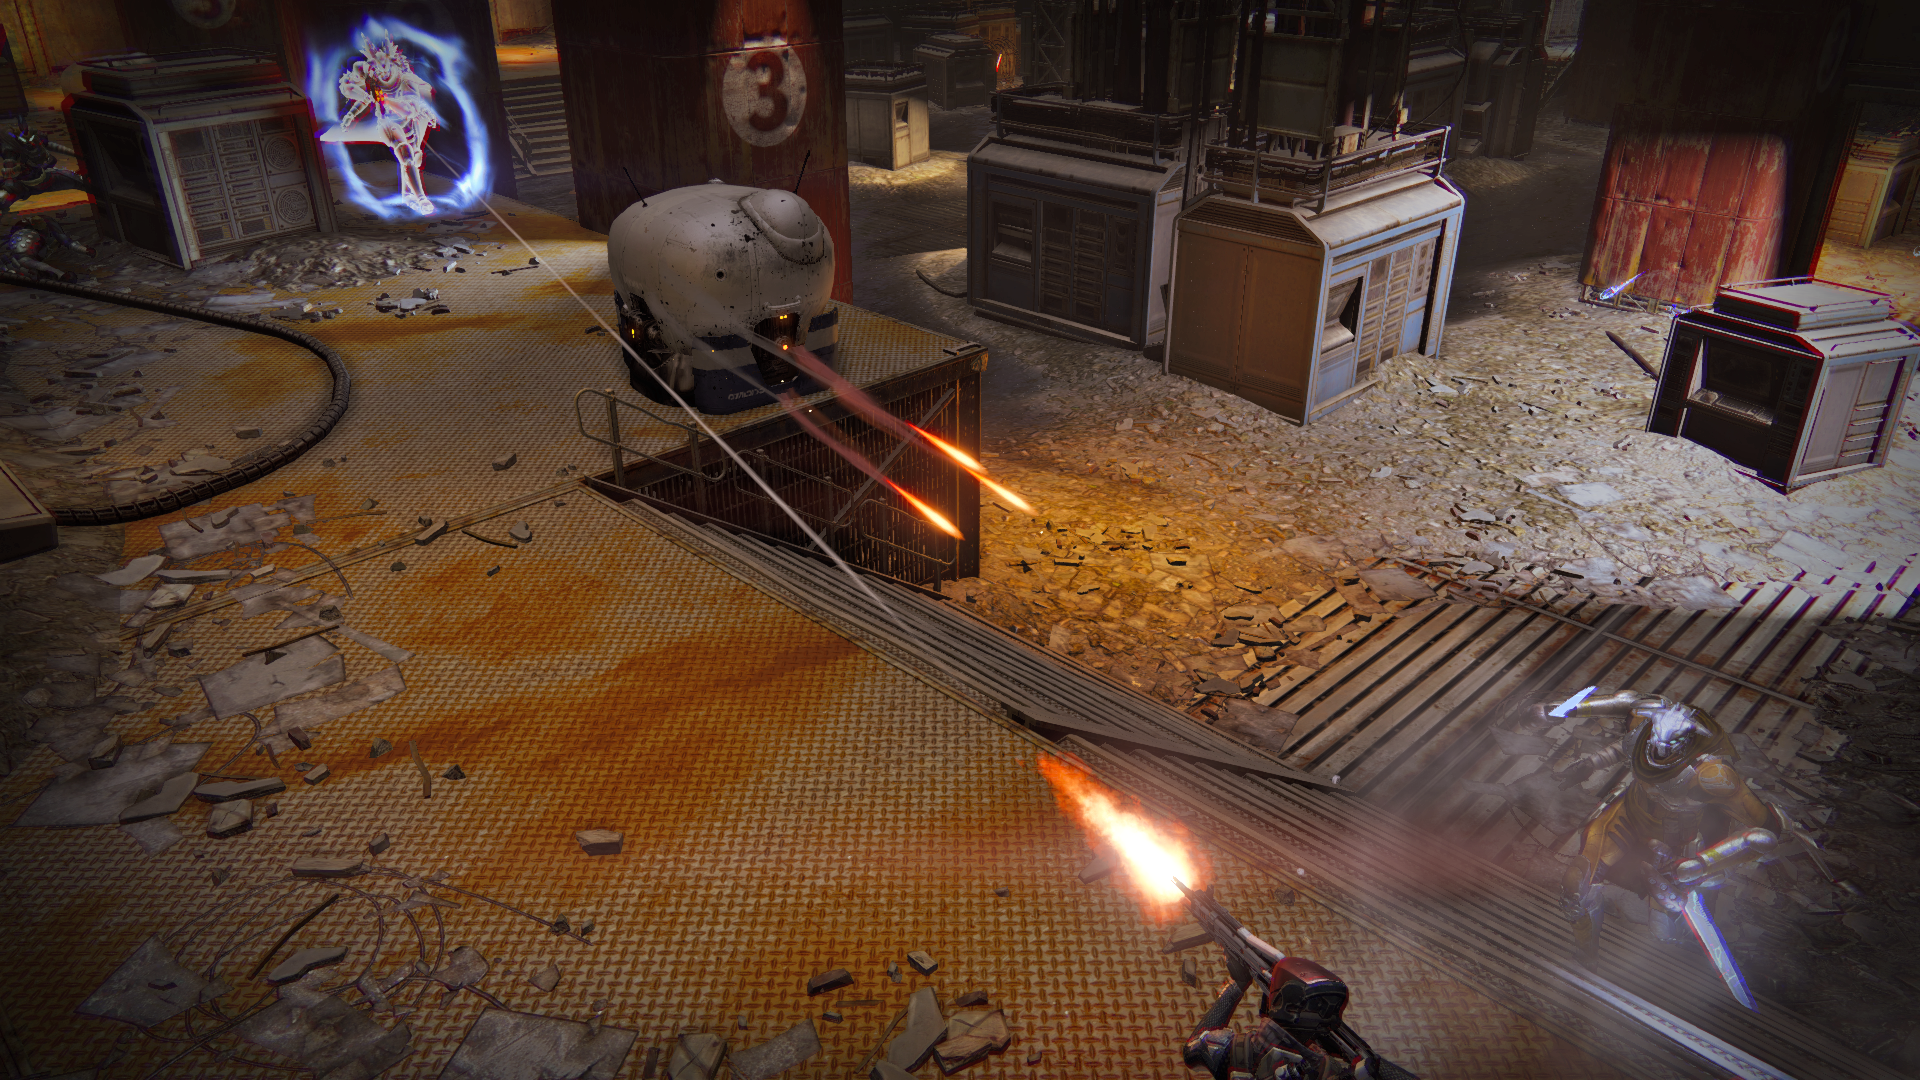
Move up the stairs and enter the final room to find that the Fallen are tapping into a computer on the left platform. Use the equipment and pillars for cover as you take down the Dregs, Stealth Vandal, and Captain. Then, deploy your Ghost at the computer so he can assess the situation. This may take some time, so you must defend him from the Fallen.
Wave 2
A big wave of Fallen appears from the other side of the room. Vandals and Dregs fight from the middle of the room, Captains fire from afar, and Shanks join in midway, immediately closing in on their target. Keep an eye out for the invisible Stealth Vandals as you work on the middle Fallen. Taking down enough of the Fallen causes the Captains to fall back to the other side of the room. This way, you can focus on them after you clear out most of the opposition.
Wave 3
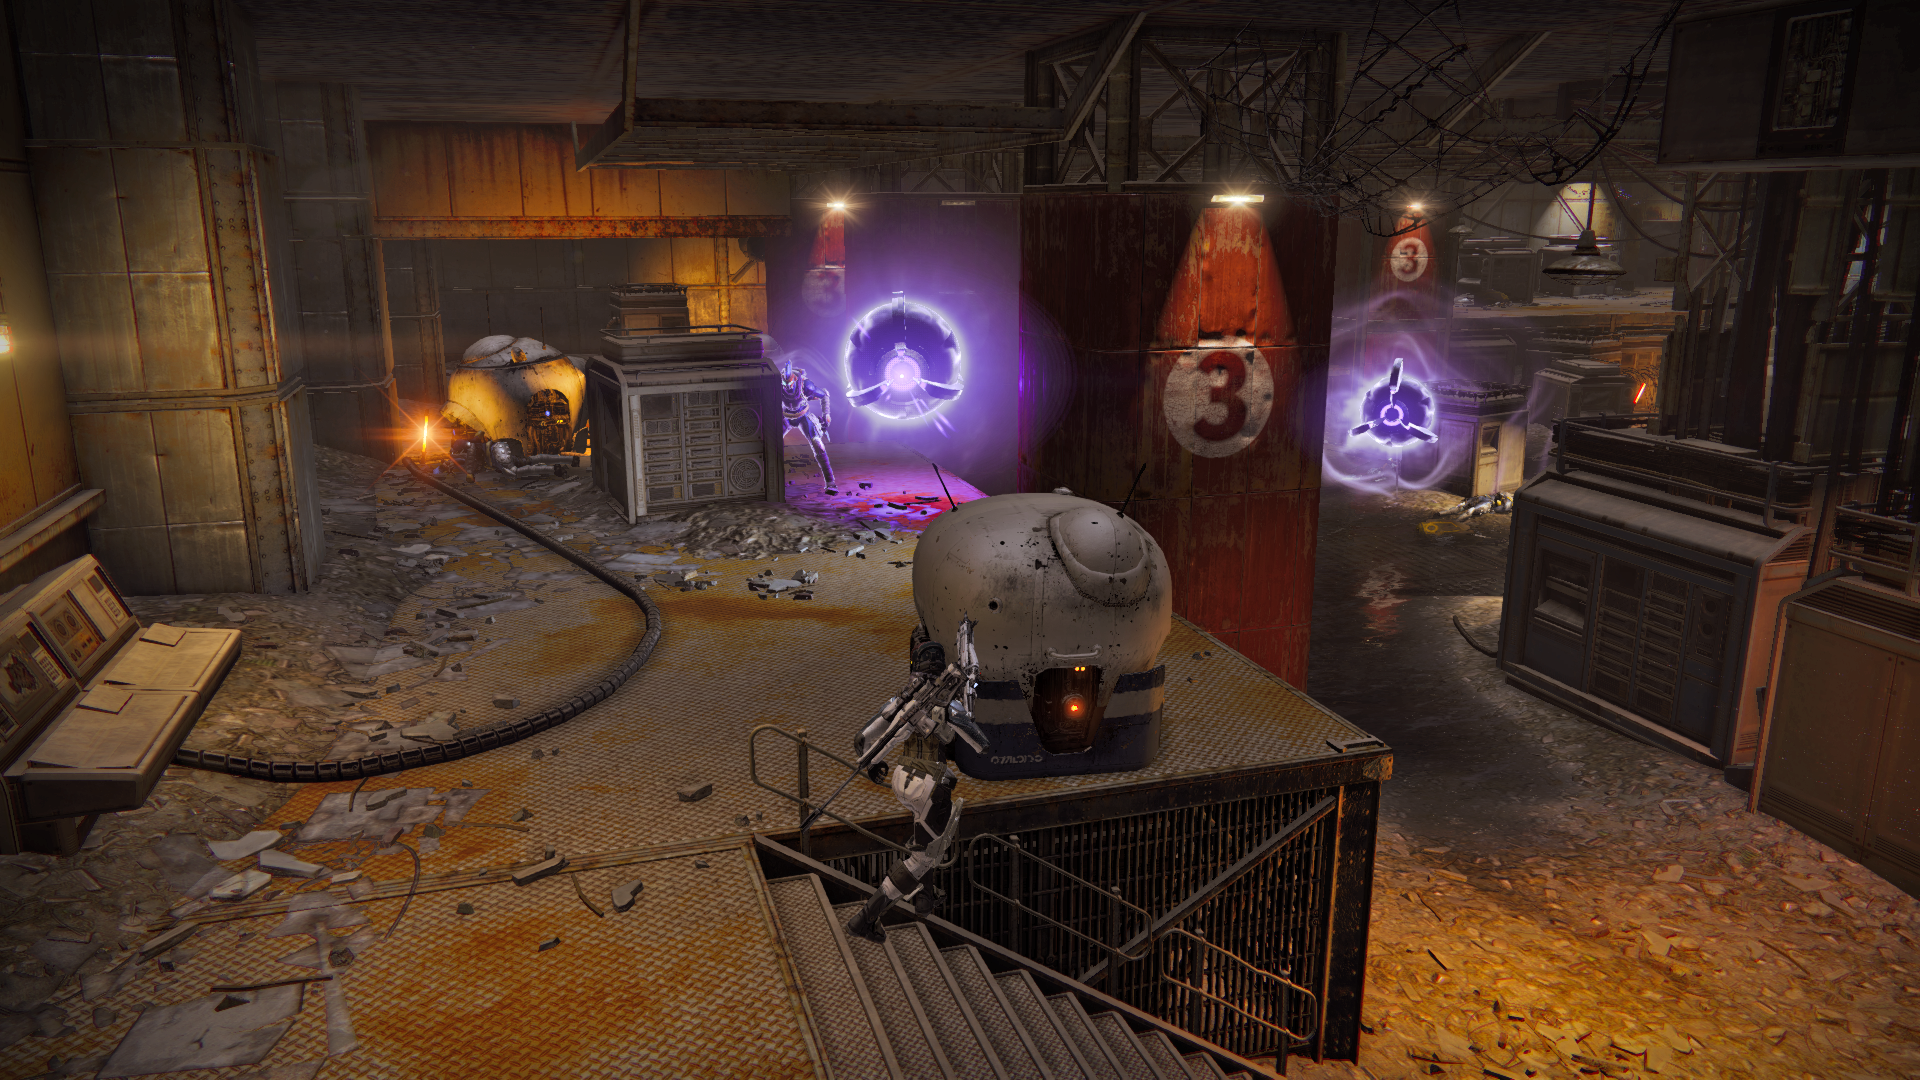
Once you finish the second wave, a couple Servitors enter the room, accompanied by some Dregs. Servitors have an aura that heals nearby Fallen, so it’s good to concentrate on them whenever possible. Focus continuous gunfire at their “eye” for the quickest takedown. The small enclosure, located where you entered this room, offers more cover when things start to get out of hand.
Destroy Fallen Tap
With the room void of Fallen, you can now take some time to eliminate their tap. A core is raised from the top of the computer, so fire at it until you destroy it, completing the mission.