
Prima Games eGuides
primagames.com Browse Redeem a code Help
Destiny Signature Series Strategy Guide
Sign in My Guides

Sign in or create an account

We'll email you a link. No password needed, and if you don't have an account yet, the link makes one.

By creating an account or signing in, you agree to our Terms of Service and Privacy Policy.

Have a password?

Had an account on the old eGuides site, or a code from a printed guide? Help and troubleshooting

Sign in with a password

By signing in, you agree to our Terms of Service and Privacy Policy.

Check your email

A sign-in link is on its way. It works once and expires in 15 minutes. Open it and you're in, with an account if you didn't already have one.

Contents

  • Introduction
    • About Destiny
  • Field Manual
    • Welcome to Destiny
    • Your Character
    • Character Classes
      • TITAN
      • HUNTER
      • WARLOCK
    • Combat
    • Vehicles
    • Builds
    • Equipment
    • Customization
    • Inventory
    • Progression
    • Difficulty
    • Navigation
  • TOWER
    • About The Tower
    • A Guardian Rises
    • Overview
    • Tower Plaza – Tower Watch
    • Tower Plaza – Hall of Guardians
    • North Tower
    • Tower Hangar
    • Tower Plaza – Traveler's Walk
    • Bounties
  • EARTH
    • Overview
    • Restoration
    • The Dark Within
    • The Warmind
    • The Last Array
    • STRIKE: The Devils' Lair
    • PATROL: Patrol The Cosmodrome
  • MOON
    • Overview
    • The Dark Beyond
    • The World's Grave
    • The Sword of Crota
    • Shrine of Oryx
    • Chamber of Night
    • STRIKE: The Summoning Pits
    • PATROL: Patrol The Moon
  • VENUS
    • Overview
    • A Stranger's Call
    • Ishtar Collective
    • The Archive
    • Scourge of Winter
    • Eye of a Gate Lord
    • STRIKE: Winter's Run
    • STRIKE: The Nexus
    • RAID: Vault of Glass
    • PATROL: Patrol Venus
  • MARS
    • Overview
    • Exclusion Zone
    • The Garden's Spire
    • The Buried City
    • A Rising Tide
    • The Black Garden
    • STRIKE: Cerberus Vae II
    • STRIKE: Dust Palace
    • PATROL: Patrol the Buried City
  • Codex
    • About the Codex
    • The Fallen
    • The Hive
    • The Vex
    • The Cabal
  • Armory
    • Overview
    • Weapons
    • Weapon Stats
    • Weapon Mods
    • Mod Descriptions
    • Mod Lists
    • Weapon Tables
    • Weapon Drop Locations
    • Weapon Charts
    • Mod Stat Charts
    • Handling Charts
    • Inventory Charts
    • Magazine Charts
    • Range Charts
    • Velocity Charts
    • Reload Charts
    • Stability Charts
    • Recoil Patterns
    • Armor
    • Armor Mods
    • Exotics
  • Crucible
    • Overview
    • PvP Combat
    • Game Modes
    • General Game Mode Advice
    • MAP: Anomaly
    • MAP: Asylum
    • MAP: Bastion
    • MAP: Blind Watch
    • MAP: Burning Shrine
    • MAP: Exodus Blue (timed PlayStation exclusive)
    • MAP: Firebase Delphi
    • MAP: First Light
    • MAP: Rusted Lands
    • MAP: Shores of Time
    • MAP: Twilight Gap
  • Expansion I: The Dark Below
    • Introduction
    • Missions
      • Overview
      • Fist of Crota
      • Siege of the Warmind
      • The Wakening
      • Ritual of Sacrifice
    • Eris Morn Quests
      • Disciples of Crota
      • The Urn of Sacrifice
    • Strikes
      • STRIKE: The Undying Mind (Timed PlayStation Exclusive)
      • STRIKE: The Will of Crota
    • Eris Morn Bounties
    • Crucible Maps
      • Skyshock
      • The Cauldron
      • Pantheon
  • Trophies & Achievements
    • Overview
    • Specialization
    • Gear and Vehicles
    • Kill Enemies
    • Strikes and Raid
    • The Crucible
    • Patrol and More

Destiny Signature Series Strategy Guide › Expansion I: The Dark Below › Missions

The Wakening

The Wakening

Level 26 Story / Ocean of Storms, Earth’s Moon

Enemy Races: Hive, Fallen

Suggested Damage Type: Solar

Rewards: Cyrptarch Engram, XP Bonus, Ascendent Materials (level 30 only)

Objective: Enter the Temple of Crota

Location: Archer’s Line

Take the path to the right from Archer’s Line into the Anchor of Light. From there, stay to the right to find the path to the Temple of Crota. Be ready for a fight, though, as a ship will warp in and spawn a couple of Wizards and a small squad of Acolytes.
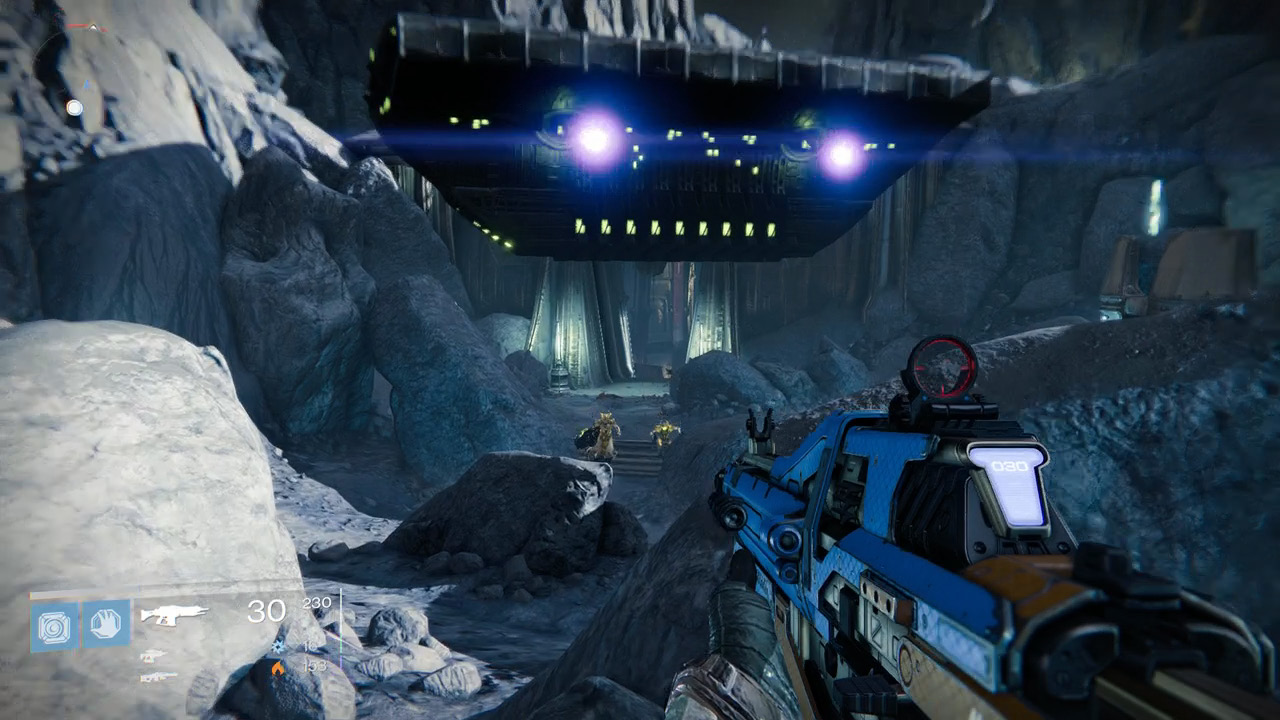
Dodging Damage

The Hive ship will send a volley of Void damage your way, so be ready to dodge it!

Before entering the Temple, make sure to stock up on ammo, as there are groups of enemies awaiting the Guardians’ arrival. Move from cover to cover and line up critical hits to increase your odds of surviving the encounters inside.

Location: Temple of Crota

Once inside The World’s Grave, the Guardians will be tasked with defeating a Shrieker, as well as group after group of Cursed Thrall.
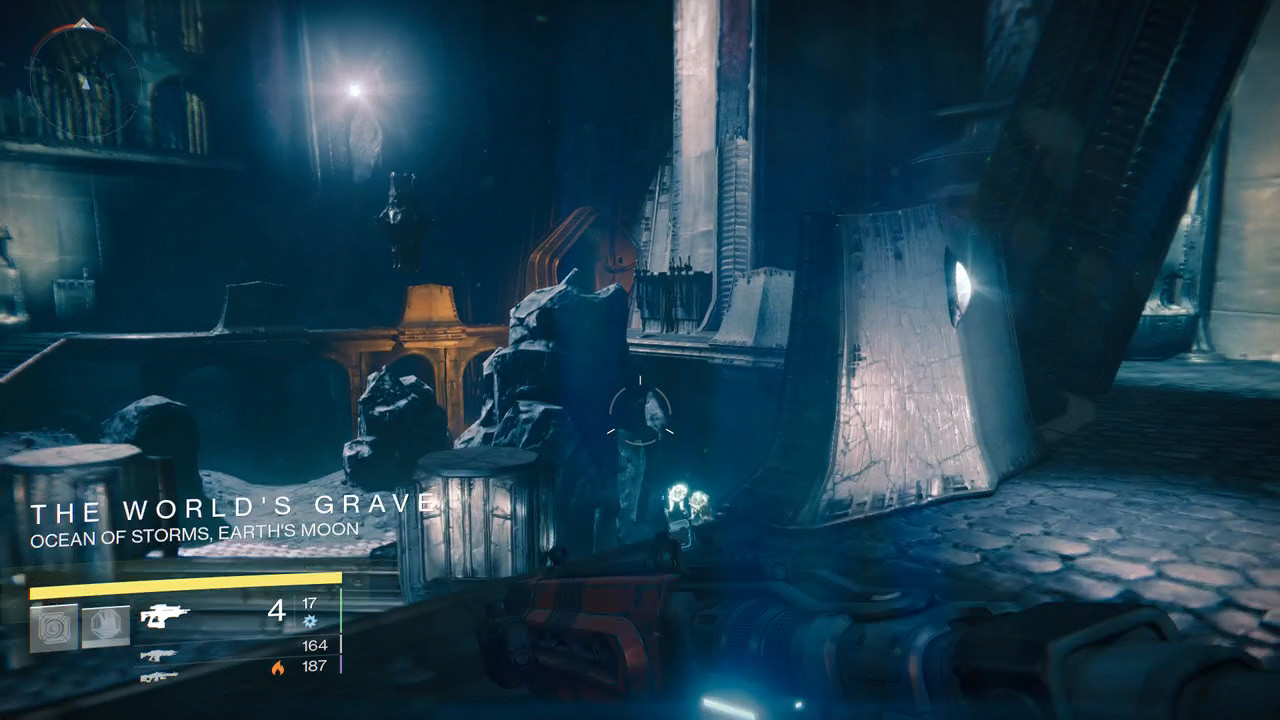
Cursed Thrall

Killing a Cursed Thrall causes an explosion that can cause a chain reaction exploding other Cursed Thrall and damaging all nearby enemies.

The rest of The World’s Grave is completely void of light; eventually, you will step into the Chamber of Night, which is a Darkness Zone so be ready for a battle. Vestige’s litter the chamber, complicating the battle on your push to find Crota. A considerable number of Thrall will attack once you enter the second area in the Chamber Of Night, so stay behind the rocks and take out the Thrall before moving forward to fight the Acolytes.

Objective: Find The Wakening Ritual

Location: The Chamber of Night

When the mission objective appears, you’ll already be fighting a few Hive Knights and their accompanying Acolytes. Pushing forward after that fight, a few Thrall will attack. Defeat them and prepare to fight a Hallowed Ogre. When the Ogre is spotted, retreat slightly down the stairs while maintaining a line of sight on the target. Use columns to get in position, preventing the Ogre from landing hits on you.
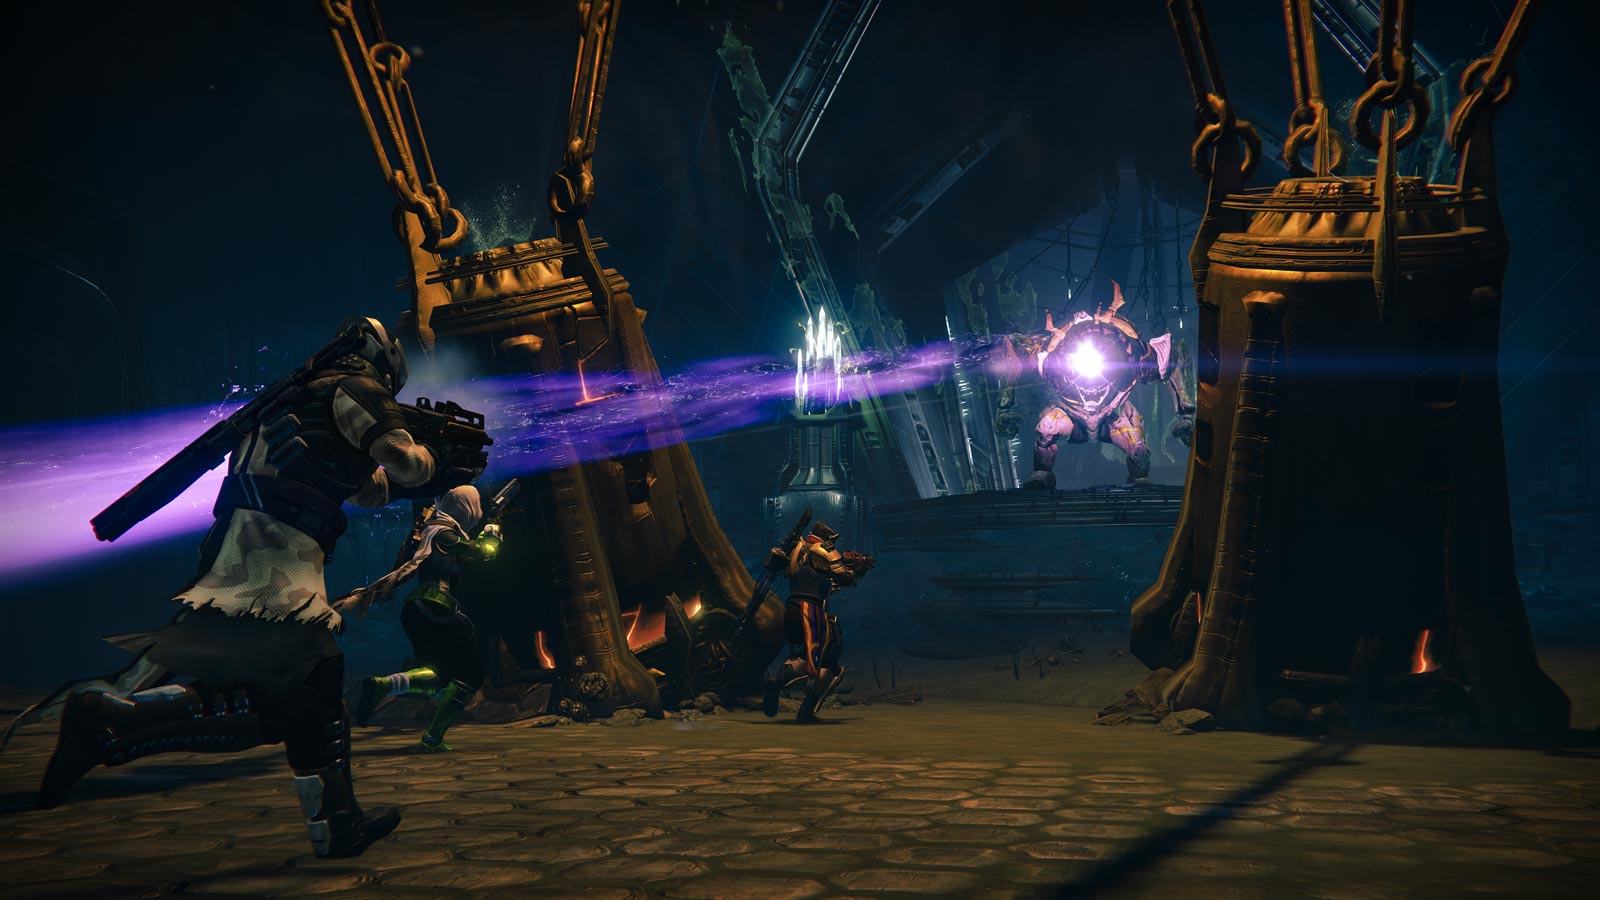
After the Ogre is defeated, all that’s left is the final battle to stop the Wakening Ritual.

Objective: Destroy Crota’s Soul

Location: The Chamber of Night

When the Guardians enter the final chamber, a Vestige will immediately be summoned in the "Hallway" from which you came. Dispose of the four Hive Knights before engaging the Wakers of Crota.
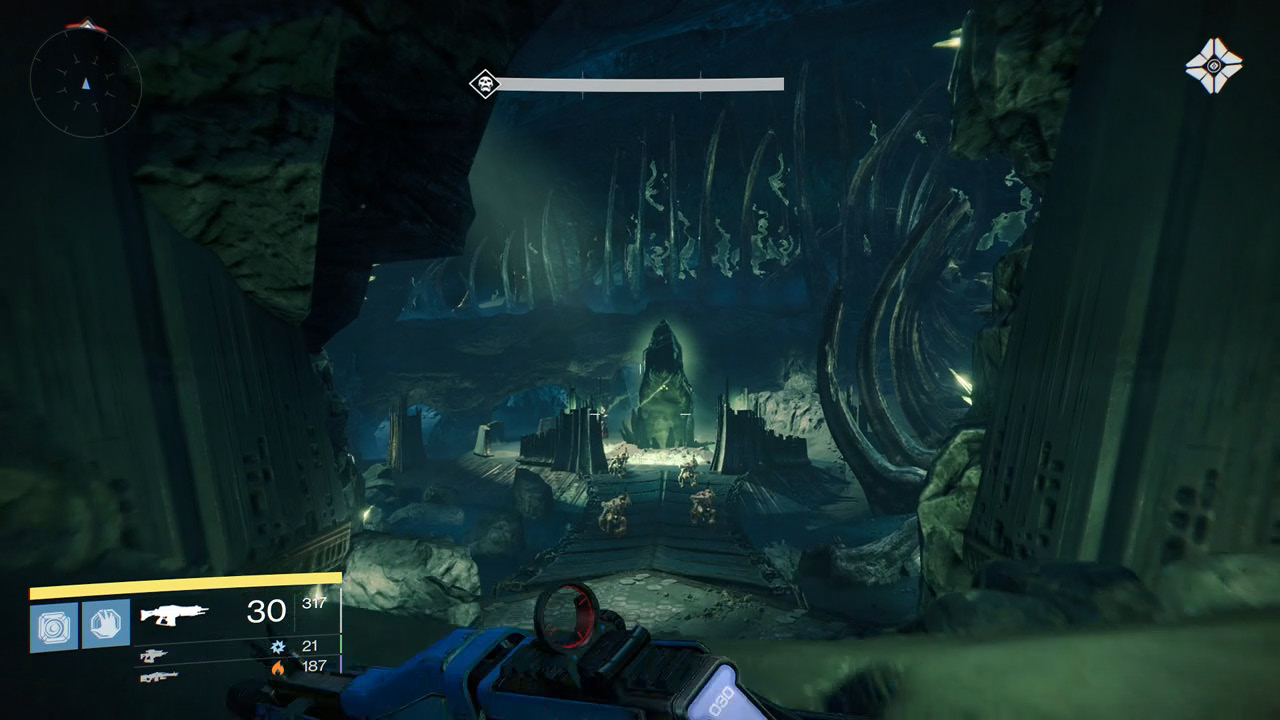
Using a Super or Heavy Weapon on the unsuspecting Wakers can eliminate one or two of them right away. A few Thralls and Cursed Thralls will spawn during this fight so stay on the move. Head towards the opposite side of the entrance into a small cave-like area to find cover.

After defeating the fourth Waker of Crota, the crystal containing the Soul of Crota rises from the ground. Start hammering away on the Soul, but watch out for a spawn of enemies.

Soul of Crota

When using your Super or Rocket Launcher against Crota, be on the lookout for the rock fragments that orbit him. They will completely block the attack, resulting in no direct damage to Crota.

The Soul of Crota will attack with a slow moving green orb that deals heavy damage to the Guardians. Staying in the previously mentioned cave area will help negate this attack, as most of them will hit the roof.
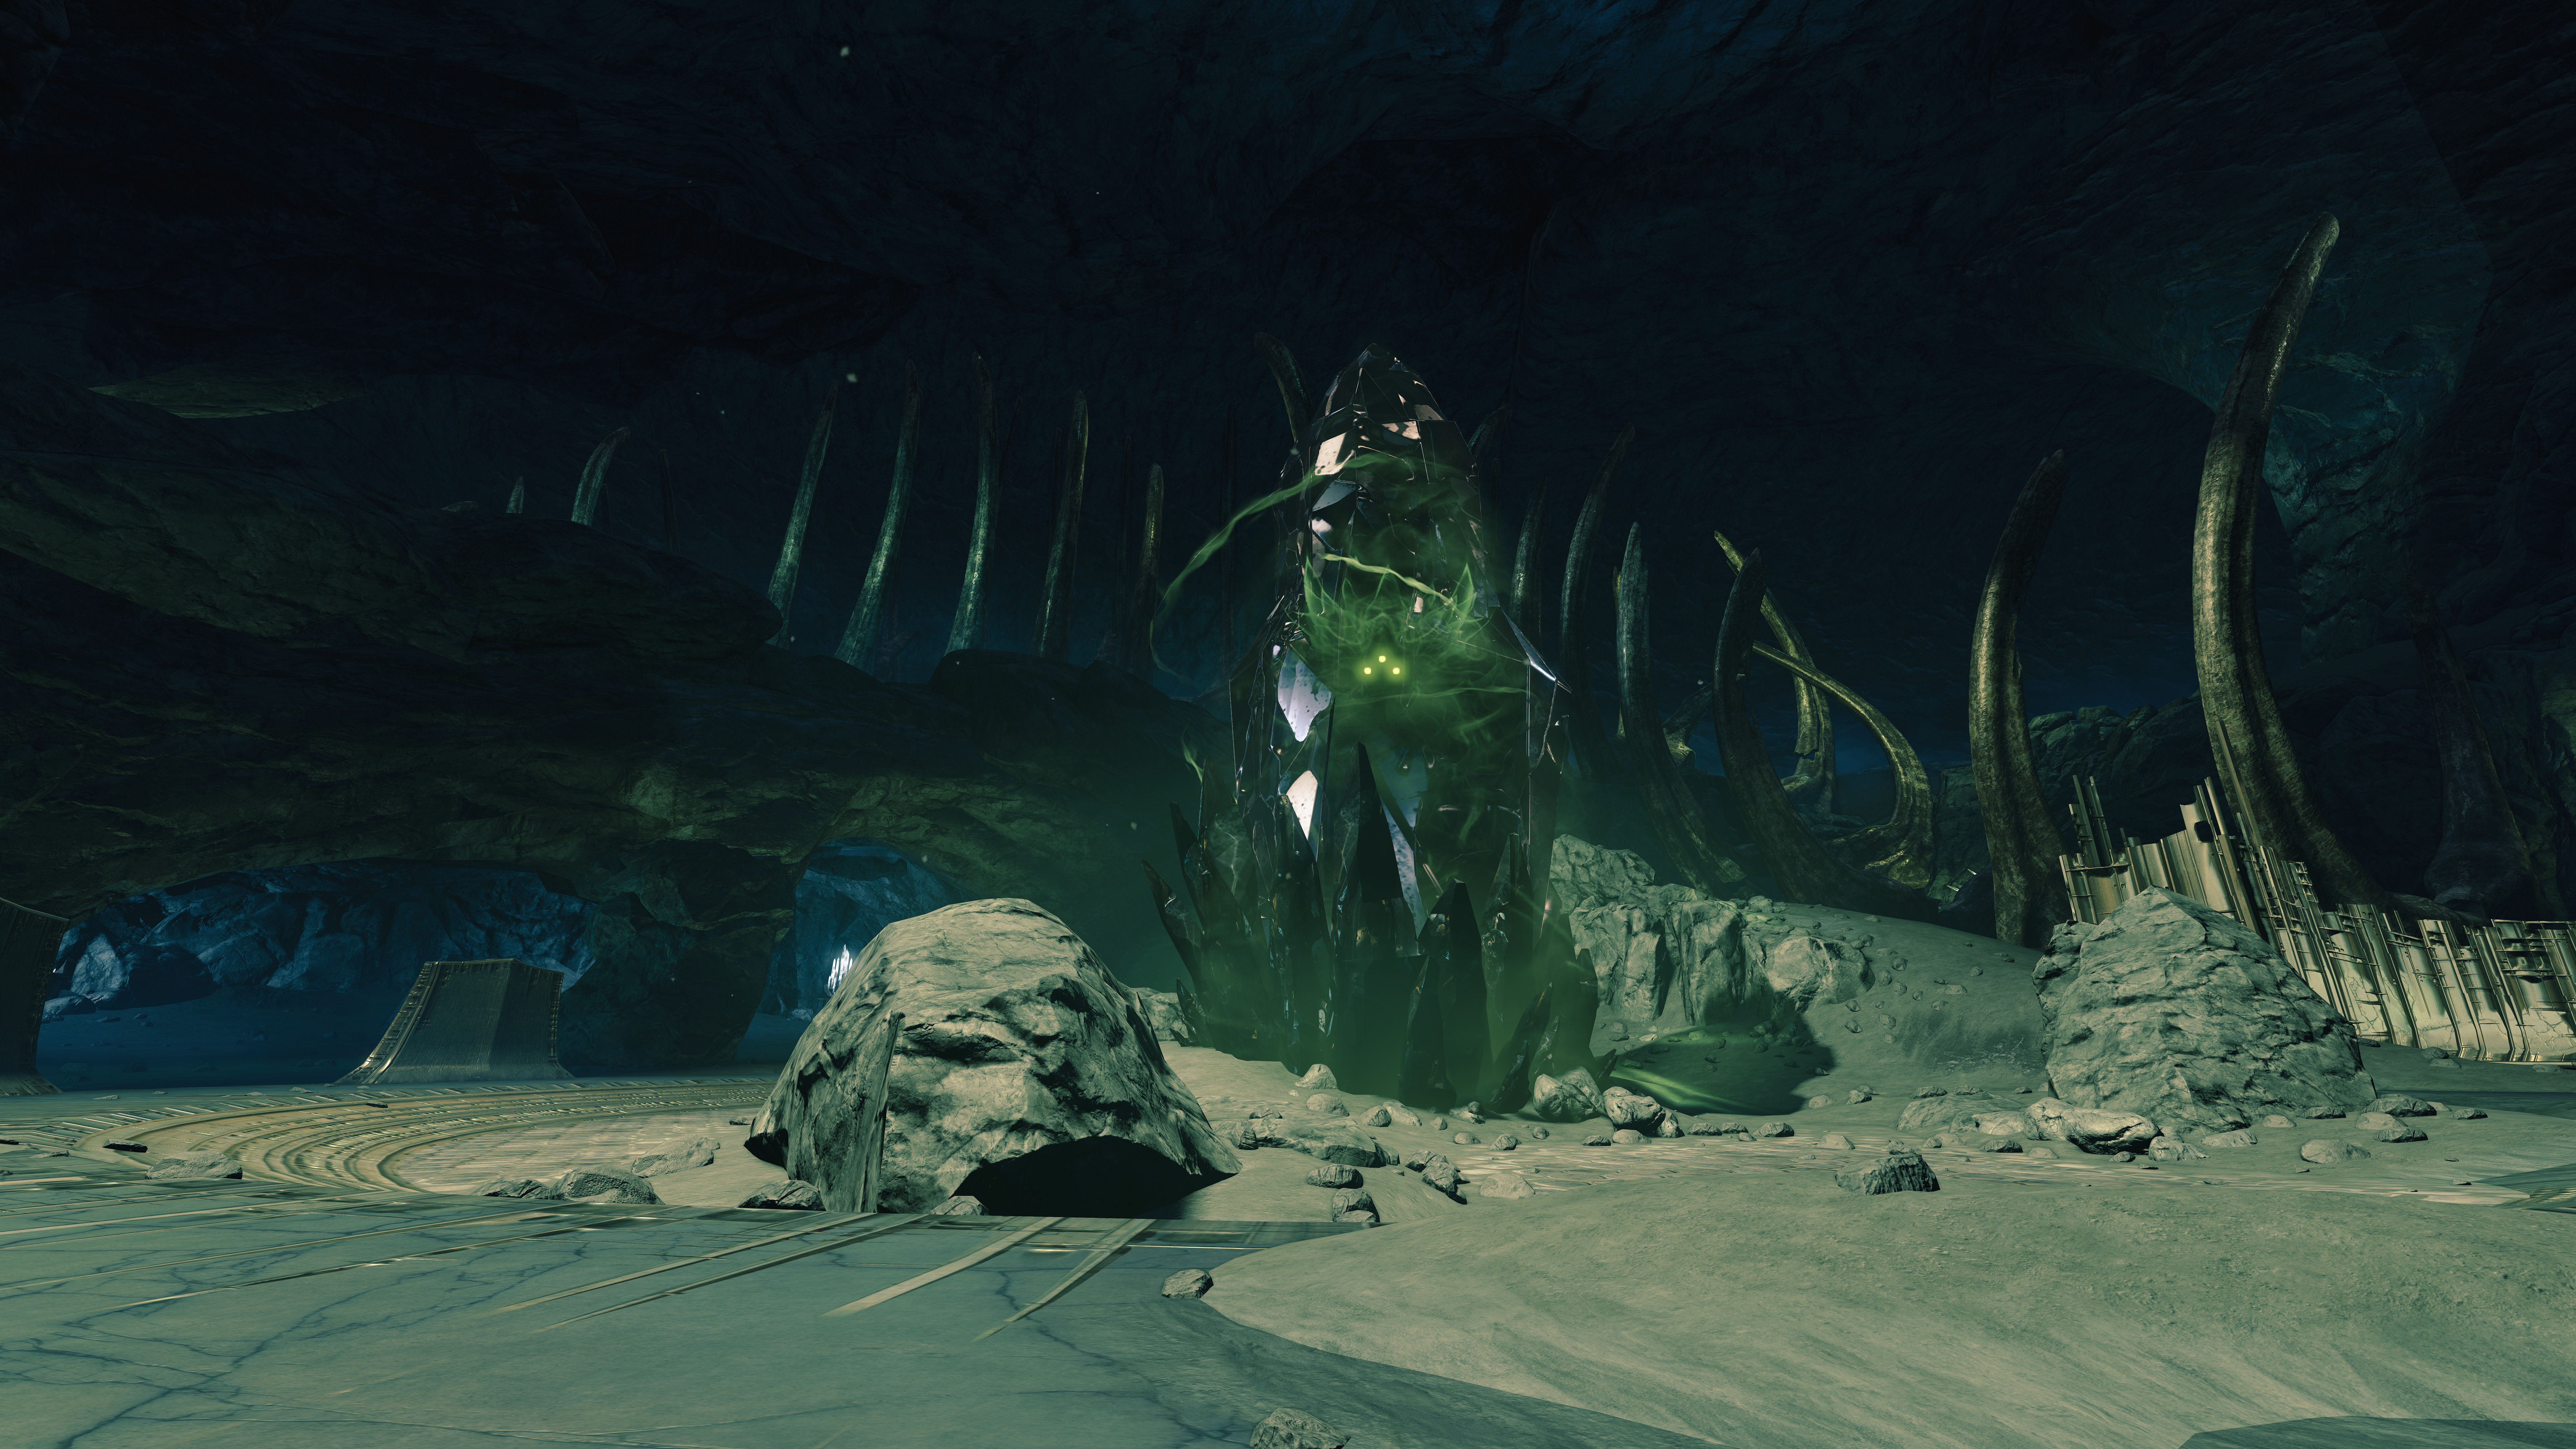
Once the crystal is shattered, the Soul of Crota will be destroyed and peace will return to the Chamber of Night. Completion will grant rare engrams for a primary and special weapon. Return to Eris in the tower to complete The Wakening Quest Step and receive Murmur, a Fusion Rifle that can swap between Solar and Arc Damage.

Keep reading with a free account

The first 3 sections of Destiny Signature Series Strategy Guide are open to everyone. An account opens the rest of it, and every other guide in the archive. It's free, and there's nothing to buy.

Bought guides on the old Prima Games site? Your account and every guide you own moved here, so there's nothing to buy again. Sign in.

Create a free account Or browse our free guides

PreviousSiege of the Warmind NextRitual of Sacrifice