Prima Games eGuides
primagames.com Browse Redeem a code Help
Destiny Signature Series Strategy Guide
Sign in My Guides

Sign in or create an account

We'll email you a link. No password needed, and if you don't have an account yet, the link makes one.

By creating an account or signing in, you agree to our Terms of Service and Privacy Policy.

Have a password?

Had an account on the old eGuides site, or a code from a printed guide? Help and troubleshooting

Sign in with a password

By signing in, you agree to our Terms of Service and Privacy Policy.

Check your email

A sign-in link is on its way. It works once and expires in 15 minutes. Open it and you're in, with an account if you didn't already have one.

Contents

  • Introduction
    • About Destiny
  • Field Manual
    • Welcome to Destiny
    • Your Character
    • Character Classes
      • TITAN
      • HUNTER
      • WARLOCK
    • Combat
    • Vehicles
    • Builds
    • Equipment
    • Customization
    • Inventory
    • Progression
    • Difficulty
    • Navigation
  • TOWER
    • About The Tower
    • A Guardian Rises
    • Overview
    • Tower Plaza – Tower Watch
    • Tower Plaza – Hall of Guardians
    • North Tower
    • Tower Hangar
    • Tower Plaza – Traveler's Walk
    • Bounties
  • EARTH
    • Overview
    • Restoration
    • The Dark Within
    • The Warmind
    • The Last Array
    • STRIKE: The Devils' Lair
    • PATROL: Patrol The Cosmodrome
  • MOON
    • Overview
    • The Dark Beyond
    • The World's Grave
    • The Sword of Crota
    • Shrine of Oryx
    • Chamber of Night
    • STRIKE: The Summoning Pits
    • PATROL: Patrol The Moon
  • VENUS
    • Overview
    • A Stranger's Call
    • Ishtar Collective
    • The Archive
    • Scourge of Winter
    • Eye of a Gate Lord
    • STRIKE: Winter's Run
    • STRIKE: The Nexus
    • RAID: Vault of Glass
    • PATROL: Patrol Venus
  • MARS
    • Overview
    • Exclusion Zone
    • The Garden's Spire
    • The Buried City
    • A Rising Tide
    • The Black Garden
    • STRIKE: Cerberus Vae II
    • STRIKE: Dust Palace
    • PATROL: Patrol the Buried City
  • Codex
    • About the Codex
    • The Fallen
    • The Hive
    • The Vex
    • The Cabal
  • Armory
    • Overview
    • Weapons
    • Weapon Stats
    • Weapon Mods
    • Mod Descriptions
    • Mod Lists
    • Weapon Tables
    • Weapon Drop Locations
    • Weapon Charts
    • Mod Stat Charts
    • Handling Charts
    • Inventory Charts
    • Magazine Charts
    • Range Charts
    • Velocity Charts
    • Reload Charts
    • Stability Charts
    • Recoil Patterns
    • Armor
    • Armor Mods
    • Exotics
  • Crucible
    • Overview
    • PvP Combat
    • Game Modes
    • General Game Mode Advice
    • MAP: Anomaly
    • MAP: Asylum
    • MAP: Bastion
    • MAP: Blind Watch
    • MAP: Burning Shrine
    • MAP: Exodus Blue (timed PlayStation exclusive)
    • MAP: Firebase Delphi
    • MAP: First Light
    • MAP: Rusted Lands
    • MAP: Shores of Time
    • MAP: Twilight Gap
  • Expansion I: The Dark Below
    • Introduction
    • Missions
      • Overview
      • Fist of Crota
      • Siege of the Warmind
      • The Wakening
      • Ritual of Sacrifice
    • Eris Morn Quests
      • Disciples of Crota
      • The Urn of Sacrifice
    • Strikes
      • STRIKE: The Undying Mind (Timed PlayStation Exclusive)
      • STRIKE: The Will of Crota
    • Eris Morn Bounties
    • Crucible Maps
      • Skyshock
      • The Cauldron
      • Pantheon
  • Trophies & Achievements
    • Overview
    • Specialization
    • Gear and Vehicles
    • Kill Enemies
    • Strikes and Raid
    • The Crucible
    • Patrol and More

Destiny Signature Series Strategy Guide › VENUS

Ishtar Collective

Ishtar Collective

Level 11 Story / Headlands, Ishtar Sink, Venus

Enemy Races: Fallen, Vex

Suggested Damage Types: Void, Arc (Epic)

Rewards: XP Bonus, Armor Upgrade

Mission Unlocked: Eye of a Gate Lord

Combatant Changes with Heroic or Epic Mission Modifier

Objective

Combatant Changes

Tip

Eliminate the Fallen Vandal upgraded to Major Vandal —
Hold off the Vex – Wave 1 +2 Vex Squads Be careful not to become surrounded by the Vex—especially the six Minotaur in the final wave. Note that Harpies gain an Arc shield on Epic.
Hold off the Vex – Wave 2 +2 Vex Squads3 Hobgoblins upgraded to Major Hobgoblins
Hold off the Vex – Wave 3 +2 Vex Squads+3 Minotaur2 Minotaur upgraded to Major Minotaur

Objective:Head up the Coast

Location:Shattered Coast

Move back up the Shattered Coast, making a left at the building you visited during the previous mission. Next, continue to the sea before winding your way into Ishtar Cliffs.
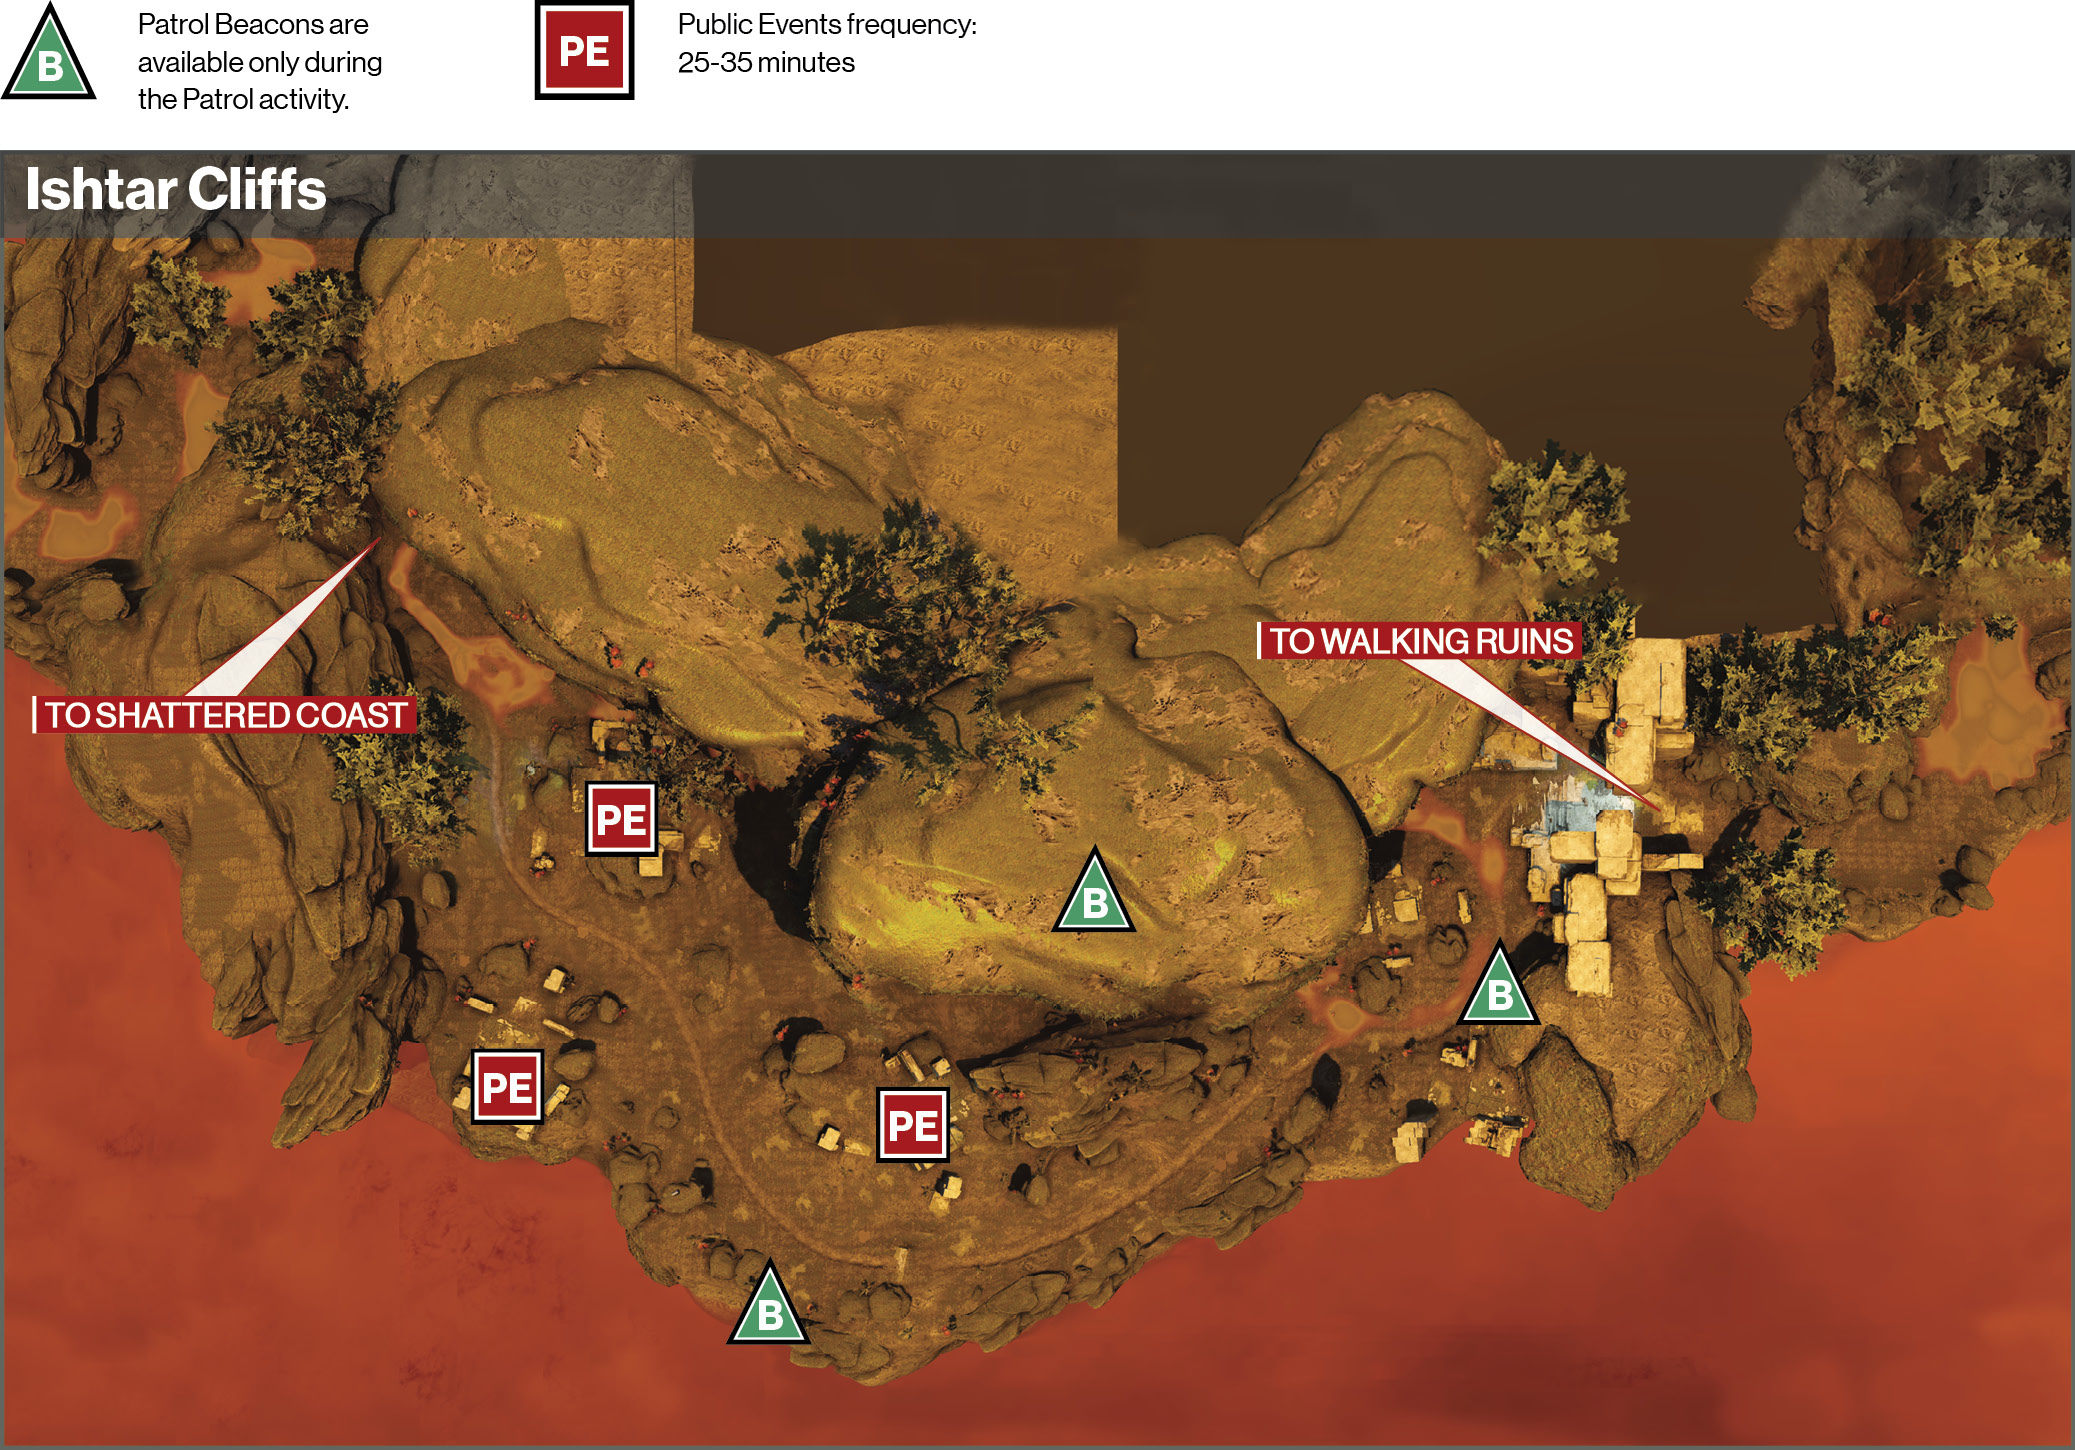
Objective:Find a Mind Core

Location:Ishtar Cliffs
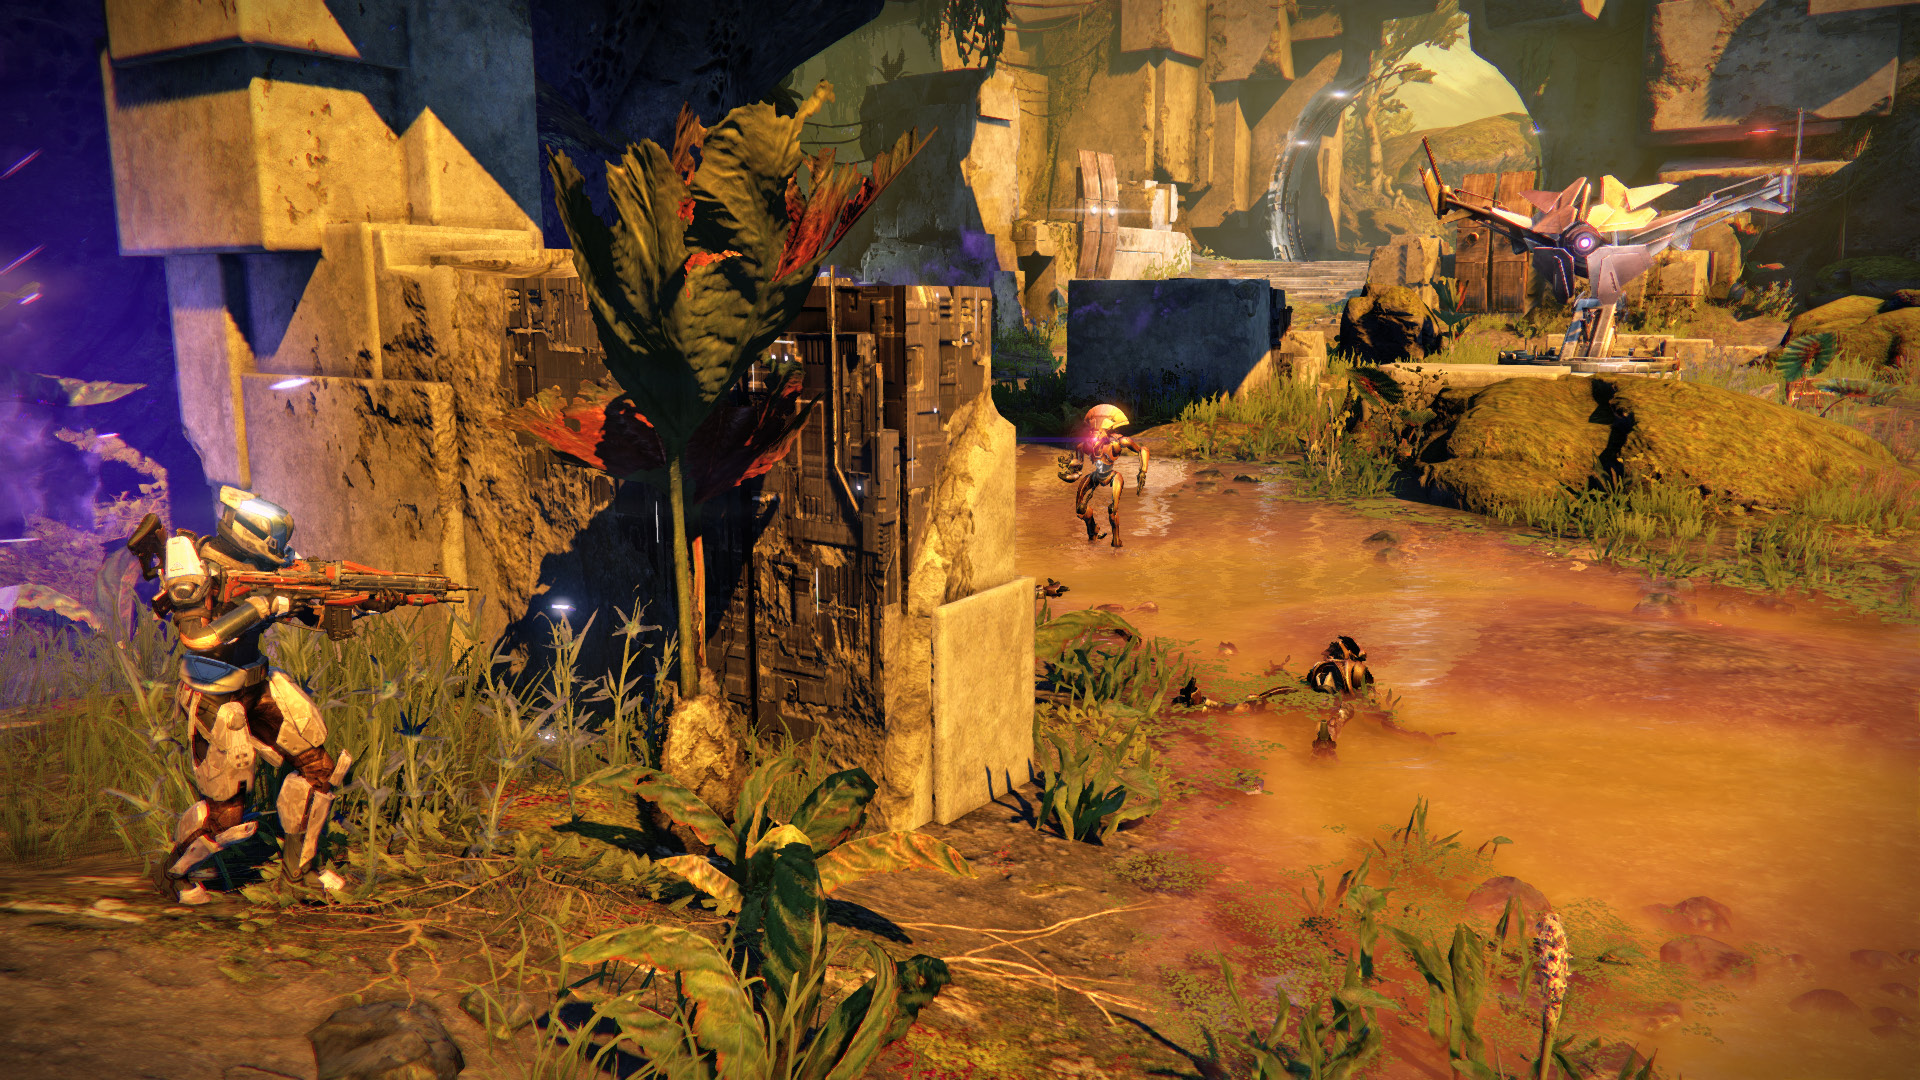
Fallen occupy the first cliffs area, but you can speed directly past. Just ahead, a Cyclops phases into the zone. Harpies, Hobgoblins, and Goblins also inhabit the cliffs. The Cyclops lobs explosive projectiles from its perch, so be ready to sidestep to avoid the impact. Use the short wall for cover, pull out your Heavy Weapon, and fire at its eye. Note that it starts to fire erratically when it’s low on health. After it explodes into little pieces, collect the Vex Mind Core that’s left behind.
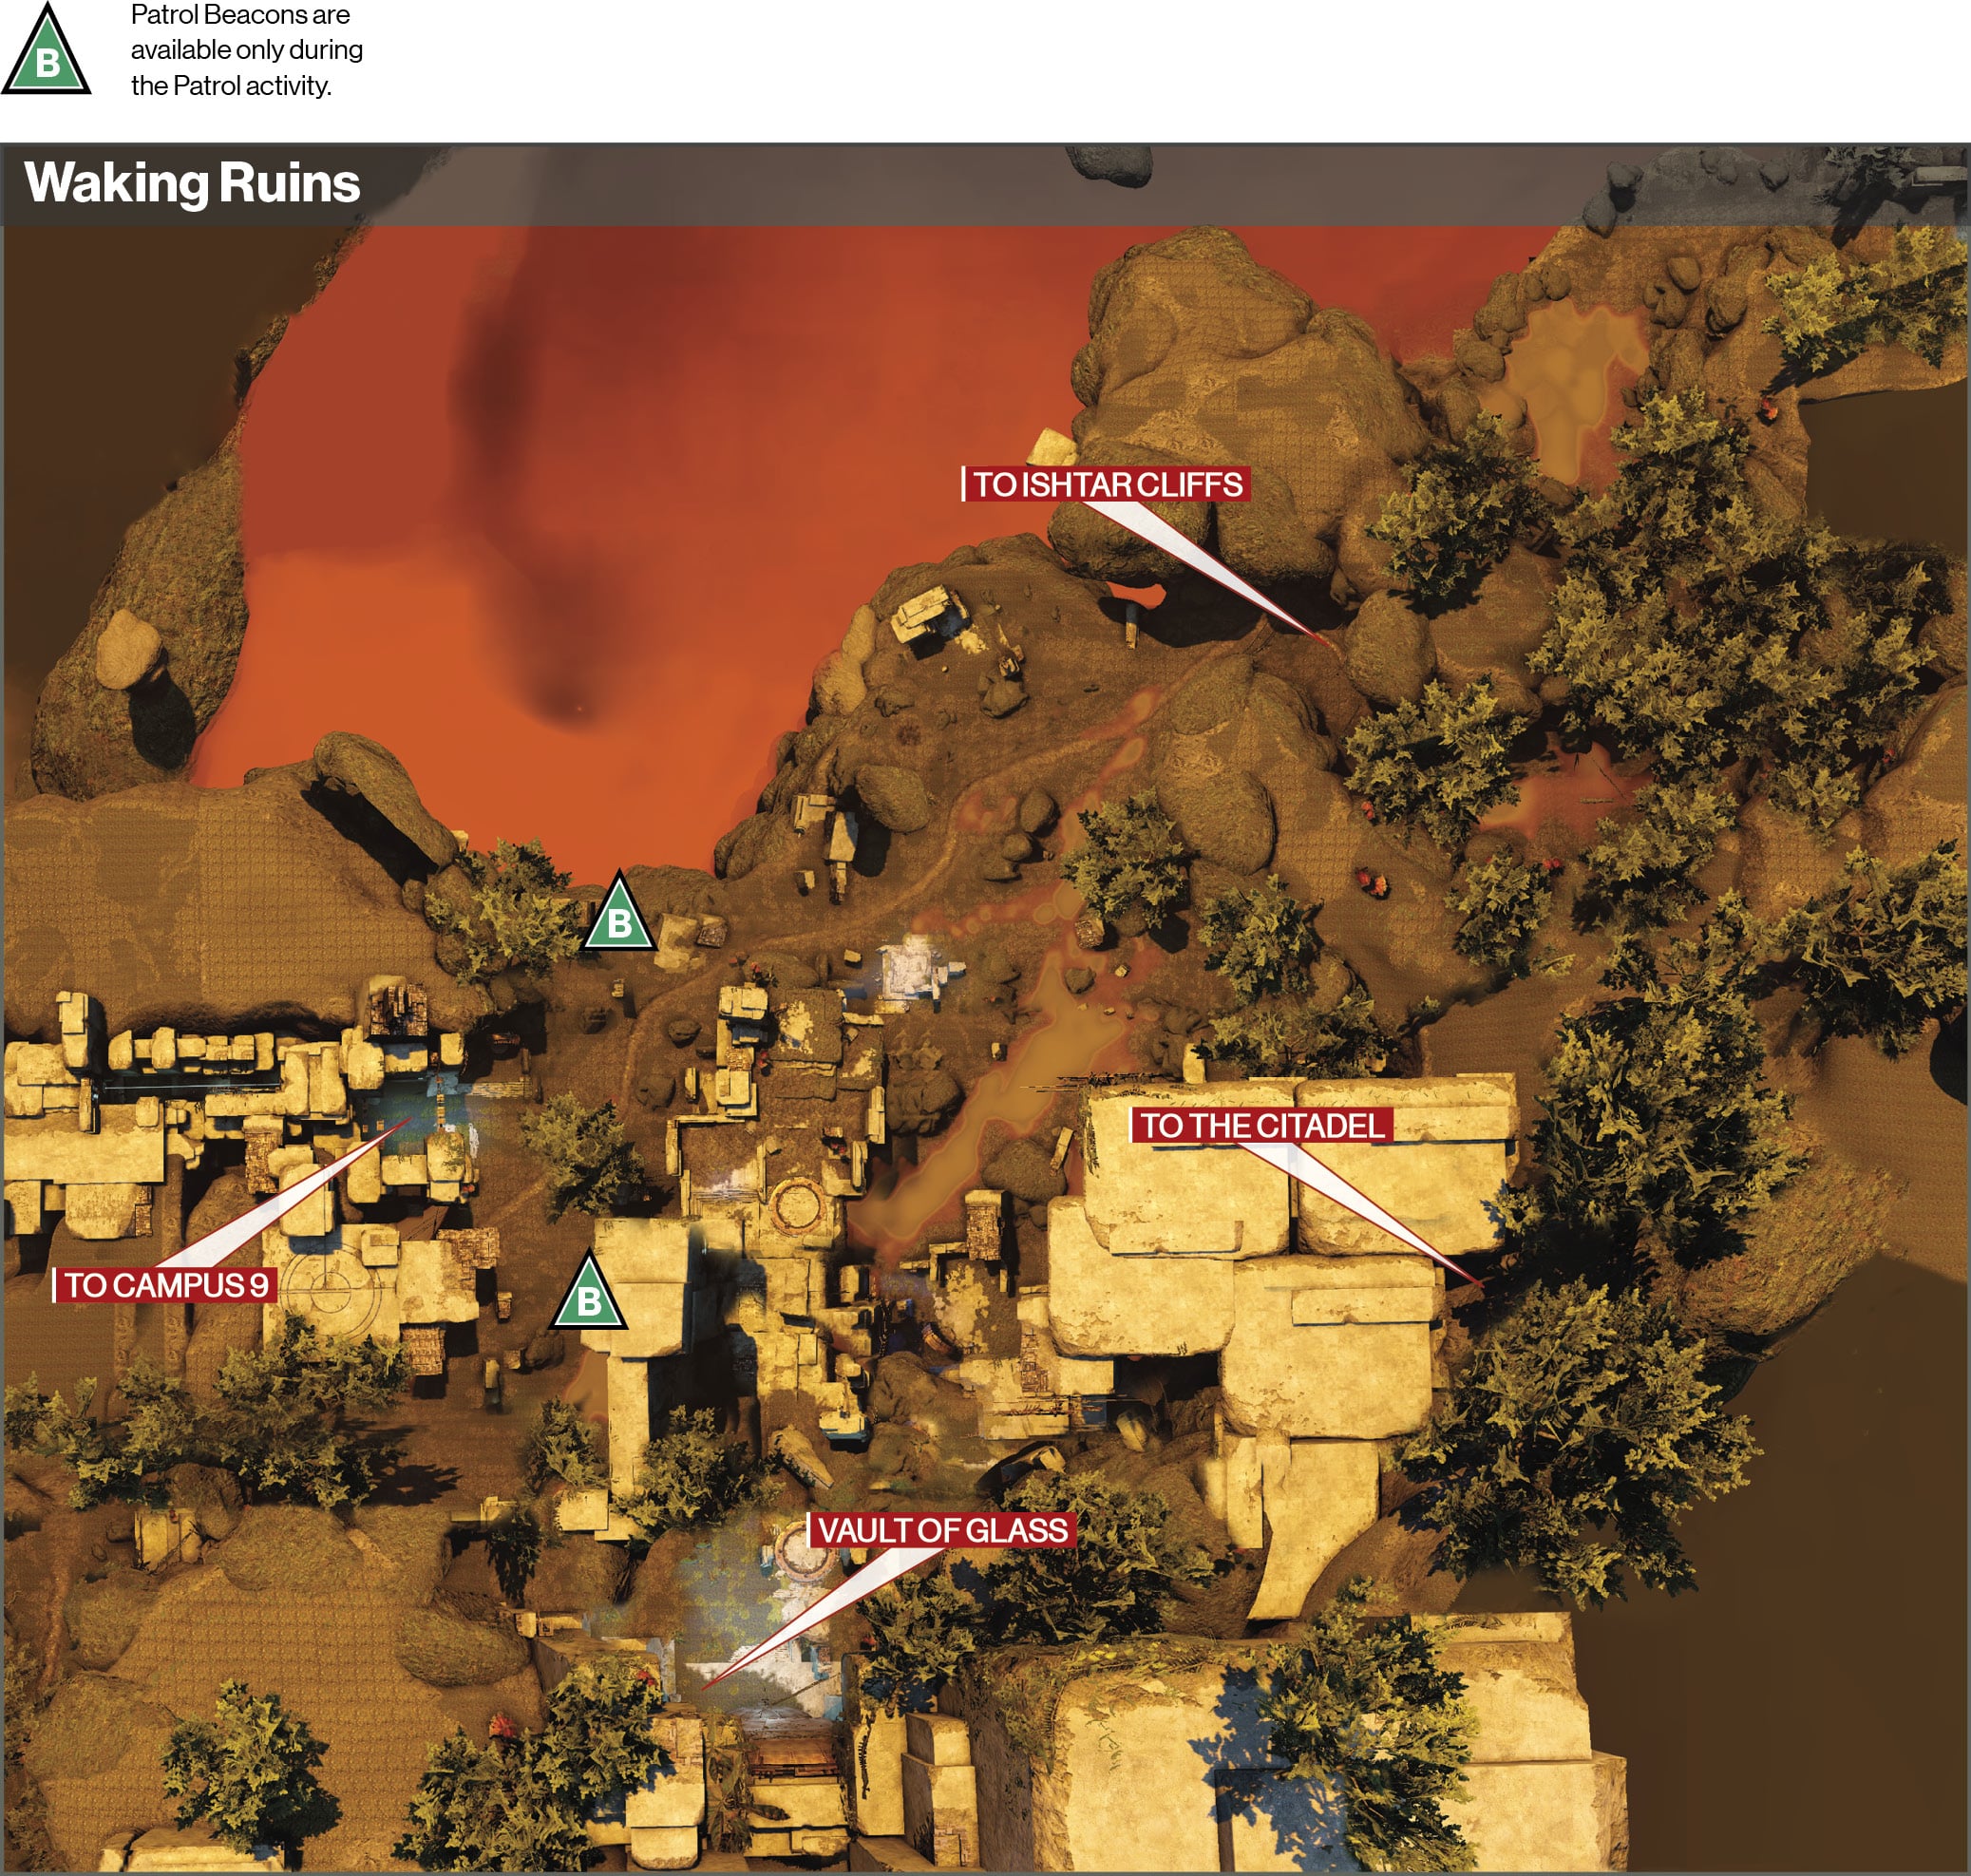
Objective:Find the Research Site

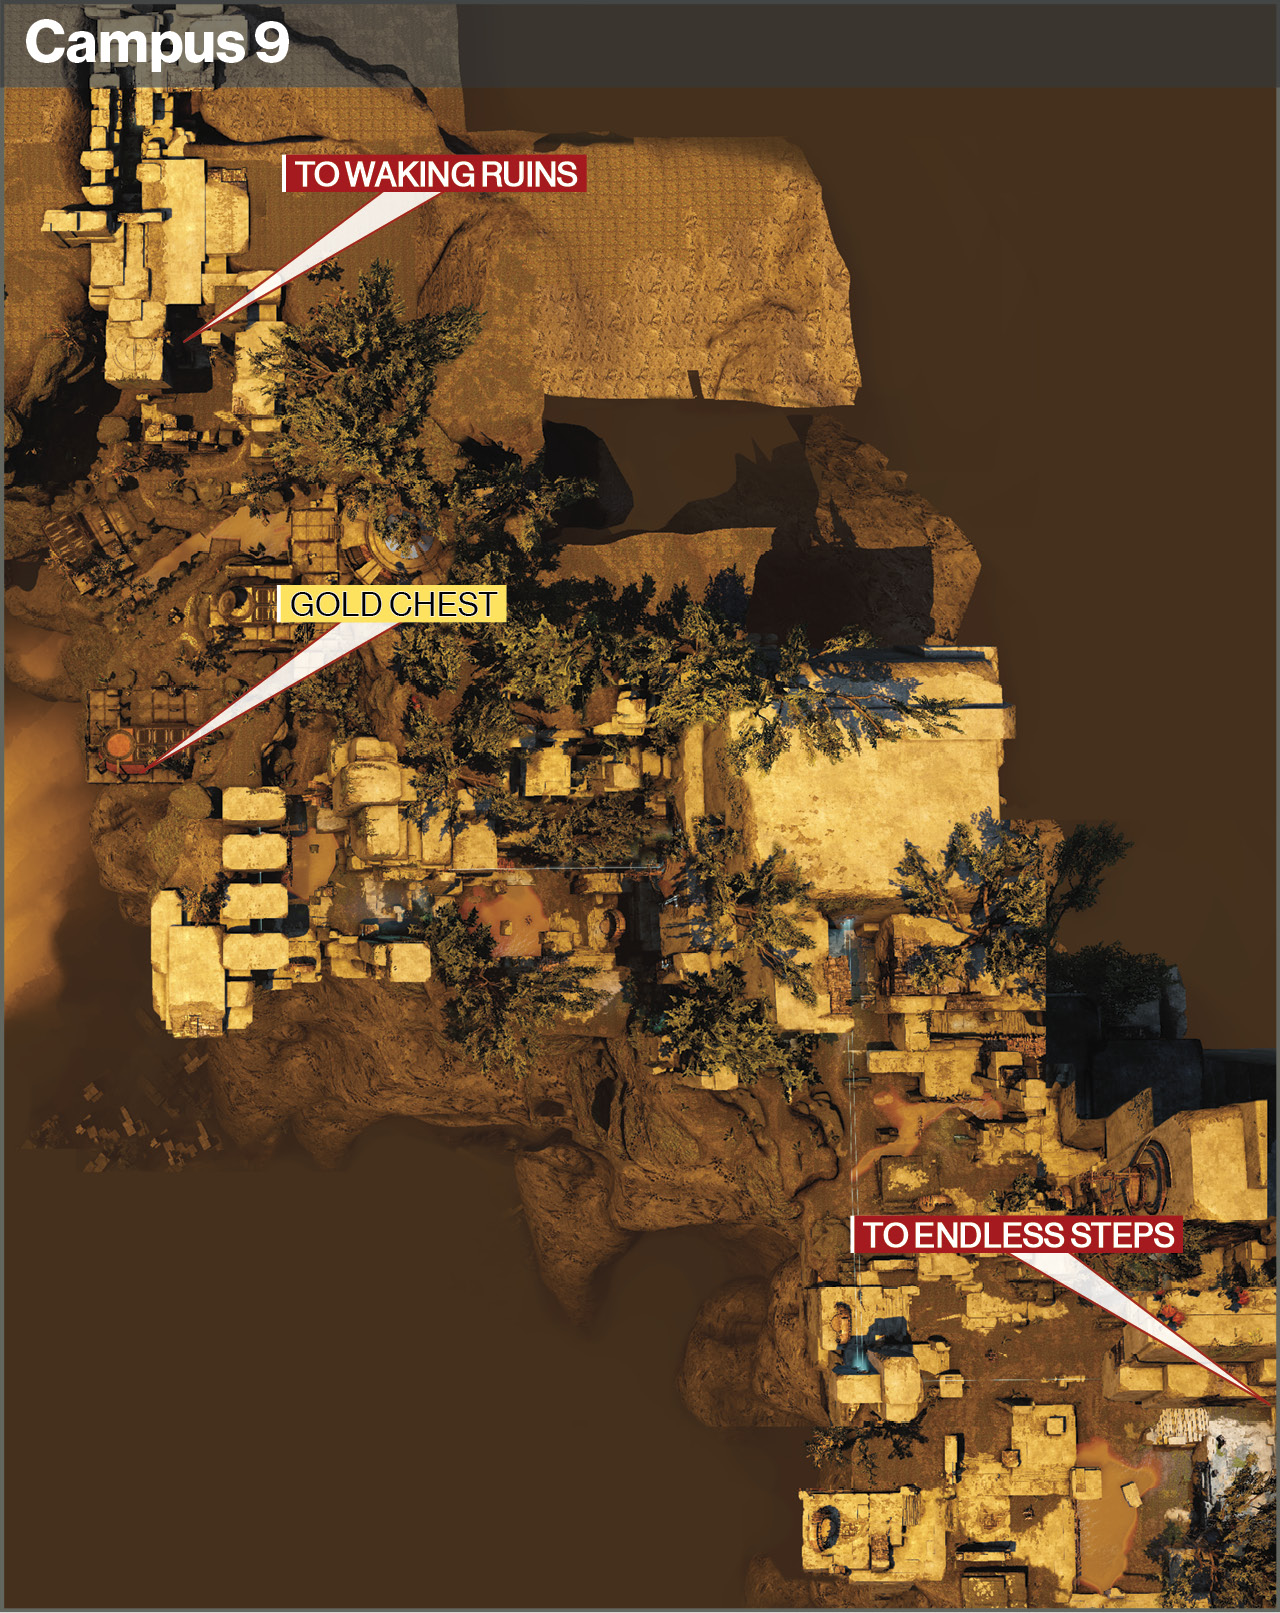
Location:Campus 9

Exit Ishtar Cliffs via the opposite side, and continue through the Waking Ruins. Enter the narrow passageway and wind your way to Campus 9, which is designated a Darkness Zone.

Objective:Eliminate the Fallen

Fallen Vandals, Dregs, and Shanks patrol the area. Clear them out as you make your way to the research center.

Objective:Analyze Mind Core
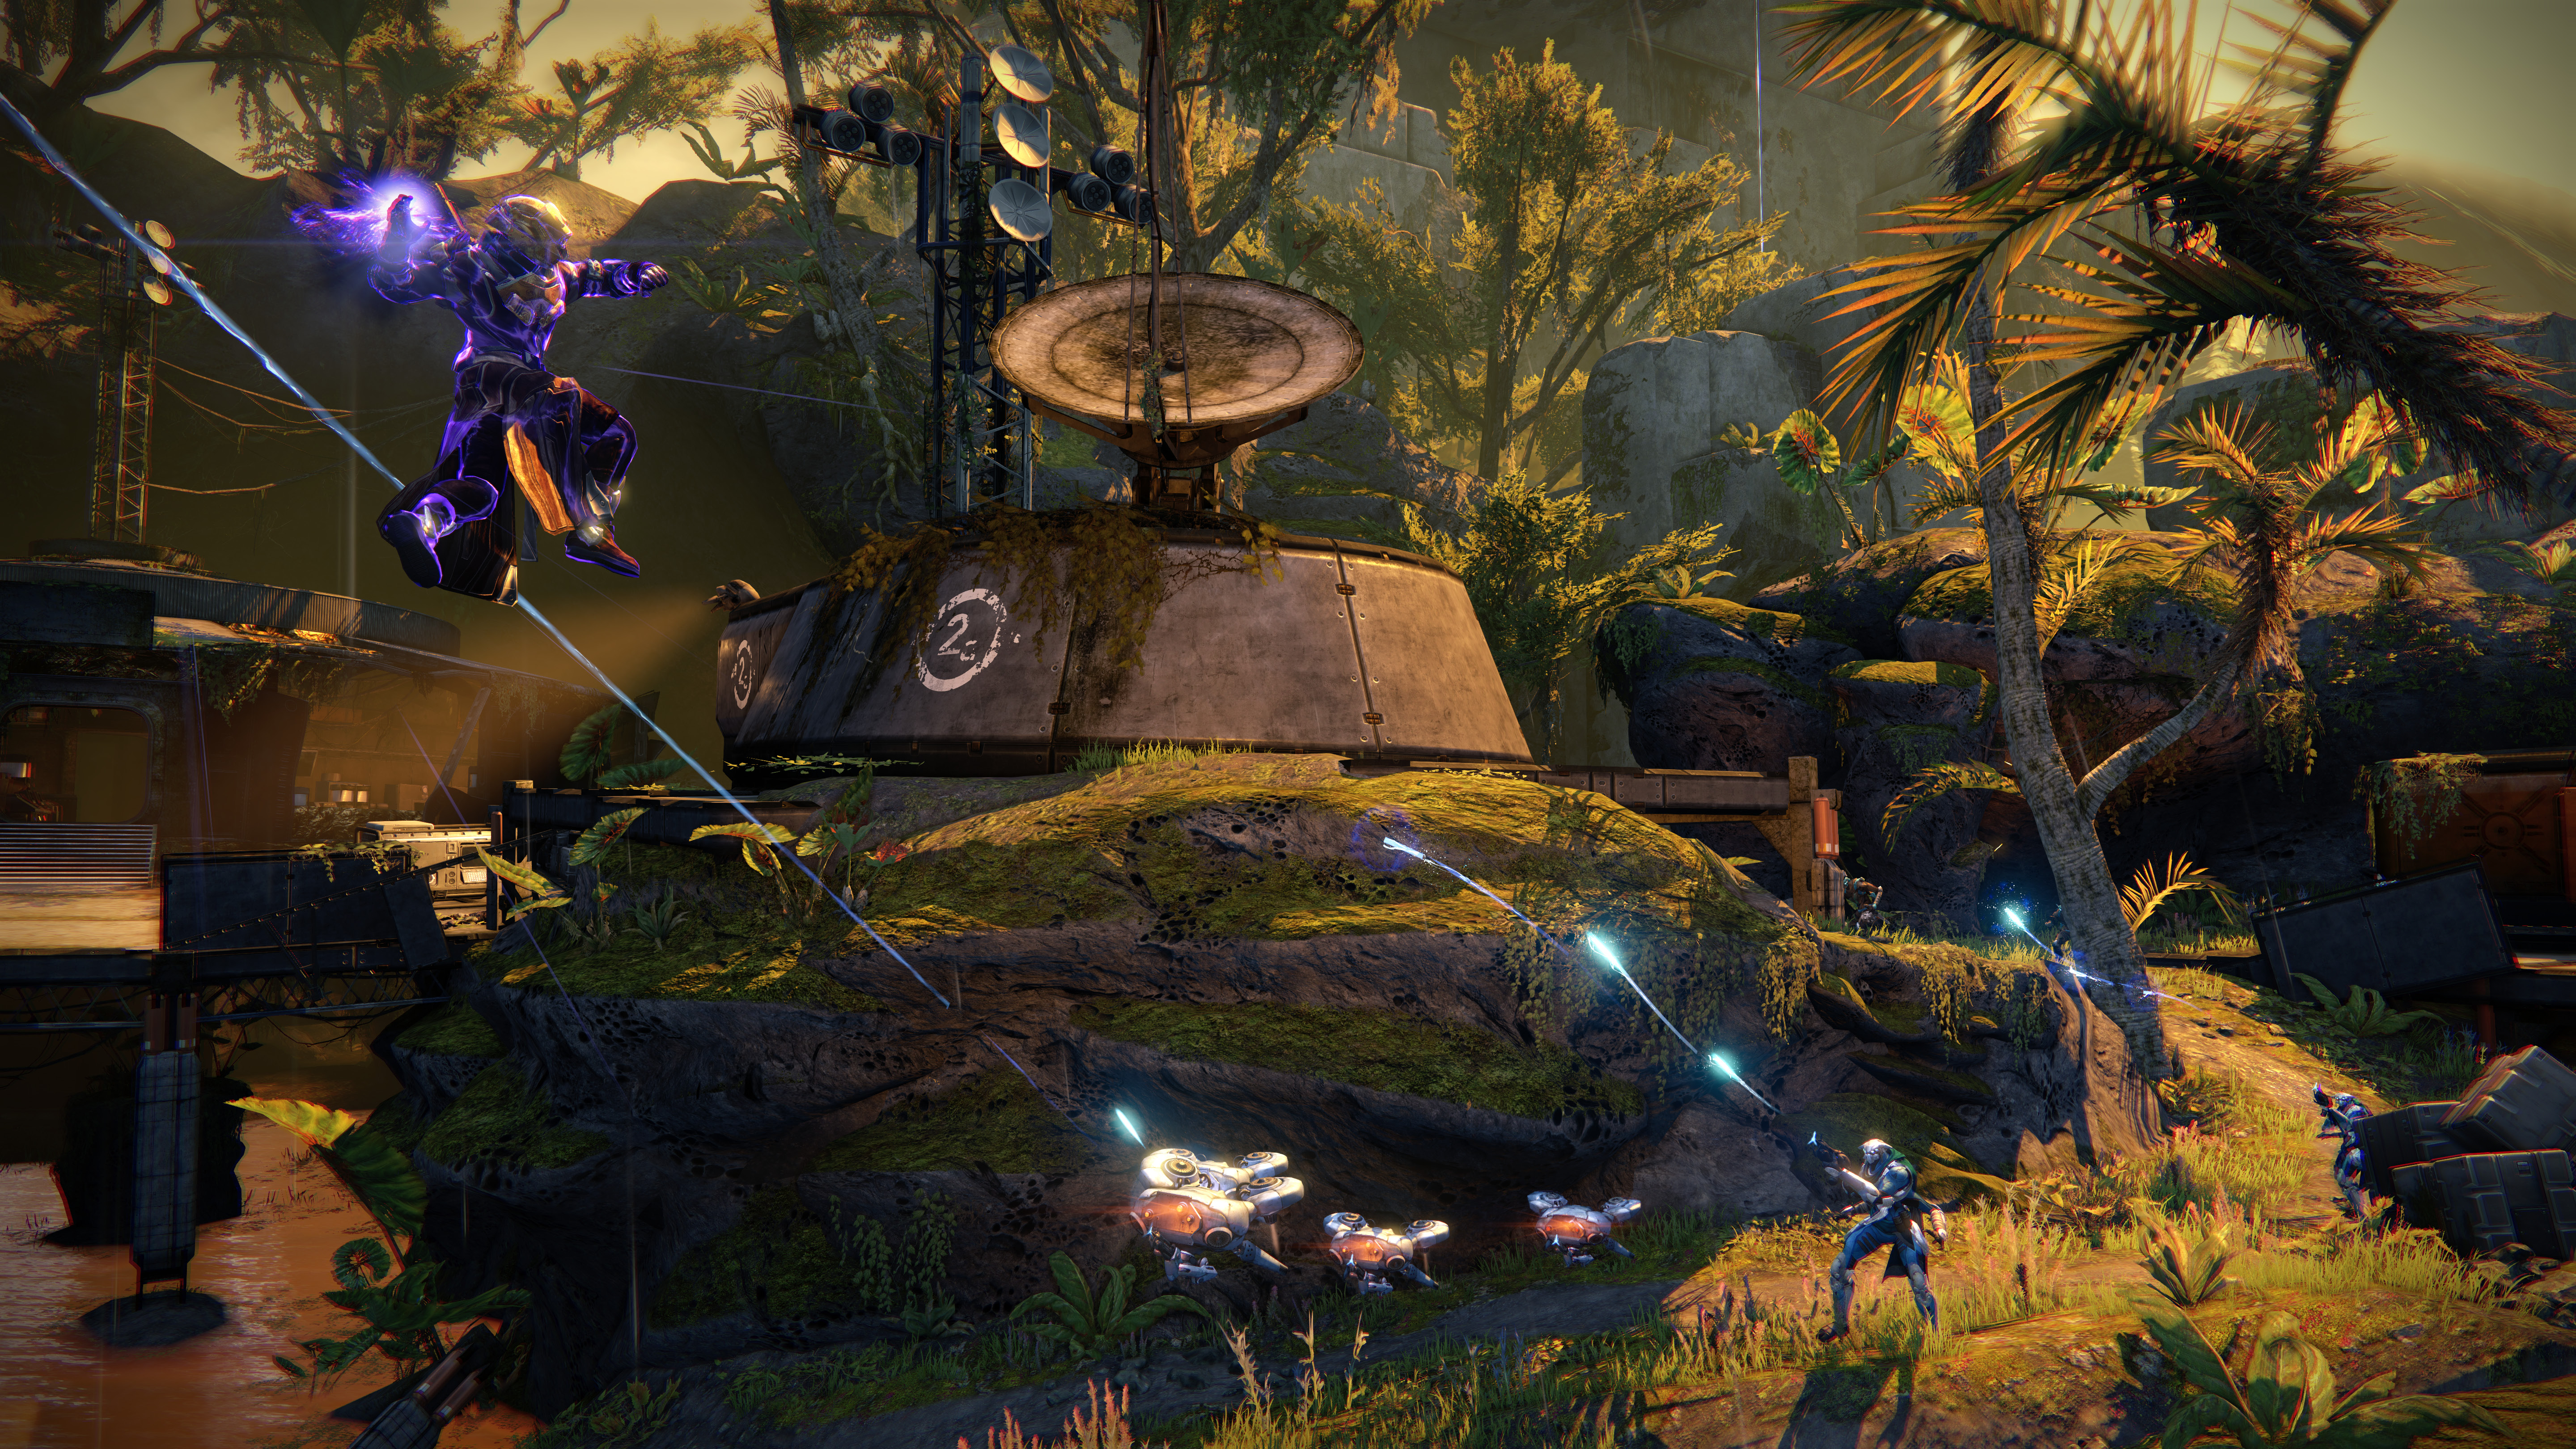
Deploy your Ghost at the terminal so he can analyze the item. This gets the attention of the Vex, who spawn just outside.
Objective:Hold Off the Vex

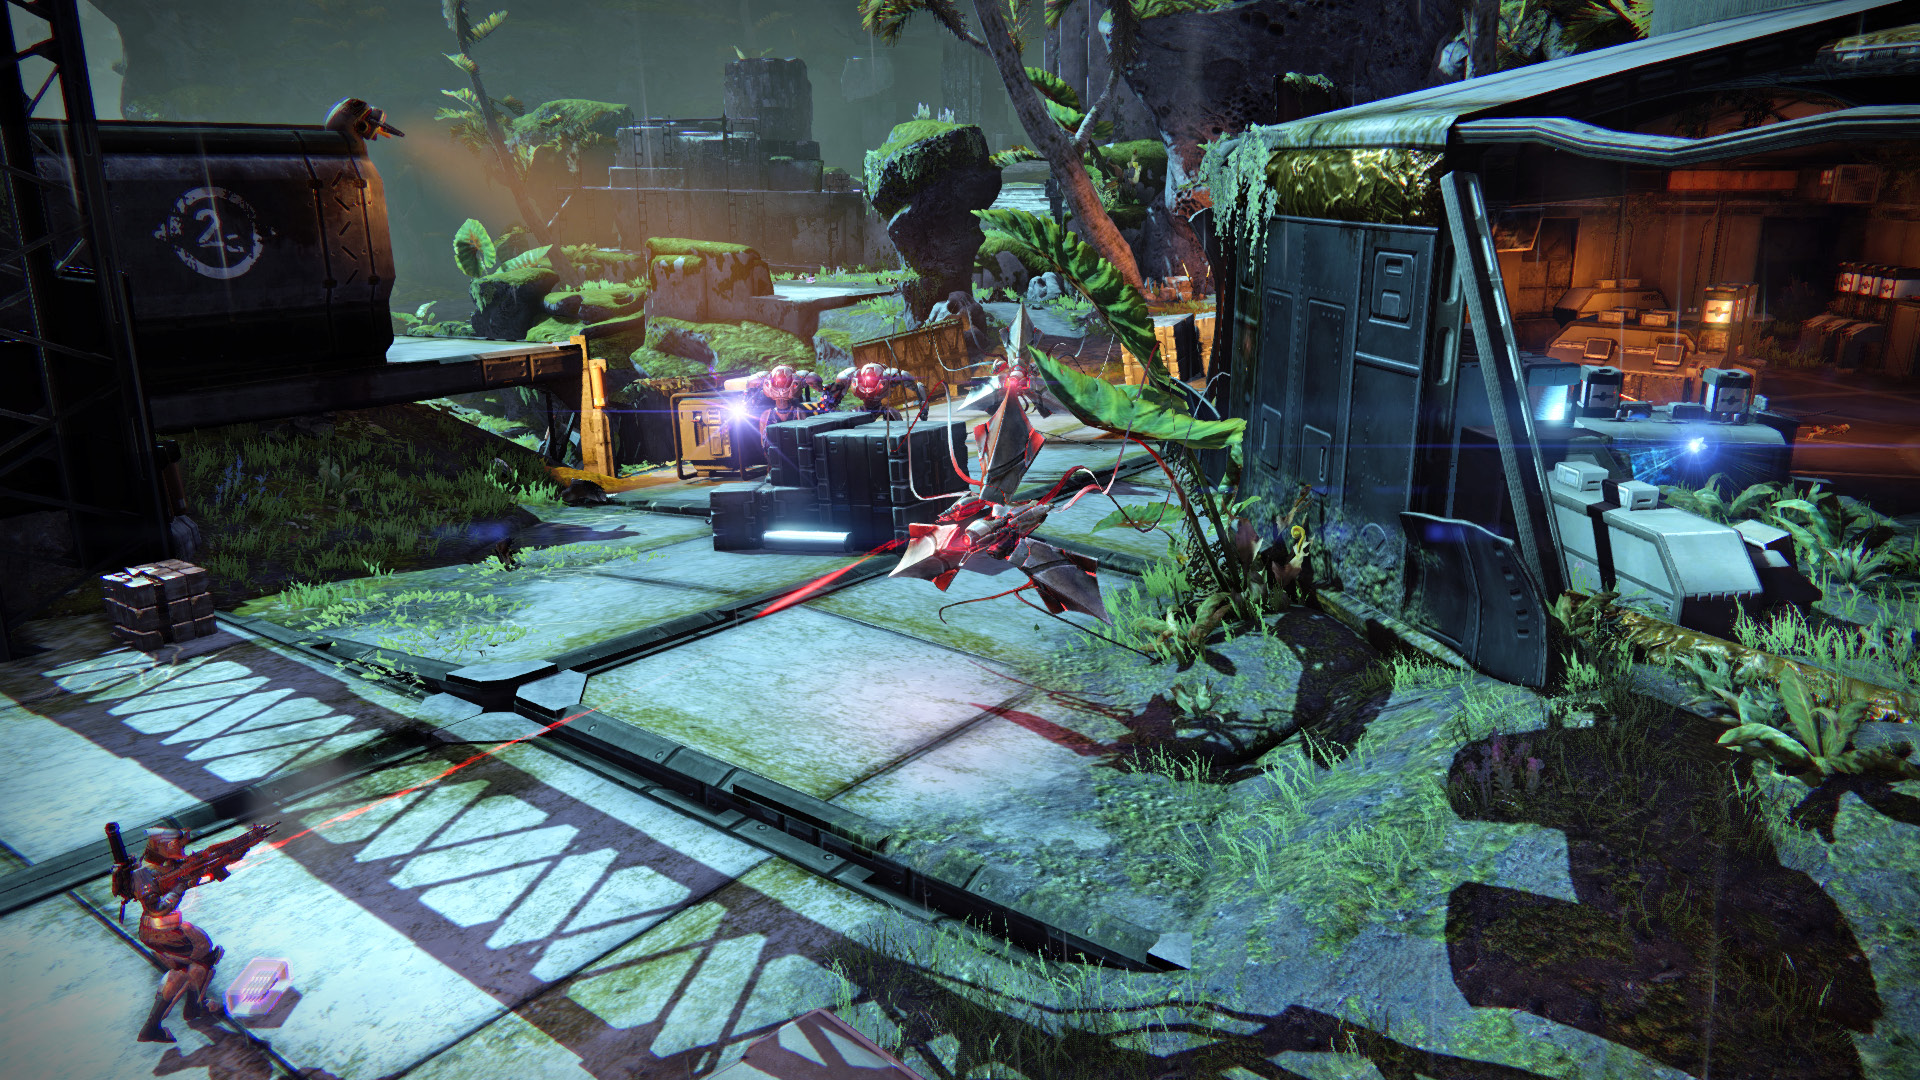
Defend your Ghost from the Vex Harpies, Goblins, Hobgoblins, and Minotaur that appear in three waves. A good auto rifle works well against the groups of machines. Watch your tracker to see the direction that the next threat approaches from, keeping an eye out for incoming grenades. The final Vex wave spawns on both sides of the research center, and it can get difficult as multiple Minotaur appear. It’s best to exit the building at this time to avoid getting pinned down inside. This also allows you to deal with the enemies at your own pace.
Objective:Return to Ghost

With the threat eliminated, return to your Ghost to complete the mission. Turn in the Radiolaria to the Vanguard mentor to receive armor.

Keep reading with a free account

The first 3 sections of Destiny Signature Series Strategy Guide are open to everyone. An account opens the rest of it, and every other guide in the archive. It's free, and there's nothing to buy.

Bought guides on the old Prima Games site? Your account and every guide you own moved here, so there's nothing to buy again. Sign in.

Create a free account Or browse our free guides

PreviousA Stranger's Call NextThe Archive